Valentine’s Day Cards Featuring Old & New Release by LDRS Creative

Hello everyone! Happy Friday and Happy New Year! In today’s post, I am sharing two Valentine’s Day cards featuring some old and new releases by LDRS Creative

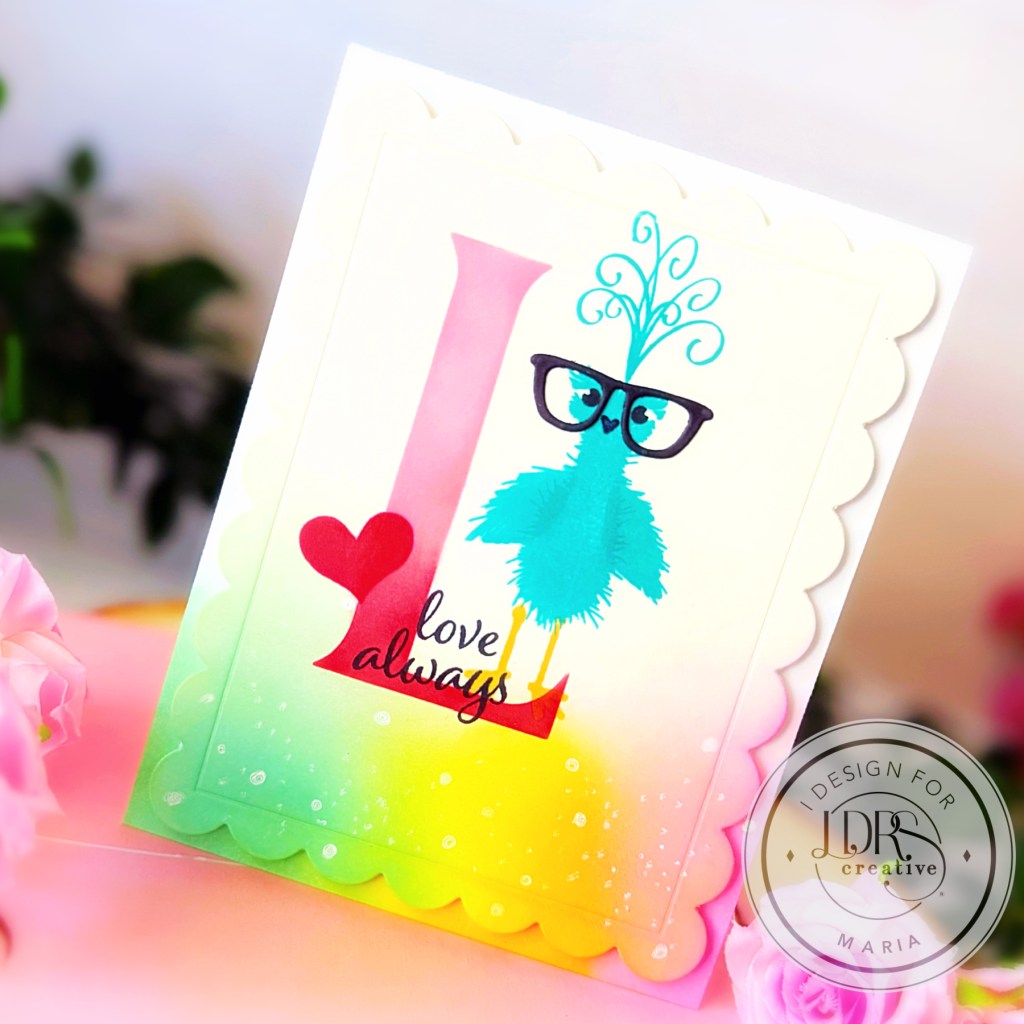
For my first card, I am showcasing the Fuzzy Wuzzy Birthday Suit and Undercover Bundle, along with the Alpha Stencil Pack, A to Z Sentiments, and the Mixed Scallop Rectangle Dies.

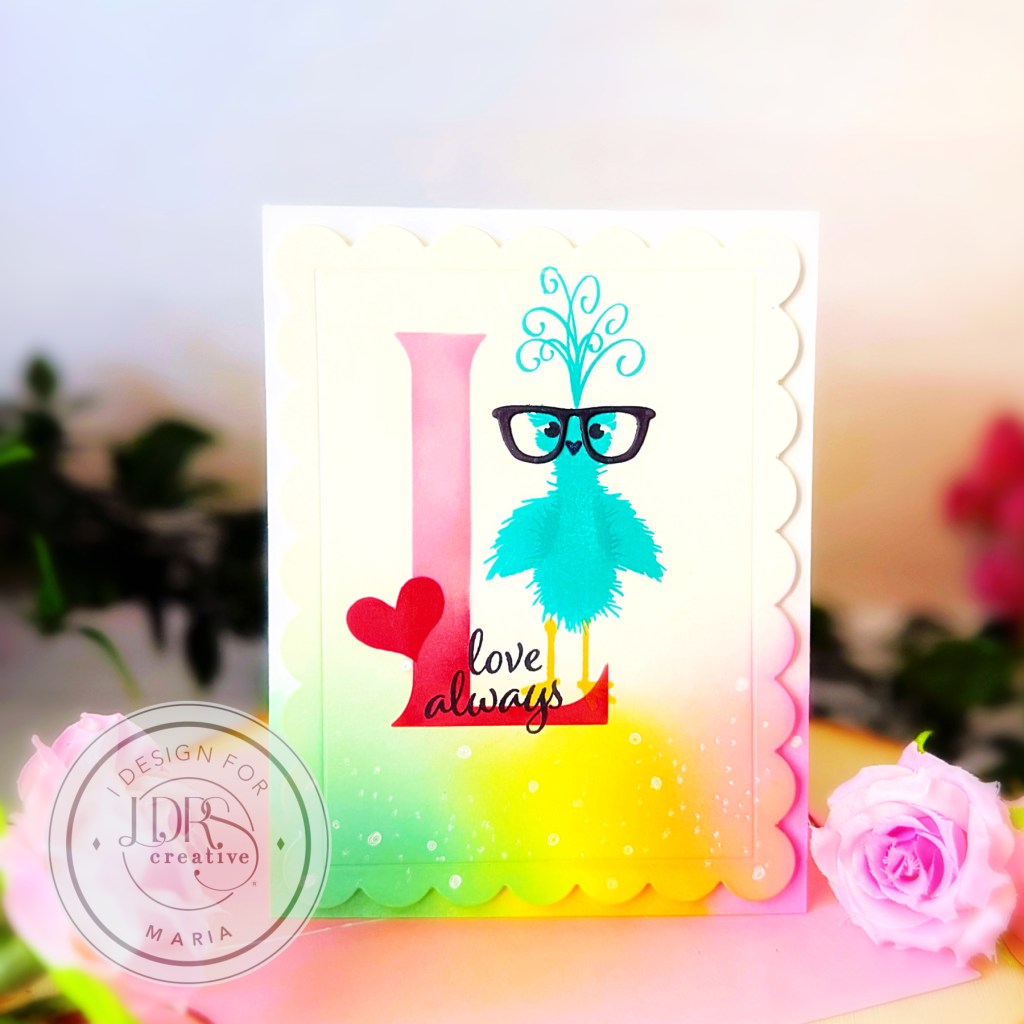
I ink-blended the scallop die-cut and the card base with Soft Kisses, Tangerine Orange, Dan-D-Lion, and Key Lime Pie Hybrid inks using some blending brushes.  It took a while to blend the colors, but I am happy with how they turned out!

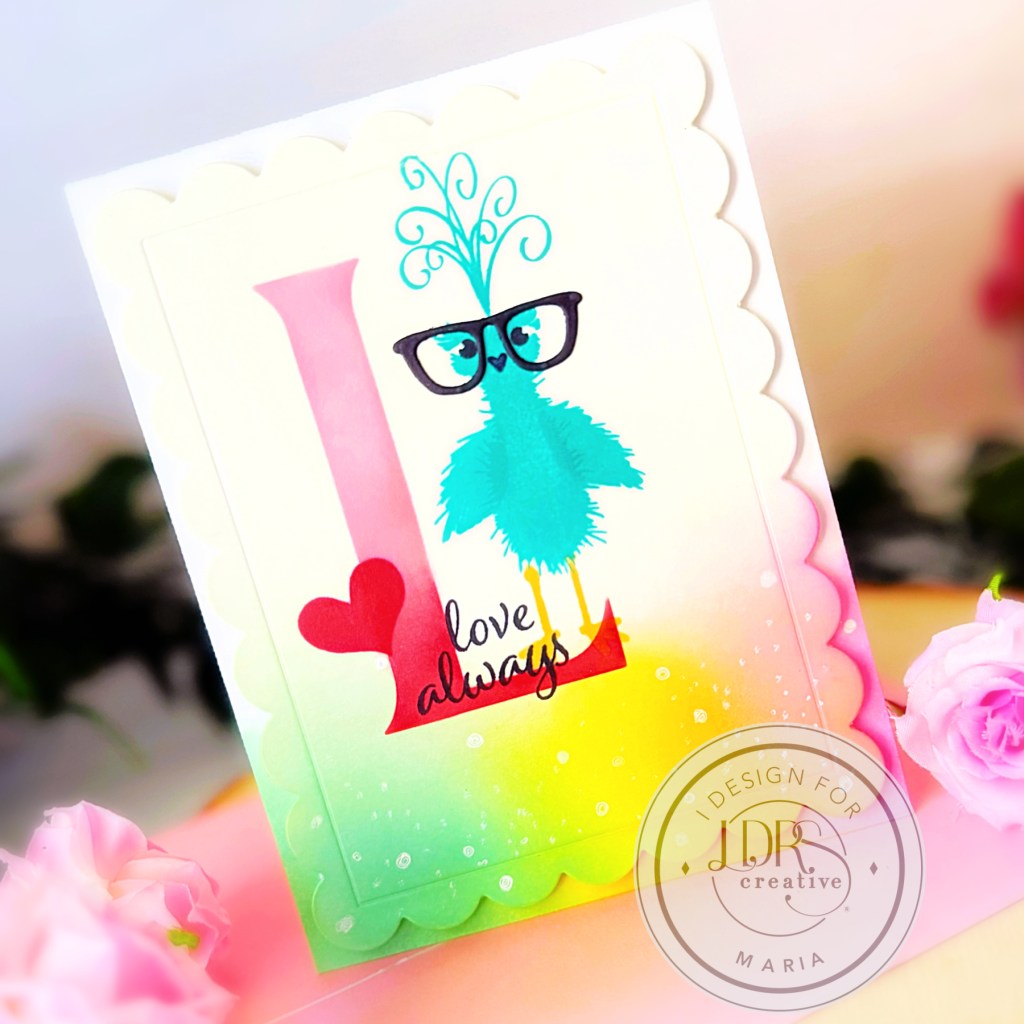
I foam-mounted the scallop die-cut on the card base and used the Alpha Stencil Pack, along with blending brushes and the colors Lipstick Red and Soft Kisses.   

Next, I stamped the cute little “Fuzzy Wuzzy” image using Tropical Sea, In Your Face Orange, and Raven Hybrid ink.  I also stamped the sentiment from the A to Z Sentiments and added the red heart to finish the look.

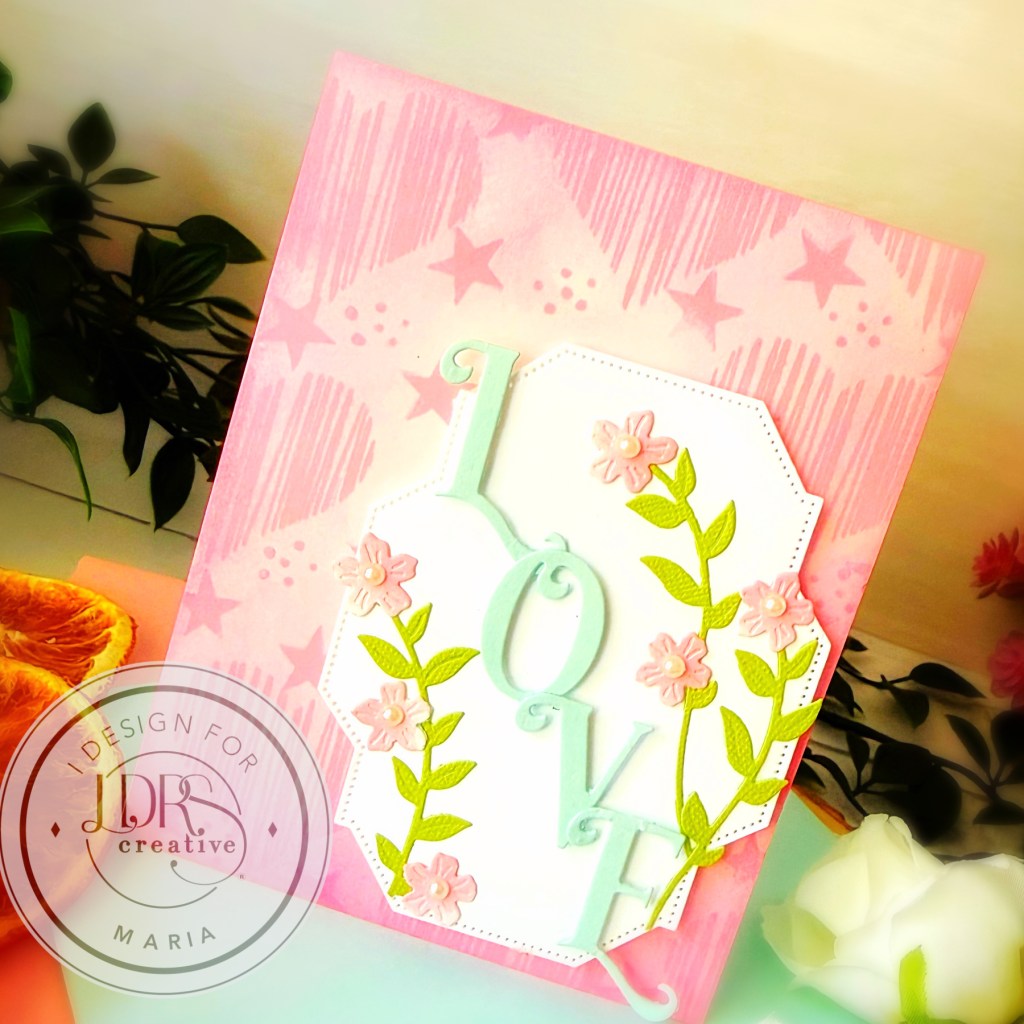
For my next card, I used one of my favorite alphabet dies called Sophie Alpha Uppercase Die Set, along with the aLined Geos Stamp Set, Star Octagon Frame Die, and Petite Petals Die.

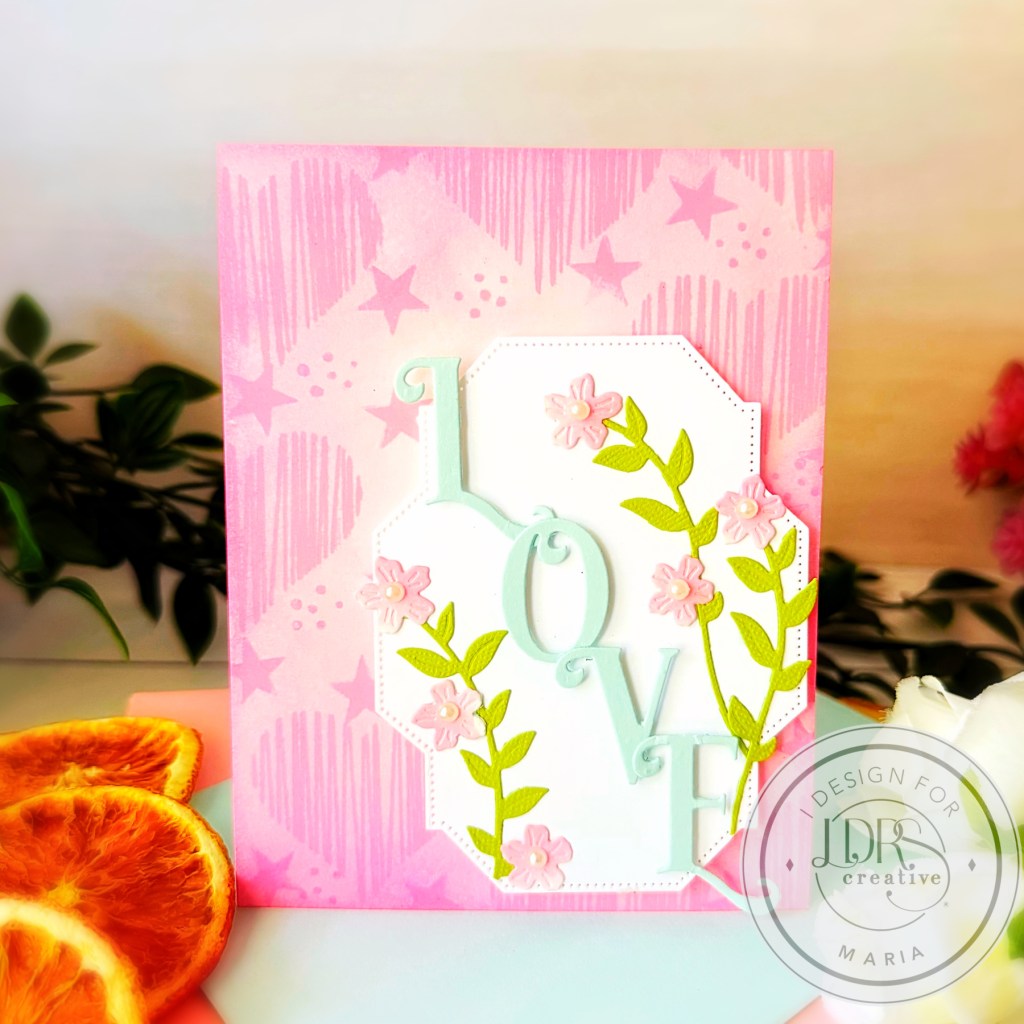
The background was made by ink-blending the base with Soft Kisses Hybrid ink.  I used the A-lined Geos stamp set to create the pattern with the same ink for a monotone look. 

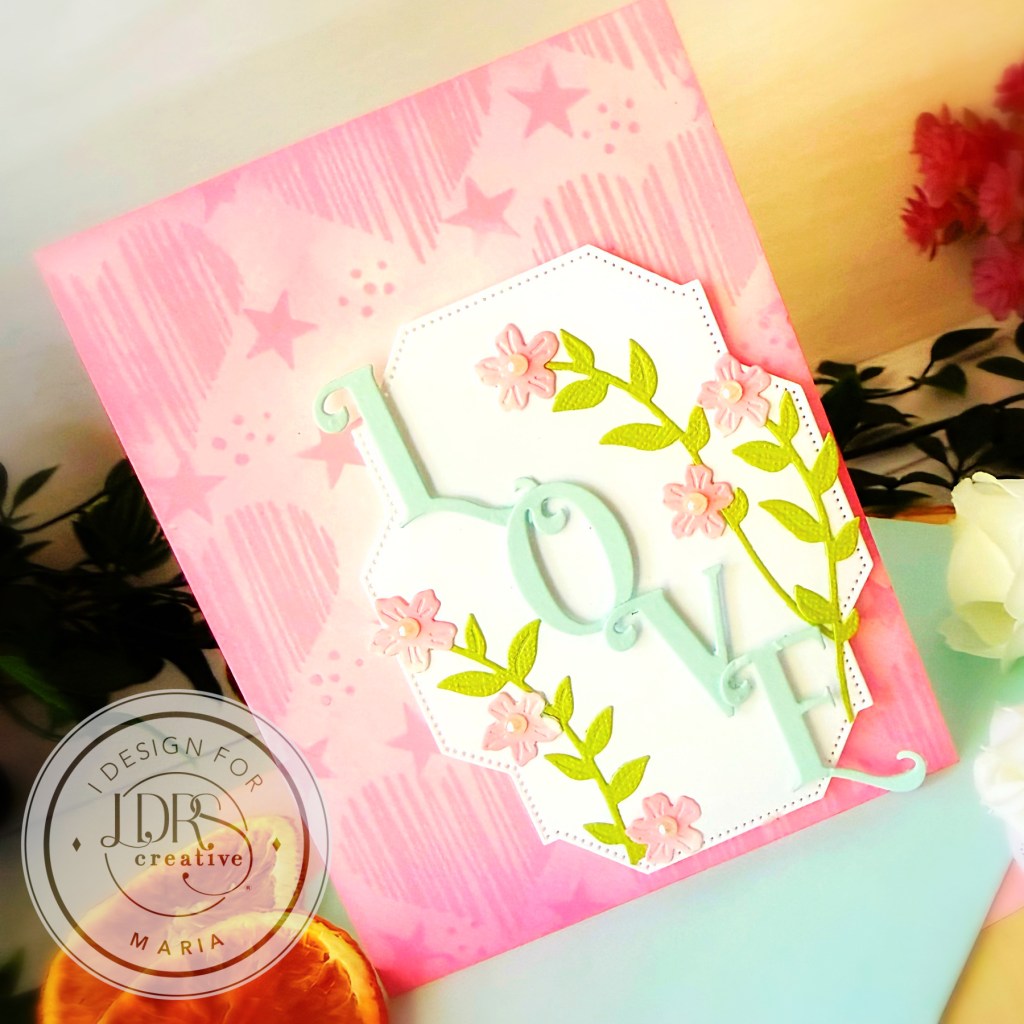
Next, I die-cut the leaves and flowers using the Petite Petals Die set, as well as the white frame using the Star Octagon Frame die, and the word “LOVE” using the Sophie Alpha Uppercase Die Set.  I love mixing and matching old and new products to create a beautiful card!

I hope you were inspired today with the projects I made for Valentine’s Day!  Thanks for stopping by, and happy crafting!

2 Welcome Baby Cards with LDRS Creative

Hello LDRS fans! I am back on the blog with you today to share two Welcome Baby cards, showcasing the Hoppy Egg Hunt stamp set and coordinating dies, along with the Sophie Uppercase Die SetSophie Lowercase Die SetA2 Stitched Layered Card Toppers DieSlim Line Pocket Basket Weave Pocket Die SetPastel Dreams 6×6 Paper Pack, and Farmer’s Market 6×6 paper pack.  Here’s what they look like:
I started by stamping my images on some Neenah Solar White card stock with Raven Hybrid Ink.   I colored them in with alcohol markers.  I used the coordinating dies to die-cut the images.  Next, I die-cut two patterned papers from the 6×6 Pastel Dreams and 6×6 Farmer’s Market Paper Packs using the biggest die from the A2 Stitched Layered Card Toppers Die.  Both patterned papers kind of matched the alcohol markers that I used to color my focal images. I adhered both patterned papers to an A2 size notecard.
I used the scallop die from the Slim Line Pocket Basket Weave Pocket Die Set to die-cut two pieces and used the inner die with my embossing mat to emboss the middle.  I wanted to have more texture to this background without overwhelming the whole card design.  I adhered both pieces to my card using my ATG Tape Runner.  I also adhered the images on both cards.
I die-cut the word “Baby” twice using the Sophie Uppercase Die Set and Sophie Lowercase Die Set.  I used the same markers to color the die-cuts to match the little basket.  I also used a darker marker to highlight the bottom of the letters for added texture.  I adhered the letters on the card with liquid glue.
I finished my design by stamping the sentiment with Watermark Ink on some black card stock.  I sprinkled some White Embossing Powder on this and used my heating tool to heat-set the sentiment.  I fussy-cut the sentiment using my precision snips and adhered to the card using my ATG Tape Runner.  Here’s another look at both baby cards:
I hope you like my cards today.  The supplies I use are listed and linked below.  Thanks for stopping by today and happy crafting!
———-SUPPLIES———-