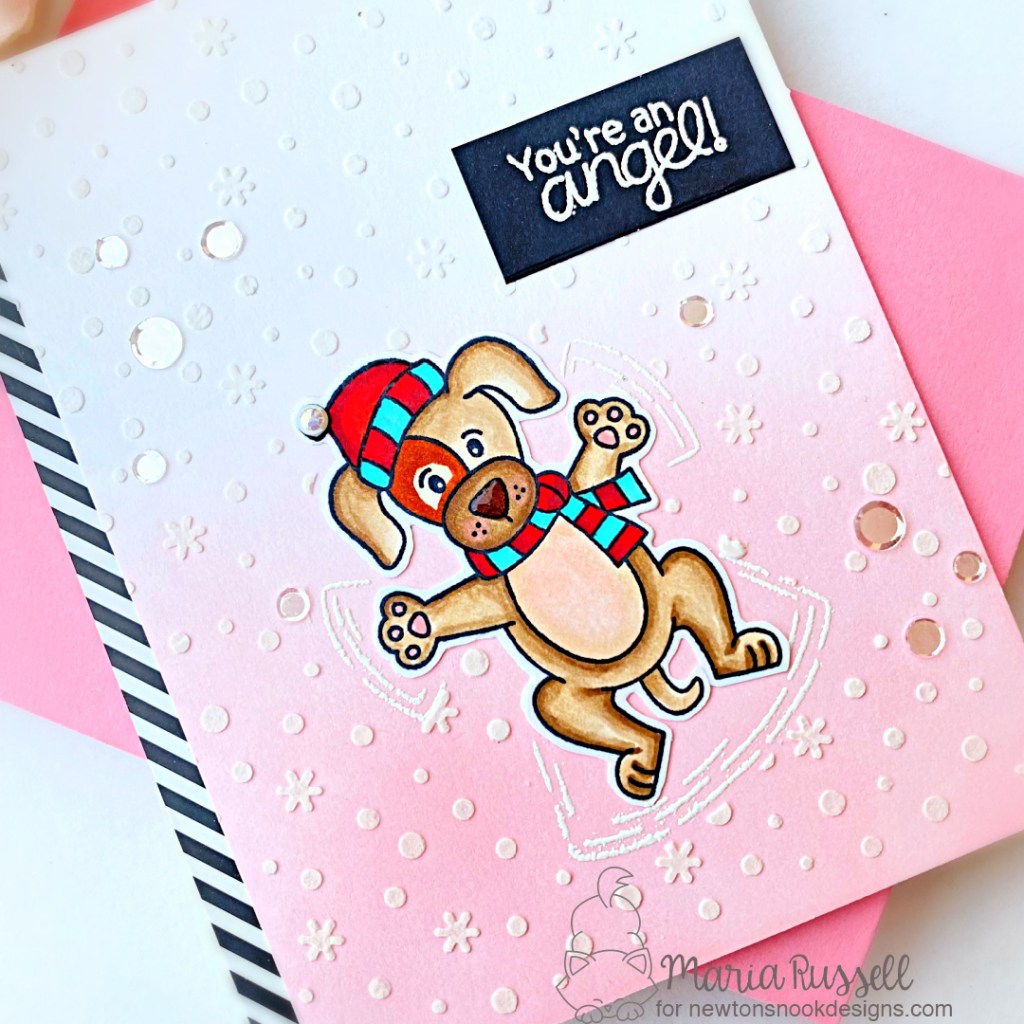
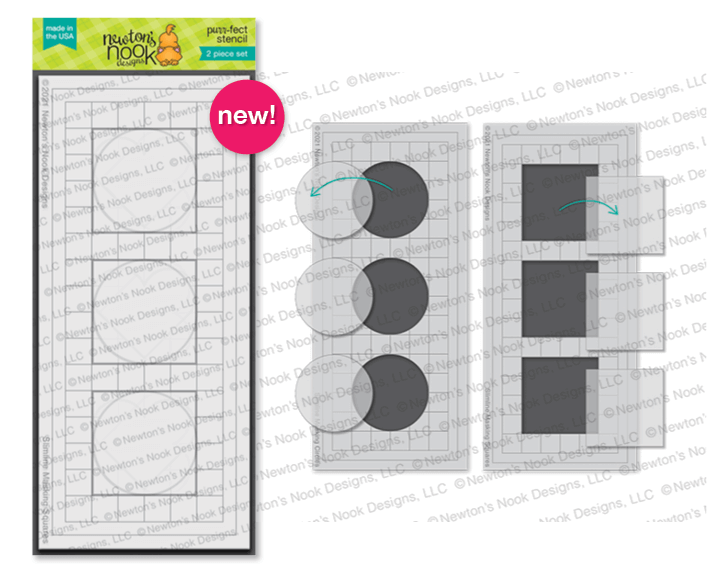
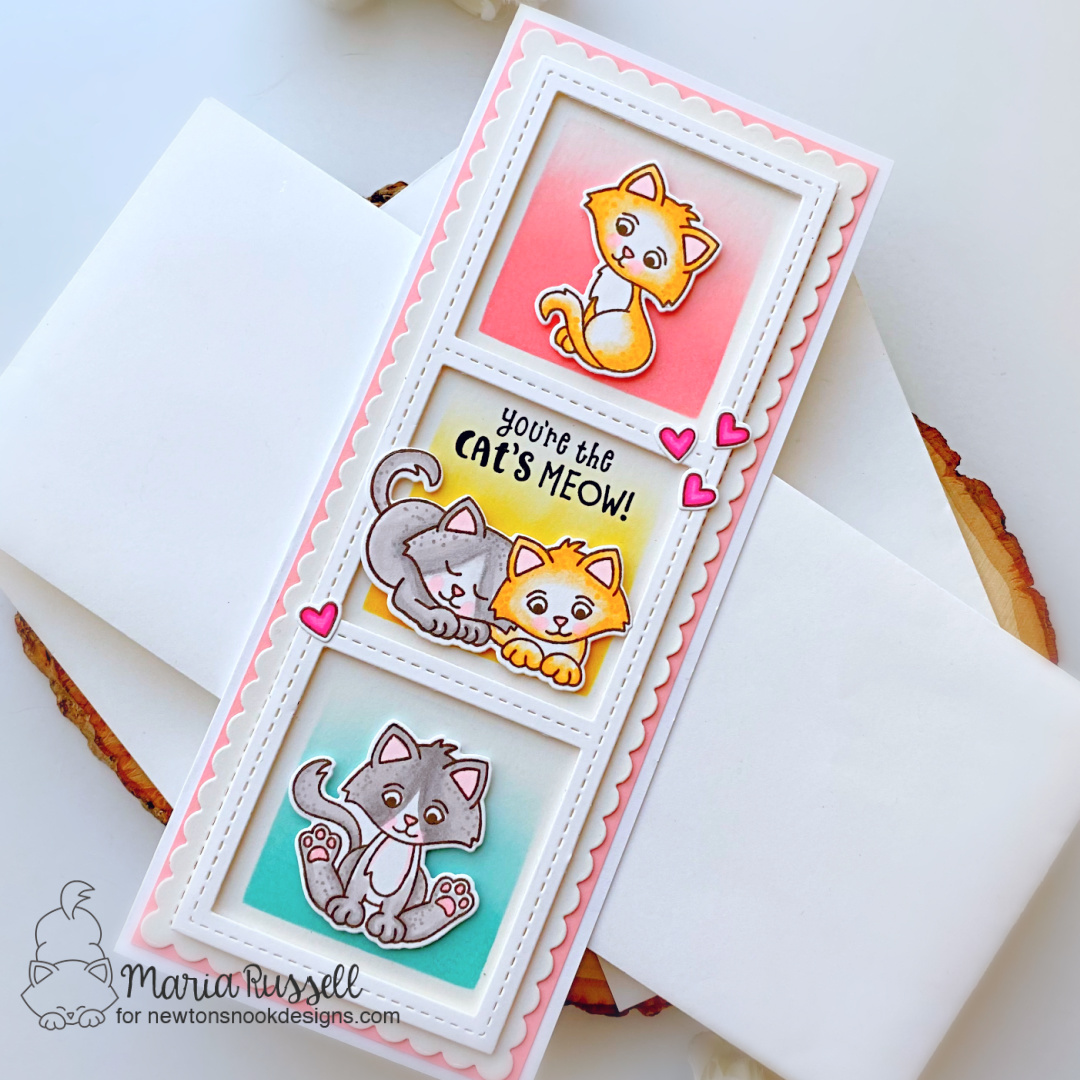
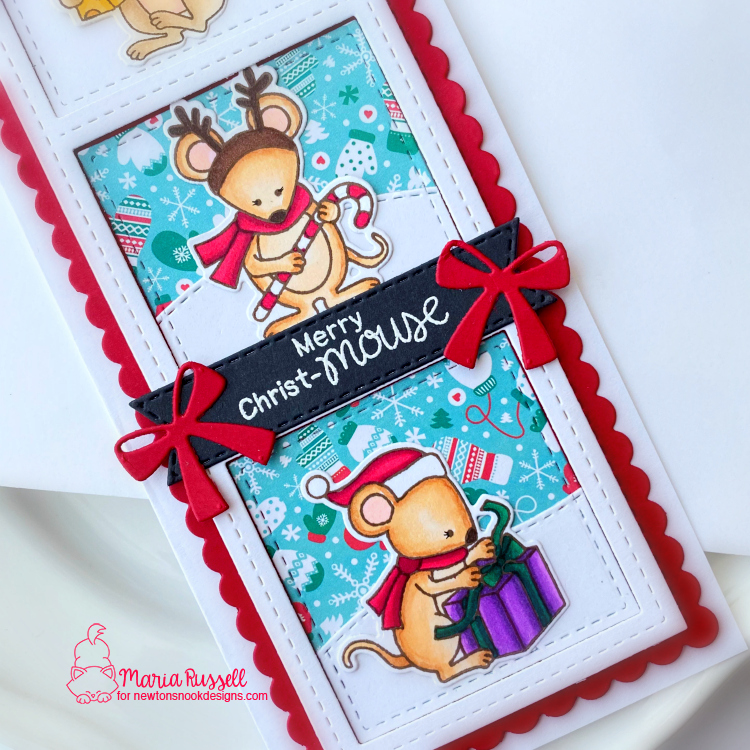
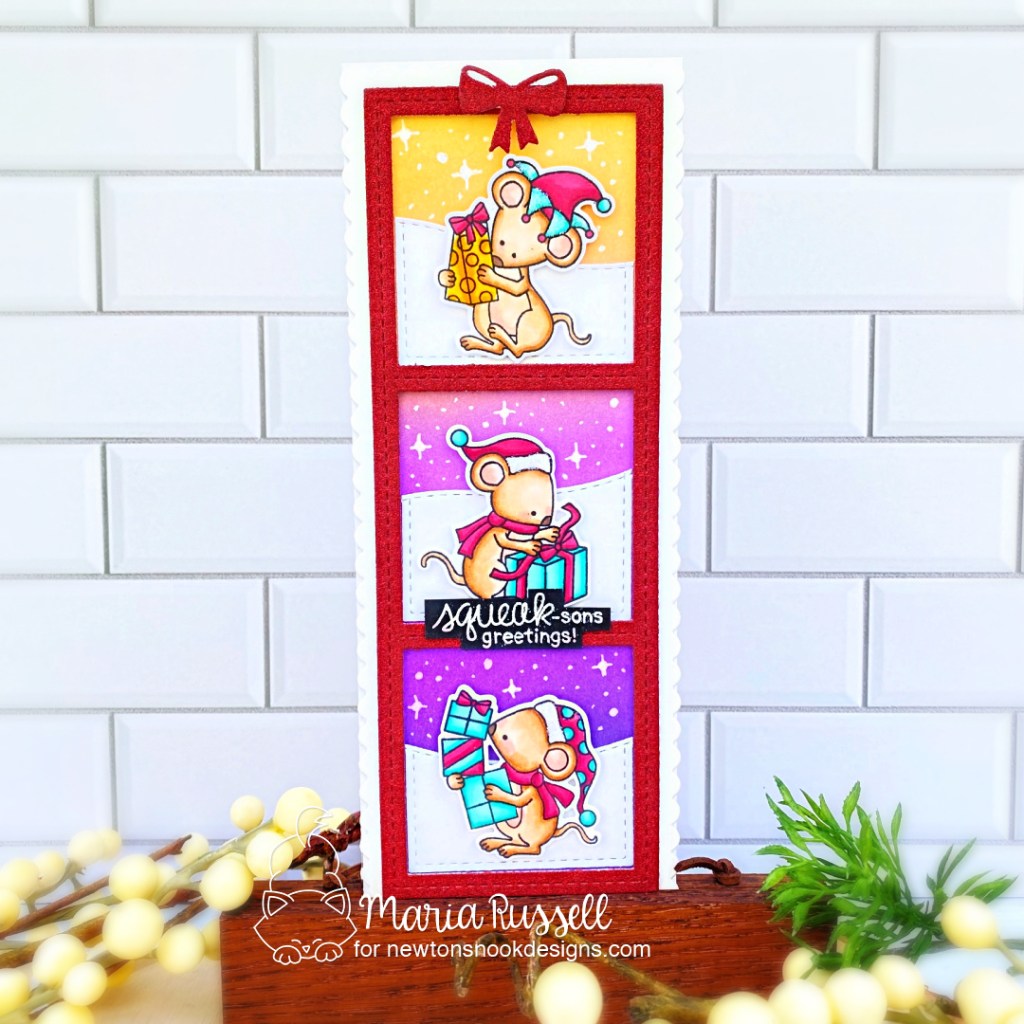
Hello my crafty friends! I finally received my household effects and was able to start creating Christmas cards for friends. For today’s project, I am showcasing one of my all-time favorite stamp set by Newton’s Nook Designs called Naughty or Mice with its coordinating dies along with Slimline Frames & Portholes Die Set, Slimline Frames & Windows Die Set and the cute little bow is from the Pines & Holly Die Set.
Here’s how I made this card:
- stamp the images on some Neenah Classic Crest Solar white card stock. It is really helpful if you have the Misti Stamping Tool to get a really nice impression of your stamped images.
- color the images in with alcohol markers (or any medium of your choice). I colored mine with Spectrum Noir Alcohol Markers.
- die-cut the image(s) using the coordinating die(s) with your die-cutting machine. Secure the dies by using Repositionable Tape so they don’t shift while die-cutting. In case you’re wondering, I use the Sizzix Big Shot Machine with Cutting Plates plus Magic Mat by Scrapbook.Com. [The Magic Mat is a self-healing mat and you can use it for a long time without having to buy new plates].
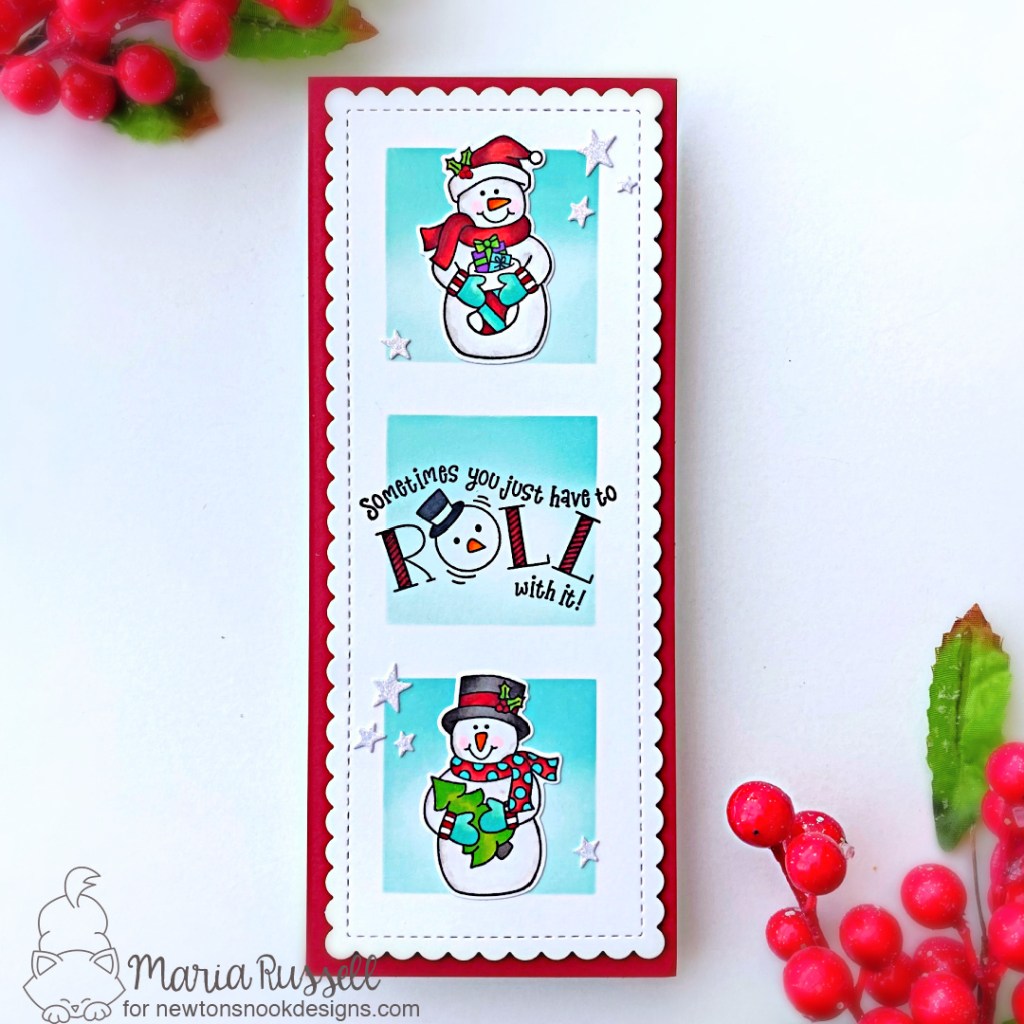
- die-cut the scallop using the Slimline Frames & Portholes Die Set on some Bristol smooth white card stock. Ink-blend this panel with some distress oxide inks using some blending brushes until the colors transition smoothly.
- die-cut the red frame using the Slimline Frames & Windows Die Set with some red glitter card stock. Adhere this piece on the ink-blended panel with foam adhesive for added dimension.
- adhere the card front on some slimline card base.
- die-cut a few “snow banks” using the same Slimline Frames & Windows Die Set with some white card stock and adhere on the card with liquid glue.
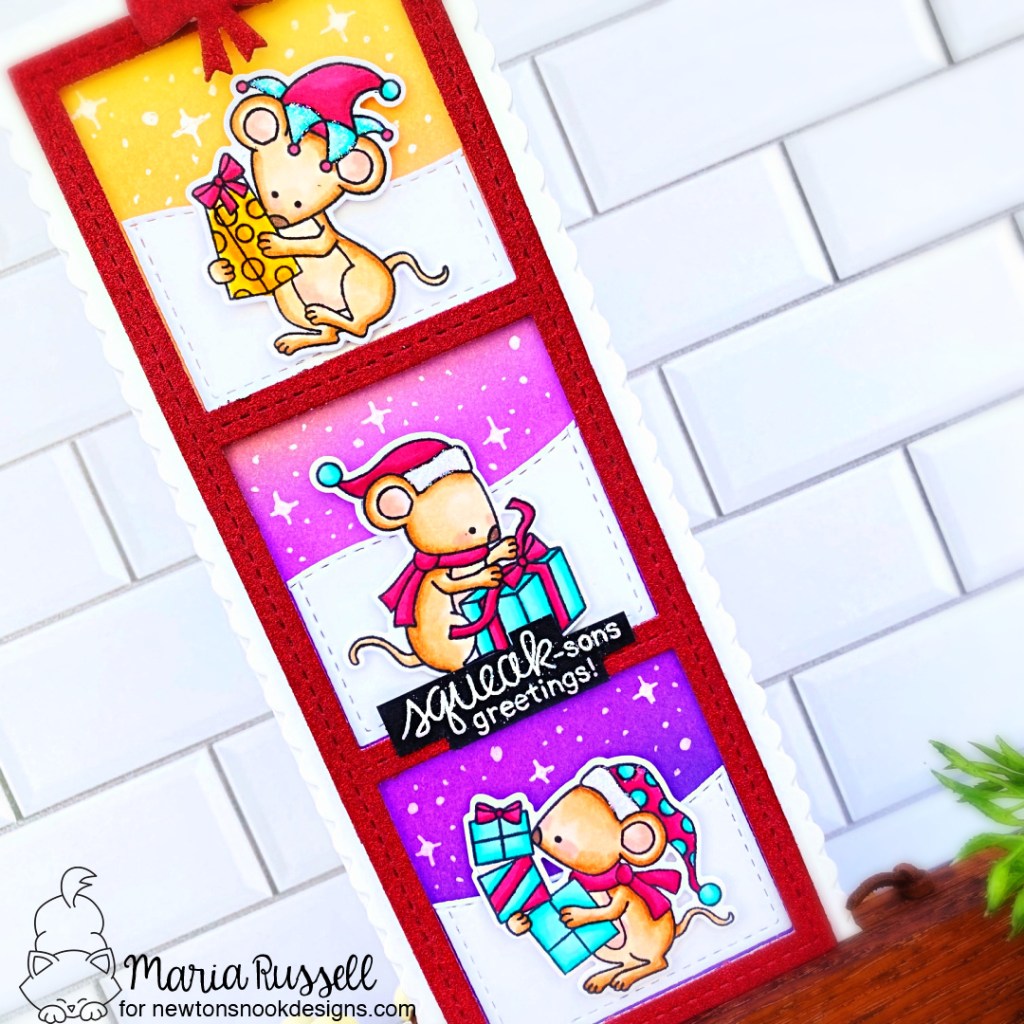
- adhere the colored images with foam adhesive for dimension.
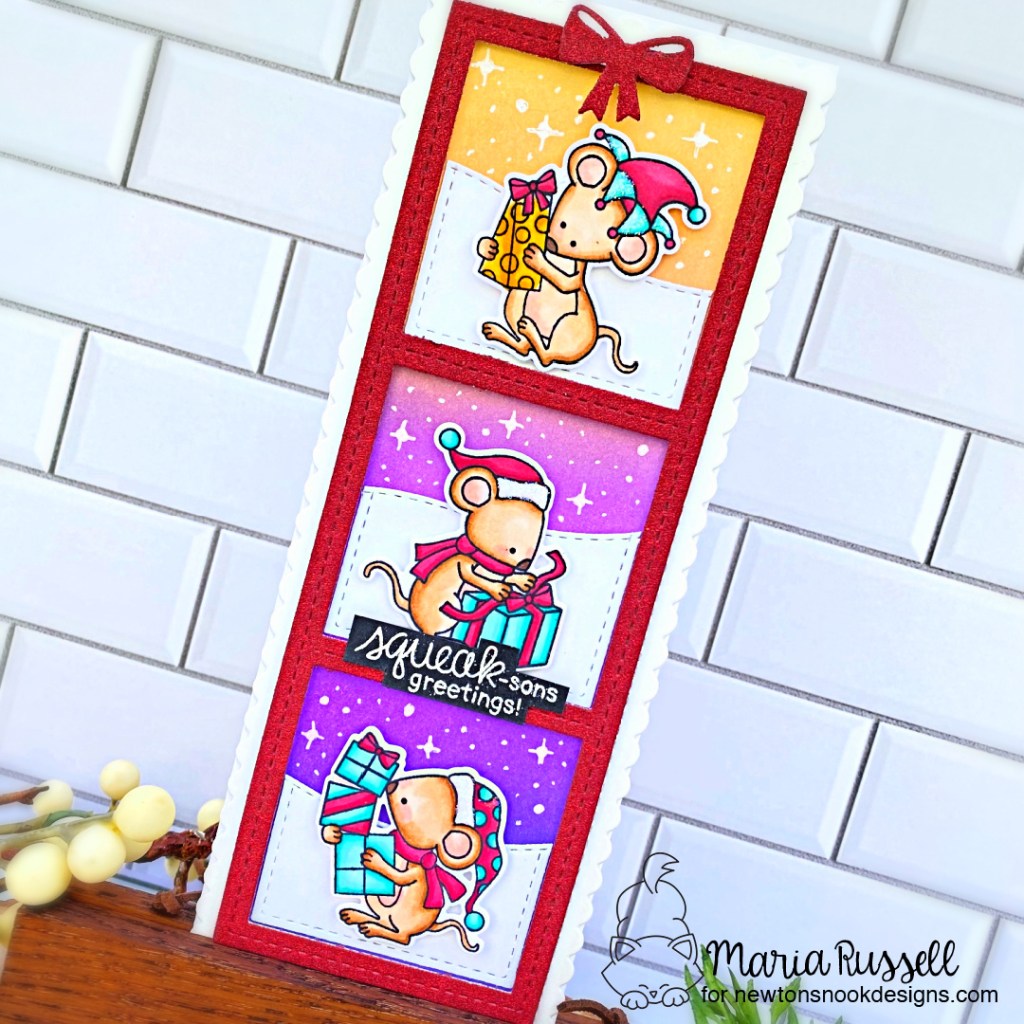
- stamp the sentiment on some black card stock with Versamark ink. Sprinkle some white embossing powder and heat-set with the Heating Tool/Gun. Adhere the sentiment with liquid glue.
- die-cut the red bow using the bow die from the Pines & Holly Die Set and adhere on the card.
- finish the card design by using some white gel pen to add some dots and stars for more interest and texture.
I hope you like this card today and got inspired. Below, you will find links to the supplies used to create this project. Where available, I use compensated affiliate links at no extra cost to you. Your support helps me to keep bringing you new projects and inspiration. Thank you for stopping by, and have an amazing day!
———-SUPPLIES———-