Welcome to Therm-O-Web and Newton’s Nook Designs collaboration. This week, NND and TOW are partnering for a fabulous inspiration week! All week long, both design teams will be sharing ways to use Therm O Web products with Newton’s Nook Designs stamps! There are prizes too! Read all the way to the end of this post to find out how you can win!
I am super excited to share a few cards with you today! I was able to use all of the products without wasting the negative foil pieces and they are amazing!
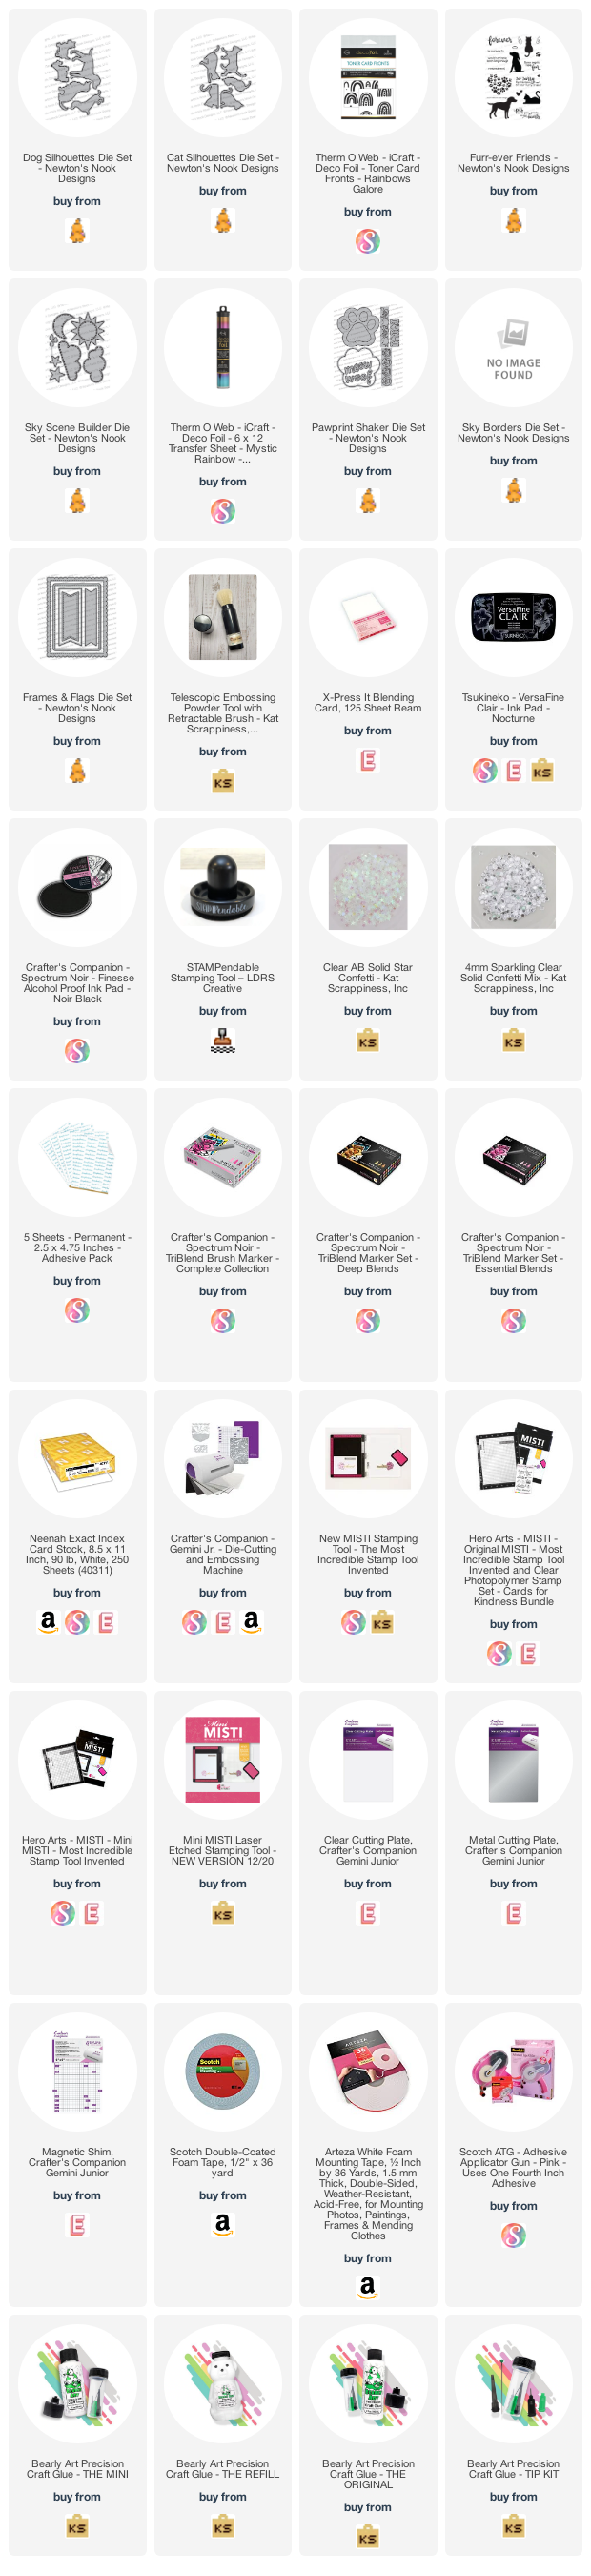
For all the cards today, I’m showcasing the Dog Silhouette Die Set, Cat Silhouette Die Set, along with the Furr-Ever Friends Stamp Set, Sky Scene Builder Die Set, Clouds Stencil, Sky Borders Die Set, Frames and Flags Die Set, Pawprints Shaker Die Set with Therm-O-Web’s DecoFoil A2 Toner Card Fronts Rainbows Galore, DecoFoil Transfer Sheets Mystic Rainbow and iCraft Easy-Cut Adhesive Sheets.
NOTE: The Cat Silhouettes and Dog Silhouettes Die Sets are temporarily out of stock but Newton’s Nook Designs will be getting more in very soon! If you’d like to be notified when they are back in stock, just sign up on the product pages to be notified!
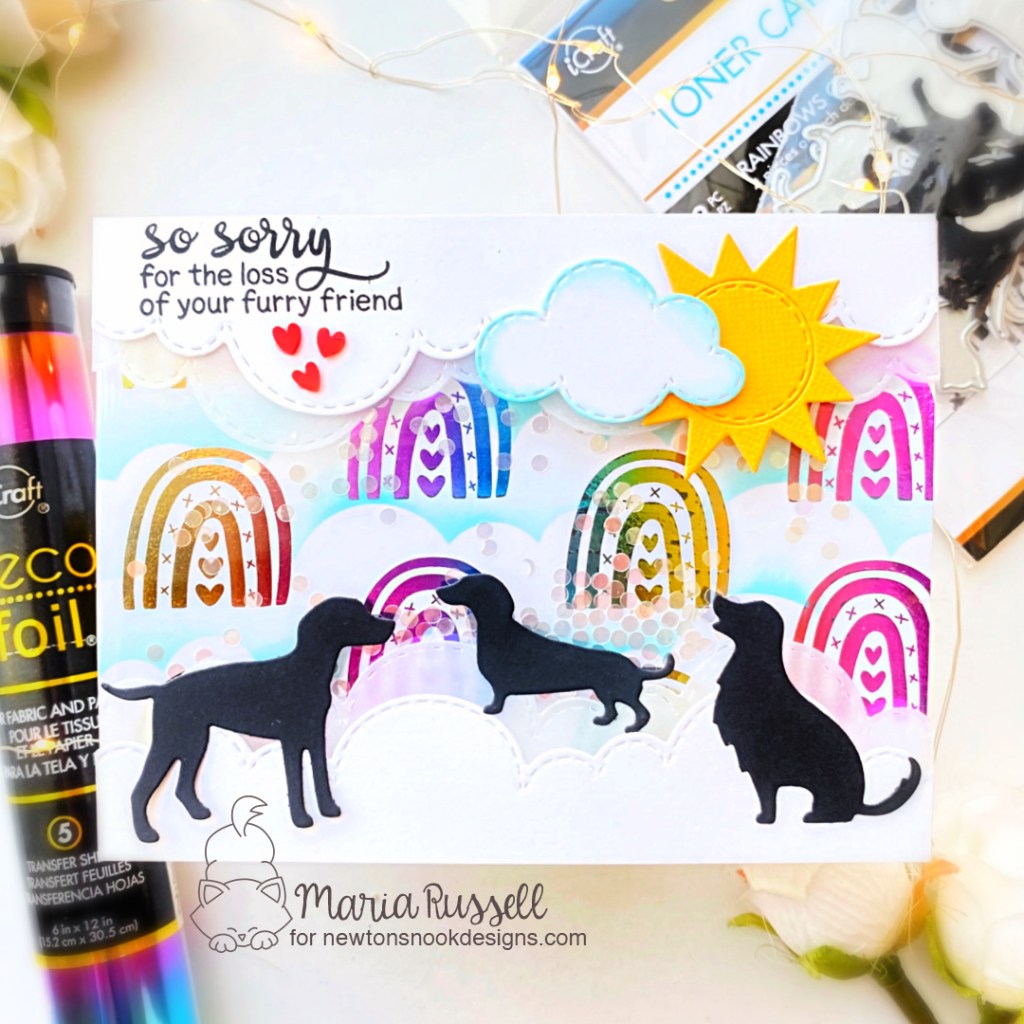
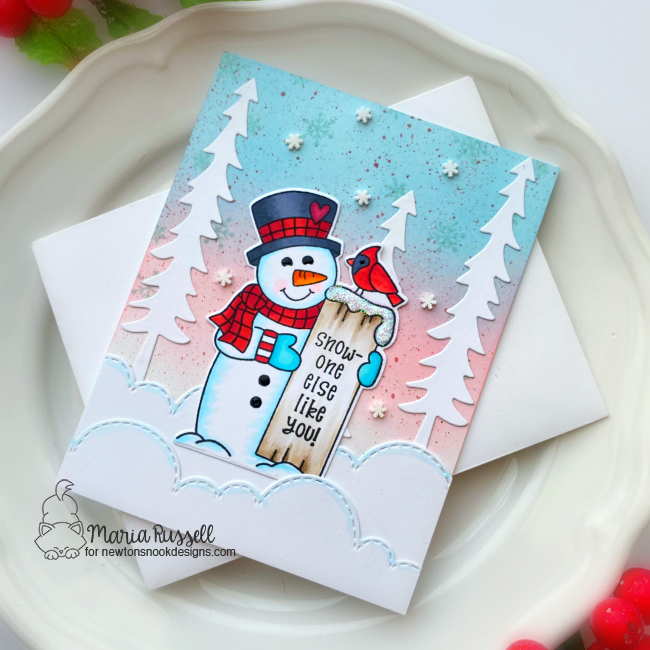
The first and second card are pretty much identical in design but I changed the silhouettes and the sentiment. Here’s how I made the card:
- die-cut the dogs and cats silhouette on some black card stock.
- die-cut the clouds border using the Sky Borders Die Set a few times on some Vellum and Neenah Solar White Card Stock.

- die-cut cloud and sun using the Sky Scene Builder Die Set. Use ink blending tool and some light blue dye ink to sponge the edges of the cloud for added texture.
- use Therm-O-Web’s DecoFoil A2 Toner Card Fronts Rainbows Galore and the DecoFoil Transfer Sheets Mystic Rainbow and run it through the laminator to foil both backgrounds.
- ink-up the foiled backgrounds using some dye inks and the Clouds Stencil.
- cut some leftover stamp packaging to create the shaker well and use adhesive to close all three sides of the flaps, then add the shaker element, and close the fourth flap using adhesive.
- adhere the foiled shaker background onto an A2-size notecard.

- adhere both white and vellum cloud border die-cuts with liquid glue and foam-mount the die-cuts onto the card for added dimension.
- adhere the the rest of the die-cuts onto the card with liquid glue.
- stamp the sentiment using black ink.
- finish the card design by adhering some red hearts for added interest.

Since I have two negative foil pieces from the cards above, I did not want to waste them so I used the iCraft Easy-Cut Adhesive Sheets and added them to some A2-size Neenah Classic Crest Solar White Card Stock. I die-cut both backgrounds using the scallop die from the Frames and Flags Die Set and adhered the same on some black A2-size notecards.

I die-cut the paw prints using the Pawprints Shaker Die Set with some black and white card stock and foam-mounted these pieces on the card for added dimension. I finished the card design by stamping the sentiment on the card.

I am so happy that I was able to make a few cards without wasting any foil. Have you tried doing the same technique? I hope you like my cards today and got inspired.
Would you like to win a $40 store credit to Therm O Web or to Newton’s Nook Designs? Visit the Newton’s Nook Designs blog and the Therm O Web Blog for a chance to win! Both companies will be giving away a prize this week! Have an amazing day!
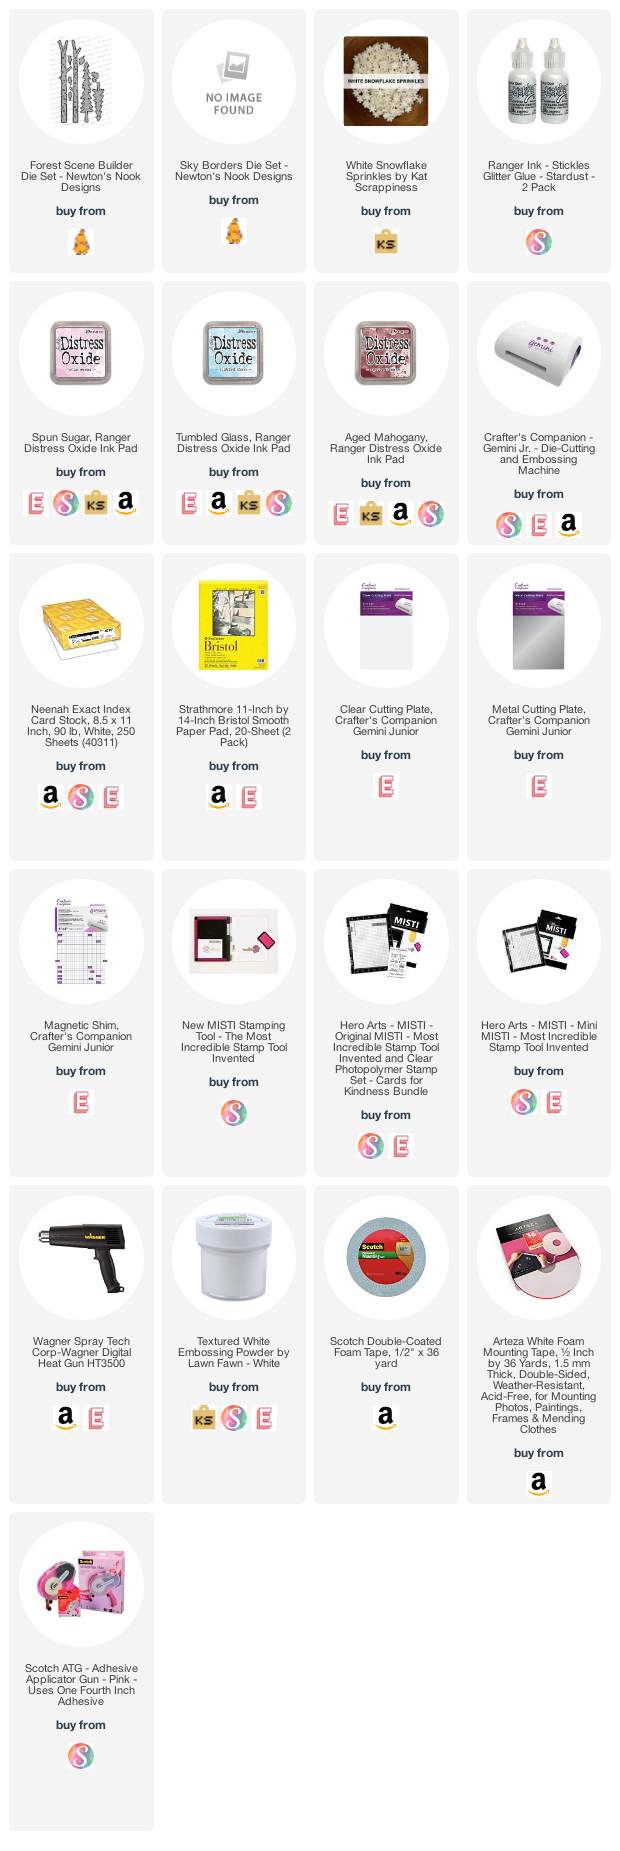
———SUPPLIES——