Gone Fishing’ Scrapbook Layout

I hope everyone’s having a great week.  Maria here on the blog with you today!  I am sharing a scrapbook layout, showcasing the Great Outdoors Fishing Paper Crafting Kit with I’d Rather be Fishing 3D stickers.  I have always wanted to use this Kit but never had a chance until now.


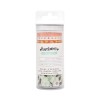
Here’s what I got to play with.  This Great Outdoors Fishing Paper Crafting Kit is a must-have!  It also comes with a 12×12 sticker sheet!


IMG_8415


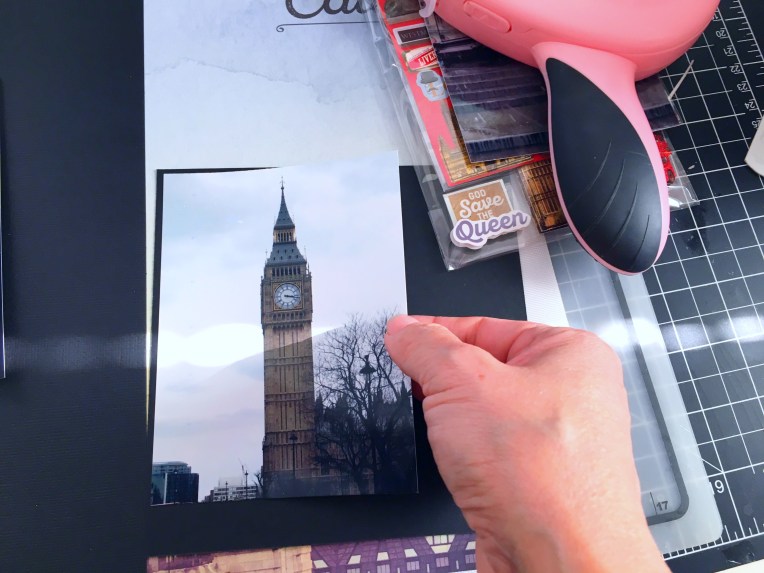
I started out by printing my photos using my Canon Selphy Photo Printer.  I love this printer so much and I think every scrapbooker should own one.


IMG_8417


I chose the paper that I wanted to use for my layout and started planning where I wanted my photos to go.  I always do this step first every time I work on a scrapbook layout before I start adhering them onto the paper.  This gives me time to adjust them and plan on what embellishments I needed to finish my designs.


IMG_8416


I matted my photos with black card stock and adhered them to my layout.


IMG_8418


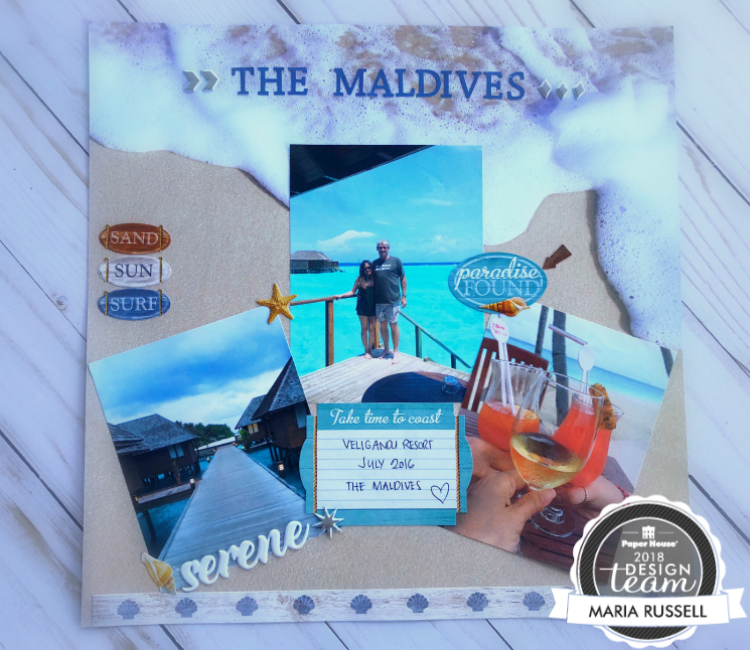
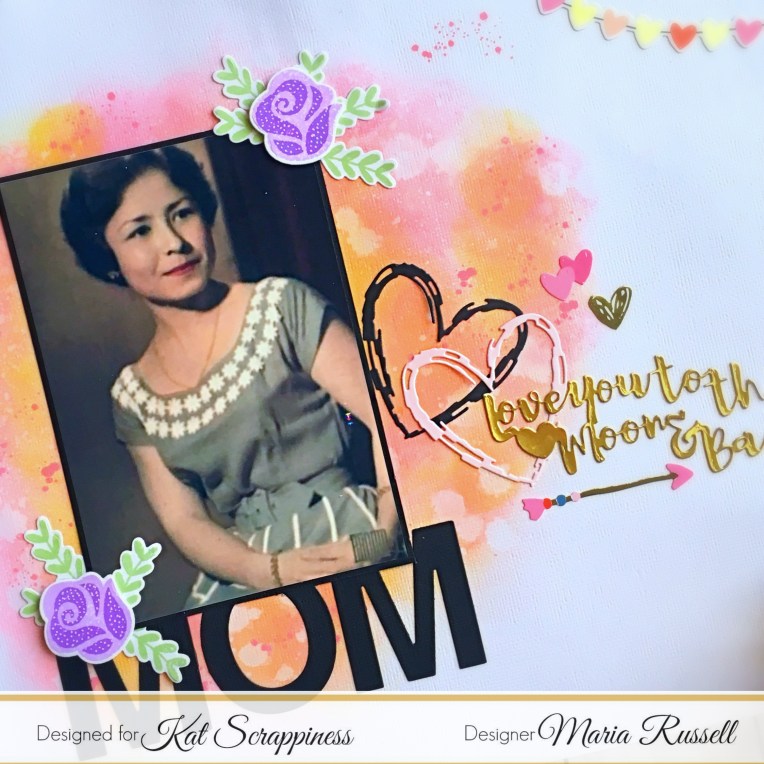
I started adding the embellishments to my layout and added the alphabet stickers that are included in the Great Outdoors Fishing Paper Crafting Kit.


IMG_8419


I think a scrapbook layout should always tell a story.  Without it, it’s just a photo album!  I always like to write the story with my own handwriting as it gives it a more personal touch.  Hopefully my children will be taking care of these books when I’m gone, and they will be able to pass it on to my future grandchildren.


PHPGoneFishin1A


Did I mention I love the stickers from the I’d Rather Be Fishing 3D Stickers?   That little fish looks so realistic!


PHPGoneFishin1C


I absolutely LOVE the alphabet stickers that are included in the kit.  The title made a bold statement on my layout.

PHPGoneFishin1D


Here’s the whole layout:


PHPGoneFishin1


I hope you guys enjoyed and got inspired today.  Please visit http://www.paperhouseproductions.com to check out all the supplies I used and listed below.  Have a wonderful day!


SUPPLIES:  The Great Outdoors Paper Crafting Kit and I’d Rather Be Fishing 3D Stickers

Love You to the Moon & Back Scrapbook Layout

Hello my crafty friends!  I am super excited to share my project today.  Mother’s Day is fast-approaching and I wanted to create a scrapbook page layout, showcasing the Large Alpha dies, the “Love You to the Moon & Back” script sentiment dies by Kat Scrappiness, plus other supplies available at the shop.

I started by inking my 12 x 12  white card stock with my ink blending tool and my Worn Lipstick and Fossilized Amber distress oxides.    I spritzed my background with water and dabbed it with my paper towel.  I love the look of distress backgrounds especially on white card stock.

IMG_7253

I matted my mom’s photograph on Gina K Designs Black Card Stock.  I also stamped my flowers and leaves using the Lawn Fawn Fab Flowers 4 x 6 stamp set.  I die-cut my images using the Lawn Fawn Fab Flowers dies.

IMG_7254

Using the Large Alphabet Dies, I die-cut the letters M-O-M on Gina K Designs Black Card Stock.   I adhered the die-cut pieces onto my layout using my Nuvo Deluxe Adhesive, lining it up with my T-square ruler to make sure that they are evenly spaced and perfectly aligned.

IMG_7255

I adhered my mom’s photograph onto my layout.  To finish my design, I added the rest of my embellishments.  Here is my layout:

KatScrapMomLayout

Here’s a little close-up!  Isn’t she beautiful?!  My mom is an amazing, strong, beautiful person, inside and out.  She has taught me how to become independent, and be able to do things that I couldn’t even believe it’s possible.  I am such a lucky person to have a mom like mine.  I love her to the moon and back!

KatScrapMomLayout2

I hope you like my project today and got inspired.  I have listed and linked the supplies I used below.  Don’t forget to use my coupon code “MARIA10” for 10% off of your order at Kat Scrappiness.  Have a wonderful day and happy crafting!

—————-SUPPLIES————–


London Calling Scrapbook Layout Destination Stickers with Paper House

Maria Russell Circle
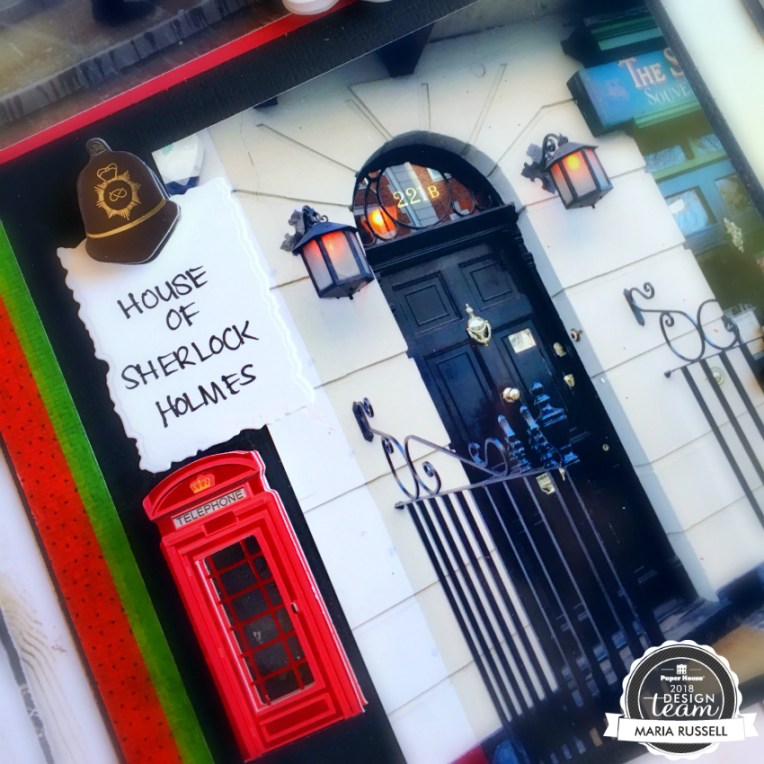
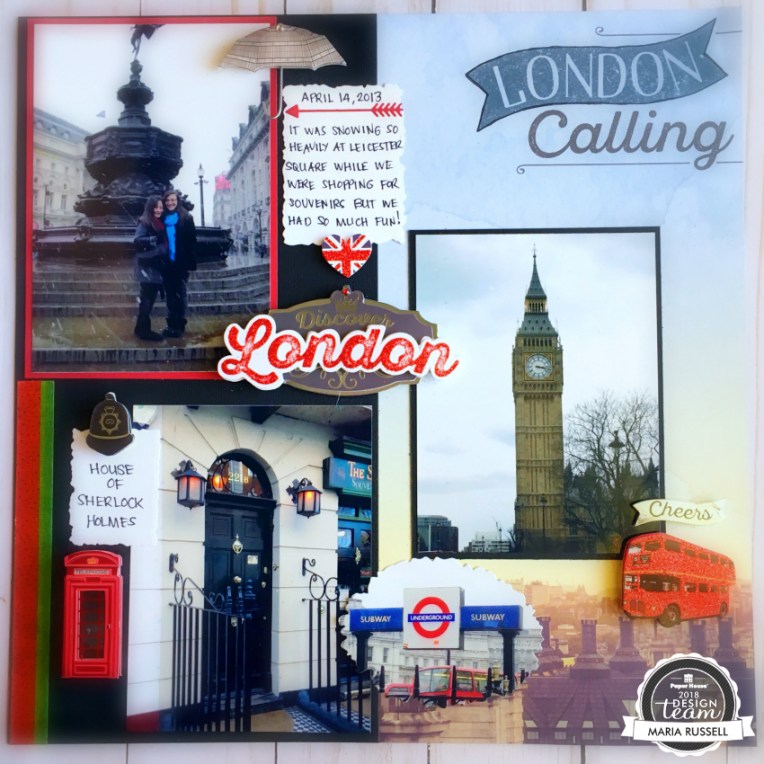
Hello my crafty friends!  Maria here with you today and I am back to share with you a scrapbook layout, showcasing the Discover London 3-D Sticker Pack and the London Calling 12″ Double-sided Scrapbook paper.  I love that there are endless possibilities to mix and match the coordinating travel sets, especially the Destination Stickers.  I really love the 3d stickers!IMG_6677

I started out by printing my photos using my Canon Selphy photo printer.  I cut them to size for my layout.

I decided to use the London-Calling 12″ Double-sided scrapbook paper to match the Discover London 3D Sticker pack.  I cut a 6 x 12 black card stock to cover half of the scrapbook paper to have a plain base to showcase my photos and the sticker.

IMG_6678

I also used another black card stock to mat my Big Ben photograph and ground it a little so that it doesn’t look like it’s floating in the air.

IMG_6679

I used another red card stock to mat the photo of my daughter and I standing in Leicester  Square while it was snowing, and journaled a little of how the day was going, where we were, and the date.

IMG_6680

Here’s a close-up with the amazing Destination 3D sticker, and that England heart flag is super cute!

PHPLondon1

I thought it’s also appropriate to include the “Cheers” and the Red Tour Bus, also included in the Discover London 3D Sticker pack.

PHPLondon2

My daughter and I are huge fans of Sherlock Holmes so naturally, we had to see where he lived and thought that the Police Cap and the Red Telephone Booth would be perfect to showcase this spot.

PHPLondon3

I wish I can share more photos and use more stickers but I guess I will have to share it on another post.  We have definitely enjoyed touring London and this London-Calling 12″ Double-sided scrapbook paper with the Discover London 3D Sticker pack are the perfect combination to decorate my layout.

PHPLondon4

I hope you all enjoyed this project and found some inspiration.  Please don’t forget to visit www.paperhouseproductions.com to find the supplies that I used.  They are also listed and linked below to make it easier for you.  Don’t forget to use the coupon code “PH18MARIA” to get 15% off your order. Have a wonderful day!
SUPPLIES USED:  London-Calling 12″ Double-sided scrapbook paperDiscover London 3D Sticker pack

Maria Russell Signature Logo

At The Beach Scrapbook Layout

Hello my crafty friends!  I am so excited to share my very first post for the Paperhouse Productions and today and I am sharing a very simple scrapbook layout showcasing the At The Beach 12 x 12 Paper Crafting Kit.  This pack is AMAZING as it contains card stock and puffy stickers to embellish, plus other ephemeras to decorate my project.  I thought it’s perfect to showcase the photos that I took while my husband, daughter and I were in The Maldives in July of 2016.


I started out by printing a couple of my photos with my colored printer and cut these photos down to size.    When I do scrapbook layouts, I kind of just go with what I feel that day and I don’t overthink about making sure the lines and photos are all perfect!  It is after all, a handmade project!


I adhered the photos with my favorite adhesive and added some of the embellishments.  I LOVE the puffy stickers that were included in At The Beach Paper 12 x 12 Paper Crafting Kit.  Here’s what it looks like:


PHPBeach1


I also added the card stock stickers and journaling cards that are included in the pack:


PHPBeach2


I adhered the alphabet stickers and the rest of my embellishments to finish my design. Here’s what it looks like:


PHPBeach3


I hope you all got inspired today!  Don’t forget to check out the beautiful paper products available at www.paperhouseproductions.com.  I also listed and linked the supplies that I used below.  Have a wonderful day!

Products used:  At The Beach 12 x 12 Paper Crafting Kit


Memo Board & Scrapbook Layout with 1Canoe2/American Crafts & Xyron

Hello my crafty friends! I am back today to share with you two projects that I recently created showcasing a collection of beautiful papers and ephemera from 1Canoe2 and American Crafts. A huge “thank you” to 1Canoe2American Crafts and Xyron for all of the amazing products we got to play with. They are extremely beautiful!

For my first project, I created a very simple (but useful) Dry-Erase Memo Board using an inexpensive frame from Ikea. Here are the items that I used:

IMG_4682

I started out by cutting the paper to fit inside the frame. I particularly chose this frame because it has a magnetic closure inside so I can change the paper/photo for each season.    To decorate the inside and the outside of the frame, I chose the word Hello, the arrow, butterfly and the flowers from the Hazelwood Collection Cork Die-cut shapes and ran it through my Xyron Creative Station Lite, using a repositionable adhesive. This is the best way to decorate a frame so that nothing is permanent and you can change the embellishments for every season.

To finish off the design, I decorated the outside of the frame using the washi tape and adhered the flowers. Here’s the first photo:

Xyron1Canoe2Proj2-2

Here’s when I wrote my note using a whiteboard marker:

Xyron1Canoe2Proj3

For my second project, I wanted to create a 12 x 12 page layout of my trip to The Maldives with my husband last July. I am showcasing the Sweet as Honey paper from the Hazelwood Collection, and my newly acquired Distress Oxide Inks.

IMG_4728

I started out by cutting pieces of the honeycomb with my precision scissors. Using a plain 12 x 12 card stock and my blending foam tool, I distressed my background with the Worn Lipstick and Spiced Marmalade distress oxide inks. I love this color combination on white background.

I used my watercolor brush to splatter some water on my card stock to get the distress look. Using a paper towel, I dabbed it onto the cardstock to lift the color. It turned out really beautiful! To add a little bit of whimsy and color, I used a stamp from my stash adding hot pink little dots to the distressed background.

To finish my design, I adhered the honeycomb paper to my layout with my Xyron mega tape runner. I then ran the cork embellishments through my Xyron Creative Station Lite using a permanent adhesive.  I love using Xyron adhesives to my scrapbook layout because they are acid-free.

Here’s my finished layout:

Xyron1Canoe2

I hope you got inspired today and like my projects. I have listed and linked the supplies that I have used below.  Please visit the 1Canoe2 website to shop for amazing products.   Here’s the link to their shop: https://1canoe2.com

—————-SUPPLIES—————–