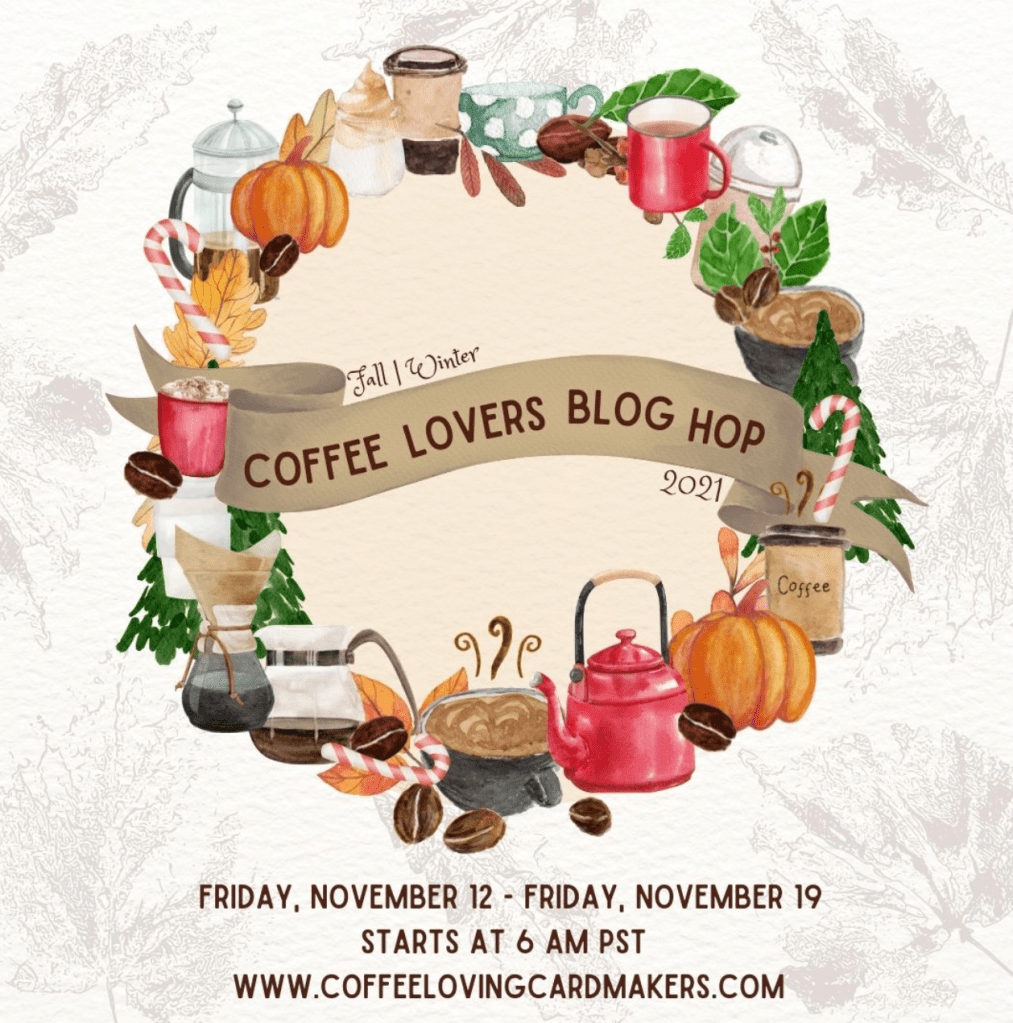
The 2021 Fall/Winter Coffee Lover’s Blog hop is here and I have another card to share with you. I feel that LDRS Creative should have a presence in this hop. I have been a part of the LDRS Creative Design Team for quite awhile now and I truly LOVE every single product that they produce. You guys should familiarize yourselves about this company because they are AMAZING!
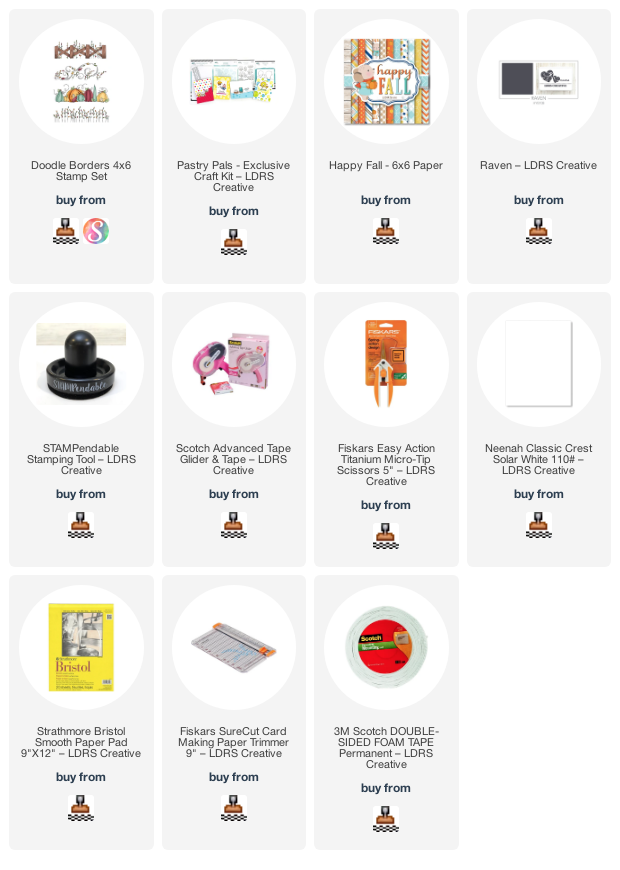
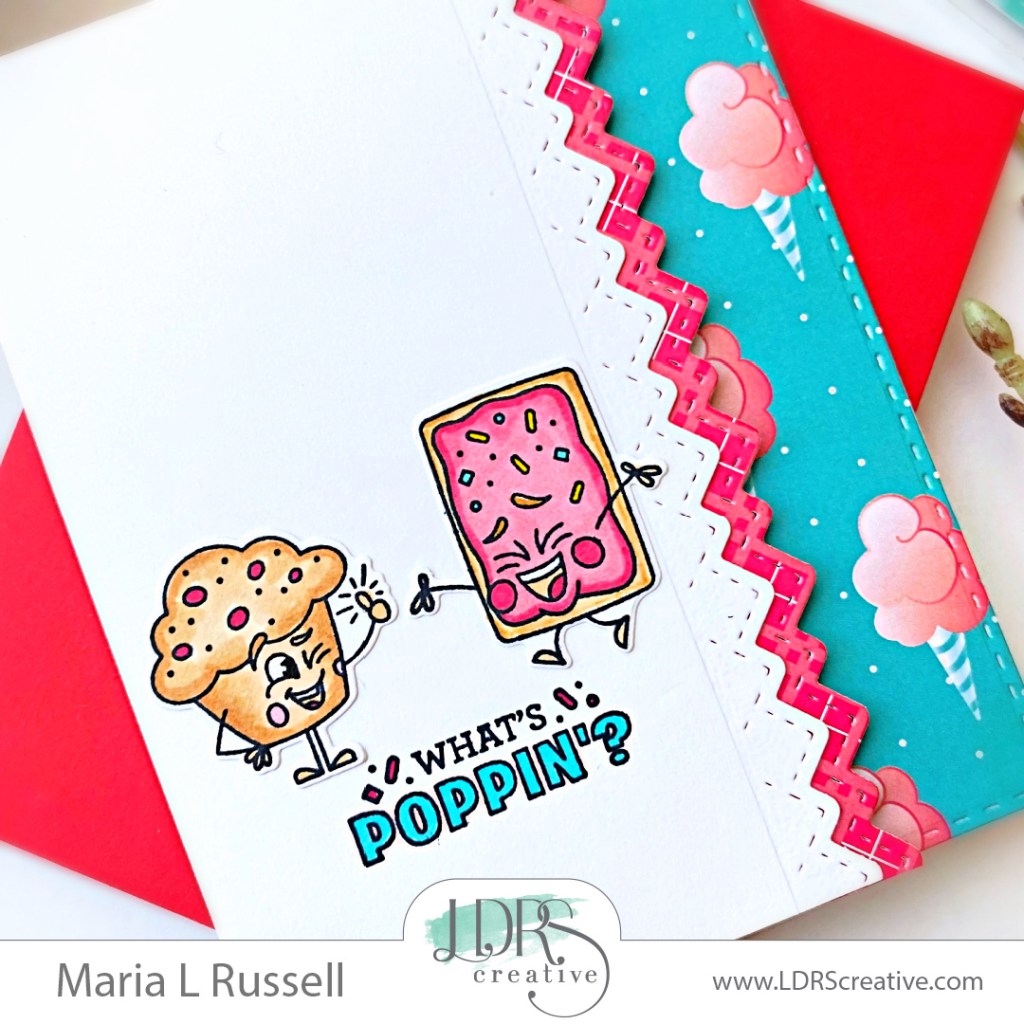
For my card today, I am showcasing the Cozy Cuppa stamp set and coordinating dies, Doodle Border 4×6 stamp set along with the Offset Slimline Stack-ables Die Set that is part of the Pastry Pals Craft Kit and the Happy Fall 6×6 Paper Pad.

Here’s how I made this card:
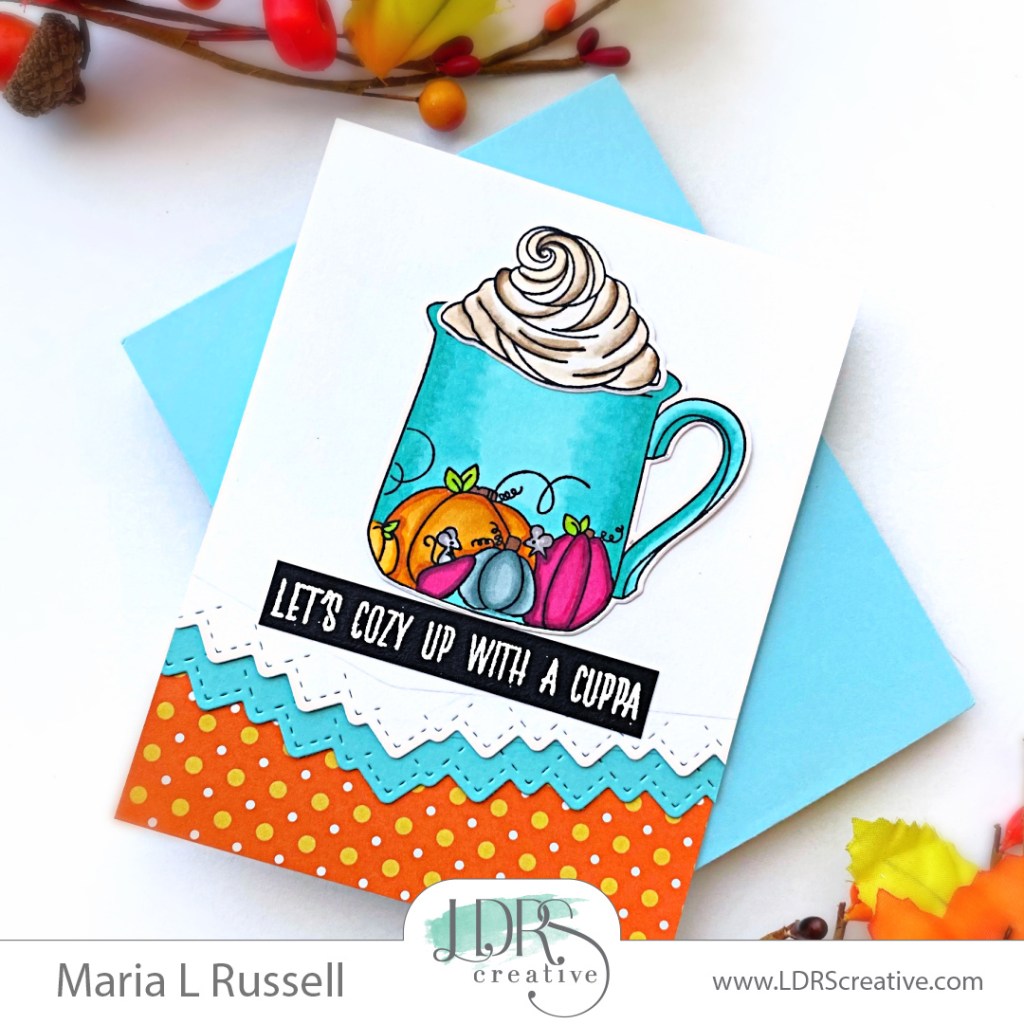
- Stamp the coffee cup image and the whipped cream from the Cozy Cuppa Stamp Set.
- Use Post-it tape to mask off the side of the cup and stamp the pumpkin images from the Doodle Border stamp set.
- Color the images with alcohol markers.
- Use Cozy Cuppa Die Set to die-cut the coffee cup and the whipped cream.
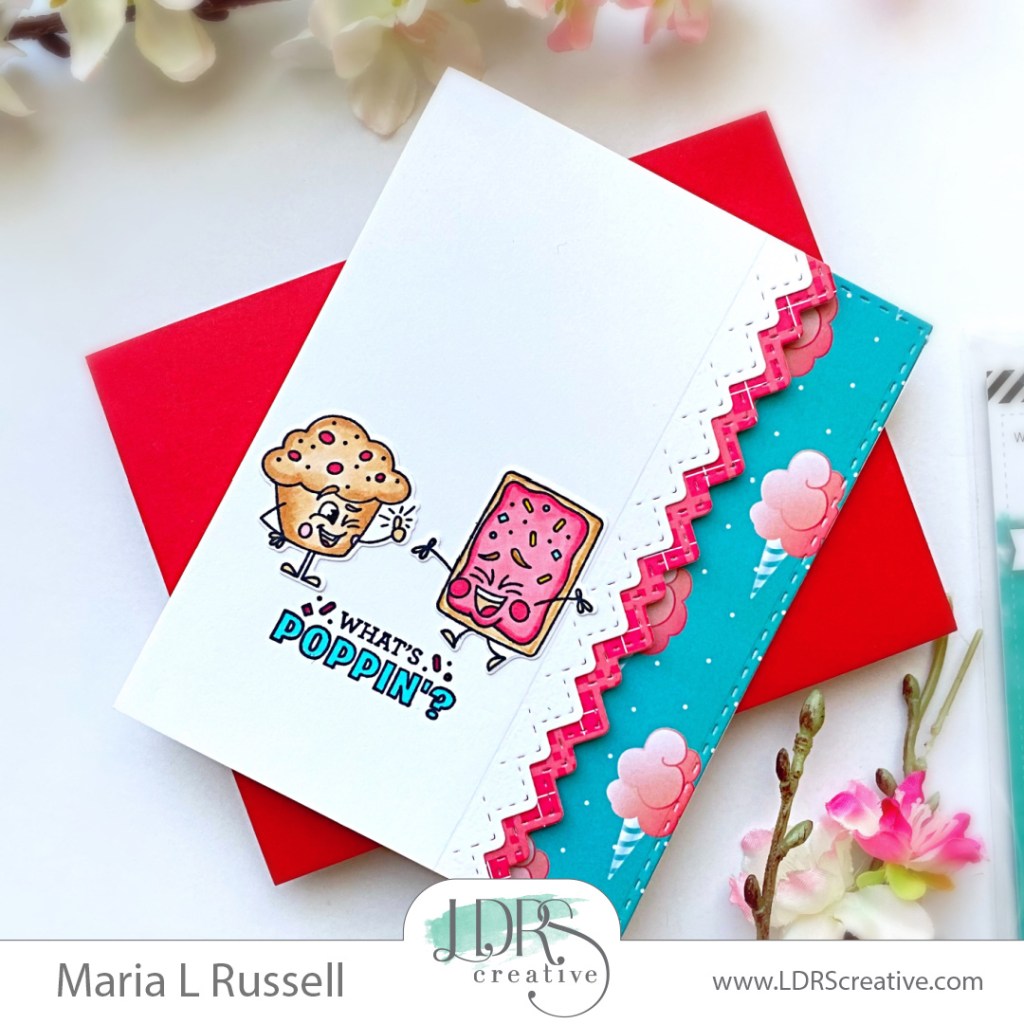
- Die-cut some Neenah solar white and blue card stock using the Offset Slimline Stack-ables Die.
- Adhere the patterned paper from the Happy Fall Paper Pad on an A2-size notecard.

- Adhere the two border edge die-cuts to the card base with tape runner.
- Add the focal image with liquid glue.
- Finish the card design by adding the sentiment that was heat-embossed on black card stock.
Easy, peasy, right?! I really LOVE how this card turned out and I hope you do as well. The supplies I used are listed and linked below. Thanks for stopping by!
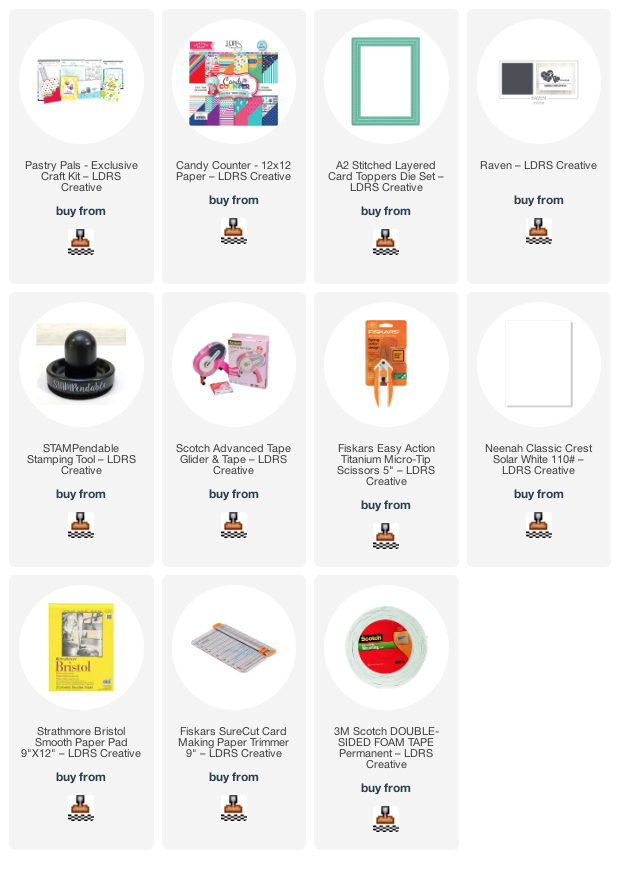
——–SUPPLIES——–