Have you ever gone to the Dollar Store and and got disappointed with the quality of the decor? As crafters, we have a ton of supplies and with just a little patience and imagination, you can create your own cute decorations for Halloween. It has been awhile since I created some DIY projects so here are a couple that you can make on your own. If you don’t have the dies that I used for my projects, you can always get stickers and other supplies from the craft store.
For my projects today, I am using my favorite tool, the Xyron Creative Station Lite and my favorite Xyron Mega Tape Runner with products that I already have from my stash.
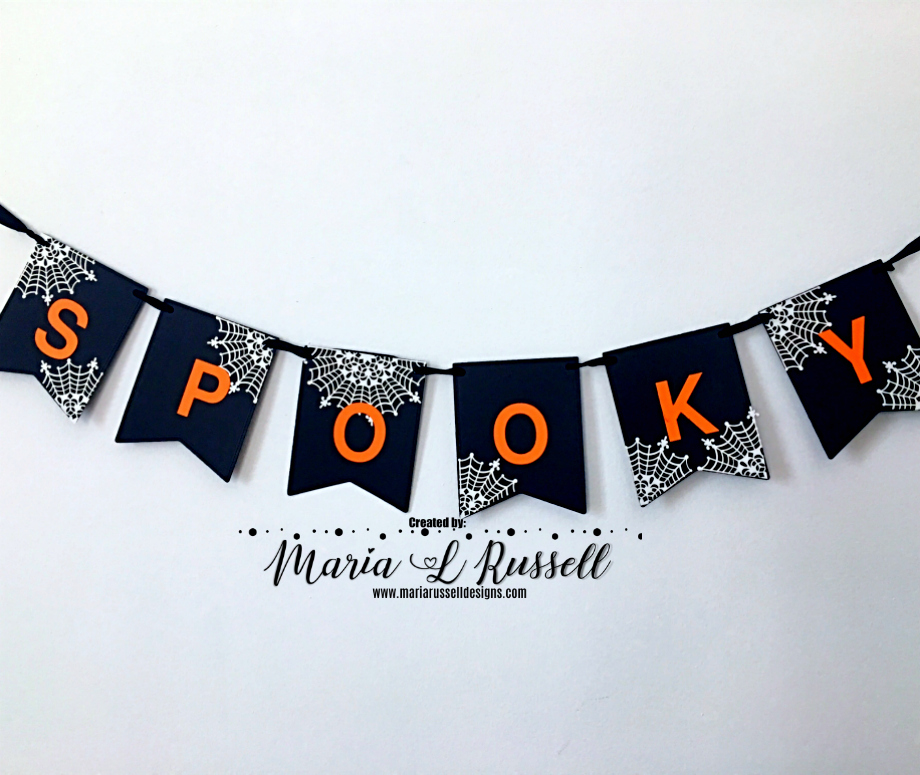
First up, the Halloween banner. I started by die-cutting the letters “SPOOKY” using the Large Alphabet Dies by Kat Scrappiness. I positioned the letters and run it through my Xyron Creative Station Lite to create the sticker. I die-cut the banner six times with some black card stock using my Lawn Fawn banner die. I used some spider web” die-cuts that I’ve had for years and adhered them onto the banner.

Since the letters are now very sticky, they were so easy to adhere to the banner.
I used some black seam binding ribbon to create the banner and hung it on my wall. Here’s what it looks like:
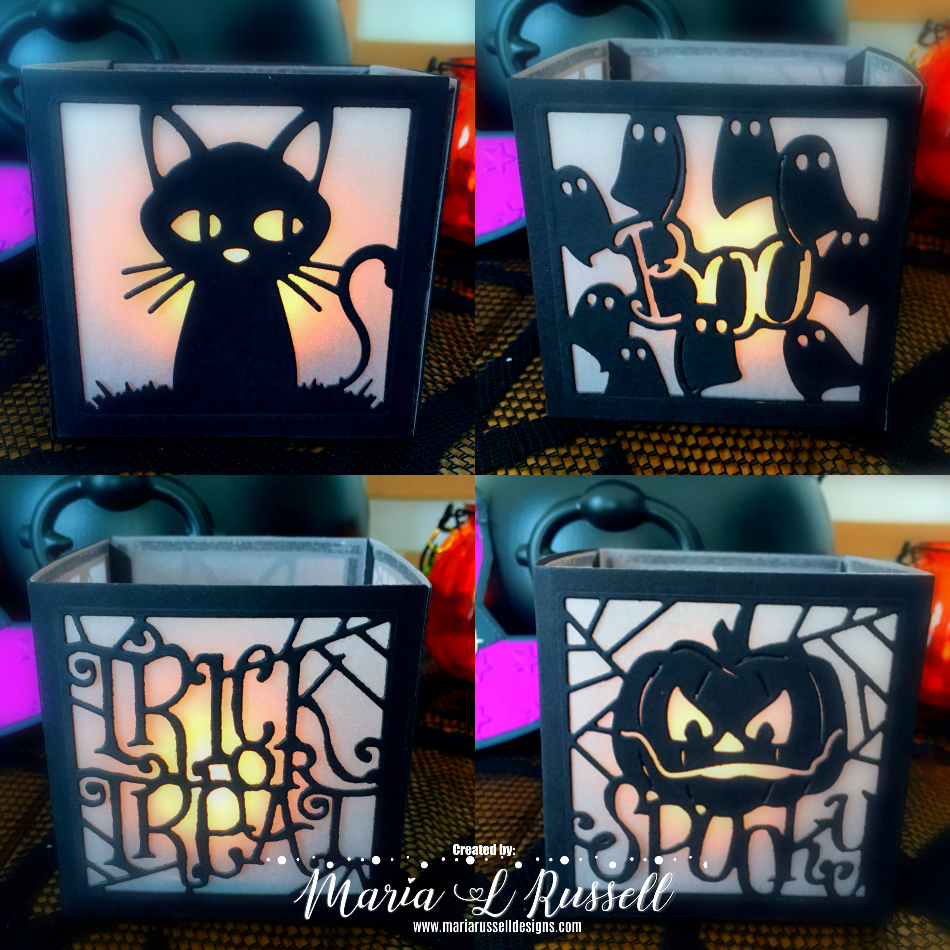
For my second project, I wanted to create some luminaries using a Spellbinder die that I have in my stash for a few months now. I couldn’t wait to create this project. To begin, I die-cut some black card stock and some vellum using the dies. I added some adhesive using my Xyron Mega Tape Runner.

I adhered the vellum using the tape runner and assembled the luminary. Since this is made entirely out of card stock, I used an LED tea light candle to illuminate this piece. This luminary has four designs and I really LOVE how it turned out. Here’s what it looks like:

Lastly, I created a handmade Halloween card to send to my best friend. I die-cut the main card base using the LDRS Creative Build A Card – Spooky Hat with some black card stock. I die-cut the second piece with some purple card stock and used an embossing folder to add some dimension.

I adhered the pieces using my Xyron Creative Station Lite and my Xyron Mega Tape Runner. Here is the card:

I really LOVE how this one turned out. Using my Xyron Creative Station Lite made it easier for me to adhere the little pieces together. Here’s a little close-up:

I hope I have given you some great inspiration to create your own DIY decor and handmade cards. The supplies I used are listed and linked below. Have an amazing day and happy crafting!
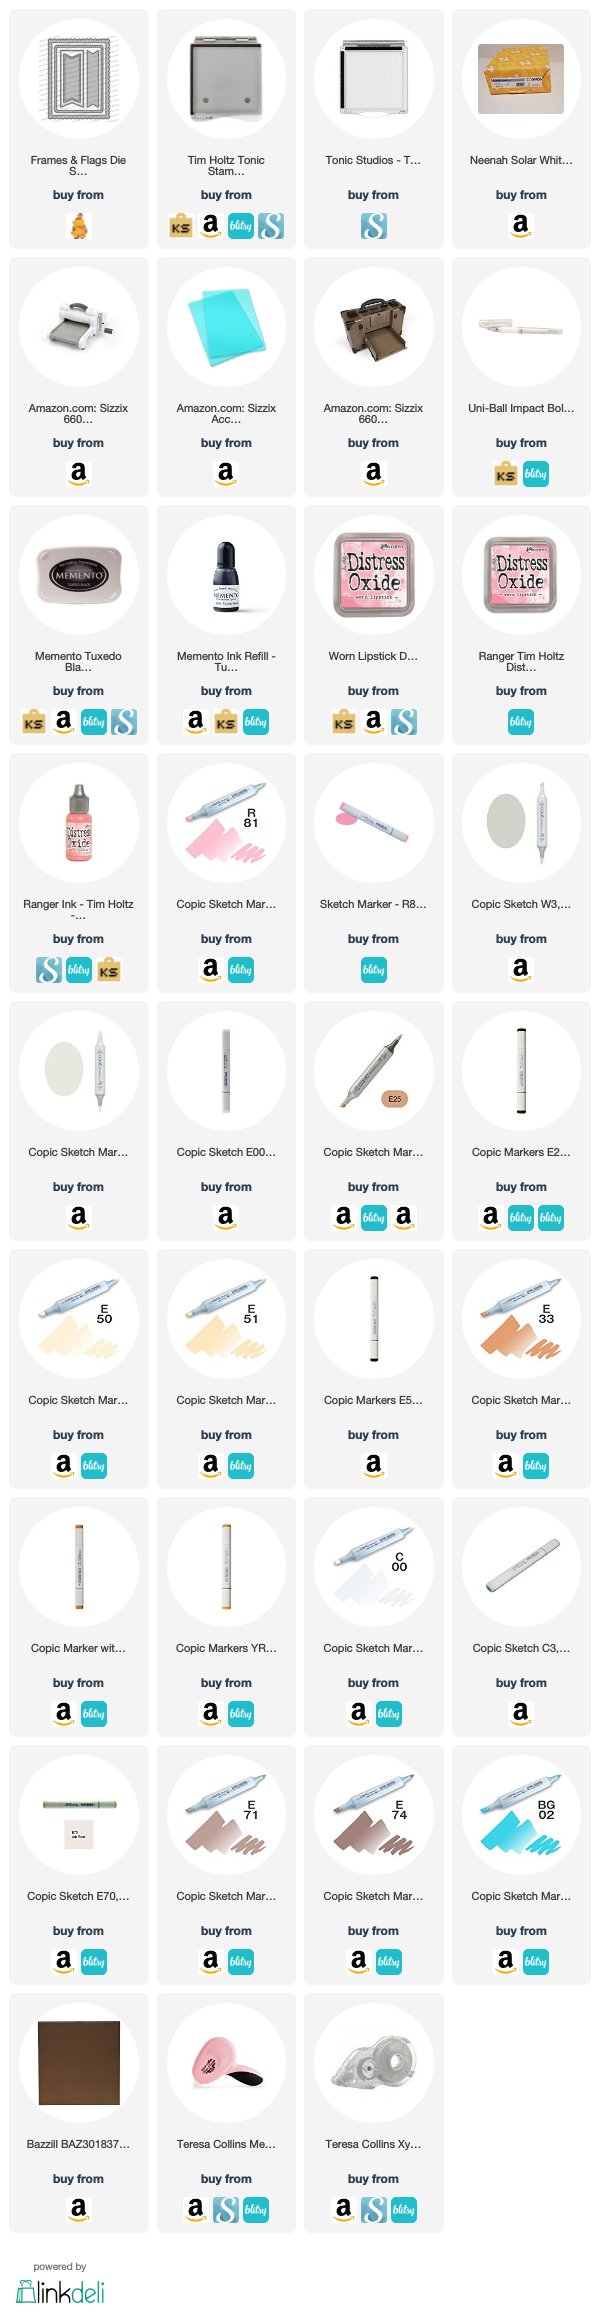
———–SUPPLIES———–