A Happy Hello with LDRS Creative

Hello everyone. It’s been awhile since I posted on this blog. Hubby and I are settling really well back home in Florida and have been really busy with home renovations! I didn’t realize retirement life can be super busy!

For today’s post, I wanted to create a simple but elegant card, mixing and matching old and new LDRS Creative products and I really love how this card turned out.

I started by my positioning the card stock on my BetterPress and stamped the Arches Hello Impress-ion die with Raven Hybrid ink.  I used the Arches Die Set and the Happy Hello Sentiment Die to die-cut the components and set them all aside while I worked on the background pieces.

I stamped the Joyful Blooms stamp set on some white card stock with Raven Hybrid Ink.  I used the coordinating Joyful Blooms Layering Stencils to color the image.  For reference I used Hybrid Inks in La-la Lavender, Grape Ape, Pink Tutu, Lipstick Jungle, Key Lime Pie, Olive Branch and Evergreen.  I used the coordinating Joyful Blooms Die Set to die cut the image.

Now that I have all the card components, I am ready to assemble the card.  I am using a lime green card stock as my card base.  I die-cut the white arch using the Arches Die Set and foam-mounted this piece onto my card base.  I adhered the big floral image using some glue.

I also foam-mounted my focal panel and adhered the pink flower, followed by using pop dots to elevate the “a happy hello” sentiment to finish the card design.  Easy peasy!  Here’s another look:

I hope you like this card today and got inspired.  The supplies I used have been linked within the context of this blog post.  Thanks for stopping by and happy crafting!

Cute & Simple Halloween Card with LDRS Creative

It has been quite awhile since I wrote a blog post. I was traveling back and forth for a few weeks organizing our upcoming move back to our home in the United States. Yay! I hope everyone’s been looking forward to create a few Halloween, Fall and Christmas related projects! If you are, stick around and I will be posting a lot of projects soon, along with photos of how I decorated my home for the holidays!

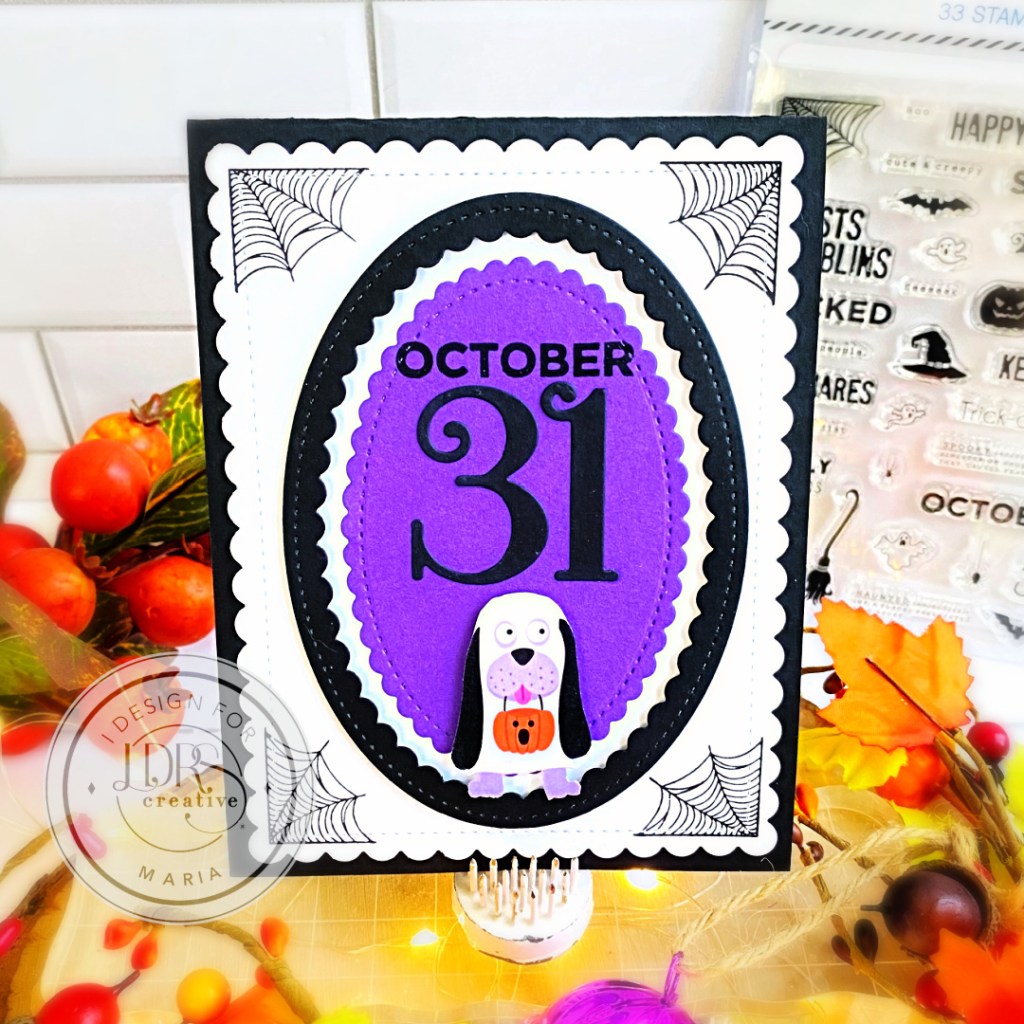
Today’s card features a mix of some newly-released stamp set and dies, with some of my old favorites from LDRS Creative.  For the project below, I am showcasing the Kringle Numbers Jumbo Dies with the adorable Wicked Stamp Set, along with the Trick or Treat Paper Pack, Delicate Stitches Scalloped Rectangle and Delicate Stitches Scalloped Oval.

I started by adhering the Scalloped background that was die-cut using the biggest die from the Delicate Stitches Scalloped Rectangle die set.  I stamped the four corners of the background using the spiderweb from the Wicked Stamp Set.

Simplicity is just really what I had in mind and die-cutting the scalloped rectangles using the Delicate Stitches Scalloped Oval on black and purple card stock were the perfect pieces to layer to create a beautiful pattern border for my card.

I added the numbers 3 and 1 using the Kringle Numbers Jumbo Dies in the center and stamped the month “October” from the Wicked Stamp Set with Raven Hybrid Ink. 

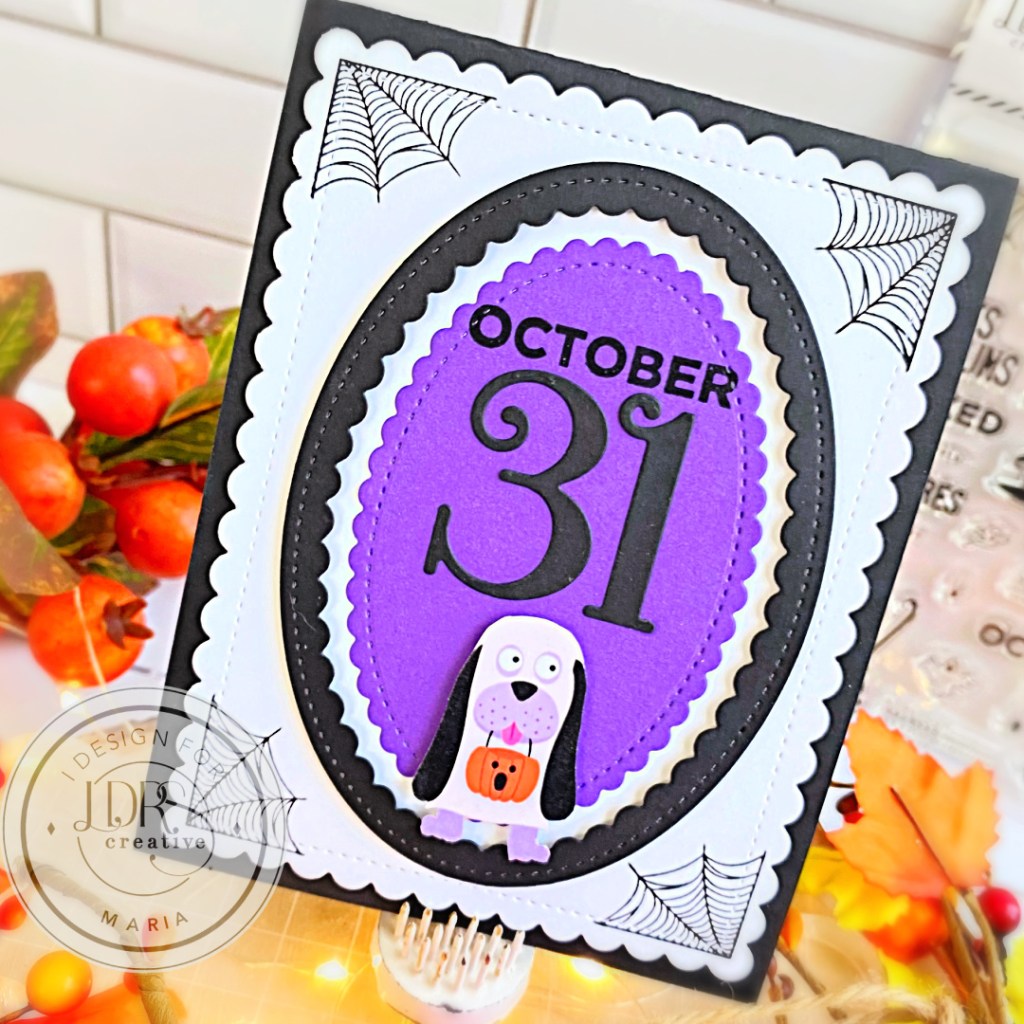
Lastly, I wanted to add this cute image of a dog trick-or-treating that I fussy-cut from the Trick or Treat Paper Pack.  This was foam-mounted onto the card for added dimension.  Here’s another look:

I hope you like this card and got inspired!  The supplies I used are highlighted and linked within the context of this blog post. Thanks for stopping by and happy October!!!!

Your Kindness Is Appreciated with LDRS Creative

Hello everyone, back here today sharing another floral card featuring the beautiful Poppy Posy Impression Dies, A2 Diagonal Stitched Layered Card Toppers Die Set and the You’re Simply the You’re Simply The Best stamp set with the matching Wave Ribbon Stack Die Set.

I started by die-cutting the pattern papers from the Lovely Watercolor 6×6 Paper Pack with the Pastel Patterns Pad using the A2 Diagonal Stitched Layered Card Toppers Die Set.  Starting by adhering the green pattern paper first onto some A2-size notecard, followed by some gold card stock, then the Lovely watercolor as the background.

I wanted to get more texture to the flowers so I used the Pastel Patterns Pad to die-cut the pink flowers, followed by the green and gold card stock using the Poppy Posy Impression Dies.  Putting this together was kind of like a puzzle, adding some foam-adhesive on the back layer for added dimension and adhered onto the background.

The last step was to add the sentiment.  This was done by stamping the You’re Simply the You’re Simply The Best stamp set with Watermark Embossing Ink on some black card stock and heat-set with the heating tool with White Embossing Powder.  Die-cutting the sentiment strips using the Wave Ribbon Stack Die Set and adhered onto the card with glue.  Easy, peasy!  Here’s another look at the card:

 I hope you all like this card and got inspired!  The supplies I used are highlighted and linked within the context of this blog post. Thanks for stopping by and happy stamping!
Thinking of You Always with LDRS Creative

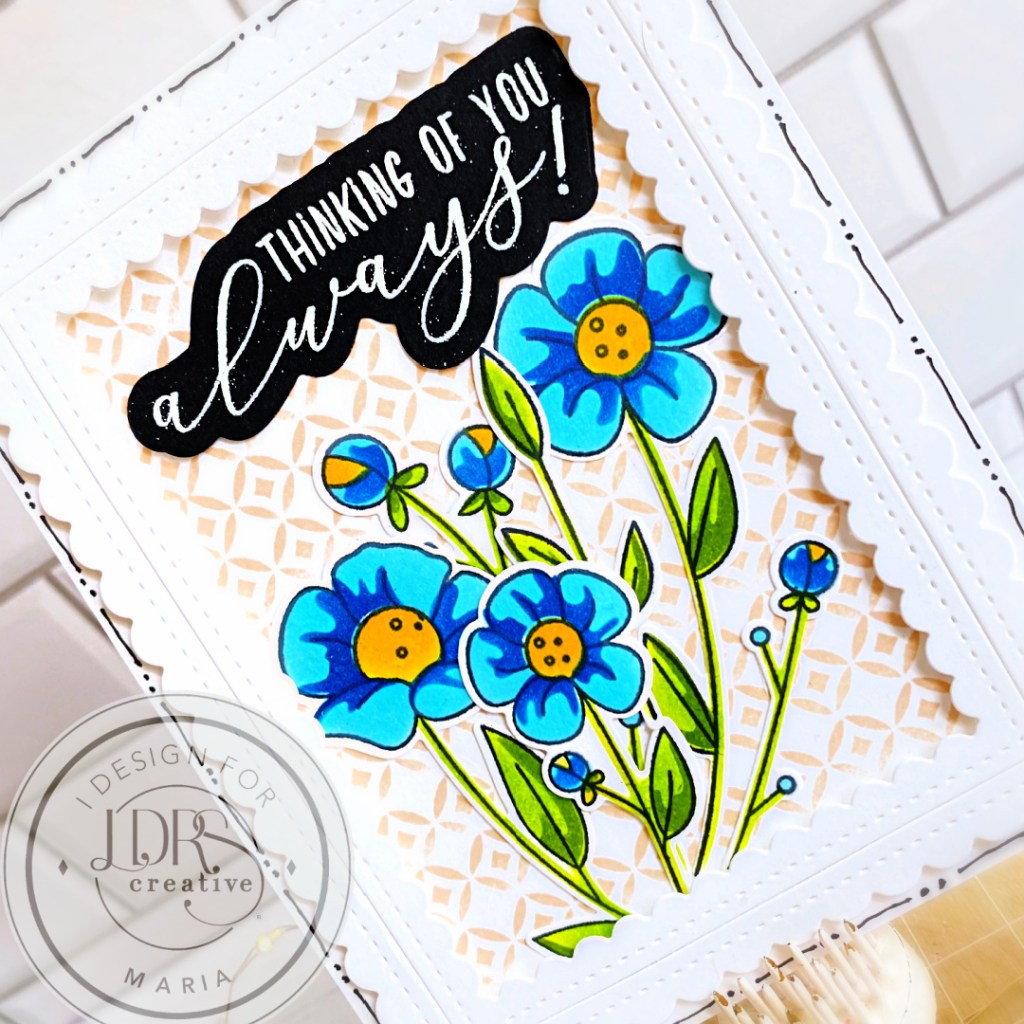
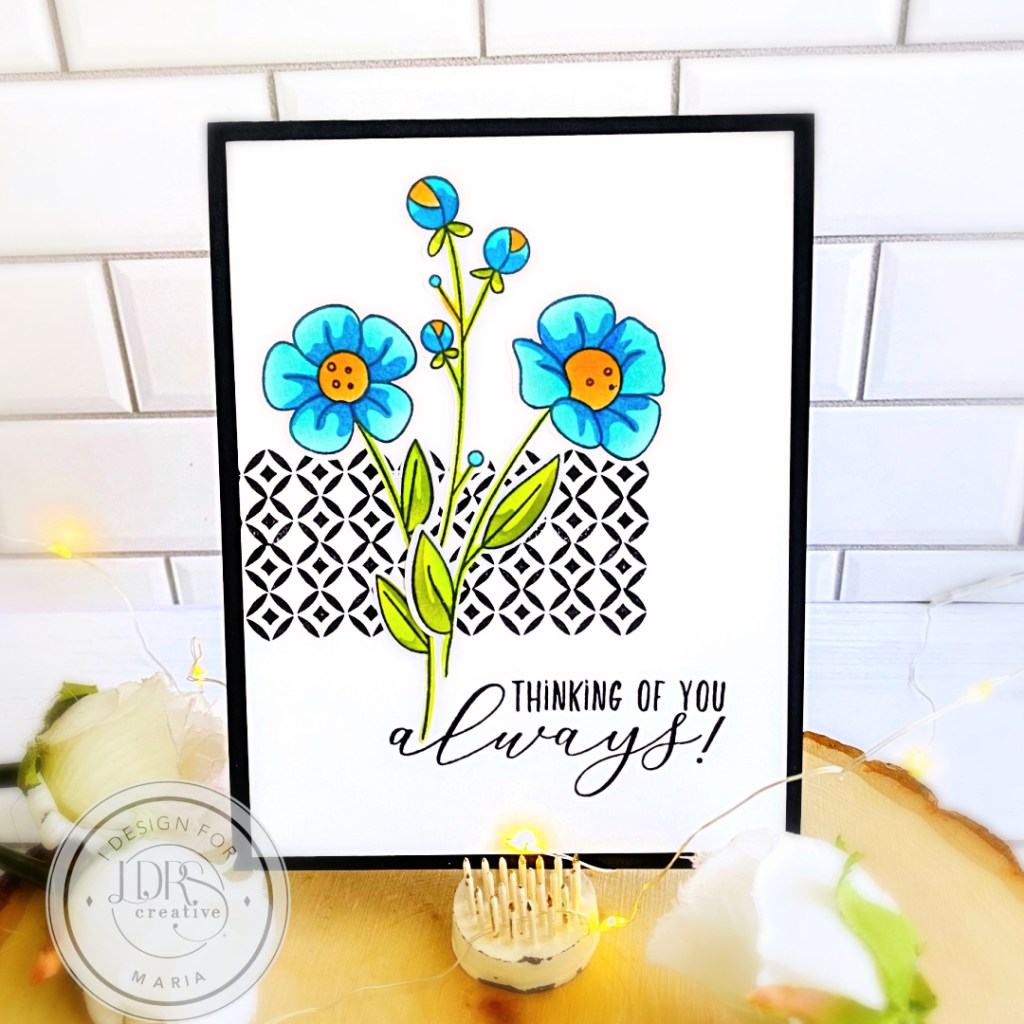
Hello LDRS Creative fans! Today I’m sharing a super simple yet elegant card, showcasing the AMAZING Delicate Stitches Scalloped Rectangle Dies that I paired with previously released, Flower Doodles Stamp Set, Flower Doodles Coordinating Die Set, Flower Doodles Layering Stencils and Orchid Stamp Set (background) by LDRS Creative.

I started by stamping the diamond pattern background on some A2-size Neenah Solar White Card Stock using the Orchid Stamp Set with Iced Tea Hybrid Ink.  I didn’t want the color to be super dark so I stamped it first on some scrap paper then stamped it onto the background panel.  

Next, the scallop frame was made by using the Delicate Stitches Scalloped Rectangle Dies on some Neenah Solar White Card Stock.  I foam-mounted this on the background panel for added dimension and adhered both of these pieces to some white top-folding notecard.

The Flower Doodles Stamp Set was stamped using Raven Hybrid Ink then colored using the Flower Doodles Layering Stencils and the following Hybrid inks –> Dark Wash Jeans, Marina Madness, Dan-D-Lion, Key Lime Pie and Evergreen.  I die-cut the images with the Flower Doodles Coordinating Die Set and adhered onto the focal panel with liquid glue.

The sentiment was stamped onto some black card stock with Watermark Ink and sprinkled some white embossing powder then I heat-set with the heating tool.  I adhered this onto the focal panel and finished the design by adding some lines and dots on the card for added interest.  Here’s another look:

I hope you like this card today and got inspired. The supplies I used are highlighted and linked within the context of this blog post. Where available, I use compensated affiliate links at no extra cost to you. Your support helps me to keep bringing you new projects and inspiration. Thank you for stopping by, and have an amazing day!

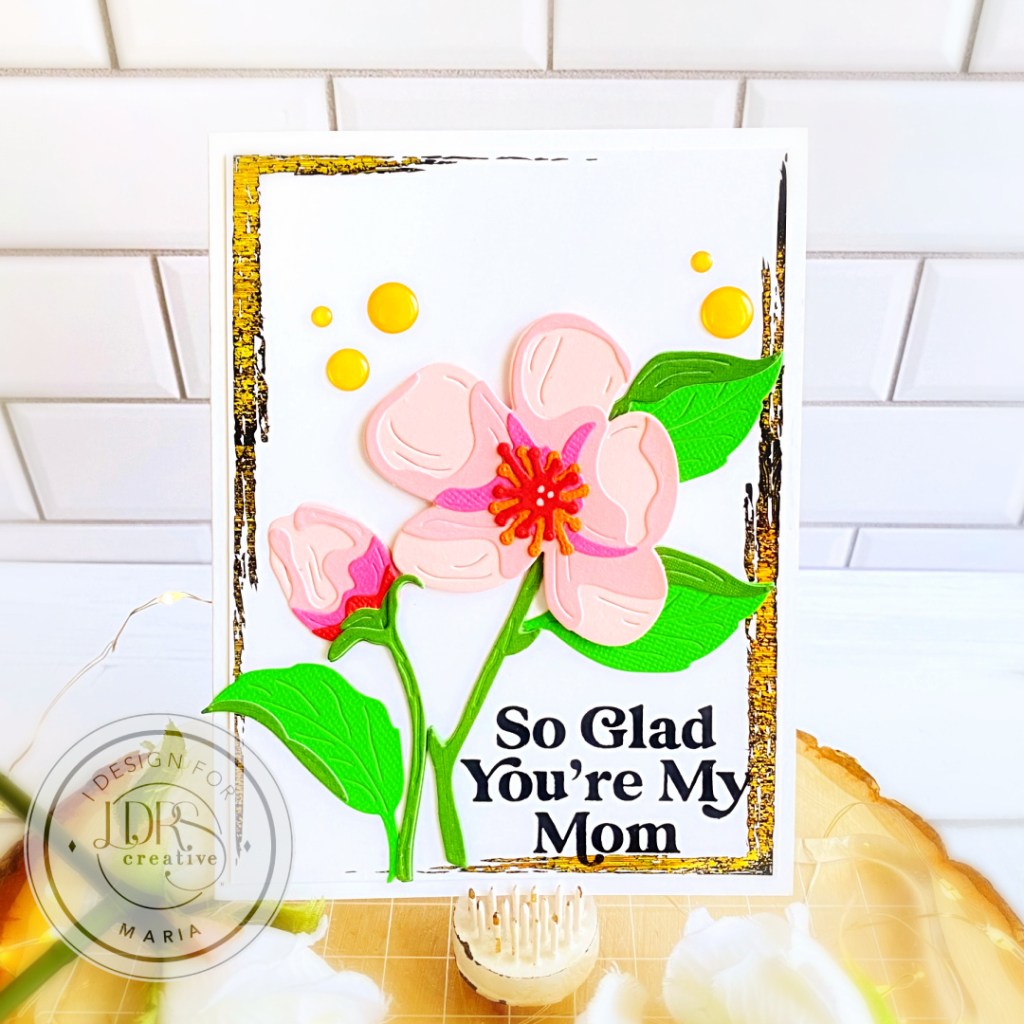
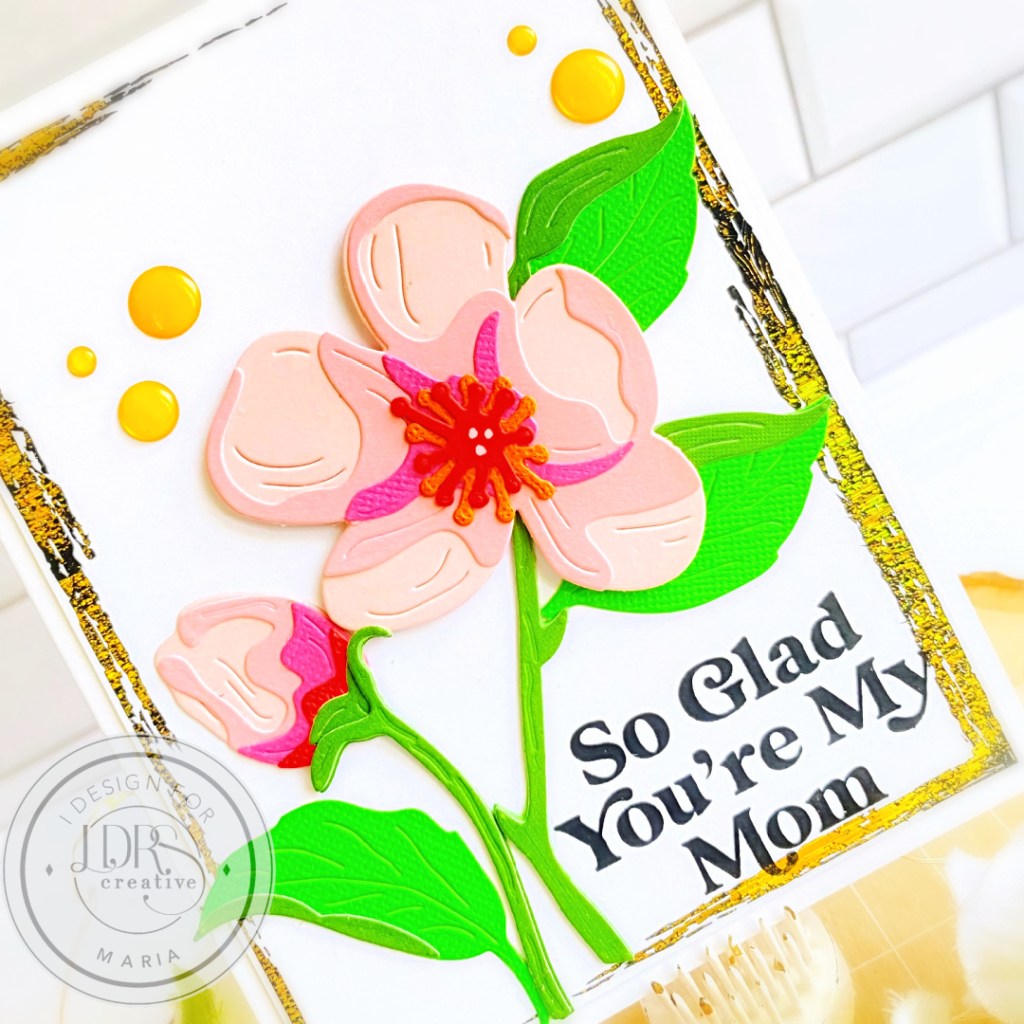
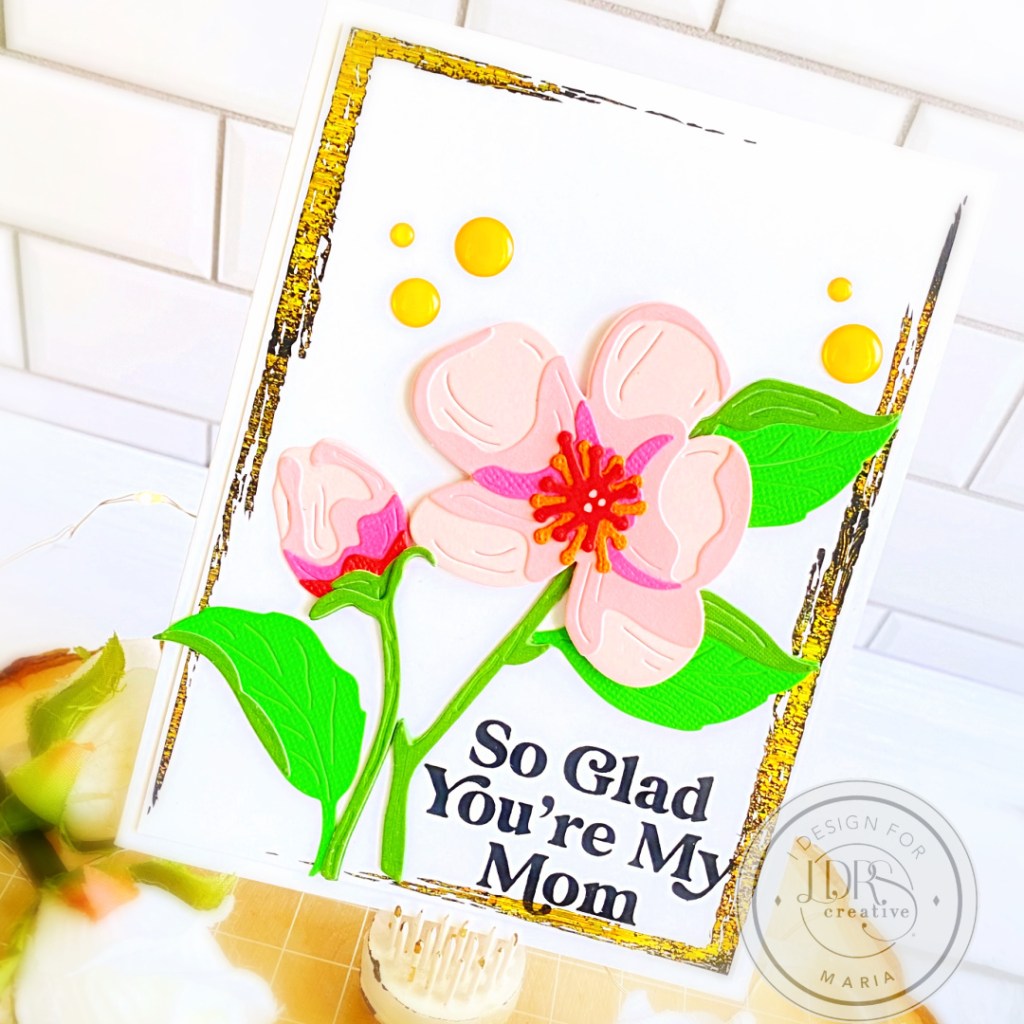
So Glad You’re My Mom with LDRS Creative

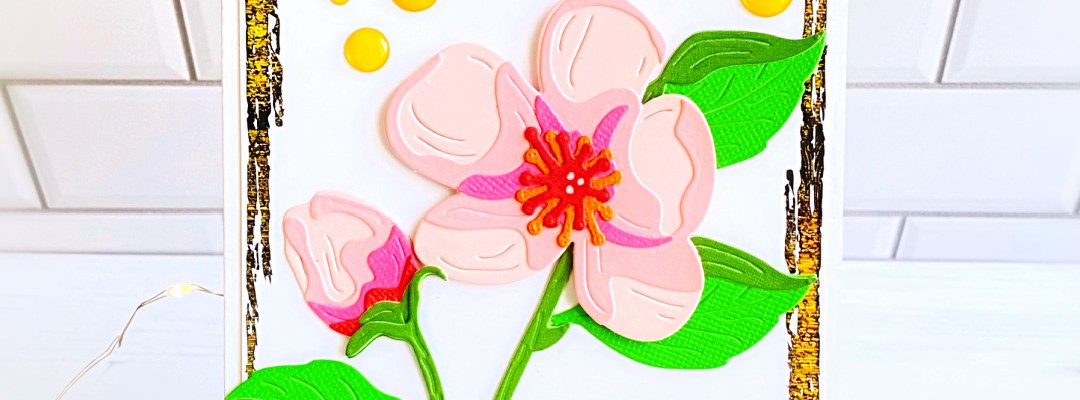
Mother’s Day is almost here and I have a beautiful card to share with you, showcasing the Cherry Blossom Layering Dies, along with the Special Occasions Stamp Set.

I started by die-cutting the leaves and flowers using the Cherry Blossom Layering Dies with different colors of scrap card stock.  I assembled the leaves and flowers using liquid glue and set it aside to let it dry for a few minutes.

The background was made by foiling the A2 Toner Frames Paper (retired) with some gold foil.  I trimmed this panel for 4 x 5 1/4 inches and adhered onto some top-folding notecard.

I stamped the sentiment from the Special Occasions Stamp Set with Raven Hybrid ink and finished the design by adding some Watercolor Enamel Dots for added texture and interest.  Here’s another look at the card:

I hope you like this card today and got inspired. The supplies I used are highlighted and linked within the context of this blog post. Where available, I use compensated affiliate links at no extra cost to you. Your support helps me to keep bringing you new projects and inspiration. Thank you for stopping by, and have an amazing day!

Welcome Home with LDRS Creative

Hello my crafty friends.  Maria here on the blog with you today!

I am so happy I got to play around with a few of the newly released stamp sets by LDRS Creative.  For this project, I am showcasing the Sunny Days Ahead Stamp Set along with the  Home Stamp Set and A LOT of my favorite LDRS Hybrid inks. 

If you need the specific colors to replicate this card, here’s what I used –> Soft Kisses, Lipstick Jungle, Dan-D-Lion, Little Boy Blue, Key Lime Pie, Tangerine Dream, In Your Face Orange, Coffee Bean, Marina Madness, Dark Wash Jeans, Boysenberry Blast, Parisian Purple and Grape Ape.

To get started, I trimmed a panel of some Neenah Solar White Card Stock measuring 5 1/4 X 4 inches.  I started stamping with the pink house on the right hand side and worked my way down to the purple one at the bottom.  I really didn’t have any design in mind when I started stamping the images.  I just worked my way through and added more images here and there.

The great thing about using this Sunny Days Stamp Set is that the possibilities are endless!  You can create so many different scenes using this set!  I had so much fun layering and stamping the tiny images to fill up the whole scene.  I then adhered the focal panel on some A2-size notecard.

Lastly, I stamped the sentiment from the Home Stamp Set on some black card stock with watermark Ink.  I sprinkled some White Embossing Powder then used my heating tool to heat set.  I trimmed the sentiment using my precision snips and adhered onto the card with liquid glue.   Here’s another look:

I hope you like this card today and got inspired. The supplies I used are highlighted and linked within the context of this blog post. Where available, I use compensated affiliate links at no extra cost to you. Your support helps me to keep bringing you new projects and inspiration. Thank you for stopping by, and have an amazing day!

Doodle Flowers with LDRS Creative

Is anyone else excited for Spring?! I am back today to share yet another just-because card, featuring products by LDRS Creative.

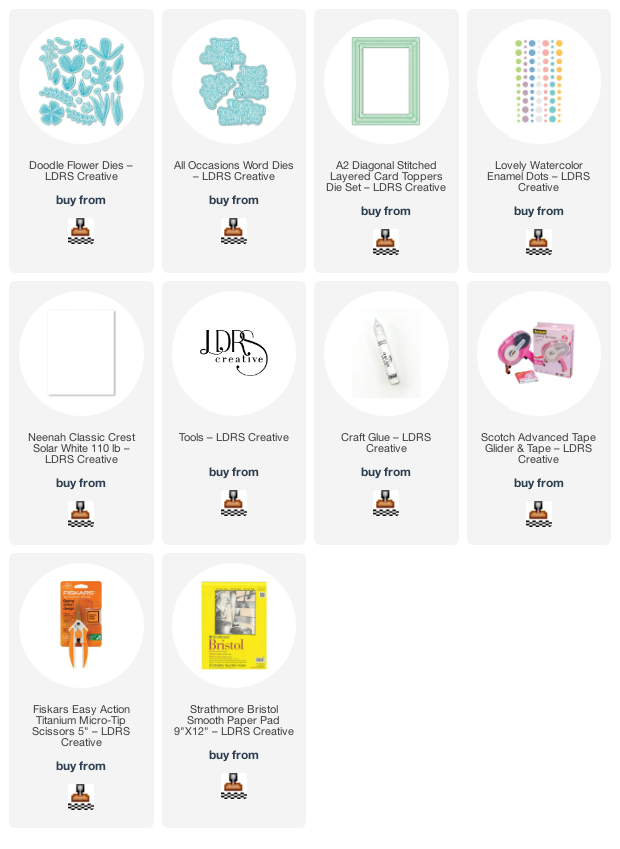
I am so happy that I got to play with the beautiful Doodle Flower Dies, along with the All Occasions Word Dies from the November release.

I don’t know what it is but even though LDRS Creative has a ton of flower dies released in the past, each set has an amazing array of floral and greenery that are so unique and beautiful, I just can’t get enough of them!  This Doodle Flower Die Set is another example!  I love that you can look at the back of the packaging too and see how you can just put them together!  Even a beginner paper-crafter will have no issues assembling the flowers!

I started by die-cutting the flowers and greenery using the Doodle Flower Die Set with a bunch of scraps that I already have in my stash.  I adhered and assembled the flowers together with liquid glue and set them all aside to dry while I work on the card background.

The card background was made by die-cutting the gold card stock first, using the medium die from the A2 Diagonal Stitched Layered Card Toppers and adhered on some A2 size notecard with liquid glue.  I also used the smaller die from the same A2 Diagonal Stitched Layered Card Toppers to die-cut the Lily Toner Collection paper pad.  I foam-mounted this on top of the gold background for added dimension.

Adhering the floral pieces were easy as I only used liquid glue to layer them up.  Lastly, the sentiment was die-cut using the All Occasions Word Dies on some black and white card stock, and adhered on the card with glue.  I finished the card design by adhering some Lovely Watercolor Enamel Dots for added interest.  Here’s another look:

I hope you like this card today and got inspired. Below, you will find links to the supplies used to create this project. Where available, I use compensated affiliate links at no extra cost to you. Your support helps me to keep bringing you new projects and inspiration. Thank you for stopping by, and have an amazing day!

———-SUPPLIES———- 

Clean & Simple Card with LDRS Creative

Hello and welcome back to my blog! I am sharing this clean and simple card today showcasing some of my favorites from the latest release by LDRS Creative.  For my project today, I am showcasing the Flower Doodles Stamp Set, Flower Doodle Coordinating Dies, along with the Flower Doodles Layering Stencils and a previously released set called Orchid Stamp Set.
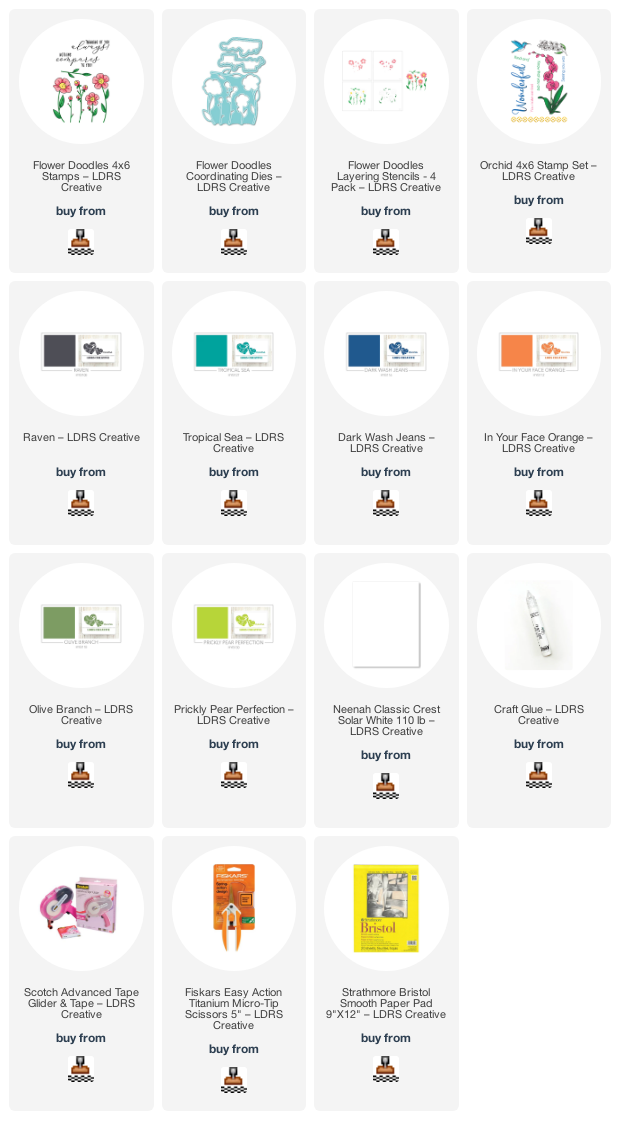
I started by stamping the image on some Neenah Solar White Card Stock with some Raven Hybrid Ink.  I used some washi tape to hold up this panel on my craft mat and used Stencil 1A from the Flower Doodles Layering Stencils, some blending brush and Tropical Sea Hybrid Ink.

Next, stencil 1B was placed on the stamped panel and this time, I used Dark Wash Jeans.  Stencil 2A was used with In Your Face Orange and Prickly Pear Perfection Hybrid inks.  Lastly, Stencil 2B was used with Olive Branch Hybrid Ink.

Once I was happy with the colors I chose, I used the Flower Doodles Coordinating Die to die-cut the flowers.  I then cut a panel of Neenah Solar White Card Stock measuring 4 x 5 1/4 inches.  I adhere this panel on some to-folding black A2-size notecard.

For added texture and interest, I used the small stamp from the Orchid Stamp Set and stamped the image repeatedly on the card with Raven Hybrid Ink.  I adhere the flowers with liquid glue and finished the design by stamping the sentiment.  Easy, peasy but I love how this turned out!  Here’s another look:

I hope you like this card today and got inspired. Below, you will find links to the supplies used to create this project. Where available, I use compensated affiliate links at no extra cost to you. Your support helps me to keep bringing you new projects and inspiration. Thank you for stopping by, and have an amazing day!

———-SUPPLIES———-

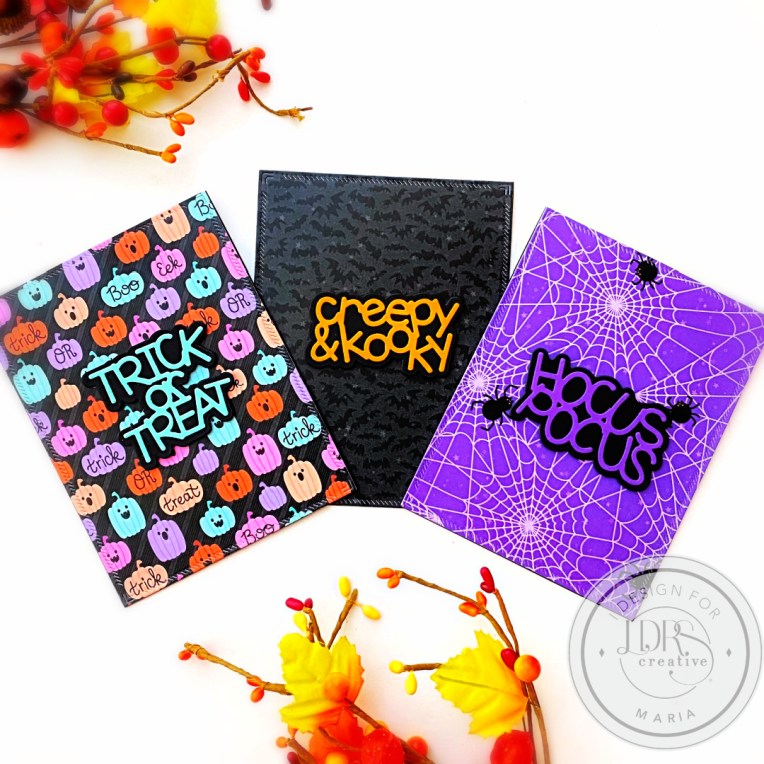
3 Last-Minute Halloween Cards with Matching Envelopes | LDRS Creative

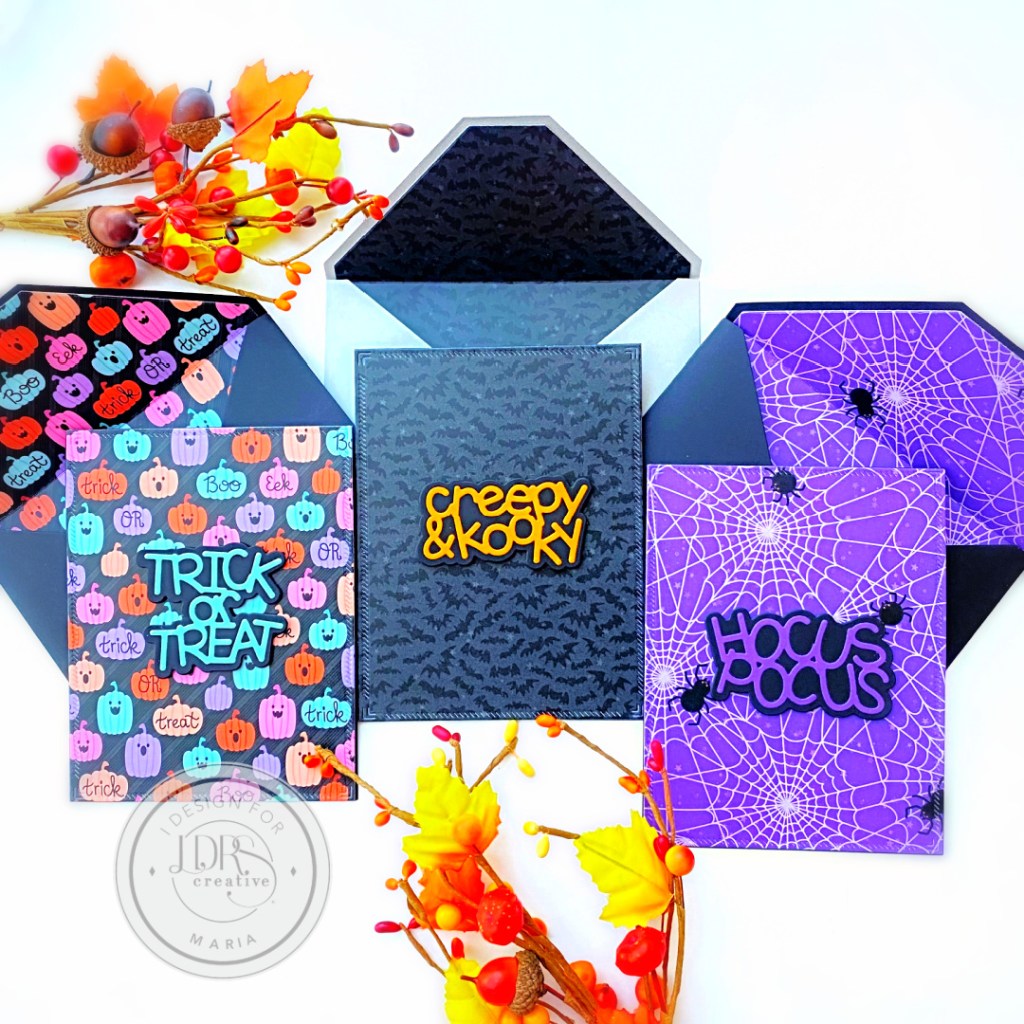
Hello my crafty friends! Are you all done creating Halloween Cards yet?! If you are looking to create some last-minute Halloween cards without the fuss of stamping and coloring images, here’s a cute project for you (or should I say, a couple?)!  These cards are so easy to make and they have cute matching envelopes to boot!

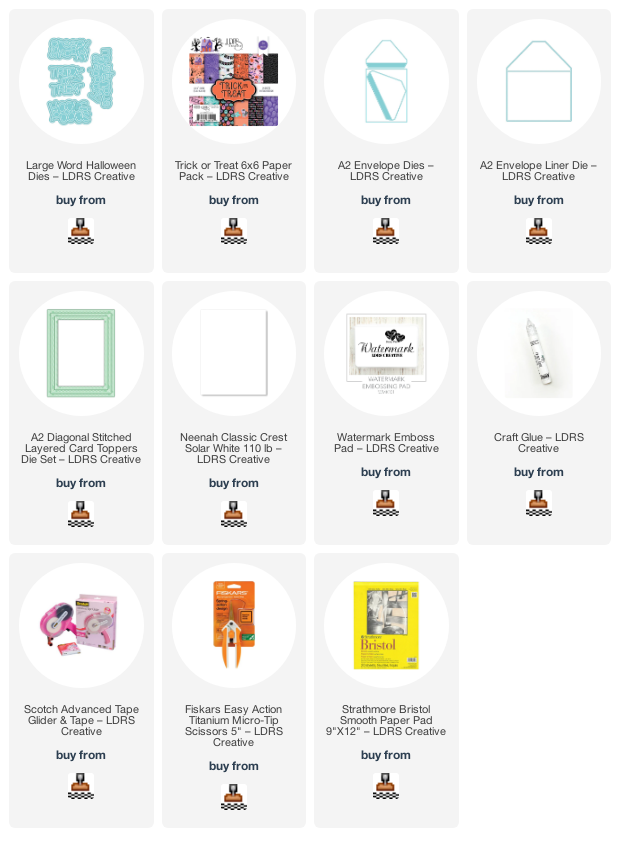
For today’s projects, I am showcasing the Trick-or-Treat 6×6 Halloween Paper Pack, along with the A2 Diagonal Stitched Layered Card Toppers, Large Word Halloween Dies, A2 Envelope Dies and A2 Envelope Liner Die.  Let me just tell you that the new A2 Envelope Dies with the A2 Envelope Liner Die are SO EASY to put together and they look like you bought them from a stationery store!

All 3 cards (and envelopes) were made the same way!  If I wasn’t running out of the Trick-or-Treat Halloween Paper, I could have made more, to be honest!

I started by die-cutting the sentiments using the Large Word Halloween Dies [this die-set is another favorite of mine from the latest release] on some different colors of card stock.  I adhered them together with liquid glue.

Next, the background panel was die-cut using the A2 Diagonal Stitched Layered Card Toppers Die and adhered on some black A2-size notecard.  I foam-mounted the Halloween Sentiments onto the card for added dimension.  Easy peasy and I’m done with all three cards!  However, I wanted to add some matching envelopes to finish the design.  I used the A2 Envelope Dies and the A2 Envelope Liner Die to die-cut some black and gray card stock and the matching Halloween Paper that I used to create the cards.  I adhered them together using some strong adhesive.  Here’s another look at the finished projects:

I hope you like these cards today and got inspired. Below, you will find links to the supplies used to create these projects. Where available, I use compensated affiliate links at no extra cost to you. Your support helps me to keep bringing you new projects and inspiration. Thank you for stopping by, and have an amazing day!

———-SUPPLIES———-