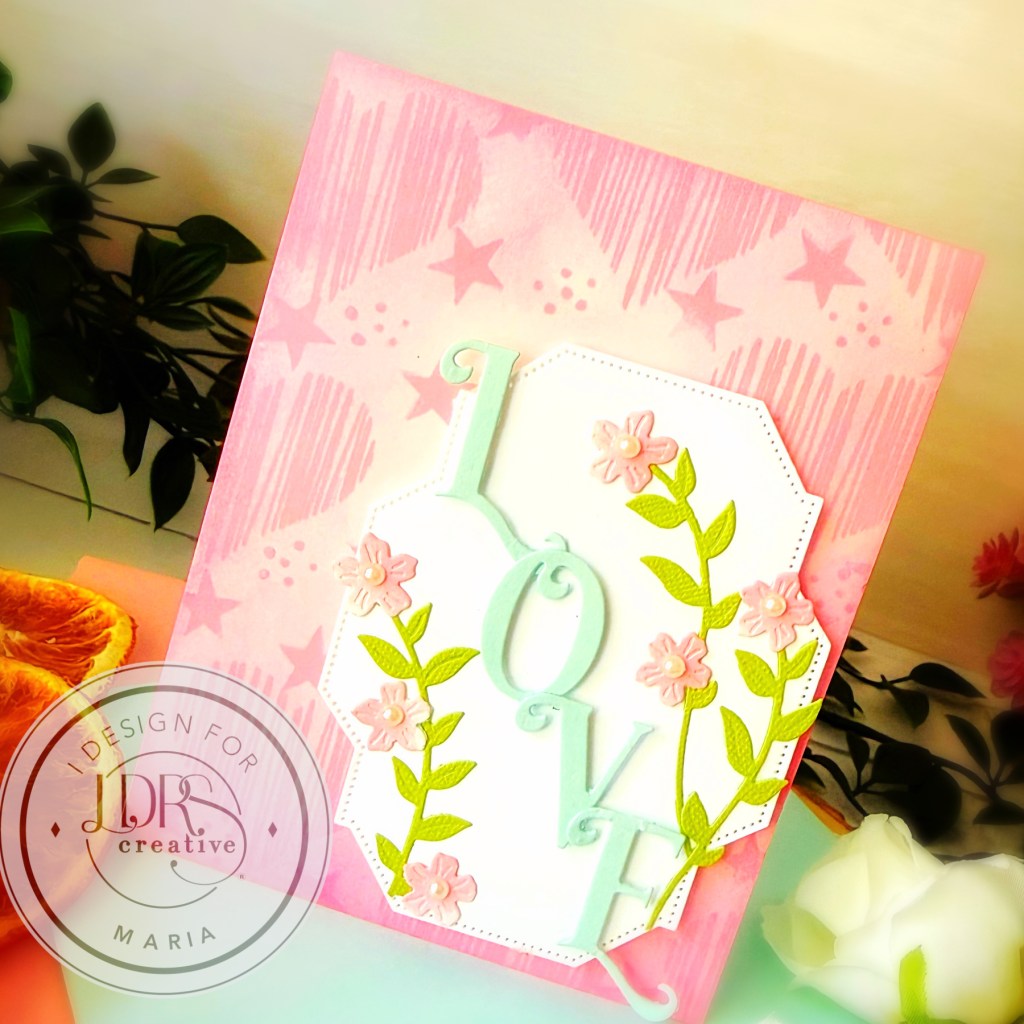
Hey everyone! Summer is here, and I am busy creating cute projects indoors to avoid the heat wave! What about you?
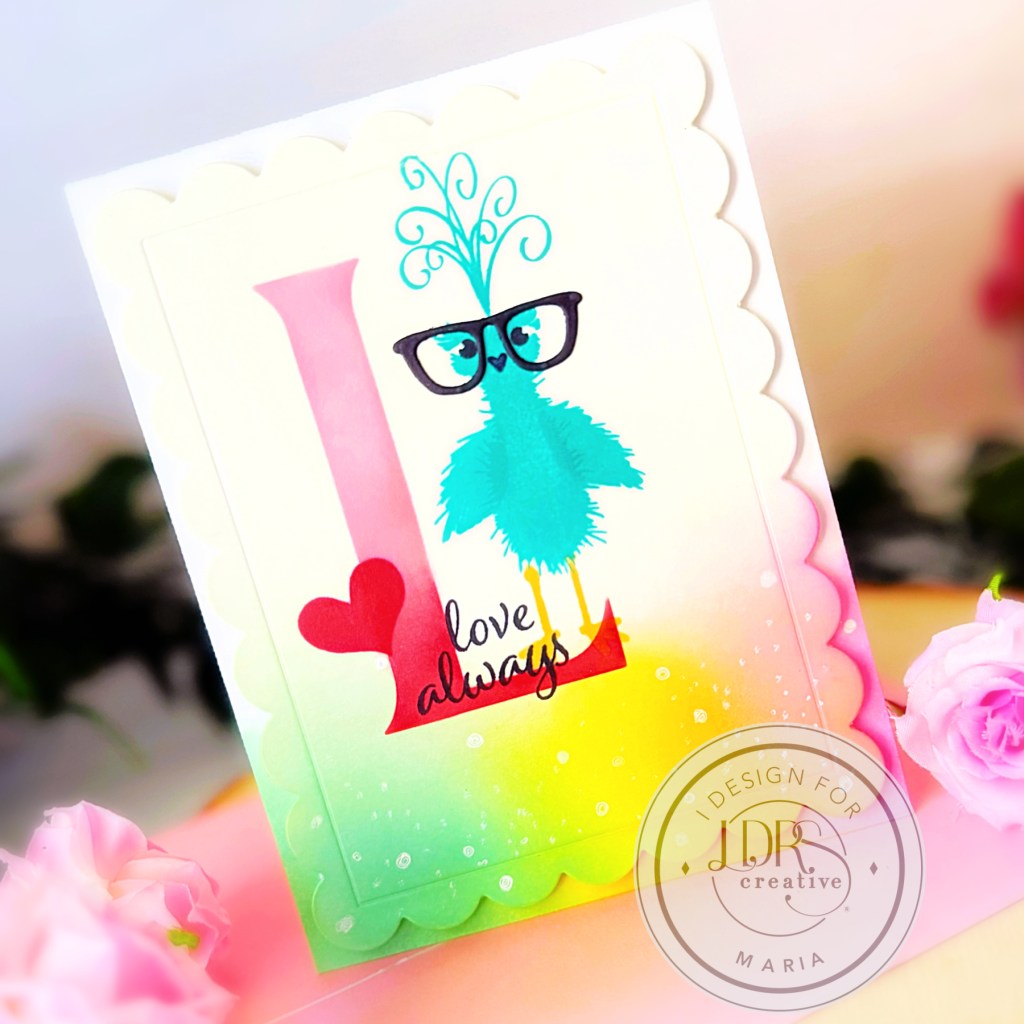
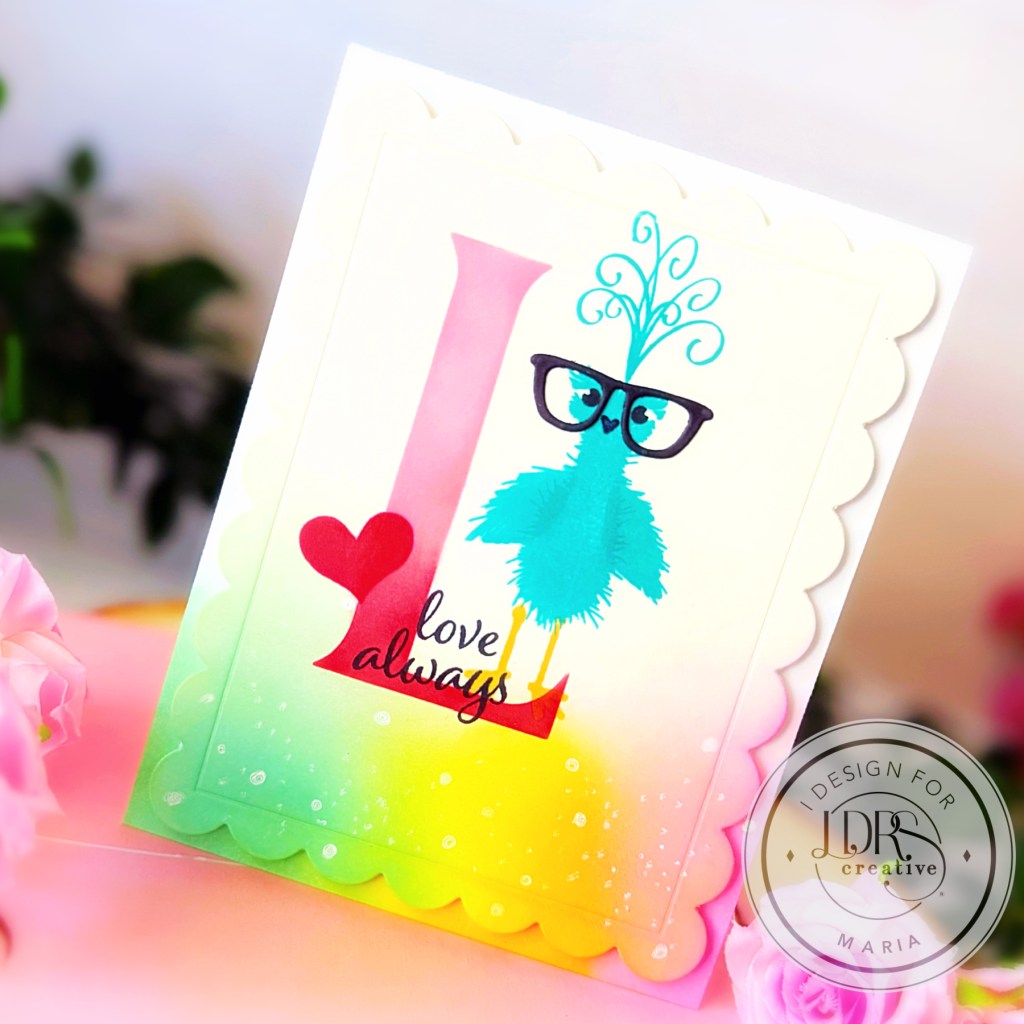
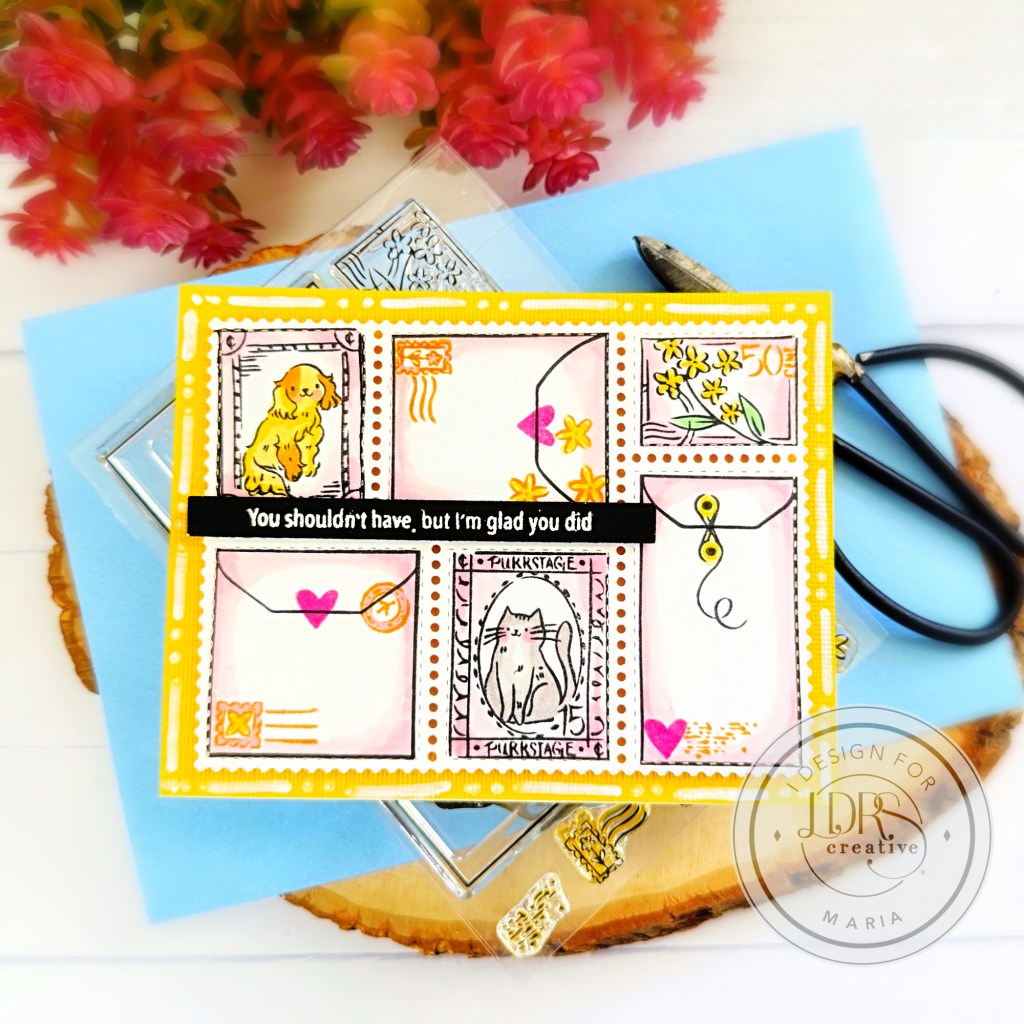
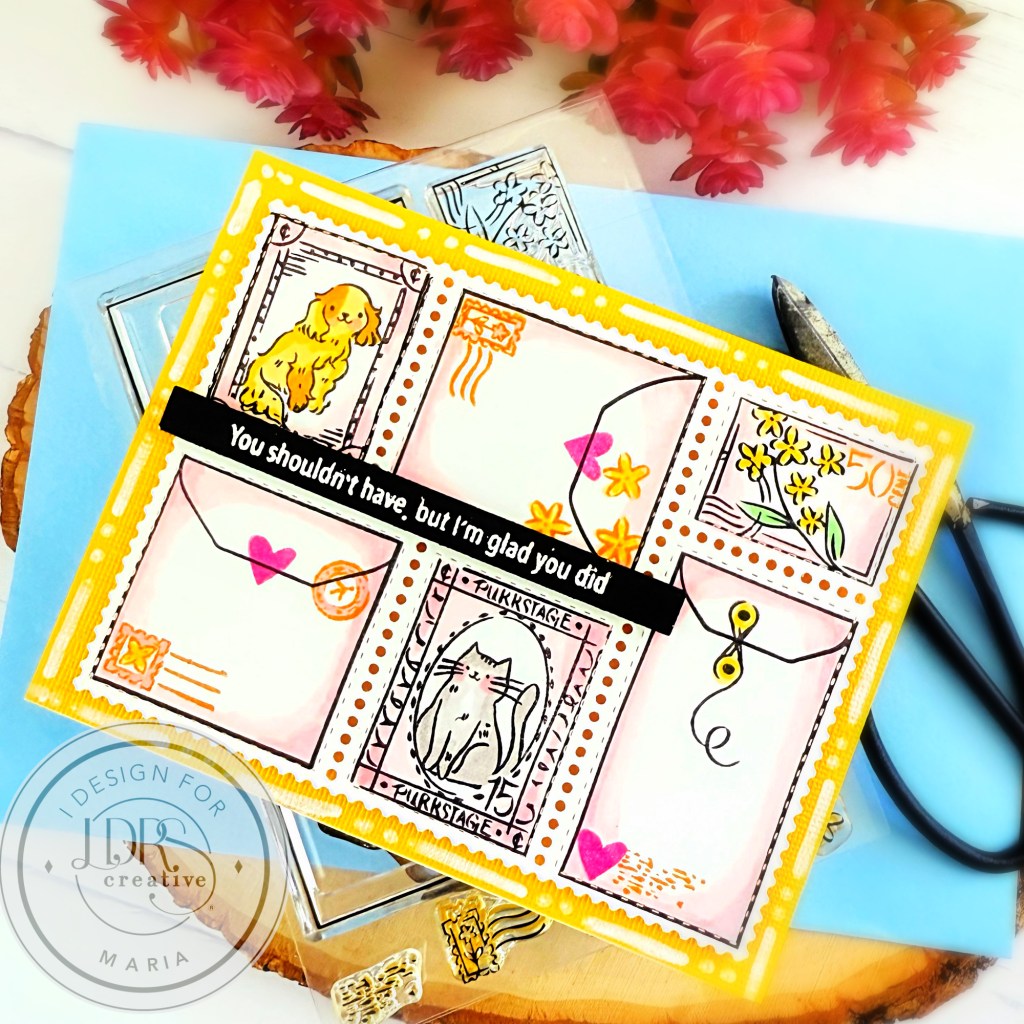
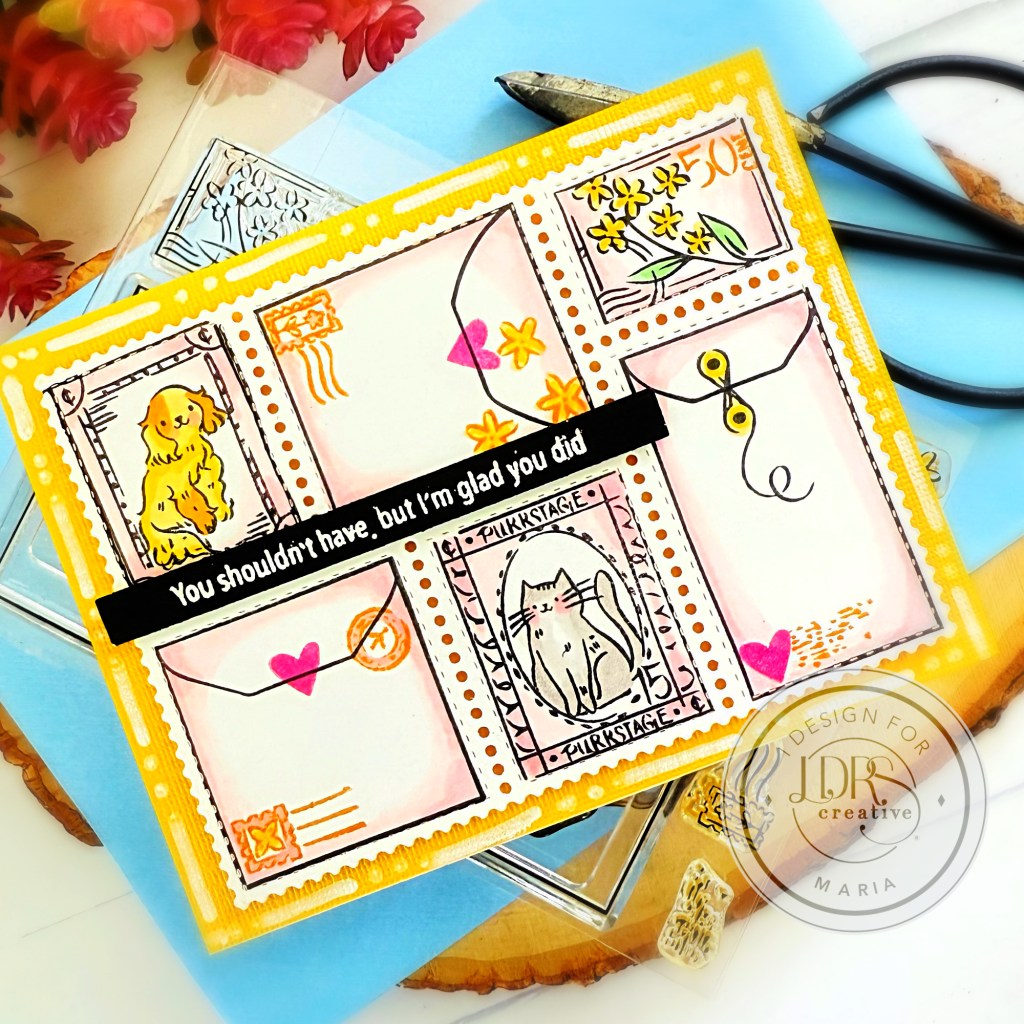
Today, I’m sharing two bright and cheerful cards that showcase the Fuzzy Wuzzies Athletic Supporter Stamp & Dies. I used elements from this collection and incorporated a lot of scrap die cuts from previous LDRS Creative card projects. These playful cards will surely brighten someone’s day, don’t you think?!
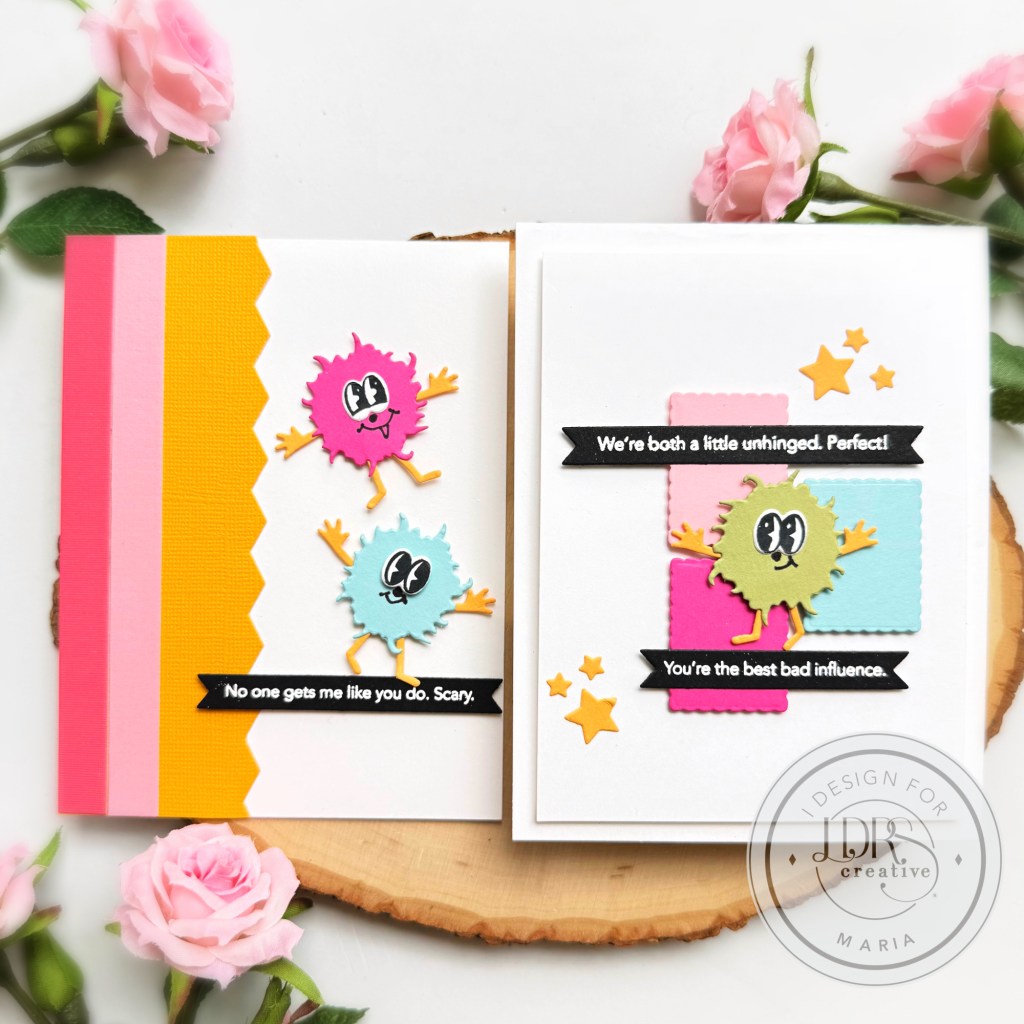
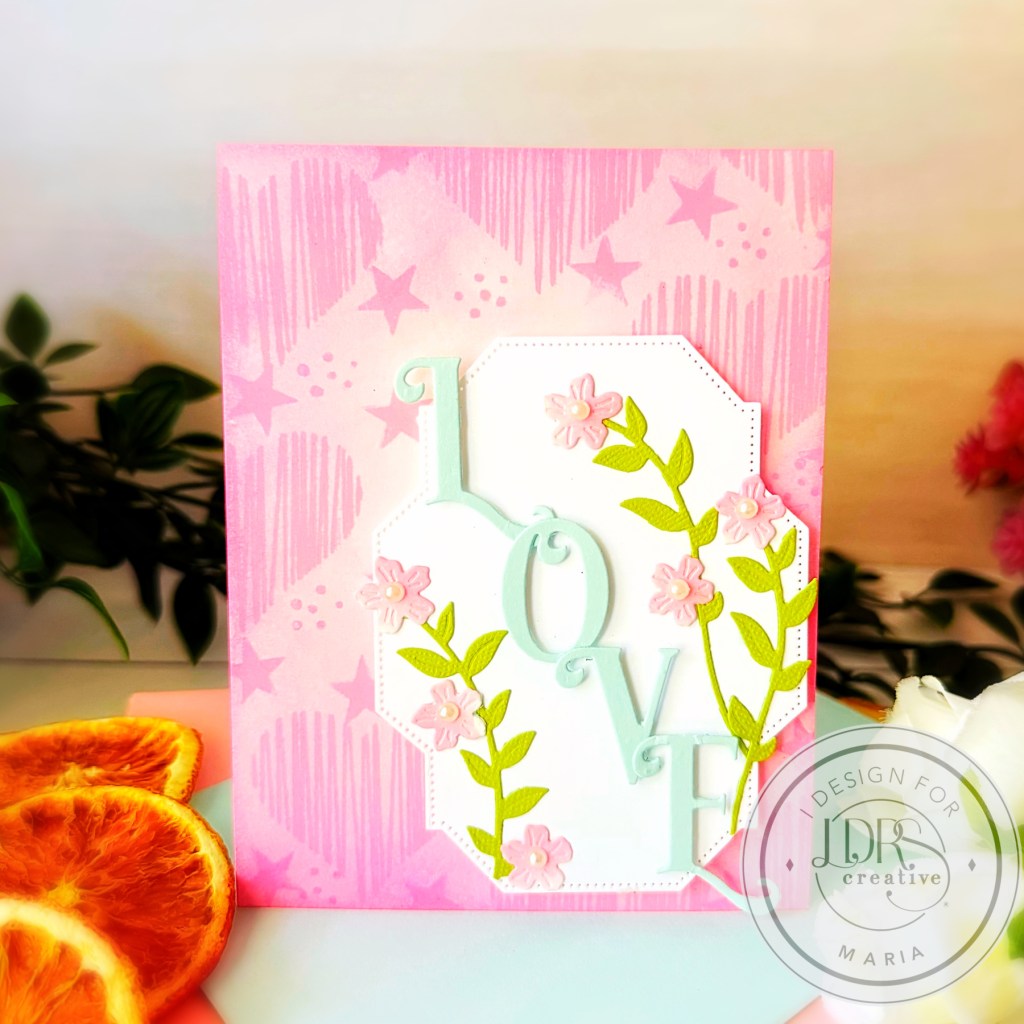
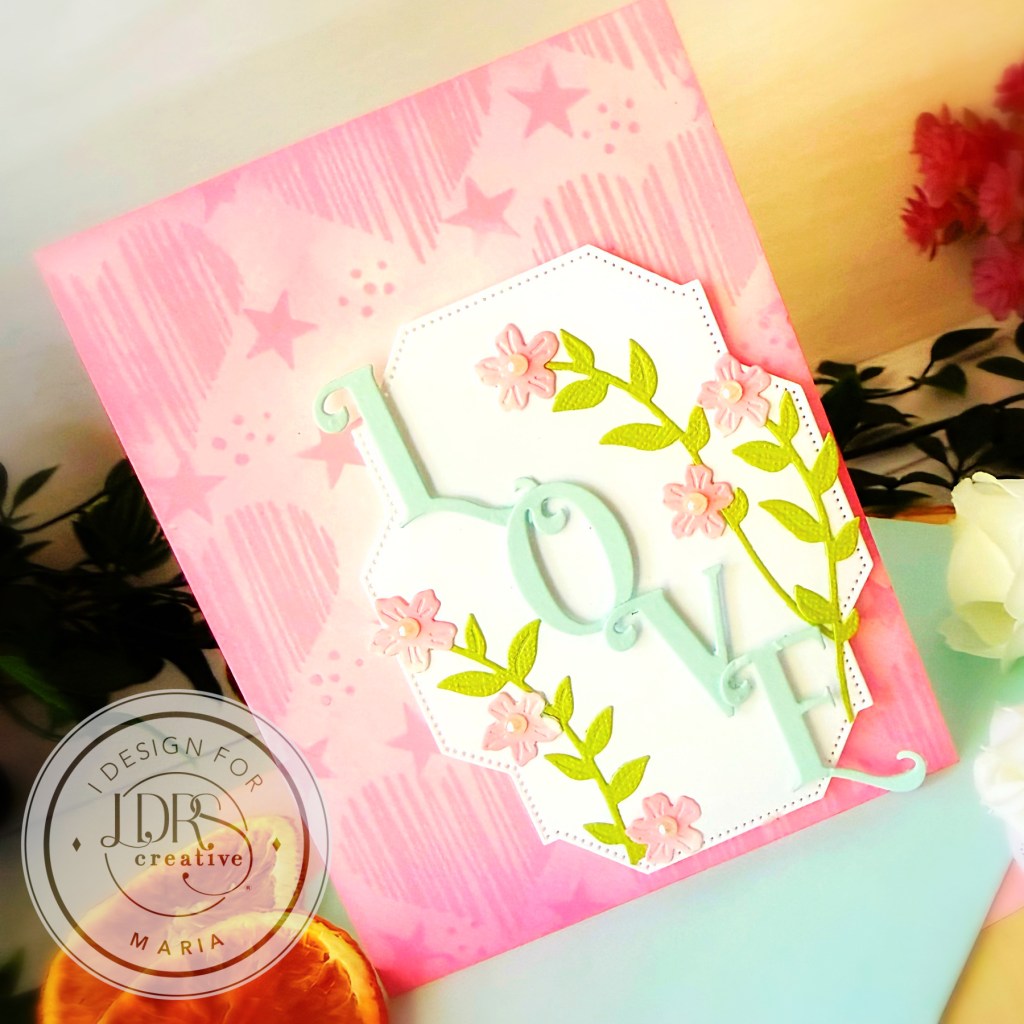
My main idea with these cards is to use some leftover scraps from my stash, instead of throwing them away. Just because some of your dies have been discontinued, you can still use them to create beautiful projects!
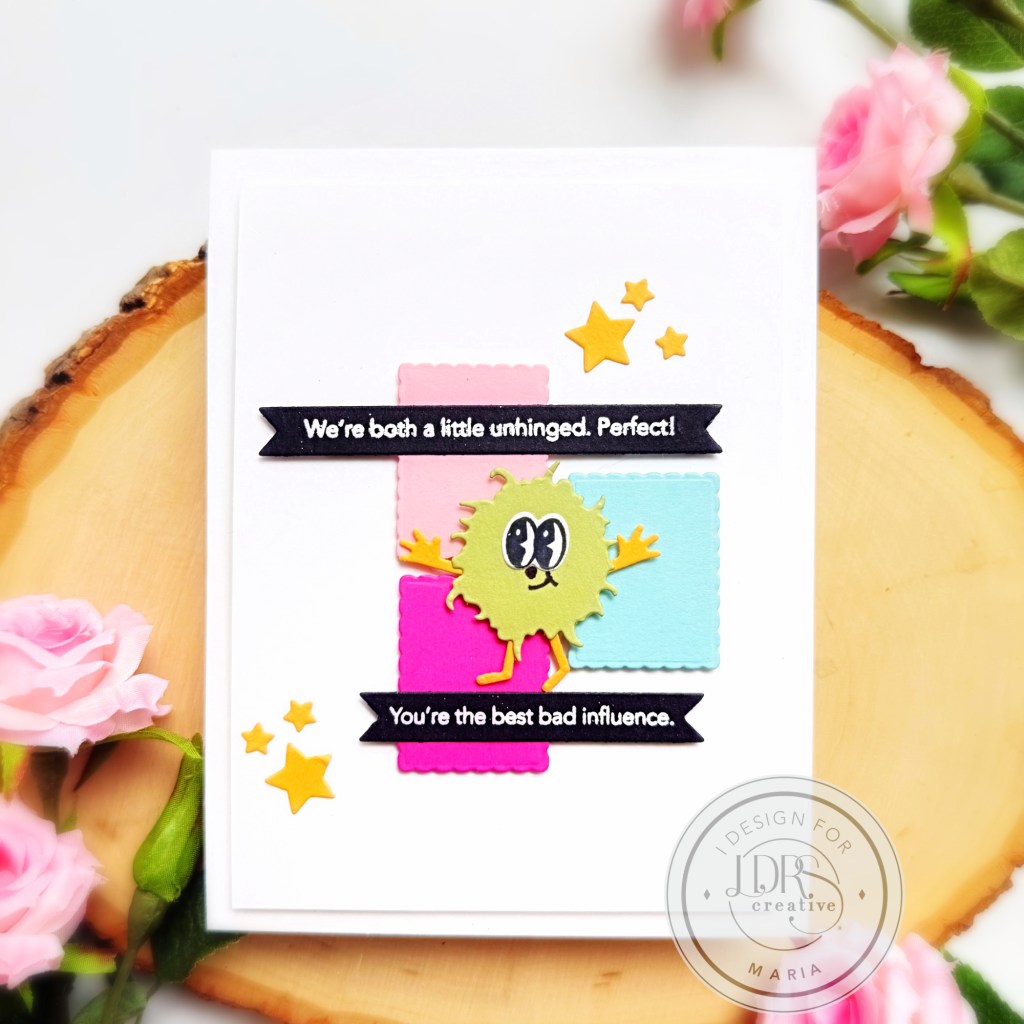
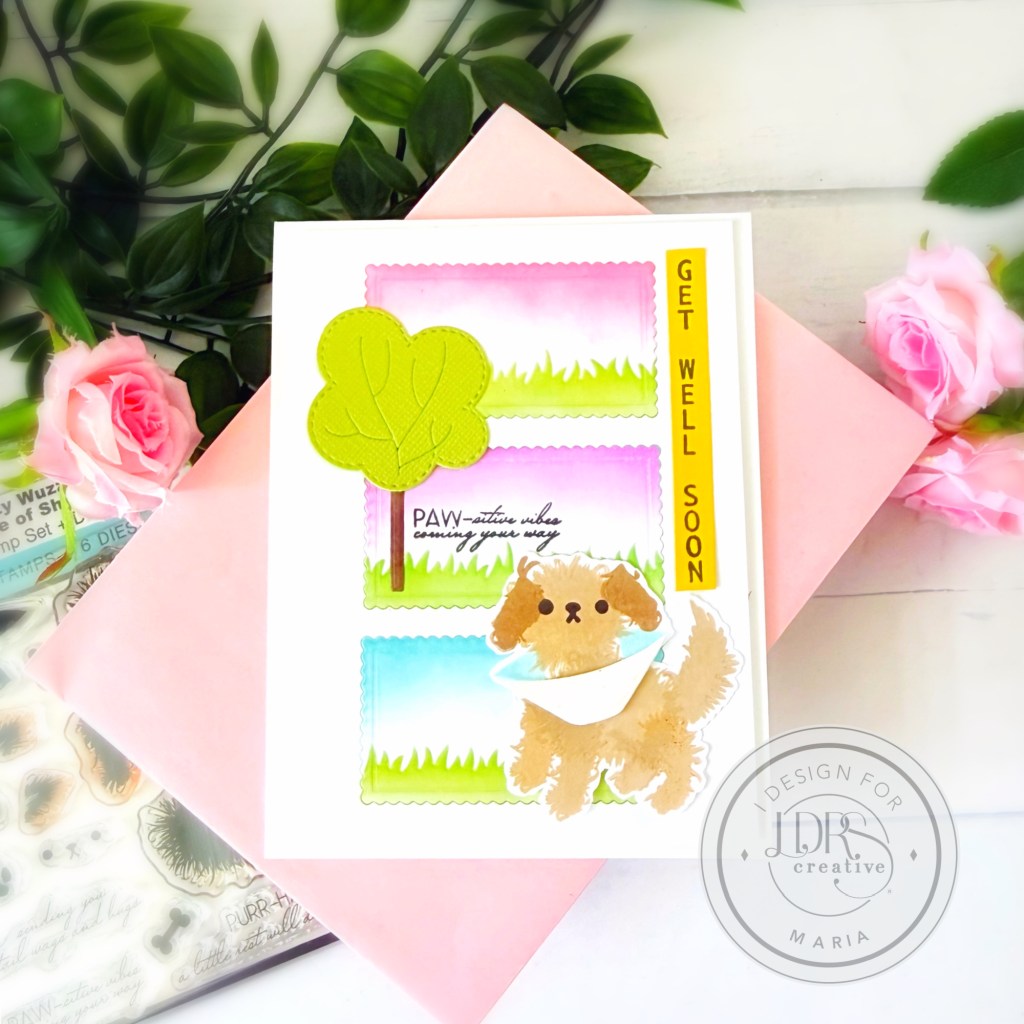
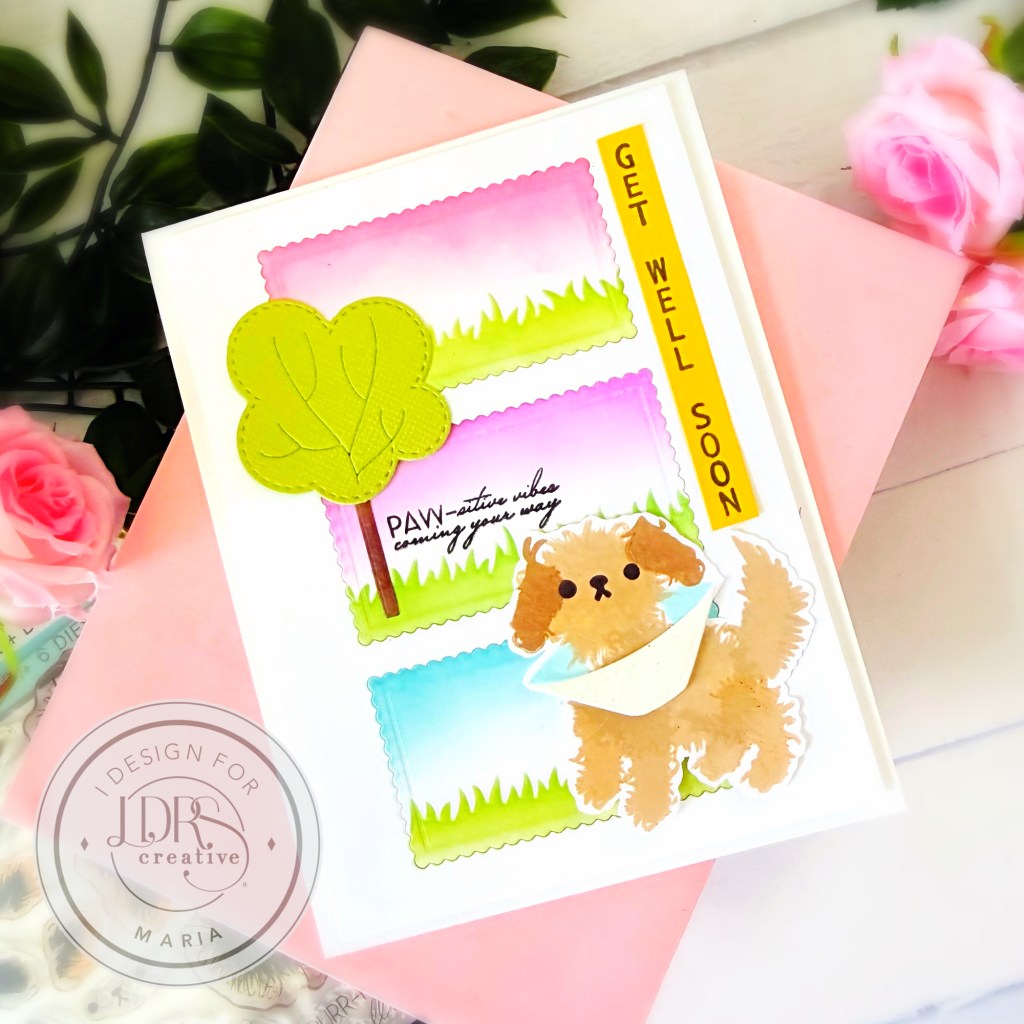
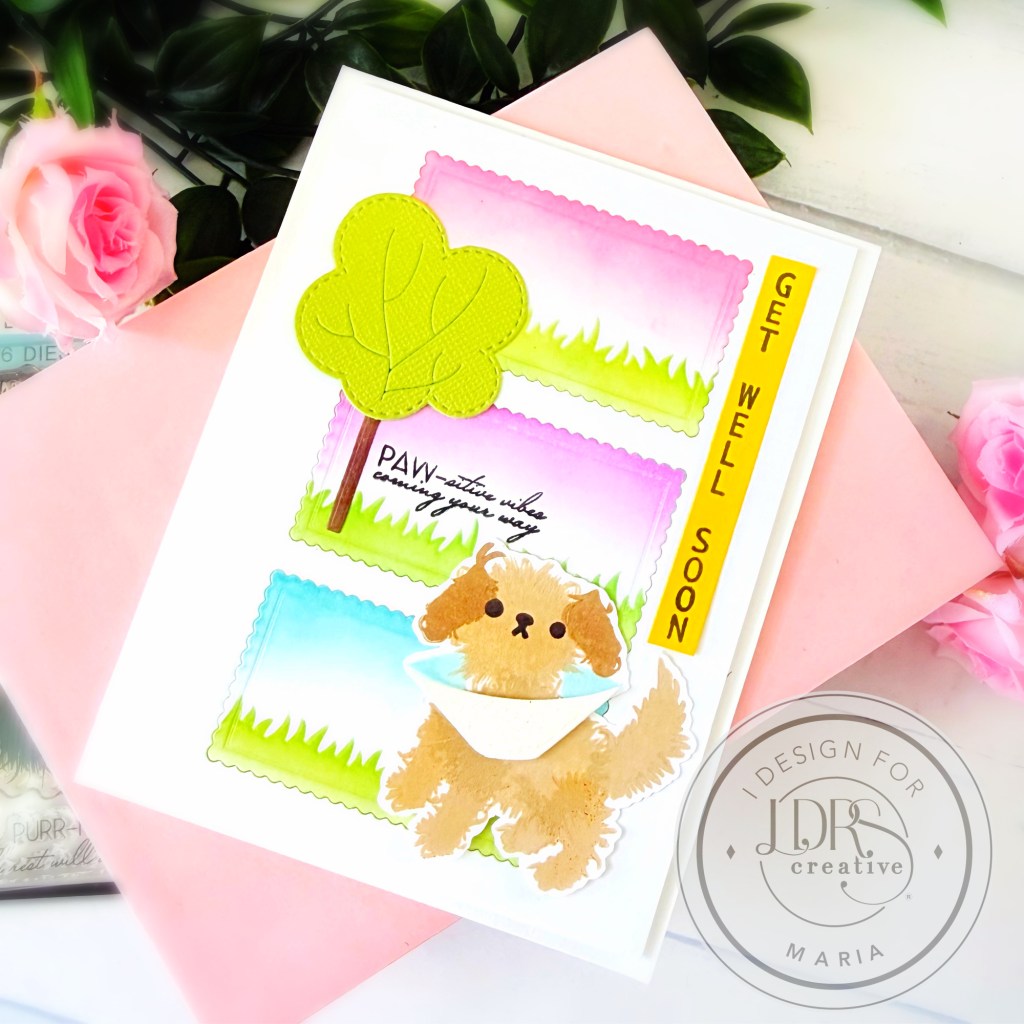
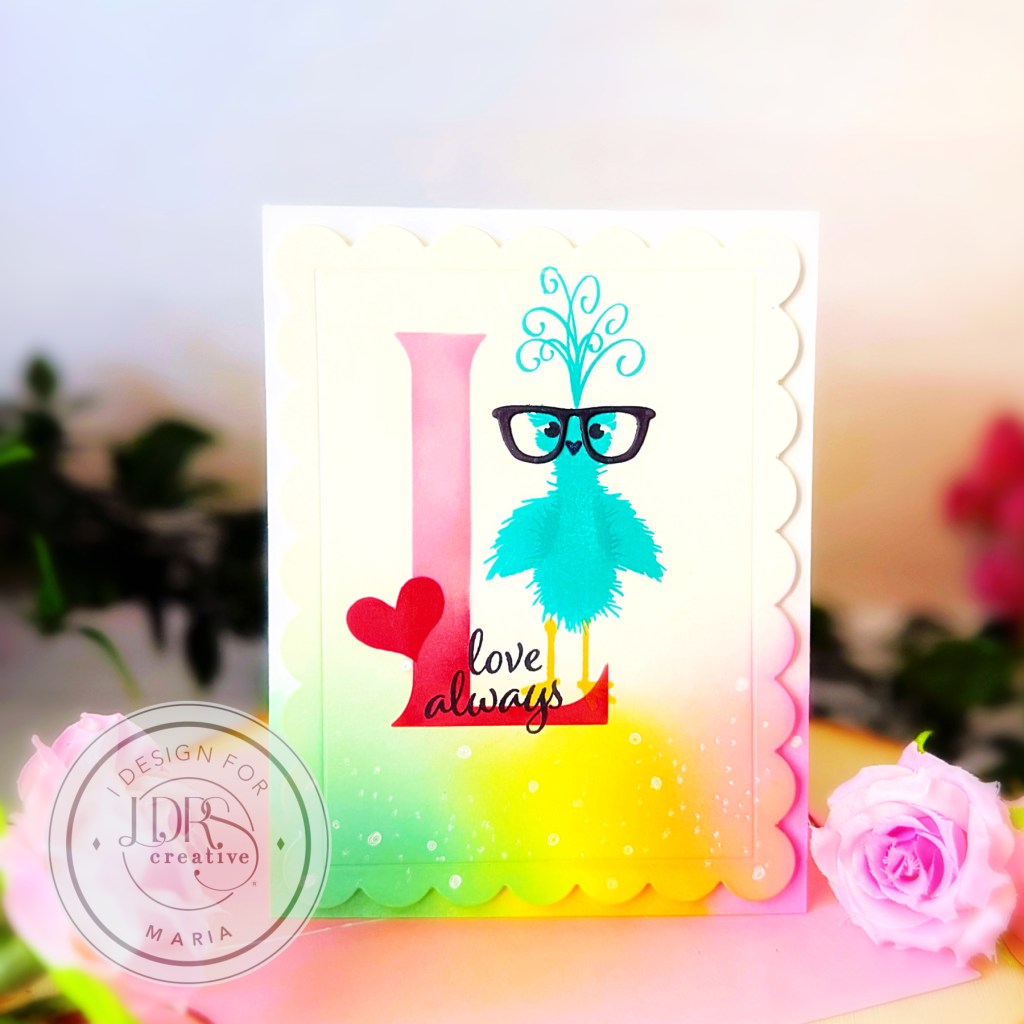
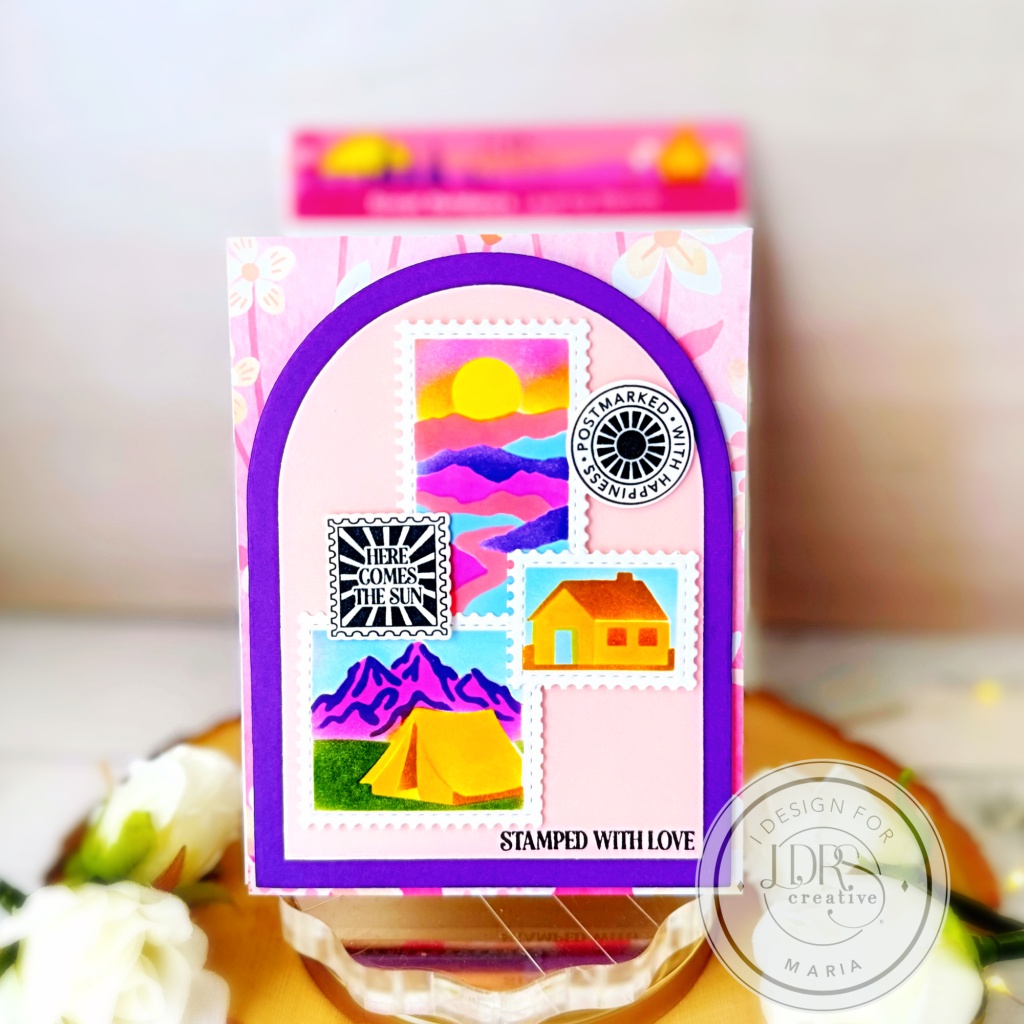
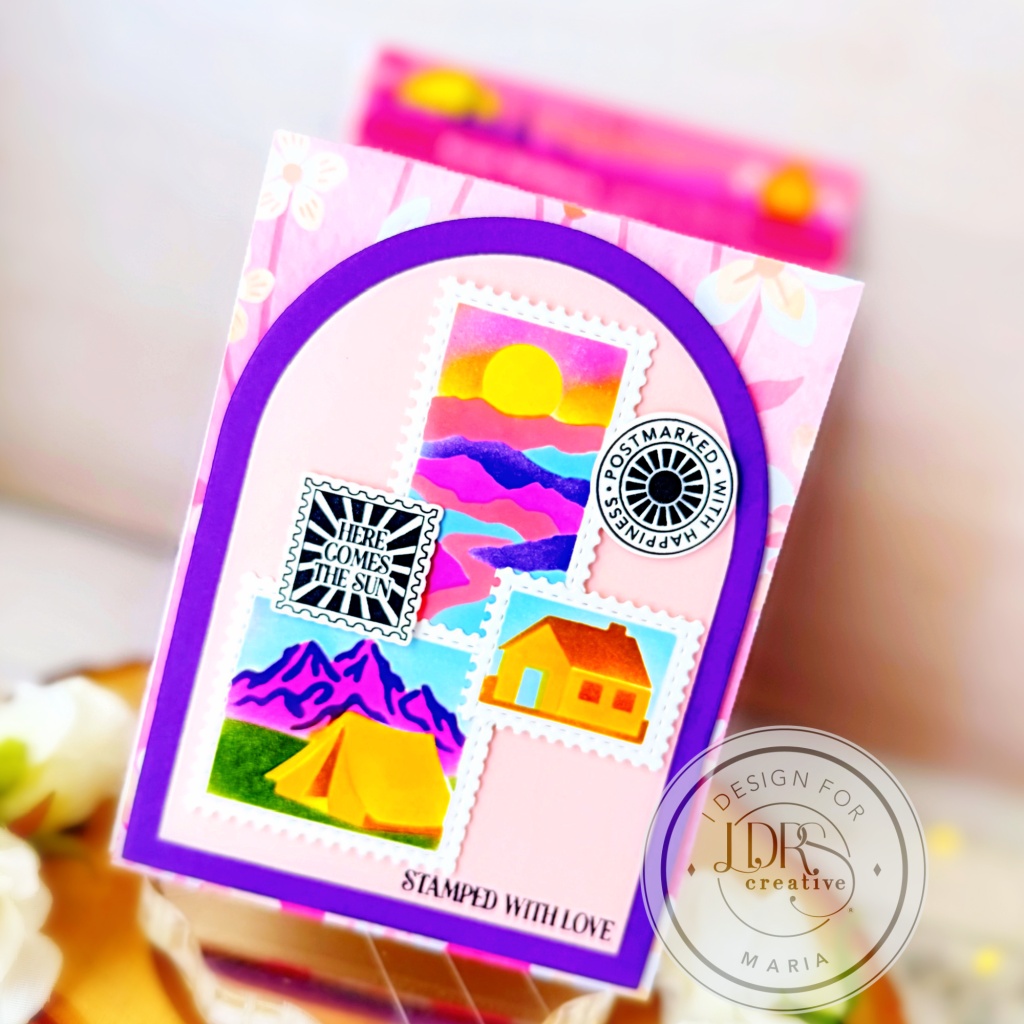
I searched my LDRS Creative Die Collection and found a lot of colorful die-cuts to make the background for my little Fuzzy Wuzzies! The first card below contained die-cuts using the Postage Collage Die. I foam-mounted the 3 rectangles onto the background to create a vignette.
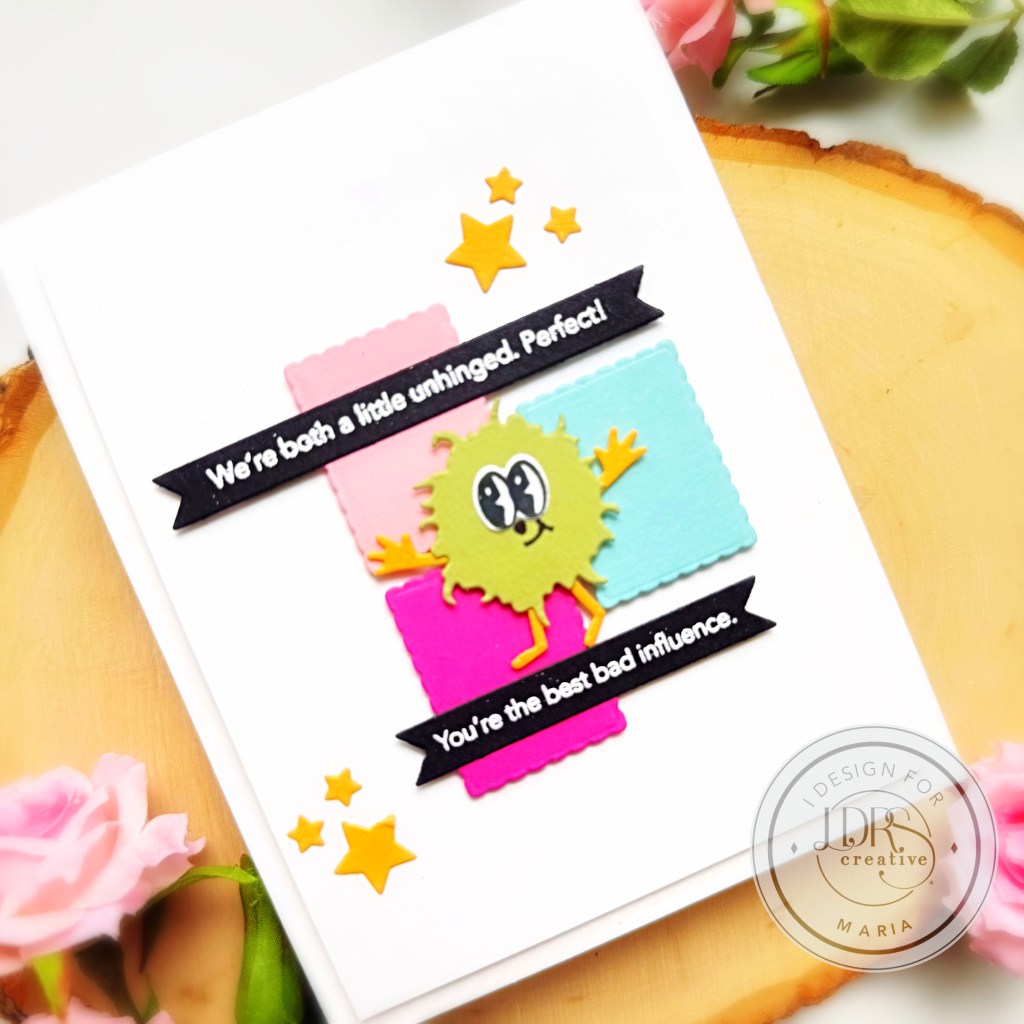
Next, I die-cut a few little Wuzzies, using the Fuzzy Wuzzies Athletic Supporter Dies. Since the Wuzzies are quite small, I used a lot of my scrap cardstock to create 3 Fuzzy Wuzzies. The first green Wuzzy was foam-mounted to the card for added dimension and embellished with yellow stars!
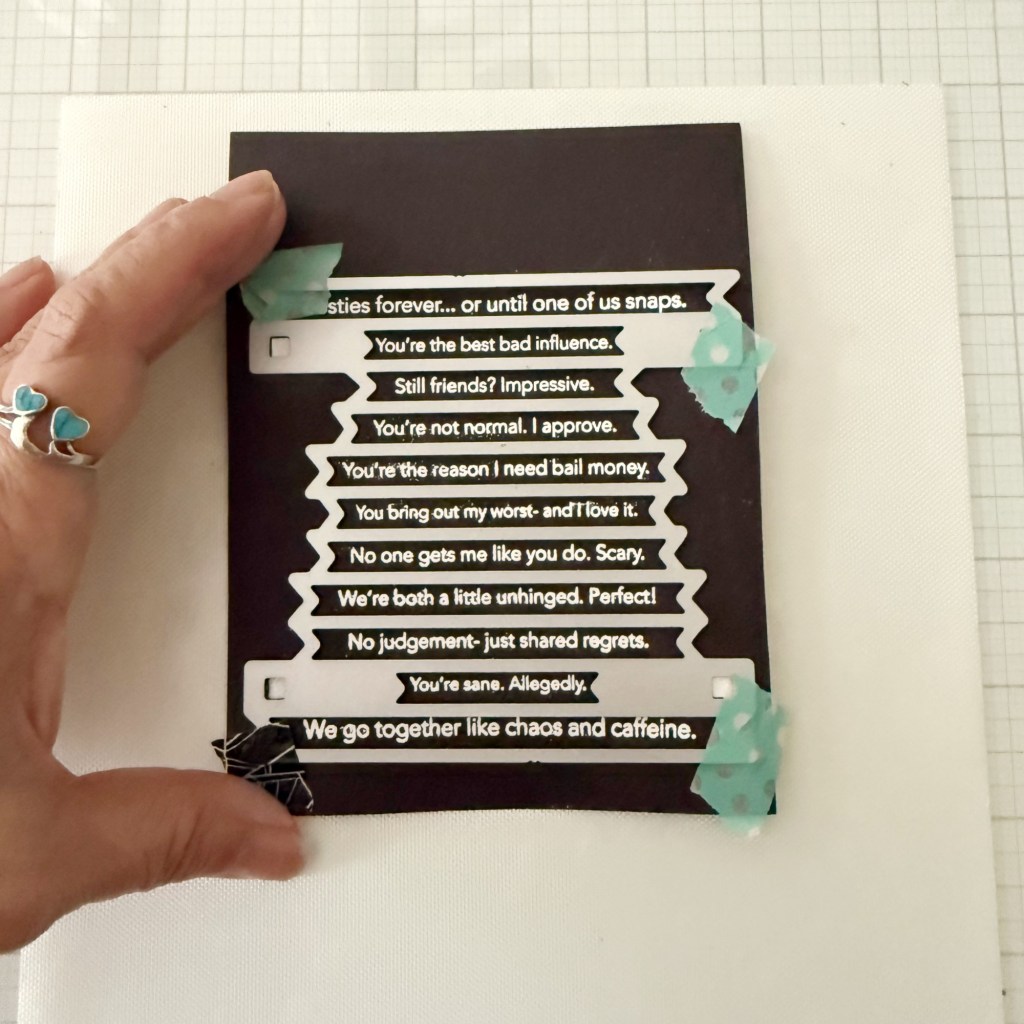
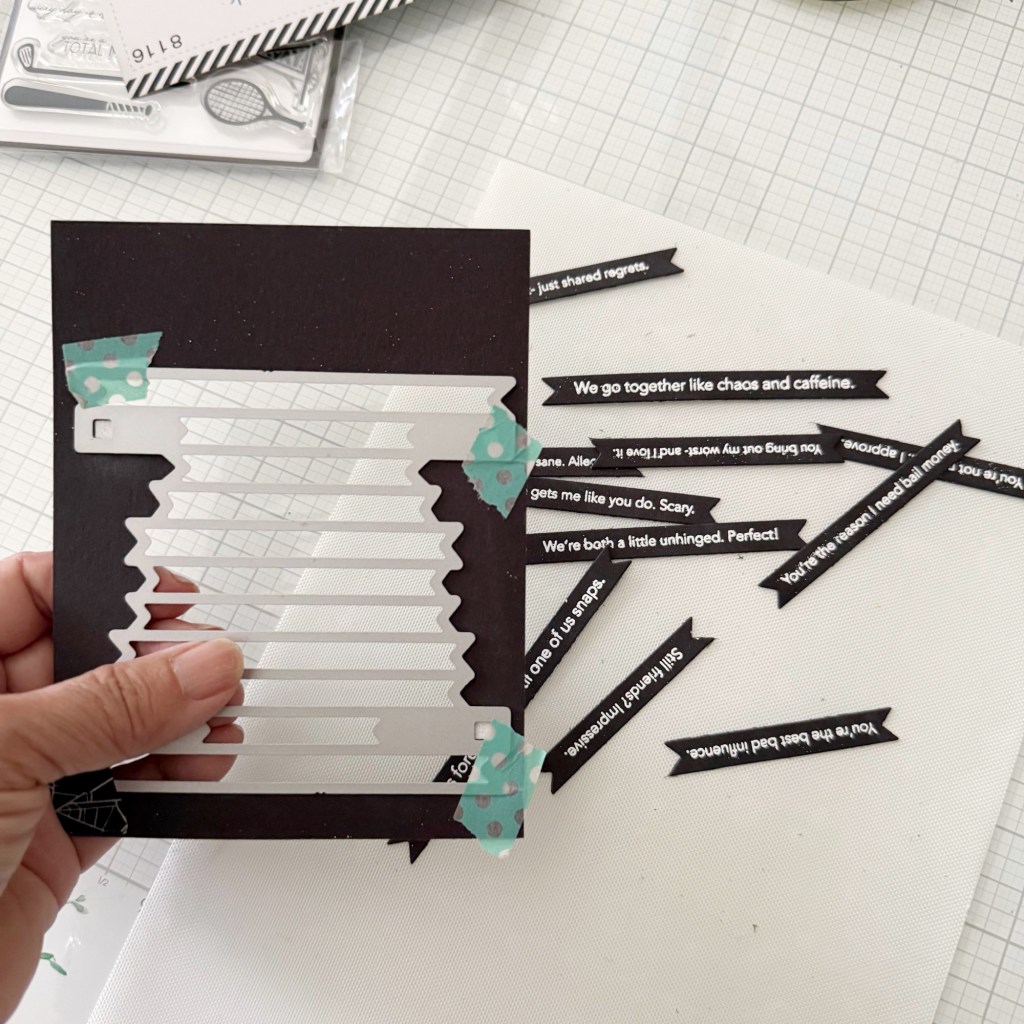
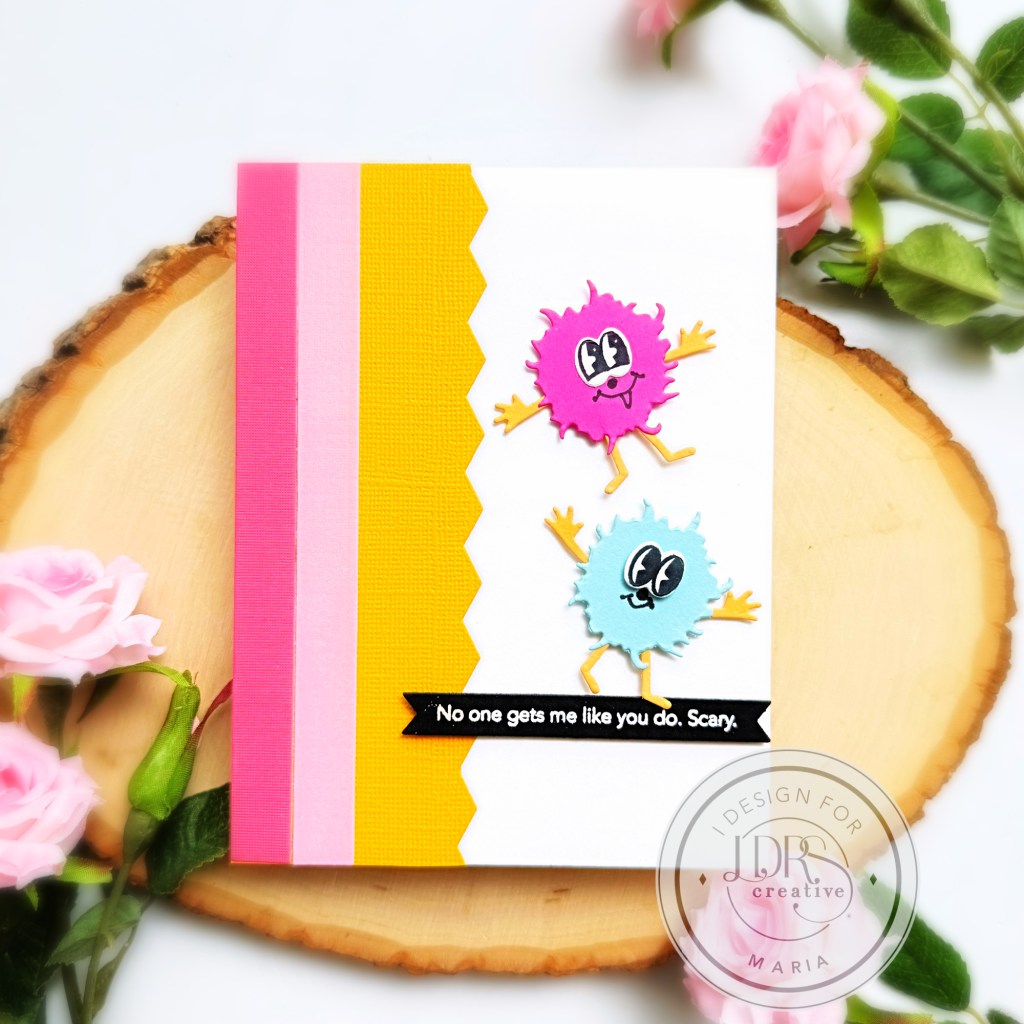
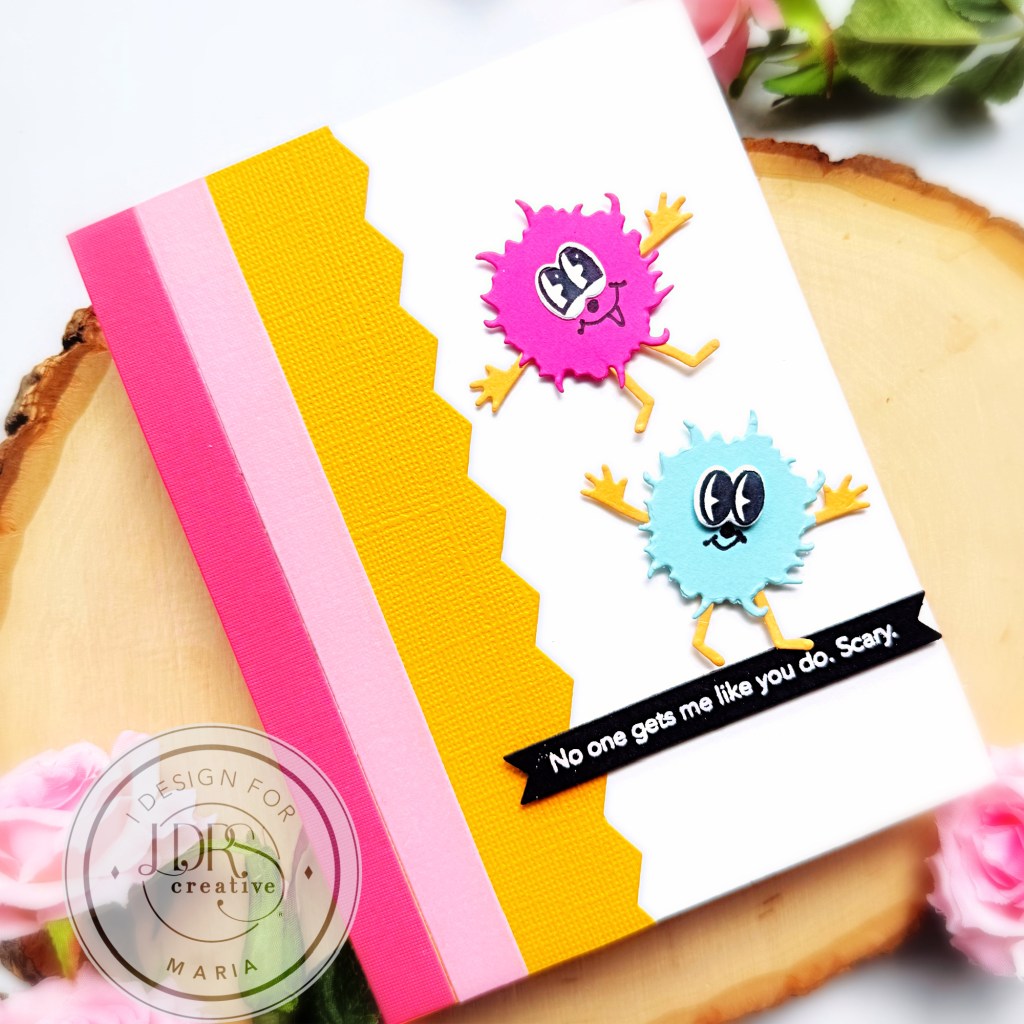
The sentiments from both cards are embossed on black cardstock using the Snarky Best Friends Stamp Set. Die-cutting these sentiments has been easy-peasy using the Sentiment Stack Coordinating Die. I have to admit that these stamps and coordinating dies have been one of my absolute favorites! It’s so easy to stamp and die-cut, creating a bunch of sentiments for future card projects!
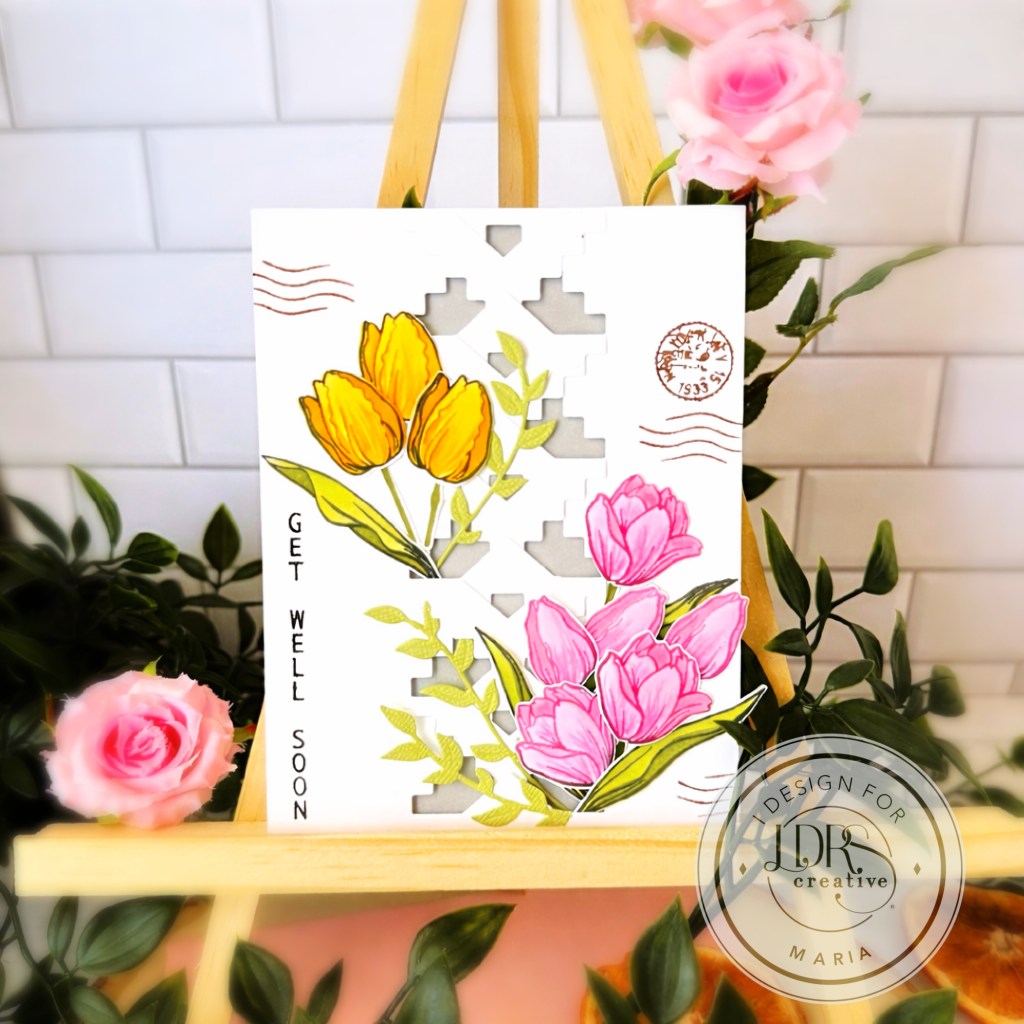
For the second card, I adhered the 1/2″ Background strips with the Zig-Zag Strip with glue. I foam-mounted two Fuzzy Wuzzies for added dimension and finished the design by also foam-mounting the sentiment strip.
The Fuzzy Wuzzies Athletic Supporter Stamp & Dies is a great addition to your collection.
I hope you enjoyed these cards! Thanks so much for visiting, and have a great day!
XO,
Maria