Just Keep Soaring with Cas-ual Fridays

Hello Cas-ual Fridays fans! Maria here on the blog with you.  HAPPY New Year’s Eve!  Is everyone gearing up for midnight with a little bit of fireworks and some great food?  I am so lucky that I am back home in Florida and will get to celebrate tonight with my husband and children, and some closed friends!

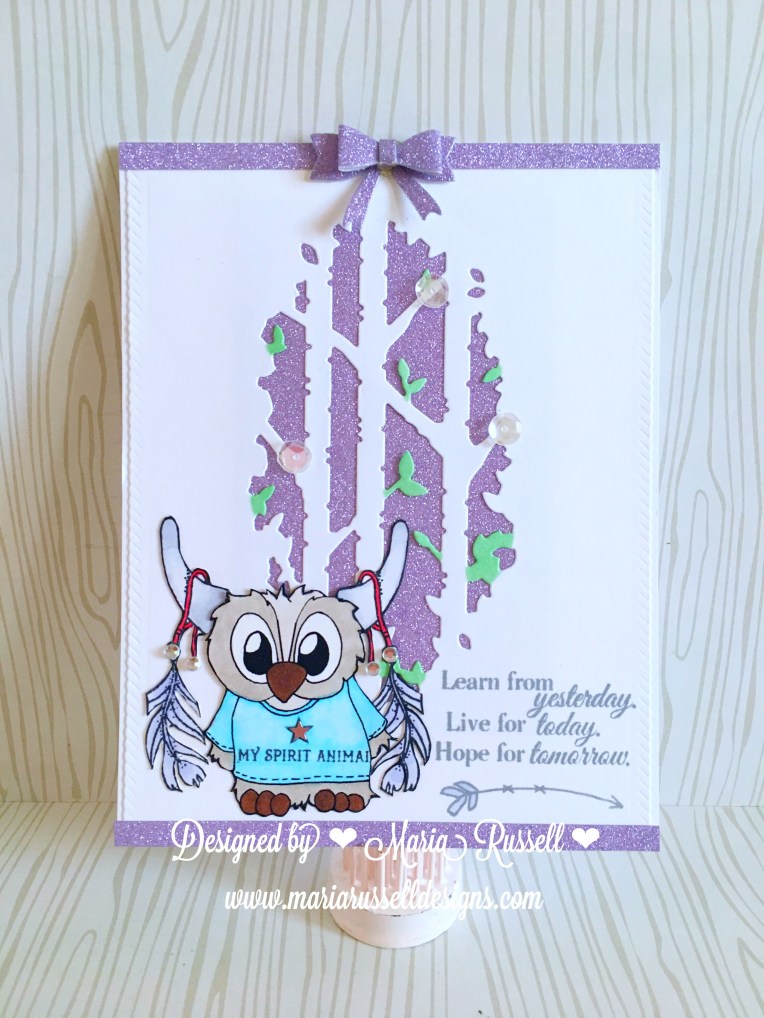
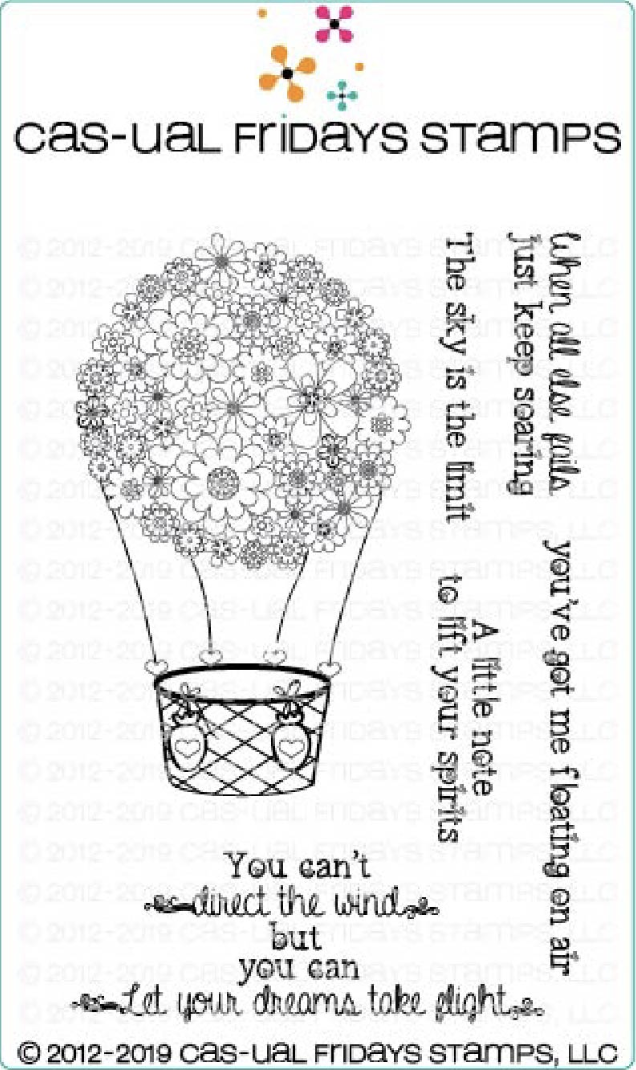
I have a little “cheer-me-up” card today, showcasing the Floating stamp set, with the Hearts A2 Panel Fri-Die.


I started by ink-blending my background with some distress oxide inks on Bristol smooth white card stock.  I set this aside to dry.

I stamped my image on some Neenah solar white card stock and colored the images in with my Copic markers.  I fussy-cut the image with my cutter-bee scissors.

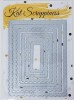
I die-cut some Neenah solar white card stock using the Hearts A2 panel fri-die.  I foam-mounted this piece on an A2 size card base.  I also adhered my main focal point on the card.

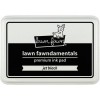
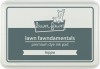
I used a die from my stash to die-cut a banner and stamped my sentiment using versamark ink.  I sprinkled some white embossing powder and heat-set using my heating tool.  I adhered this piece on my card.  Here’s what it looks like:


I love that this card is very simple, and easy to make.  I don’t think it even took me 5 minutes to finish this card.  Here’s a closer look:


I hope you like my card today.  Please don’t forget to use my coupon code below to get 15% off your order.  Have an amazing day and happy stamping!  See you next year!


Prayers & Hugs Coming Your Way

Hello everyone! It’s Maria Russell here with you today. It’s been awhile since I made a project for Kat Scrappiness. I was traveling for two weeks and if you have been following me here on my blog, you’ll probably know that I got sick. I am on the mend now but it is taking a lot longer than expected which is making me a little miserable!

I apologize that I don’t have a process video for you today because it takes awhile for me to create a project right now. I can’t sit still for so long and look down so I constantly take a break and walk so I don’t get any pains. Please bear with me as I get better and I promise to make more process videos once I am over this hump.

For my shaker card today, I am showcasing the Hero Arts Color Layering Poppy Stamps and Dies, the Prayers Stamps and Die set, with the Wood Floorboard Prints Cling stamp, as well as the White Diamond sequin mix by Kat Scrappiness, and a lot more supplies available at Kat Scrappiness online store.

I started out by stamping and layering my images on Neenah solar white card stock using three Lawn Fawn Ballet Slippers, Guava and Lobster ink. I die-cut the flowers using the coordinating dies.

I stamped my background using the wood floorboard cling stamp with light- gray ink. I wanted a subtle background for my card because I wanted the main focal point to stand out, which are the poppies!

I die-cut the prayers die using a dark gray card stock, and stamped my sentiment using the Hippo Ink on my card front.

I ran my flowers, branches and die cut sentiment using my favorite Xyron sticker maker and Mega Tape Runner. I also adhered my acetate sheet using glue dots, and created my shaker window panel with scotch foam tape. I added my favorite White Diamond sequin mix by Kat Scrappiness and adhered my window panel to my card base.

I finished off my design by sponging my Neenah white card stock with the Tim Holtz worn lipstick distressed oxide ink to match the color of the dot details on my shaker card.

Here is the card. I hope you like it and got inspired today. The supplies I have used are listed and linked below. Have a great weekend!

IMG_4893

————SUPPLIES———–


Newton’s Nook March Release – Newton’s Rainy Day

nnd_17march_releaseicon

Hello again my crafty peeps!  It is the last day of the March release at Newton’s Nook Designs.  I hope you have been checking out the posts since Monday.  You also have a chance to win each stamp set during release week so check out the details I have indicated at the end of this blog post. [Just a little important note:  I know some of you had difficulties finding the comments section.  If you would like to leave a comment to participate in the giveaway, the “comments section” will only be ever visible when a single post on Word Press is being viewed. Please click on this particular blog post and you will be able to leave a comment below.  Thank you for understanding and I apologize for the confusion.]

I am super excited to share today’s card, because it features our beloved Newton.  I am showcasing the Newton’s  Rainy Day stamp set and its coordinating dies.   This stamp set is a must-have; lots of possibilities and perfect to give to someone who is having a bad day!

NND_17MARCH_NewtonsRainyDay


I am not going to make this blog post too long as I will be sharing a YouTube video tutorial next week creating the shaker card that you see below.  Without further ado, here’s my card today:


NNDRainorShine


I hope you got inspired this week!  Thanks for stopping by my blog today.  I appreciate each and every one of you!

Would you like to win the “Newton’s Rainy Day” Stamp Set?  This set will be given away to ONE lucky winner!

Here’s how to win: 

Comment on the NND blog and Design Team blogs (see list below)! The winner will be chosen at random from the collective reveal posts. Make sure to check out each of their blogs and comment for your chance to win. You will not know which blog has been chosen so the more you comment on the better your chances are of winning! You have until Thursday March 16th at 9pm CST to comment  — winners will be announced on the blog post on Friday, March 17th.


Check out all the awesome Design Team Blogs below to enter:

Newton’s Nook Designs

Amanda Bodine

Holly Endress

Ellen Haxelmans

Larissa Heskett

Samantha Mann

Juliana Michaels

Naki Rager

Maria Russell (you are here)

Jennifer Timko

Tatiana Trafimovich

Angel Inspirational Card

I finally had the chance to sit down, turn on my music, light some candles and start creating a card that is just simply for a friend, and not design-team related.

I recently ordered these cute Angel stamp set by Sunny Studio and I couldn’t wait to play with them. I had this design idea in my head for quite sometime now and decided to create a see-through card.  Here’s a step-by-step instruction below. It seems like a lot of work but I promise you, it’s really easy!

  1. Cut the white card-base at 4 ¼ by 11 and score at 5 ½.
  2. Trim the front panel at 4 ½, leaving the front of the card with an inch.
  3. Cut an acetate sheet measuring to 4 ¼ by 5 ½
  4. Adhere the acetate sheet behind the 1-inch flap. This will create the window part of the card.
  5. Using the leftover card stock that I just trimmed from the front card-panel, I used my Clouds border die to cut 3 different clouds pieces to create my “clouds”.
  6. Using my sponge, I distressed the clouds with Tim Holtz Spun Sugar and Shaded Lilac distressed inks. I wanted the card to have a unique pink and purple color.
  7. I then adhered the clouds on the front panel of the card. One cloud on top, and two at the bottom.
  8. I cut another white card stock measuring 4 1/8 by 5 3/8. Using my sponge again, I distressed the card stock with the same colors that I used for my clouds.
  9. I adhered this card stock on the inside of my card (I wanted to use the same colors that I used for my clouds for the inside of the card).
  10. Using my Memento Tuxedo Black Ink, I stamped the angels, cloud and lantern images on Neenah solar white card stock.
  11. I used my Copic markers to color the images.
  12. img_2551
  13. Using the coordinating dies for the angels, I die-cut the images with my big shot machine.
  14. I used my ATG tape runner to adhere the Angels on the front panel.
  15. I used my mini-glue dots to adhere the lantern on the Angels’ hands.
  16. Using my Ranger Multi-Medium Matte adhesive, I adhered the little purple star sequins by Kat Scrappiness to decorate my card further.
  17. I stamped the sentiment inside the card, using my Lawn Fawn Hippo Ink.


Here are the photos of the finished card. I inserted an LED tea light so that my friend can also use this to display in her craft room.


img_2556

img_2557

img_2558


I really love how this card turned out. Would you give it a try? I would love to see your version of my design.

The supplies I have used are listed and linked below. Thanks so much for stopping by and have an amazing day!

SUPPLIES:

Live the Life You Dream About-JessicaLynn Original Stamps

We are finally launching this amazing stamp set at www.jessicalynnoriginal.com called “Live The Life You Dream About ~ Spirit Animal”. This is a little bit of a change from Jessica’s artwork in the past, but I am so in-love with this set!

I love the dream catcher image on this set. My daughter and I love dream catchers and I have them all over my house. I even have them in my car (no joke!).   The sentiments that Jess included in this stamp set are all so inspirational.

For the vellum card, I first stamped the image using Versamark ink and heat-embossed it with my white embossing powder. Once it dried and cool to the touch, I turned the vellum upside down and colored the image from the back with my Copic markers. I used R83 and R85 for the dream catcher. Once I was happy with the colors, I proceeded to die-cut my card base and the decorative scallop trims using a light tan card stock. I wanted my dream catcher to be the focus of the card. I die-cut the “Believe” script sentiment using Neenah solar white card stock, and adhered it on the front of my card.  I finished the design by adding a pink vellum bow, and pearls to the dream catcher.

img_2243

For the second card, I wanted the focus of the card to be all about my spirit animal. I have always believed that my spirit animal is an Owl. What better way to showcase the stamp set and Jessica’s digital stamp of Brentwood Owl by combining them both! I altered the stamp a little bit so I can adhere it to Brentwood. I wanted my card scene to look like an enchanted forest so I used my Birch Tree Window Die from Simon Says Stamp. I think using the glittered paper behind it made it more magical!

img_2293

I hope you like my cards today, showcasing Spirit Animal stamp set by JessicaLynnOriginal. If you would like to purchase this stamp set, please head on over to: https://www.jessicalynnoriginal.com/jessicalynnoriginal-live-the-life-you-dream-about-spirit-animal-clear-stamp-set/

Have a great weekend!

Supplies used:

https://static.inlinkz.com/ppr.js