Haunted Mansion Pockets Pals by LDRS Creative

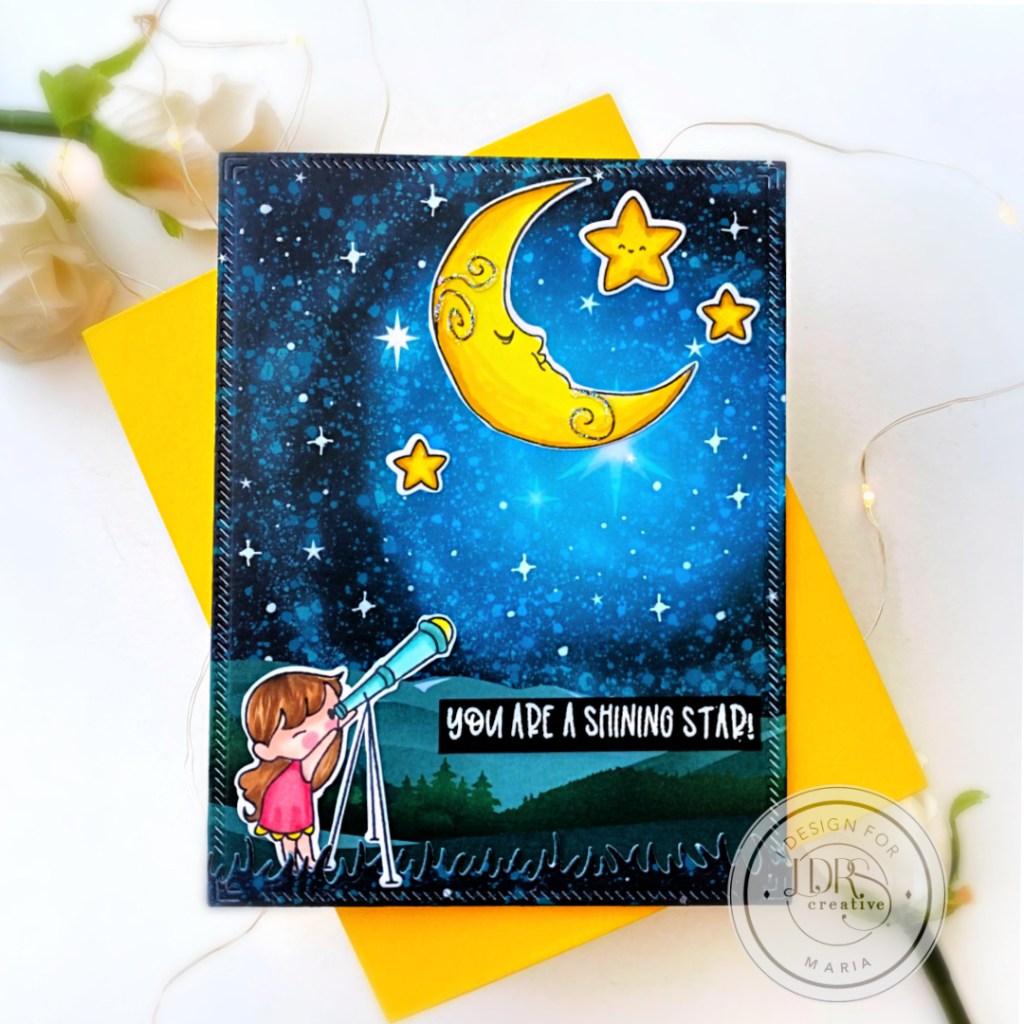
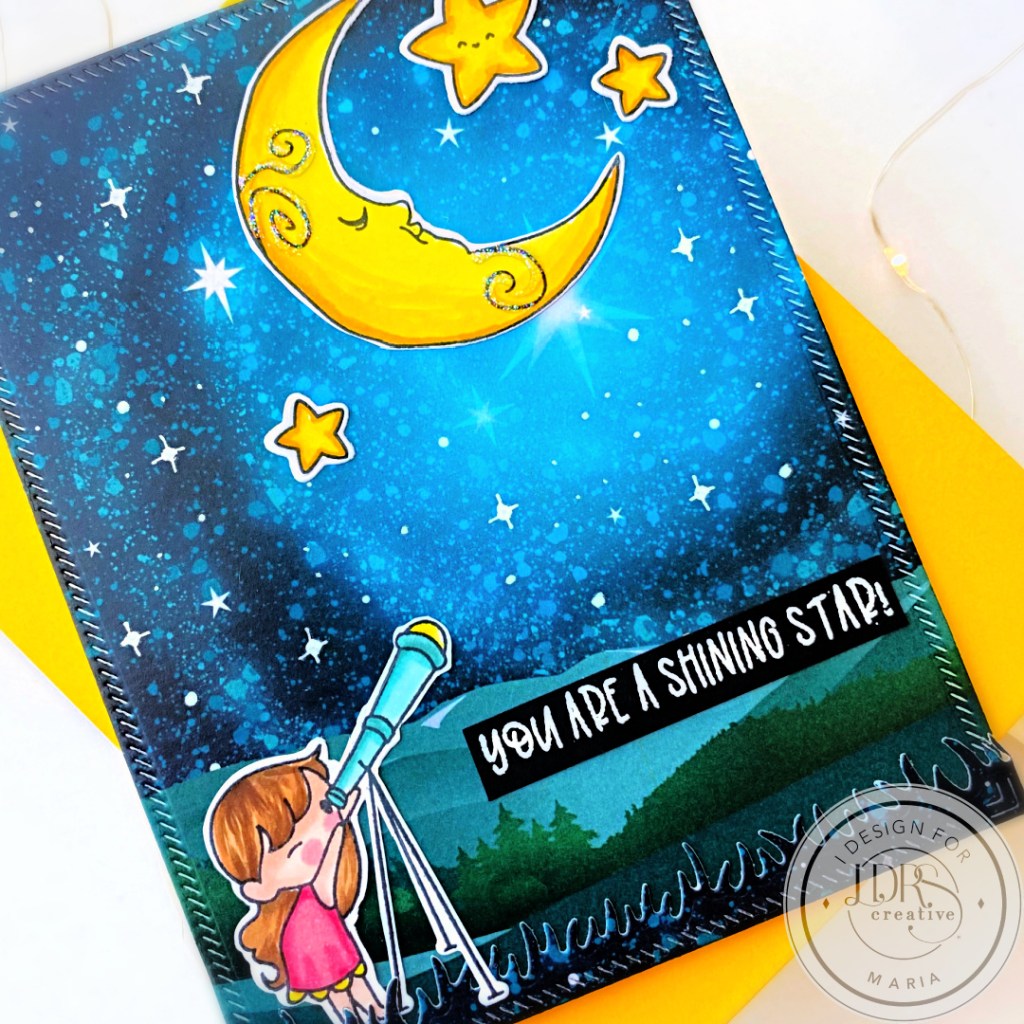
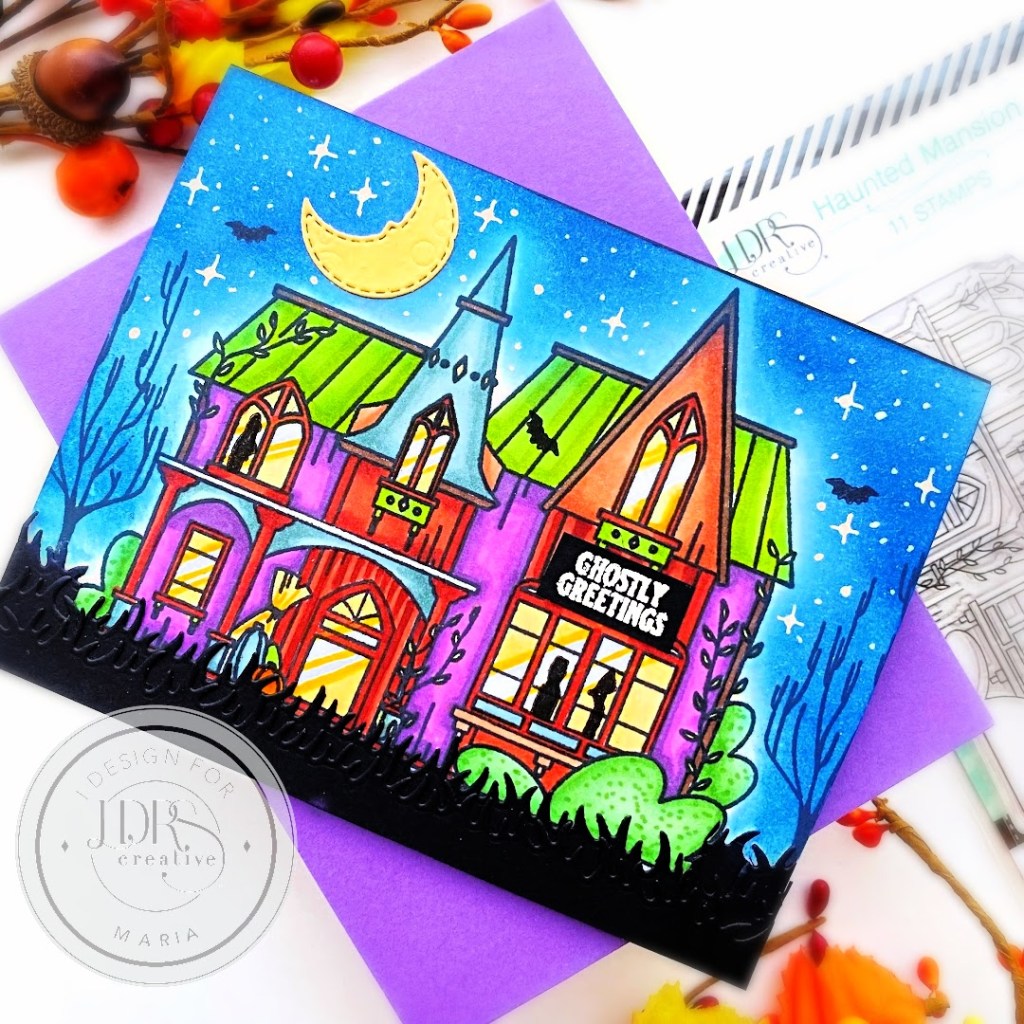
Hello!  I have a SPOOKY card for you guys today, featuring the Haunted Mansion Pocket Pals stamp set from the LDRS Creative new Fall/Halloween Collection.

I started by stamping the Haunted Mansion image on some Neenah Solar White card stock with Raven Hybrid ink [this ink is perfect for using with either watercolor or alcohol markers].  I colored the images in with alcohol markers.  My color palette was inspired by the packaging itself.  I definitely LOVE that LDRS Creative gives you ideas on how to color the stamps.  I wish more companies will do this with their packaging.

Next, I carefully ink-blended the background using Dark Wash Jeans Hybrid ink and some blending brush to create the night sky.  

To create a spooky effect, I stamped the little “ghosty” images and the bats on the window and background with Raven Hybrid ink.  I also die-cut the grass panel twice on some black card stock using the In the Grass Die Set.  I adhered these on the card with liquid glue.

Now that my scene is almost finished, I decided to add the moon that I die-cut using the By the Light of the Moon Die Set.  I also stamped the sentiment on some black card stock with LDRS Watermark ink.  I sprinkled some White Embossing Powder and used heating tool to heat-set the sentiment.  I fussy-cut the sentiment and adhered on the card.

Lastly, I used some white gel pen to add some dots and stars for added texture and interest.  Here’s another look at the finished card:

I hope you like this card today and got inspired. Below, you will find links to the supplies used to create this project(s). Where available, I use compensated affiliate links at no extra cost to you. Your support helps me to keep bringing you new projects and inspiration. Thank you for stopping by, and have an amazing day!
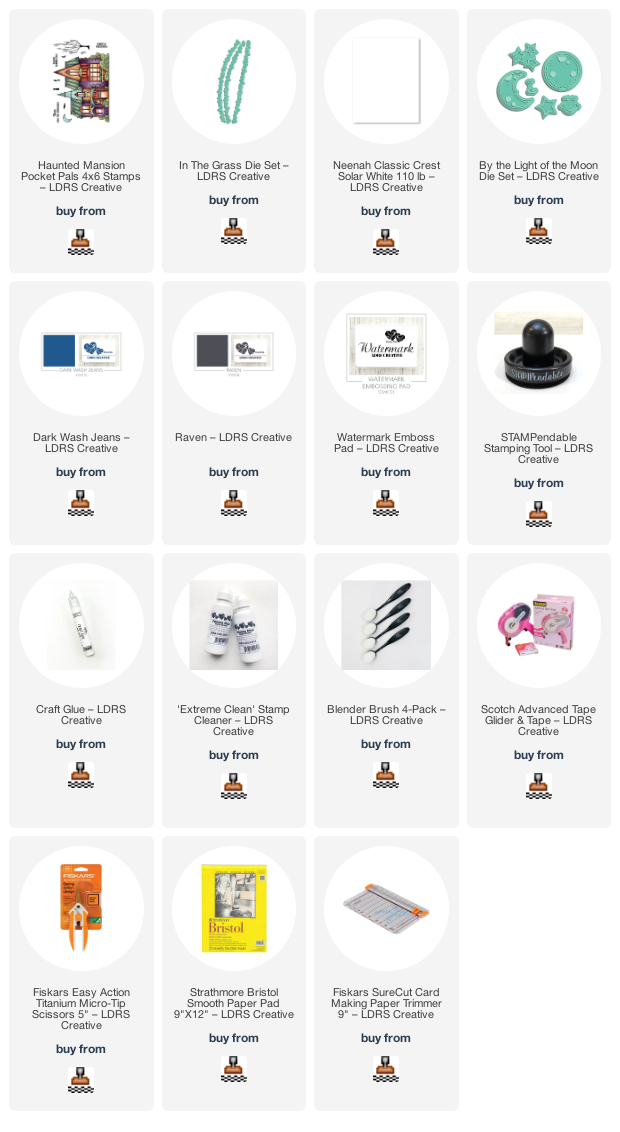
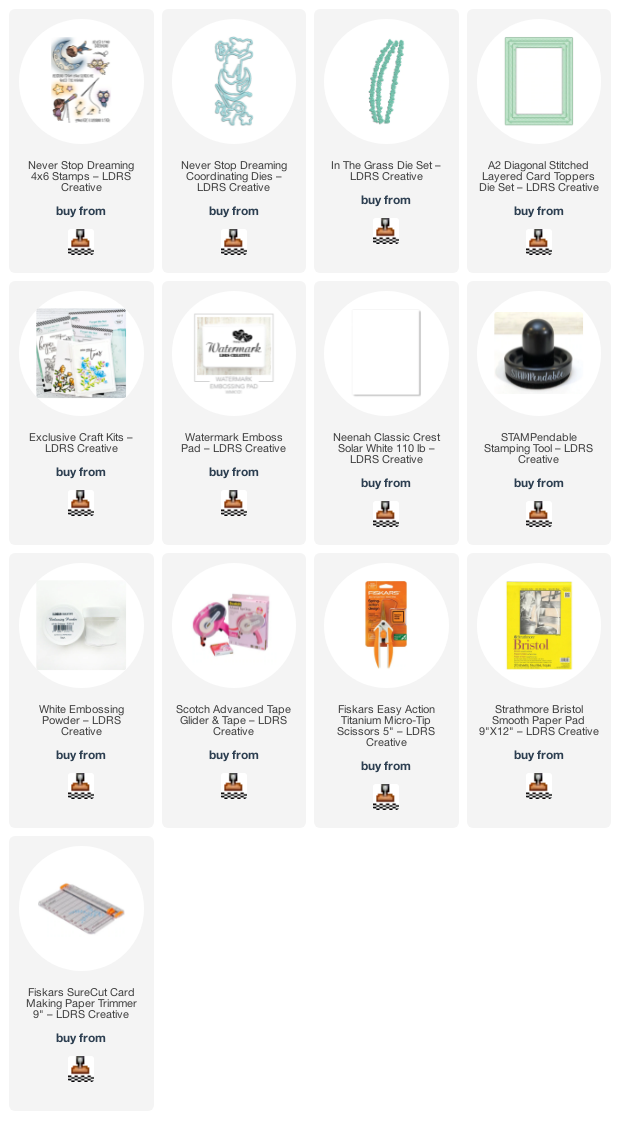
——–SUPPLIES———

You Are a Shining Star with LDRS Creative’s January 2022 Release

Hello everyone!  I’m sharing this cute and simple card today showcasing the ADORABLE Never Stop Dreaming Stamp Set and Never Stop Dreaming Dies, with the A2 Stitched Layered Card Toppers Die Set and In the Grass Border Dies

To make the card, I placed the stamps from the Never Stop Dreaming Stamp Set inside my stamping tool and stamped the images on some Neenah Solar White Card stock using Raven Hybrid Ink.   I stamped the images with the help of the Stampendable Stamping Tool  to get some really good impression.  I colored the images in with alcohol markers and used the Never Stop Dreaming Dies to cut them all out. 

The background is a pattern paper from a previously released Exclusive Craft Kit  that I die-cut using the  A2 Stitched Layered Card Toppers Die Set.  [Side note: y’all need to check the Exclusive Craft Kit  as they are packed-full of crafting goodies that you can use over and over again]. I used my white gel pen to draw dots and starbursts to the background for added texture and interest. I adhered this panel on some A2-size notecard.  Since the paper is 6×6, I cut the extra using the In the Grass Border Dies.  I adhered the grass panel to the background panel with some 1/8 inch double-sided tape.  Other than that, I didn’t really need to do anything else since the background already has everything to create my scene.

Next, I adhered all of the images on the card with glue.  Since I needed the sentiment to stand out on the card, I stamped it on some black card stock using Watermark Ink.  I sprinkled some White Embossing Powder and heat-set with my heating tool.  I cut the sentiment using the Fiskars Paper Trimmer and adhered on the card with double-sided adhesive.  I finished my design by using some white gel pen to draw dots and stars on the background for added texture and interest.  I also used some Stickles to add some shine to the moon.  Here’s another look at the finished card: 

 I hope you like my card today and got inspired.  The supplies I used are listed and linked below.  Thanks for stopping by and happy stamping! 

———SUPPLIES———-