Launch of Toy and Working Dog Breed Stamp Sets by JessicaLynnOriginal

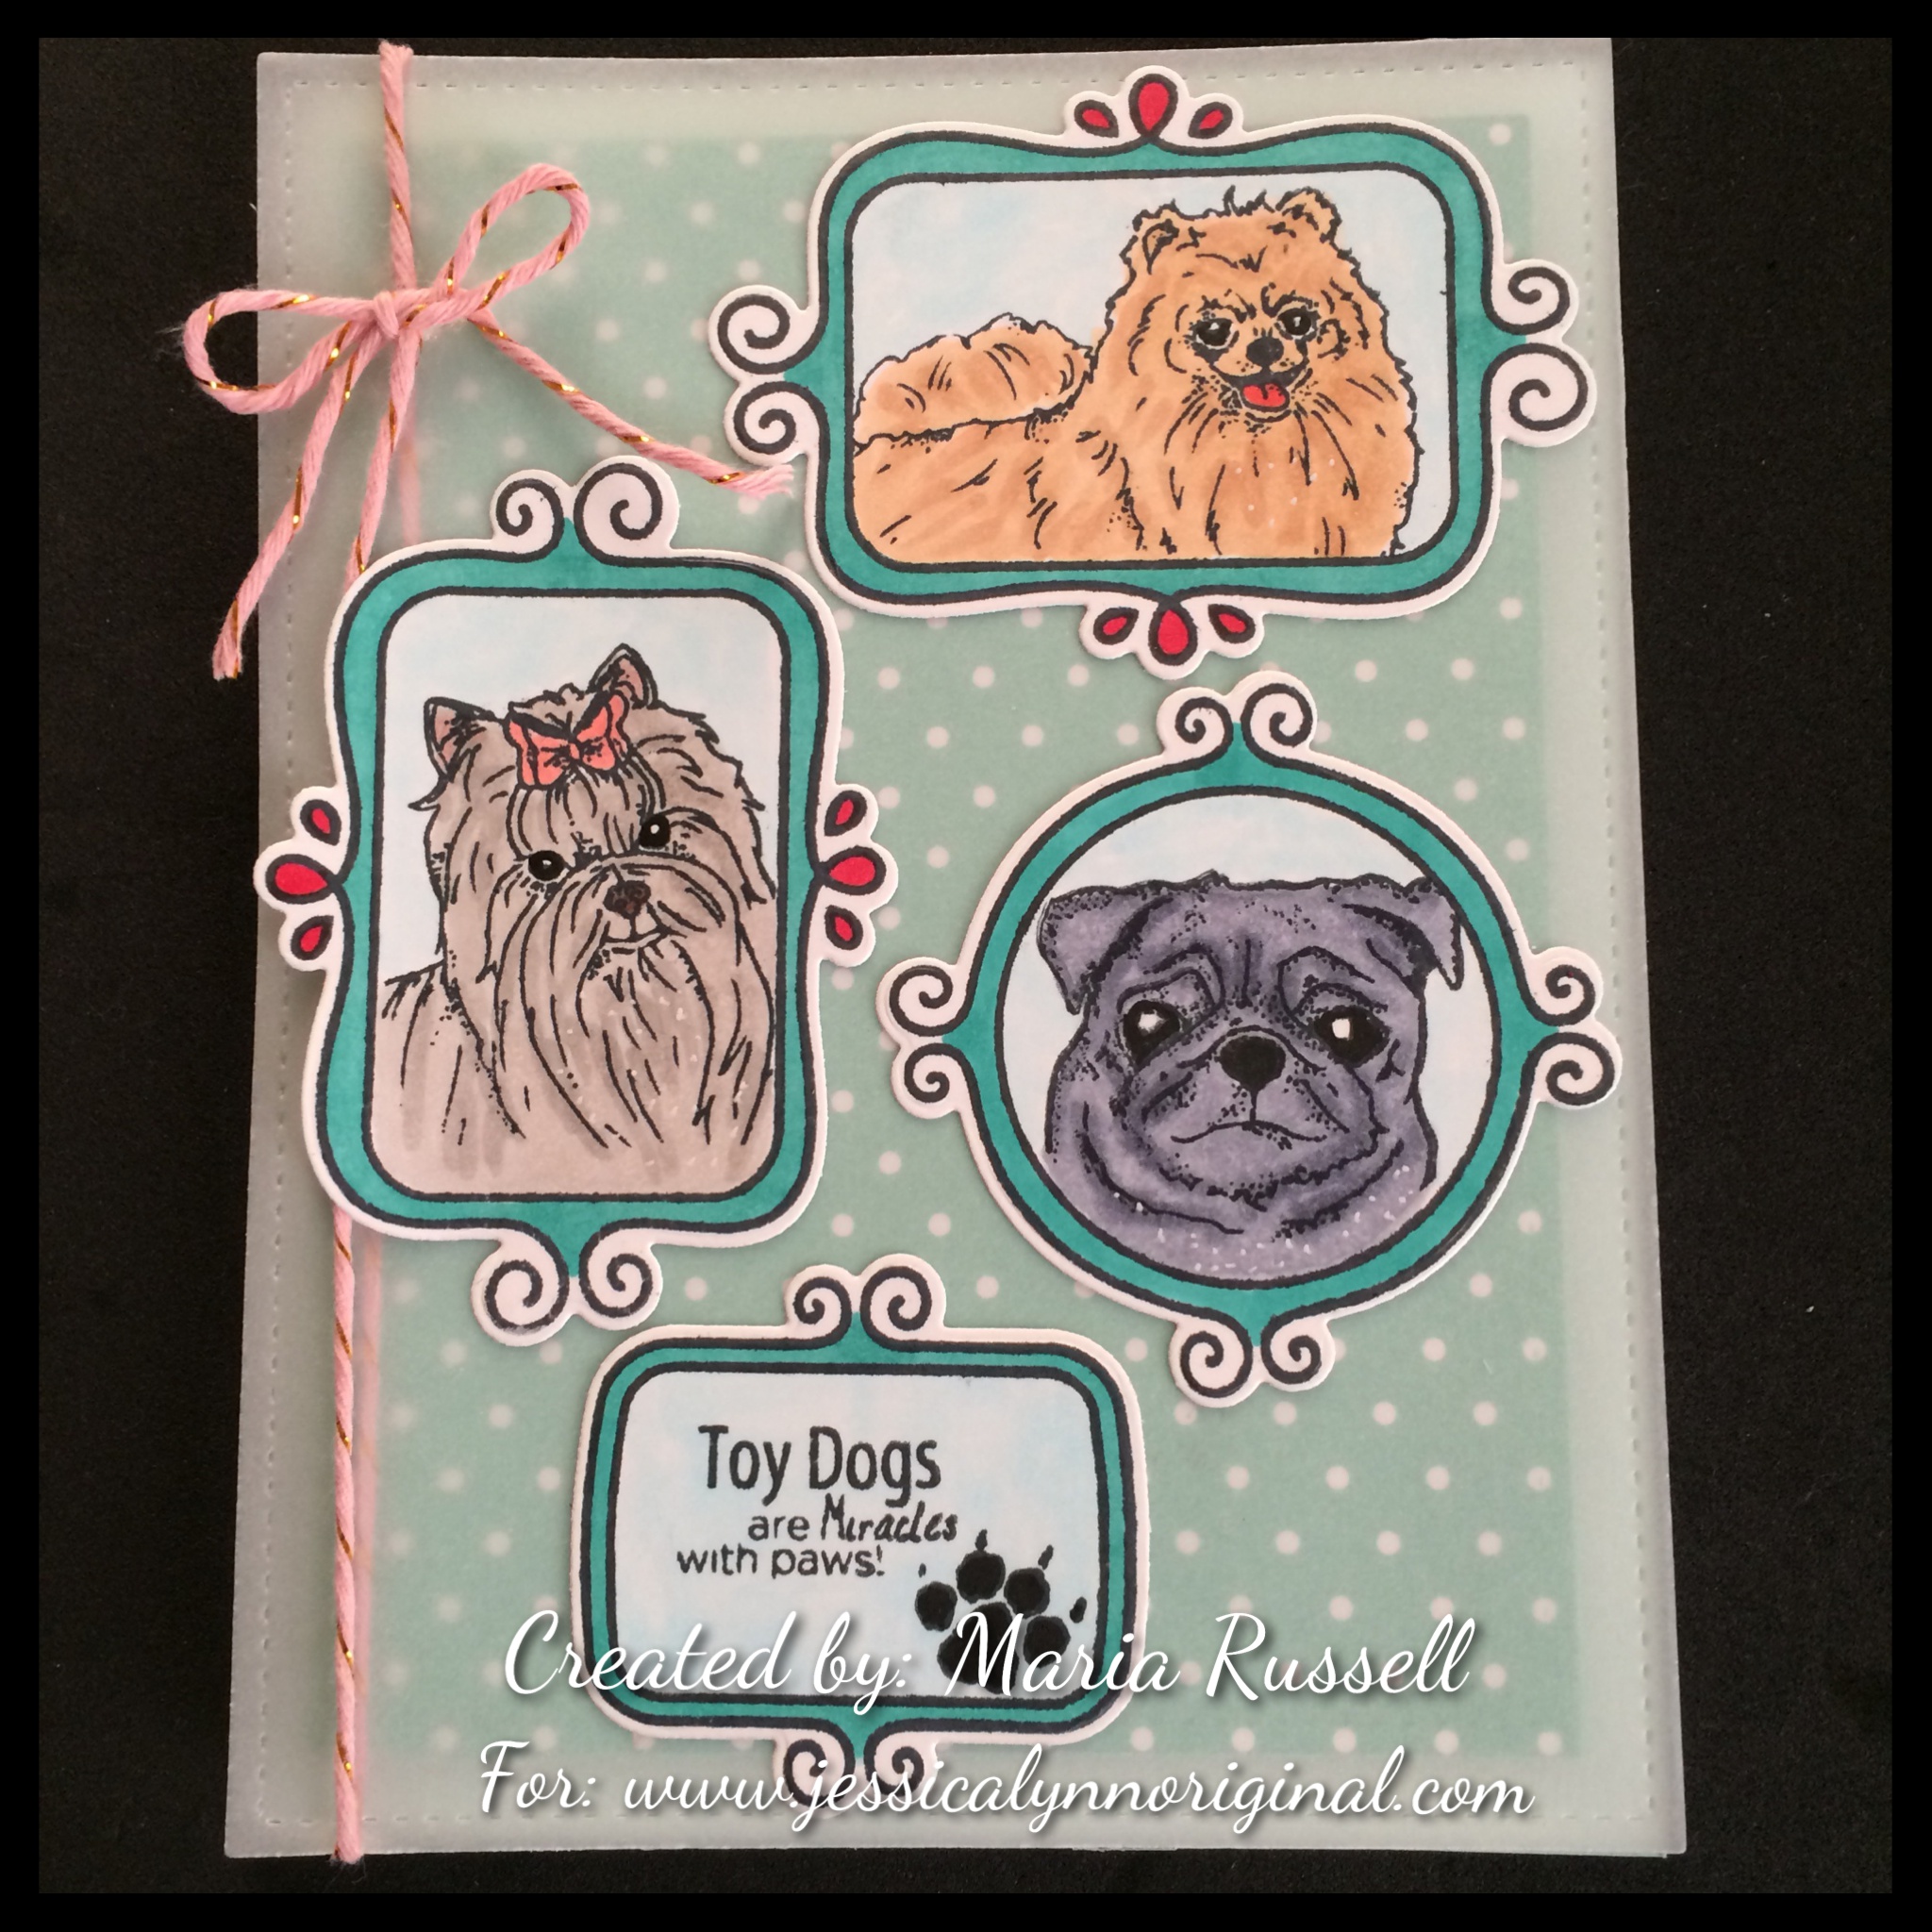
I am really excited to share today’s blog post. We are launching two wonderful new stamp sets at Jessica Lynn Original called “Toy and Working Breed”. I have always loved dogs! I grew up with them and I can’t imagine not having a dog in my life. They are amazing, loving, funny, faithful – truly a man’s best friend!

The toy breed stamp set is very special to me. The Chihuahua image that Jessica has for this set had a striking resemblance to my beloved pet, Chi-Chi. Chi-Chi was my constant companion and I took her everywhere with me. She was very stylish and had outfits for every occasion. She was super spoiled! I lost Chi-Chi in 2013 and I was really sad for a long time that I still couldn’t bring myself to getting another Chihuahua.

IMG_1085

When I first received the stamp set, I really had a hard time trying to think about card designs. I’ve always loved stamping, but I’ve never had stamp images that are so life-like, it was honestly hard to get creative. I am a novice with Copic markers so it was really hard for me to color the images and make it look realistic.

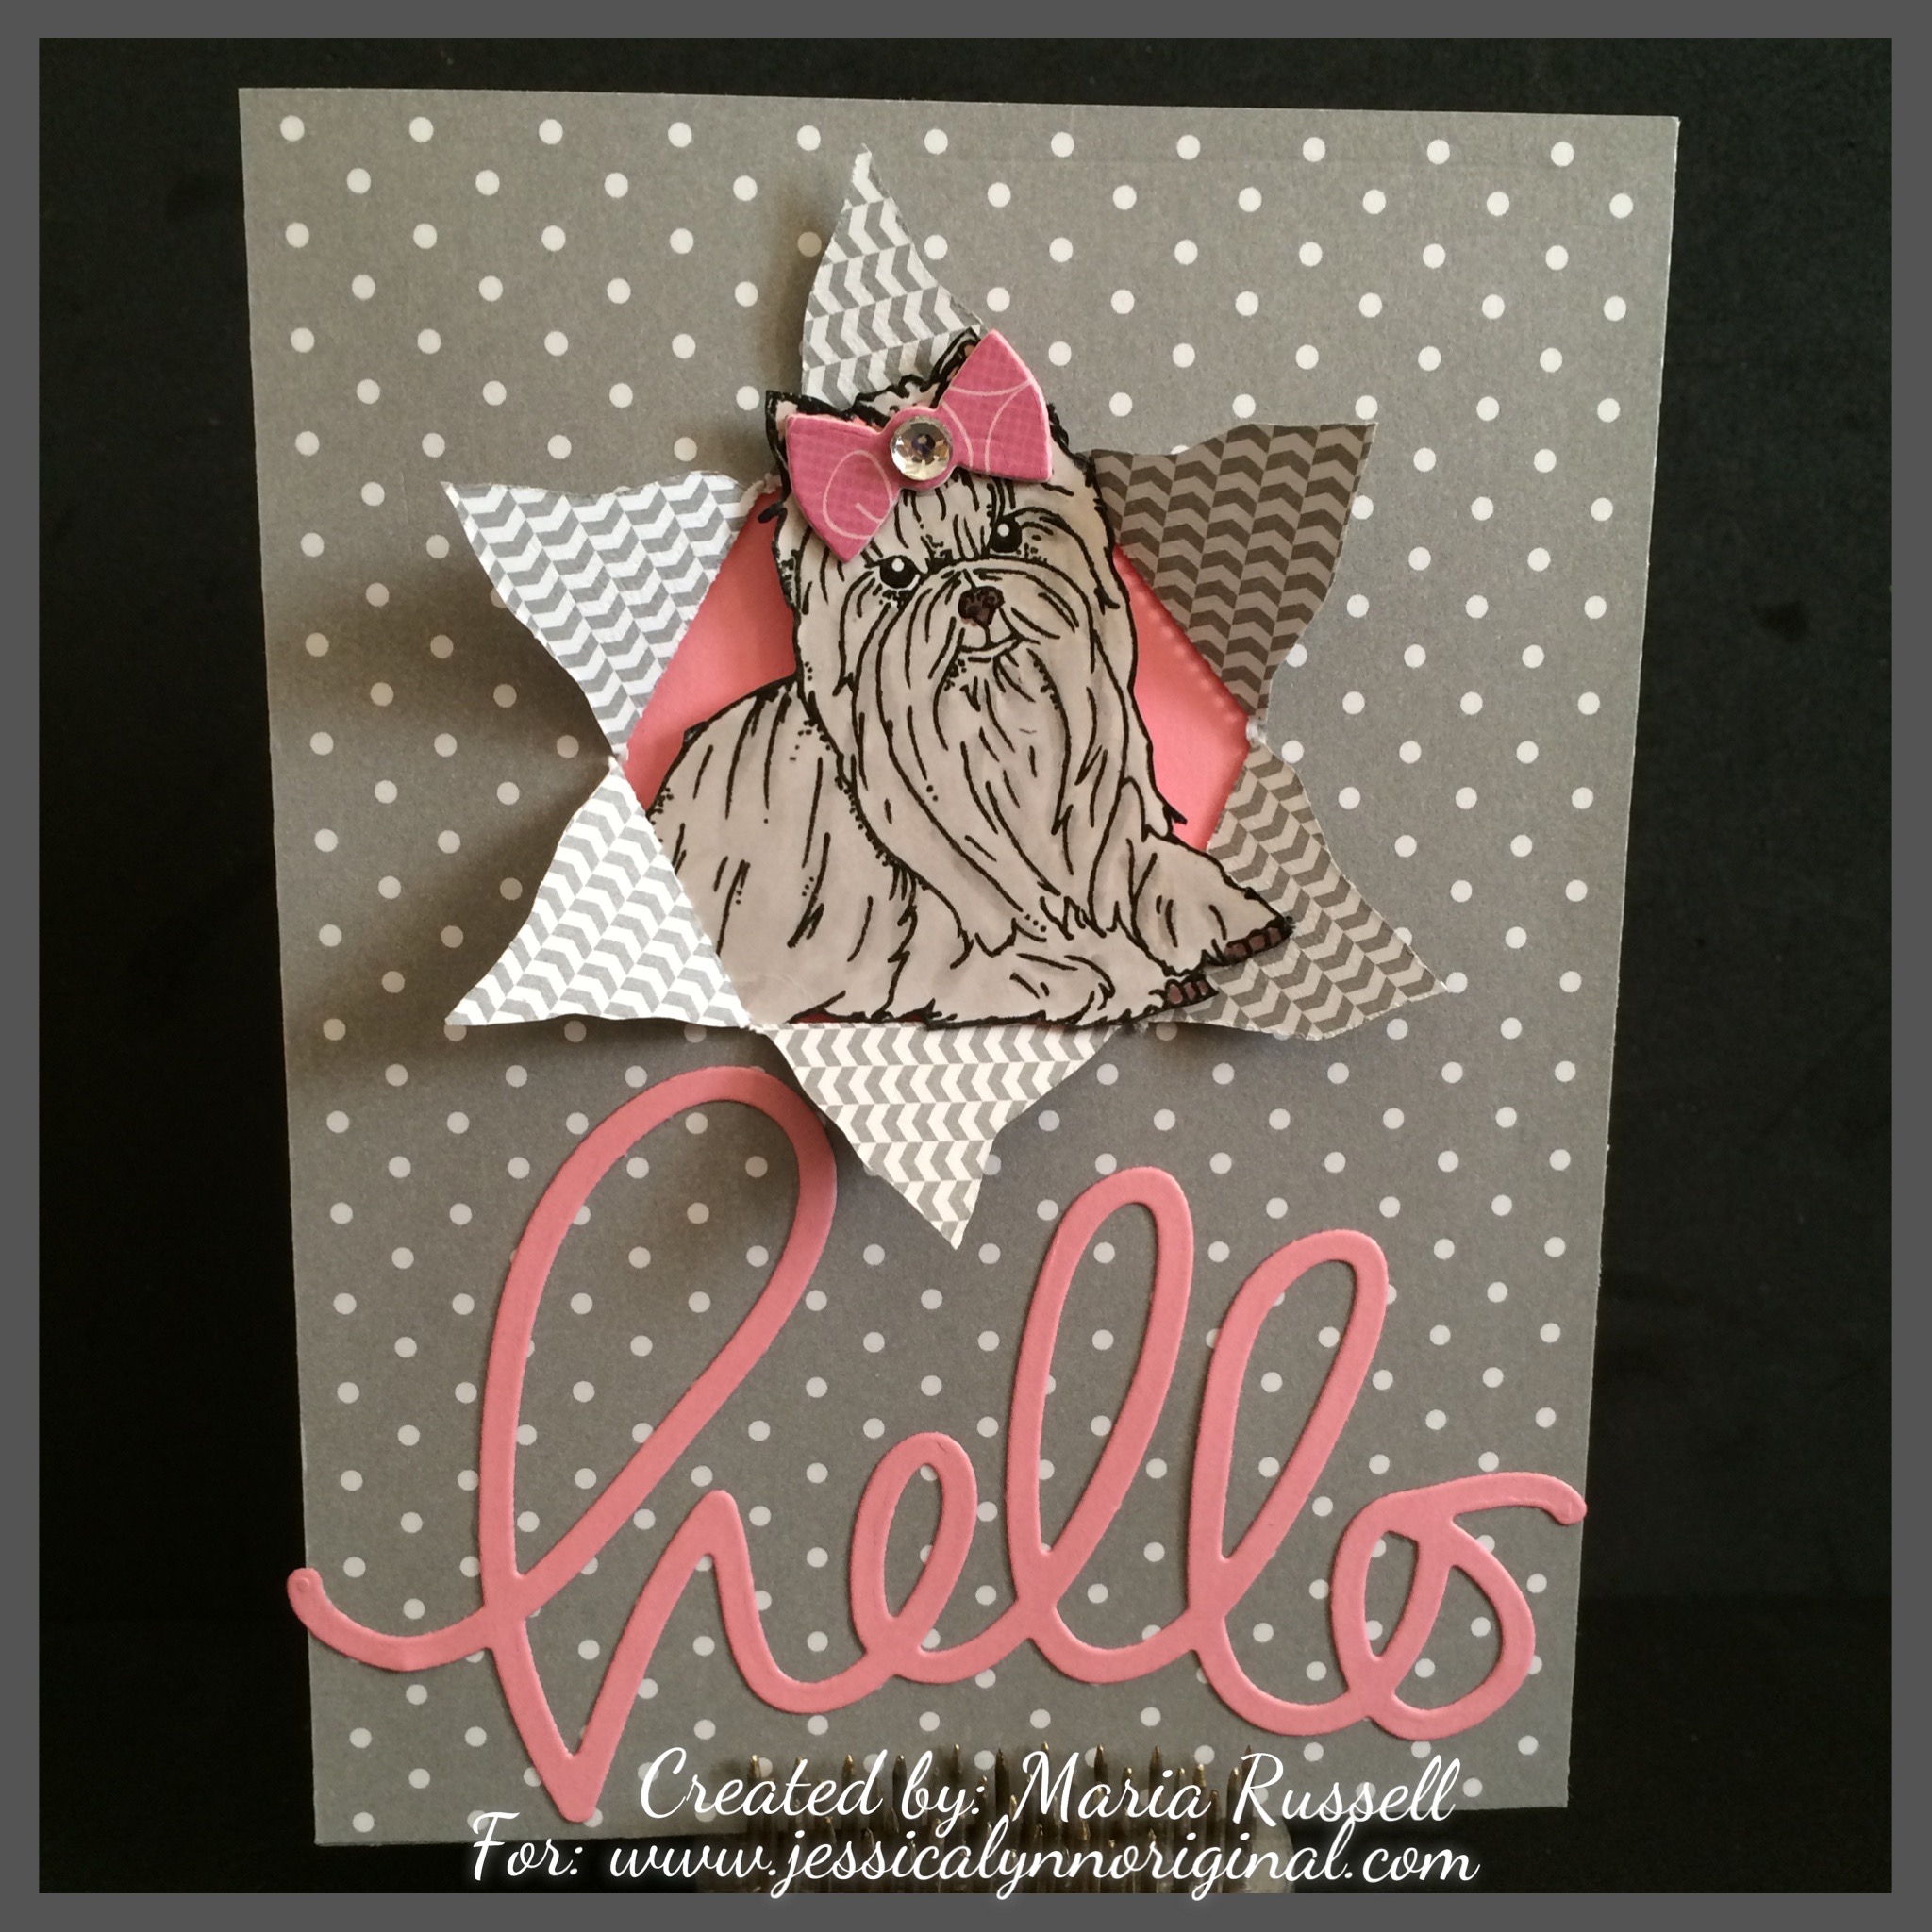
I decided to stamp and color a couple of the images on white card stock. I then fuzzy-cut the images and gathered my card supplies but when it came to putting the card together I was just stumped! I made one mistake after another.  I just couldn’t get creative! I left it alone for a few days and decided to look at Chi-Chi’s old photographs! For some reason, I had a light-bulb moment and got my crafty mojo back. I started with a simple card below, but then since I had all the other images already cut and colored, the ideas just kept coming. I guess it’s obvious since this is the very first time I actually have 4 card samples and one Doggie Treat bag for the launch.   You can tell I had so much fun playing around with the stamp images, I used a lot of my dies to “dress-up” the dogs.

I am not going to list all of the dies that I used for the cards because I would like to eventually post a YouTube video showing you how I made some of the cards, as well as the doggie treat bag.

Please let me know what you think about the cards or if you would like to see a tutorial for any of the cards I’ve shown today. Which one is your favorite? To order your sets, here is the link to the toy dogs stamp set: http://www.jessicalynnoriginal.com/jessicalynnoriginal-akc…/ and the link to the working breed stamp set: http://www.jessicalynnoriginal.com/jessicalynnoriginal-akc…/

Have a great weekend and happy crafting!

Created by Maria Russell for http://www.jessicalynnoriginal.com
Processed with Moldiv
Birthday Pop-Up Card by Maria Russell for http://www.jessicalynnoriginal.com
Created by Maria Russell for http://www.jessicalynnoriginal.com
Processed with Moldiv
Created by Maria Russell for http://www.jessicalynnoriginal.com
Doggie Treat Bag Created by Maria Russell for http://www.jessicalynnoriginal.com

Santa’s Magical Key

Are your kids worried about Santa not being able to enter the house to bring presents because you don’t have a Chimney? Lol! Then you can solve this problem by making this project.

 The Poem:

Dear Santa,

We don’t have a chimney

And I was worried as could be

About how you’d bring the

Presents to my family & me…

But now I’ve solved the problem

And I’m not sad anymore

For hanging from this ribbon

Is the key to our front door!

Materials You’ll Need:

Card Stock ( 11 by 4 ½ inches)

Designer Series Paper (cut at 8 X 4 inches)

Designer Series Paper (cut at 4 x 2 ½ inches)

Envelope Punch Board

1 3/8 Circle Punch

Key (I found mine at Michael’s)

Other Embellishment to decorate your tag

Scissors

Adhesive

Trim or Ribbon

Do some crafting with your kids and create great memories!

Witch’s Spell Books

Alter some paper-mache books that you can get from a craft store and turn them into a Spooky Witch’s Spell Book! Decorate it with some cheap items found at the Dollar Tree and other inexpensive items that you can get from the craft store. This will be a perfect weekend project with your kids, or grand kids. Just please make sure you do the hot-gluing 🙂

Materials Used:

3 Paper Mache Books (bought from Michael’s)
Mod Podge
Immortal Love paper stack from DCWV
Hot glue gun and hot glue sticks
Black silk Roses (Dollar Tree)
Eyelash Trim (my own collection)
Tattered Angels Glimmer Mist (to make the flowers stand out)
Red Roses (20mm~I think from Wild Orchid Crafts)
Creepy Cloth (Dollar Tree)
Tim Holtz Distress Crackle Paint (Clear)
Tim Holtz Ornate Frame
Chipboard and Card Stock
Black Acrylic Paint
Gunmetal Acrylic Paint
Tim Holtz Book corners
Creepy Skeleton Hand (Michael’s)
Plastic Rat (Dollar Tree)
Plastic skull with hands (Dollar Tree)
Skull Cameo (Hobby Lobby)

Gatefold Shutter Card

When I saw this video posted by France Martin, I immediately wanted to recreate this card and share with my subscribers.  I thought this card is not only unique, but also stylish.  I wanted to make my version a lot easier and I hope I achieved that on this video.  I chose a simple black and white color scheme and I thought it turned out so pretty.

Materials Used:

Card Base — Very Vanilla Card Stock — cut at 8 ½ by 5 ½, then score at 2 1/8 and 6 3/8

Shutter — Basic Black card stock (2 pieces) — cut at 3 ½ by 4. On the 4 inch side, score both pieces at ½ inch. Then on 3 ½ side pencil mark at 1 ¾ then mark at 2 inches to find the center so you can cut the fish tail for the shutter.

Center Piece — Basic Black card stock — cut at 3 by 5 ½. DSP cut at 2 ¾ x 5 1/4 . Adhere together using your TG or tombow glue. Use your large circle punch or circle framelits to cut a hole on the middle piece. This will create the window to your shutter card.

Shutter DSP — DSP cut at 5 ¼ by 1 7/8.

Bellyband — 1 by 11 inches. Fold on your card to create the bellyband. Don’t make it too tight so it can still slide in and out. Decorate according to your style.

TOOLS:

Score board and scoring tool or stylus
Bone Folder
Stampin Dimensionals or foam dots
Mini Glue Dots
Rhinestones
Adhesive (tape runner of Tombow glue)
Ruler
Pencil
Scissors
Circle Framelits (about 1 ¾ inch. In diameter)
Pansy Punch
Boho Blossoms Punch
Petite Petals Punch


Christmas Project No. 1 ~ Santa Gift Box

A fun project (and really easy) using a couple of punches and your card stock. Make these boxes for Christmas.