Happy Haunting ~ Lawnscaping Challenge No. 112 ~ Embossing

Good morning crafters!  I wanted to start my Halloween cards early this year so when I checked my emails and received a notification for another Lawnscaping Challenge, I just couldn’t resist.

For my card today, I am using the Lawn Fawn Spooktacular stamp set, Sweater Weather stampset and their coordinating dies, Grass Border and Stitched Rectangle dies. These stamp sets and dies are so much fun and so versatile; you can mix and match them for any occasion.
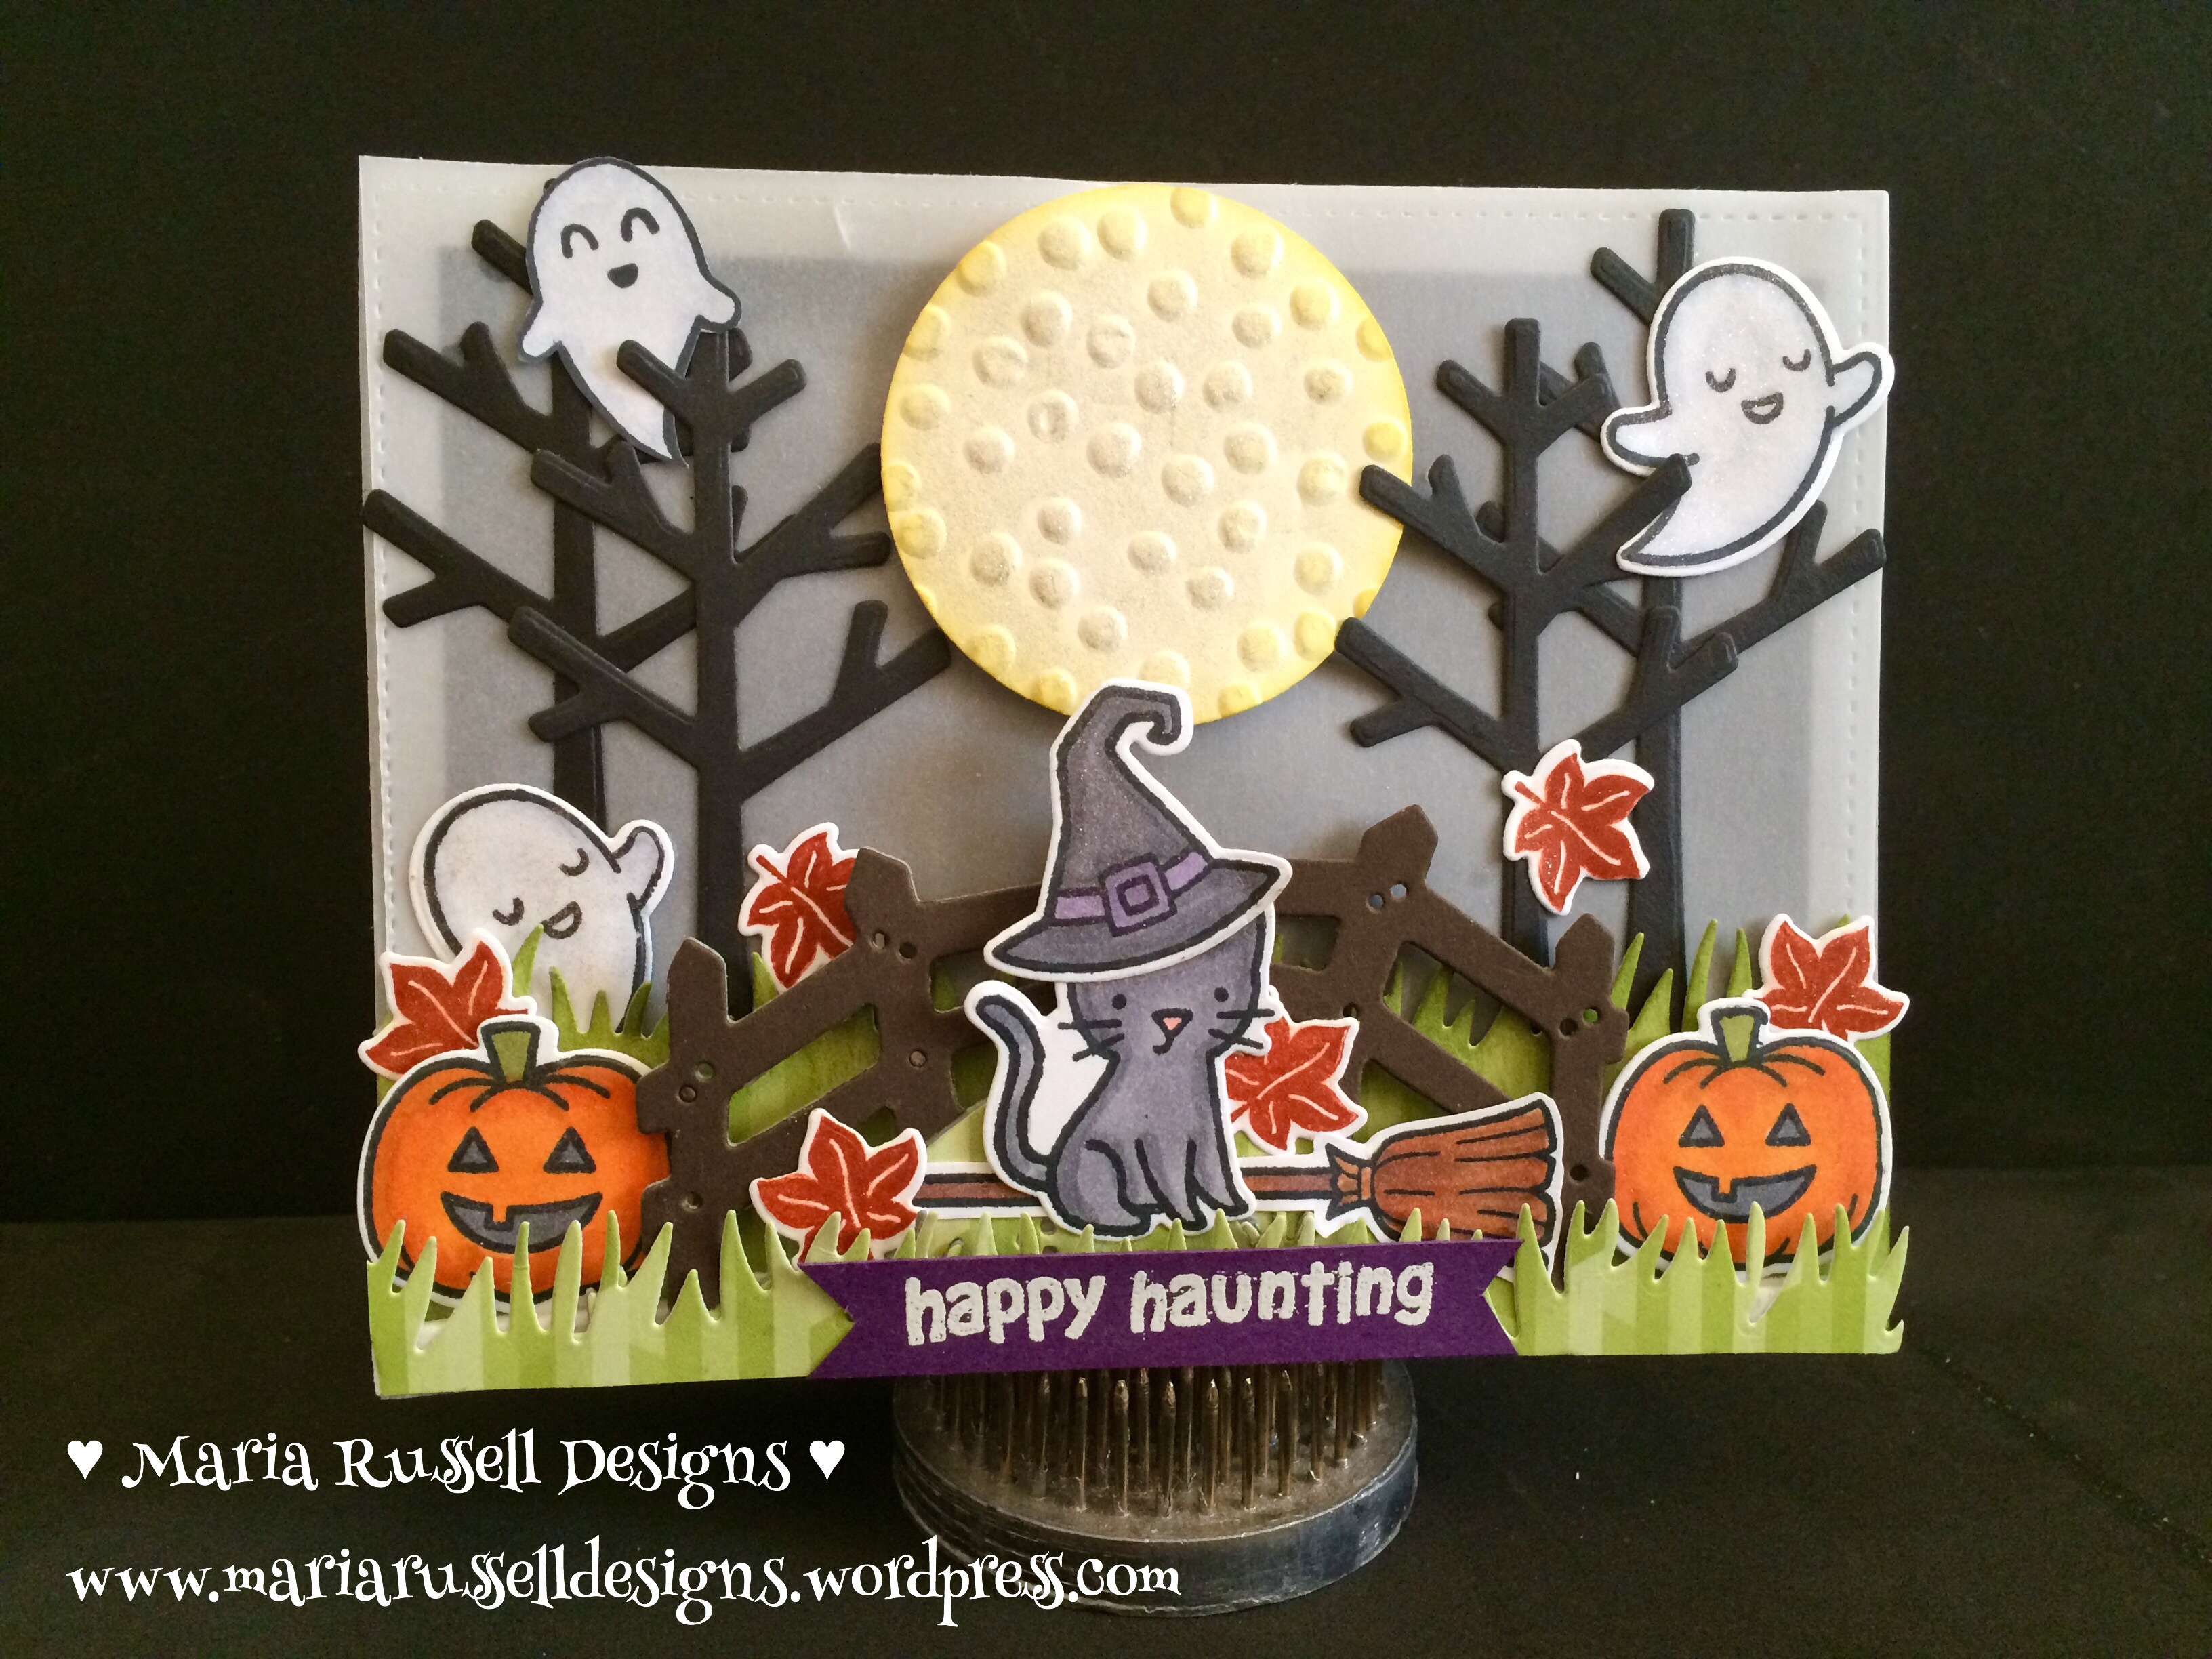
Happy Haunting
Happy Haunting

I first stamped all the images that I needed for the card on white card stock and colored them using my copic markers. Then I cut my card base, and black card stock as well as the vellum using the stitched rectangle die. I didn’t really have any design in mind at this point. I knew I wanted a round moon, so I cut it using my circle die, and dry-embossed it with my dots embossing folder. I then sponged the edges of my moon using my yellow inkpad to add a little bit of color. I proceeded to die-cut the trees with black card stock using the sweater weather dies, then went ahead to die-cut the rest of the stamped images and the grass border. I also used my bridge dies to create a cute little scene for my cat. Now that I had everything laid out in front of me, I started to create my card. The last thing that I did was to stamp the sentiment “happy haunting” using my white embossing powder on some dark purple card stock, then I adhered it to the front of my card. Oh, of course I had to use my wink of stella to give the moon some glittery effect, as well as the pumpkins, the witch’s hat and the leaves.

What do you guys think? I hope you like my card today.  Happy Crafting and Happy Haunting!

Halloween in July ~ Halloween Diorama Using Empty Candle Jar

I wanted to make a cute project for my Halloween in July challenge and decided to use an empty candle jar to create a diorama.  I used my Magnolia Doohickey big house and small house dies, Lawn Fawn Happy Haunting stamp set and its coordinating dies with Lawn Fawn Sweater Weather dies. It turned out so cute.

Altered Halloween Lantern

Turn a rather plain lantern into a Spooky Halloween Lantern.

If you do not wish to alter your lantern permanently, you can stamp on acetate sheets.  The acetate somehow clings perfectly to the glass panels.  Once Halloween is over, you can reuse your lantern for another holiday by changing the decor.

I hope I somehow inspired you to create this project. Happy haunting and happy crafting!


DIY Halloween Potion Bottle

This is a cheap DIY to make some Halloween decor without breaking the bank.  Recycle your old bottles and make them into potion bottles.

Treat Basket For Your Little Ghouls & Goblins

This is a cute little project that you guys can make for your kids; or give as gifts to adults. I was trying to use up the Halloween designer series paper that I acquired over the summer. I will be making a lot of these cute little baskets to give to my daughter’s friends at school, and some of her teachers.

The materials I used are:

Card Stock – cut a 6 x 6
Designer Series Paper – you need 6 pieces measuring 1 7/8 x 1 7/8

Basket handle (Wisteria Wonder card stock) – 1 piece cut at 3/4 inch X 8 inches
Decorative paper (spiderweb) basic black card stock cut at – 1 inch. by 8 inches

Decorative Scallop circle card stock punched at 2 inches
Witch stamped on 1 1/2 inch. circle

Halloween Hello Stamp Set – Stampin Up – Item No. 131721

Decorative Label Punch – Stampin Up – Item No. 120907

Sticky Strip
Adhesive

You should put Hershey’s kisses or Chocolate covered raisins to make it look like “witch poop”. The sentiment reads:

THEIR BROOMS FLY SO FAST
THEY DIP AND THEY SWOOP
BUT IF THEY GET SCARED
THEY LEAVE YOU WITCH POOP!

HAPPY CRAFTING!

Halloween Card – Flying Witch

This card was inspired by a fellow demonstrator, Tami White. Although our cards are done differently, the design is the same. I thought of sharing this because the card is so easy to make – plus it is very unique in a way because this is not the typical orange and black Halloween colors. I really love this card and I hope you do as well.

Spooky Halloween Easel Card

I wanted to make a card that does not involve using a Big Shot. Since I still don’t have a Big Shot (not getting it until this Christmas), I thought of making this card by just using a punch and vellum to create a “window”. It turned out really cute! This card is so unique that the person you give it to will absolutely be thrilled! I gave it to a friend and she was so pleased that she wanted me to film a video tutorial so she can make a couple for her son’s teachers, and use it to decorate her table. I found my LED tea light from the Dollar store. You can get two pieces for a dollar and this card will be a great gift and pretty inexpensive. You can make these for any occasion just by changing the image, the color of the card stock and the sentiment.

Materials used:

(All measurements in “Inches”)

Card Base:

Basic Black Cardstock – Item No. 121045
(Size used here on this video is: 5 ½ x 4 1/4)

Frame:

Whisper White Card Stock – Item No. 100730
(Cut at 5 3/8 x 4 1/8)

Basic Black Card Stock – (cut at 5 ¼ X 4)

Vellum Card Stock for the Window: cut at 2 ½ X 4 inches (you can trim this later)

Inside of the Card – Witches Brew Designer Series Paper (Pack comes 12 sheets in 12 x 12 – double-sided print – it’s really beautiful!) – Item No. 132185

Best of Halloween Stamp Set – Item No. 134381 (used the Owl and the trick-or-treat stamps)

Decorative Label Punch – Item No. 120907

Stampin Dimensionals – 104430