I am a bit sad to write this post but rest assured this is not a “Goodbye Forever” kind of thing! Hubby and I are going to be packing our household stuff soon and will finally be retiring from overseas life. In this regard, I have to say goodbye for now to the Newton’s Nook Design Team. I have thoroughly enjoyed being on the team for 8+ years! Thank you to Jennifer & Jeff Jackson for having me. A huge thank you to Samantha Mann for being the best DT Manager and thank you to the rest of the talented girls on the team.
While packing is a lot of work, I am also very excited to come home and take care of the house we left while working overseas. There will be lots of projects to come both on this blog and my YouTube channel, as well as GIVEAWAYS so please stay tuned!
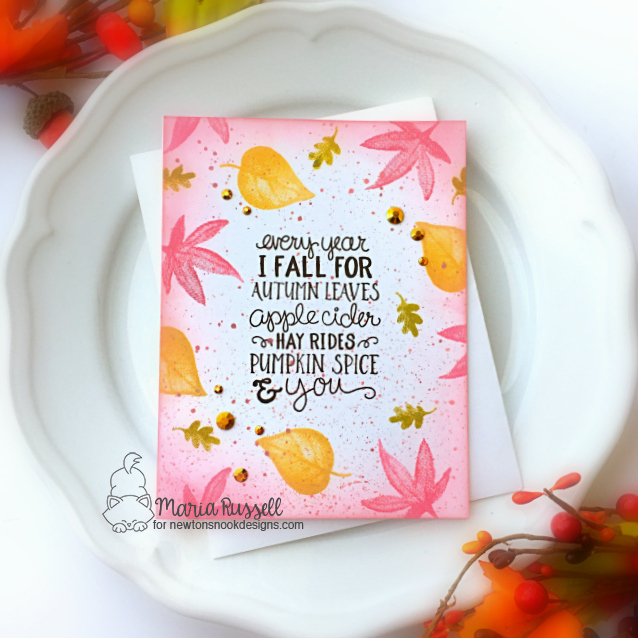
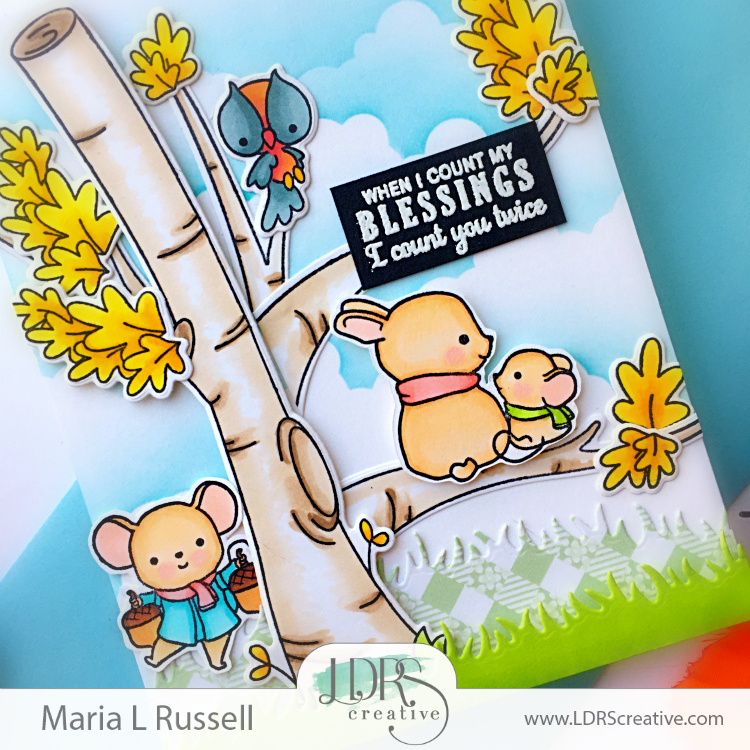
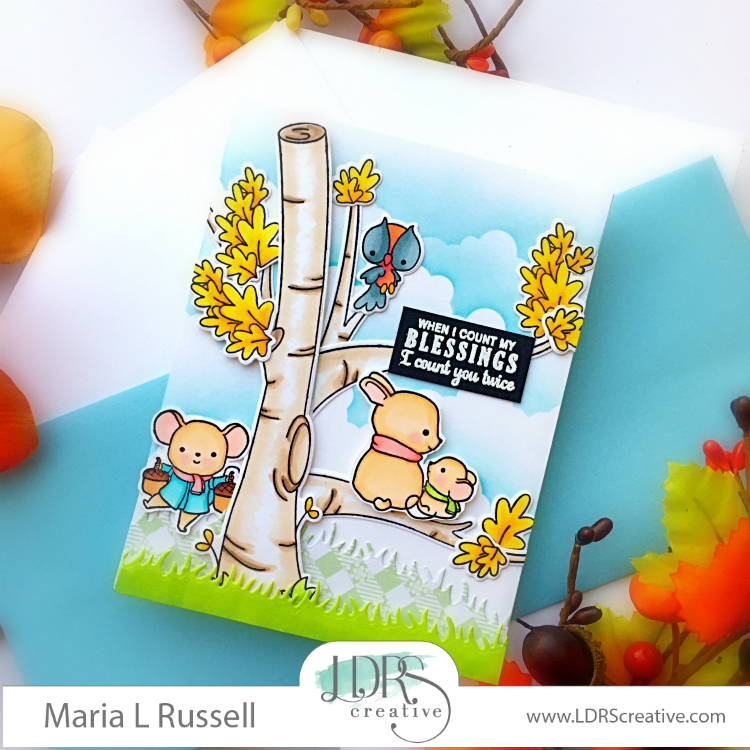
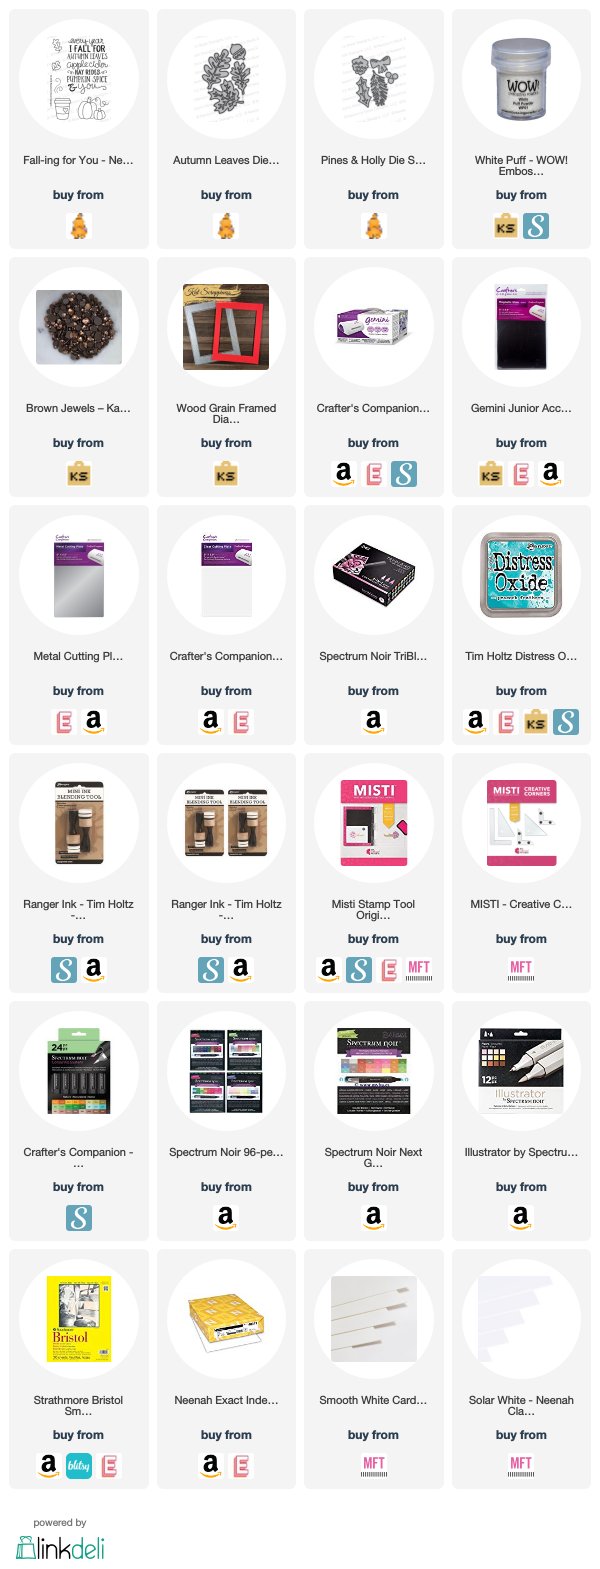
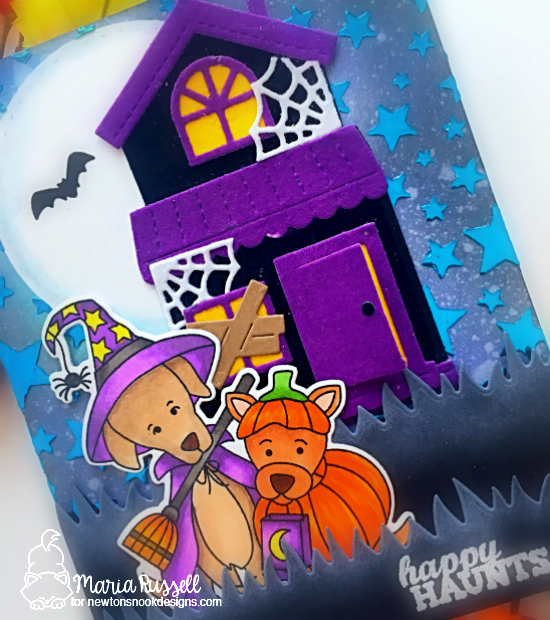
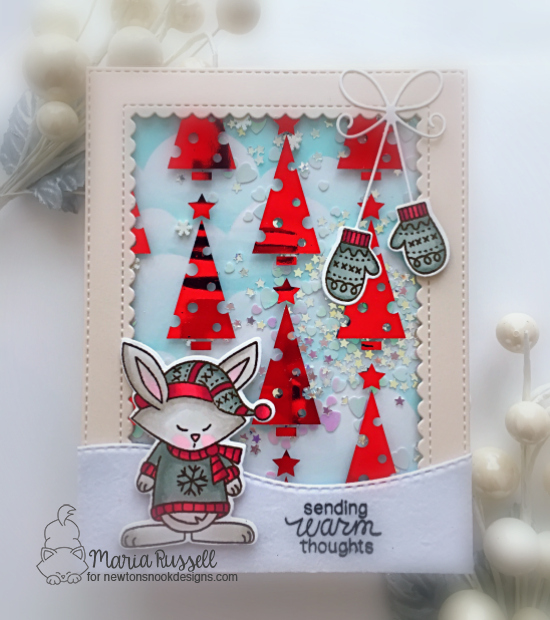
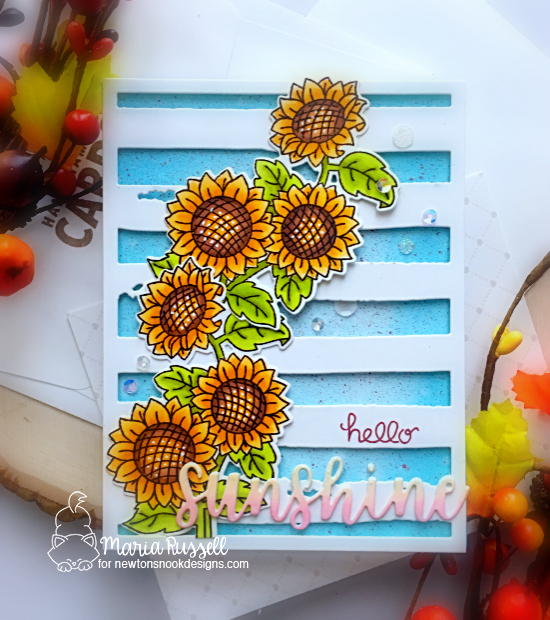
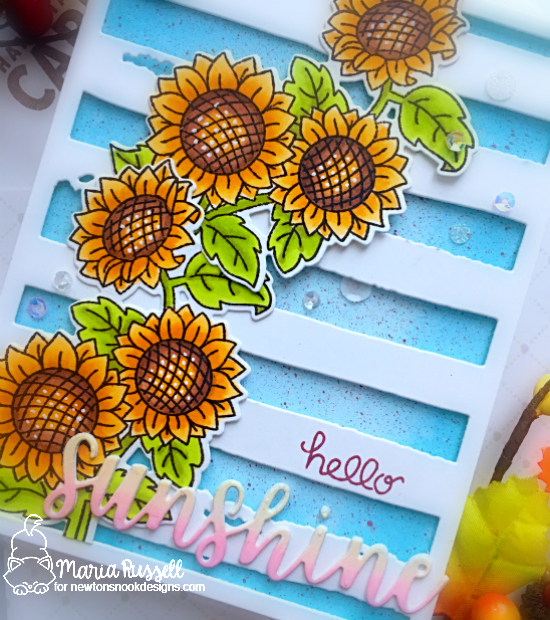
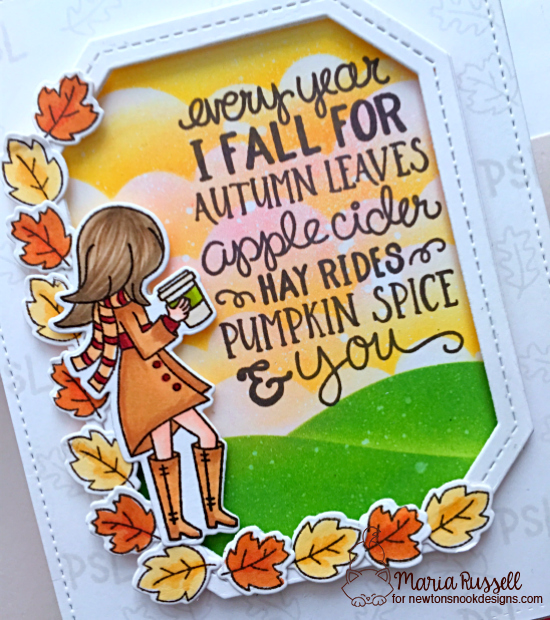
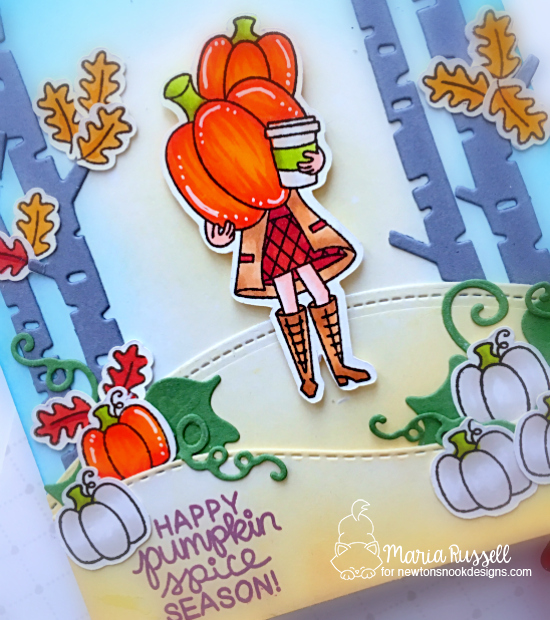
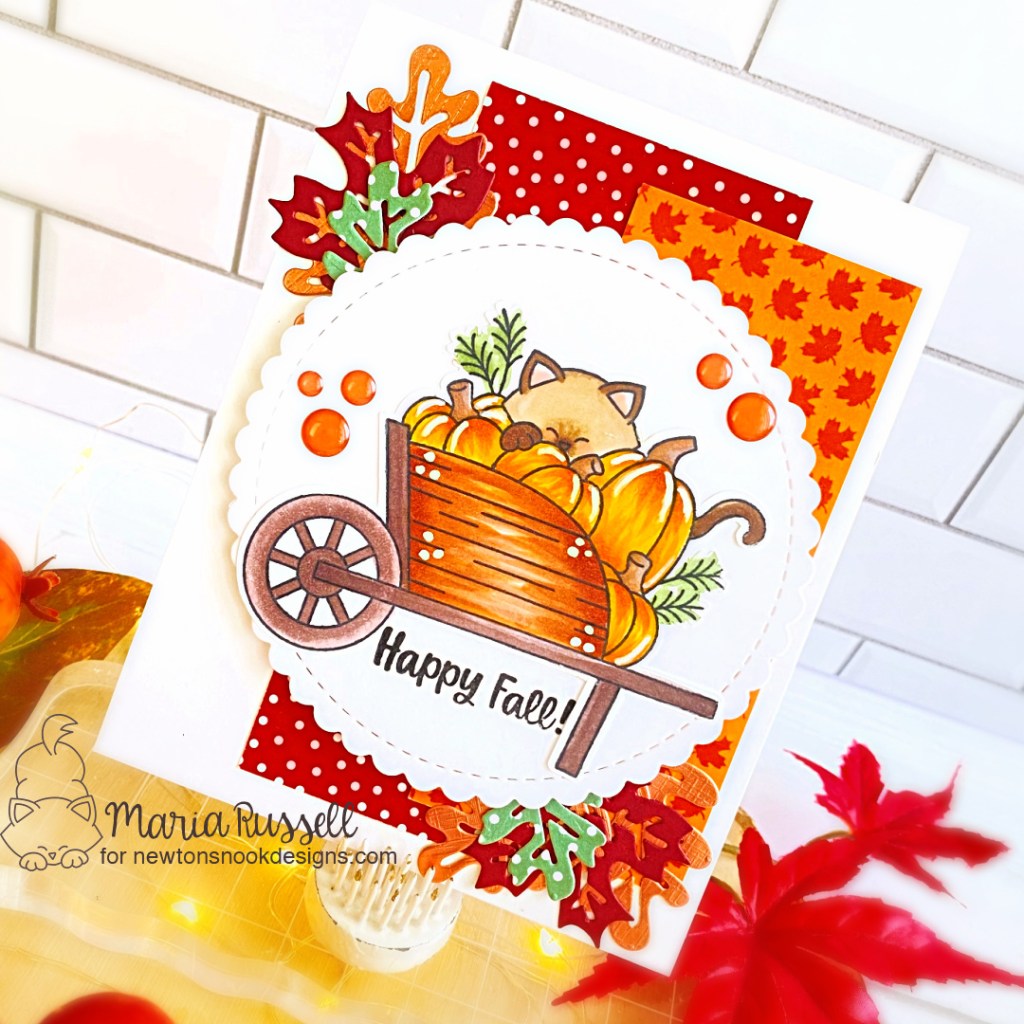
I have created two cards today for my final post, featuring the latest release. For the first project, I am showcasing the Newton’s Harvest Time Stamp Set + coordinating dies, along with a few of my favorite older dies.

Here’s how I made this card:
- stamp the image on some Neenah Classic Crest Solar white card stock. It is really helpful if you have the Misti Stamping Tool to get a really nice impression of your stamped images.
- color the images in with alcohol markers (or any medium of your choice). I colored mine with Spectrum Noir Alcohol Markers.
- die-cut the image using the coordinating die with your die-cutting machine. Secure the dies by using Repositionable Tape so they don’t shift while die-cutting. In case you’re wondering, I use the Sizzix Big Shot Machine with Cutting Plates plus Magic Mat by Scrapbook.Com. [The Magic Mat is a self-healing mat and you can use it for a long time without having to buy new plates].
- cut some pattern paper that compliments the color of the stamped image. Adhere the pattern paper on the notecard with glue.

- die-cut some fall leaves using the Autumn Leaves Die Set. Adhere the same on the card..
- die-cut the scallop circle using the Circle Frames Die Set and foam-mount this piece for added dimension.
- adhere the focal image on the card.
- add some enamel dots to compliment the colors for added interest,
- finish the card design by stamping the sentiment.
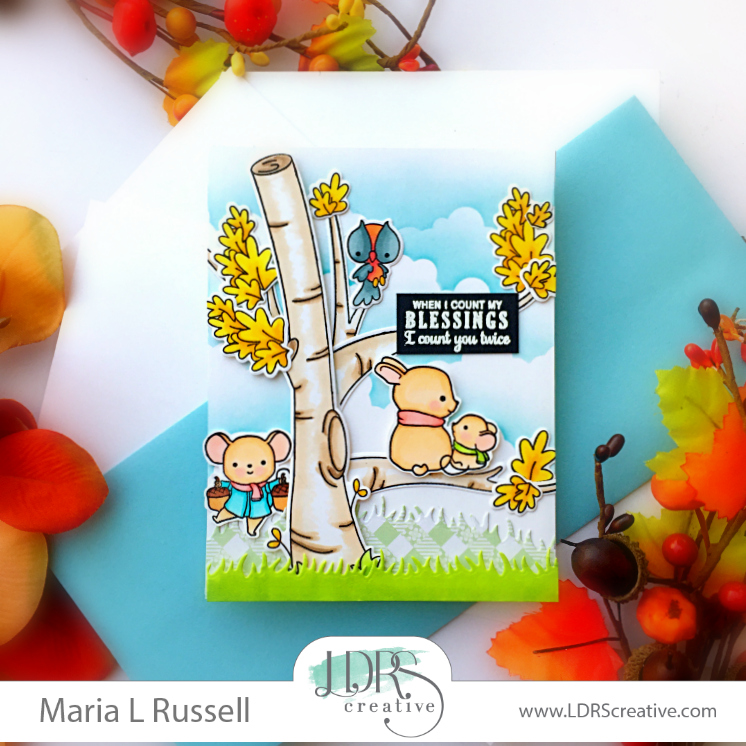
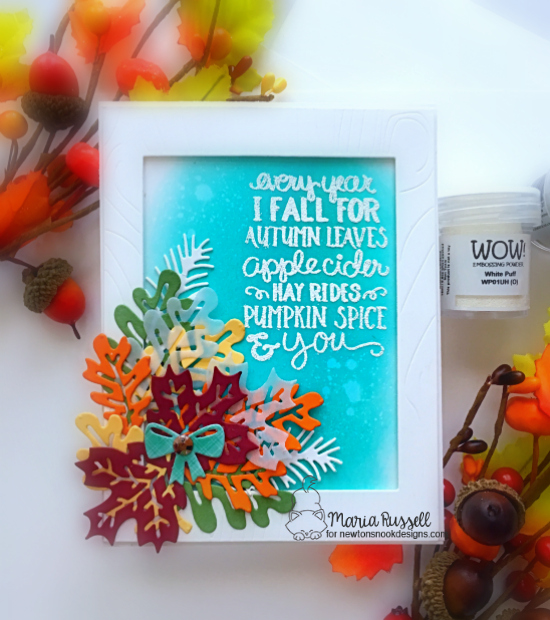
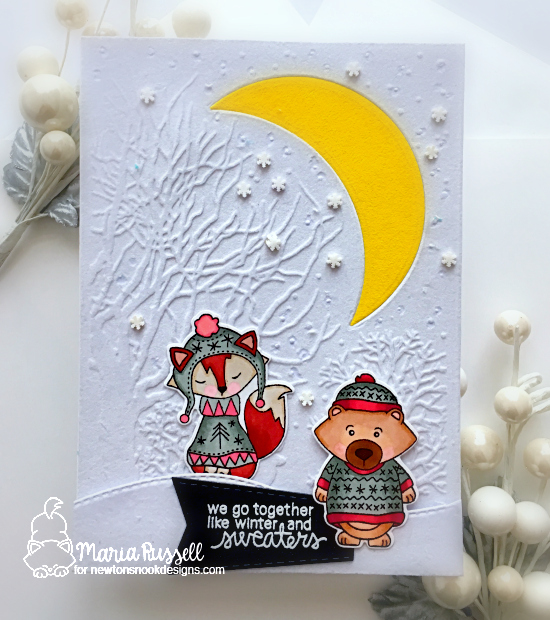
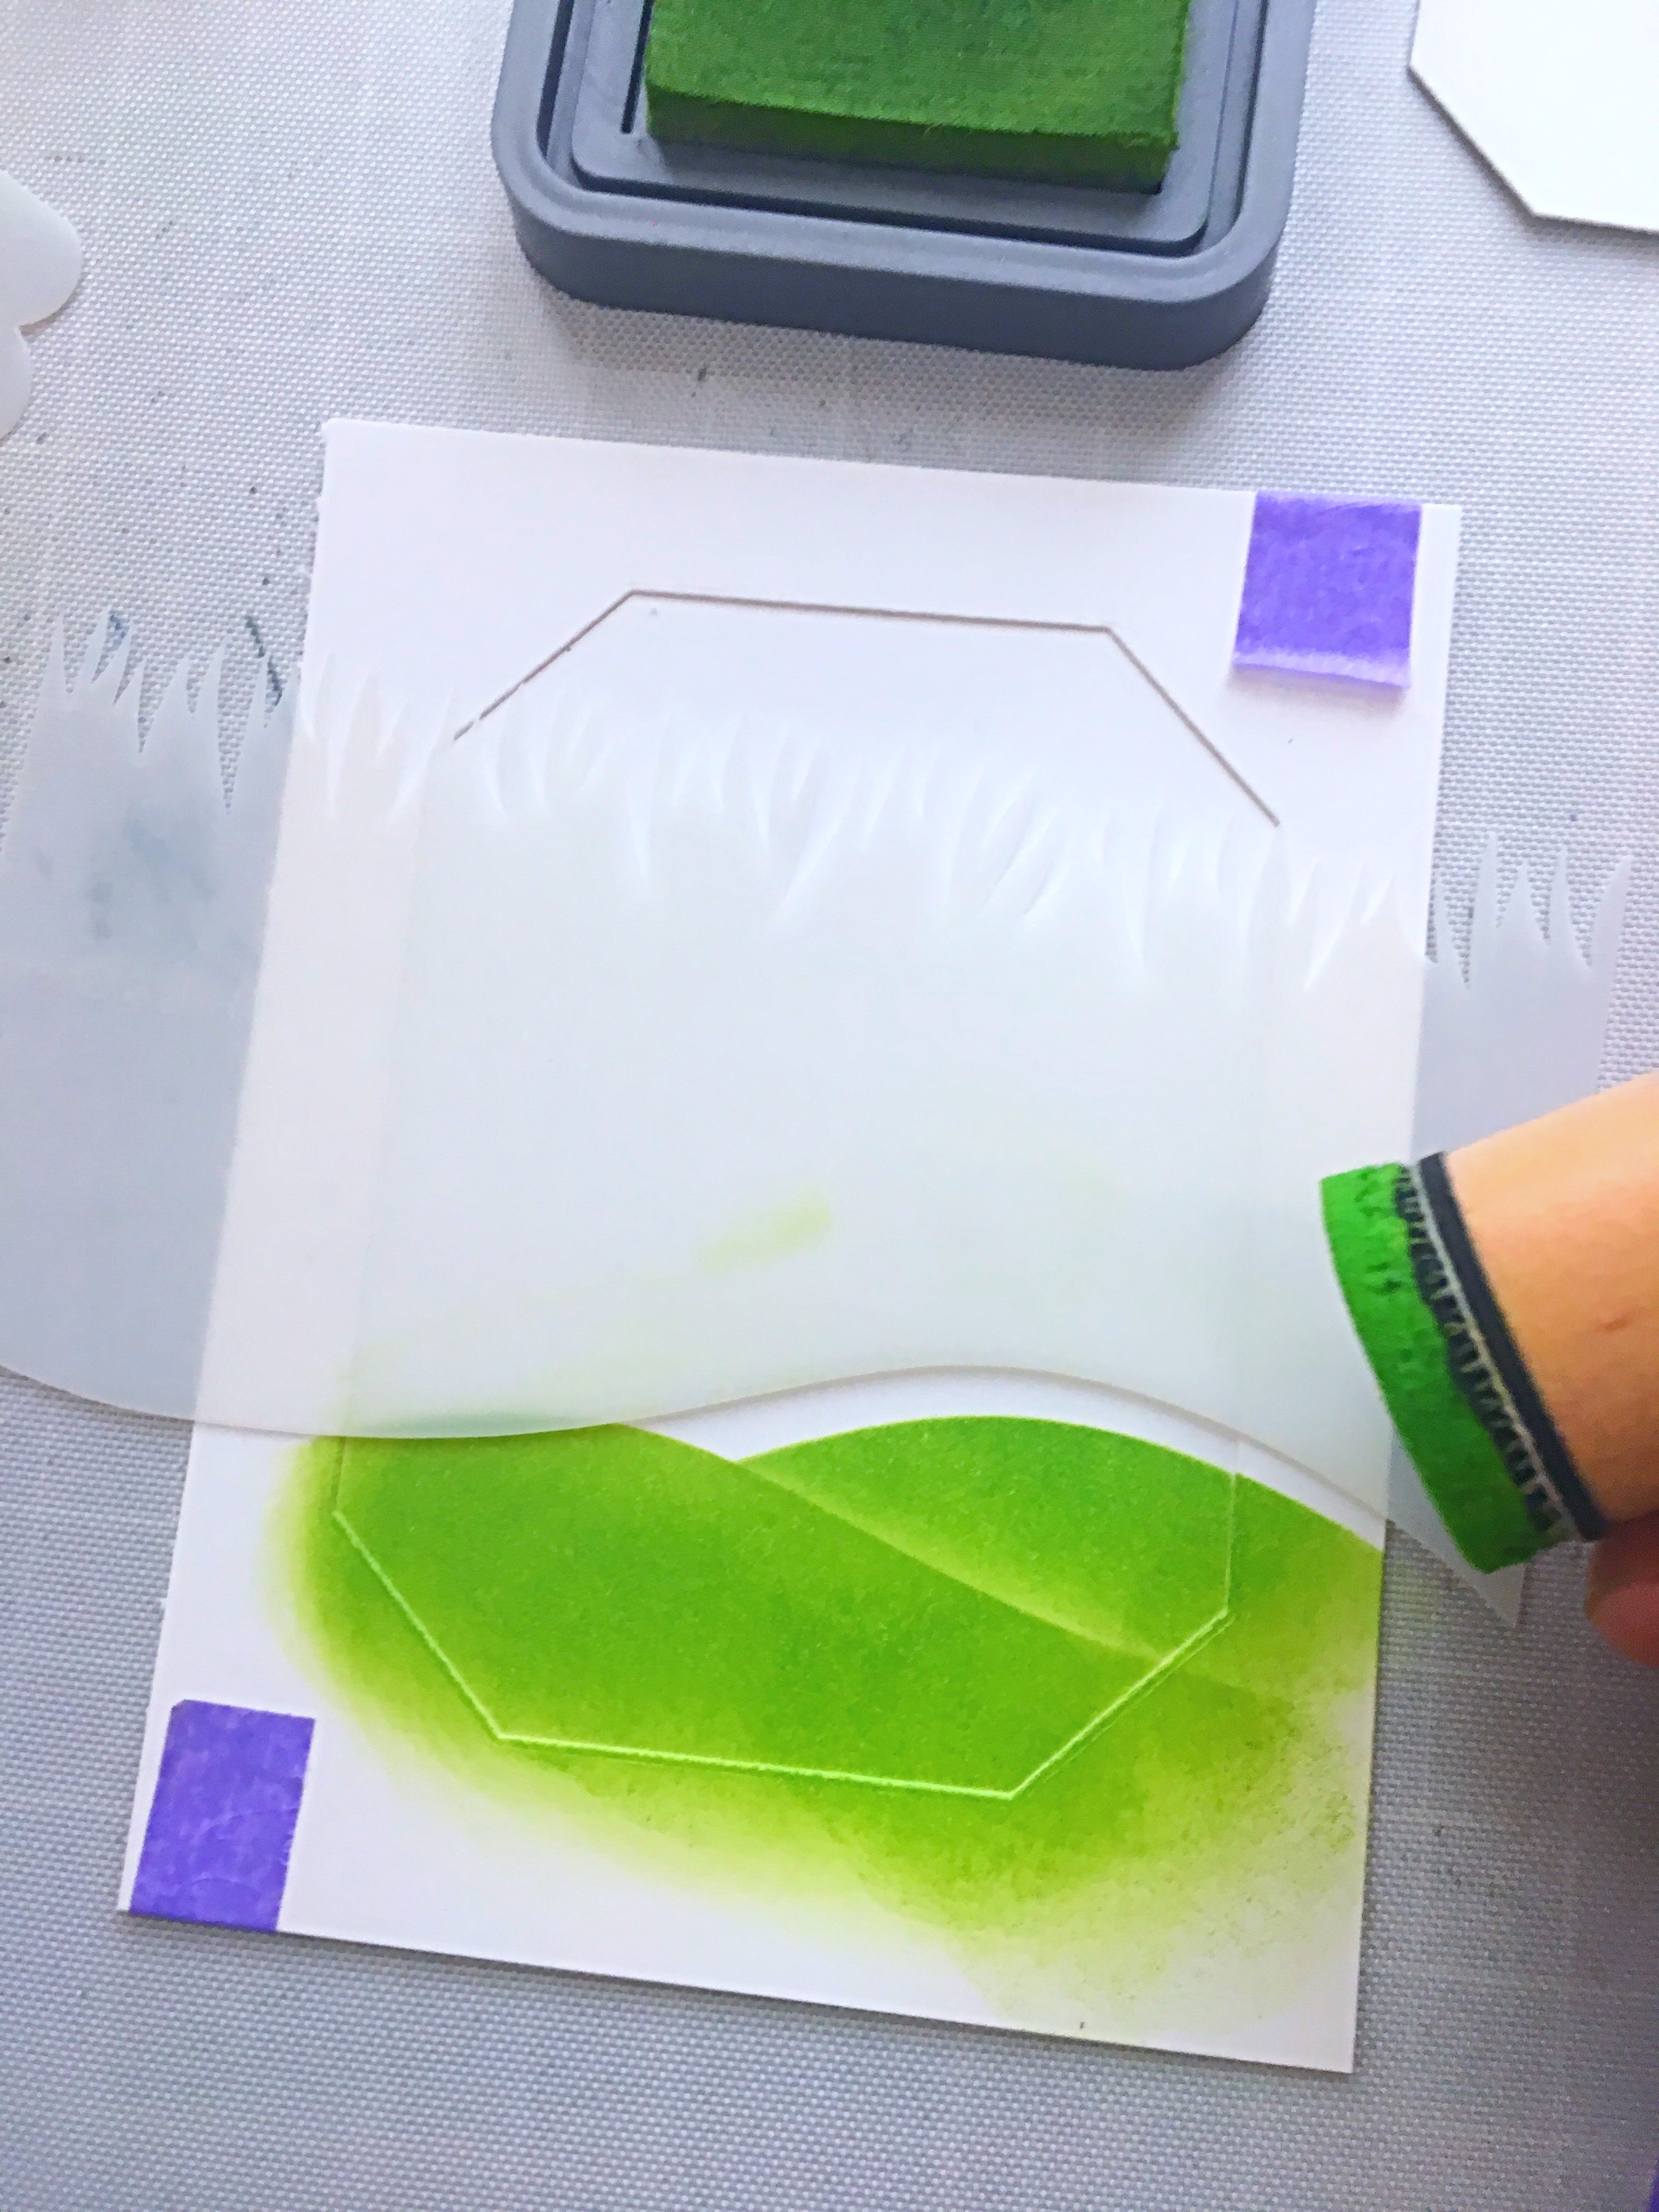
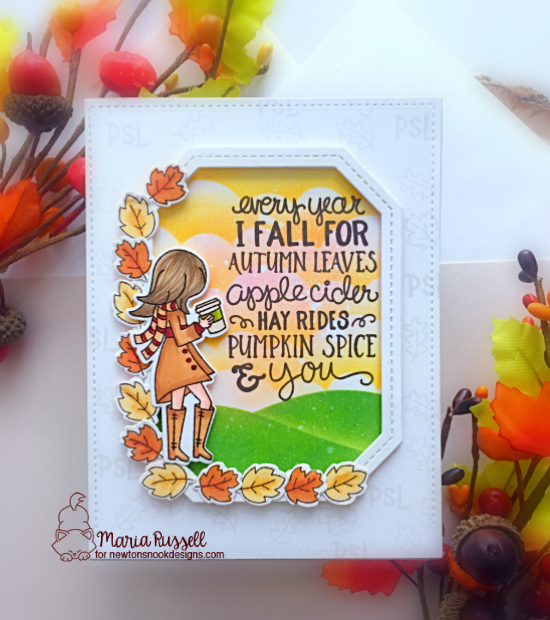
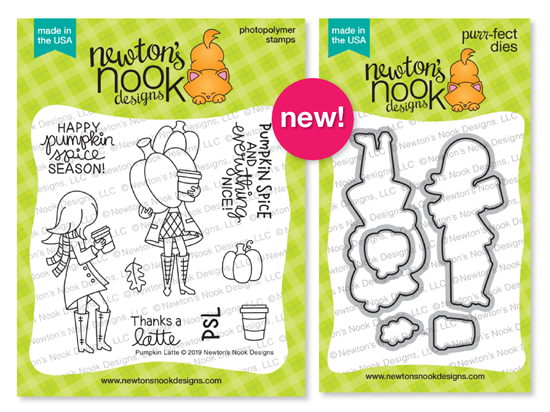
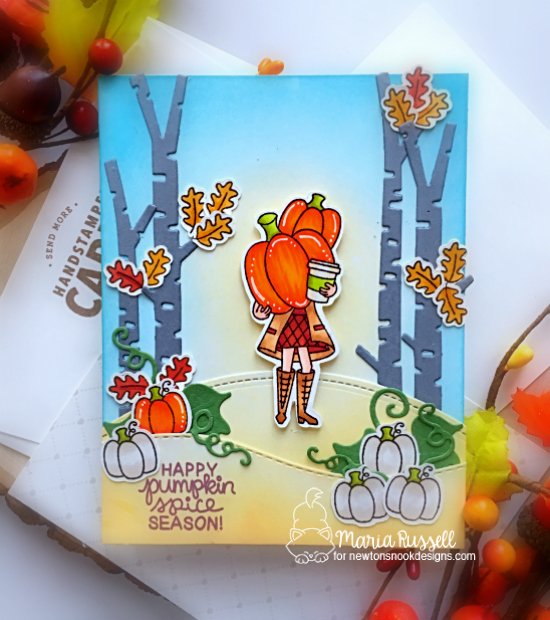
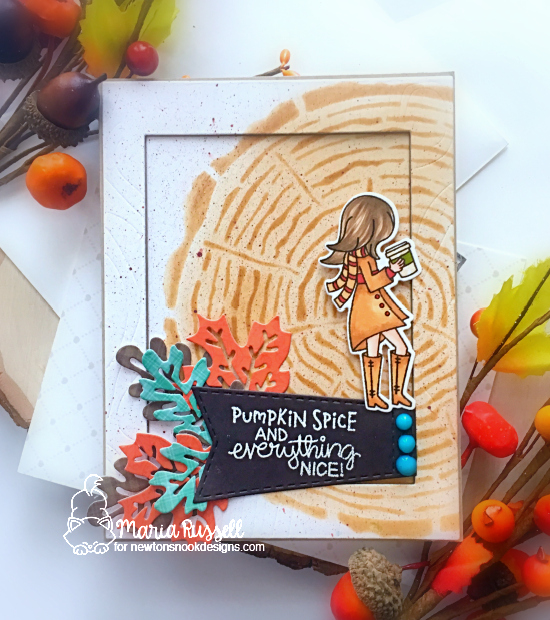
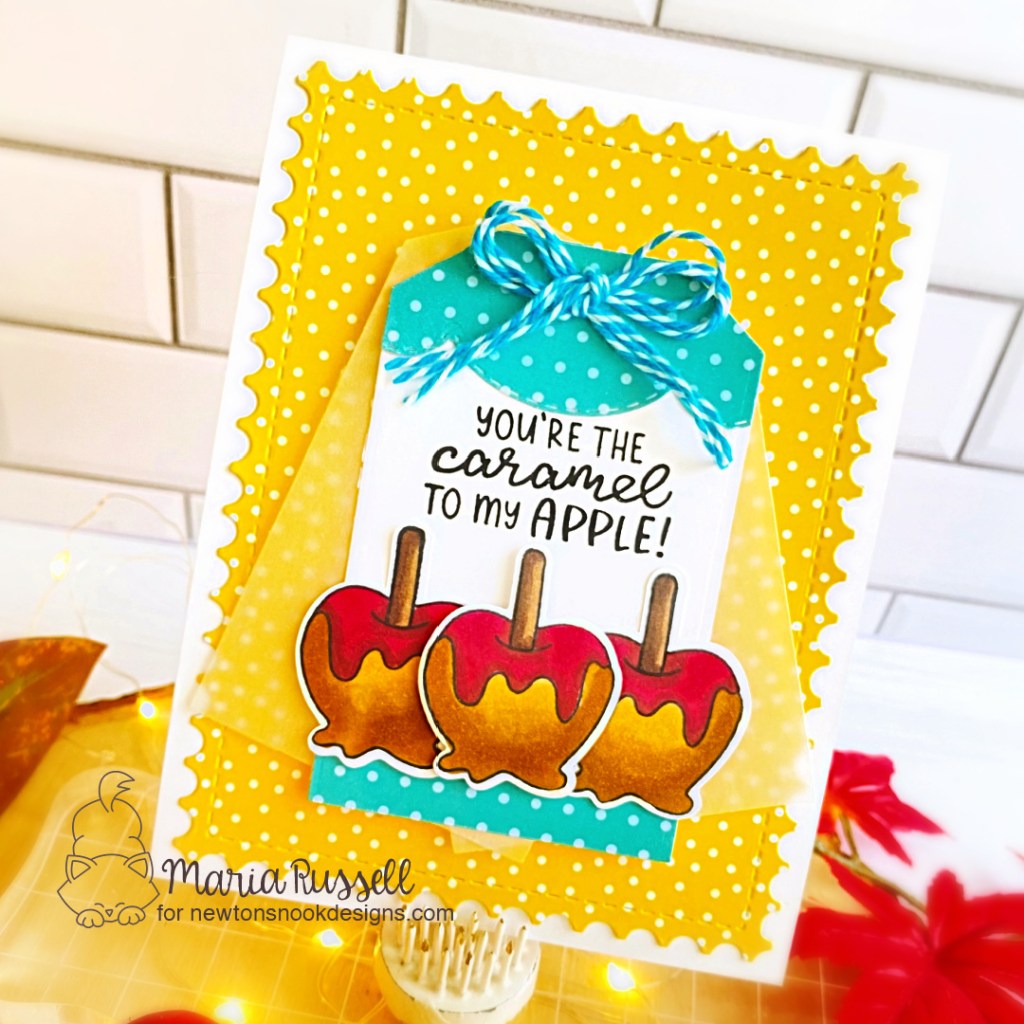
For my next card, I am showcasing the Autumn Apples Stamp Set + coordinating dies, along with the Fancy Edges Tag Die Set and Framework Die Set.
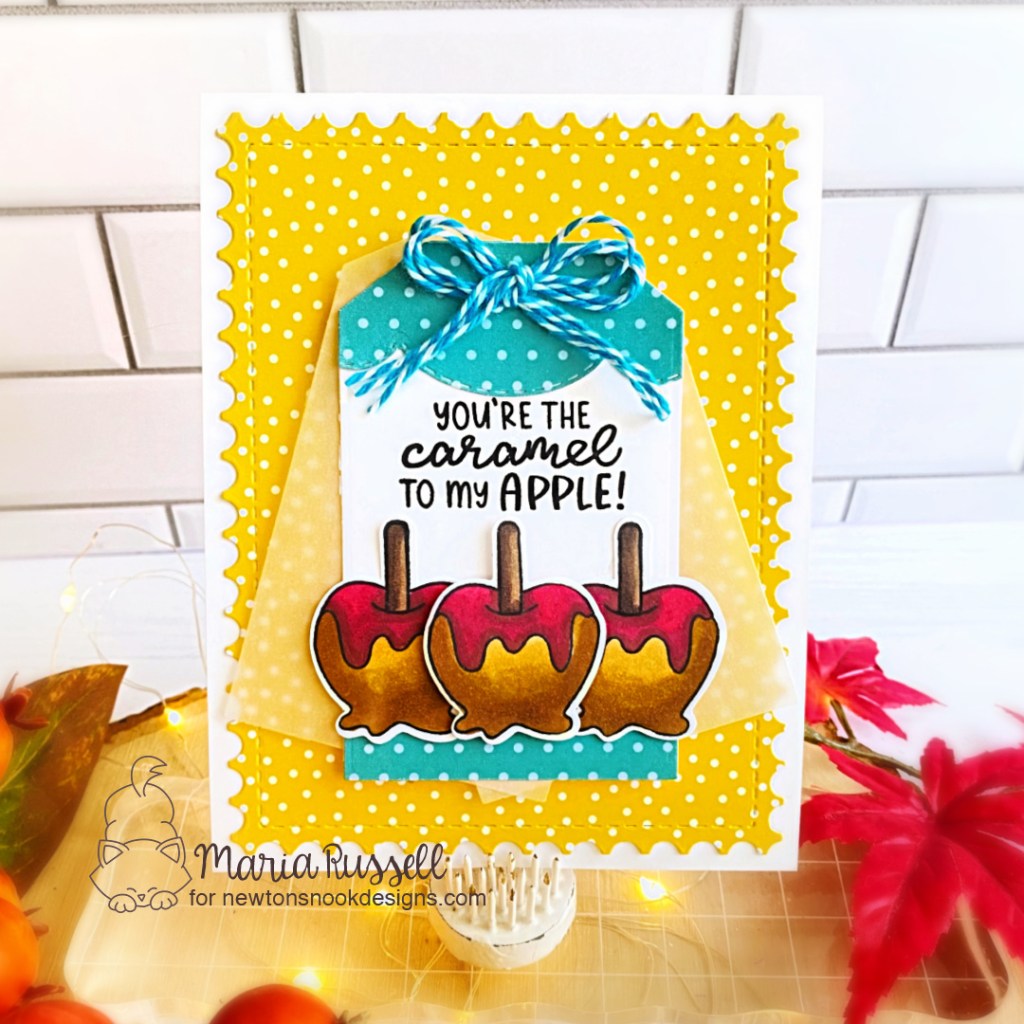
I die-cut the Autumn Paper using the biggest die from the Framework Die Set and adhered this panel to some A2-size notecard. I also used the Fancy Edges Tag Die Set to die-cut the piece three times and adhered them on the card with glue.
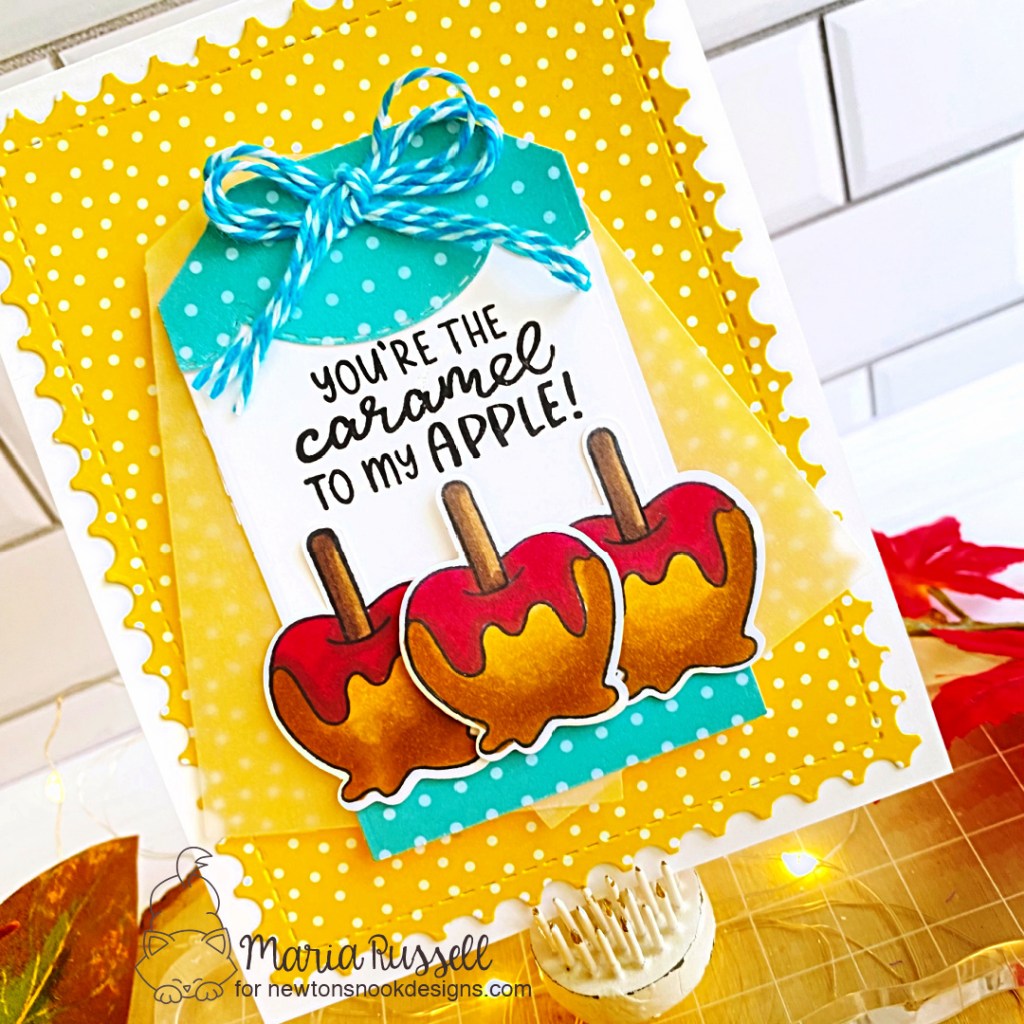
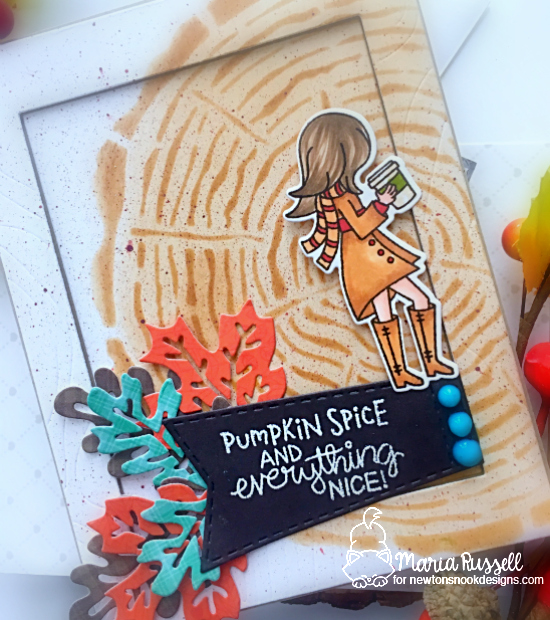
The images were stamped on some Neenah Solar White Card Stock and die-cut with the coordinating dies. I layered the apples with liquid glue and foam-mounted the center piece for added dimension. I finished the card design by adding some twine on the tag and stamped the sentiment with black ink. Here’s another look:
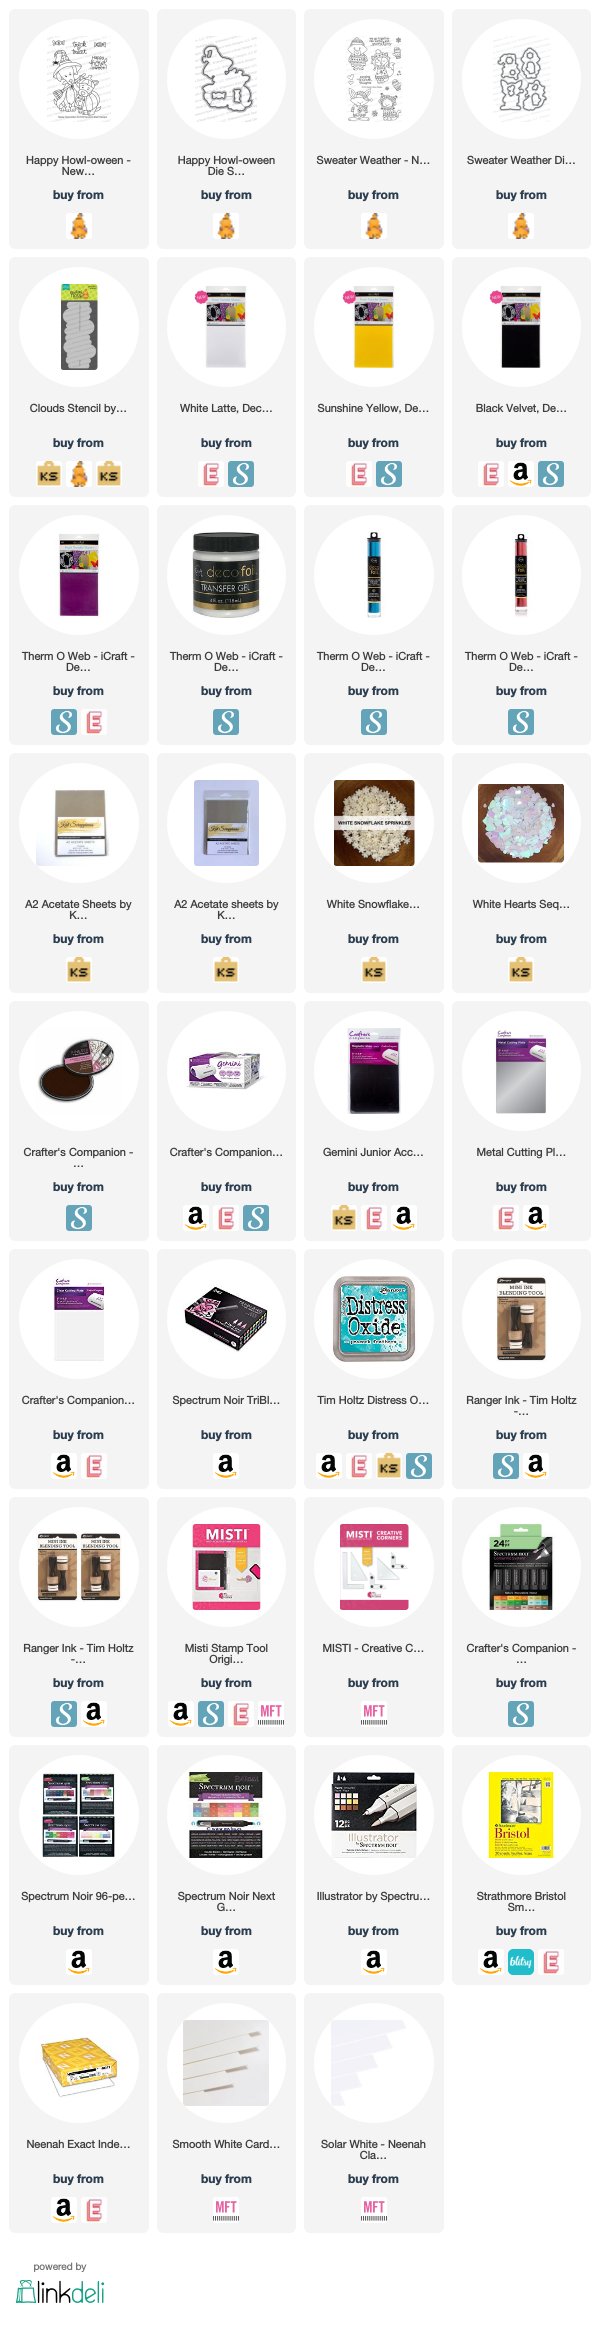
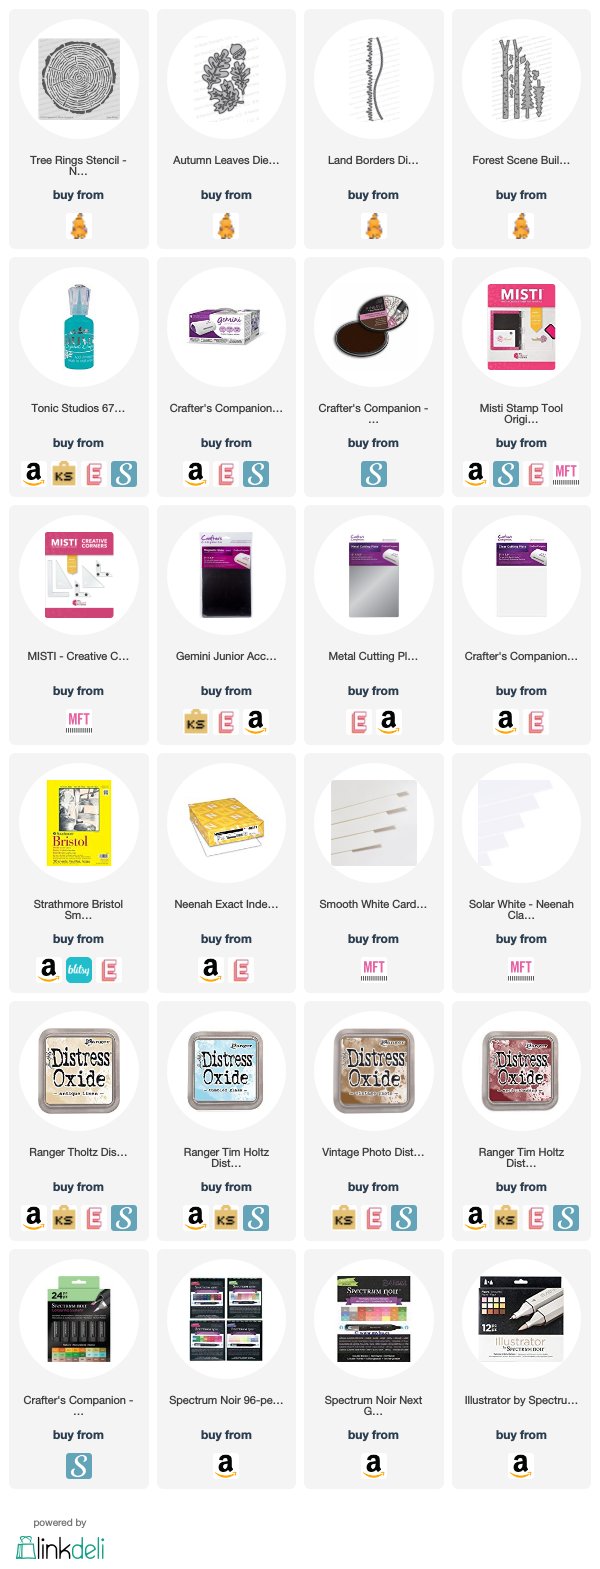
I hope you like these cards today and got inspired. The supplies I used are highlighted and linked within the context of this blog post. Where available, I use compensated affiliate links at no extra cost to you. Your support helps me to keep bringing you new projects and inspiration. Thank you for stopping by, and have an amazing day!