Hello crafters and stampers! I am super excited to share with you today this simple D.I.Y. Easter Banner to decorate your home. This is very easy to put together and you can create multiples to decorate your mantle or any room in your house.
I will keep this blog post short because I have a process video for you below. I have also listed and linked the supplies I have used. I hope you like it and got inspired. Happy crafting!
If you haven’t watched the YouTube video tutorial on how I made these treat boxes, I have linked the video below. It is very easy and you can create a decent-size treat bag using these tag dies. They are so versatile you can create a ton of projects with these dies, for any occasion. Here is the video tutorial:
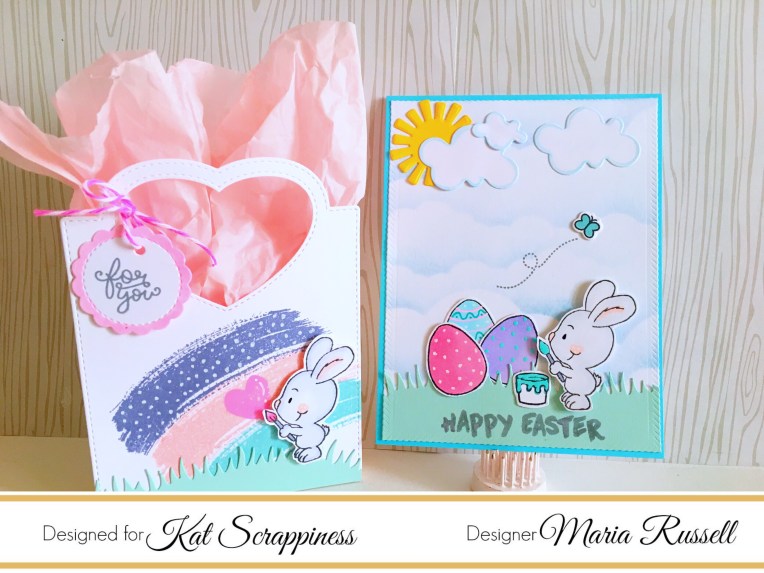
For the treat bag, I started out by die-cutting the tags twice and stamped my images on the tag. I highlighted the rainbow with my white gel pen. Before assembling the treat bag, I die-cut a grass border hills die. It is important to do this step first before assembling the bag.
I stamped my bunny images on Neenah solar white card stock and colored him in with my Copic markers. I adhered my bunny to the treat bag.
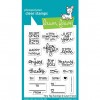
Using my favorite Lawn Fawn Tiny Tag Saying stamp set and Tiny Tag Dies, I stamped the sentiment on the tag, and attached it on the treat bag with my pink and white twine. Hear is the treat bag:
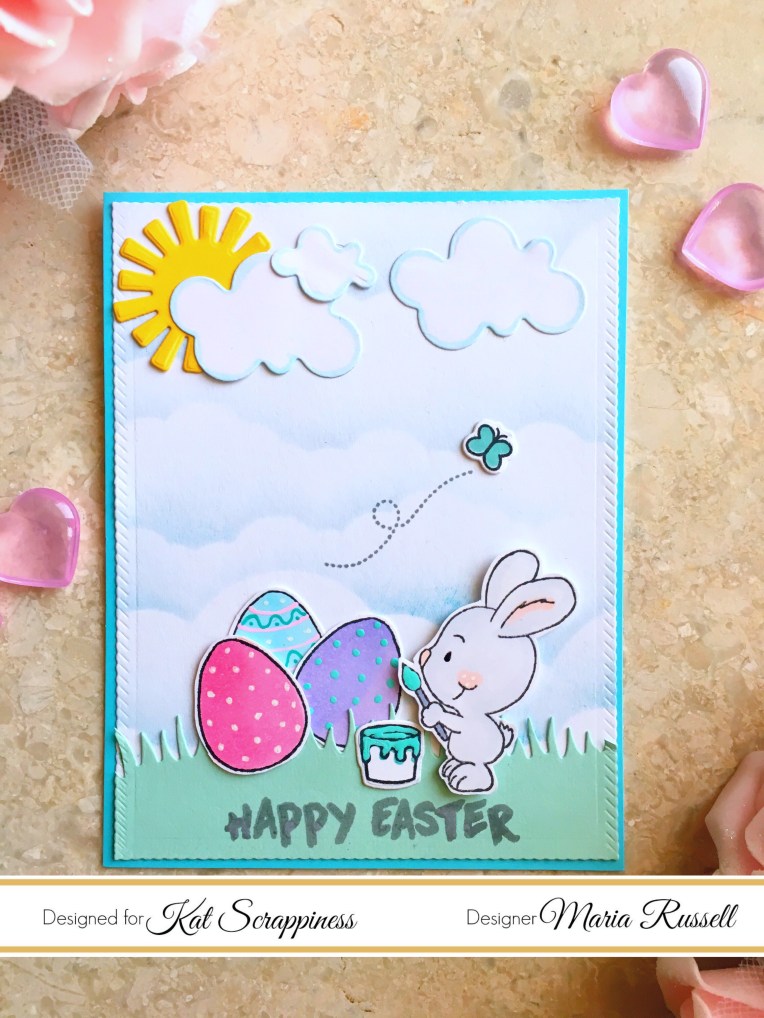
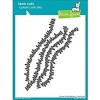
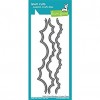
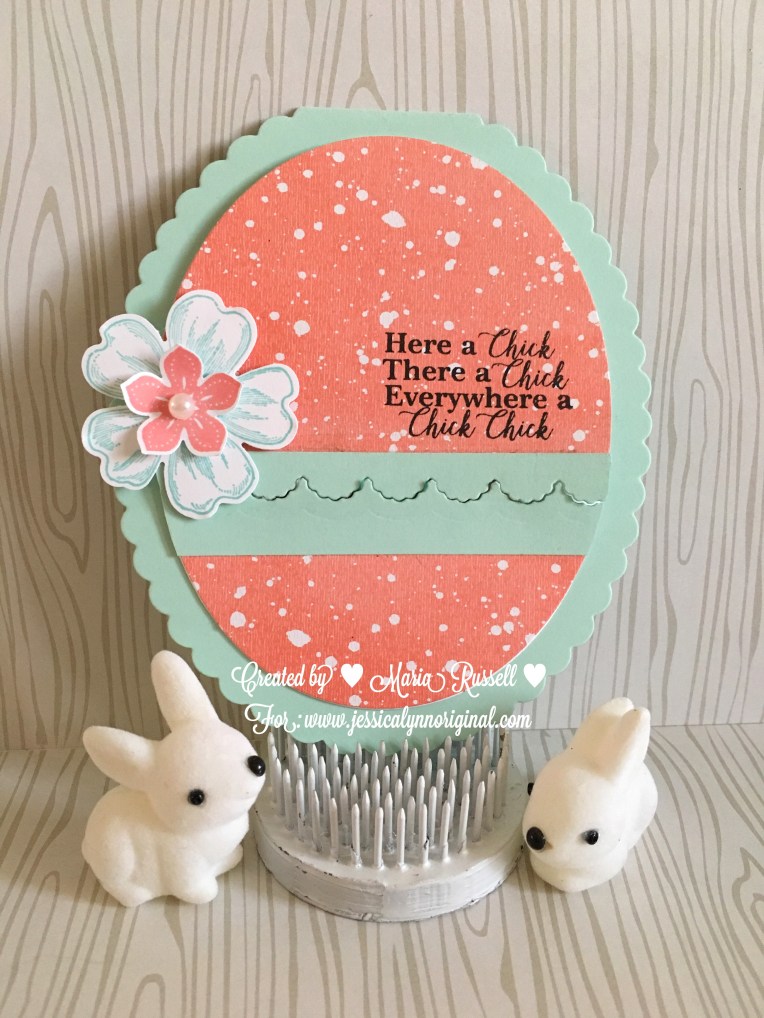
For the card, I started out by die-cutting my front panel using the largest of the stitched rope nested rectangle dies. I sponged the “clouds” using my lawn Fawn Clouds Border Dies, with Tim Holtz Broken China distress Ink.
I die-cut another grass border die and adhered it on my front panel. I stamped the eggs on Neenah Solar White card stock and colored them in with my Copic markers. I also used my Sakura Gel pens to add some details to the eggs.
To finish off my design, I adhered all of the stamped images and die-cuts on the front panel of my card. Using a blue card base, I adhered the front panel to my card base using my all-time favorite Xyron Mega Tape Runner. Here is the card:
Here are the two projects:
I hope you got inspired today. Please check out all the new items at Kat Scrappiness online store before they sold out again. The supplies I have used are listed and linked below. Have an amazing day!
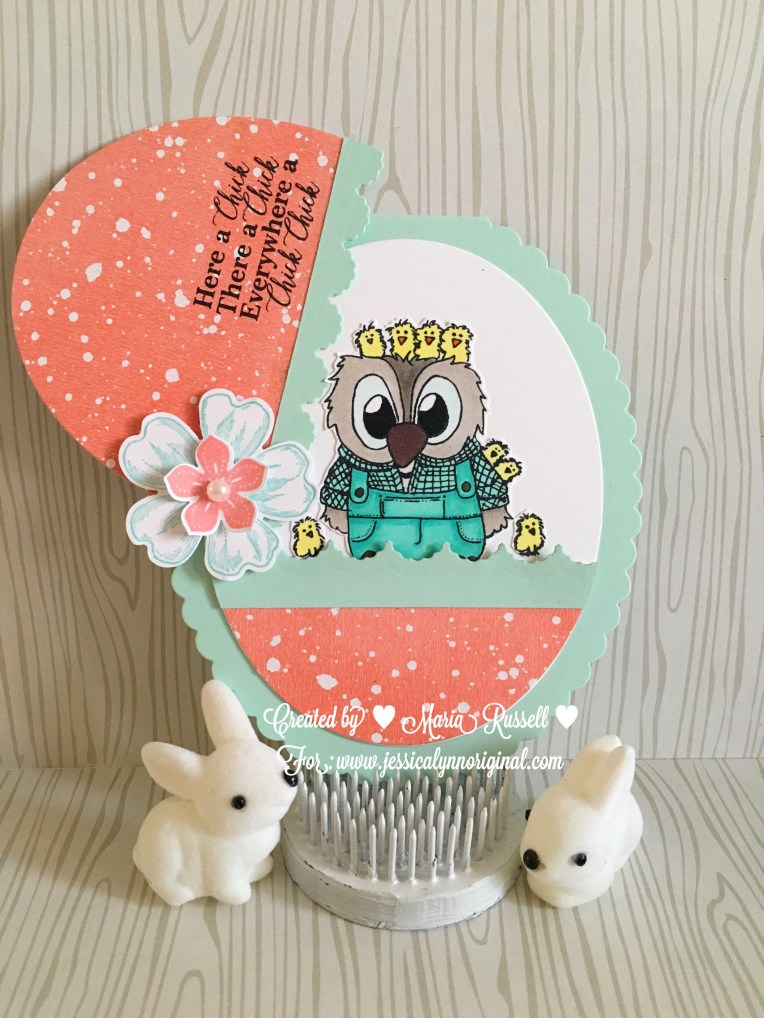
Todays marks the day that we launch this cute Easter/Spring stamp set from www.jessicalynnoriginal.com called Brentwood Spring chicken. While there are no specific deals with this stamp set, Jessica is offering a “free shipping” code today for members of JLO’s Facebook group called JLOcraftcreateshare. She is always giving away stamp sets and announcing deals and specials so I encourage you all to join this Facebook group. Here is the link (https://www.facebook.com/groups/JLOcraftcreateshare/)
I am the second person on this hop and if you came from Jessica’s Blog, you’re in the right place. The next person after me, is Jeanette (http://www.creativeplayischeaperthantherapy.blogspot.com). Please give her some love by checking the beautiful cards that she created for this event. We love to hear from you, and we love to know your opinion.
I love spring! I love spring colors and so the first card that you see here is one of my favorite. I have made a similar card to this a year ago and posted the video tutorial on my YouTube channel. I love making interactive cards and the colors I used on this blended so well. To go with this card, I created the small treat bag to house some Easter treats! What do you think?
If you’ve been following me for a while, you know that I like to stretch my stamps and dies and one example is the card below. I used the image to create a Father’s Day card.
I hope you like what I created and have an amazing weekend!
Spring is already in full bloom where I am and in fact, it is already getting hot over here. I know some of you are still experiencing snow and hoping that it’ll be over soon. Maybe crafting is the best way to deal with snow days. So here is a little cute project that I hope will cheer you all up.
I don’t have the mini milk carton die from Stampin Up. I saw this tutorial by Sam of PootlesPapercraft and I was just so thrilled since I didn’t have to purchase the die to make these boxes. She made hers as a treat holder but I wanted mine to look like a bird house and make it as a home decor. So I added the roof, and the tea light. Thank you Sam for this inspiration and for giving us the measurements. I tried to make this video as short as possible so some of the boring scenes have been fast-forwarded for your benefit.
Mini Milk Carton:
Baked Brown Sugar Cardstock – 8 1/4 x 5 1/2″
Score on the 8 ¼ side at 1 7/8, 3 3/4, 5 5/8, 7 1/2″
Score on the 5 1/2 side at 1 7/8, 3 3/4, 5″
Roof:
Chocolate Chip Cardstock – 1 7/8 by 5 (embossed using the textured arrow embossing folder)
This project was inspired by a fellow Demonstrator, France Martin. In this video, I will also show you an alternative way if you don’t have the Adorning Accents edgelits to create the “crack” on the egg.
Materials used:
Whisper White Card Stock — Item No. 100730
Sweet Sorbet Designer Series Paper (free from sale-a-bration)
Oval Framelits Die — Item No. 129381
Adorning Accents Edgelits — Item No. 125595
Bird Builder Punch — Item No. 117191
Word Window punch — Item No. 119857
Modern Label Punch — item no. 119849
Pansy Punch and Flower Shop Stamp Set — you can get this in a bundle for 15% off — item no. 132726
Petite Petals Punch and Stamp set — Item No. 133322
Mini Brad — Item No. 122941
Mini Glue Dots — Item No. 103683
Tombox multi-purpose glue — Item No. 110755
Dimensionals – Item No. 104430
Blue rhinestones (non-Stampin Up product)
Express Yourself — Hostess Stamp Set — Item No. 130339
Scissors
Paper Trimmer
I hope you enjoyed this video. If you have any questions, please feel free to send me a message.. Craft with your loved ones and create some memories.