Happy National Hamburger Day! Is everyone excited for summer? Memorial Day kicked off this week and kids are excited that summer is finally almost here! Even though they’ve been doing homeschooling for the past months with their teachers on Zoom, they are now looking forward to just chilling out! No more schoolwork!

I have some fun projects to share with you today! You can create these DIY bookmarks with your kids, and they are going to LOVE it! Even if they don’t like reading, they will certainly have fun creating these bookmarks with you. I remember when my kids were little, they read books for hours during summer! Sometimes they even begged to stay up for another hour or two, so they can finish a few more chapters! These bookmarks are not only fun to make, but they will also help your kids remember where they stopped before they went to bed.

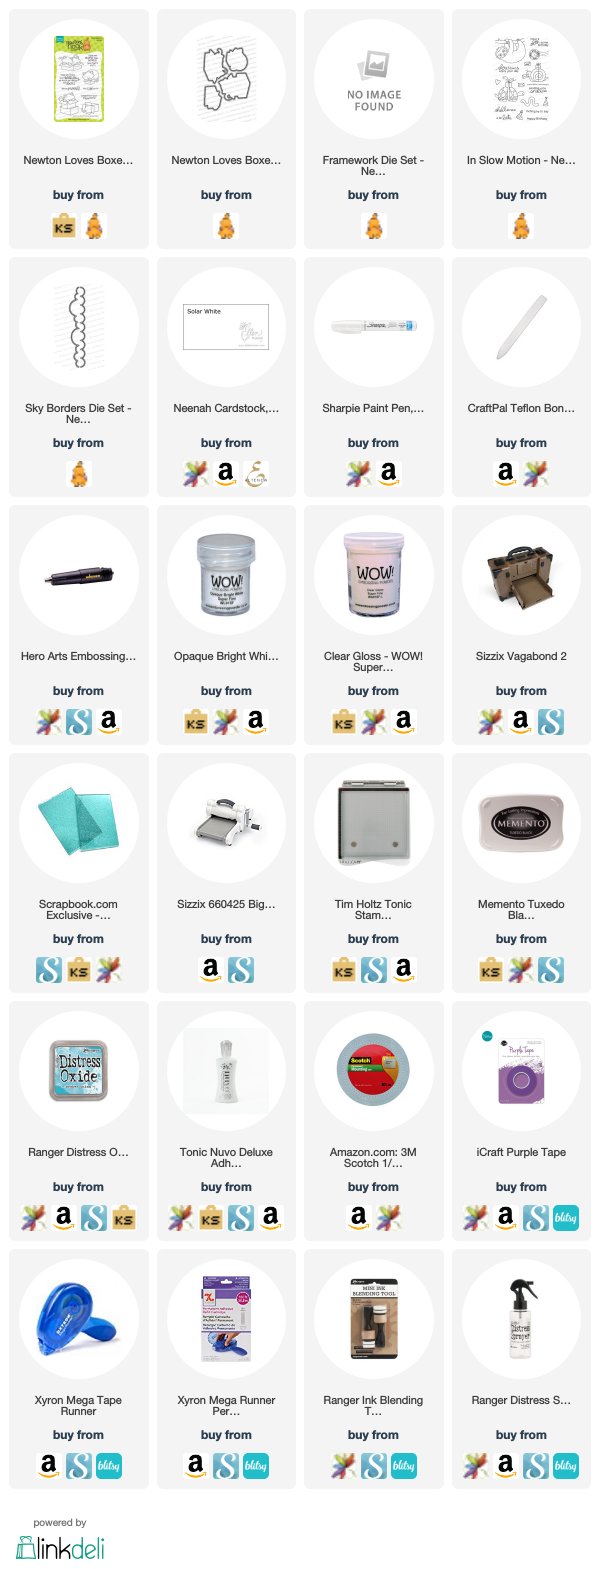
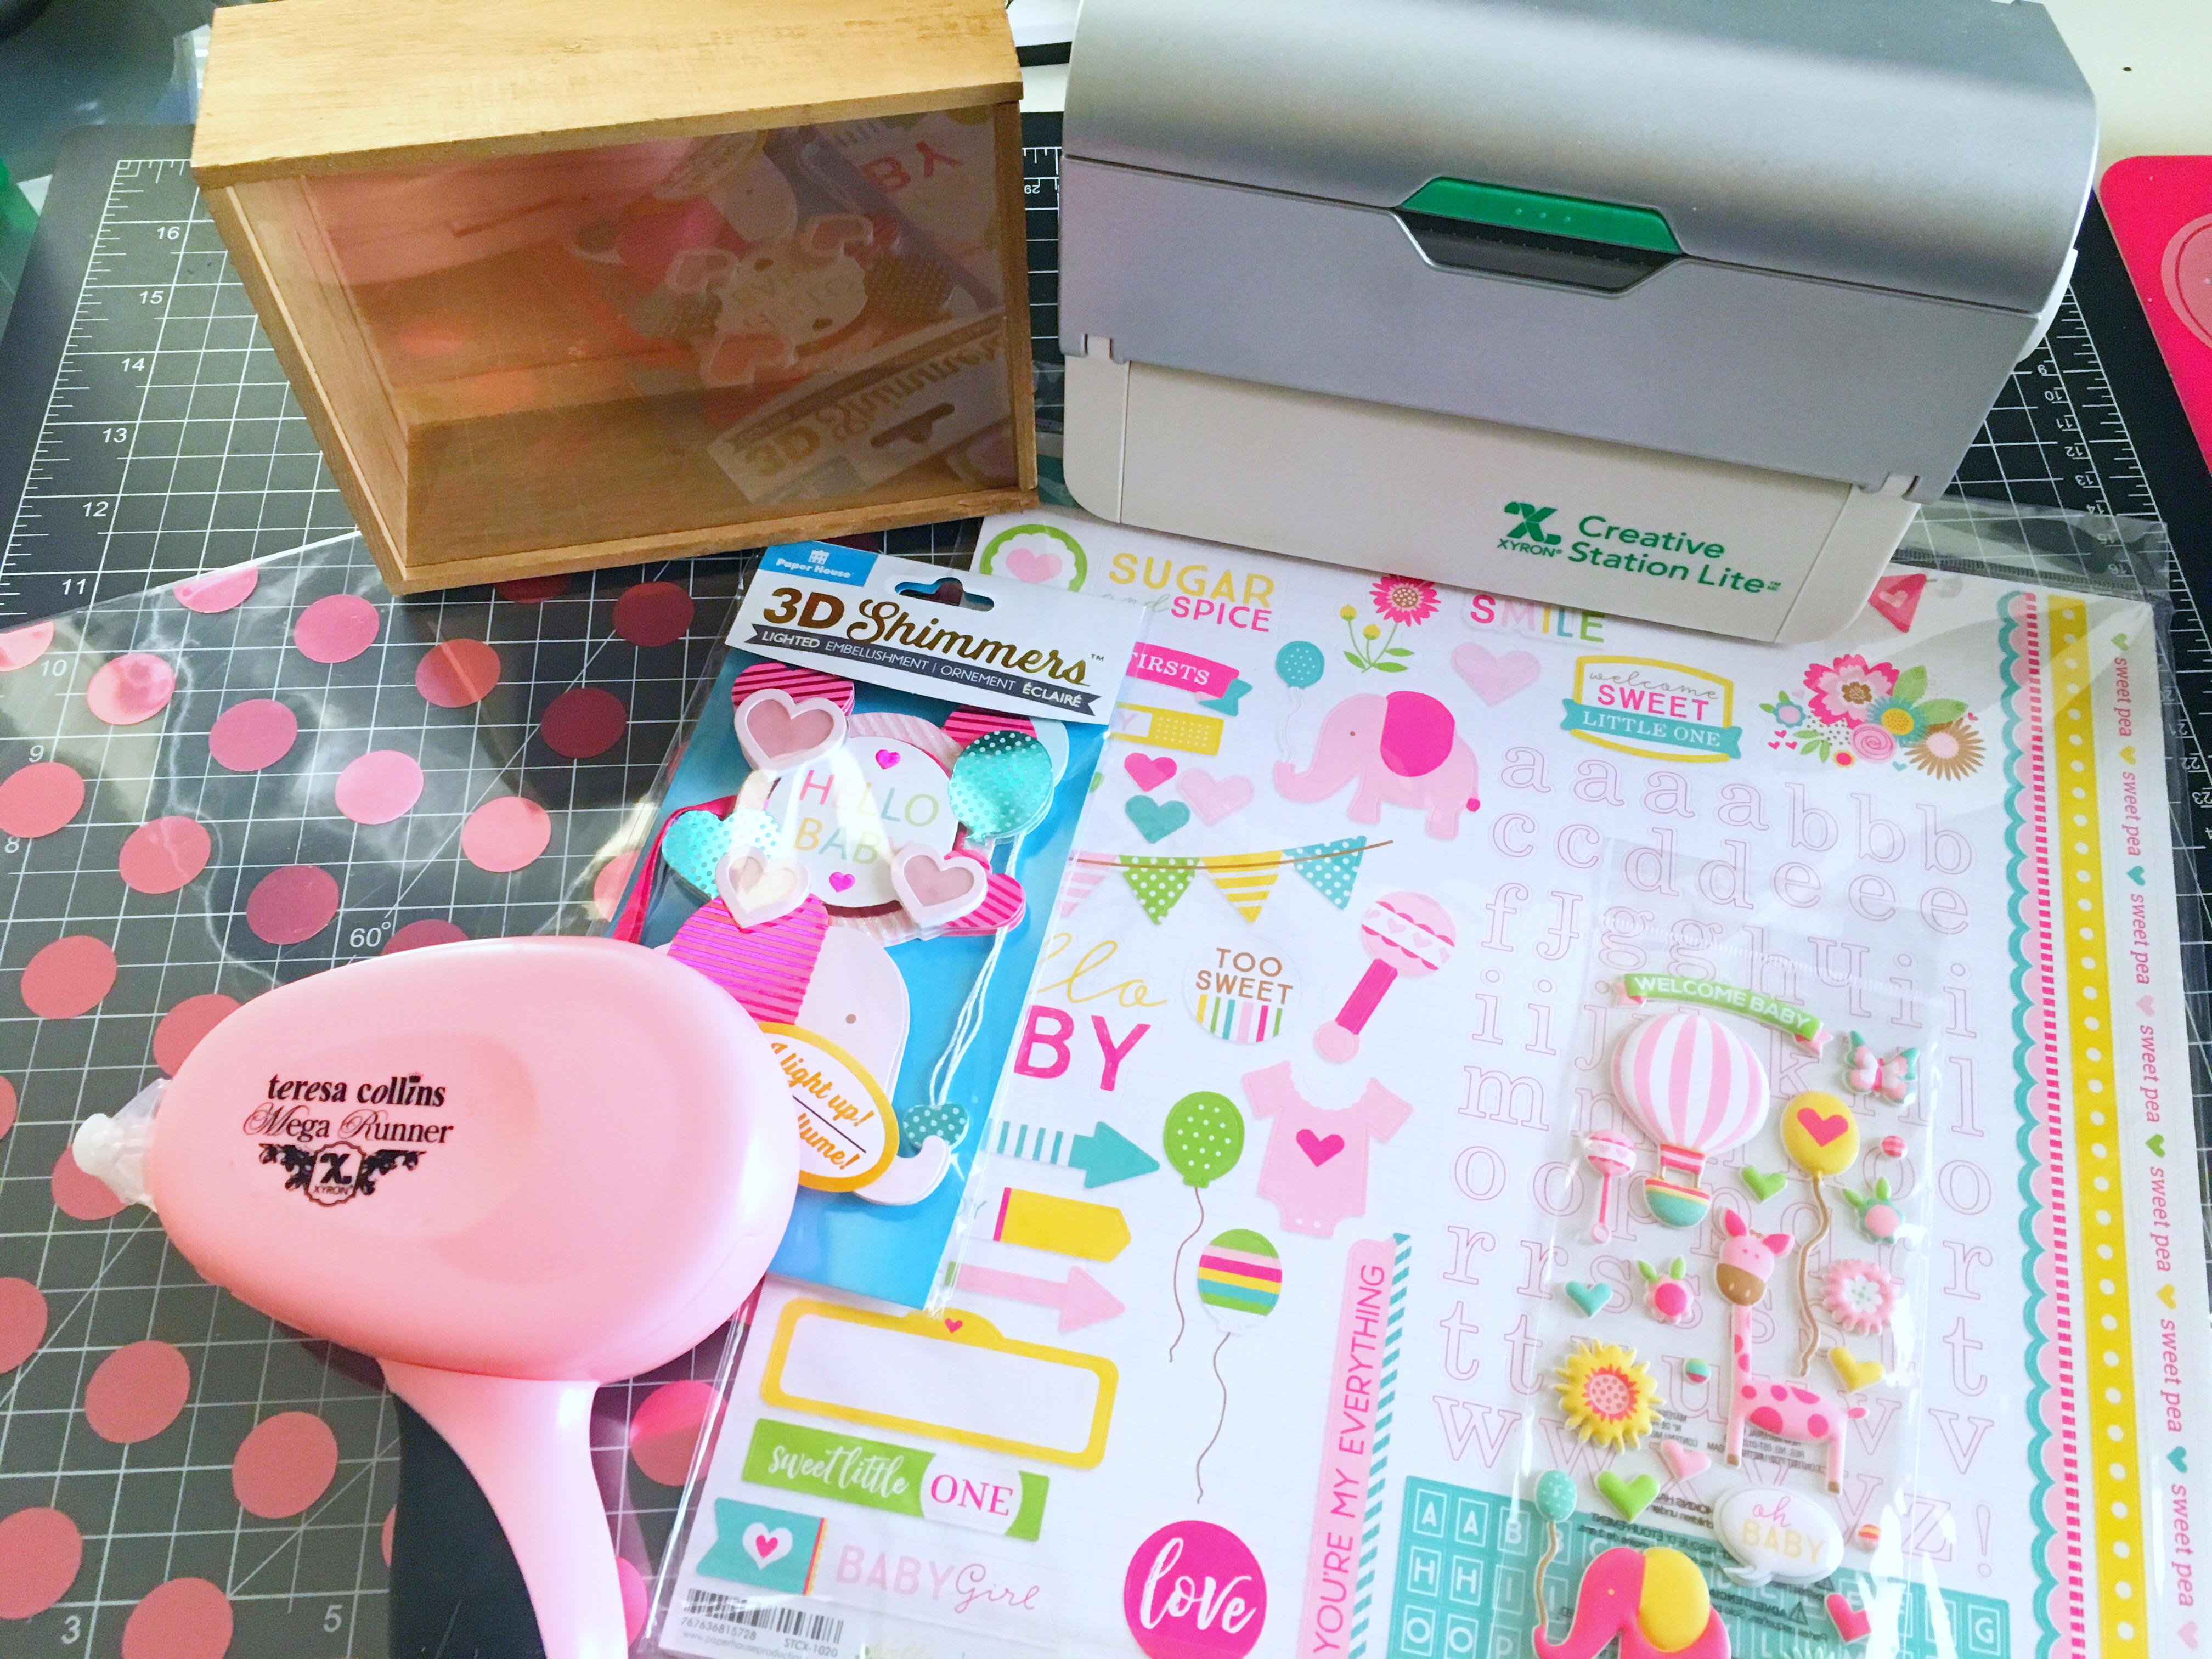
Materials
- Artesprix Blank Bookmark
- Artesprix Iron On Ink Sublimation Markers (Black, Original, Gnomie Botanical and Pastel markers)
- Artesprix Sublimation Ink Pad – Black
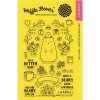
- Stamp Set
- Stamping Acrylic Block
- Plain Copy Paper
- Pencil
- Artesprix Heat Tape
- Artesprix Protective Paper
- Artesprix Project Mat

Tools:
- Heat Source: Artesprix Heat Press, Dry Iron or Home Iron (without steam)

Step-by-step Tutorial:
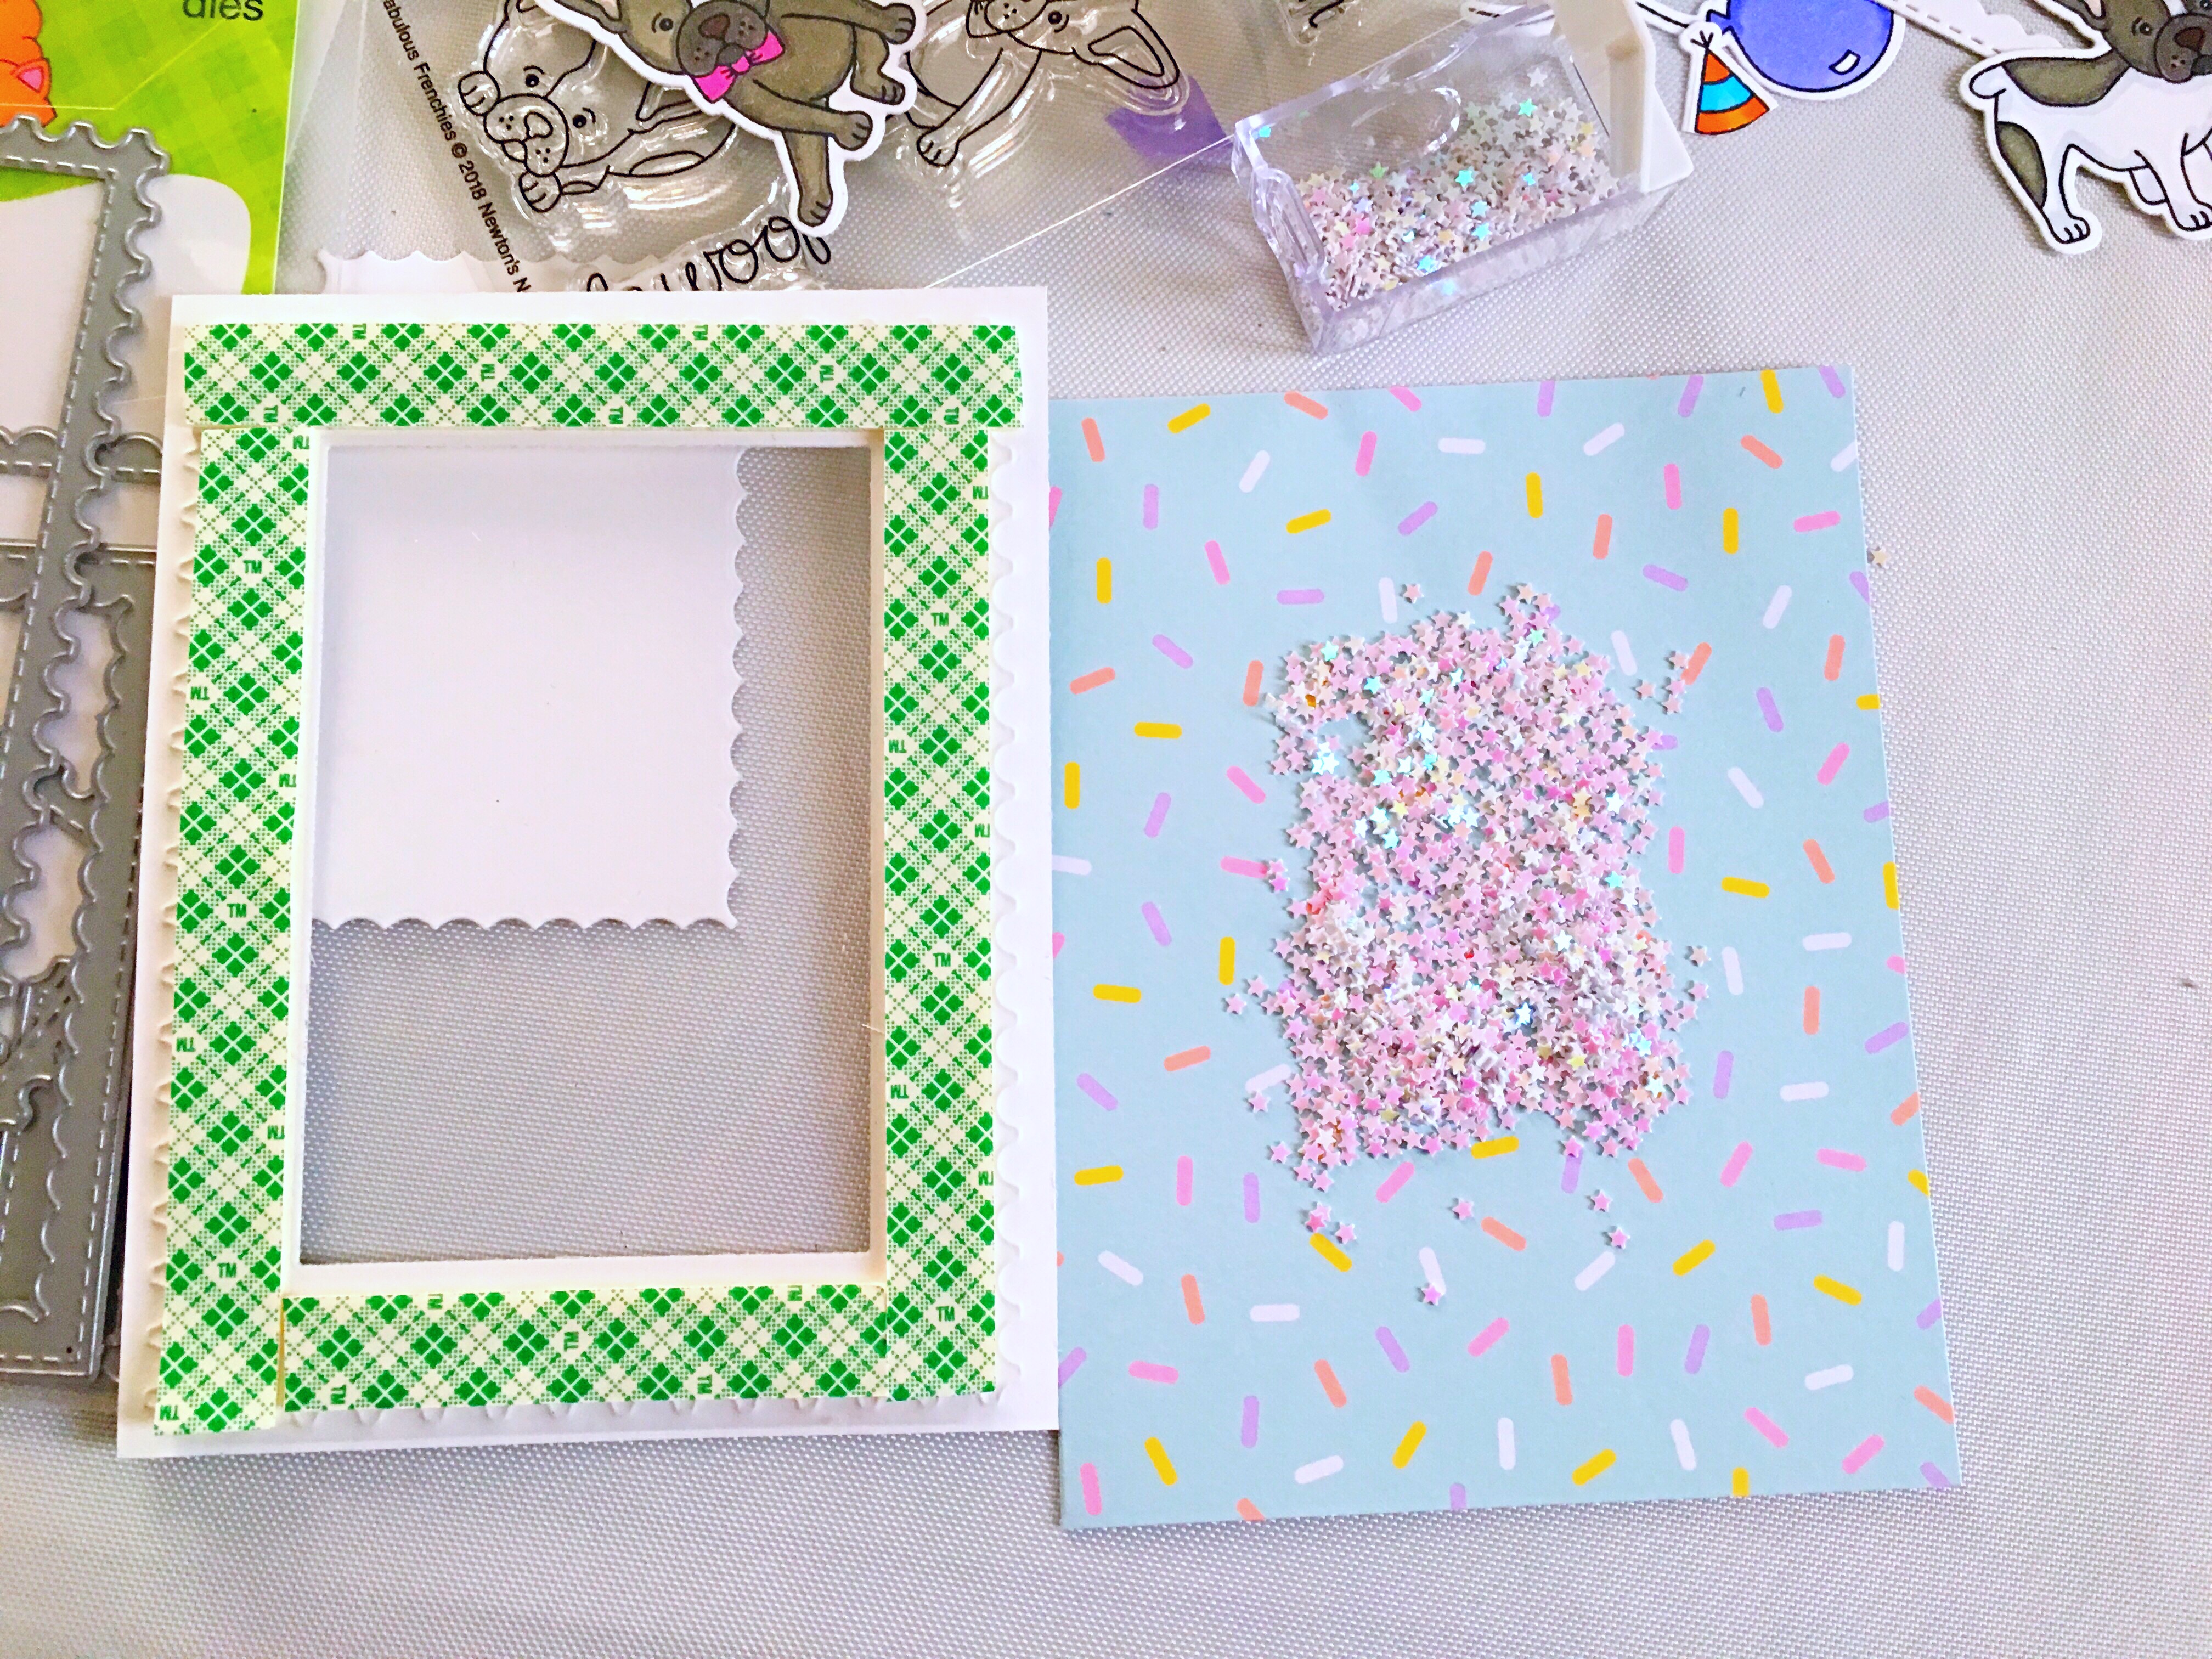
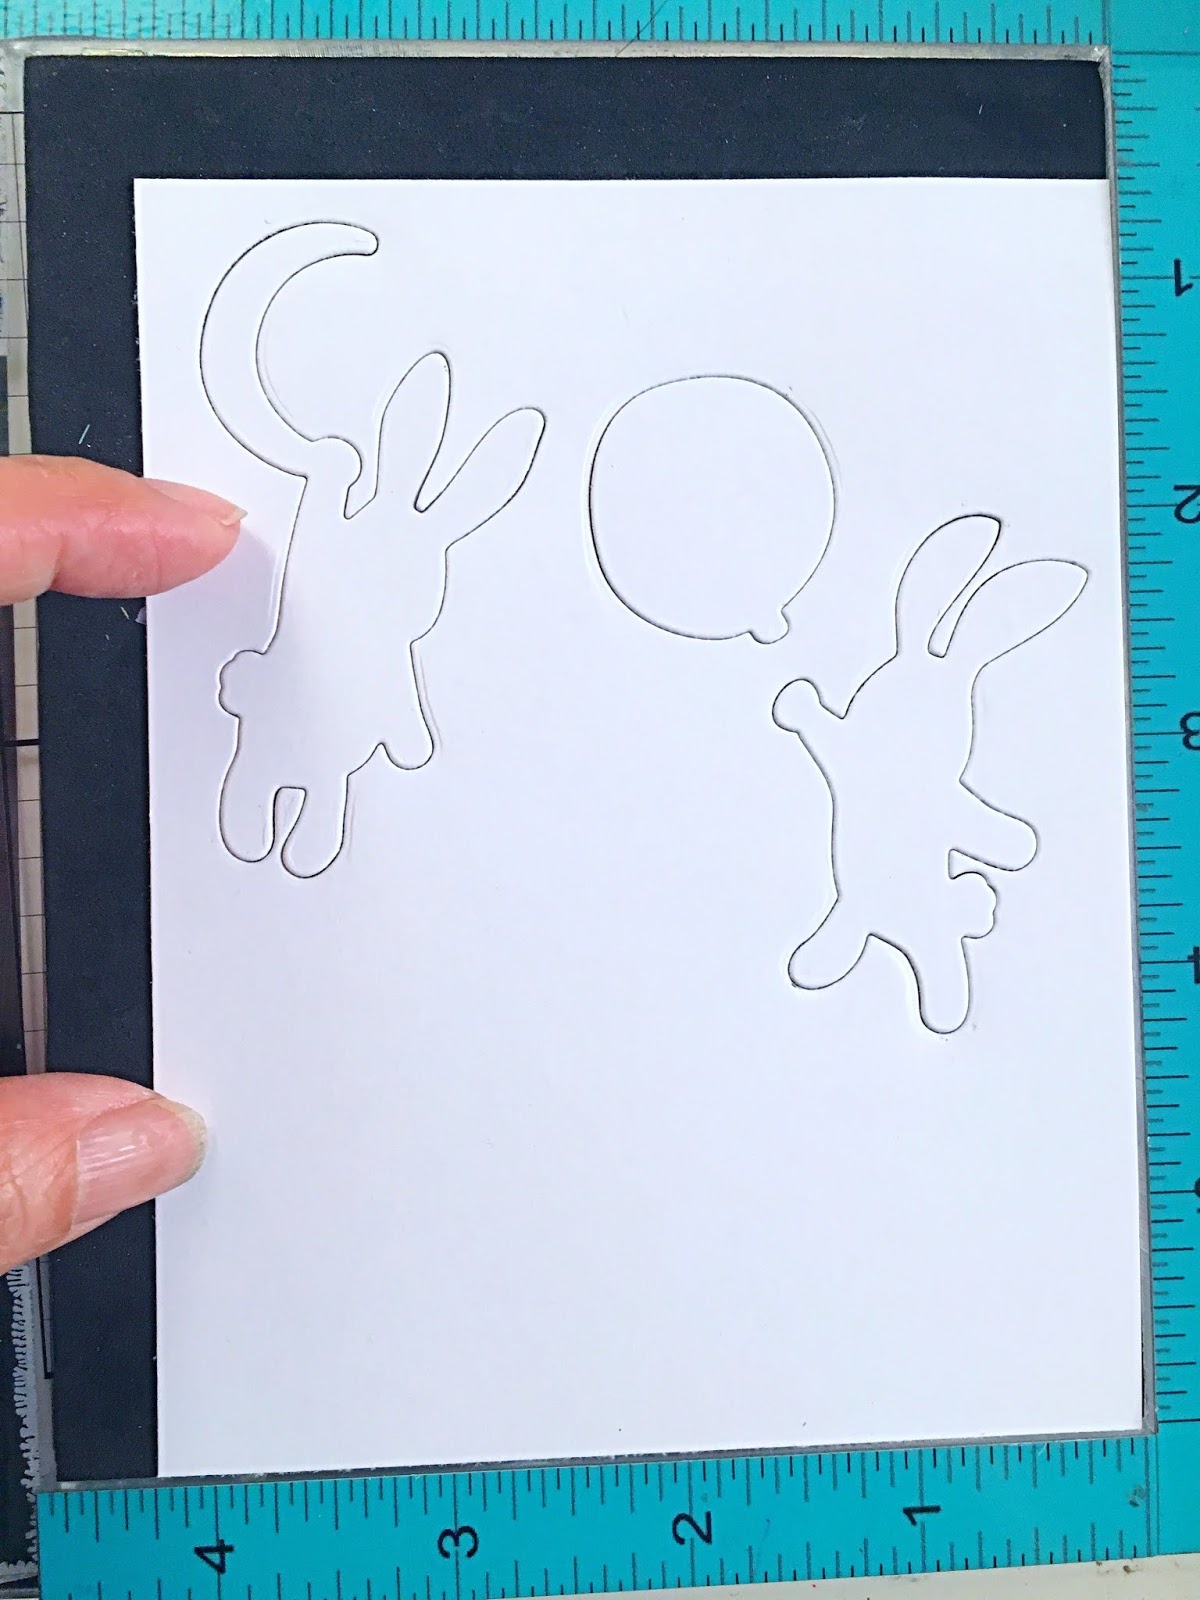
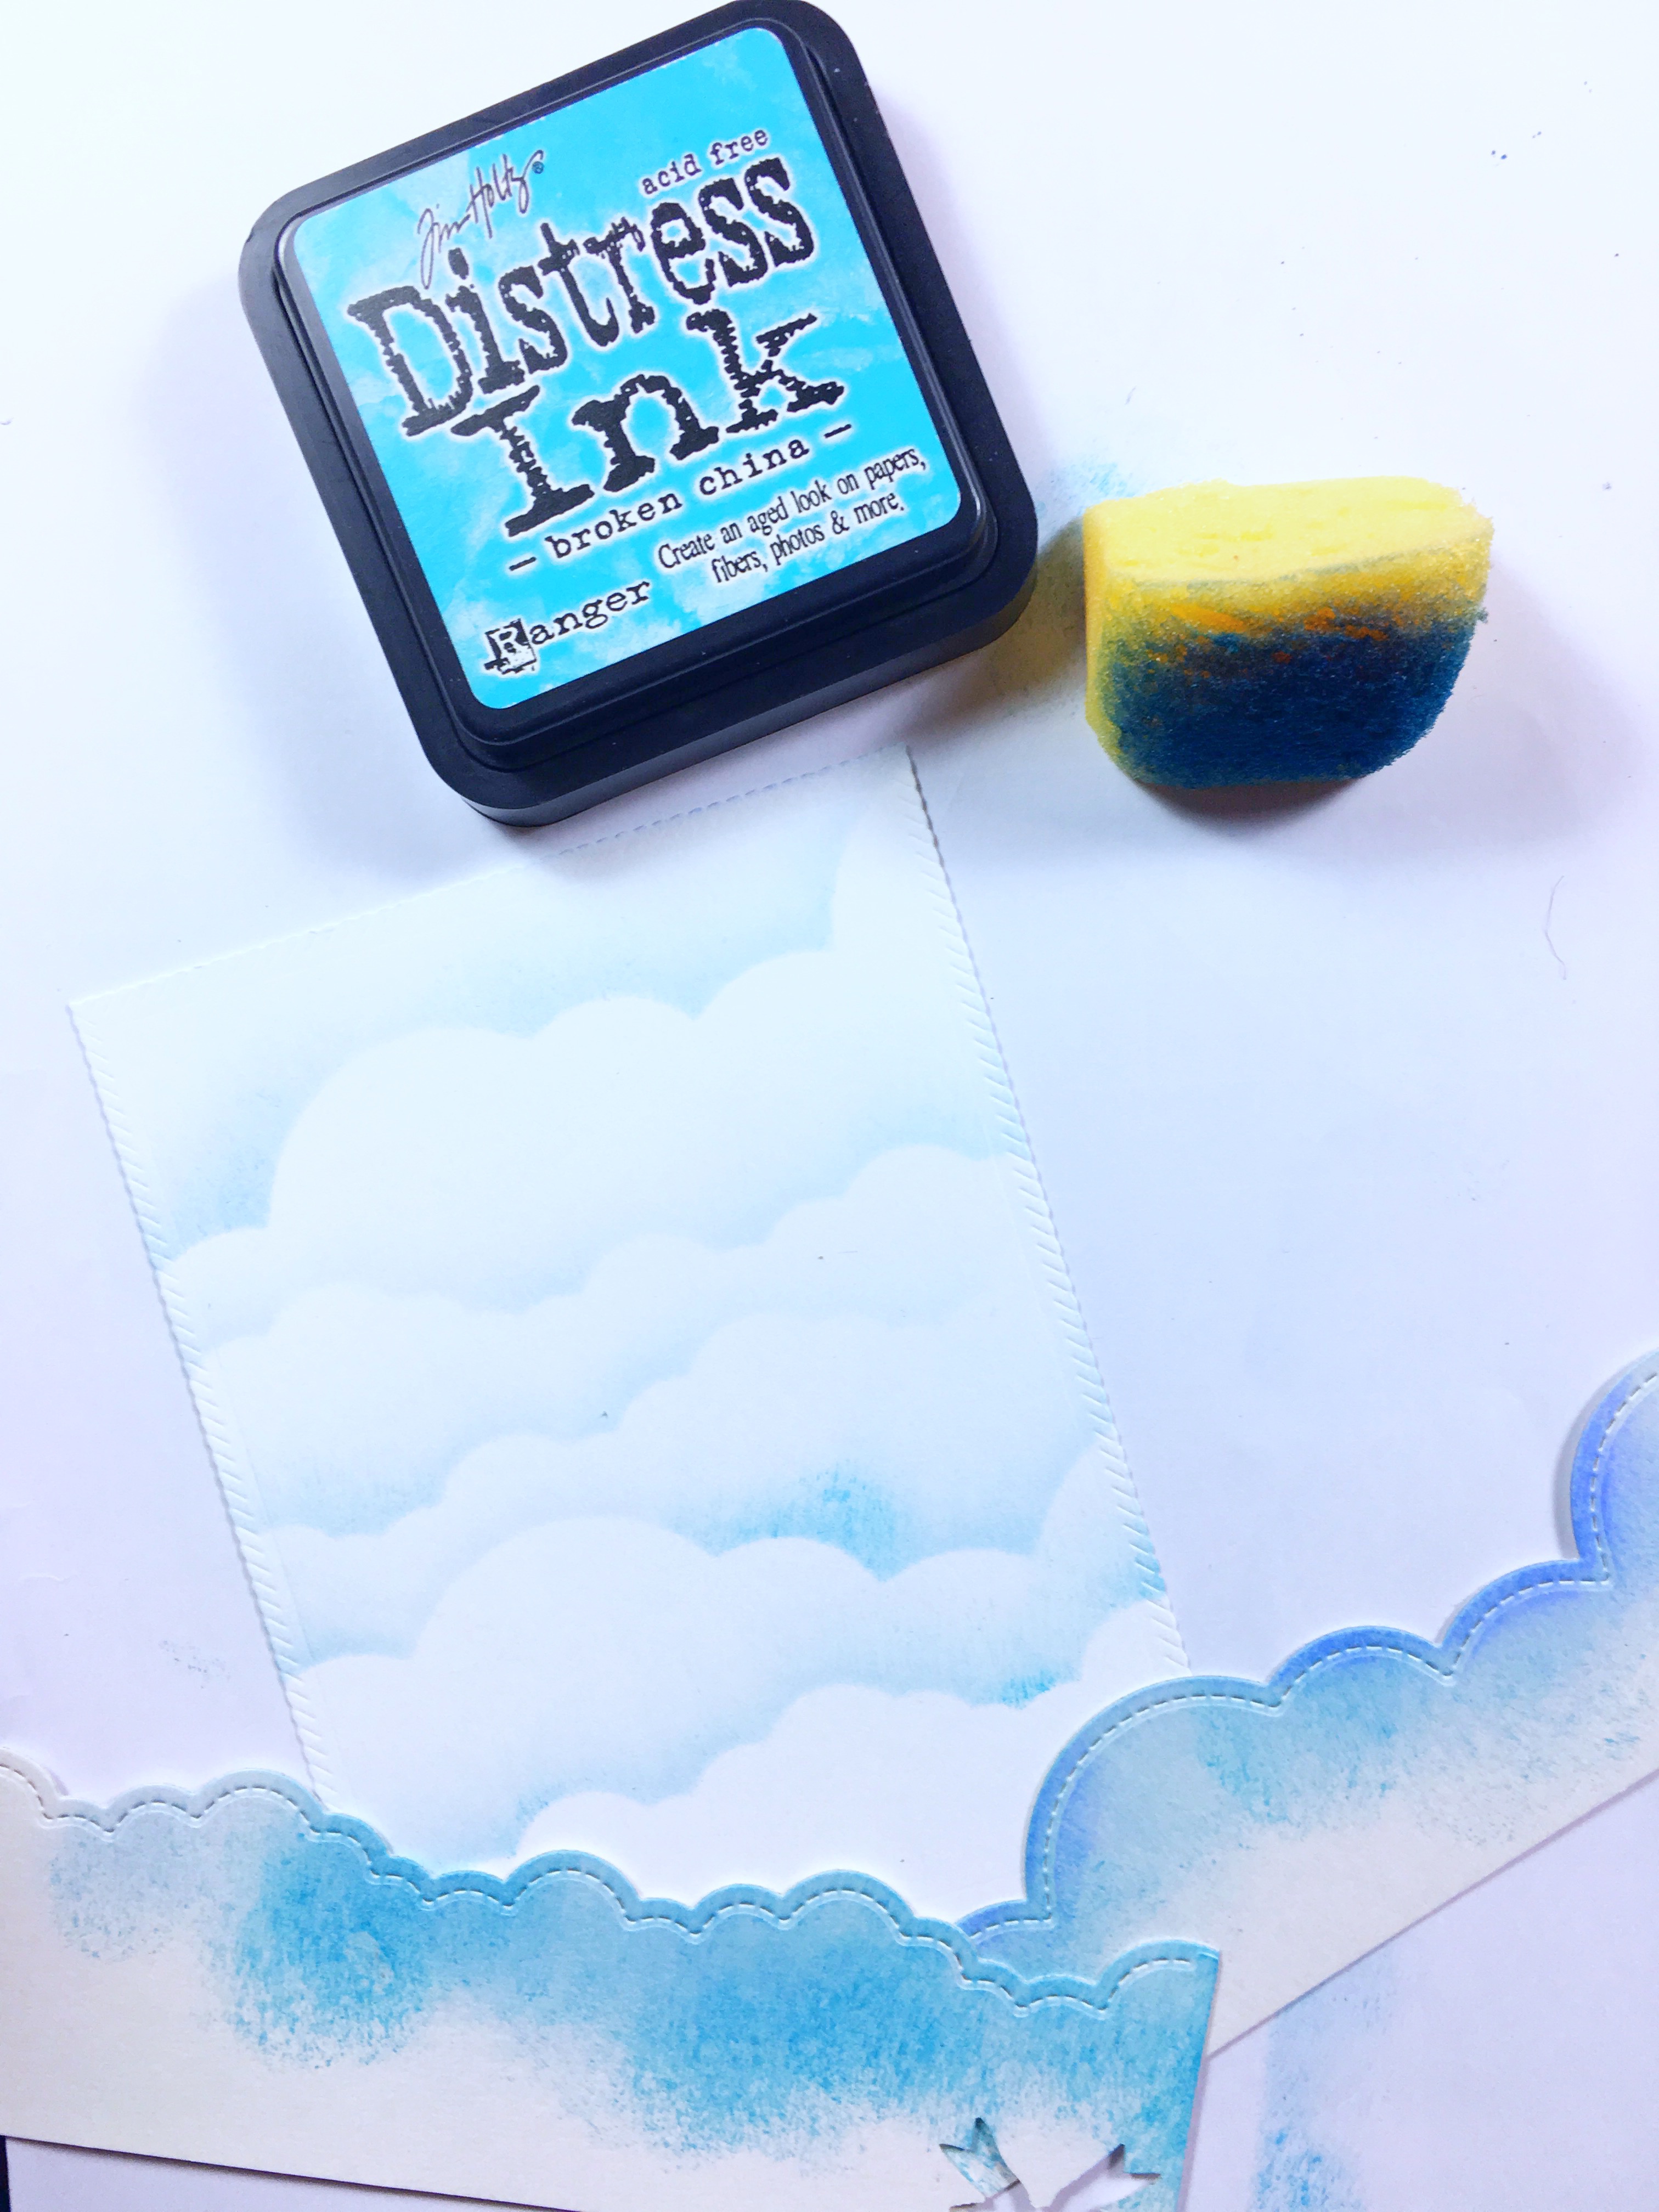
Place the bookmark on a piece of plain copy paper and trace the outline using a pencil. This will determine the area that you have to work with. Don’t worry about the pencil lines because this will not transfer on your bookmark.

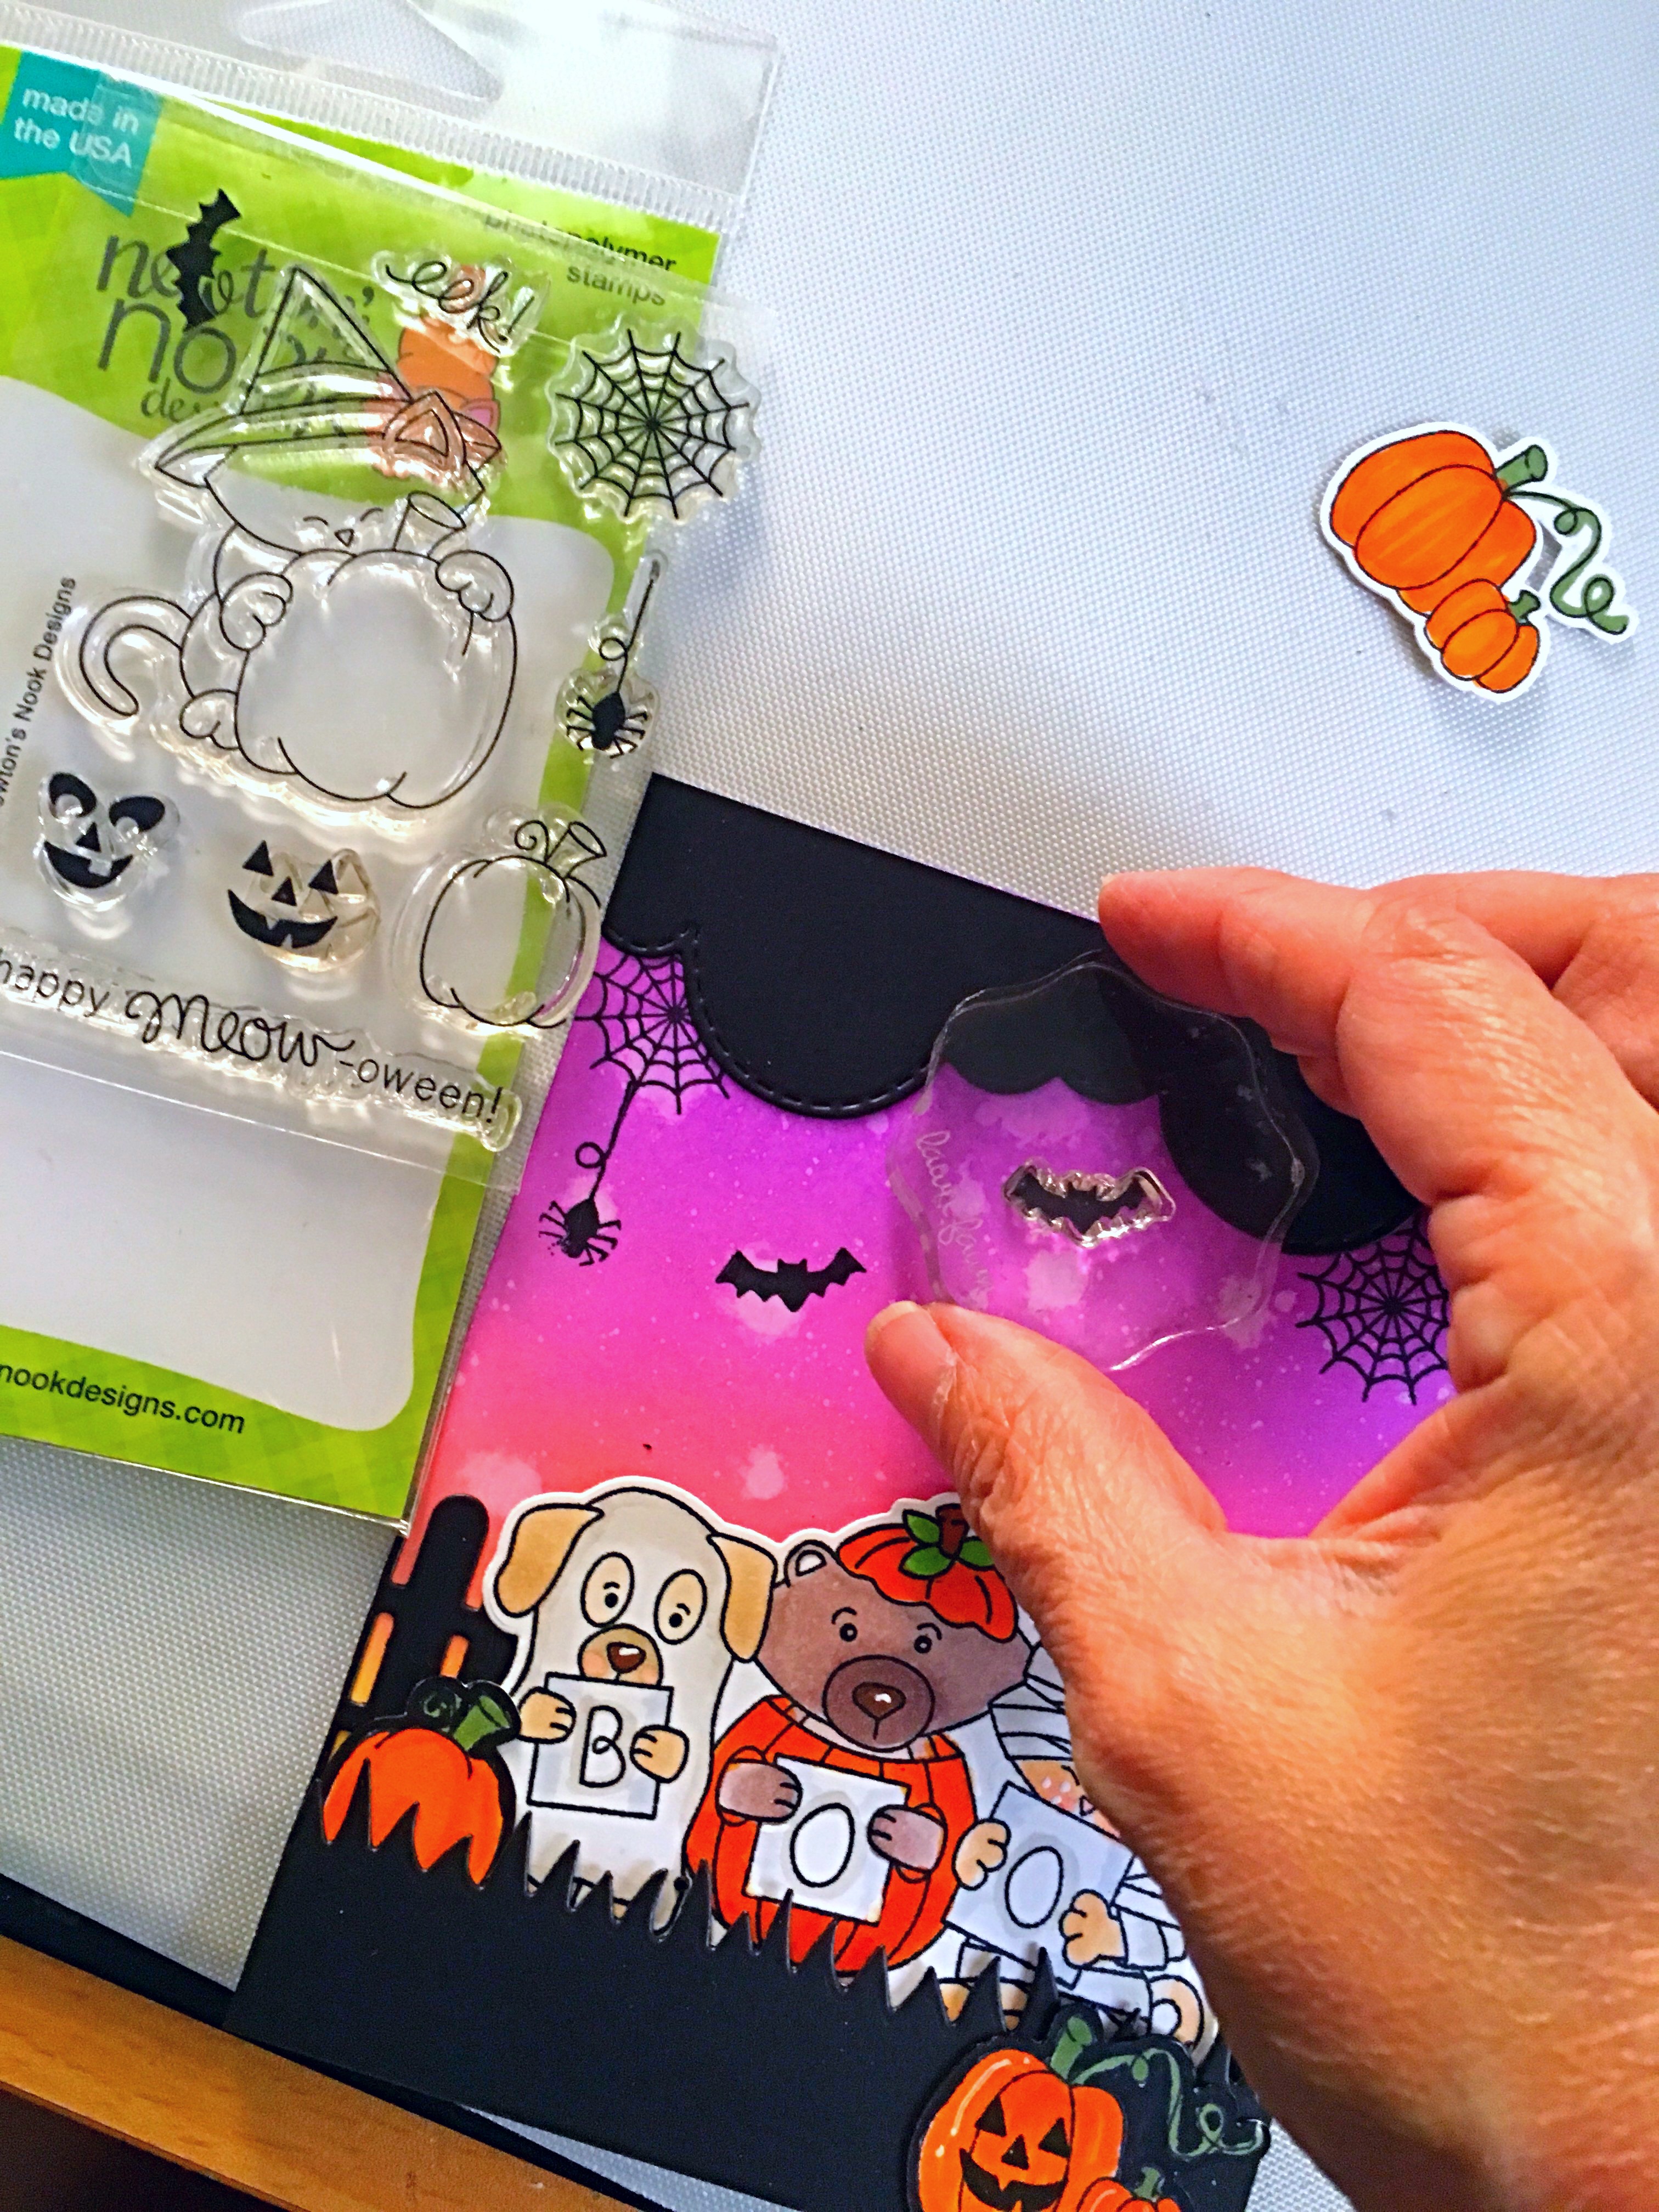
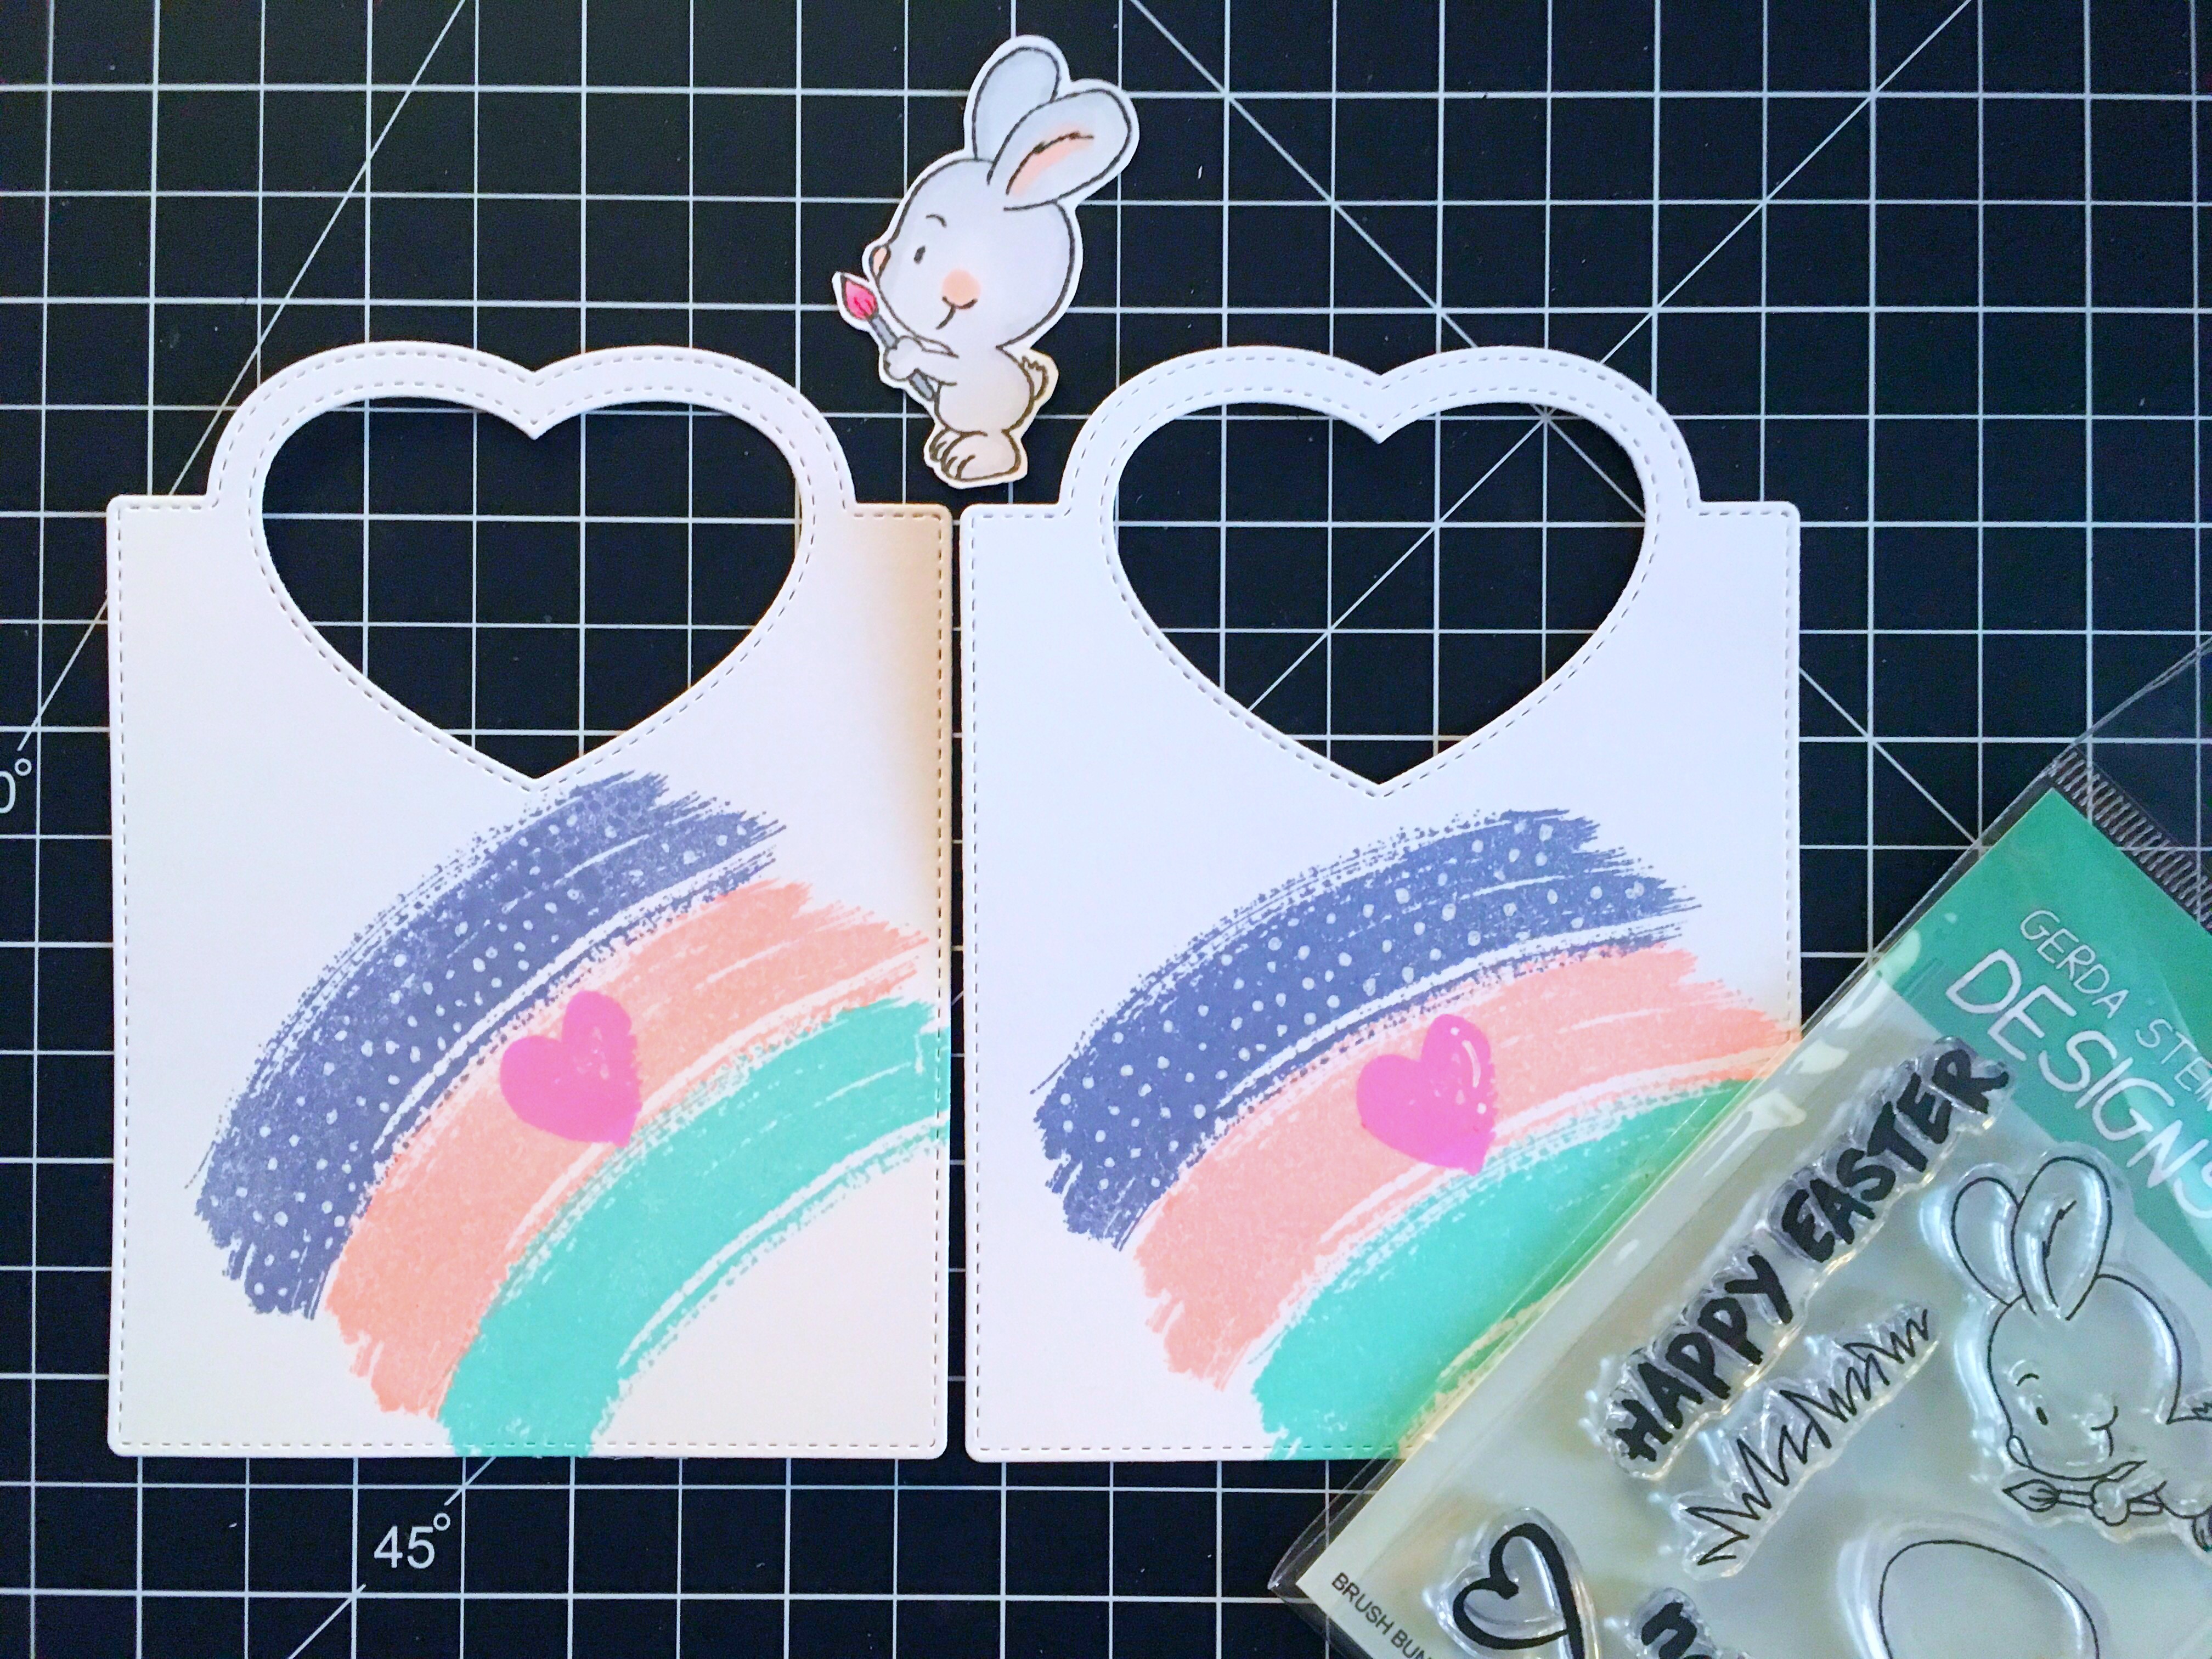
Mount your stamp on an acrylic block and stamp the image on the copy paper using Artesprix Sublimation ink pad. Repeat this process for the rest of the images that you need to use for your bookmark. Note: If your kids would like to draw their own image, they can first use a pencil and trace their designs with the Artesprix Iron-On ink sublimation markers later on. Make sure they are doing a mirror image so that when their design applies to the bookmark, they wouldn’t look backwards.
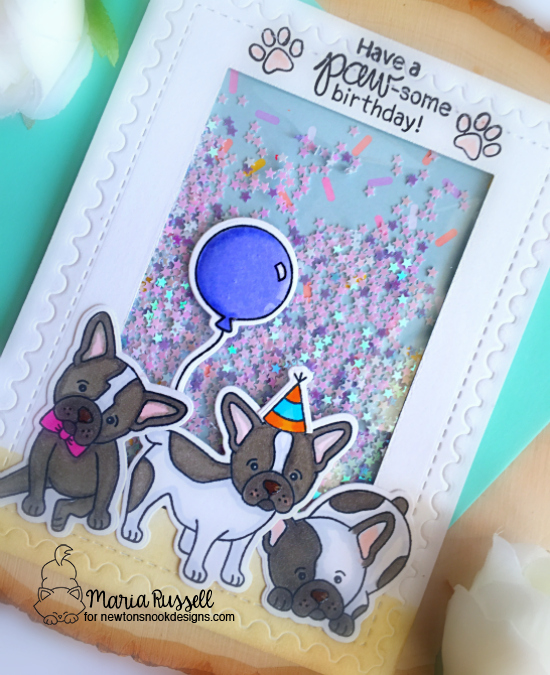
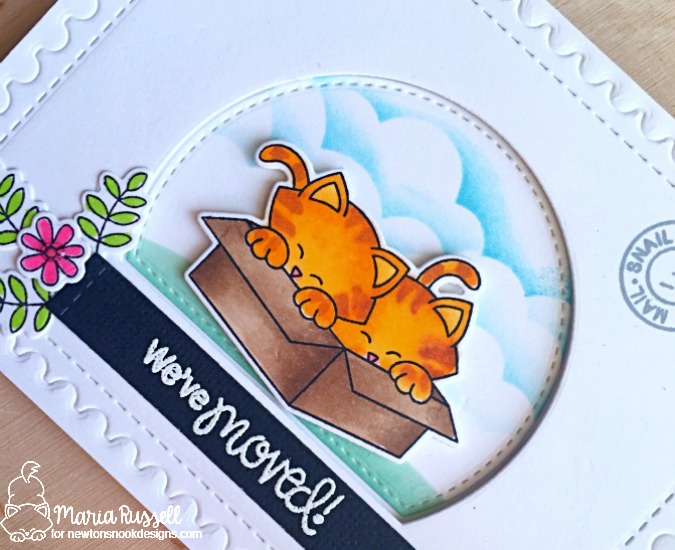
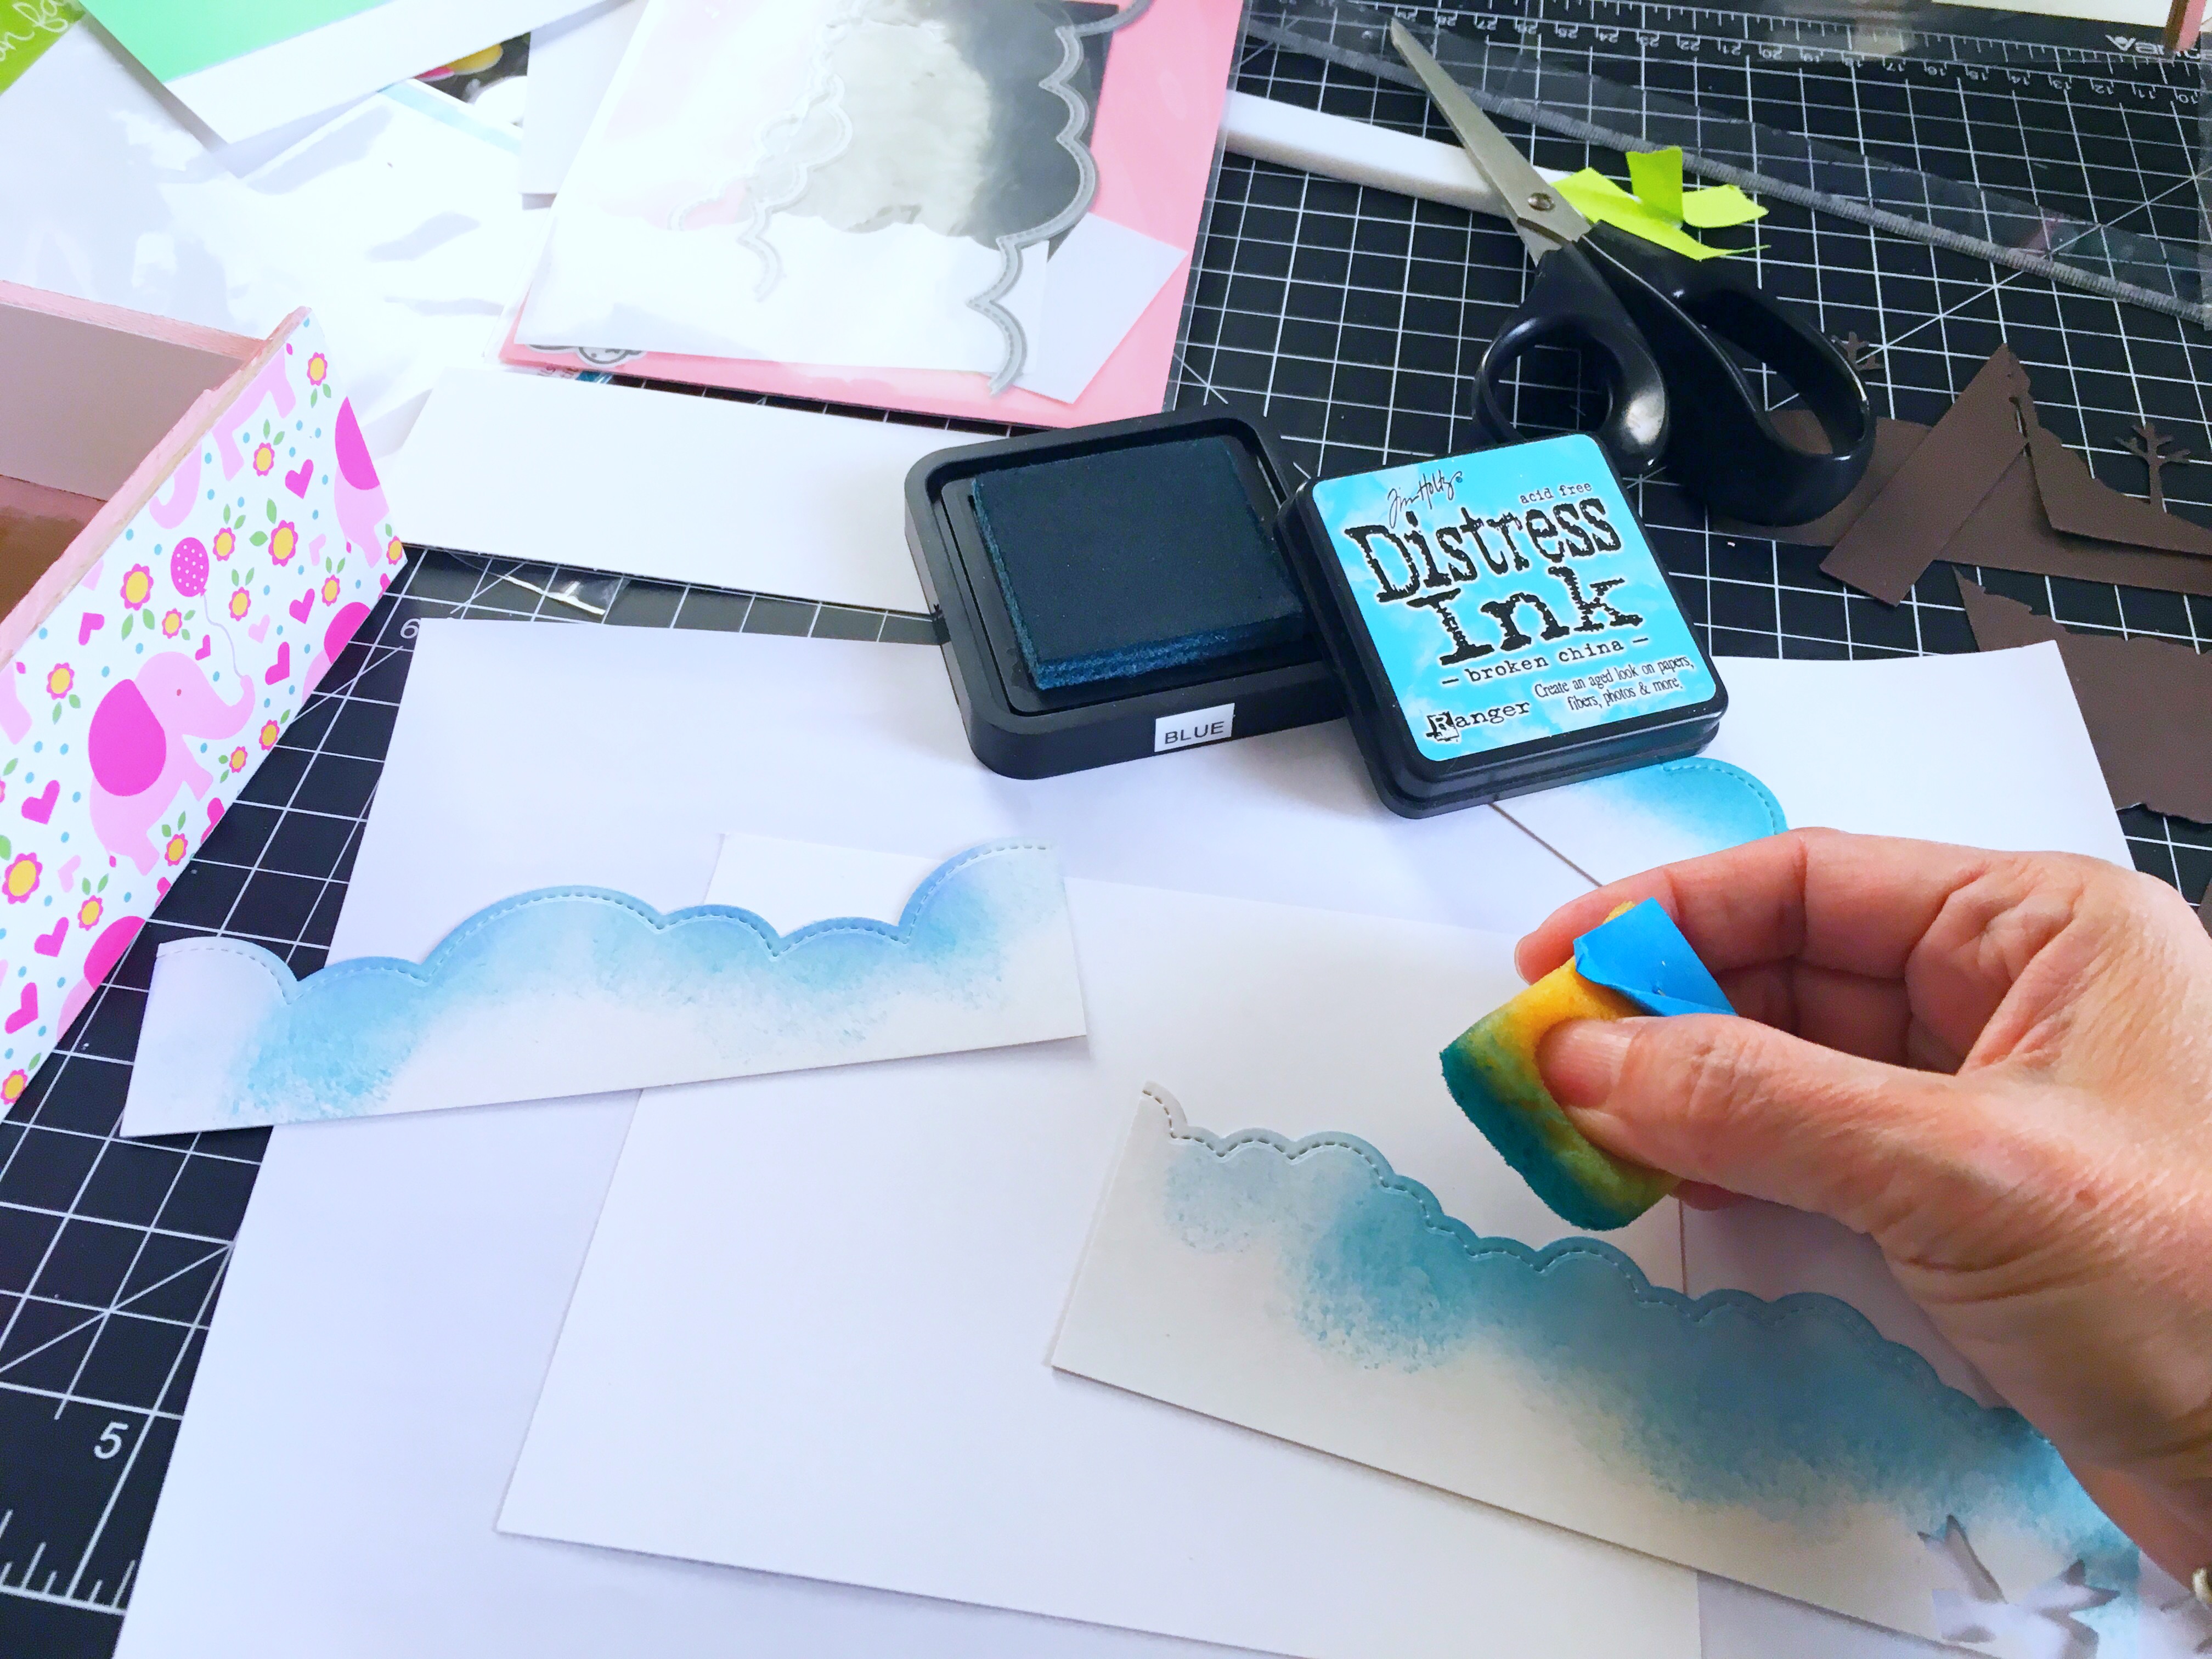
Since I didn’t use any sentiments for the hamburger-themed bookmarks, I didn’t need to flip the images to trace it on the other side. I used the Artesprix Original, Gnomie Botanical and Pastel Sublimation Markers to color my images.
Don’t worry if the color looks a little muted, it will come to life when the heat is applied to your project.

Take your bookmark and place the “white side” against the ink. Use the Artesprix Heat Tape and tape it down so your design doesn’t shift. If you are using the Heat Press, you only need one on each side to hold it down. If you are using an iron, you will need more. Sometimes the iron will cause the image to slip and you will get a ghost image. [Only use Artesprix Heat Tape on the outer edge of the design (not over it).]

If using an Artesprix Heat Press, set the temperature to 400 deg. F and timer to 45 seconds. If using a dry iron, set to linen or highest setting. [For a home iron, set to linen and “no steam”. Note: The holes in your home iron do not allow the heat to pass through evenly.]
Now it is time for a sublimation sandwich. Cut two pieces of Artesprix Protective Paper to cover your project on the top and bottom. Place it inside the Heat Press and close the machine. You’ll want your Artesprix Project Mat handy because your project will be hot, and you don’t want it to damage your work space.
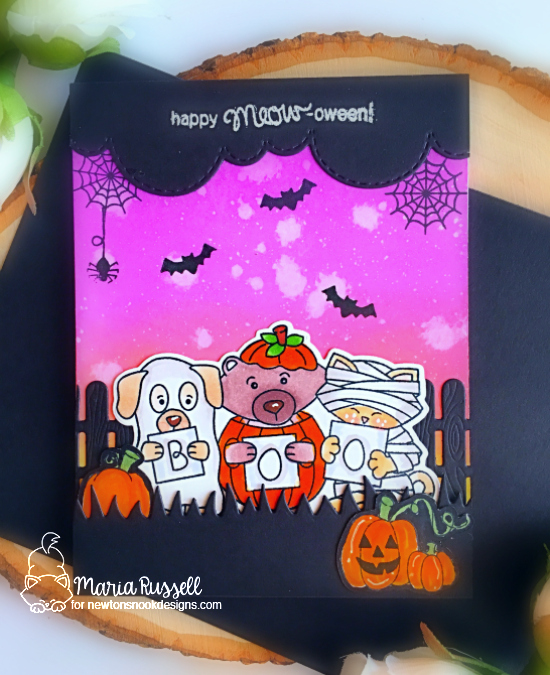
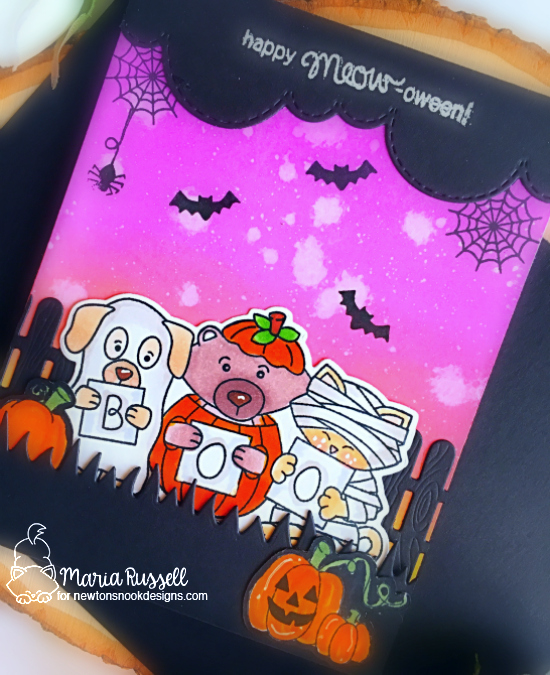
When the Heat Press beeps, this indicates that your project is ready. Pull the handle up and use protective gloves or oven mitts to protect your hands before taking the project out. Place it on top of the project mat and wait for about 10 minutes to cool down. Gently remove the paper from the bookmark to reveal the design.

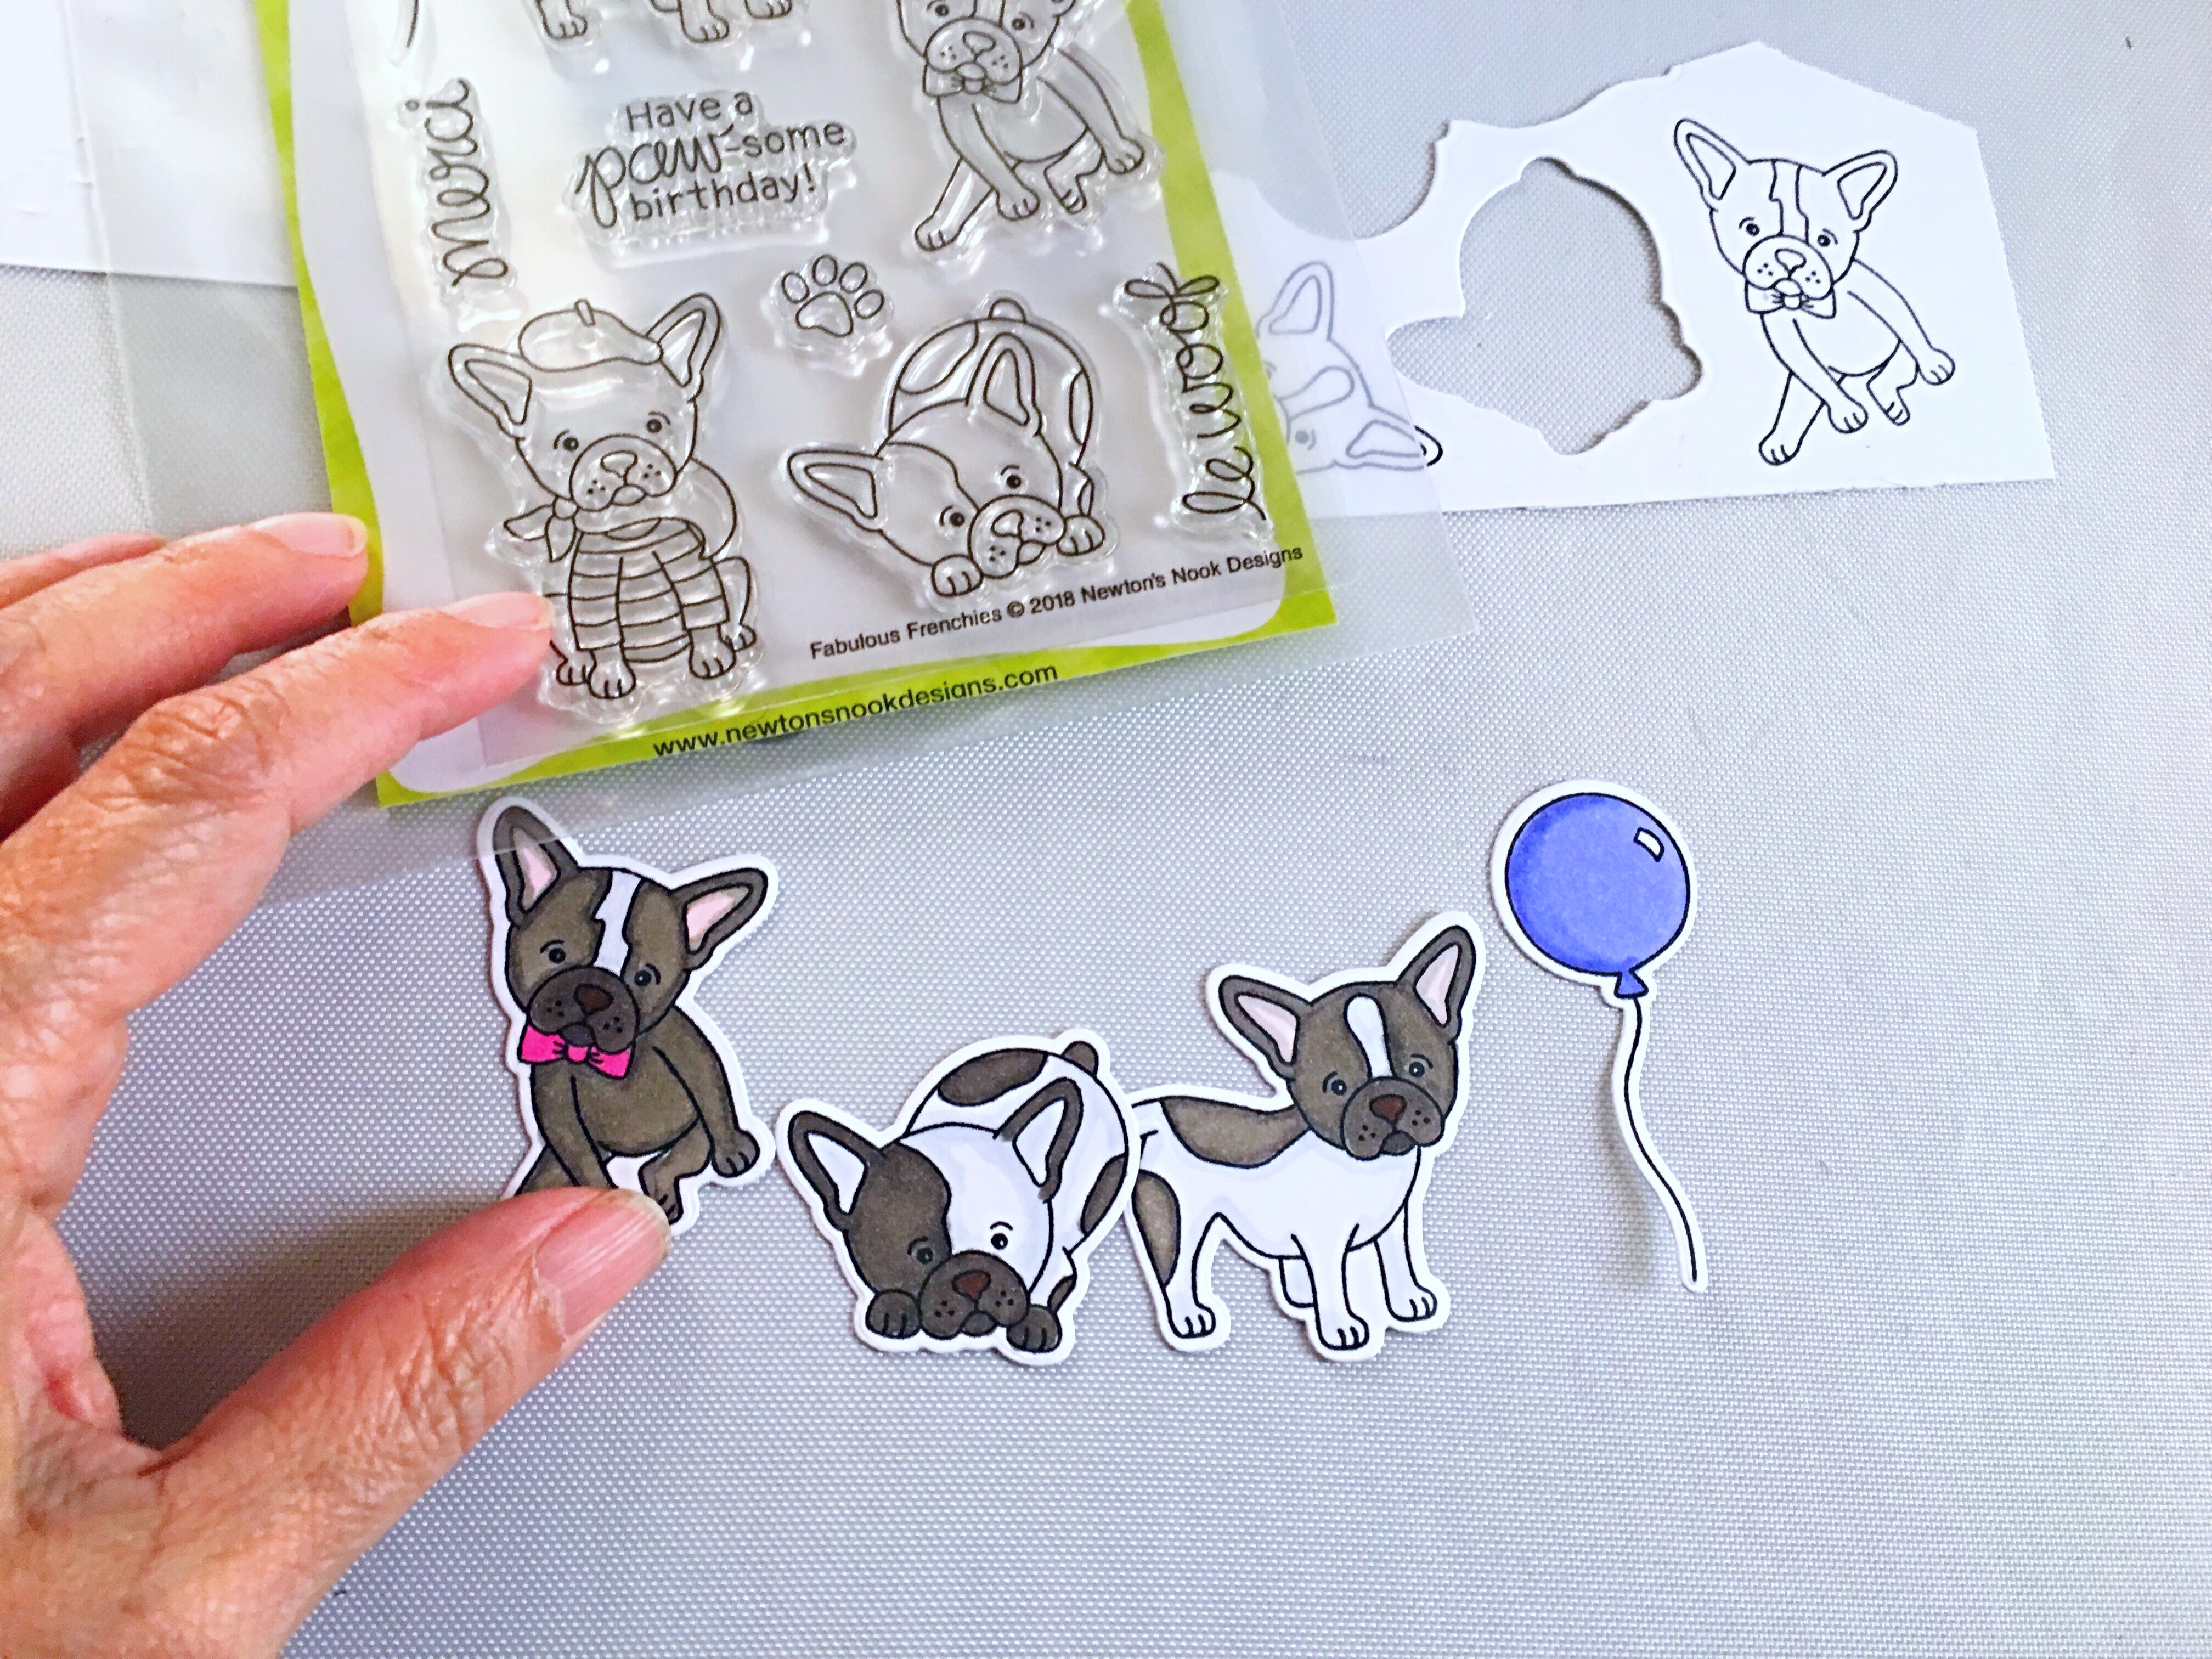
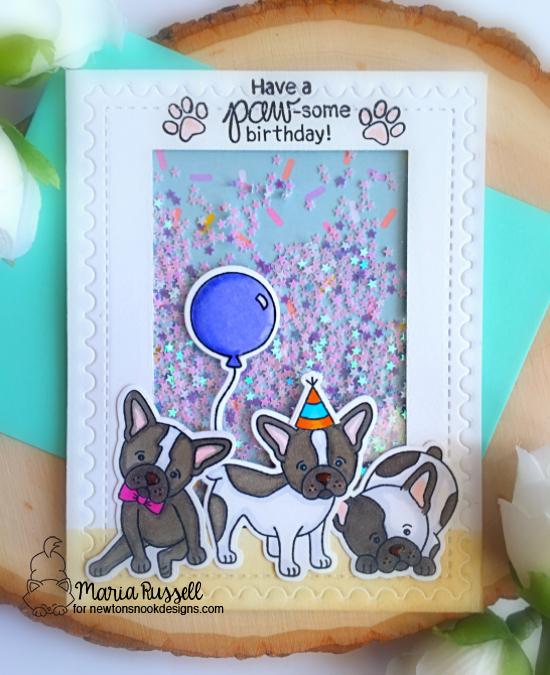
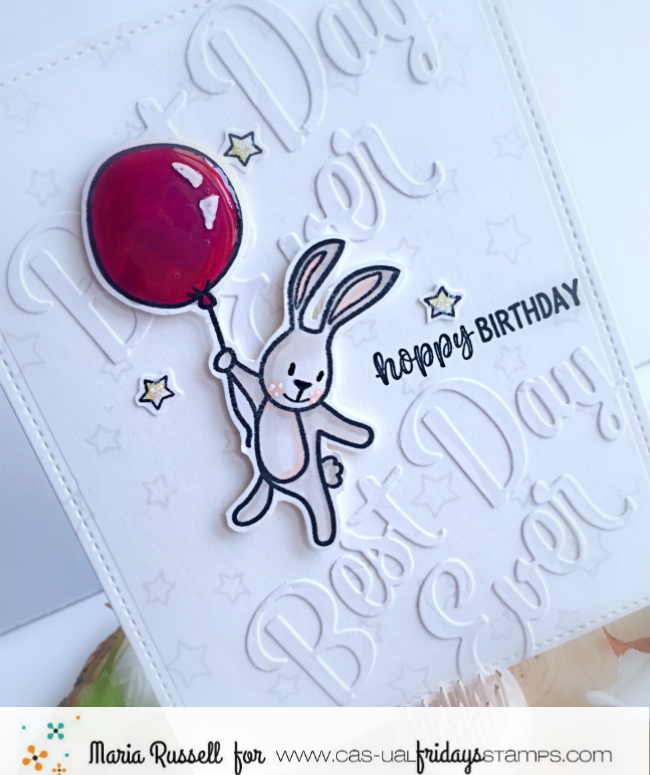
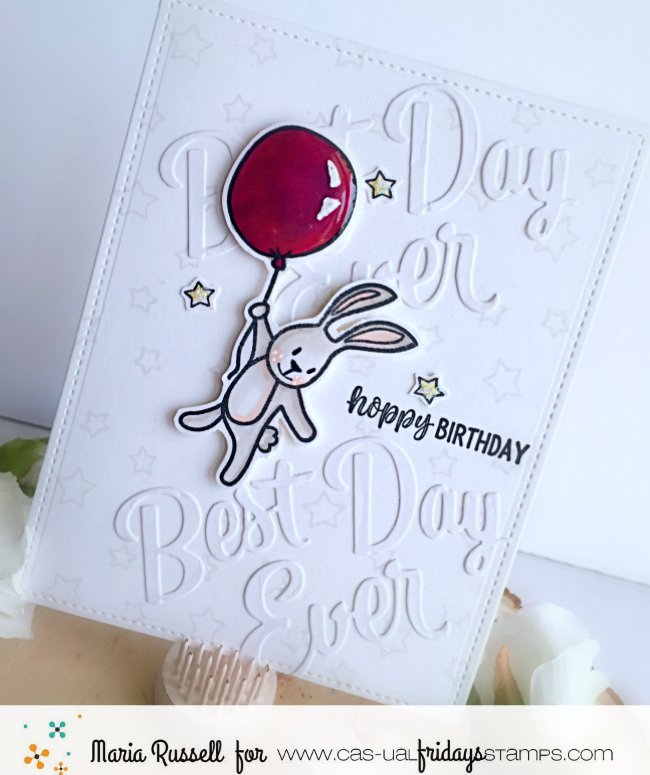
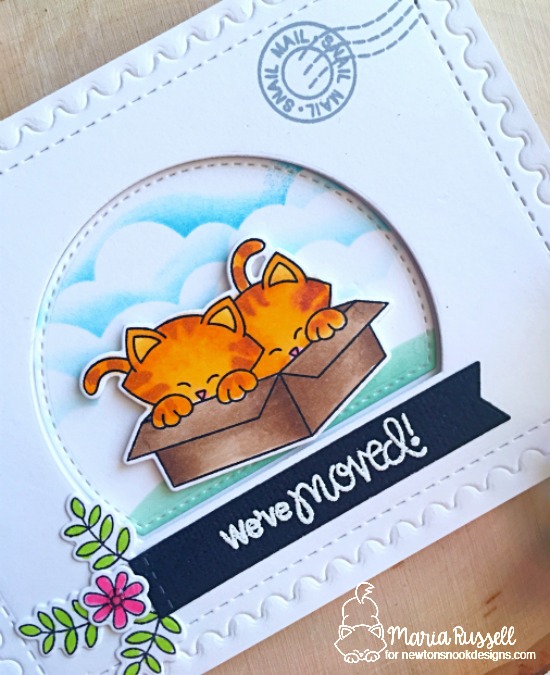
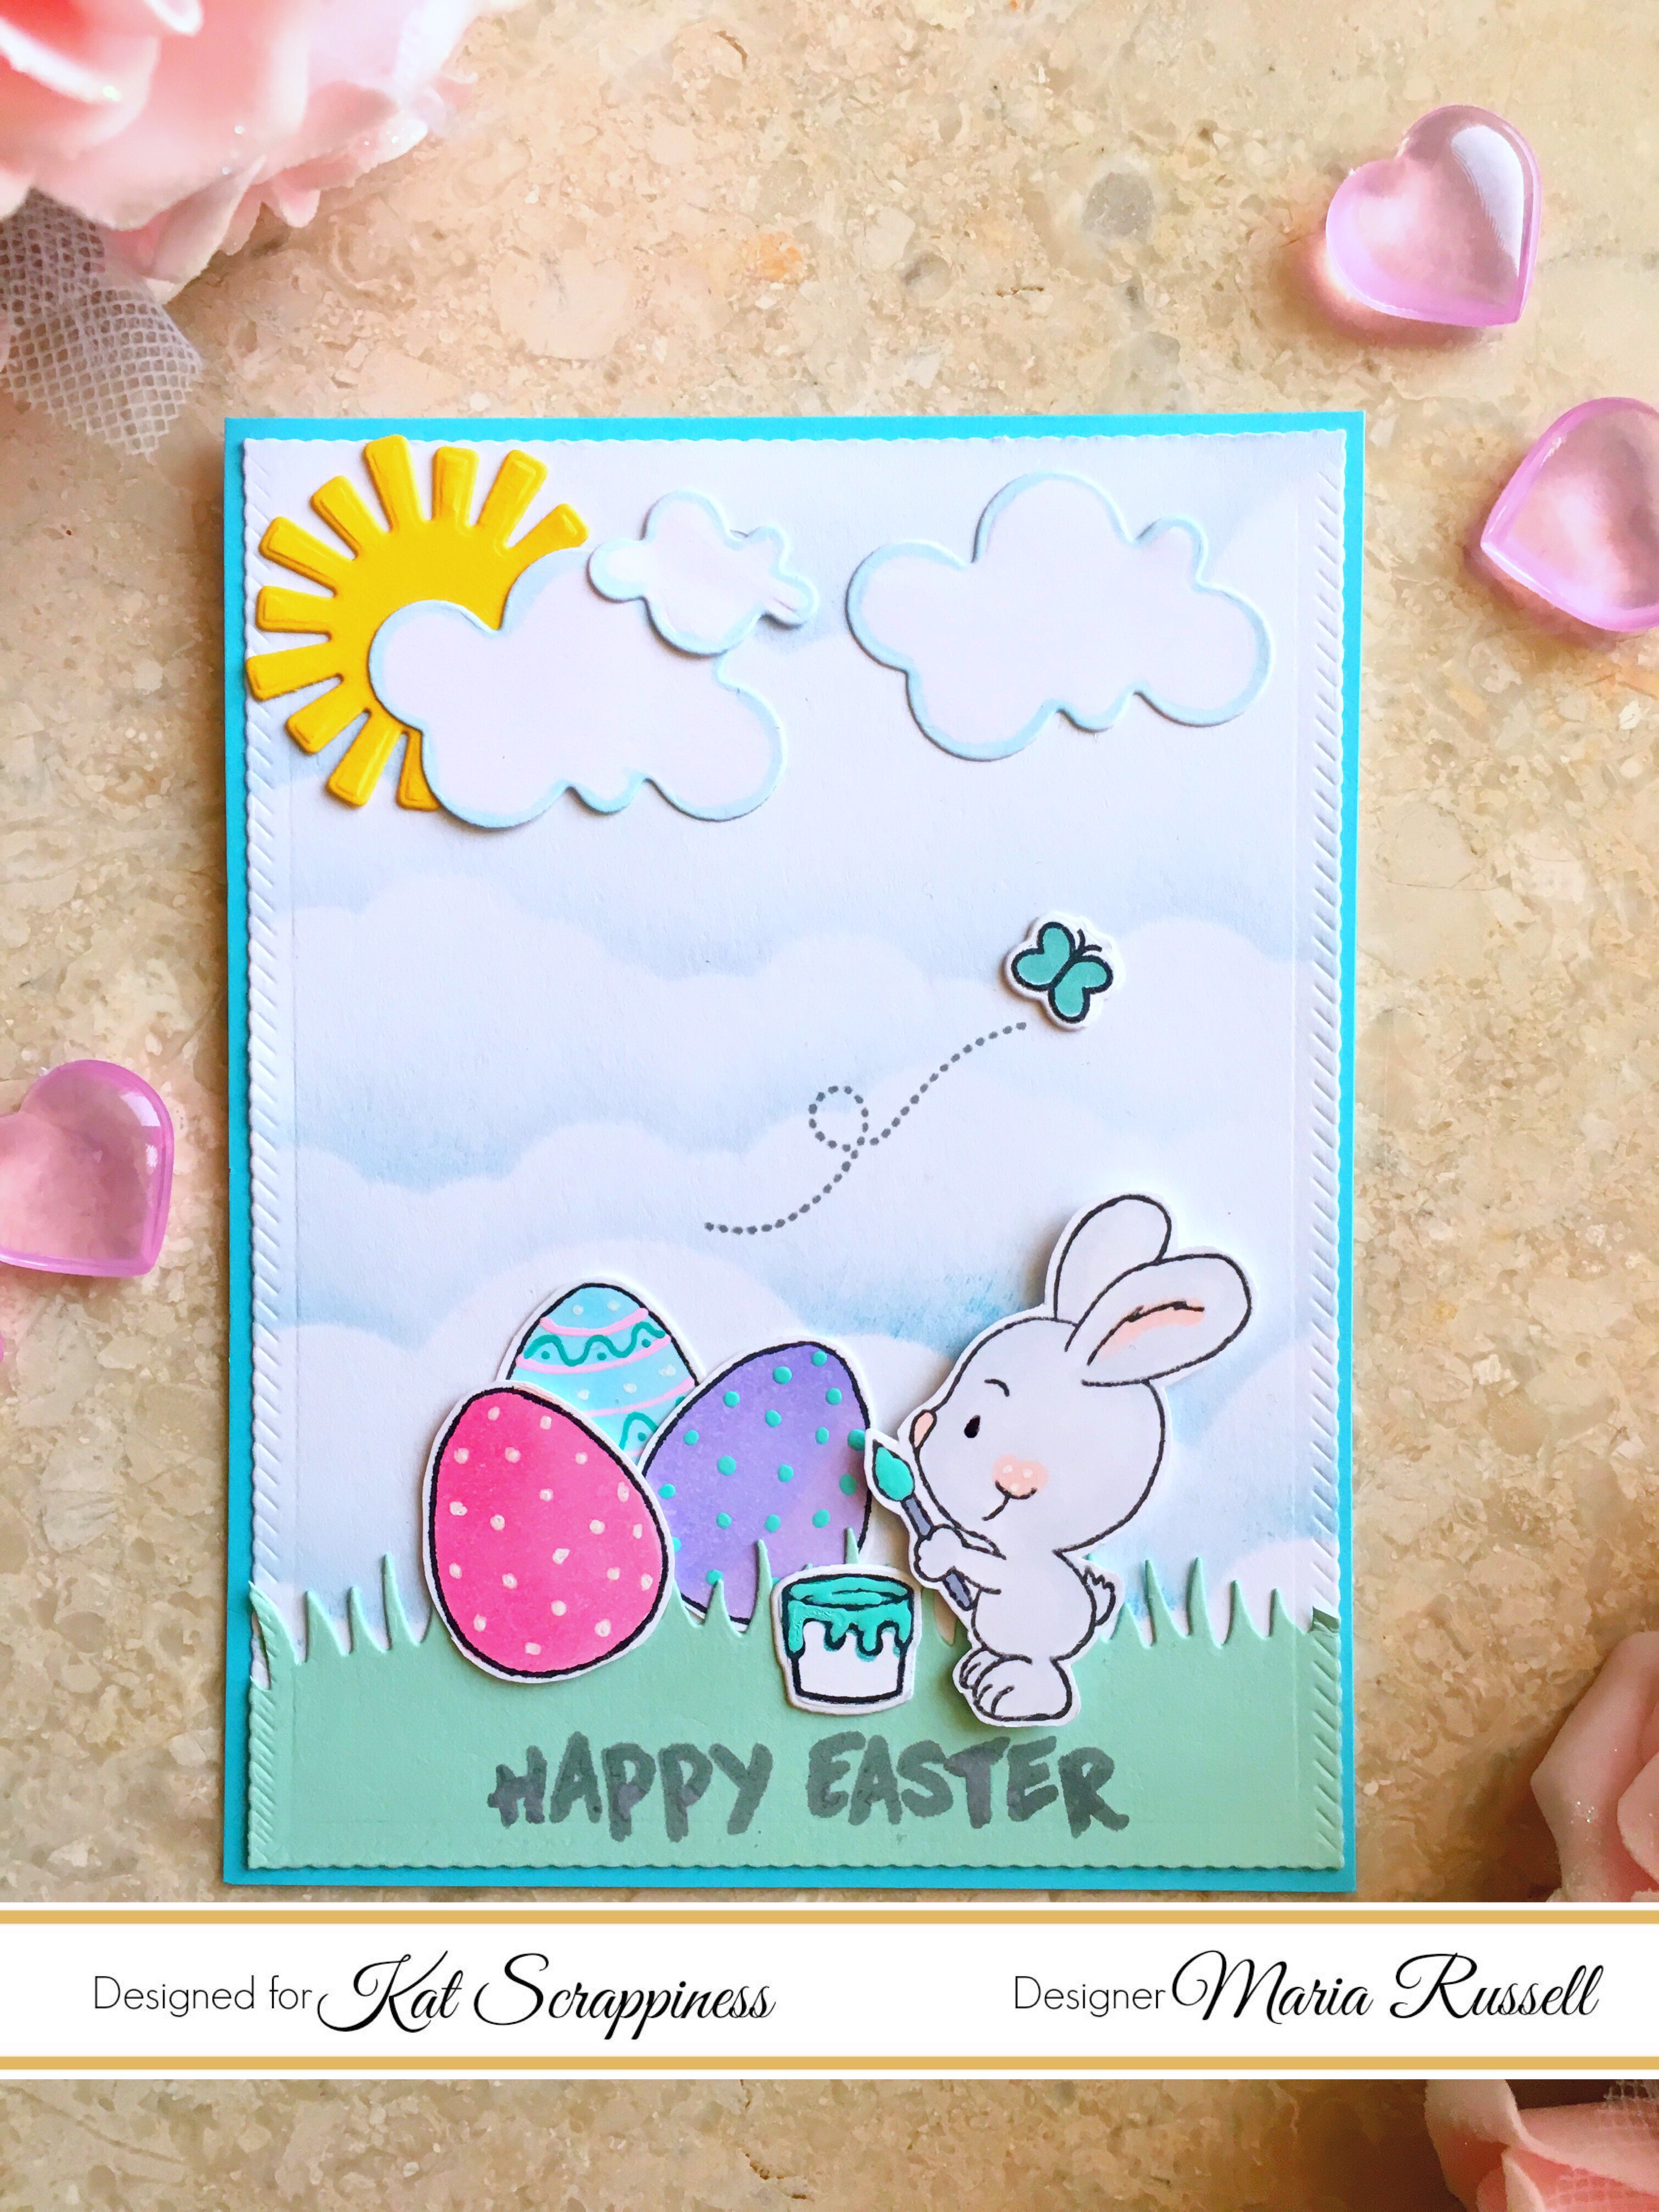
I absolutely LOVE the two hamburger-themed bookmarks that I made that I decided to create another one. I did the same steps above to stamp and color my image. However, I wanted a sentiment for my design. I turned the paper and stamped the sentiment on the other side using the Artesprix Sublimation Ink Pad. I flipped the paper back and placed it onto a tracing pad. I used the Artesprix Iron-on Sublimation Black Fine-Point marker and traced the sentiment.
Here’s the other bookmark. Isn’t this adorable? It turned out so cute!

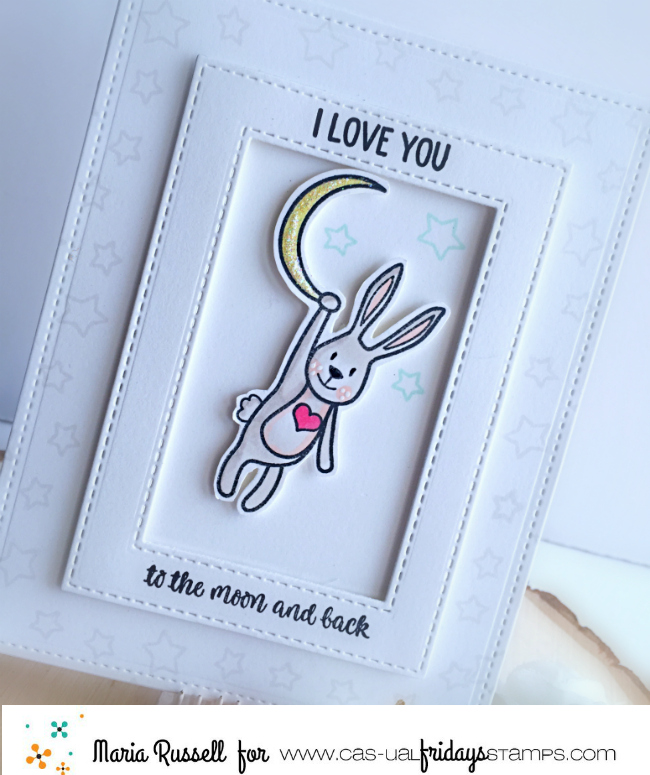
I love being able to stamp or draw and color my designs on a plain piece of paper and transfer onto a blank to create a unique DIY project! Your kids will certainly LOVE it! Here’s another look at the bookmarks:

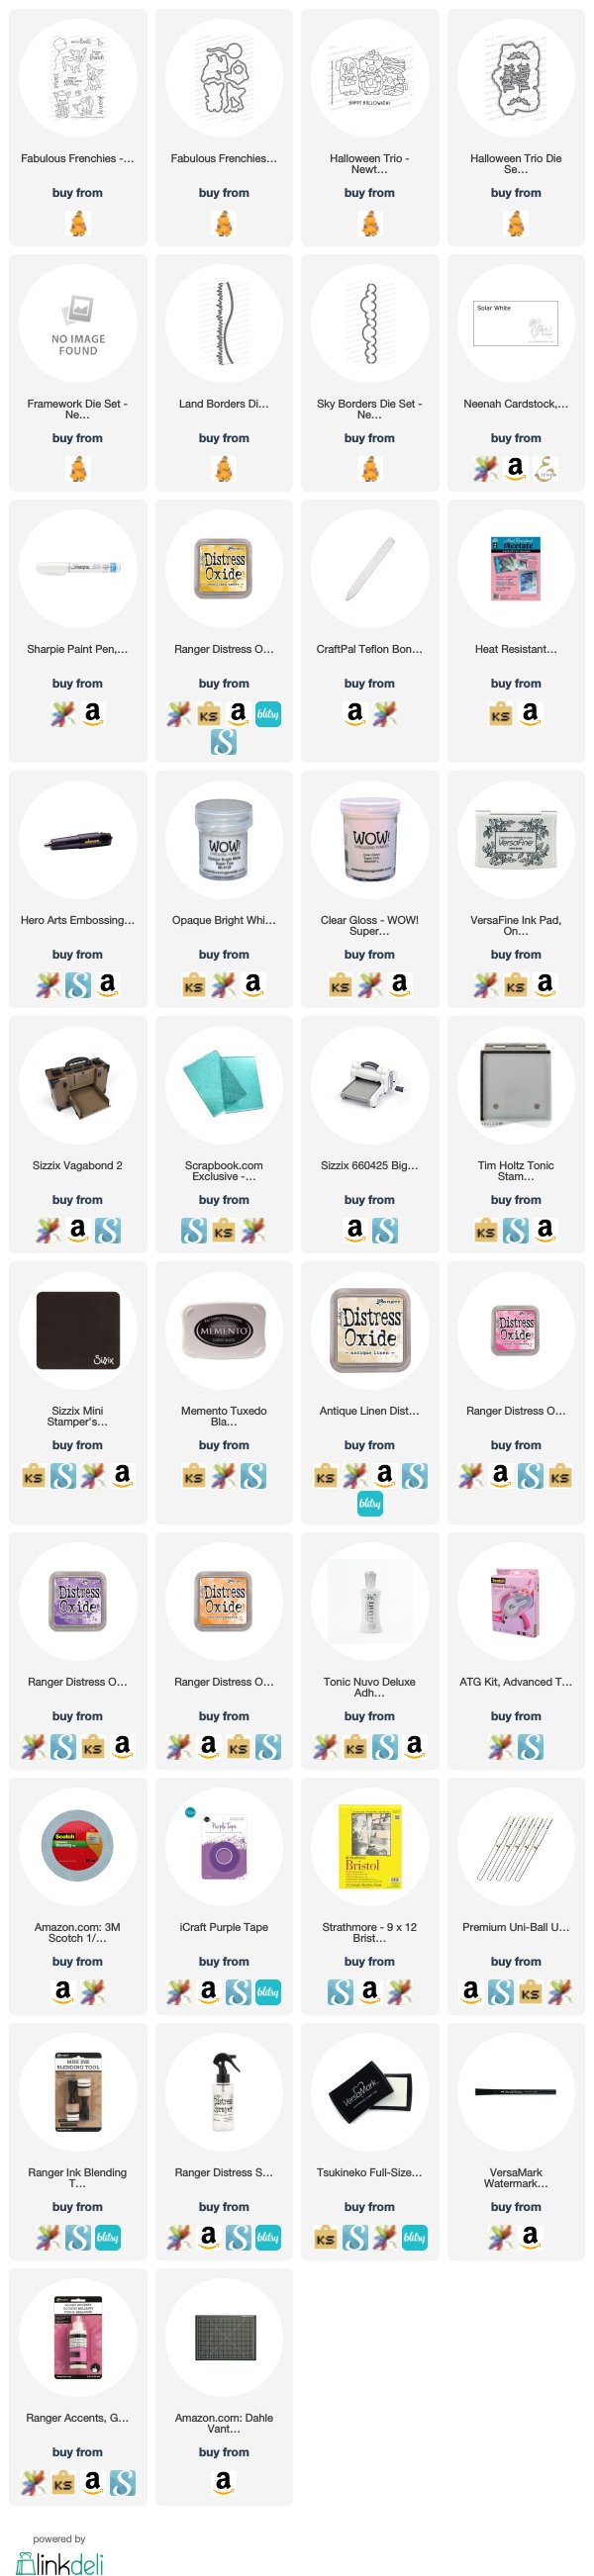
Be sure to check out Artesprix’s YouTube channel, Instagram, Facebook group and blog for design team inspiration. The supplies I used are listed and linked below. Thanks for stopping by and happy crafting!