First of all, please let me just explain that I am not crazy and I know it’s only June, LOL! This Pocket Letter project is a sneak peek of my challenge in July for the Facebook group, Crafters With Artitude. I am the host for next month’s challenge and since Halloween is my favorite holiday, I decided to make the event ~ HALLOWEEN IN JULY. There is going to be a prize for this Challenge. Please watch the video to learn more about the details:
Hello and Welcome to the Start of the Summer Design Team Showcase Blog Hop created by the JessicaLynnOriginal June 2015 – January 2016 Design Team! I am pleased to announce that I am one of the designers for JessicaLynnOriginal.Com.
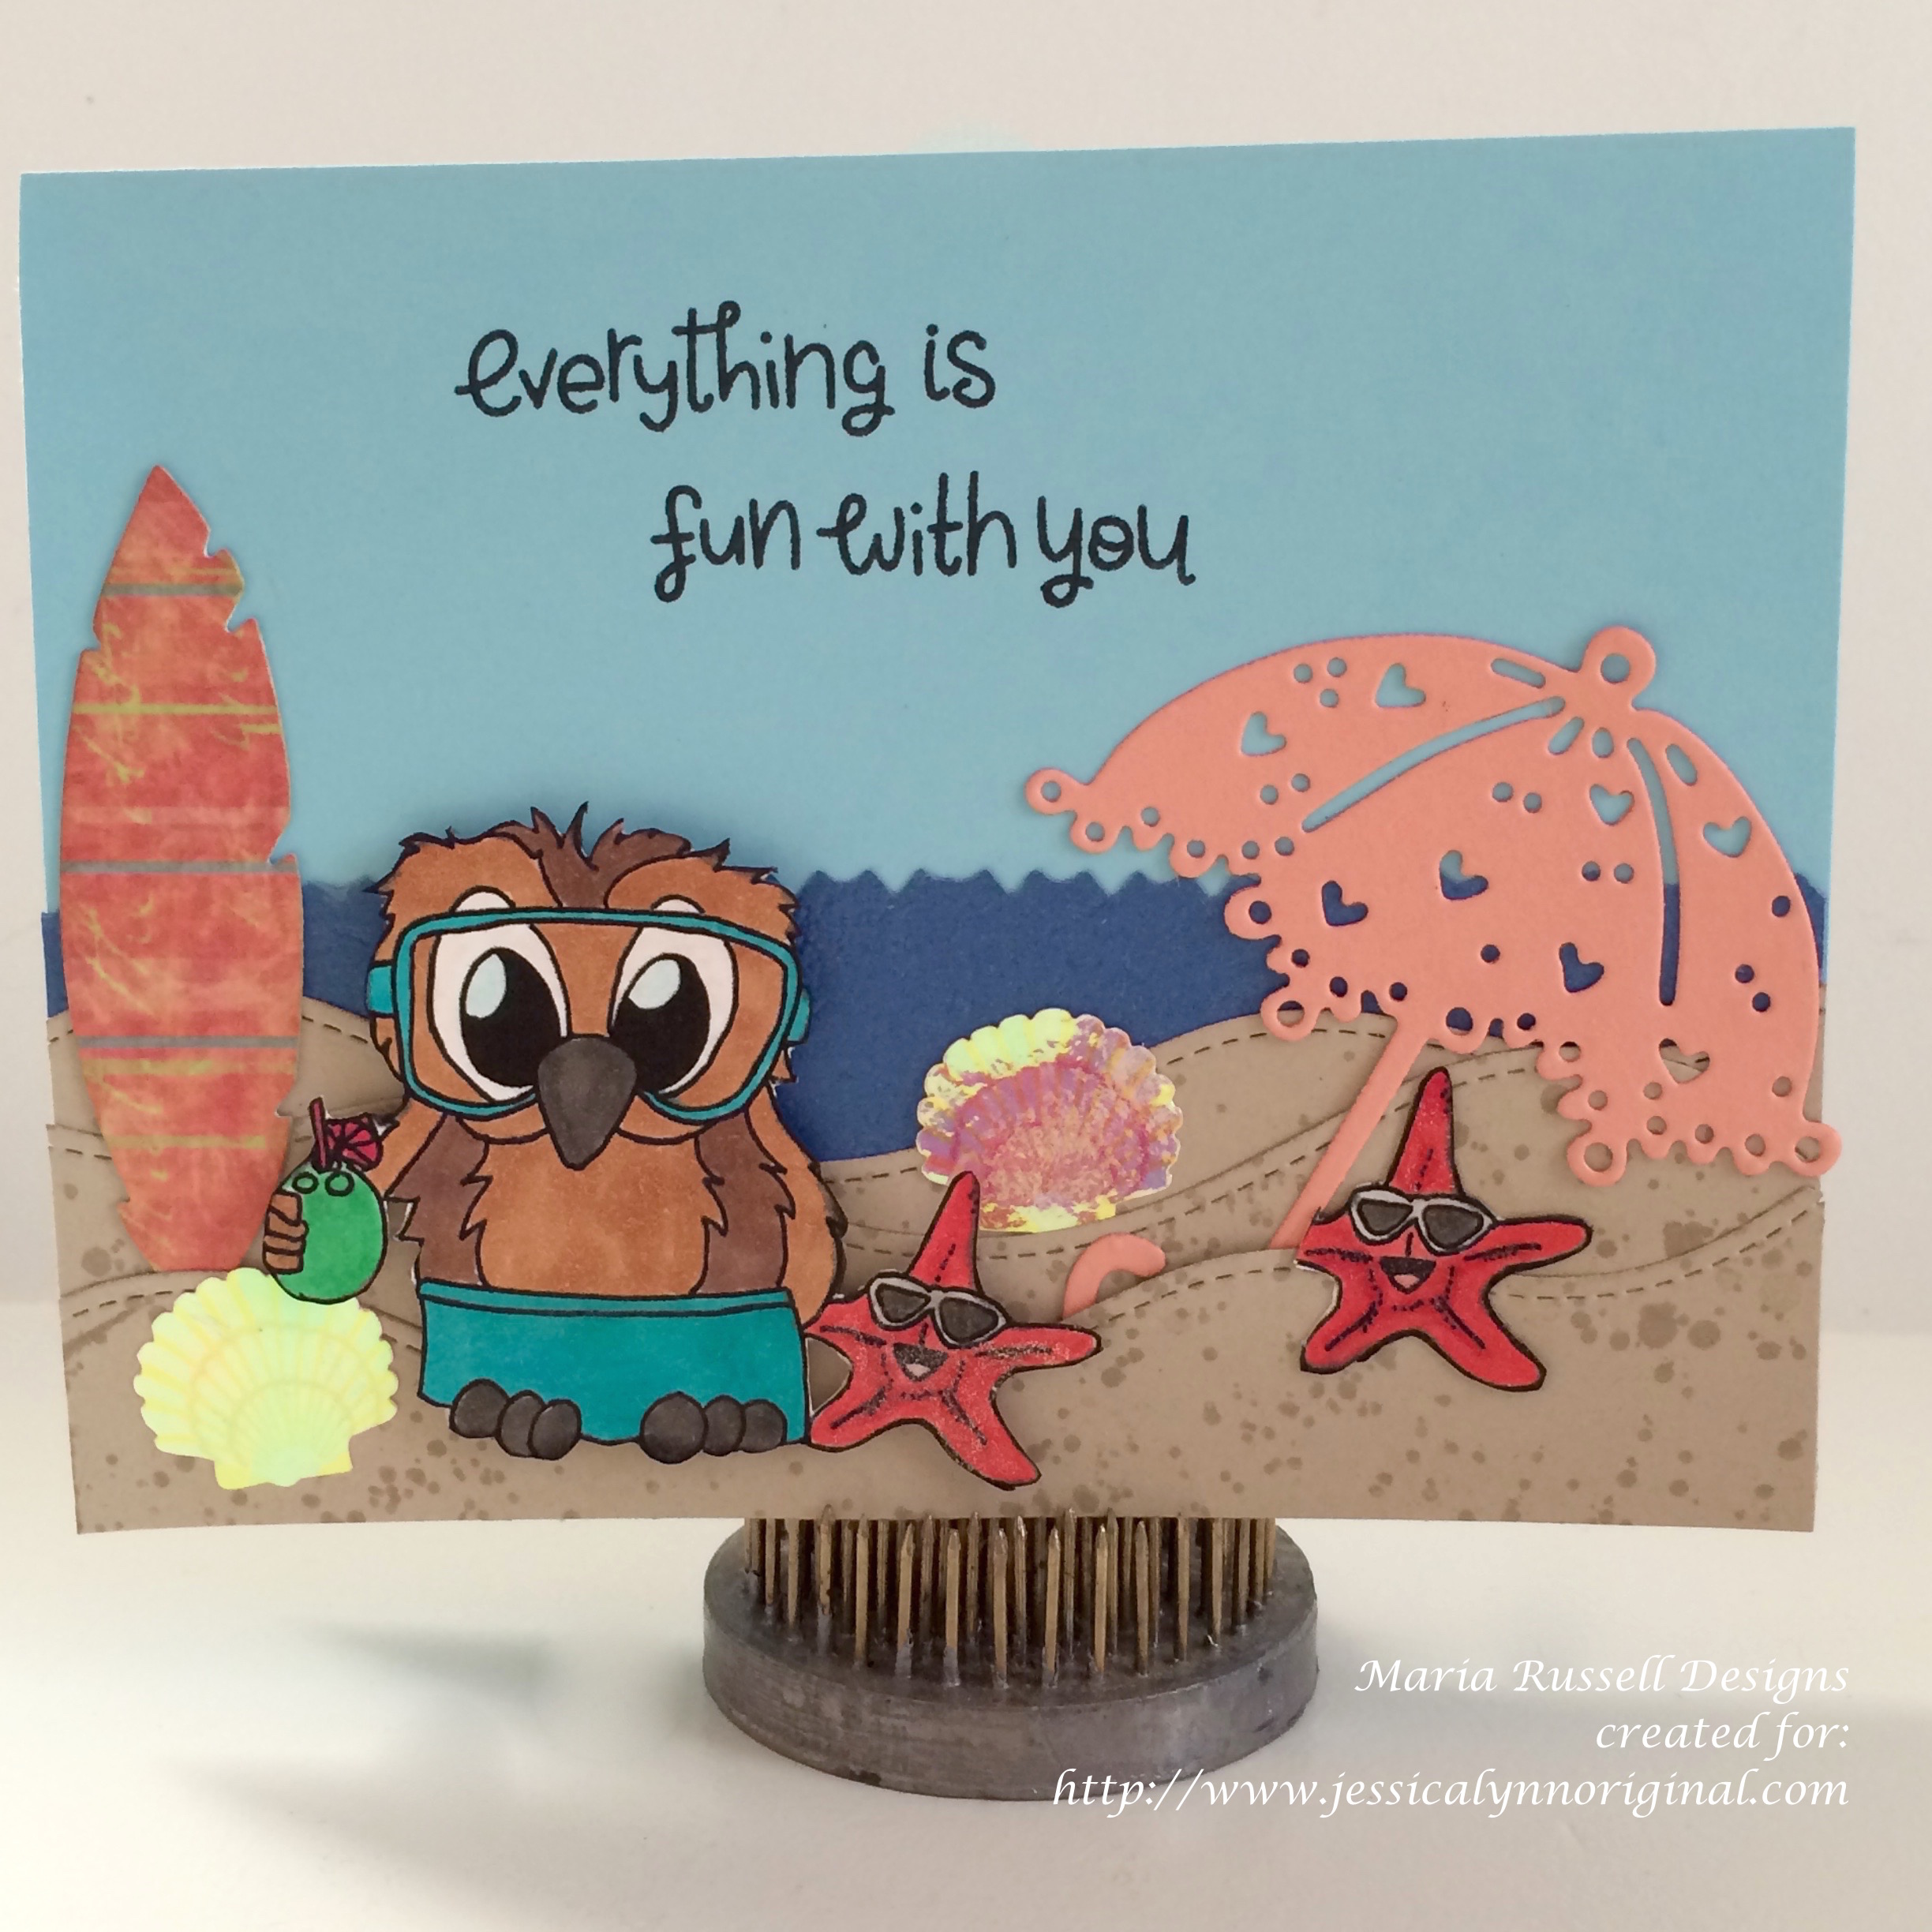
Today we are featuring projects using the Brentwood at the Beach Digi Stamp that really showcase and introduce our talented design team members! This fun stamp captures that summer vacation and can be used in many ways. This card kind of reminds me of my son when we were on a holiday in The Maldives. He loves surfing and scuba diving but most importantly, he loves to just hang out by the shore, collect shells and play with hermit crabs. Put your feet up and grab a cool drink to sip as you travel along the hop, getting inspired by the different takes from each of our designers. If you are coming from Jessica’s blog, then you’re in the right place.
Here is the card:
If you’d like to see a video on how I created this card please watch it here:
Brentwood at the Beach Digital Stamp
Card base – Light Blue Card Stock (8 1/2 by 5 1/2, scored at 4 1/4)
Dark Blue Card Stock – 4 1/4 by 5 1/2 to create the water background
Tan Colored Card Stock – Used to die-cut and create the “Sand”
Designer Series Paper – Used to cut the Surf Board
Orange Card Stock – used to die-cut the umbrella
Dies – Umbrella Die, Stitched hillside border die, feather framelits
Copic Markers Used for the Owl ~ E25 and E35 blended with Dark Chocolate Brown Alcohol Marker (main body). I also used R000 and B00 for the eyes.
The shorts were colored using Coastal Cabana Alcohol Markers.
Copic Markers Used for the Starfish – R24 and R29
Copic Marker Used for the Coconut – G05
Hologram Shell Stickers
Win a prize! Please let me know what you think in the comments below. Comment on each of the blogs in the hop and you will be eligible to win a $25 gift certificate towards anything at JessicaLynnOriginal.com! After the hop, Jessica will randomly select a winner and announce the lucky person on her blog on Sunday, May 24th. Here is the link to Jessica’s Blog ~ http://jessicalynnoriginalstamps.blogspot.com.
I wanted to give my little niece a nice Christmas present and since she’s 6 and believes in fairies (she loves Tinkerbell), I decided to make this project.
Materials
Wooden Door (purchased from Hobby Lobby)
Wooden Light Fixtures (Purchased from Sa Crafters)
Rose Buds (purchased from Wild Orchid Crafts)
Cherry Blossoms (also from Wild Orchid crafts)
White Gesso
White Titanium Acrylic Paint
Pink Hydrangea Acrylic Paint
Light Beige Acrylic Paint
Paint Brush
Stardust Stickles
Flat-back Pearl Trim (from my stash)
Pink Rose Trim (purchased from Hobby Lobby)
Pink Seam Binding Ribbon (purchased from Amazon.Com)
Tim Holtz Apothecary Jars (bought from Hobby Lobby)
I hope I somehow inspired you to create a special handmade gift for your daughter, niece, granddaughter or a friend’s daughter and I am sure something as beautiful as this will make a little girl very happy.
I am so happy to be chosen as one of the many talented monthly contributors for Diecut Crazy Magazine and this screen panel card below, is my first project submission. Our theme for the month of July is “Summer”. I have to admit that I was just a bit perplexed. I didn’t have any stamp sets with a summer theme. The majority of my dies are for Halloween, fall, Christmas and spring. I had to look back at some of my past projects and for some reason I couldn’t find any inspiration that would perfectly describe summer.
In my opinion, summer is all about spending quality time with my husband and kids, traveling around, barbecues, loving the longer daylight, playing with pinwheels, kites, picking flowers, bird-watching and just generally enjoying the great outdoors! So I decided to capture these moments and showcase it through this Screen/Panel Card. The sentiment that I used for this card is exactly what summer is all about ~ it doesn’t have to be perfect to be WONDERFUL!
Supplies and Tools I used:
Screen/Panel Card – 6 x 12 Card Stock (on the 12-inch side, score at 3 inches, 6 and 9). This will create the screen.
All Four Panels (Card Stock)
Bottom Layer: 2 3/4″ x 4 1/2″
Middle Layer: 2 1/2″ x 4 1/4″
Top Layer: 2 1/4″ x 4″
Stamp Sets – Perfect Pennants Stamp set, For the Birds Stamp set, Sweetie Pie Stamp set
Pinwheel sizzlit die
Decorative Punch (I used this punch to create the “legs” of the screen)
Petite petals punch
Banner Punch
Spellbinders Cherry Blossom Die
Fanciful Wings embosslits
Banners Framelits Dies
Grass Die (taken from the Garden Bench Pop it Ups Die)
Rhinestones
Brown Embossing Powder
Copic Markers
Bahama Breeze Memento Ink
Victorian Velvet Distress Ink
Xyron Sticker Maker (I used this to adhere the branch and grass die cuts to my project ~ it makes my life a lot easier!)
Glue dots and stampin dimensionals
If you would like to order the products shown on this video and avail the discounted rate through a demonstrator website (also earn some stampin rewards and free stuff), please click on the link above and it’ll take you to my Stampin’ Up! Online store.
Materials Used:
Card Base is Whisper White Card Stock – Item No. 100730 – 4 1/4 X 5/12
Border – Cherry Cobler – Item No. 119685 – 4 1/8 x 5 3/8 (2 pieces)
Seasons of style Designer Paper Stack – Item No. 132181 – 3 7/8 X 5 1/4
The Grinch Punch Art is made out of XL Oval Punches, Scallop Punch, Owl Builder Punch. (If you would like to see a tutorial on how I made the Grinch Punch Art, please send me a message and I will be glad to film a video tutorial.
I hope you enjoyed this video. If you have any questions, please feel free to send me a message.. Do some crafting and create some memories. Happy crafting!
This card was inspired by a fellow demonstrator, Tami White. Although our cards are done differently, the design is the same. I thought of sharing this because the card is so easy to make – plus it is very unique in a way because this is not the typical orange and black Halloween colors. I really love this card and I hope you do as well.