COUNTDOWN TO CONFETTI – DAY 2 – A Beautiful Day, Roses & Wildflowers

Thank you for stopping by today and joining me for the Countdown to Confetti Day 2 by Reverse Confetti. We have lots to show you and there is also a GIVEAWAY so please read through the end of this post to find out how you can WIN!

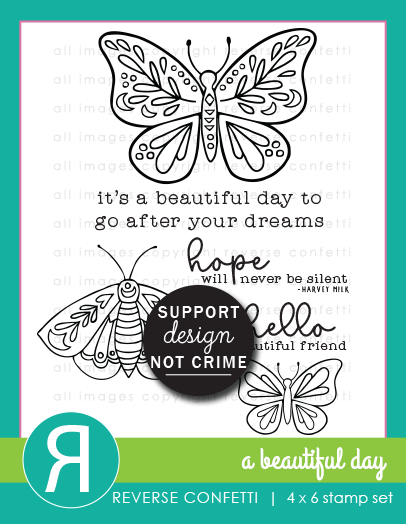
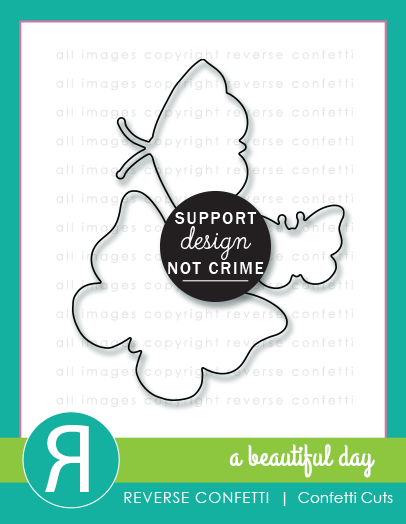
Brace yourselves because we have A LOT to show you! For today’s reveal, we are showcasing the A Beautiful Day Stamp Set, A Beautiful Day Coordinating Confetti Cuts, along with the Roses Stamp Set, Roses Coordinating Confetti Cuts, Wildflowers Stamp Set and Wildflowers Coordinating Confetti Cuts.

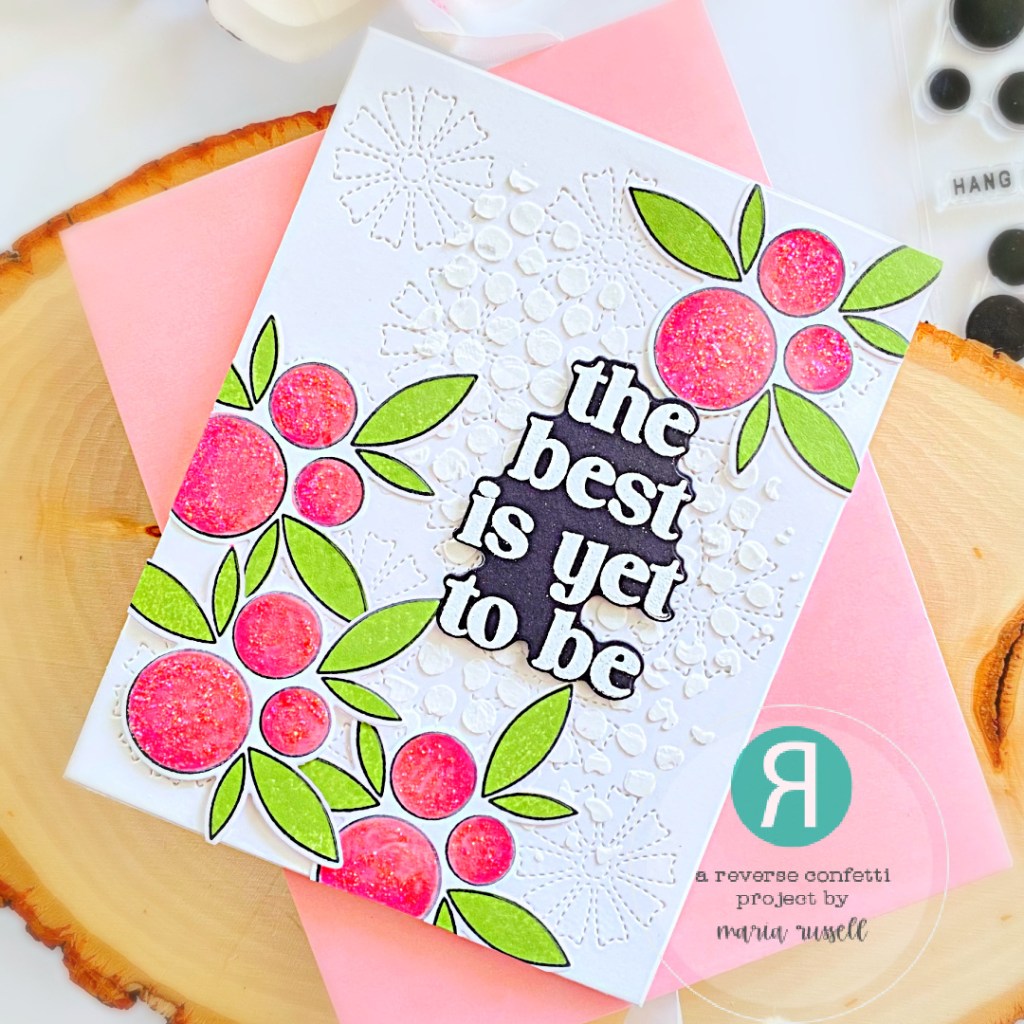
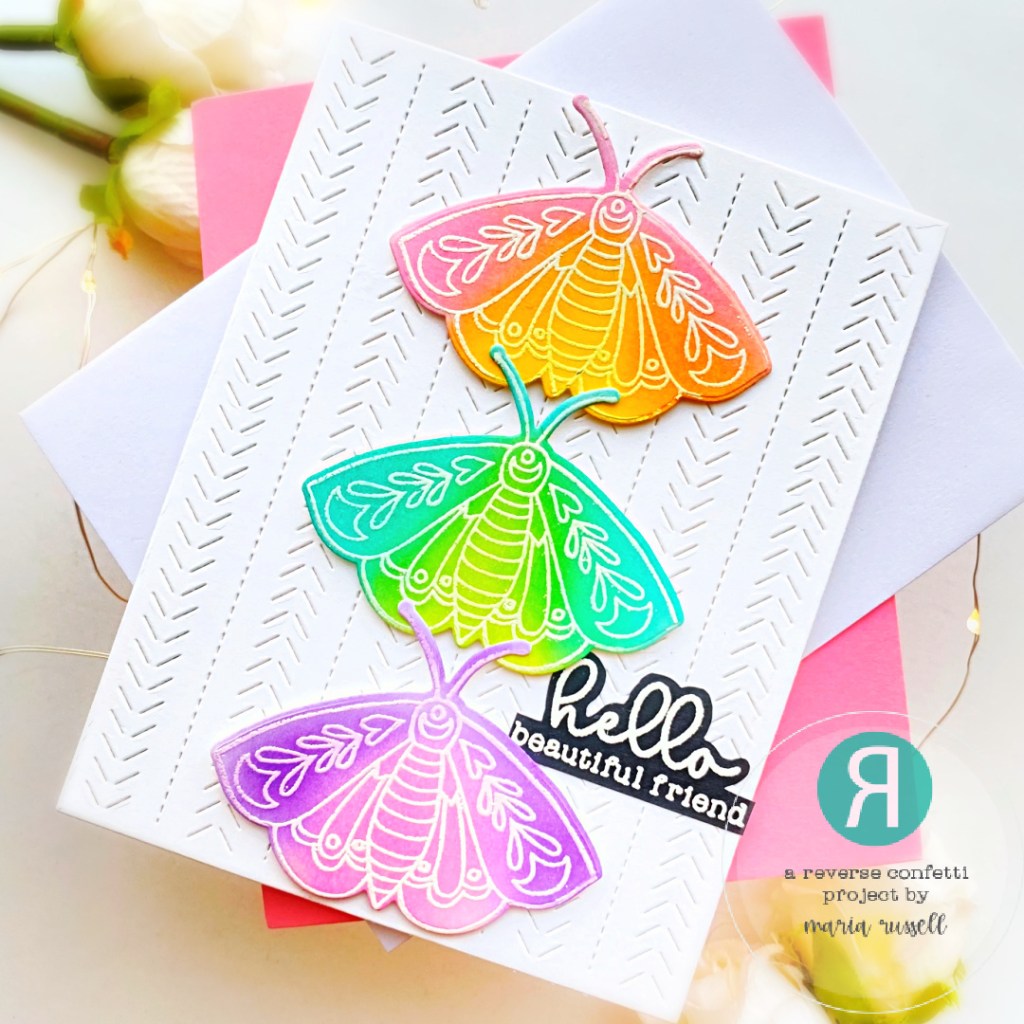
For my first project, I also used the beautiful Folklore Cover Panel.

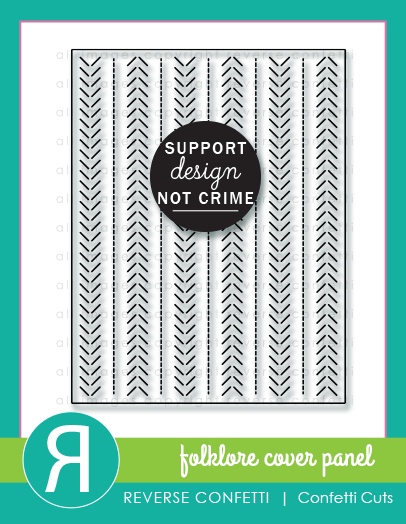
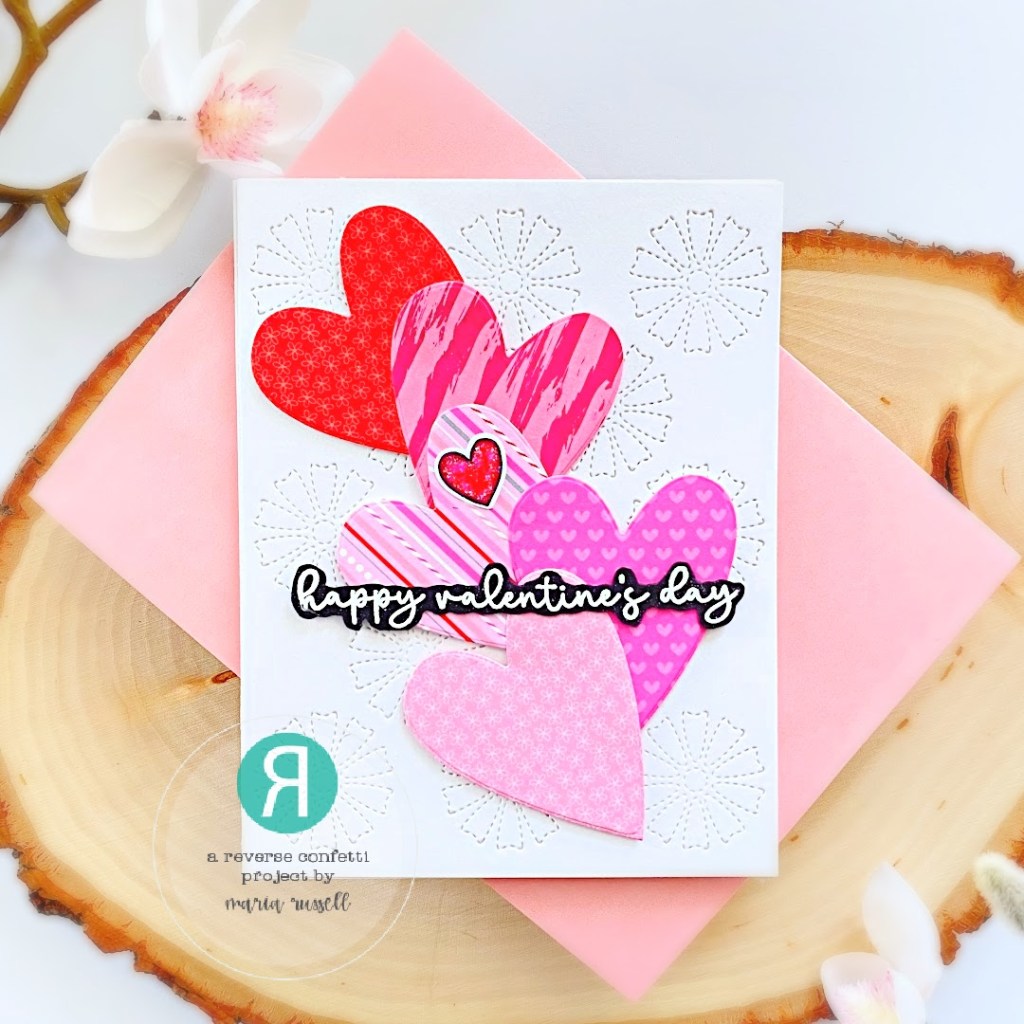
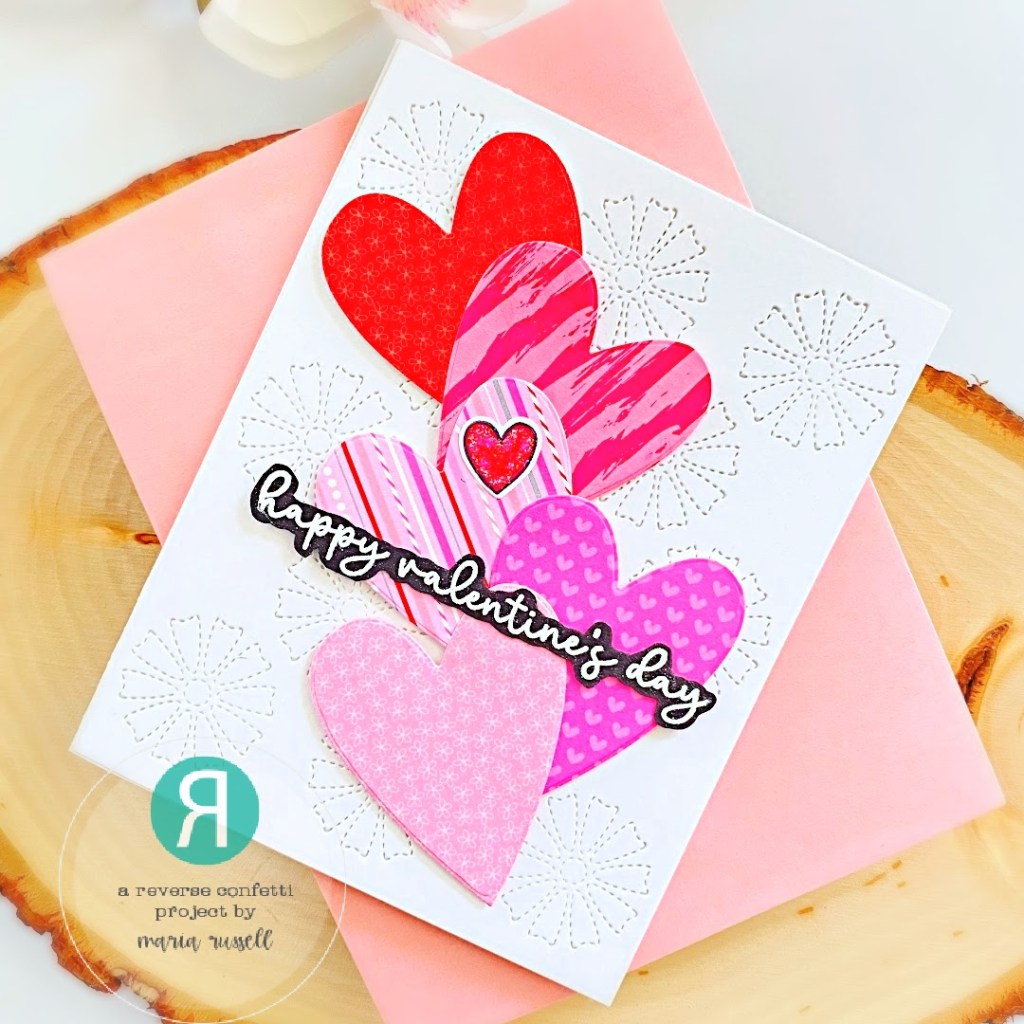
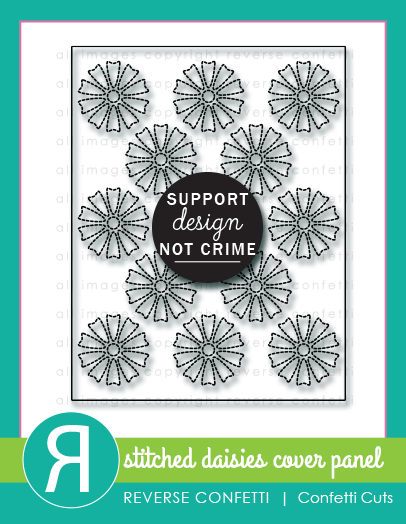
Simplicity is the key component for this first project. The background was die-cut using the Folklore Cover Panel Confetti Cuts and adhered on a top-folding notecard.

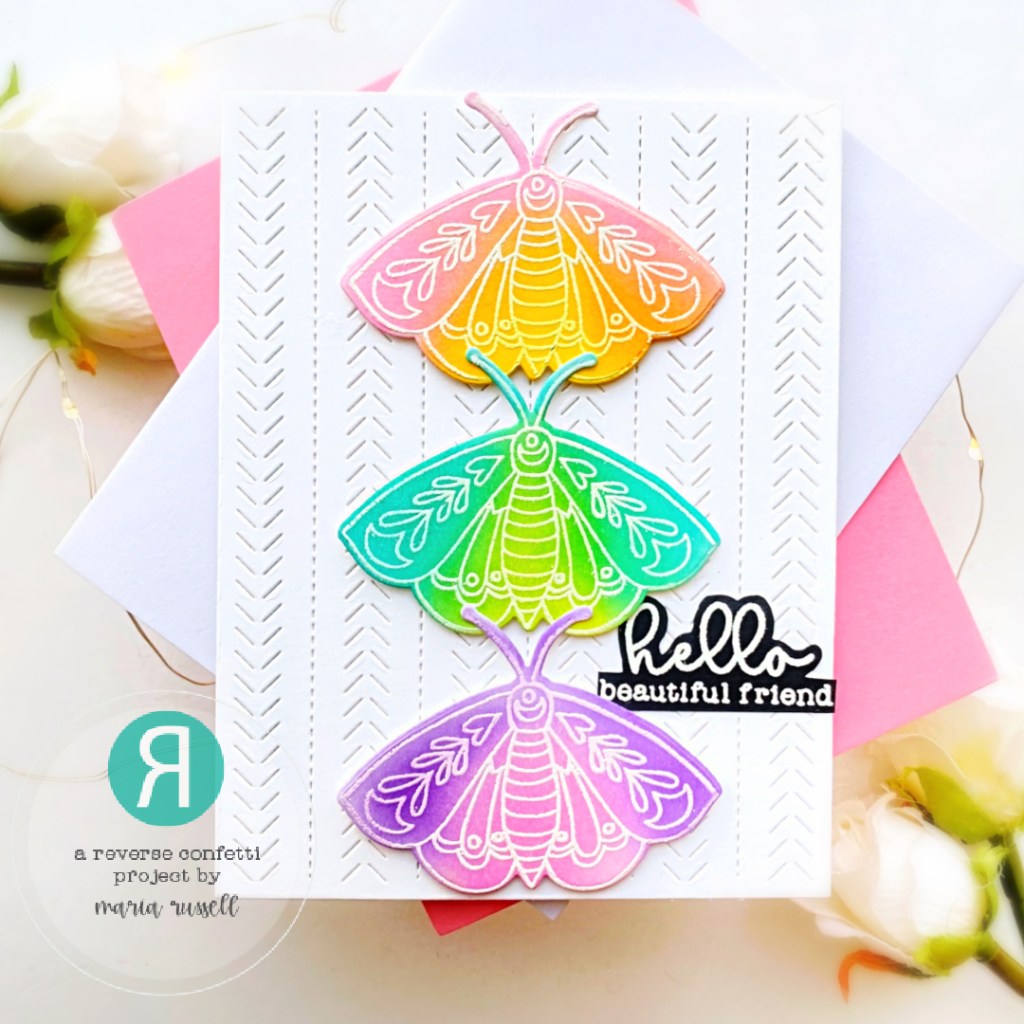
The images from the A Beautiful Day Stamp Set were stamped on some Bristol Smooth White card stock with Versamark ink, and heat-set with heating tool. I used some distress oxide inks to blend the colors on each butterfly, then used the A Beautiful Day Coordinating Confetti Cuts to die-cut the images.

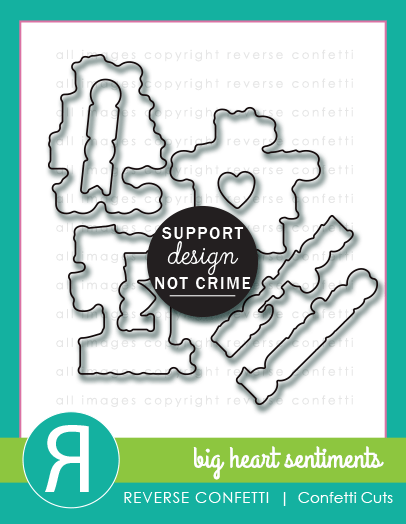
I foam-mounted the die-cut images on the card panel for added dimension and finished the design by adhering the sentiment that was heat-embossed on some black card stock.

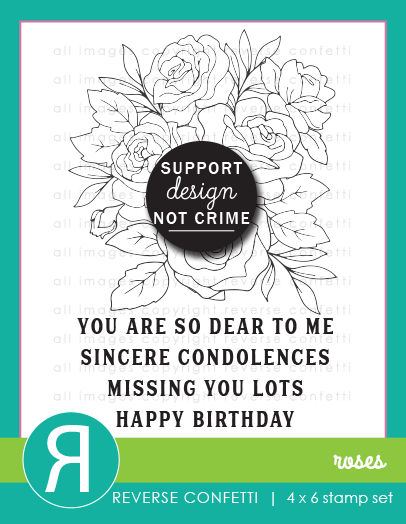
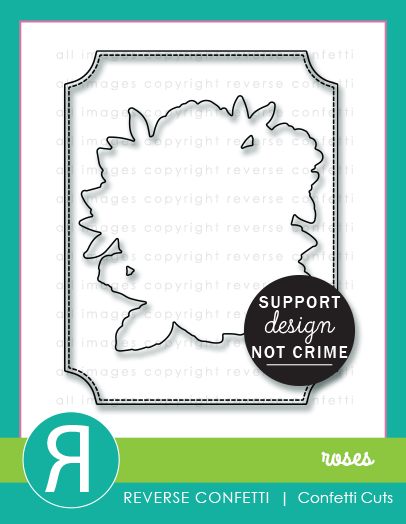
For my second project, I am showcasing the Roses Stamp Set and Roses Coordinating Confetti Cuts.

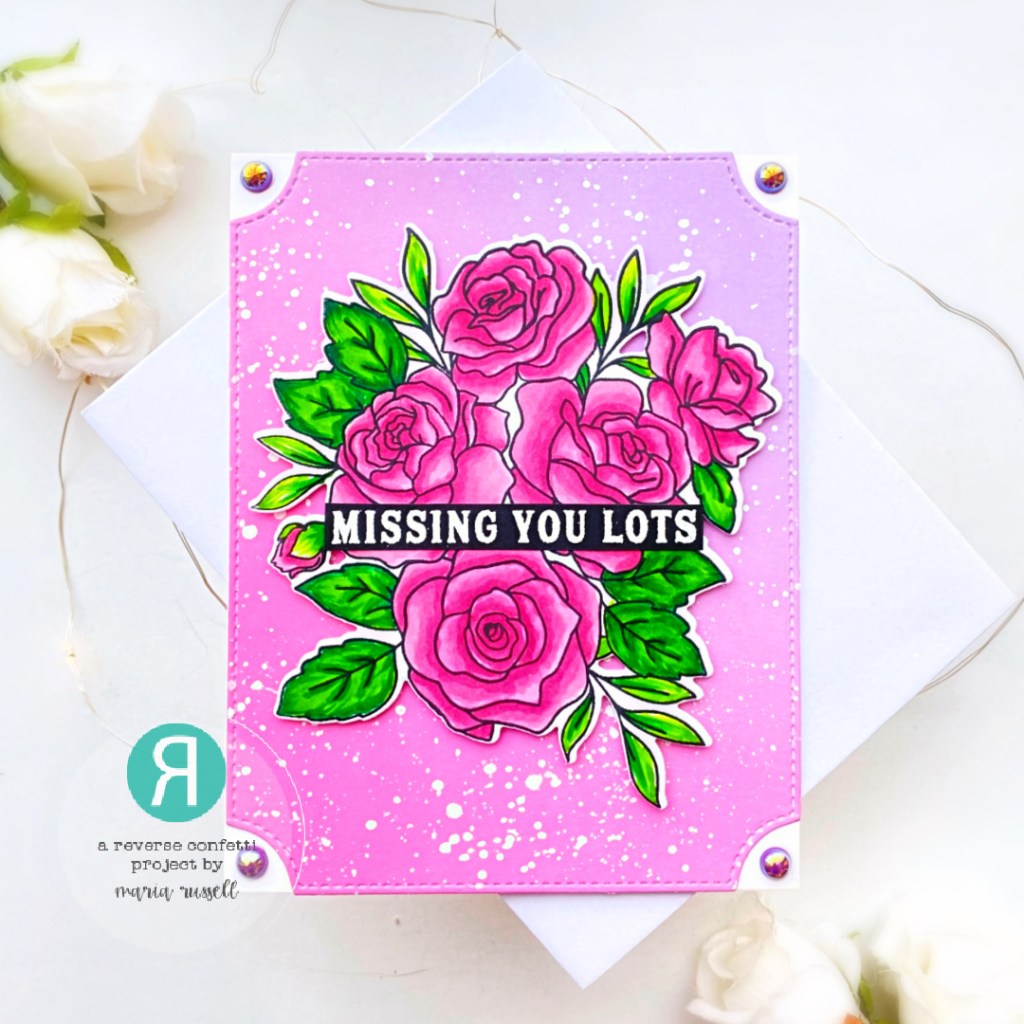
I die-cut the background panel using the Roses Confetti Cuts with some pattern paper. I adhered this panel with liquid glue on some top-folding notecard. I watered down some white paint and used the brush to splatter some on the background panel for added interest.

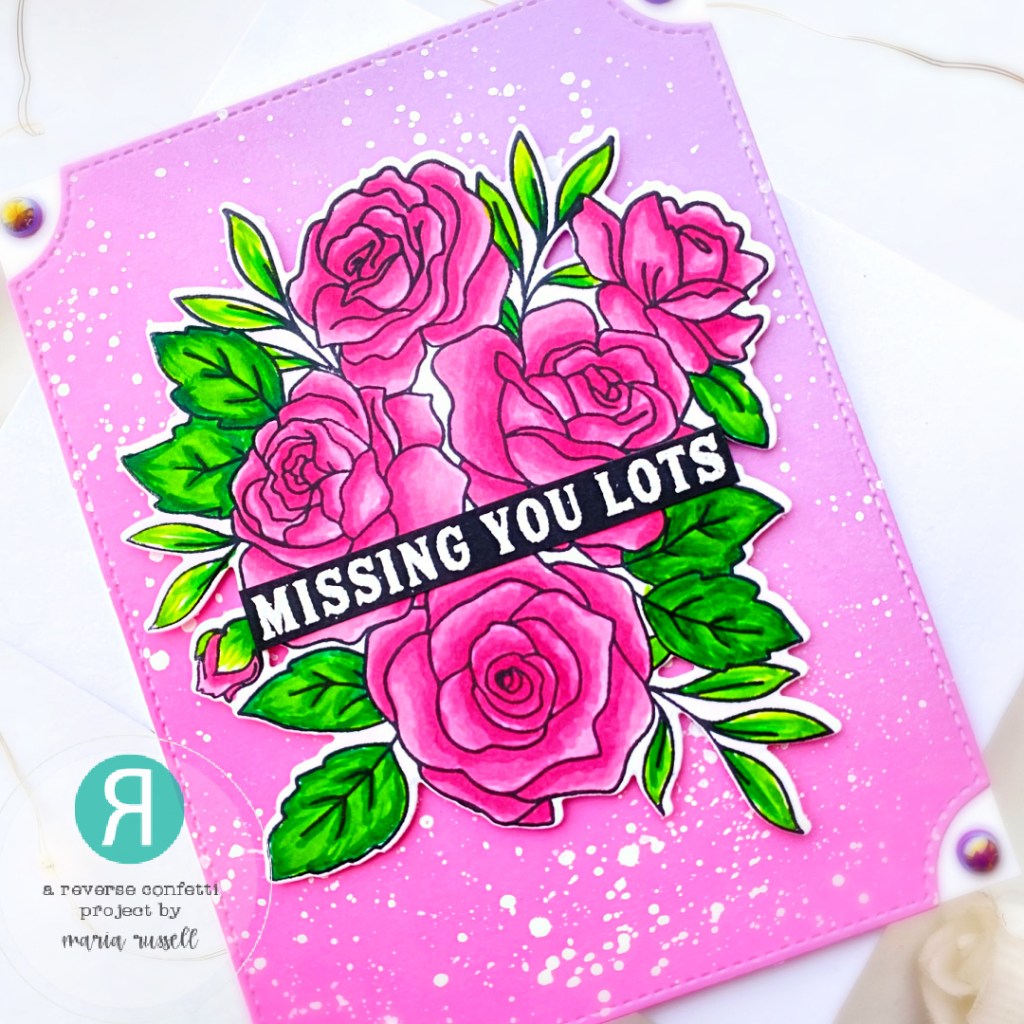
The images from the Roses Stamp Set were stamped on some X-Press It Blending Card and colored with alcohol markers. I used the coordinating die to cut it out and adhered on the card front with foam adhesive for added dimension. I finished the design by adding the sentiment strip. Here’s another look:

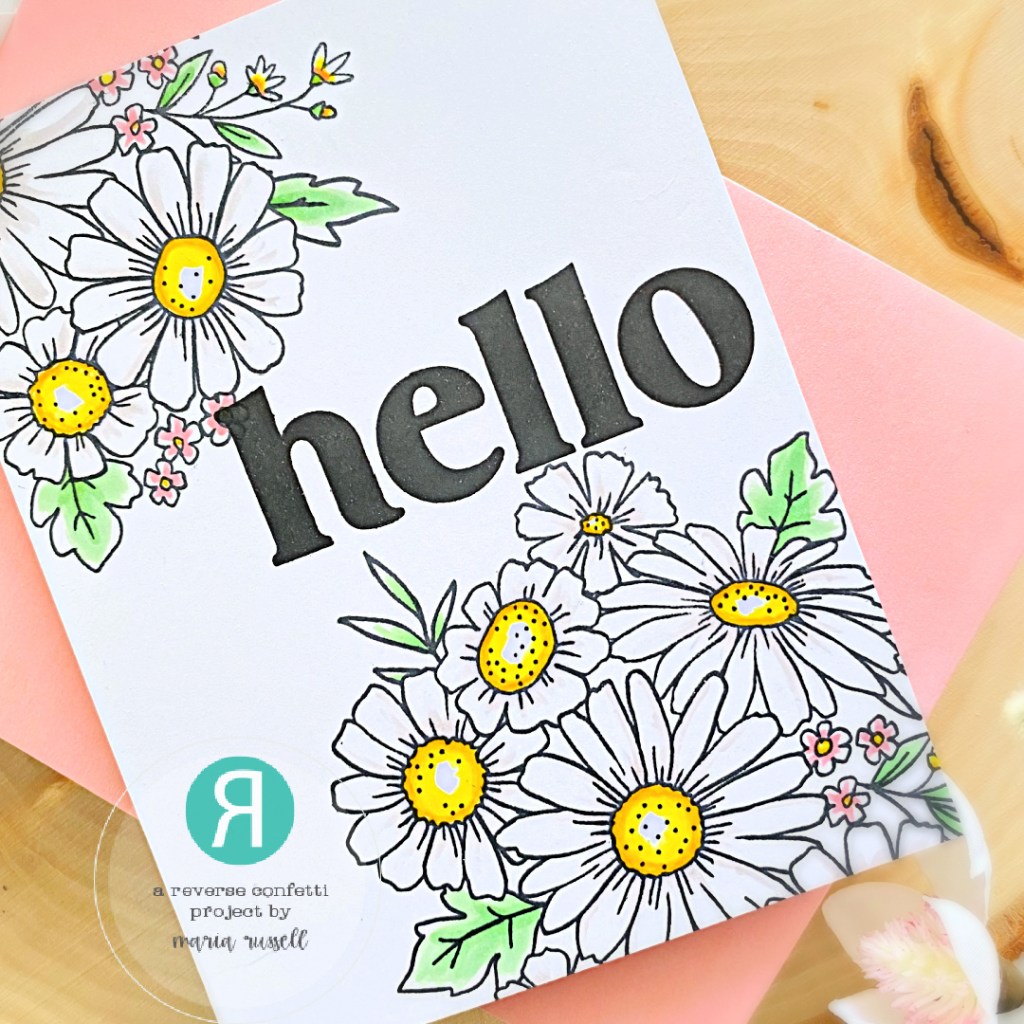
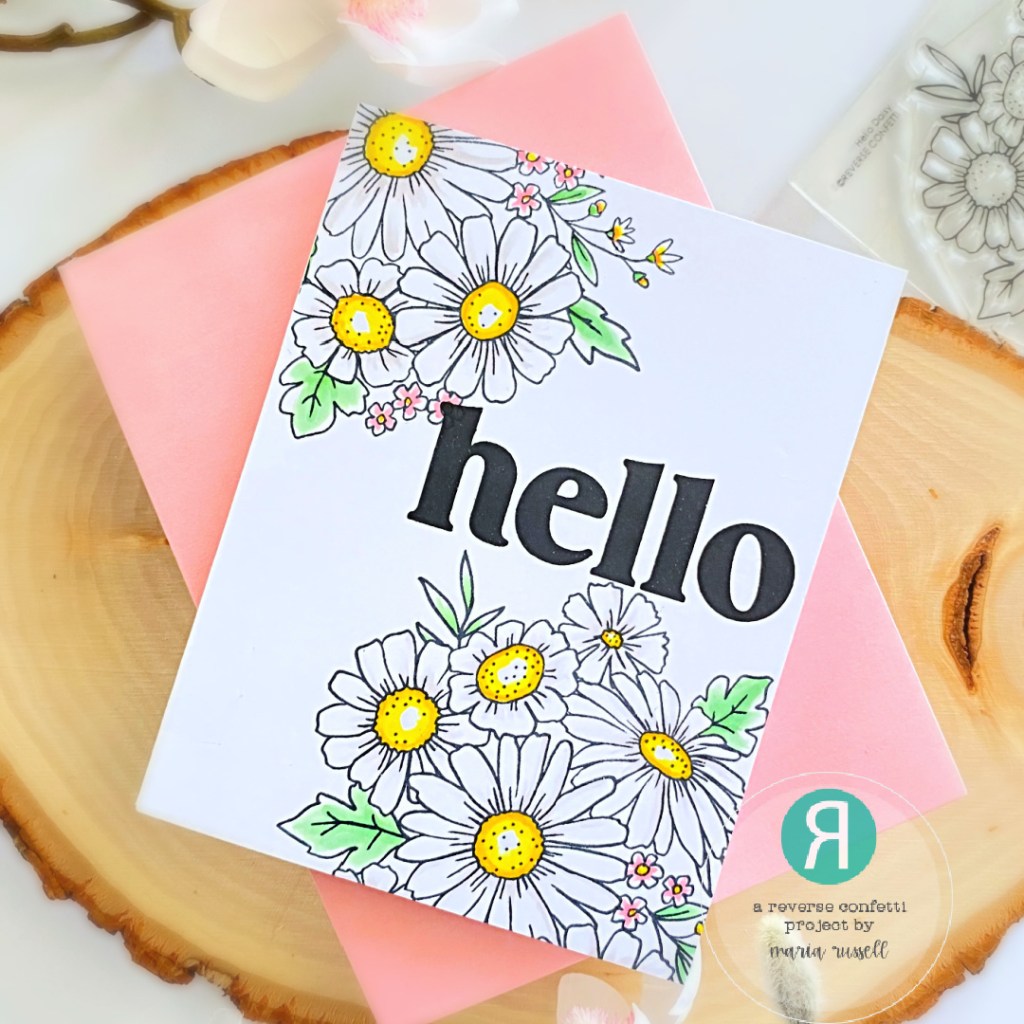
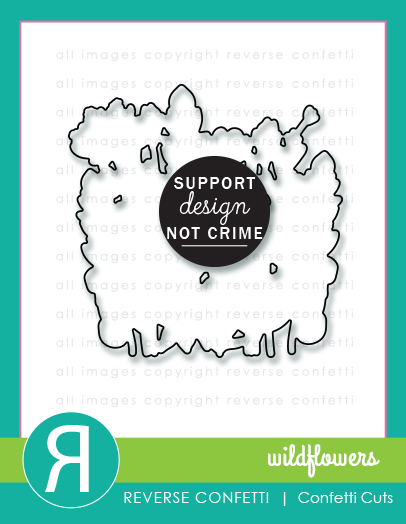
For my third and last project for the day, I am showcasing the Wildflowers Stamp Set and Wildflowers Coordinating Confetti Cuts, along with the Outlined Frame Cover Panel.

I die-cut the some Neenah solar white card stock using the Outlined Framed Cover Panel and adhered this on some blue top-folding notecard.

Next, I stamped the images from the Wildflowers Stamp Set on some X-Press it Blending card and colored the images in with alcohol markers. I used the Wildflowers Coordinating Die to die-cut the image and adhered on the card with liquid glue.

I finished the card design by stamping the sentiment and used some white gel pen to draw dots to the images for added texture. Here’s another look:

I can’t wait to hop around and see what the other team members designed! Leave a comment by noon central on May 7th for a chance to win. There will be a $25 Gift Certificate for one blog commenter and also one FaceBook commenter. Make sure you pop over to the Reverse Confetti Blog for all the details!

Hop Listing

Reverse Confetti

Cheryl Espie

Audrey Tokach

Maria Russell

Lisa Henke

Anita Madden

Amy Kolling

Dana Kirby

Jeanne Jachna

Amy Tsuruta

Colleen Beamish

COUNTDOWN TO CONFETTI – DAY 4

It’s the final Day of the Countdown to Confetti January Release by Reverse Confetti! The whole gang is here to show you all the amazing projects we’ve put together to encourage you to shop! Remember, all of the products are now available today!

For my projects below, I used the Stitched Daisies Cover Panel, the hearts from the Postal Cover Panel, and the sentiment from the Valentine Sentiments stamp set.

Sometimes, simplicity is the key to a beautiful card. I die-cut the background panel using the Stitched Daisies Cover Panel Die and adhered on a white A2-size notecard. I die-cut the hearts using the medium heart die from the Postal Cover Panel die set on different colors of pattern paper. I layered the hearts and foam-mounted all of them onto the card.

The sentiment was stamped on some black card stock with VersaMark Ink. I sprinkled some white embossing powder and heat-set with my heating tool. I adhered the sentiment with foam and liquid adhesive.

I finished my design by adding another heart from the Love Bugs stamp set and covered with Stickles.

To go with this beautiful card, I decided to make a little treat box using a Punchboard from the collection. I filled it with some Hershey’s Kisses and closed both ends with some pink ribbon.

I added the die-cut sentiment using the Layered Lots of Love die set and adhered on the treat box with liquid glue. I finished this treat box by adding the cute little honeybee. Here are both projects again:

I hope you got inspired and like my projects this week! Hop along with us and see all the amazing projects prepared by the entire team!

Here’s the hop list:


Reverse Confetti

Cheiron Brandon

Audrey Tokach

Becky Roberts

Maria Russell (you are here)

Amy Rohl

Lisa Henke

Kelly Lunceford

Dilay Nacar

Amy Kolling

Michelle Short

Kellianne Wilson

Tiffany Pryce Russom

Andrea Shell

Rachel Alvarado

Dana Kirby

Candice Fisher

Susan Wymer

Amy Tsuruta

Tricia Barber

Melissa Phillips

Jenny Colacicco

Olga Moss

Jeanne Jachna

Lien Leysen
Heather Ruwe

COUNTDOWN TO CONFETTI – DAY 3

It’s Day 3 of the Countdown to Confetti January Release by Reverse Confetti and we have more amazing products to show you! Remember, all of the products you will see during the reveals will be available on January 8th.

Don’t forget to leave a comment each day during reveal week here on the blog and on the Reverse Confetti FaceBook group for a chance to win the gift certificate.

For today’s sneak peek, we are showcasing the Hello Daisy Stamp Set and Dies.

I am honestly 100% fan of daisies! They just remind me of happy days and sunshine! I didn’t think that this card below will need anything else because the images speak for themselves, don’t you think? You can easily mass-produce the card I have below for a little “hello, I love you-just-because” kind of thing!

I started by stamping the images in with Memento Tuxedo Black Ink on some Express-It blending card stock. I colored the images in with my Spectrum Noir alcohol markers. I adhered the panel on some A2-size notecard.

I stamped the sentiment “hello” a few times with some Versafine ink to get a good impression to make sure it stands out. Other than that, I didn’t think it needed anything else because the images just speak for themselves, don’t you think?

I hope you got inspired as much as I did! Don’t forget to check our tomorrow’s post fo the finale and get more inspiration from the whole team. Hop along with us for a chance to win the gift certificate. Check out the rest of the inspiration below:

Here’s the hop list:
Reverse Confetti

Audrey Tokach

Maria Russell (you are here)

Lisa Henke

Amy Kolling

Kellianne Wilson

Dana Kirby

Amy Tsuruta

Melissa Phillips

Jeanne Jachna

COUNTDOWN TO CONFETTI – DAY 2

It’s Day 2 of the Countdown to Confetti January Release by Reverse Confetti and we have more amazing products to show you! Remember, all of the products you will see during the reveals will be available on January 8th.

Don’t forget to leave a comment each day during reveal week here on the blog and on the Reverse Confetti FaceBook group for a chance to win the gift certificate.

For today’s sneak peek, we are showcasing the Poppies stamp set and coordinating dies.

For my project today, I also used the Stitched Daisies Cover Panel and the Big Hearts Sentiments Stamp Set & Dies.

I started by stamping the images on some Express-It Blending card stock with Memento Tuxedo Black Ink. I used different shades of quick-dry dye inks in pink and green to add color. What I love about this stamp set is you don’t really need to use other mediums to color them in but I used my Spectrum Noir alcohol markers to create some depth and dimension to the images. I die-cut the images using the coordinating die.

Next, I die-cut the background panel using the Stitched Daisies Cover Panel with some Neenah Solar White Card Stock. I used a stencil from my stash and applied some texture paste for added texture and interest. I let this panel dry for about half an hour, then adhered on some A2-size notecard. I adhered the colored images on the card with either foam or liquid glue.

I stamped the sentiment with VersaMark ink on some black card stock and sprinkled some white embossing powder, then heat-set with my heating tool. I used the coordinating die to cut it out and foam-mounted the sentiment on the card for added dimension. Lastly, I applied stickles to the images for more interest to finish the design. Here’s another look:

Be sure to hop along with the rest of the team today!  Comment along the way for your chance to win a Reverse Confetti gift certificate and don’t forget to check the Reverse Confetti FaceBook Group and leave a comment there as well!  I hope you will come back tomorrow to see more of the new release!

Here’s the hop list:
Reverse Confetti

Audrey Tokach

Maria Russell (you are here)

Lisa Henke

Amy Kolling

Kellianne Wilson

Dana Kirby

Amy Tsuruta

Melissa Phillips

Jeanne Jachna