I Craft Therefore I Hoard

Hello my crafty friends! I hope you are all having a great week so far. Maria here with you today and I am back to share with you two card samples showcasing the new Crafter’s Gonna Craft stamp set, with the new Stitched Scalloped Collage Frame Die.

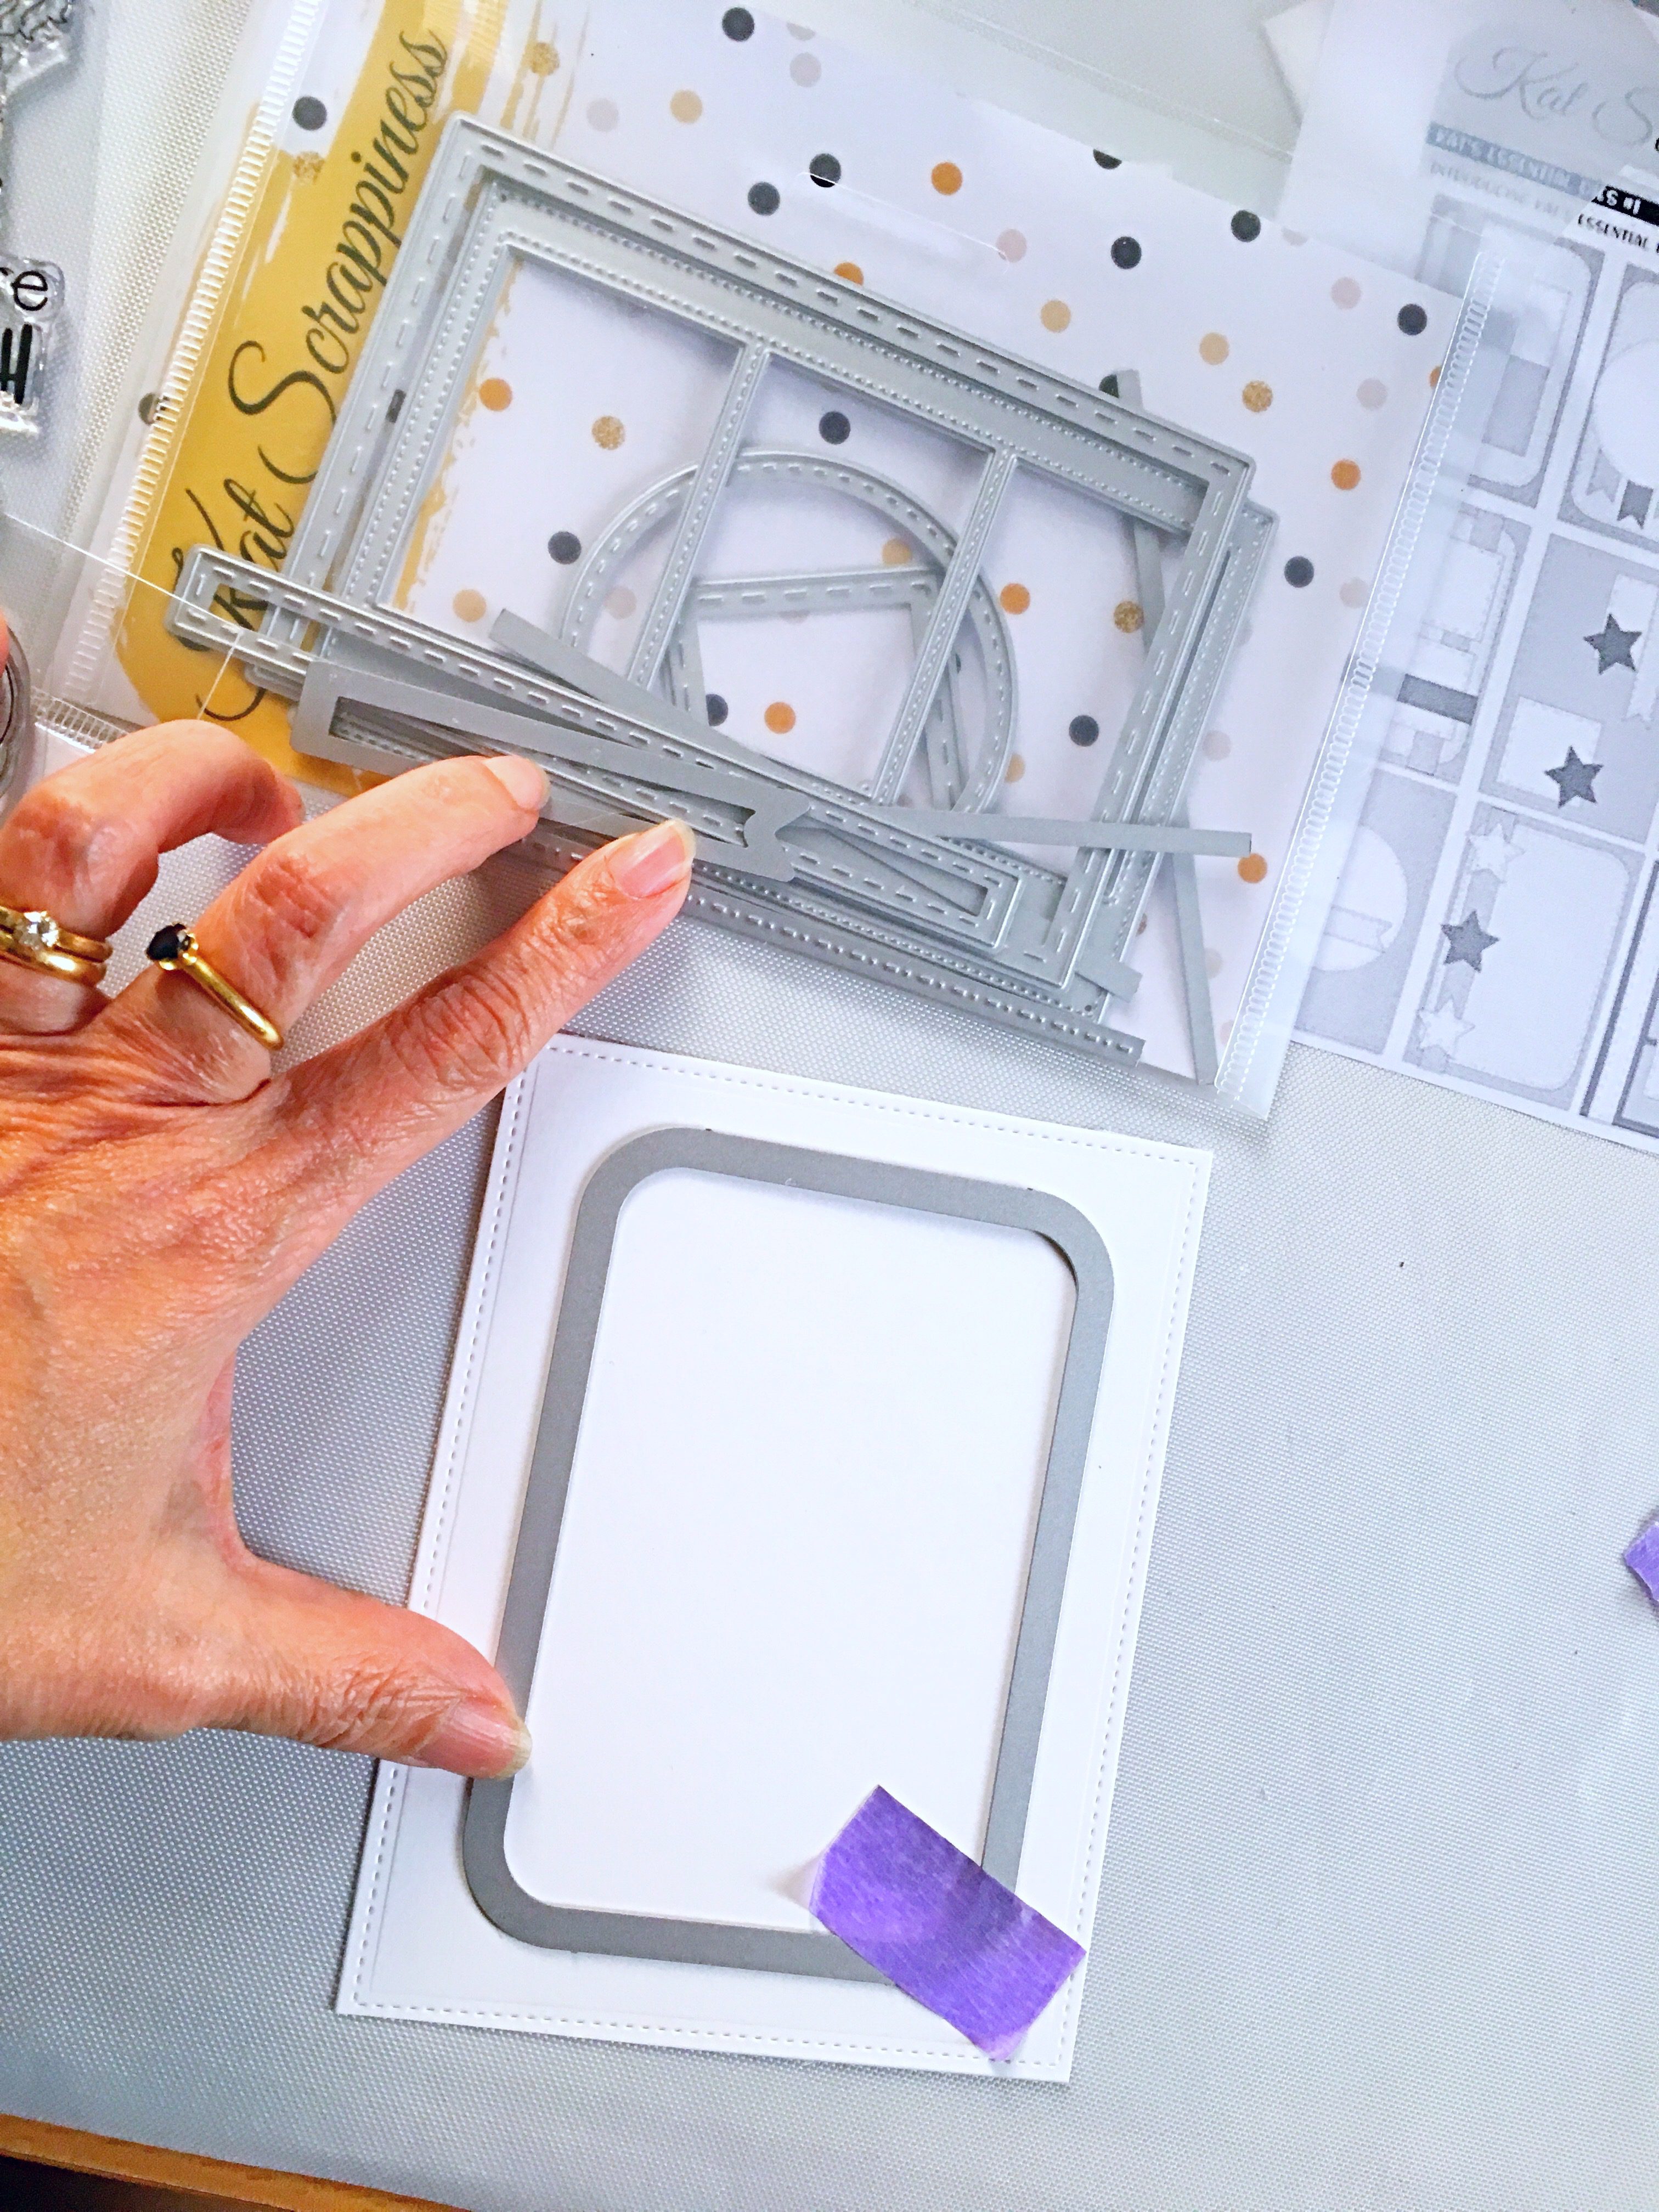
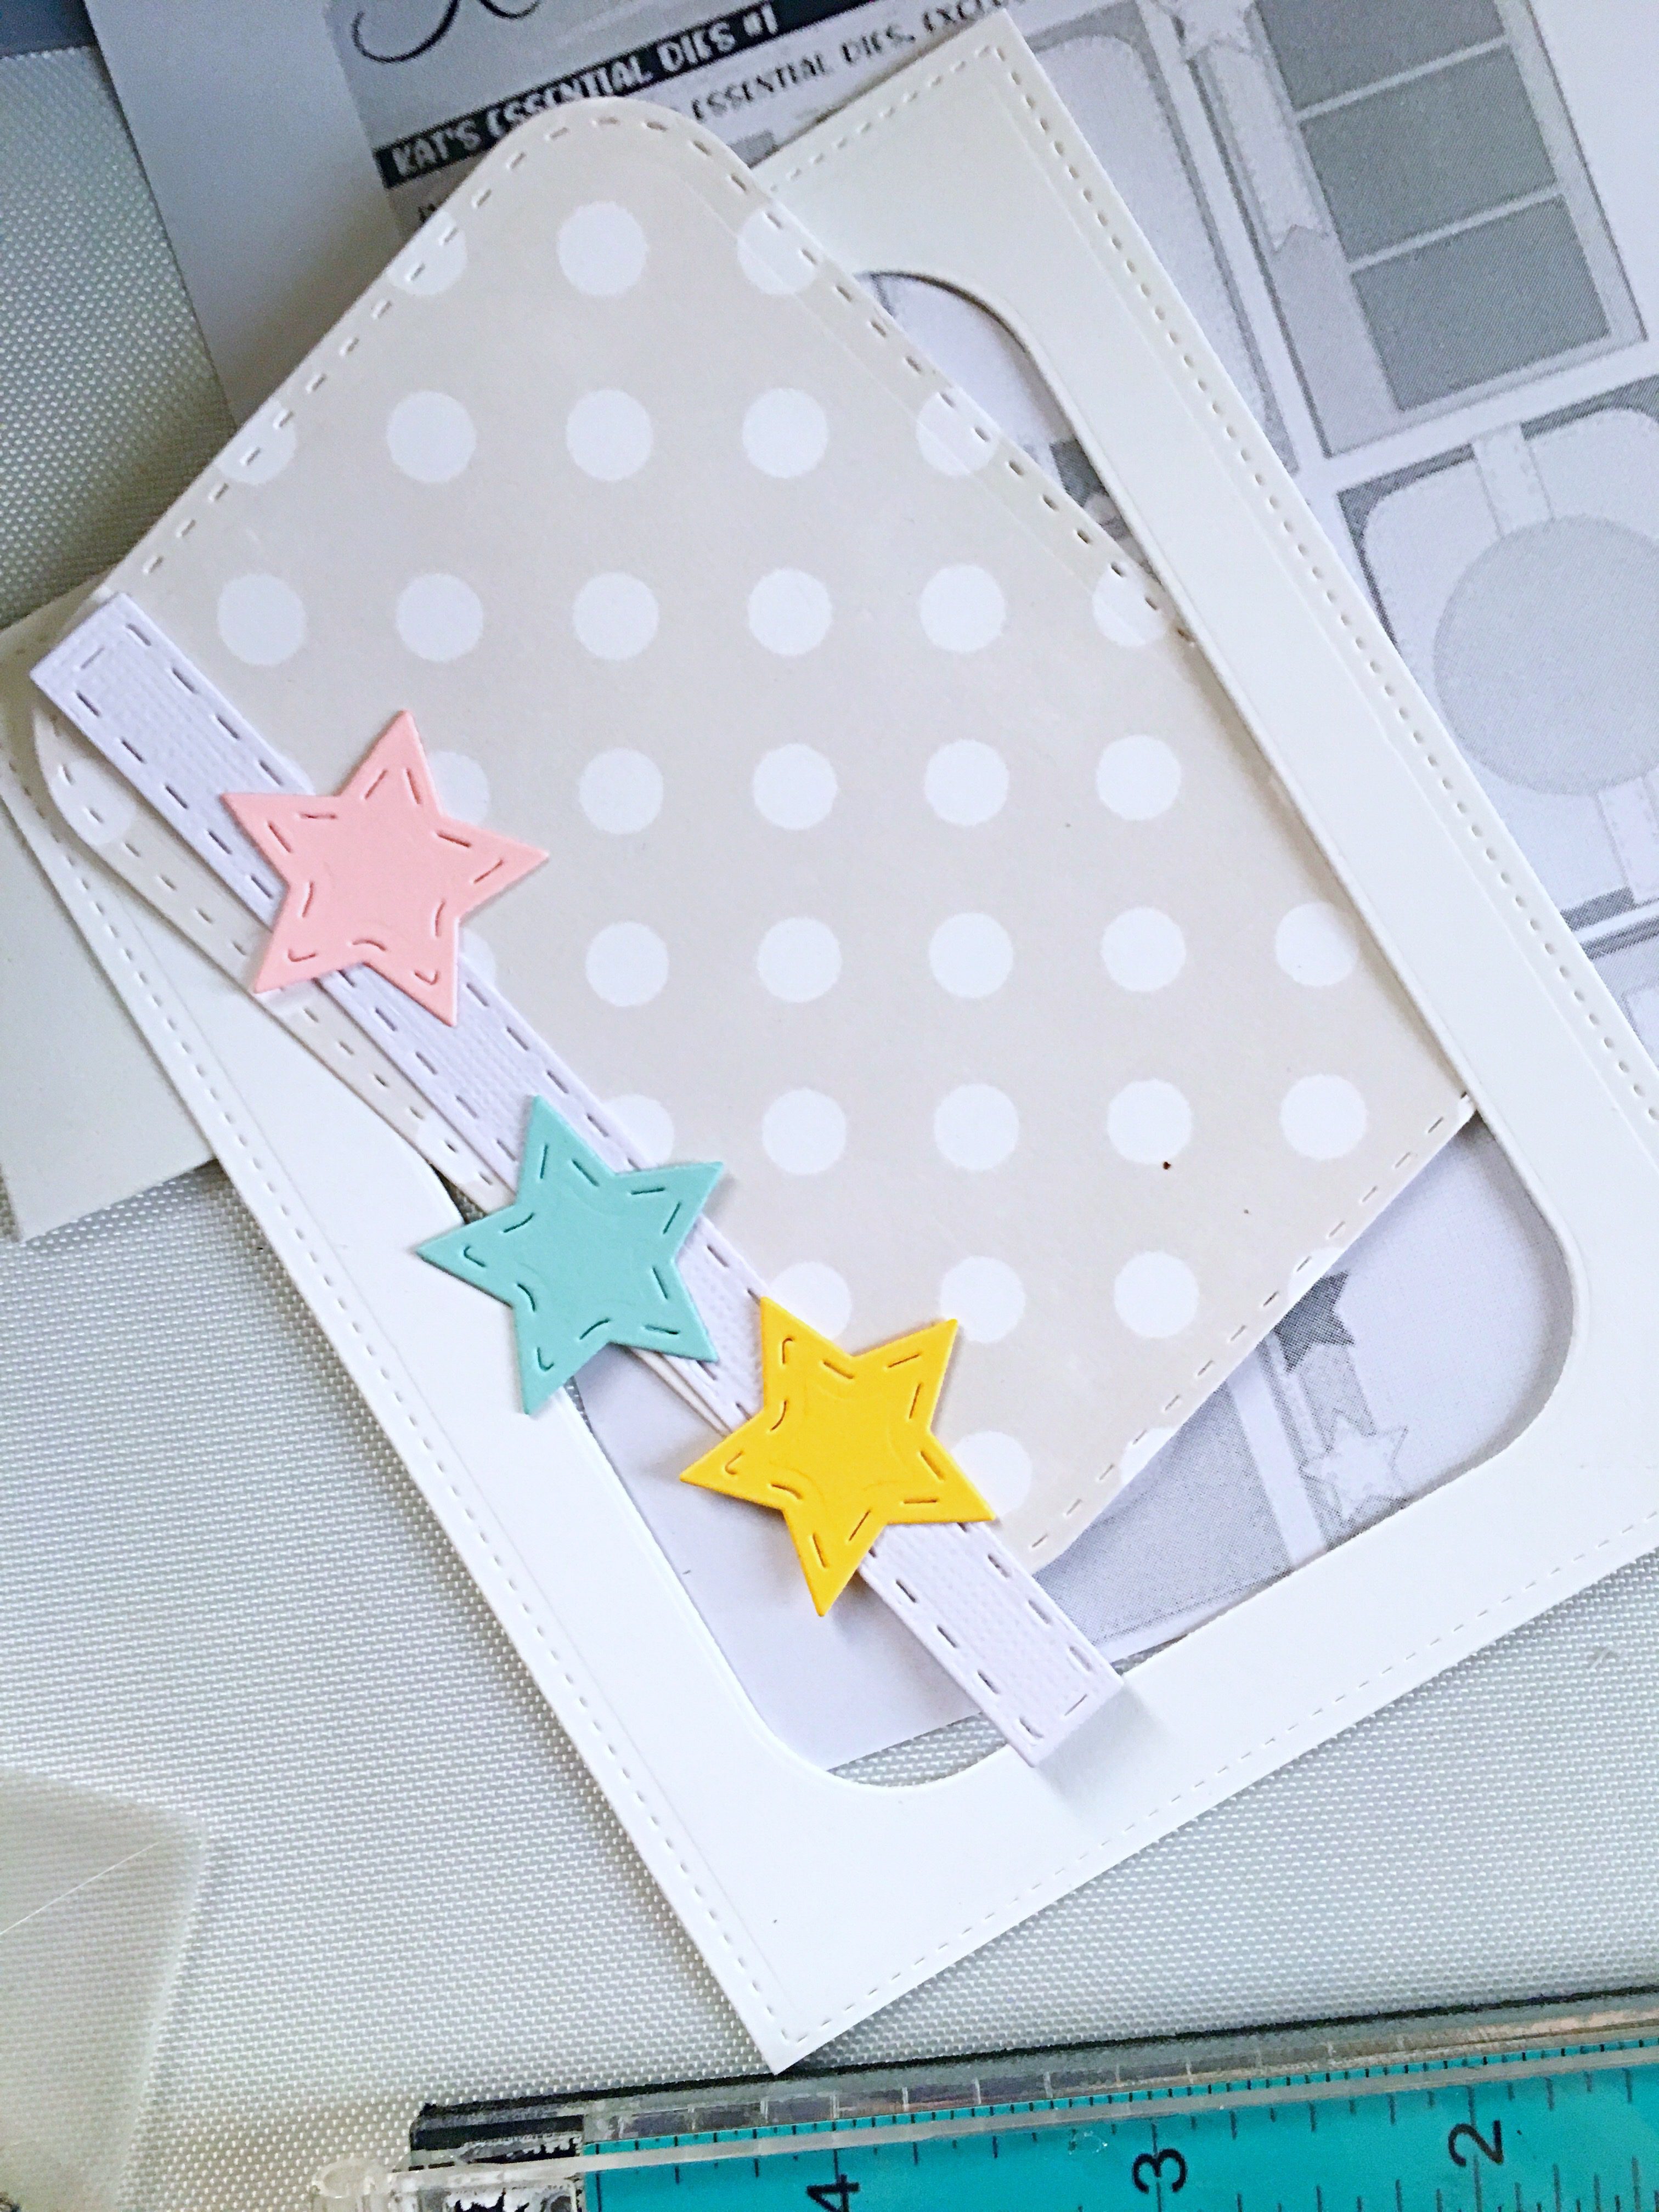
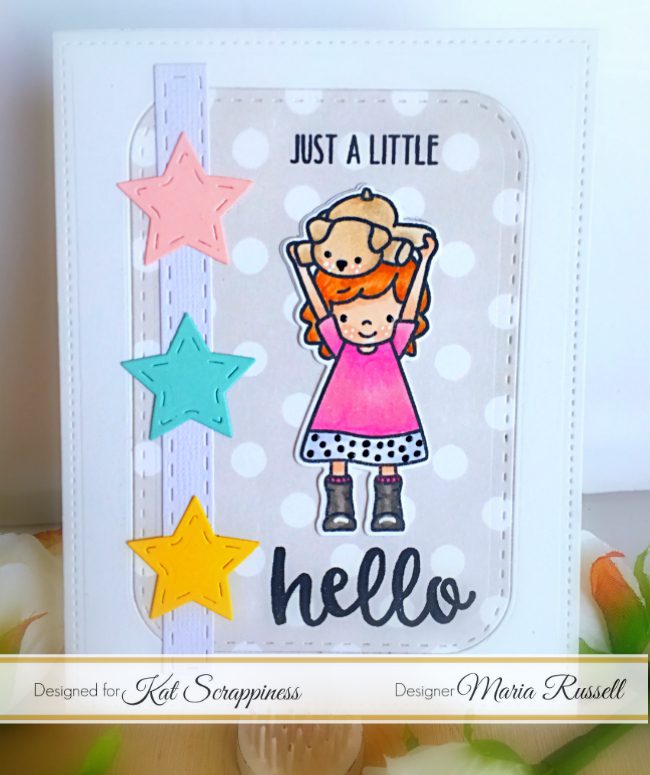
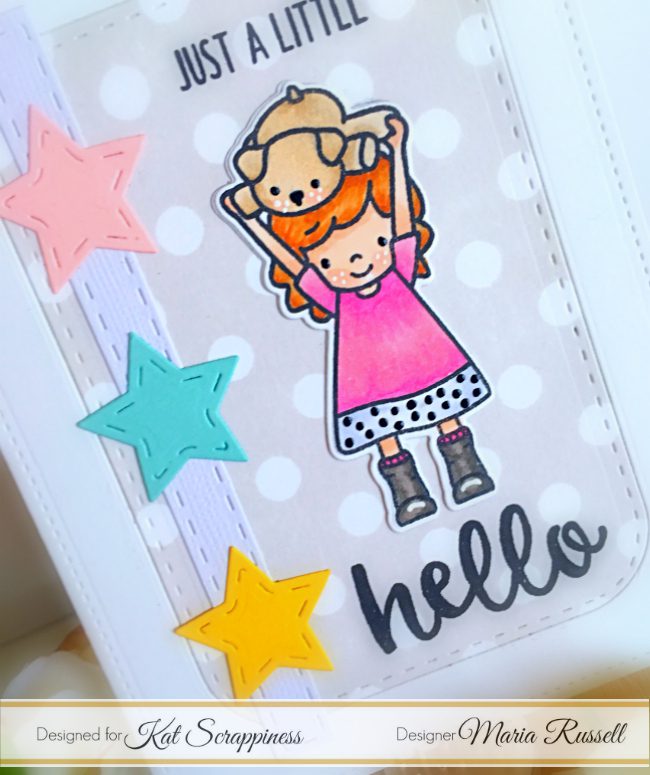
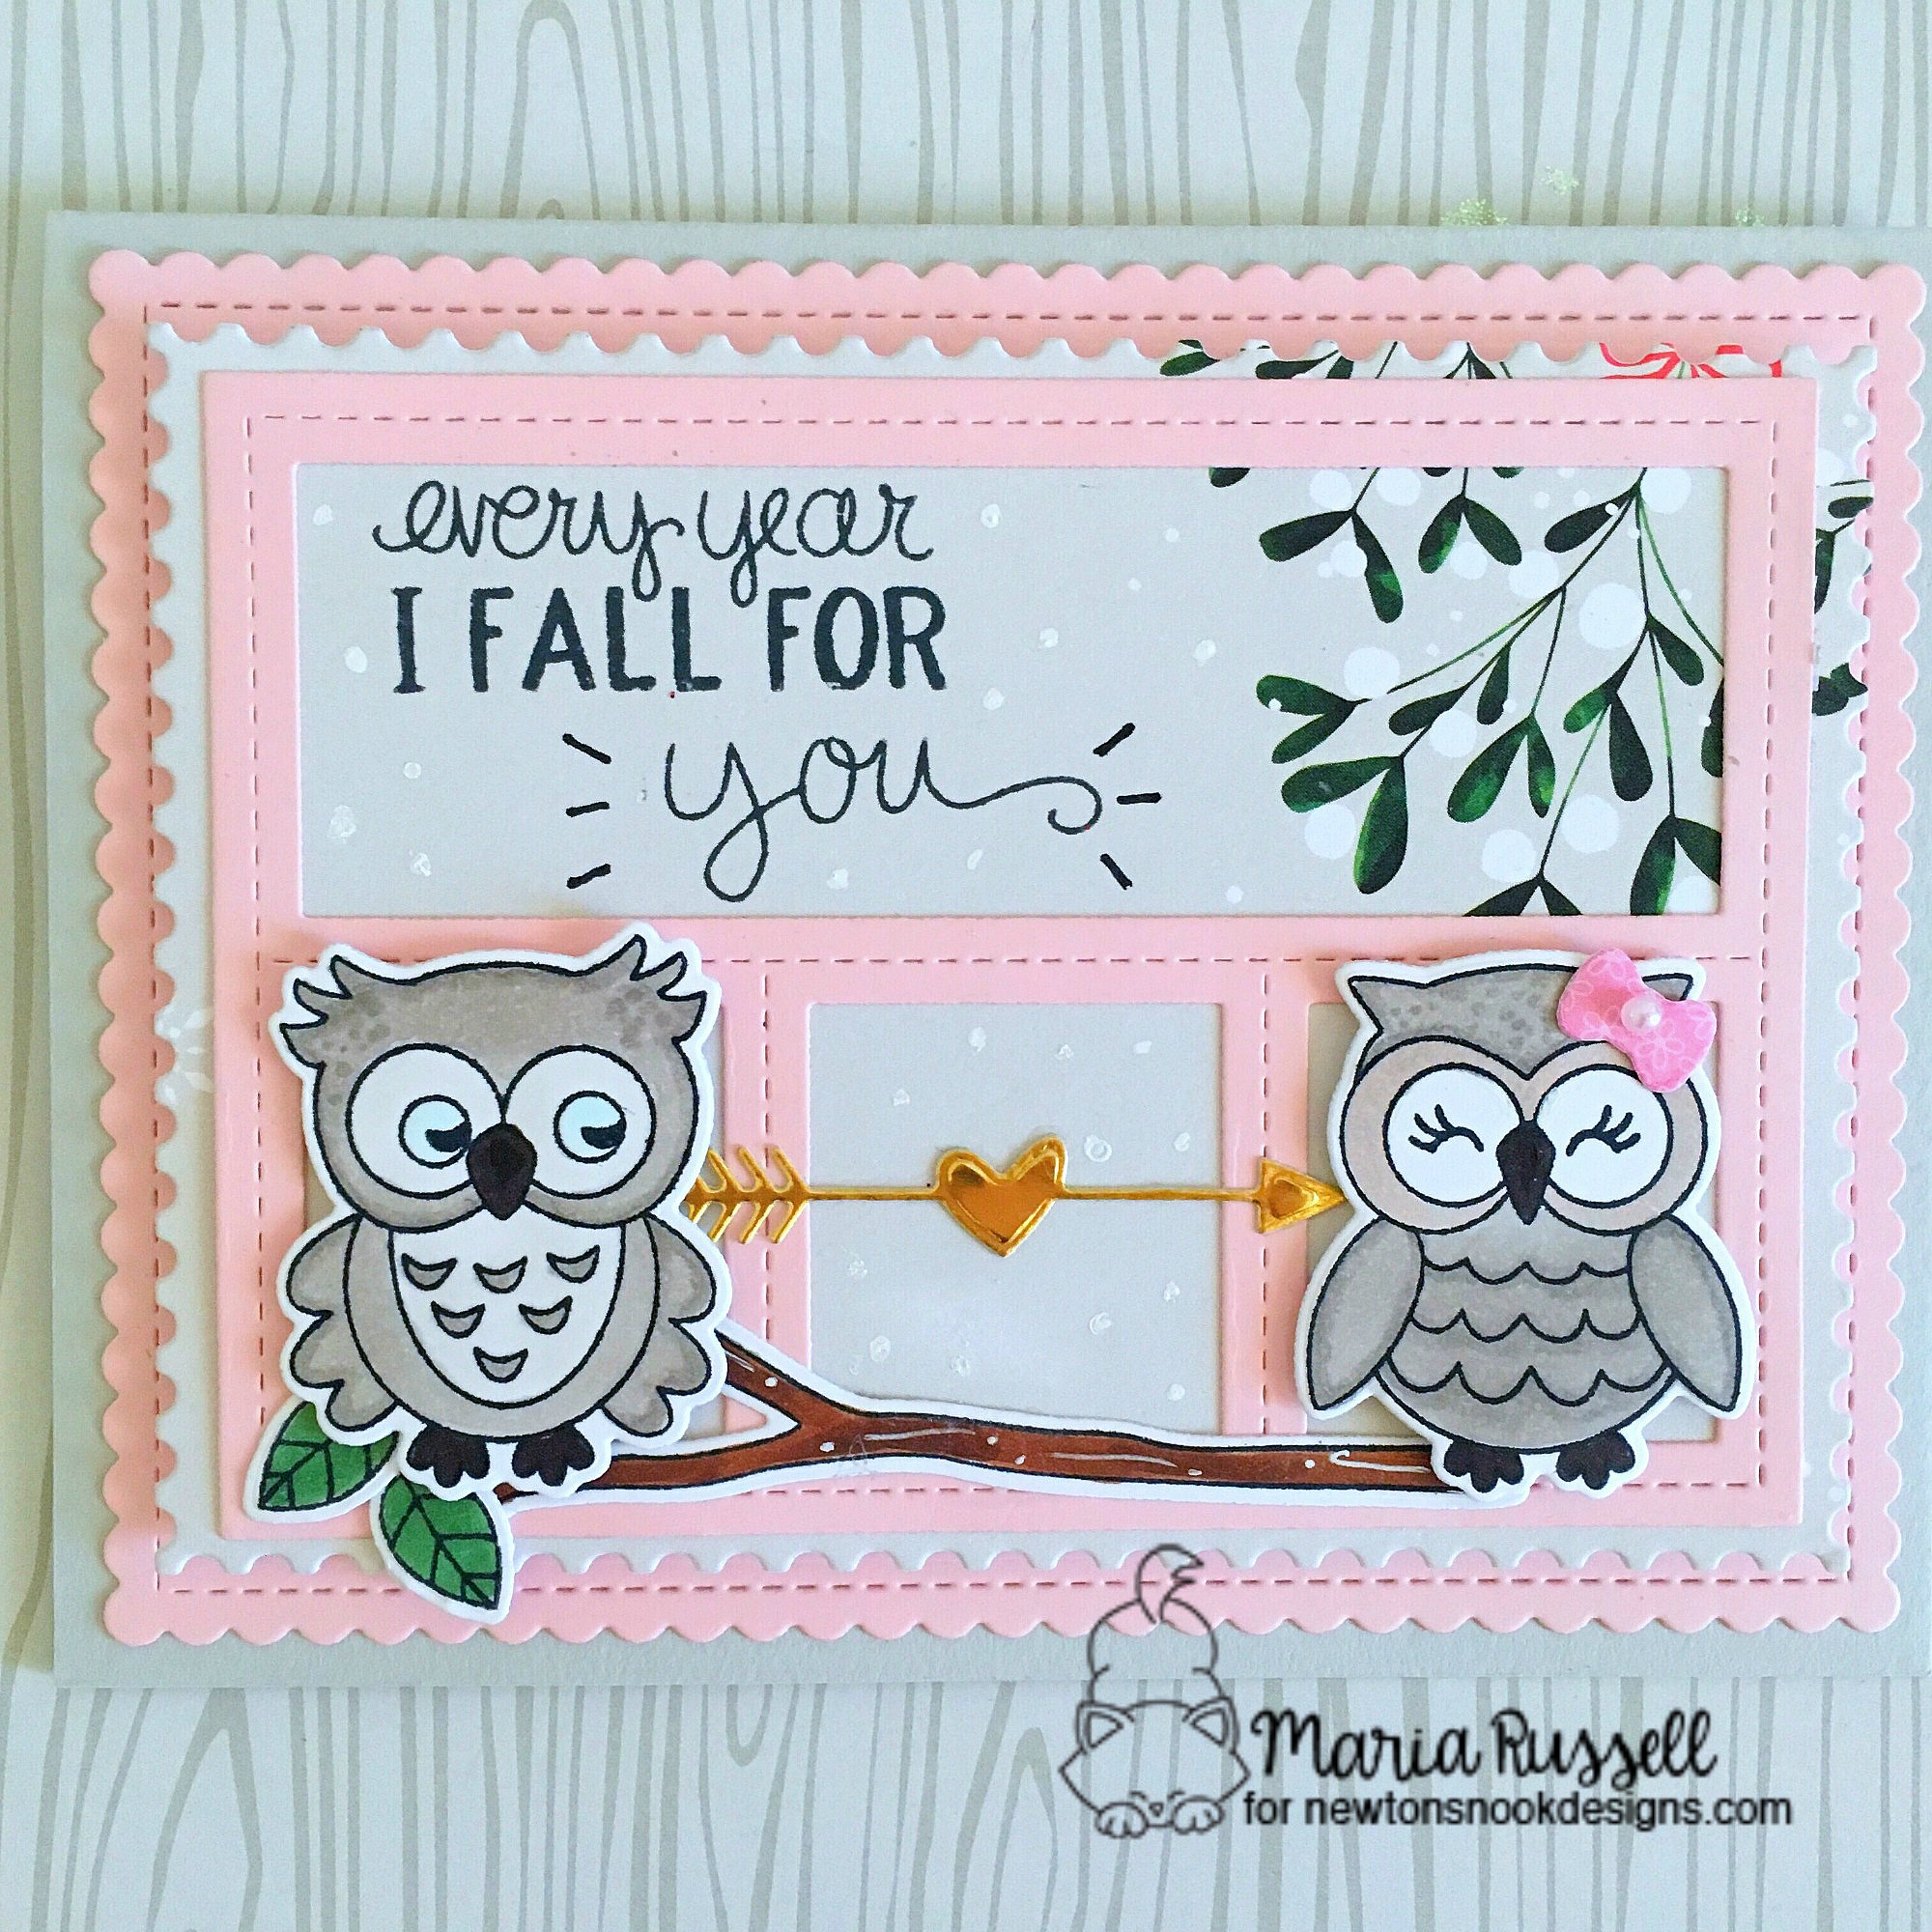
I have been super busy traveling for the last few weeks that I don’t have a step-by-step instruction for you.  I guess if you are a card maker or a scrapbooker, you would have figured out how I made the cards already but I apologize if you are a beginner.  Please know that once I am back on a regular schedule, I will have a step-by-step tutorial or even a YouTube video. I promise!  Here’s my first simple, one-layer card:


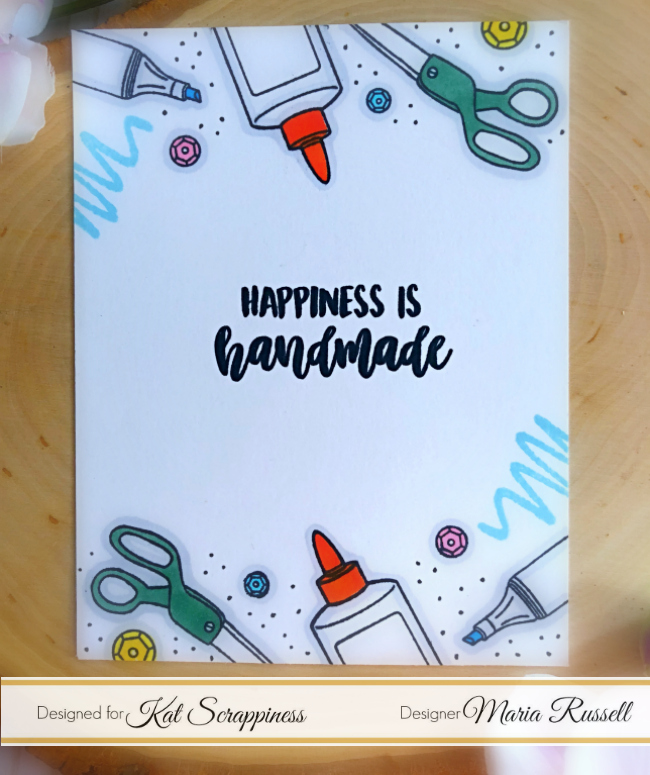
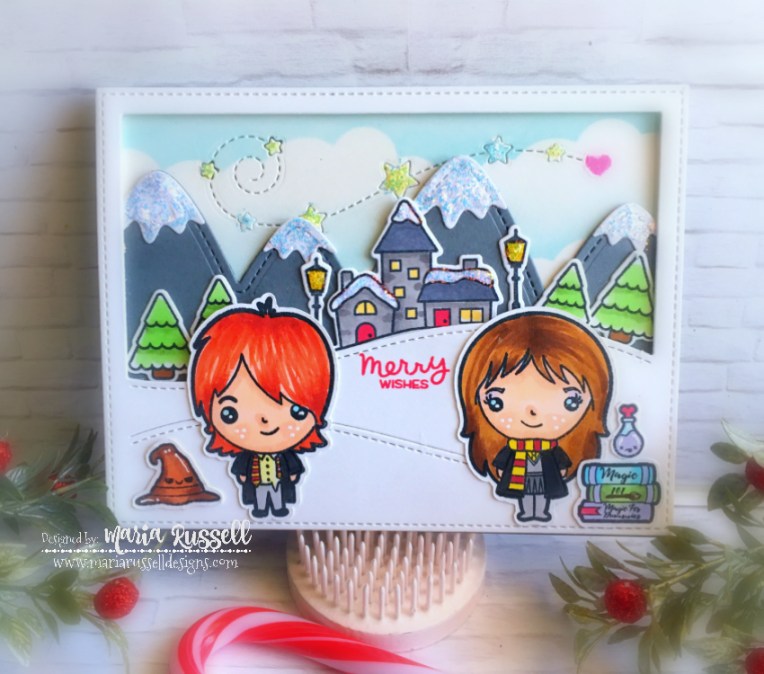
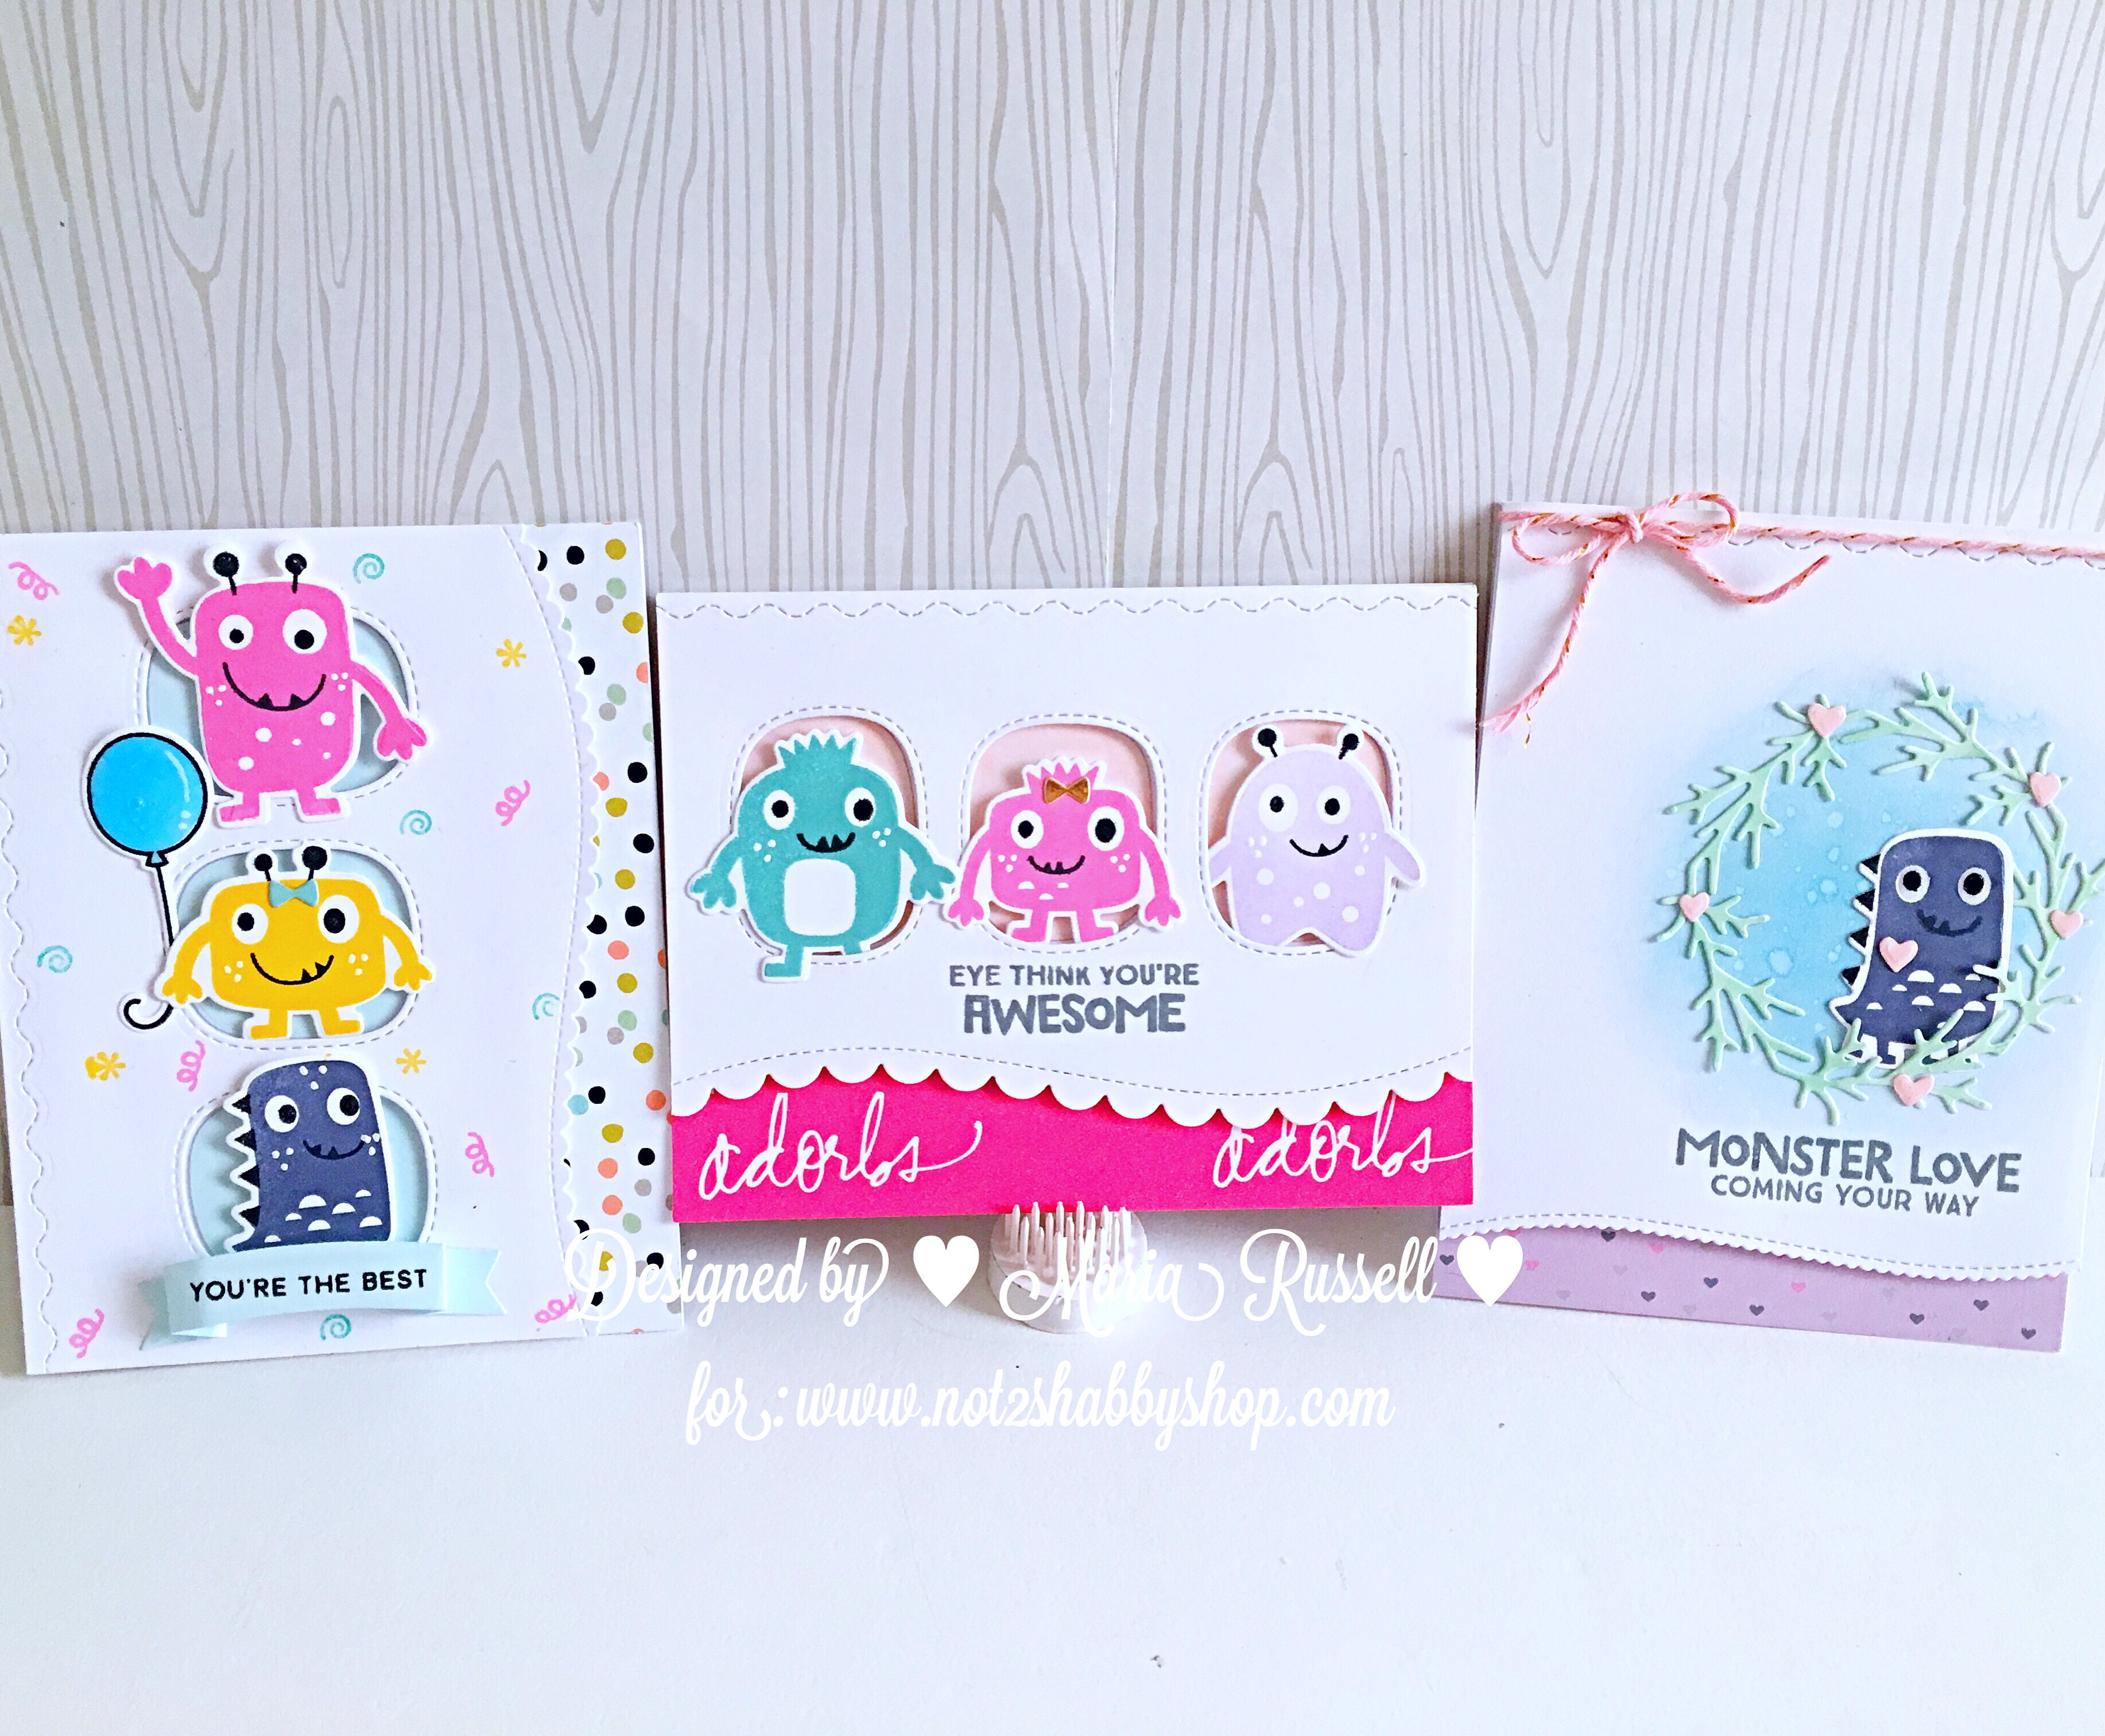
This new stamp set is a must-have for any paper crafter!  Here’s another look:


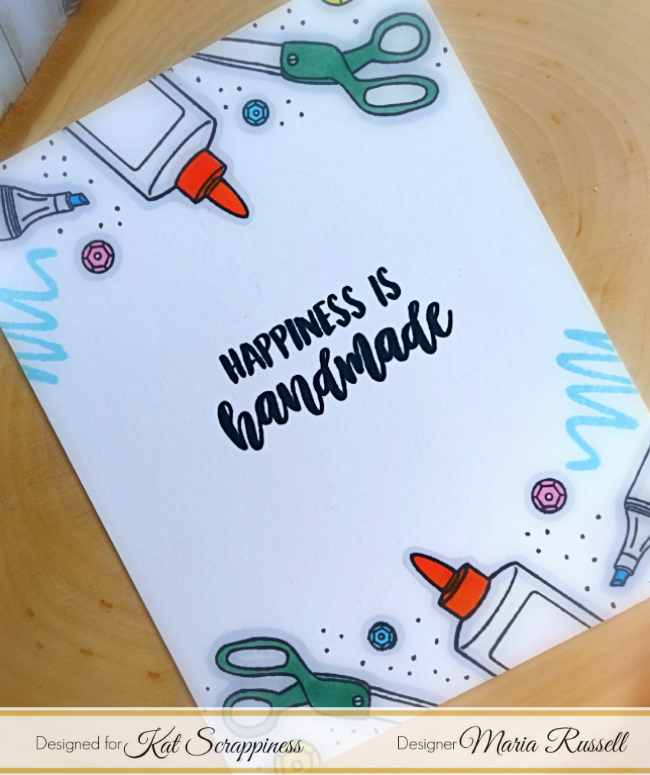
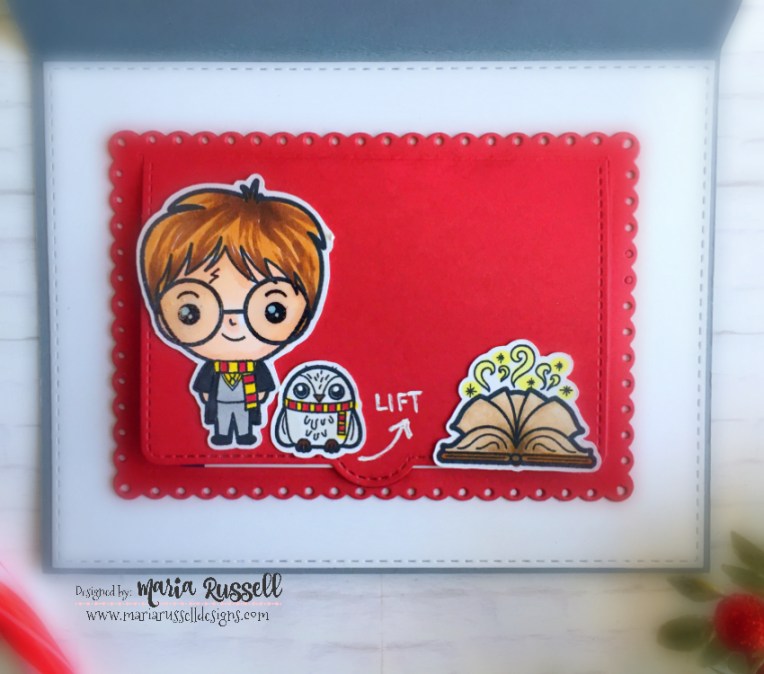
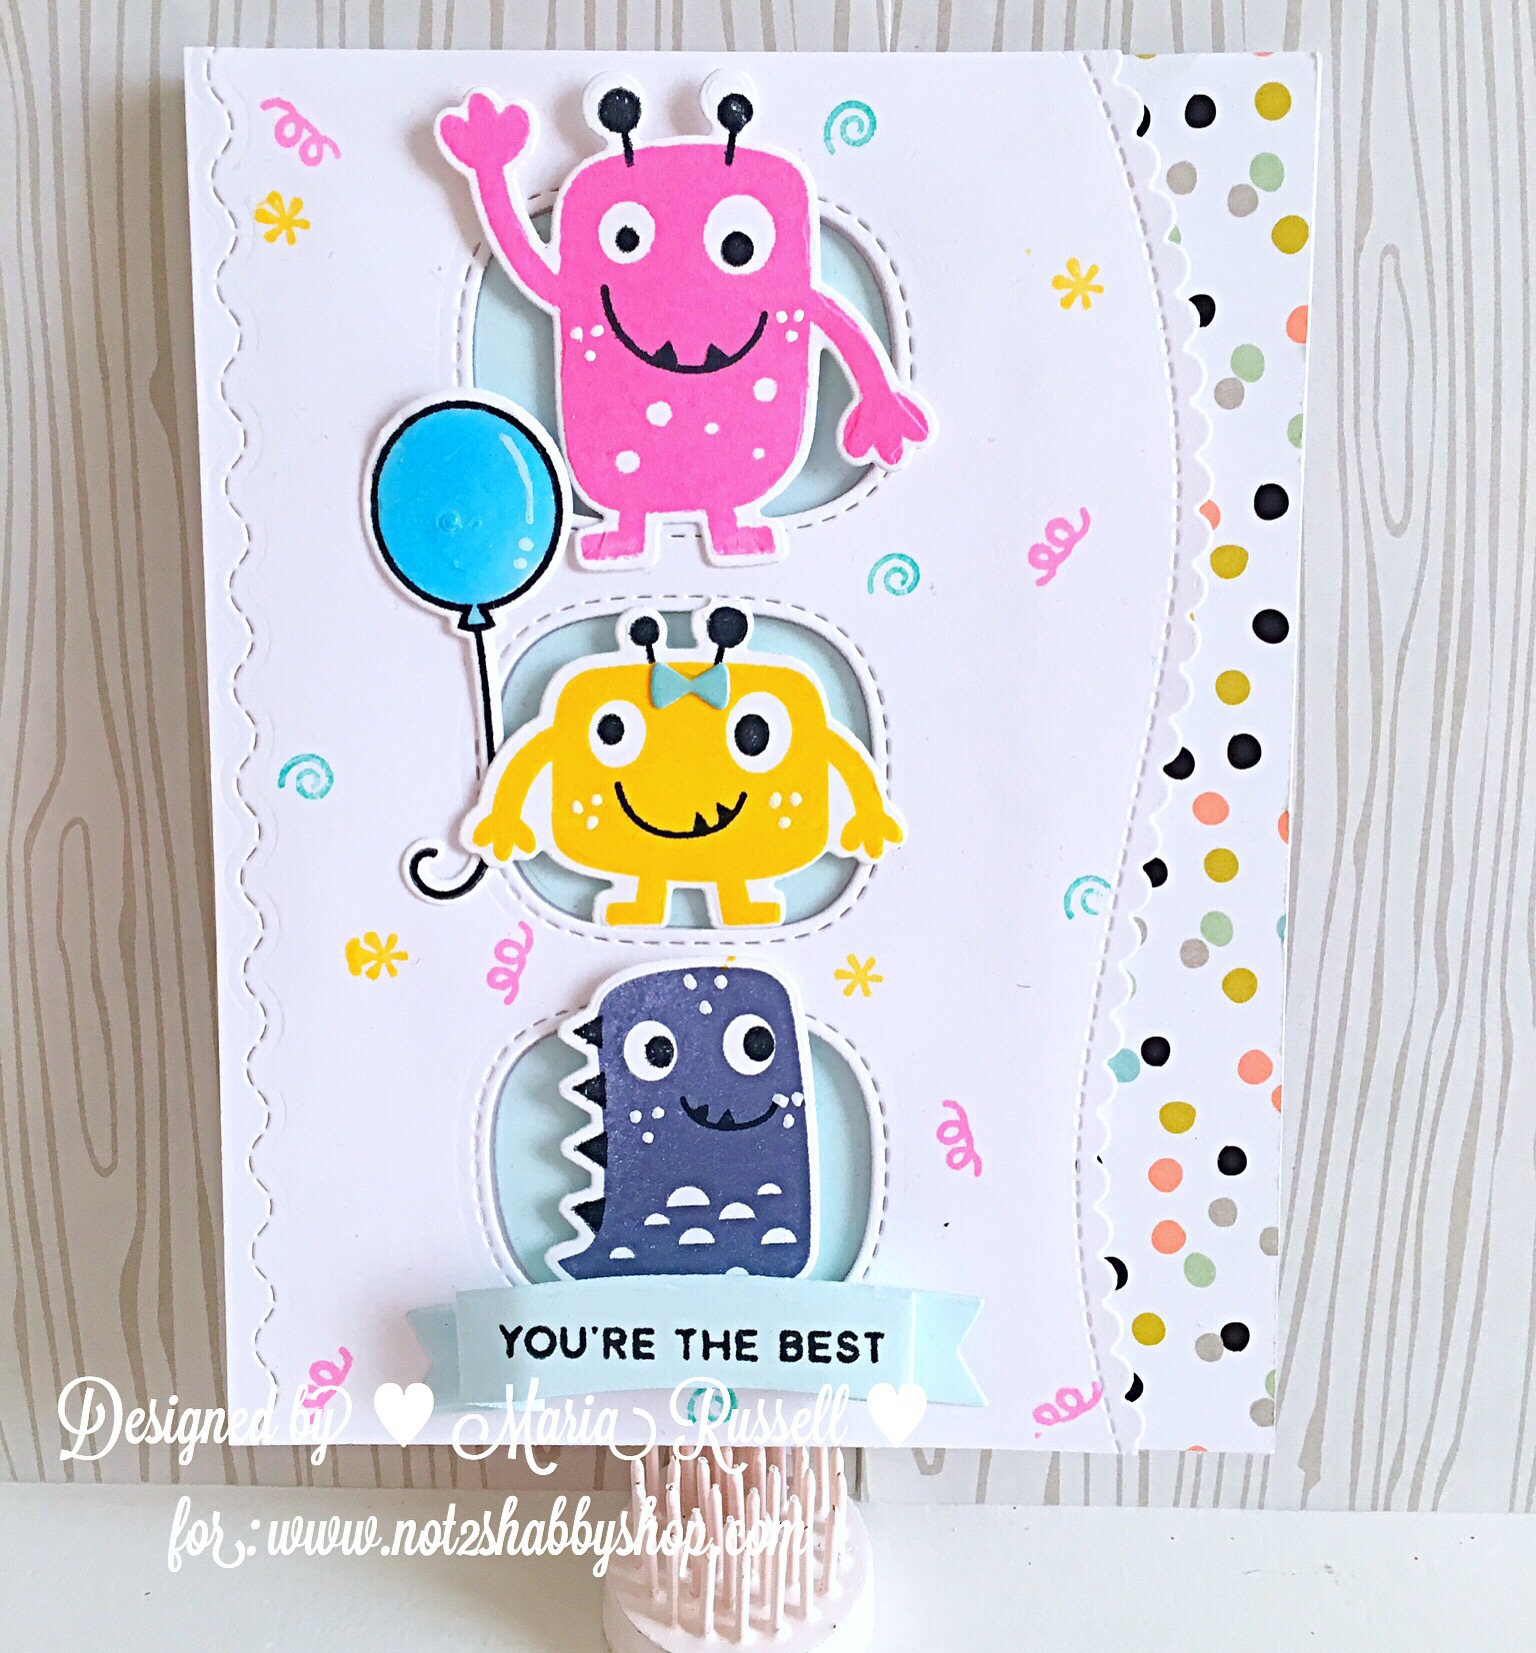
My second card just cracks me up!  If you are a crafter, I am sure you can relate with the sentiment.


Isn’t it true though?  I am such a hoarder.  I collect anything and everything that I can use for a future project, it drives my husband nuts!  I didn’t realize how much hoarding I’ve been doing until it was time to pack up most of my craft supplies to move it all back to my home in Florida.


I also LOVE the new sparkling jewels at the shop.  They come in different colors but my favorite is the clear, sparkling one that I used on my project.  I prefer adhering it flat-side up and I think it gives more shine.

I hope you like my projects today.  Please don’t forget to check out the August release by Kat Scrappiness.  The new dies are must-haves for sure!  Don’t forget to use my coupon code “MARIA10” for 10% off your order.  Also, don’t forget to check out the Lawn Fawn items that are currently on sale at the shop for 20% off by using code “LAWNFAWN”.  It is only valid until August 12th.  Have an amazing day and happy crafting!
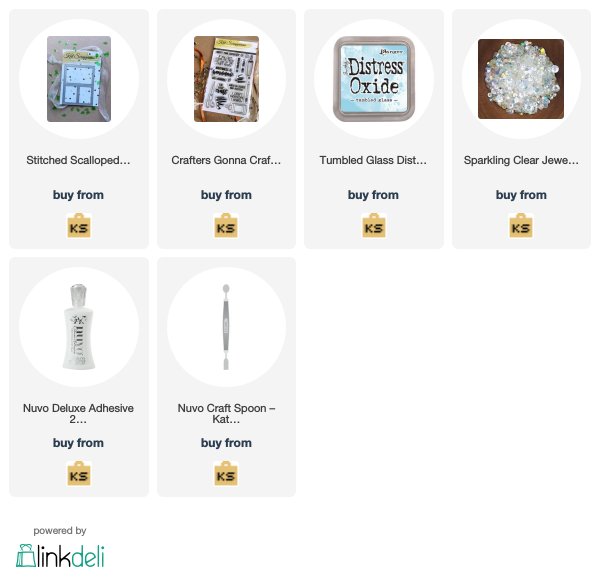
——SUPPLIES—–


https://linkdeli.com/widget.js?1533216656914

Just A Little Hello

Howdy Kat Scrappiness fans!  Maria here on the blog today with a simple card, showcasing the Crafter’s Essentials 1 die set.  If you are waiting for this die-set, you are in luck because they are arriving back in stock next week!  If you haven’t ordered this yet, you can now reserve it so that you don’t have to wait again.

To make things easier for me, I started out by choosing a sketch pattern from the Kat Scrappiness site (you can see this photo on the product sample).  I downloaded this sketch and inserted this piece in the envelope with the dies so I can use them for my future projects.  Sometimes, it is helpful to have it when you’re not feeling crafty!  I am having one of those days since the majority of my supplies are currently loaded in a shipping container, en-route to our home in FL.

I die-cut some A2 size card stock with the rounded-edge rectangle die.  I used the same die to die-cut a patterned paper.

I used the long strip die that is included in the set to die-cut another piece of some white card stock (slightly a different color from my card base).  I also used the stars die to die-cut  one pin pink, blue and yellow.

I stamped my images on some Neenah solar white card stock and colored it in with my Copic markers.  I die-cut the image with the coordinating die.  To finish my design, I stamped the sentiment using Versafine Onyx Black ink and used my belli-roll pen to add more details to the images.  Here’s my card:

I love the simplicity of this card.  I didn’t do a lot as you can tell, but it turned out really cute!  This sketch is also perfect to create a “Welcome Baby” card.  Here’s another look:

This Crafter’s Essentials 1 die setis definitely a must-have for any paper crafter.  I think the little stitched star die is just the right size to add to your projects.  I love the stitching details to it as well.

I hope you like my card today.  Please don’t forget to use my coupon code “MARIA10” for 10% off your order at the shop.  Don’t forget to check the clearance section too!  I wish you all a wonderful day!  Happy crafting!

———–SUPPLIES———–


Enjoy the Ride with Paper House Productions

Hello Paper House Productions fans!  I cannot believe that time flew by so fast and I am sad to say that this is my last blog post for Paper House Productions.  I have been so FORTUNATE to be able to work with the AMAZING products by PHP, the talented design team and of course, everyone at Paper House Productions.  It has been a great journey to be a part of this design team which is why I chose “Enjoy the Ride” theme for my project today.


For our final project, we were asked to pick out our FAVORITE product from the Paper House Productions.  Mind you, this wasn’t an easy task!   I LOVE the paper pads, the stickers, washi tape, traveler’s notebook, etc.   However if there’s one thing that I’ve been loving (and buying) the most even before I got on this design team, it’s always been the stickers!   Sometimes when I want to create a beautiful card without stamping or doing a lot of fancy stuff, I always make cards with stickers.  I also love adding stickers to my scrapbook layouts and planners.


To start, I stamped an A2 size card stock with my background stamp with a mint green ink and die-cut the same with my Stitched Wonky Die.  I also die-cut another piece of white card stock to create the frame.


I have been dying to use this Stickypix “It Takes Two Cardstock Multi-Pack” stickers because I absolutely love everything in this pack.  It has all of my favorite color combination – Mint Green, Light Blue, Red, Pink and Gold.  I picked the bicycle, stars and flowers on this pack.


IMG_8696 2


This card took about less than 10 minutes to make and can be easily mass-produced.   Here’s my card:


PHPStickerCard1


I just love the gold-foil details on the bicycle and the flowers.


PHPStickerCard1B


I also simply adore the little stars in the sticker pack.  I added a couple of them on my card.


PHPStickerCrd1A


It has been a great pleasure working with The Paper House Productions and the talented Design Team for Winter/Spring Term.  Thank you everyone for this amazing journey.  It really has been a great ride!


XOXO,

Maria


SUPPLIES:  Sticker Pix It Takes Two Cardstock Multi-Pack Stickers

Merry Wishes Gift Card Holder

Hello my crafty friends!  I hope you are all ready for Christmas!  I am still wrapping presents and prepping for the holidays and one of the things I made today is this special Gift Card Holder that will house a gift card for my daughter. She loves reading, and she loves Harry Potter so I thought it’s appropriate to use this stamp set that I purchased awhile back from The Sassy Club, as well as my favorite stamps and dies from Lawn Fawn.

I started out by stamping my images on Neenah solar white card stock and colored them in with my Copic markers. I used my Brother Scan N Cut 2 Machine to die-cut the images from The Sassy Club since this stamp set doesn’t have any coordinating dies. I also die-cut the other stamped images from Lawn Fawn with the Stitched Hillside Backdrop and the Stitched Mountain Border dies, as well as the embellishments that I wanted to add to the card to create my scene.

For the inside of the card, I used Fancy Scalloped Rectangle Stackables, Lift the Flap and Simple Gift Card Slot Dies by Lawn Fawn to house my gift card.

To finish my design, I added stickles to the snow, the lampposts, as well as the trail of stars on the card front. For the inside of the card, I used my Sharpie White Paint Pen to draw the arrow and wrote the word “lift”. Here’s my card:

Front of the card:

SassyHarryPotter1

Inside of the card:

SassyHarryPotter2

Close-up:

SassyHarryPotter3


I really love how this card turned out. It took me an hour or two to create it but this card is really special and I know that my daughter will appreciate it very much. I hope you like my card today. I have listed and linked the supplies I used. Thanks for stopping by my blog today and have a Merry Christmas!

———SUPPLIES———-


Every Year I Fall For You

I am super excited to share this post today because it is my first post as a design team member for Newton’s Nook Designs (“NND”).

Since Valentine’s Day is just around the corner, I decided to start my projects early.  I wasn’t really sure in the beginning what images I wanted to use for the card so I had stamped out a couple of NND images on Neenah solar white card stock, using my stamping tool and colored the images using my Copic markers. I ended up not using the other images I colored and I have set it aside for a future project in mind. I die-cut the images with my die-cutting machine using the coordinating dies.


img_3315


For my card, I am showcasing the “What A Hoot stamp set and What A Hoot Die Set” and for my sentiment, I used “Fall-ing For You stamp set“. I did a little bit of masking so that I only use the words “every year, I fall for you”. I think it turned out perfectly!


img_3326


Here is the card. The supplies I have used are listed and linked below. I hope you like my card and somehow got inspired to create something beautiful today.  For cute stamp set and dies, please visit http://www.newtonsnookdesigns.com, and share your creations with us on Instagram (using hashtags, #newtonsnookdesigns, #NND) or share it on NND’s Facebook Group (https://www.facebook.com/groups/NewtonsNookDesigns/).

Have an amazing day!


nnd_whatahoot_blog


———SUPPLIES————-

https://static.inlinkz.com/ppr.js

Monster Halloween

I am not ready to give up making Halloween projects just yet so I figured this week is my last chance to create more cards and a tag. I’m back today to share with you my design team projects for Not2ShabbyShop, showcasing MFT Stamps Monster Love stamp set and dies.

Below is the photo and I have shared a process video for one of the cards. I have also listed and linked the supplies below. Have an amazing day!

img_2461

Here’s the video:

SUPPLIES:

MFT Stamps Monster Love

I am completely obsessed with MFT Stamps lately so when I was asked by Jamie of not2ShabbyShop to pick the stamps I wanted for my design team package for September, I naturally picked a cute stamp from MFT called “Monster Love”.  What’s not to love?  They are so easy to stamp and with a stamping tool, you can easily achieve perfect results each time.
I originally filmed a process video for the cards but with a vertigo attack recently, I accidentally deleted the footage!  I still shared them on my recent YouTube video though if you’d like to see it.
Here are the 3 cards that I designed showcasing the stamp set.  I also used my all-time favorite Tag Builder Blueprints No. 5.

I hope I have given you some inspiration today! Have an amazing day!

Recipe for Happiness by MFT Stamps

Good morning my dear crafty friends. Today I am featuring the MFT Stamps Recipe for Happiness stamp set and dies. I would say MFT Stamps is on my top 5 favorite stamps and dies.  I love the Recipe for Happiness stamp set. The sentiments they included in the set and the images are just way too cute! Here are the projects that I created showing them off. I also used the Peek-A-Boo Wonky Windows die-namics.


I hope you enjoy the cards and have an amazing day!


IMG_9589
Created by Maria Russell
IMG_9588
Created by Maria Russell
IMG_9587
Created by Maria Russell

Happy Haunting ~ Lawnscaping Challenge No. 112 ~ Embossing

Good morning crafters!  I wanted to start my Halloween cards early this year so when I checked my emails and received a notification for another Lawnscaping Challenge, I just couldn’t resist.

For my card today, I am using the Lawn Fawn Spooktacular stamp set, Sweater Weather stampset and their coordinating dies, Grass Border and Stitched Rectangle dies. These stamp sets and dies are so much fun and so versatile; you can mix and match them for any occasion.

Happy Haunting
Happy Haunting

I first stamped all the images that I needed for the card on white card stock and colored them using my copic markers. Then I cut my card base, and black card stock as well as the vellum using the stitched rectangle die. I didn’t really have any design in mind at this point. I knew I wanted a round moon, so I cut it using my circle die, and dry-embossed it with my dots embossing folder. I then sponged the edges of my moon using my yellow inkpad to add a little bit of color. I proceeded to die-cut the trees with black card stock using the sweater weather dies, then went ahead to die-cut the rest of the stamped images and the grass border. I also used my bridge dies to create a cute little scene for my cat. Now that I had everything laid out in front of me, I started to create my card. The last thing that I did was to stamp the sentiment “happy haunting” using my white embossing powder on some dark purple card stock, then I adhered it to the front of my card. Oh, of course I had to use my wink of stella to give the moon some glittery effect, as well as the pumpkins, the witch’s hat and the leaves.

What do you guys think? I hope you like my card today.  Happy Crafting and Happy Haunting!