Hello everyone! Maria here with you today! Are you guys ready to see more inspiration from me after the release week? I didn’t get a chance to join the hop last week because I didn’t receive the products on time. Somehow the post office thought my package should go around the United States twice, haha! Anyhoo, I received them today and I immediately made some projects to show off how wonderful they are!
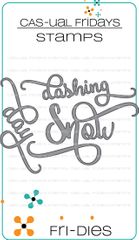
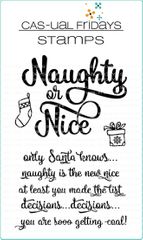
I am showcasing the Naughty’isms Stamp Set, Naughty Fri-Dies, Snow Fri-Dies and the Bushy Tailed stamp set.
Here’s what they look like:


For my first card, I stamped the images on some Neenah Solar White 110 lb. card stock and colored them in with my Copic markers. I die-cut the sentiment using the Naughty Fri-Dies. Here’s my first card:

The Naughty Fri-Dies cuts like butter! I also added some black dots to fill in the space between the stamped images and finished my design by stamping the snow flakes in light blue ink. Here’s a little close-up:

These Naughty’isms stamp set and Naughty Fri-Dies are must-haves for sure!

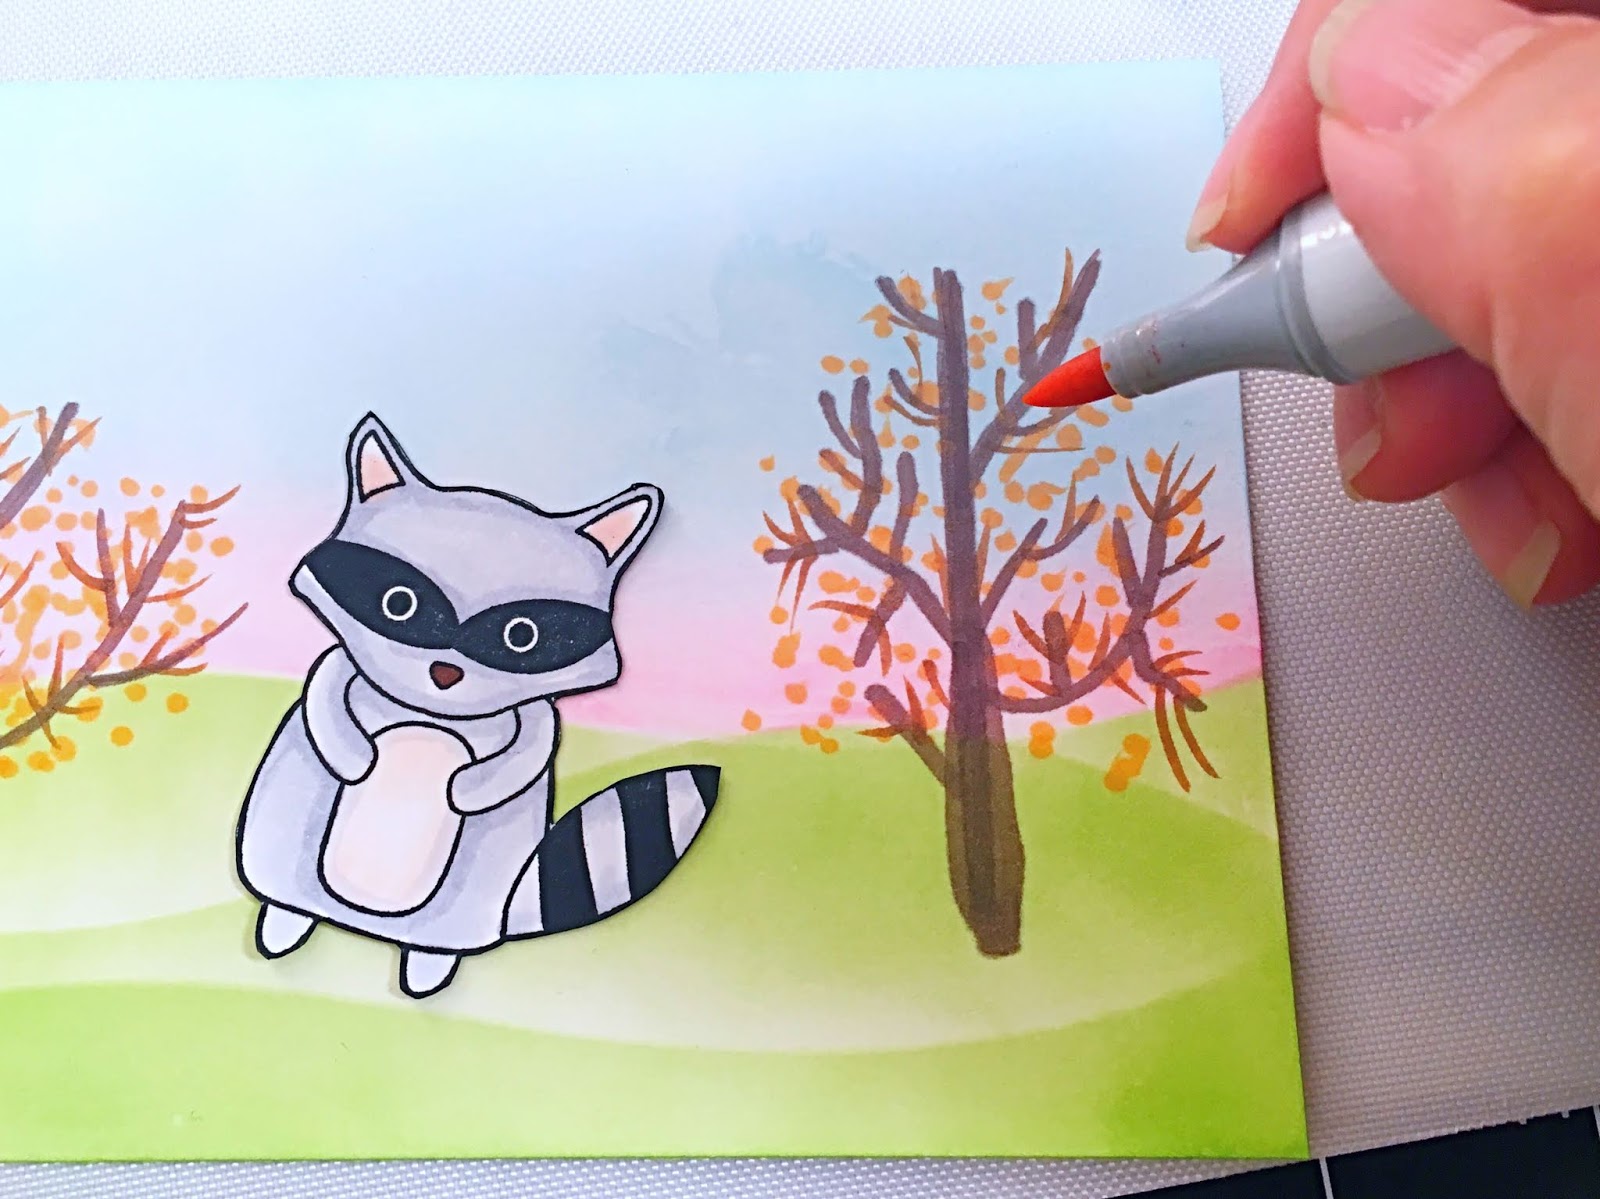
For my second card, I inked up my Bristol smooth white card stock with Blueprint Sketch and Shaded Lilac distress oxide inks. I stamped, colored and die-cut my little Racoon from the Bushy Tailed stamp set. I also die-cut the sentiment “Snow” on some glittered card stock.
To finish my design, I added some snowflakes and crystal clear jewels.

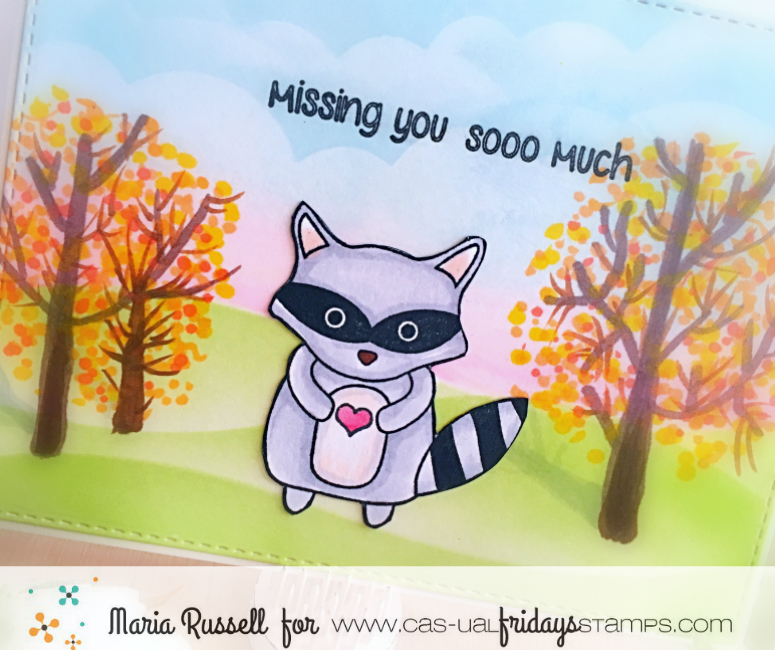
Here’s a little close-up:

The little present is from the Naughty’isms stamp set.

I hope you like my projects today. Don’t forget to use my coupon code below to order the products. Have a great day and happy crafting!