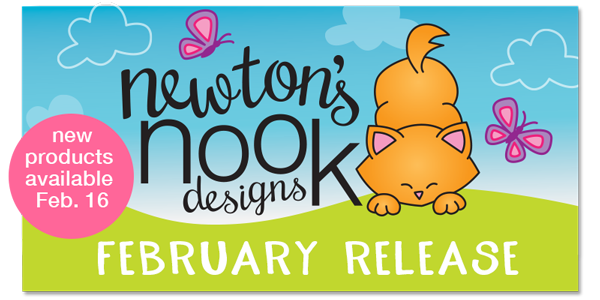
The Newton’s Nook Designs Team is hopping along today to share some great Sweet Treats – just in time for Valentines day! Make sure you scroll down to the bottom of this post to see the whole list and hop along and comment for a chance to win!
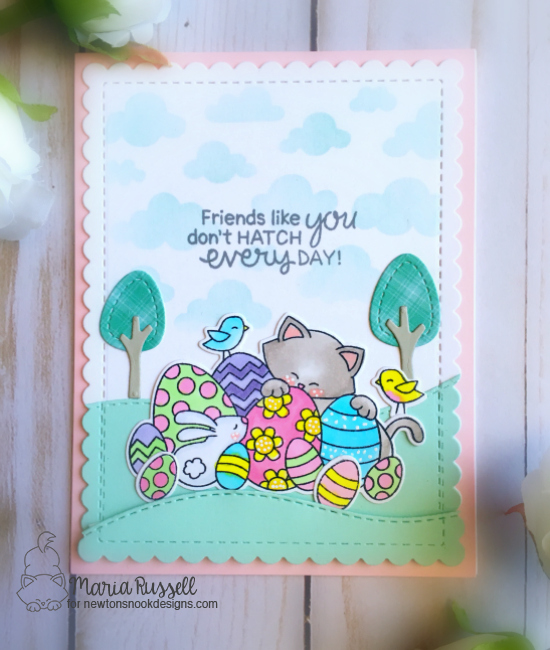
I always get excited this time of the year because I love Valentine’s Day and we also get to make cute projects to give as gifts for our loved ones. This year, I wanted to create some simple Valentine’s treats for my siblings. We all share our LOVE for chocolates and I wanted to make these treats a little special by adding some cute embellishments to wrap them up!
I started out by die-cutting my cute tags with the Fancy Edges Tag die set by Newton’s Nook. I die-cut three white card stock and 3 patterned papers. I used the fancy edges die to die-cut the decorative pieces and adhered them to my tag with my Nuvo Adhesive. This die set is my favorite to use to create beautiful gift tags! Here’s what they look like:
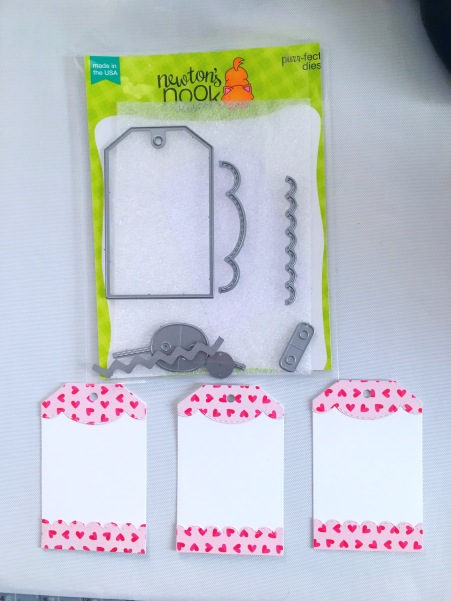
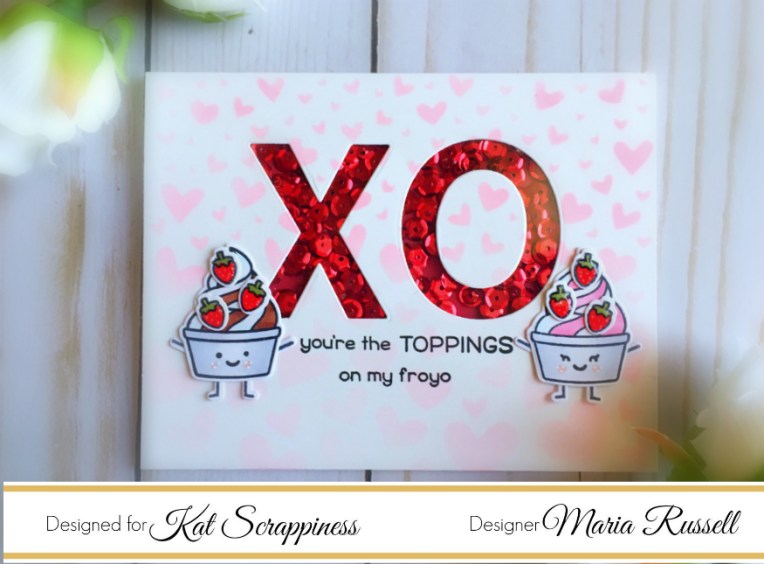
Since I am creating tags for the chocolate bars, I thought that the Love and Chocolate stamp set and coordinating dies will be the perfect stamp set to decorate my tag. I stamped the images on Neenah solar white card stock and colored them in with my Copic markers. I die-cut the images with the coordinating dies. I adhered the images on the tag, and finished my design by stamping the sentiment.
I wrapped my Hershey’s candy bar with some typing paper first, and then I used some cute patterned papers that I purchased from the craft store. It is perfect for my Valentine’s treats.
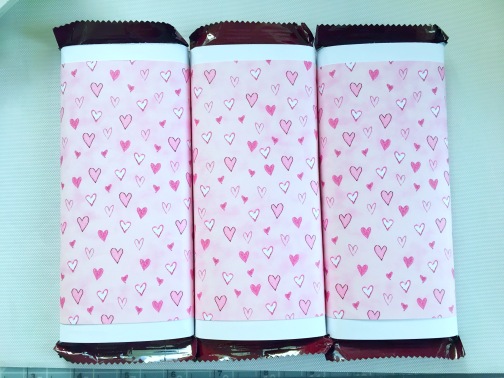
I adhered the tags onto my wrapped candy bars and die-cut 3 red bows and adhered them as well on top of each tag. Since these candy bars are for my siblings, I wanted to finish my design by die-cutting the All in the Family dies by Kat Scrappiness just to add a little bit of extra cuteness!

Here are my treats:

Would you like to win a $20 store credit to Newton’s Nook Designs online shop?
We are giving them out to TWO lucky winners!
Here’s how to win:
Comment on the NND blog and Design Team blogs (see list below)! The winner will be chosen at random from the collective reveal posts. Make sure to check out each of their blogs and comment for your chance to win. You will not know which blog has been chosen so the more you comment on the better your chances are of winning! You have until Monday, February 5th at 9pm EST to comment — winners will be announced on the NND blog on Tuesday, February 6th.
Check out all the awesome Design Team Blogs below to enter:
Newton’s Nook Designs
Amanda Bodine
Holly Endress
Ellen Haxelmans
Larissa Heskett
Samantha Mann
Juliana Michaels
Naki Rager
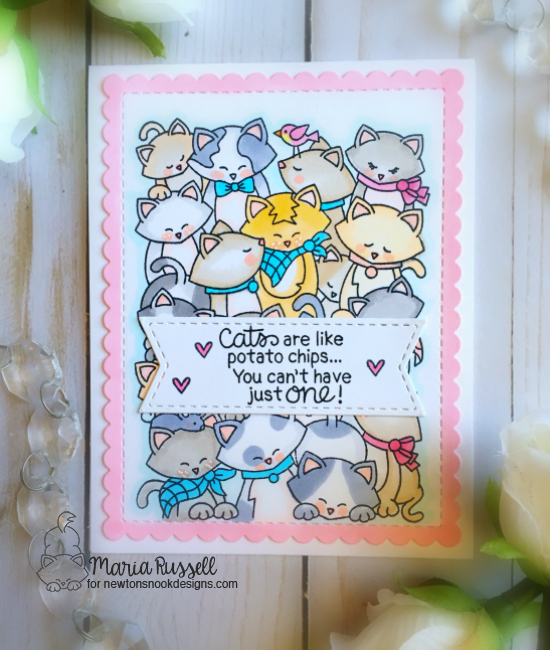
Maria Russell
Jennifer Timko
Tatiana Trafimovich


 Are you looking for some last-minute gift ideas for Valentine’s Day? Look no further. Here’s an easy and fun Valentine’s Mailbox Treat Holder idea! You can find these mailboxes at a craft store, or go to your local Target at the Dollar spot section. I have altered my mailbox, using the beautiful