Hello my crafty friends! I’m back today for Trinity Stamps sharing two cute cards, showcasing the 4×6 Mouse House stamp set and Mouse House coordinating dies, with the Slimline Card Series: Scenic Border die set, and the Blending Buddy brush.
To begin, I stamped the images on some Neenah solar white card stock and colored them in with my alcohol markers. I used the coordinating dies to die-cut the images.

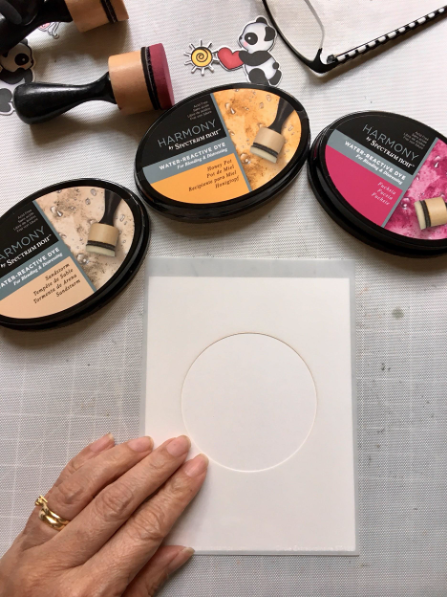
To make my first card, I ink-blended some Bristol smooth white card stock with some distress oxide ink and used the Blending Buddy brushes to blend the colors. I used some circle dies from my stash to die-cut some holes on this card stock. I foam-mounted the piece on an A2 size card base, cutting the excess. I adhered the mice with some liquid adhesive.

I finished my design by stamping the sentiment on some black card stock and heat-setting with white embossing powder, and adding some red hearts. Here’s a closer look:

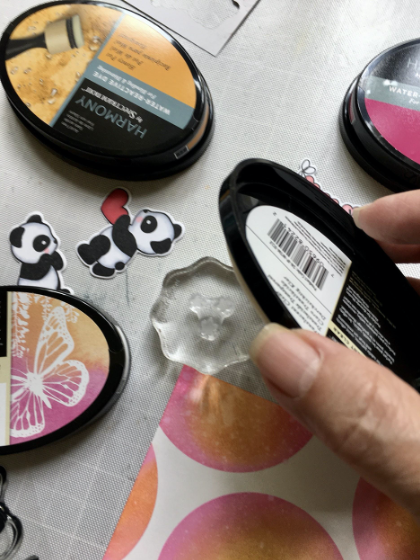
For my second card, I also ink-blended my background and used a stencil from my stash to add the sun-rays. I die-cut two grass panels using the Slimline Scenic Borders die set. I also die-cut the rest of the elements that I needed to create my scene.

The sentiment was stamped with Versamark ink and heat-set with my heating tool. I used my black gel pen to add more dimension to the mice. I also added the clouds to finish my design. Here’s a closer look:

I hope you like my cards today and got inspired. Thanks for joining me, and happy stamping!
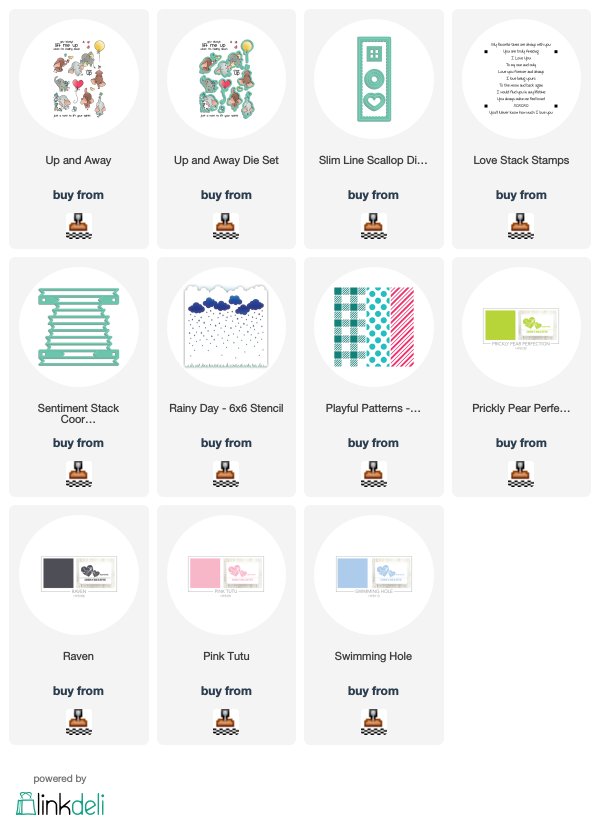
———SUPPLIES———-