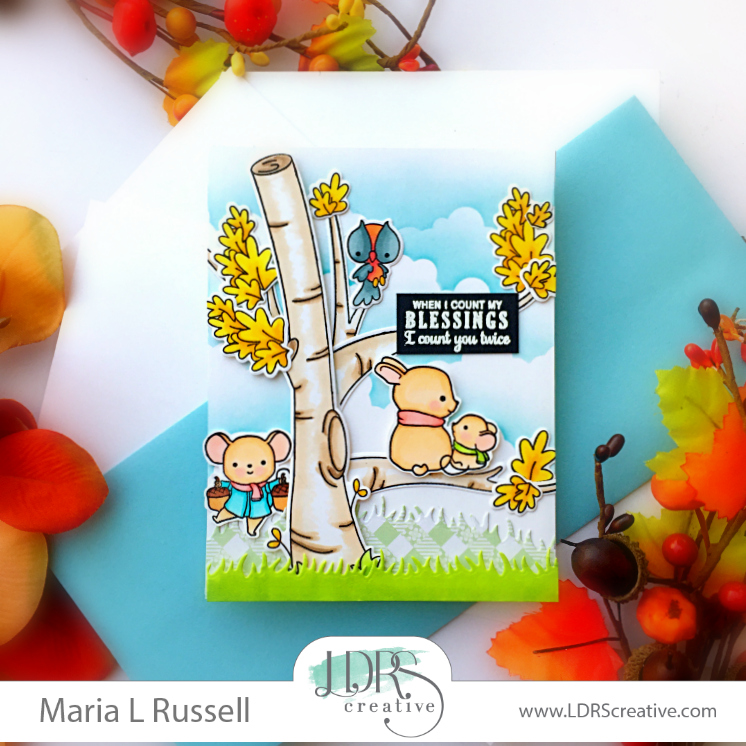
It is that time of the year where card-makers all over the world get together and join this amazing opportunity offered by My Favorite Things. It is the 2020 Card Design Superstar and I am super excited to participate again this year. This is my entry for the Coloring Virtuoso category.

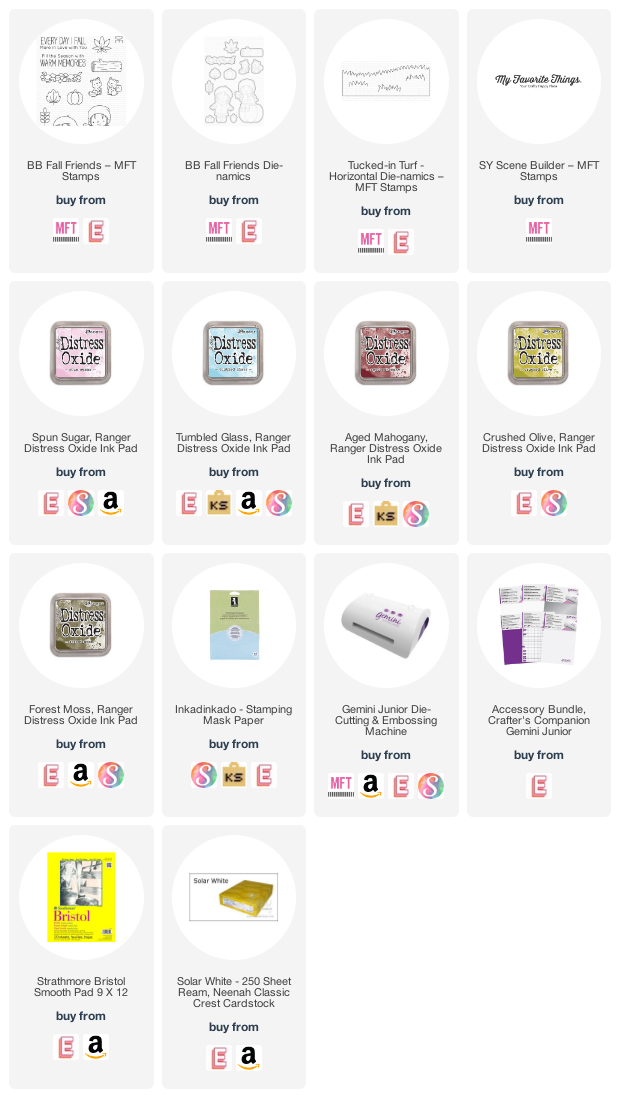
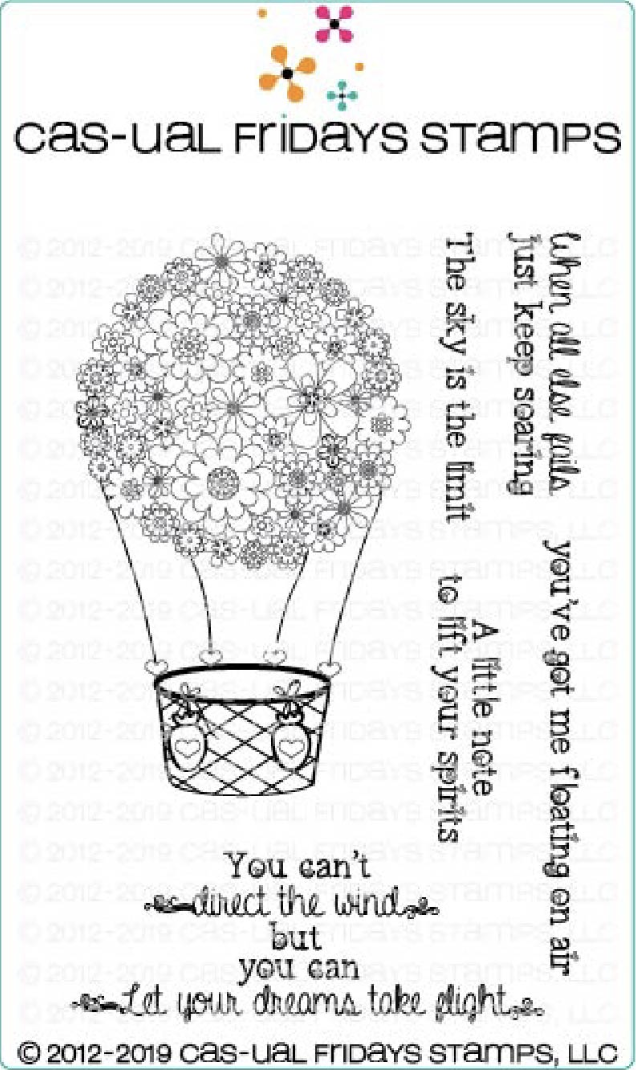
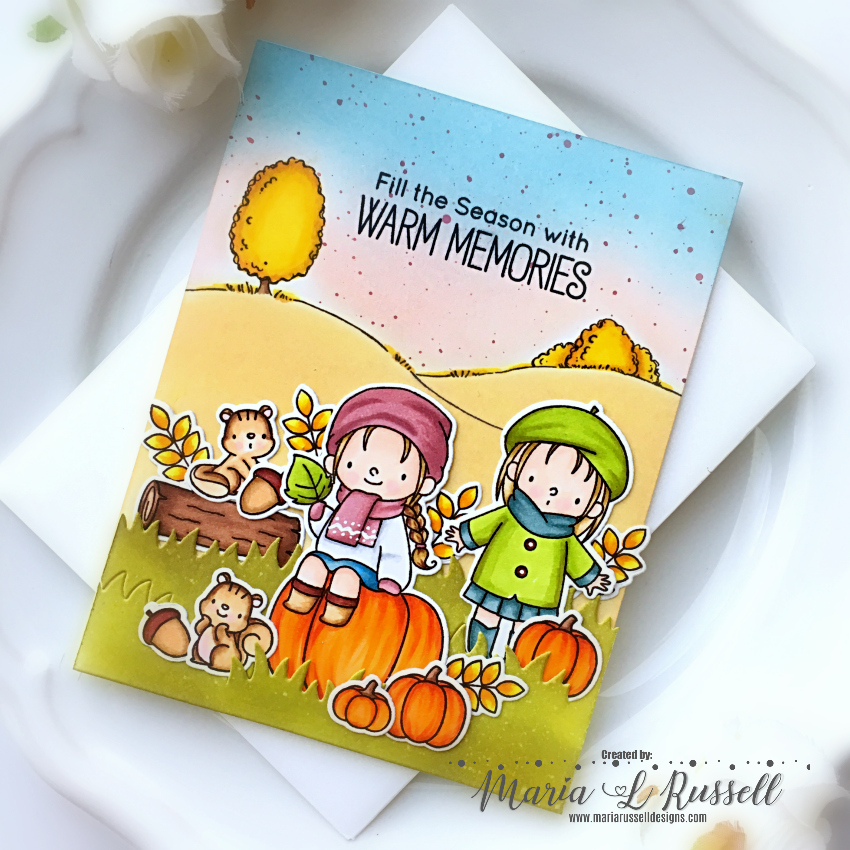
For my project, I am showcasing the Birdie Brown Fall Friends stamp set and coordinating dies, along with the Stacey Yacula’s Scene Builder stamp set and Tucked-In Turf Horizontal Die-namics.
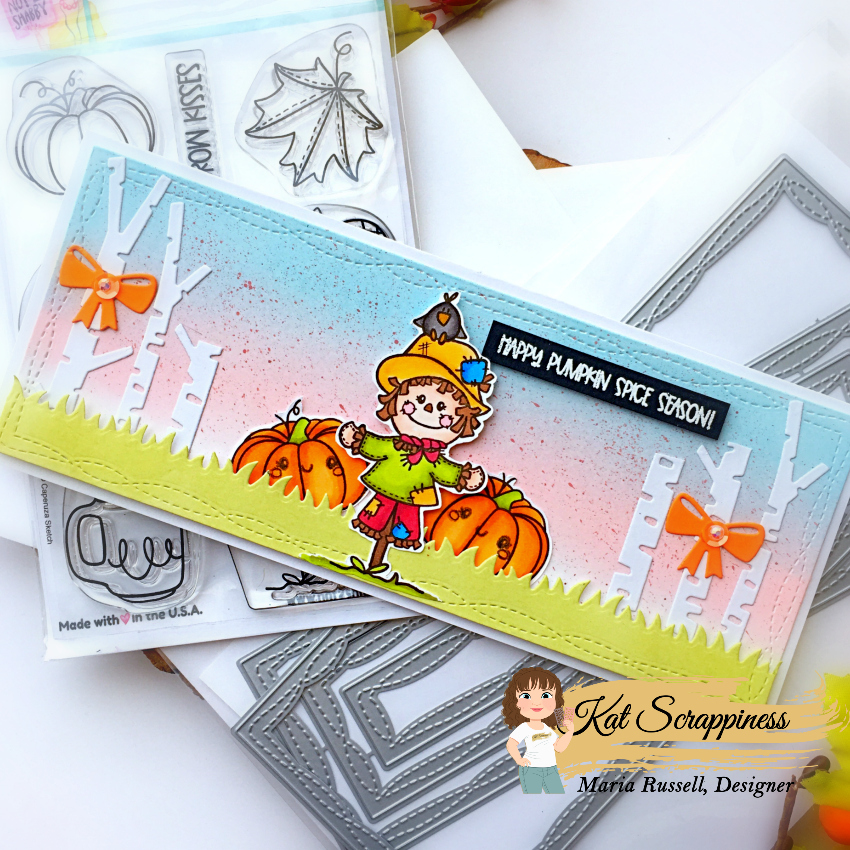
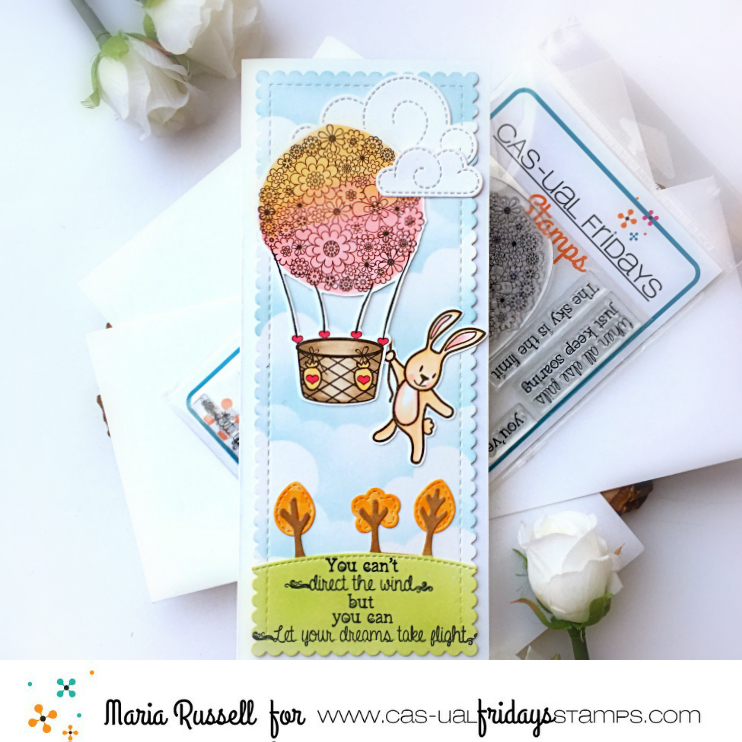
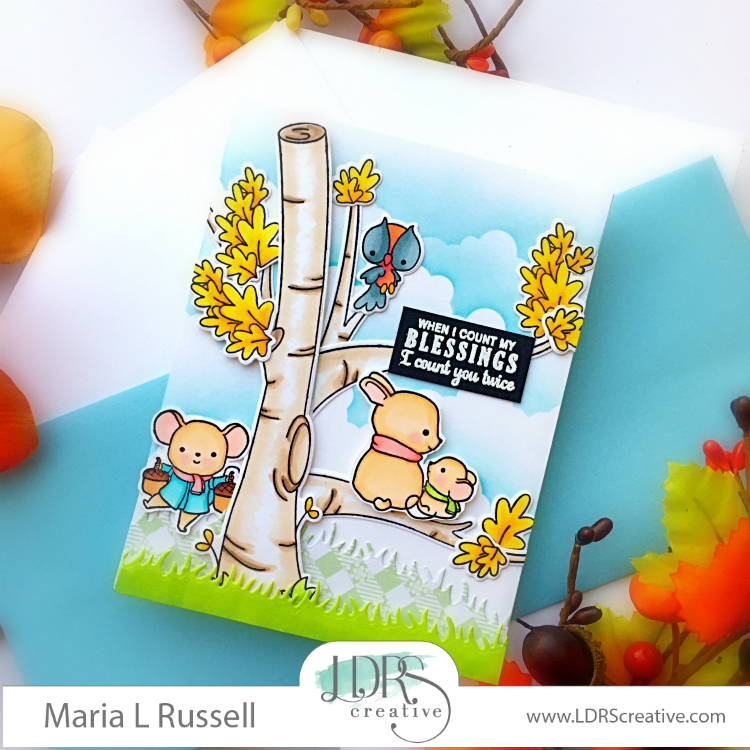
To begin, I stamped the Trees and hills on a panel of Bristol smooth white card stock. I also stamped the same image on masking paper and used my precision snips to fussy-cut my mask and adhered it on my panel. I ink-blended the background with Spun Sugar and Tumbled glass distress oxide inks.
I smooshed Aged Mahogany on an acrylic block and added water, then use my watercolor brush to add texture to my background. I picked up the excess with some paper towel. I gently removed the mask so I can ink-blend the grassy hills with Antique Linen and Scattered Straw. I colored the trees with Spectrum Noir Alcohol markers. Next, I stamped my focal images on some Neenah solar white card stock using Rustic Brown alcohol-proof ink and colored them in with Spectrum Noir alcohol markers. I used the coordinating dies to die-cut them out.
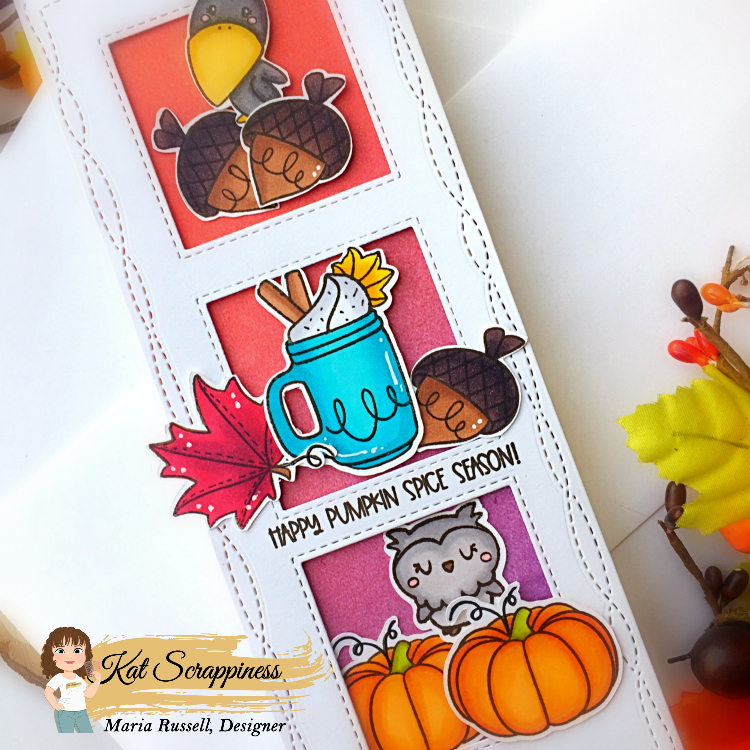
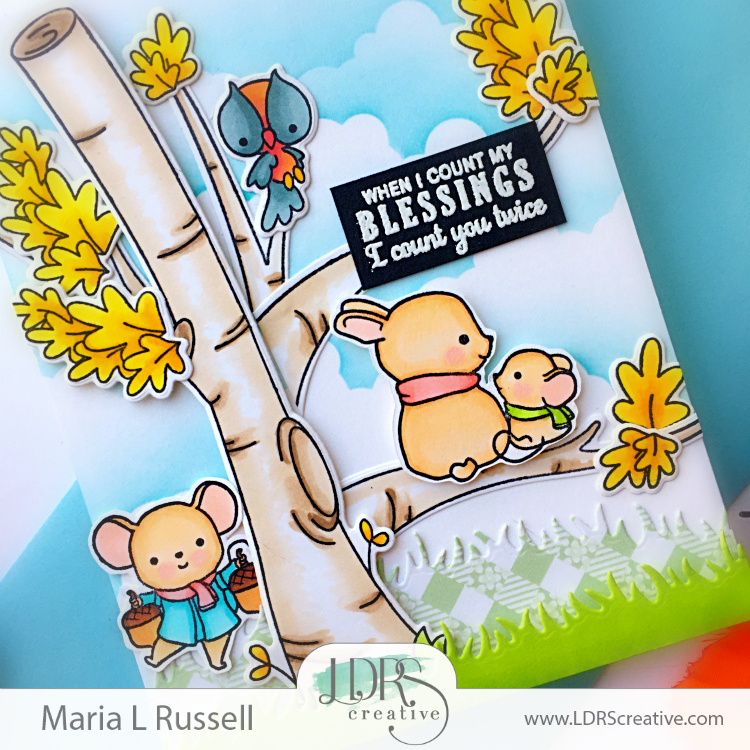
To create my scene, I die-cut the grass panel using the Tucked-In Turf Horizontal Die-namics and ink-blended this piece with Crushed Olive and Forest Moss distress oxide inks. These colors blend really well together! I adhered the grass panel on my ink-blended background and added the images. Here’s a closer look:

I finished my design by using my white gel pen to add more texture to the girl’s scarf and stamped the sentiment with Versafine Onyx Black ink. I really LOVE Autumn and this stamp set is one of my favorites from MFT Stamps. Here’s another look:
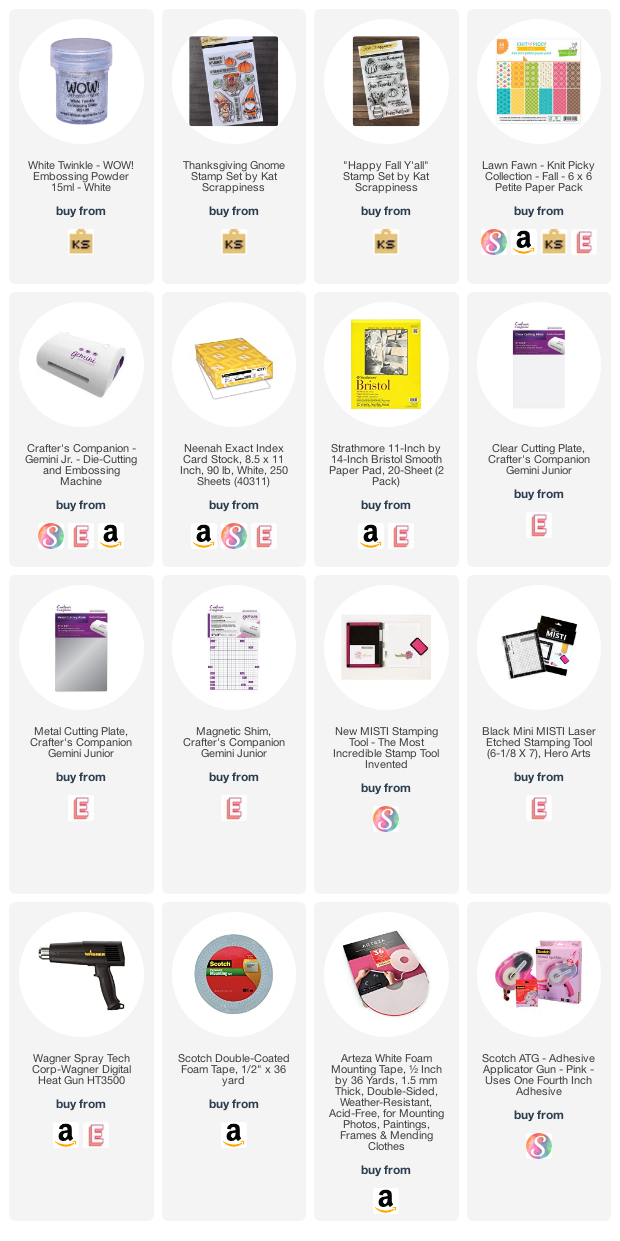
I hope you like my card today. Please wish me luck that I get picked this year! The supplies I use are listed and linked below. Thanks for stopping by and happy stamping!
———–SUPPLES———-