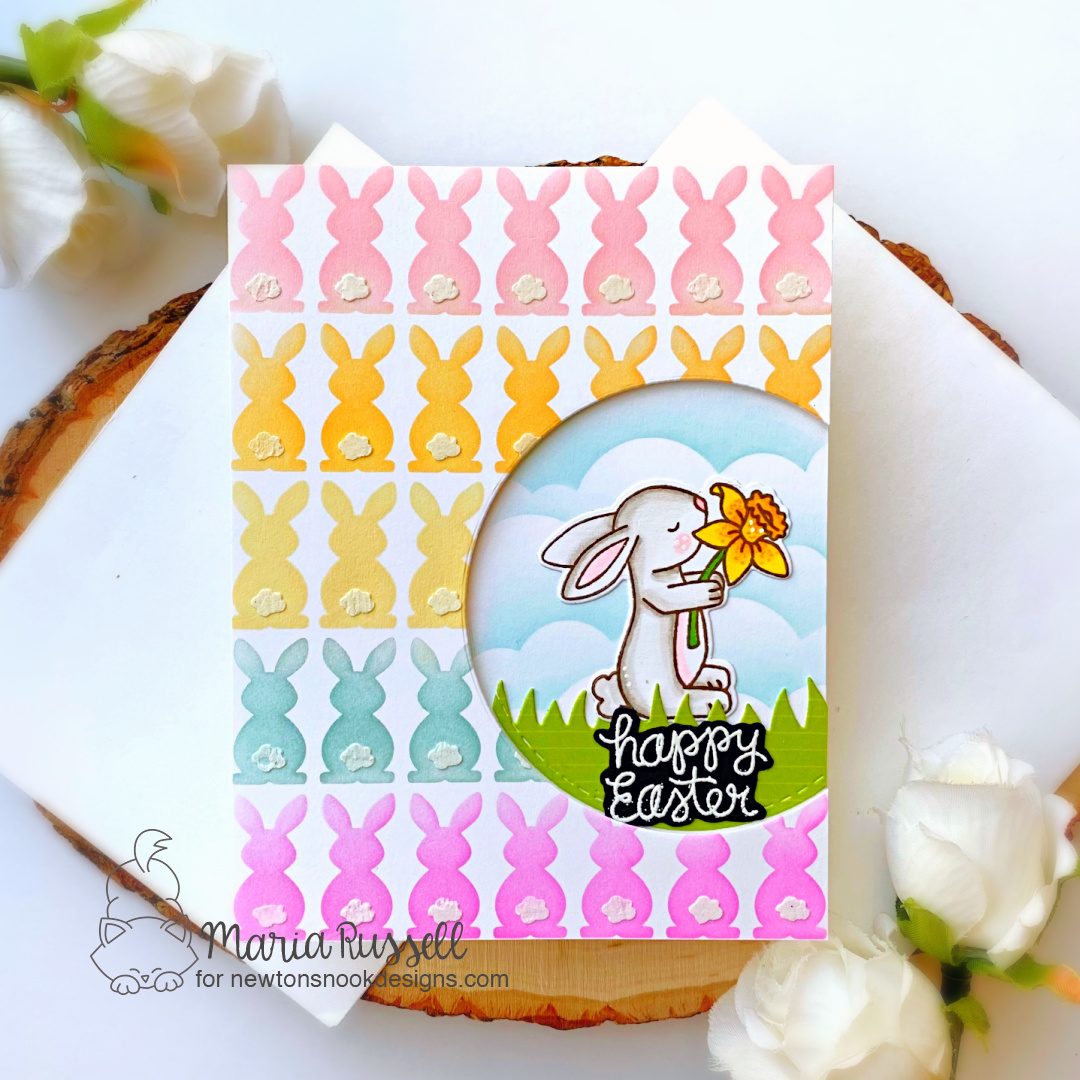
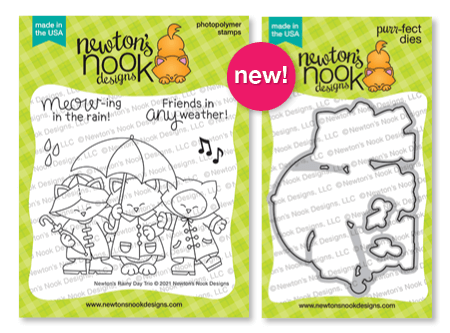
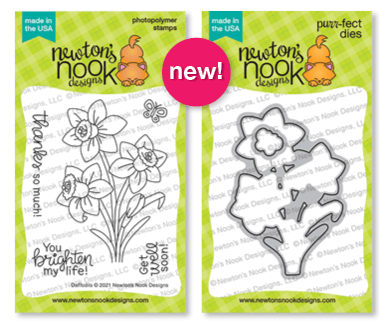
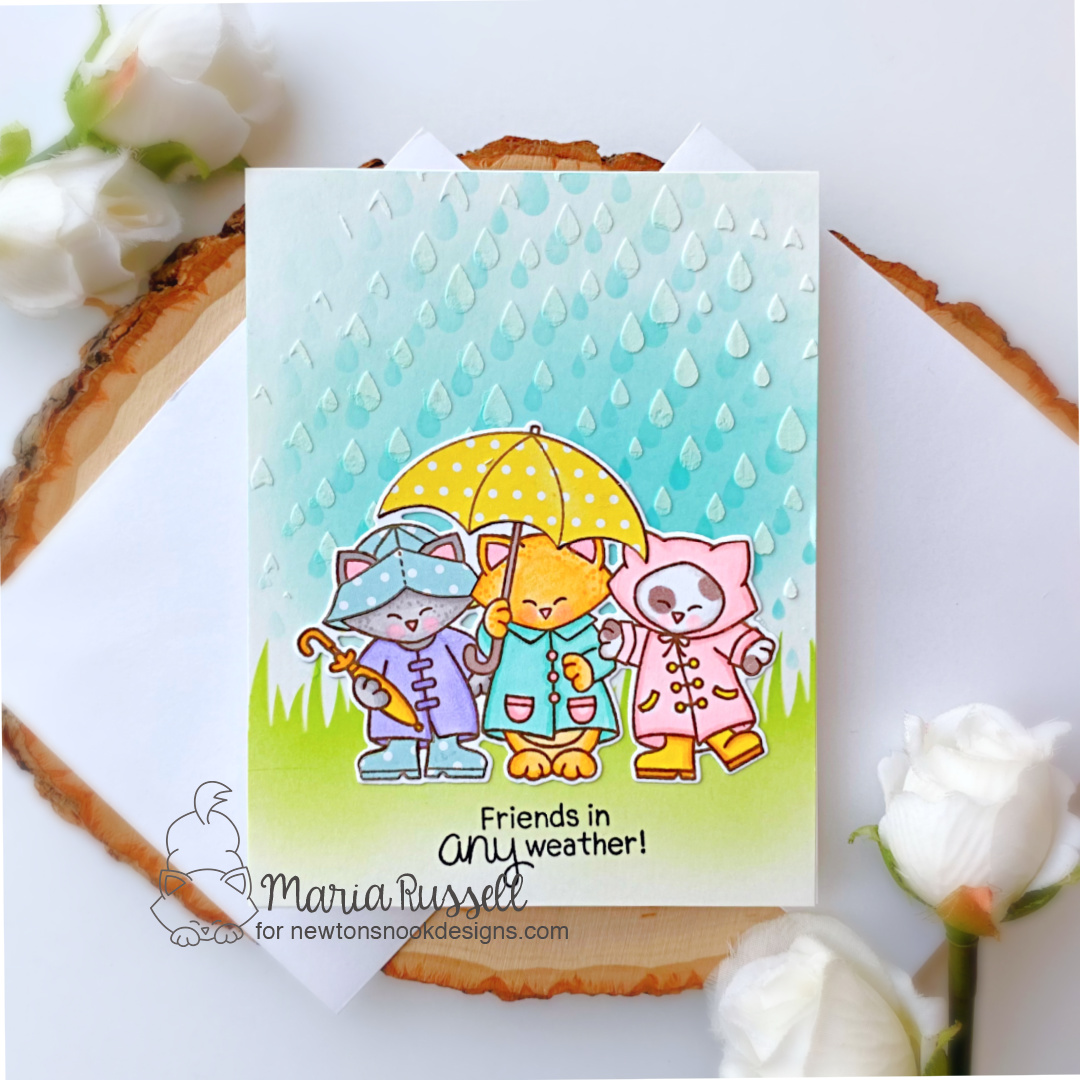
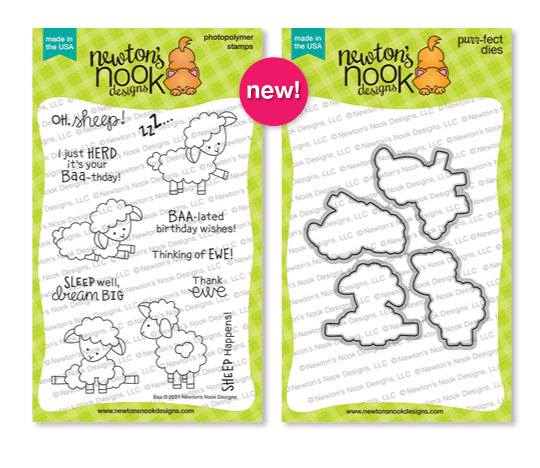
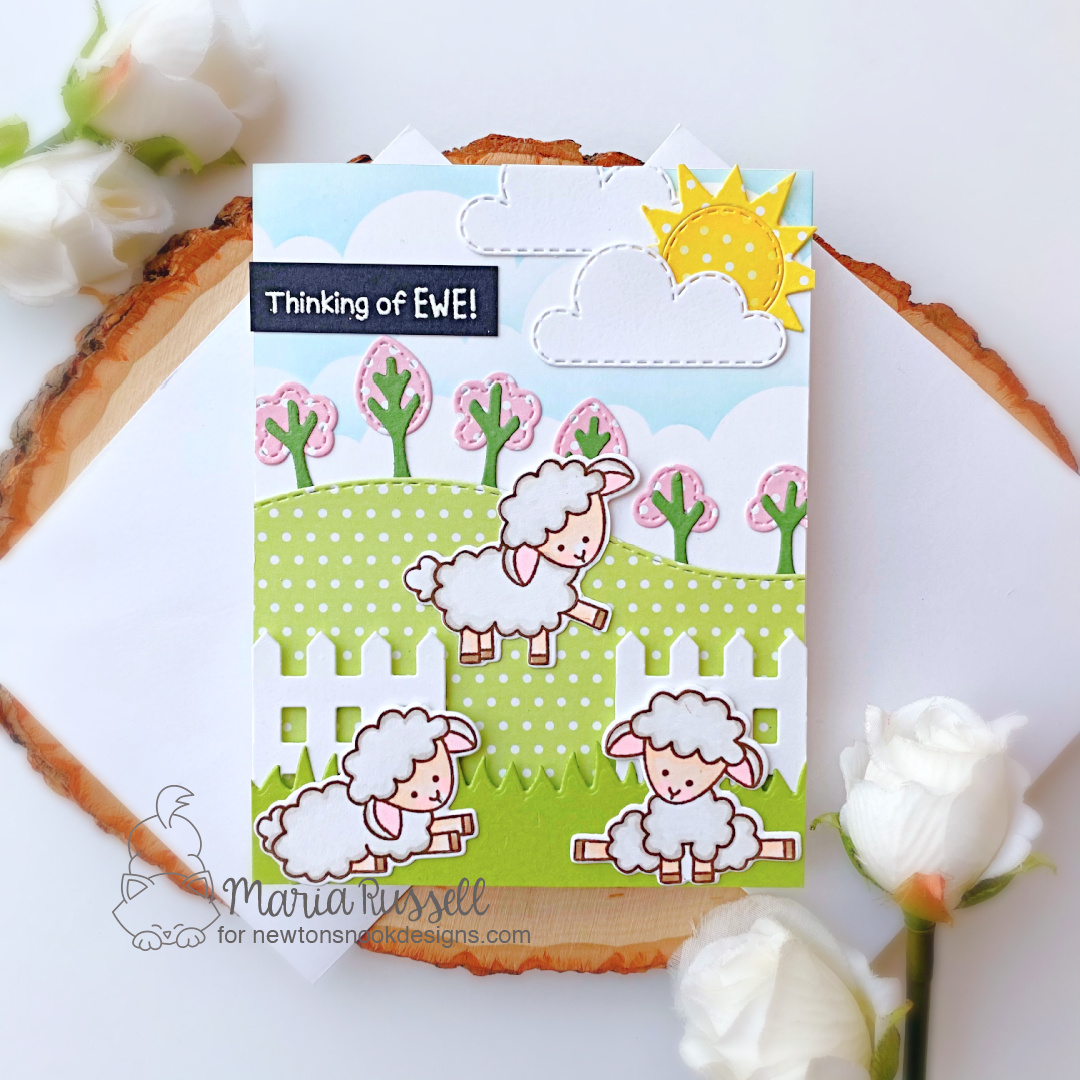
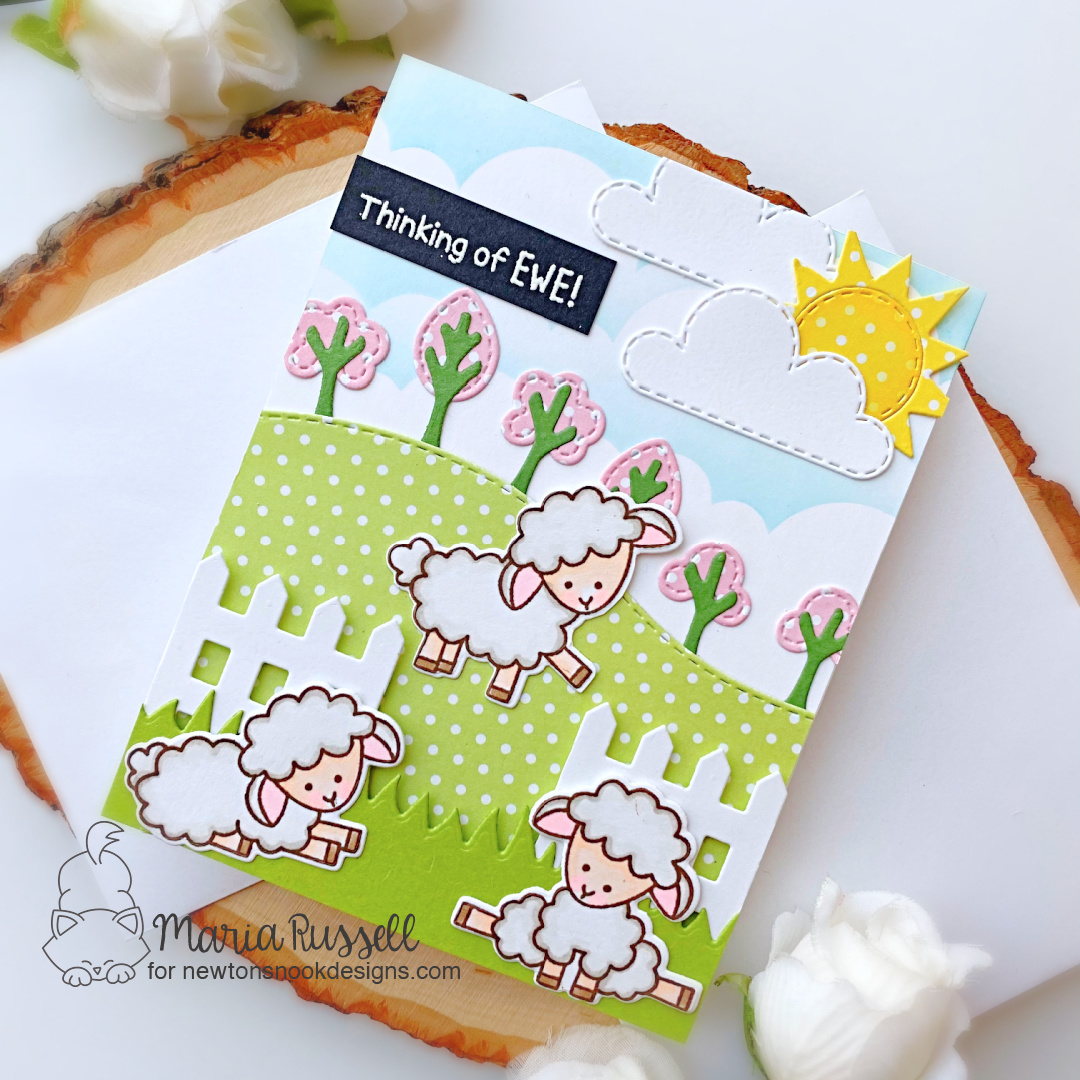
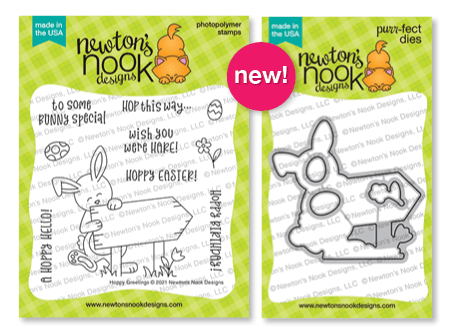
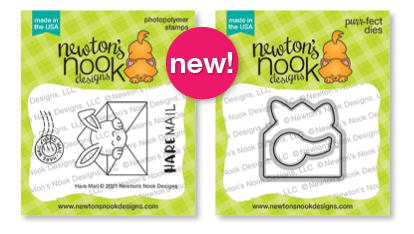
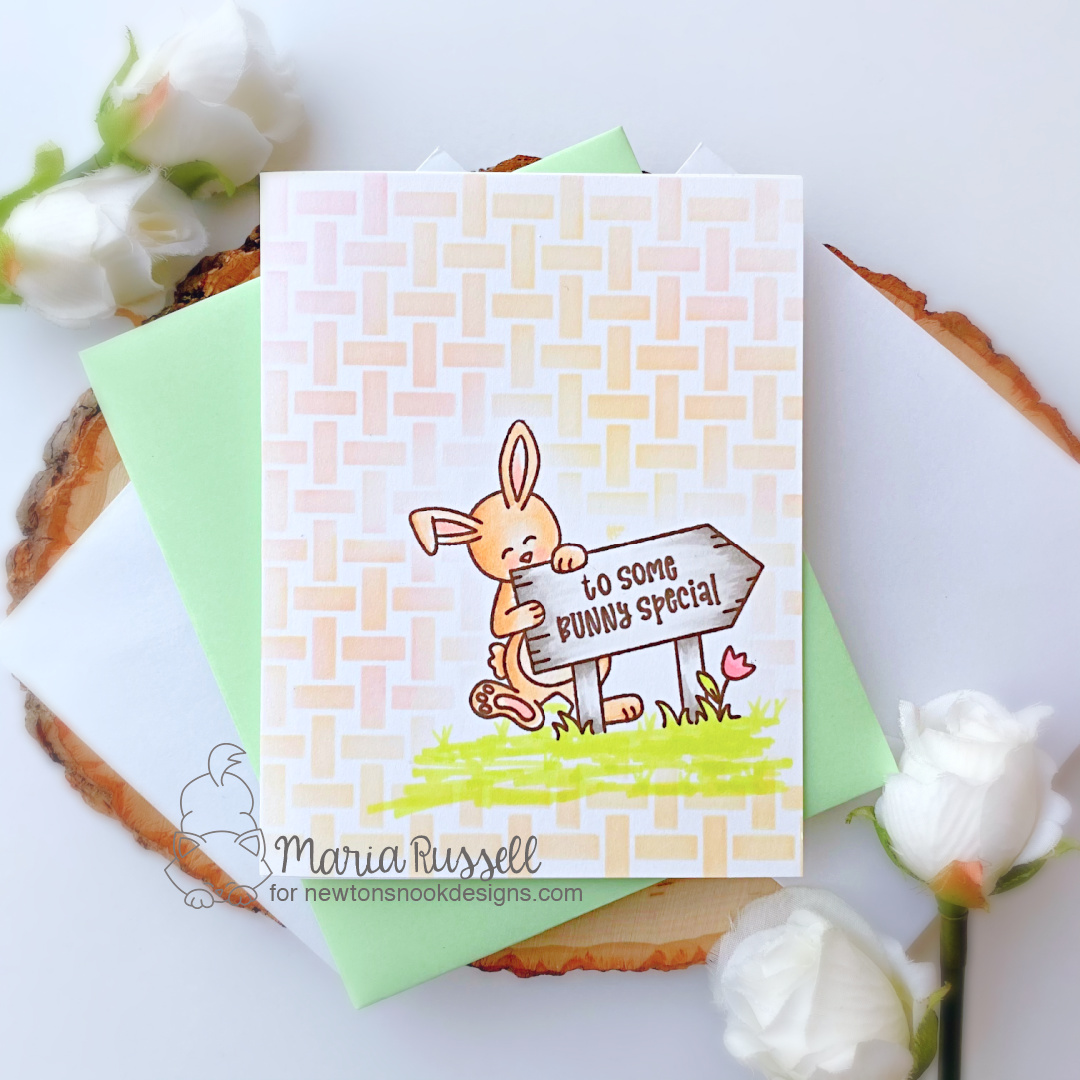
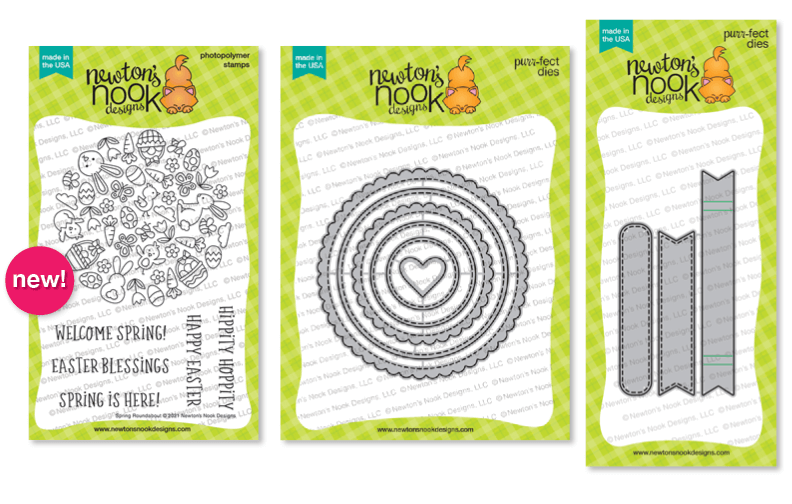
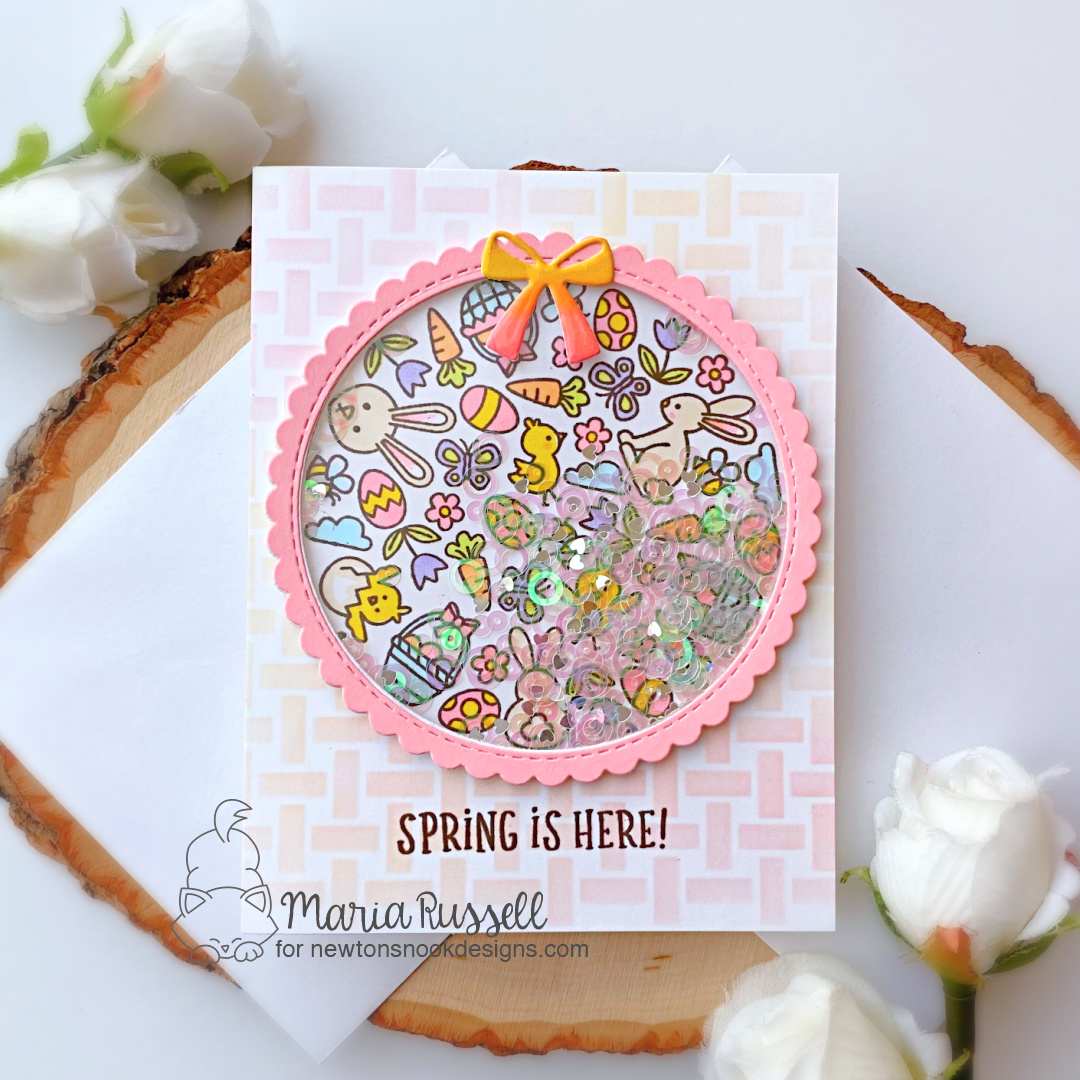
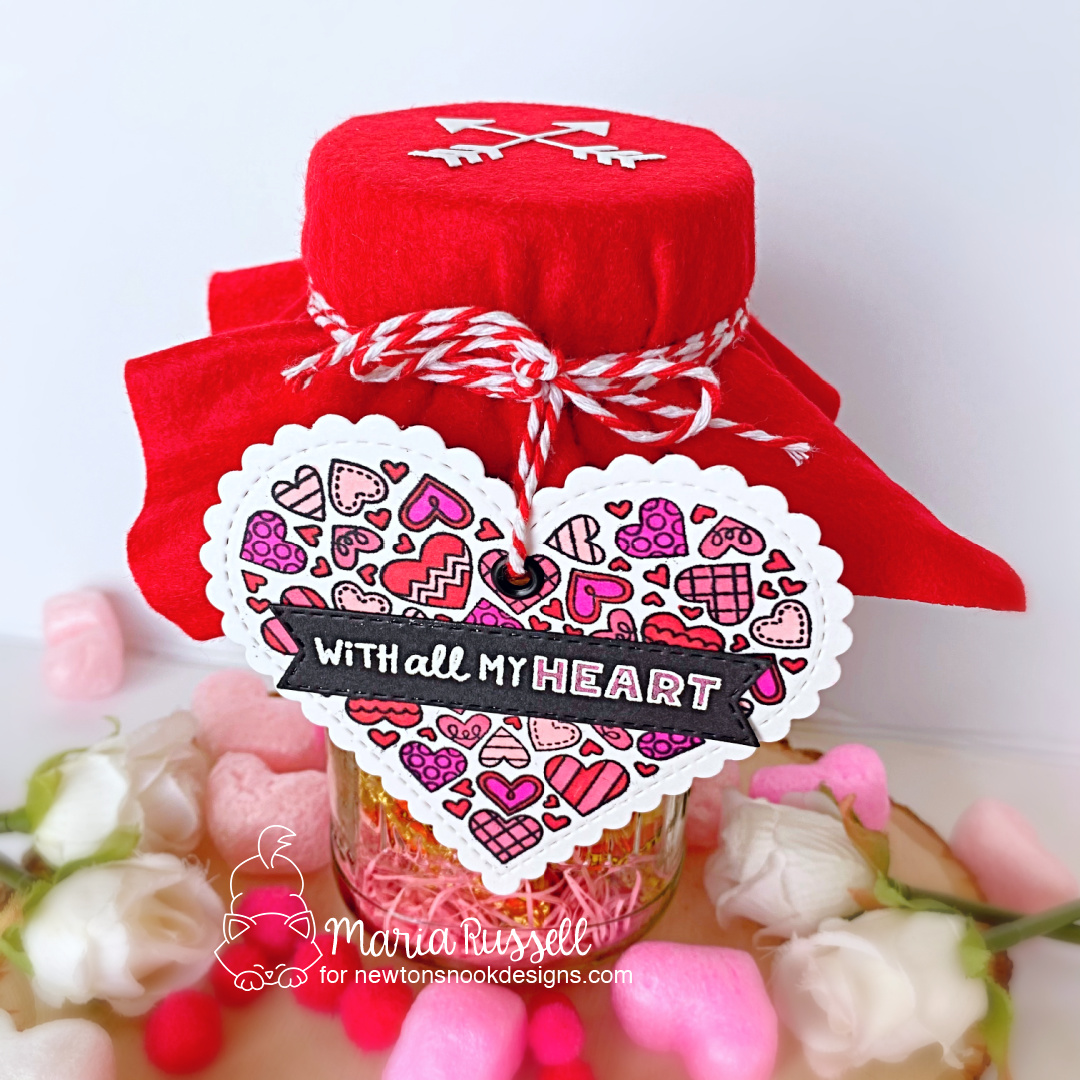
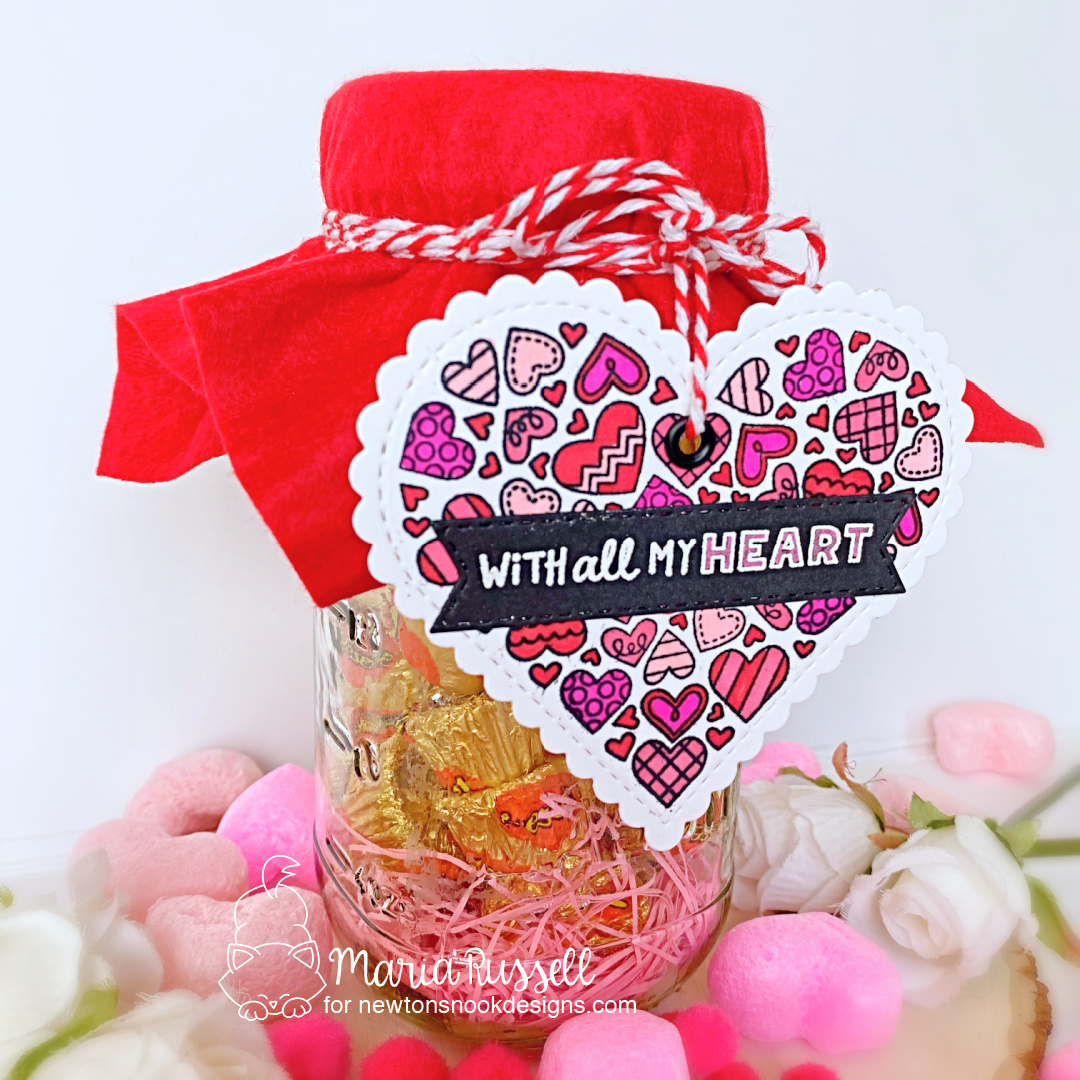
Hello LDRS fans! I am back on the blog with you today to share two Welcome Baby cards, showcasing the Hoppy Egg Hunt stamp set and coordinating dies, along with the Sophie Uppercase Die Set, Sophie Lowercase Die Set, A2 Stitched Layered Card Toppers Die, Slim Line Pocket Basket Weave Pocket Die Set, Pastel Dreams 6×6 Paper Pack, and Farmer’s Market 6×6 paper pack. Here’s what they look like:


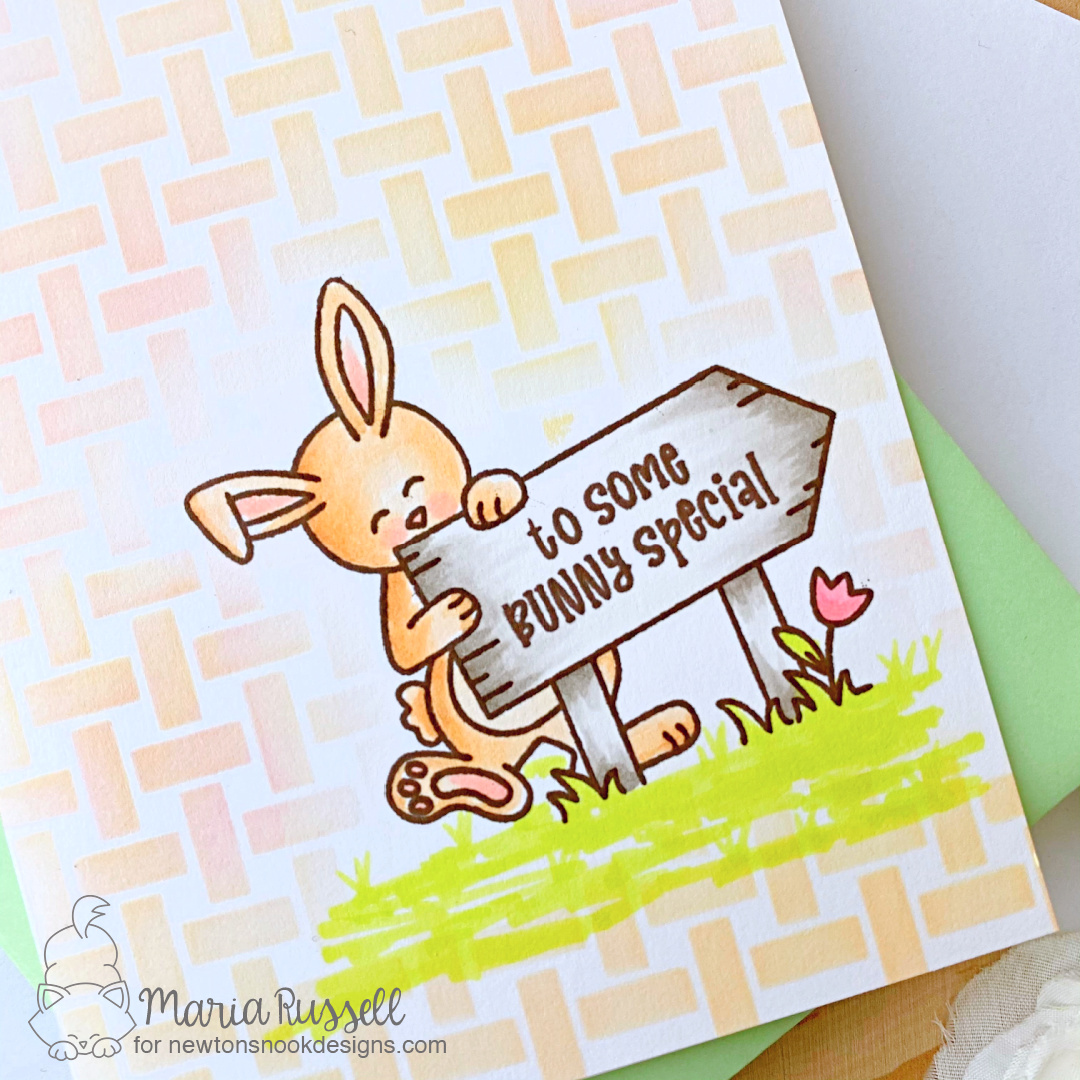
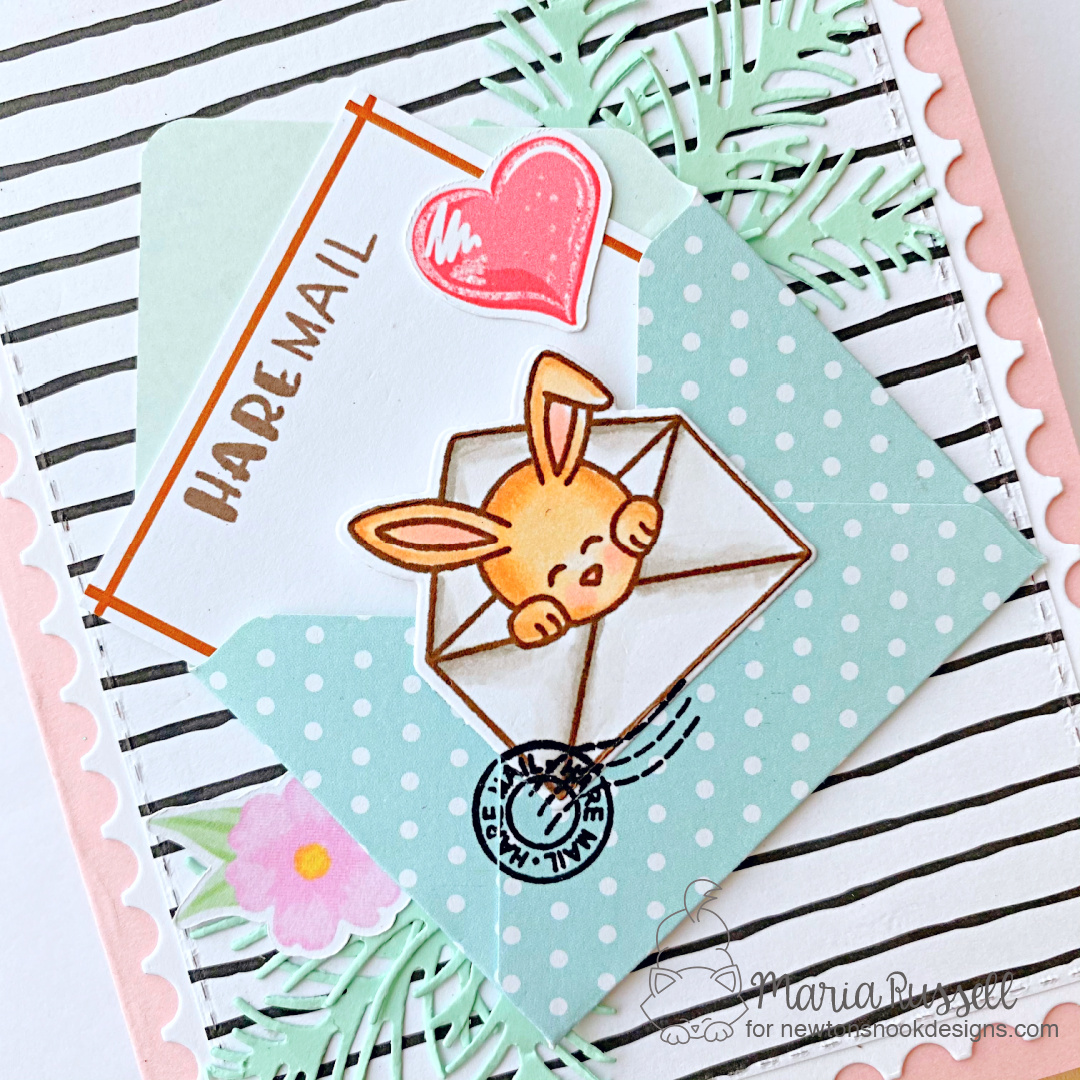
I started by stamping my images on some Neenah Solar White card stock with Raven Hybrid Ink. I colored them in with alcohol markers. I used the coordinating dies to die-cut the images. Next, I die-cut two patterned papers from the 6×6 Pastel Dreams and 6×6 Farmer’s Market Paper Packs using the biggest die from the A2 Stitched Layered Card Toppers Die. Both patterned papers kind of matched the alcohol markers that I used to color my focal images. I adhered both patterned papers to an A2 size notecard.
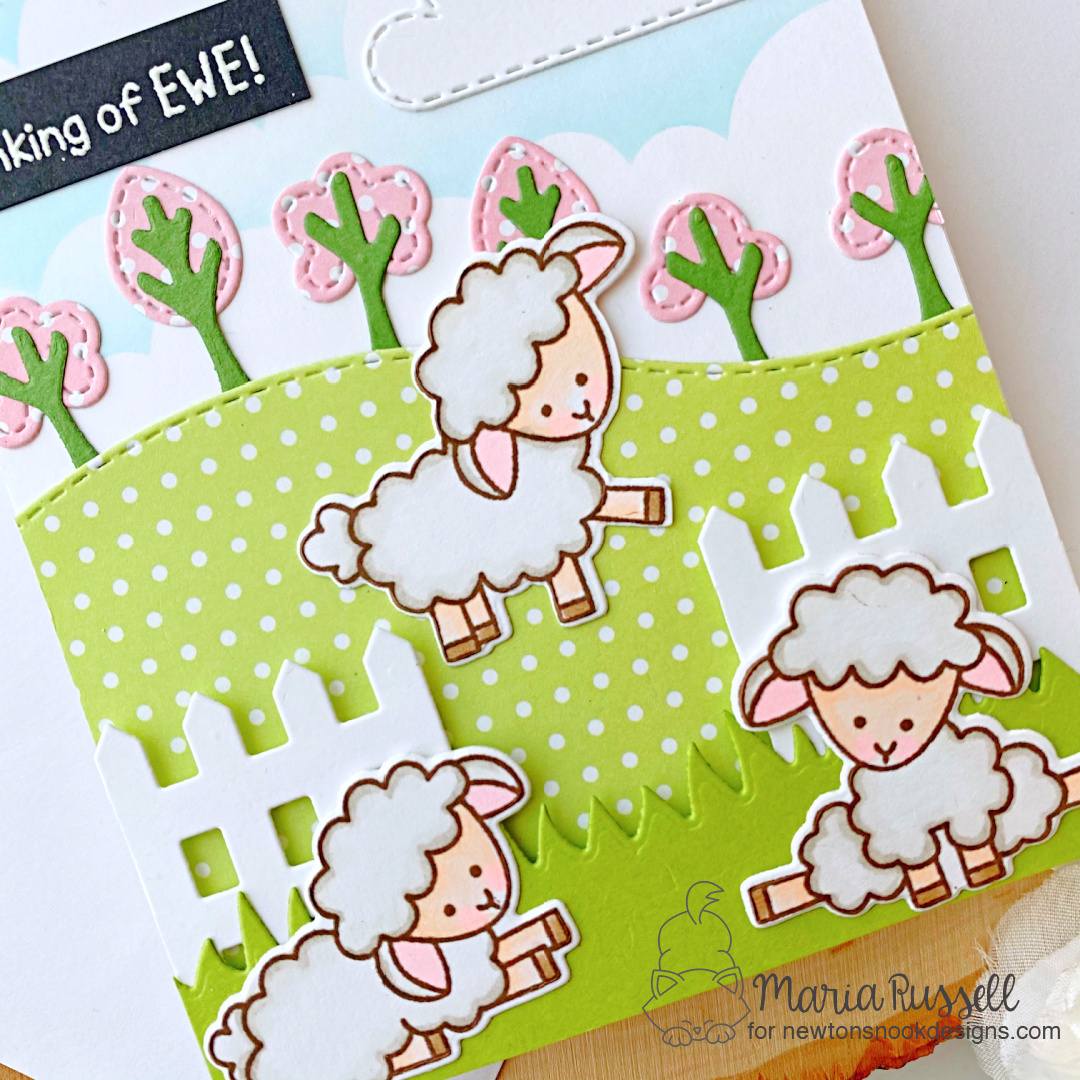
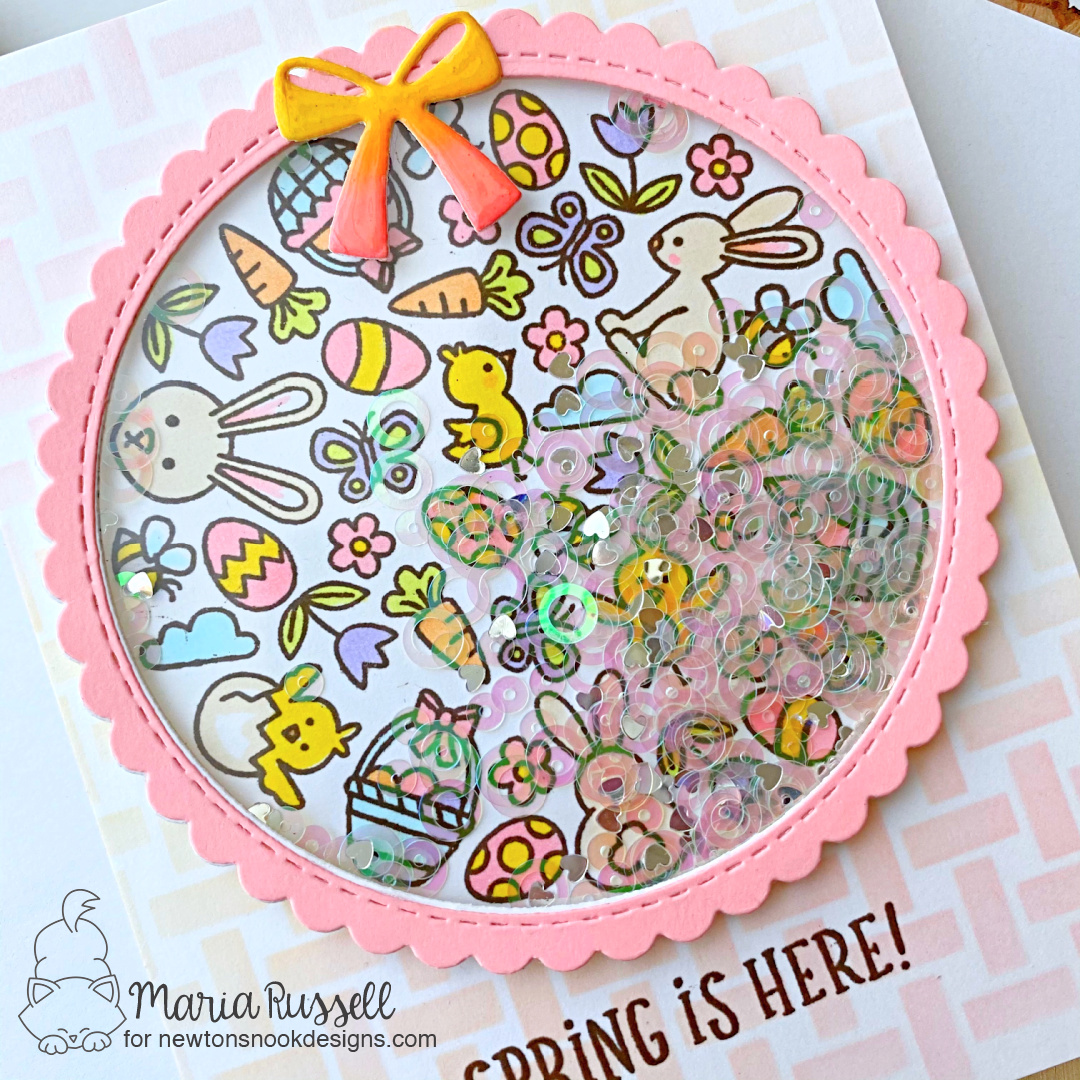
I used the scallop die from the Slim Line Pocket Basket Weave Pocket Die Set to die-cut two pieces and used the inner die with my embossing mat to emboss the middle. I wanted to have more texture to this background without overwhelming the whole card design. I adhered both pieces to my card using my ATG Tape Runner. I also adhered the images on both cards.


I die-cut the word “Baby” twice using the Sophie Uppercase Die Set and Sophie Lowercase Die Set. I used the same markers to color the die-cuts to match the little basket. I also used a darker marker to highlight the bottom of the letters for added texture. I adhered the letters on the card with liquid glue.
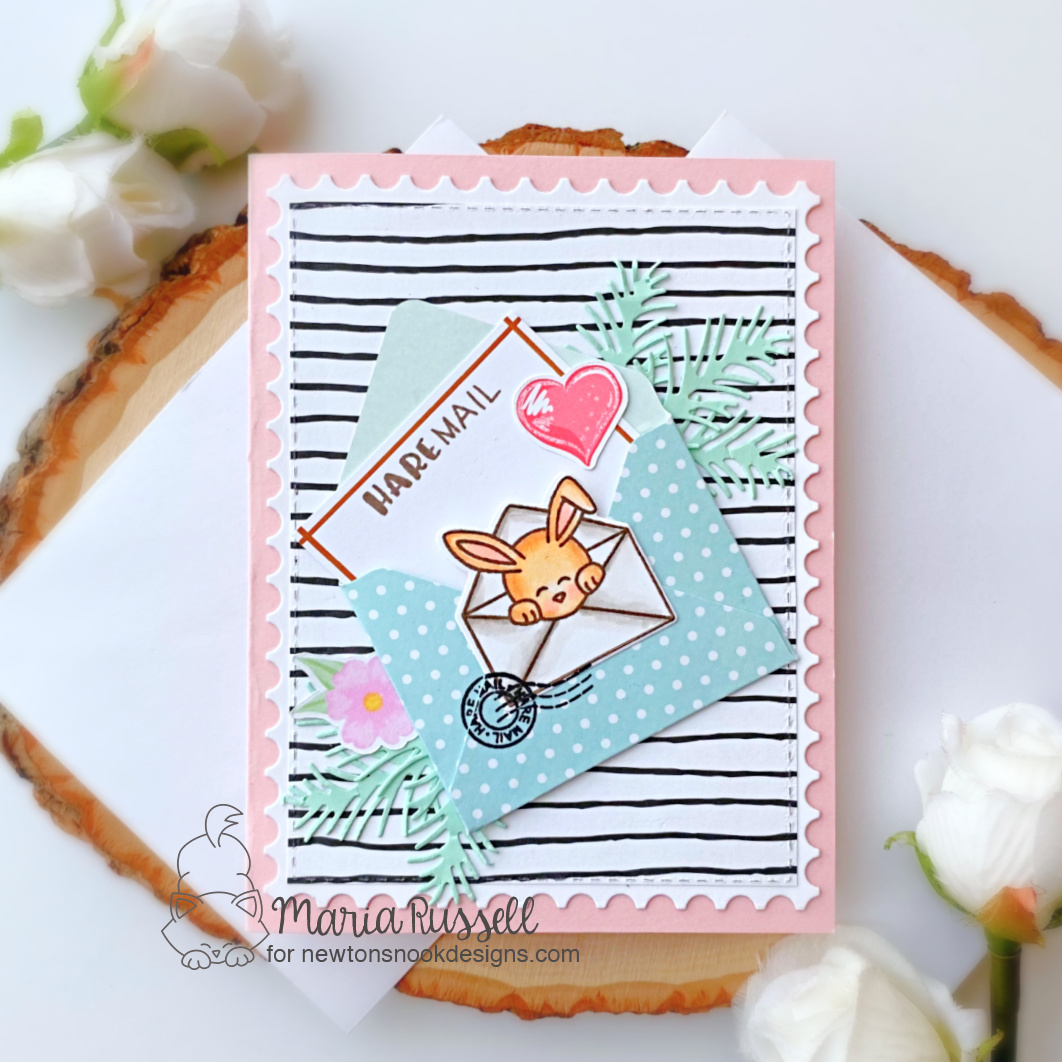
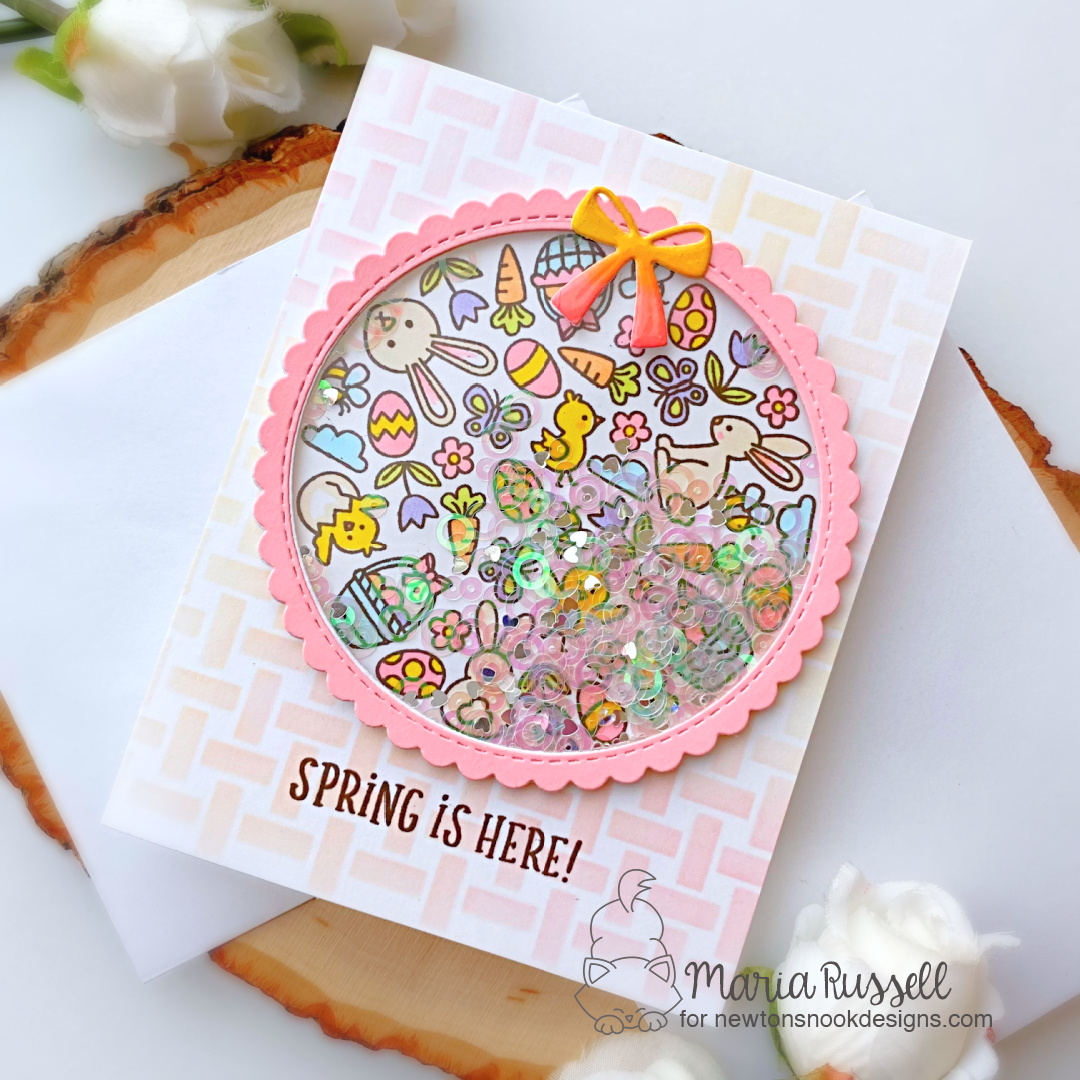
I finished my design by stamping the sentiment with Watermark Ink on some black card stock. I sprinkled some White Embossing Powder on this and used my heating tool to heat-set the sentiment. I fussy-cut the sentiment using my precision snips and adhered to the card using my ATG Tape Runner. Here’s another look at both baby cards:


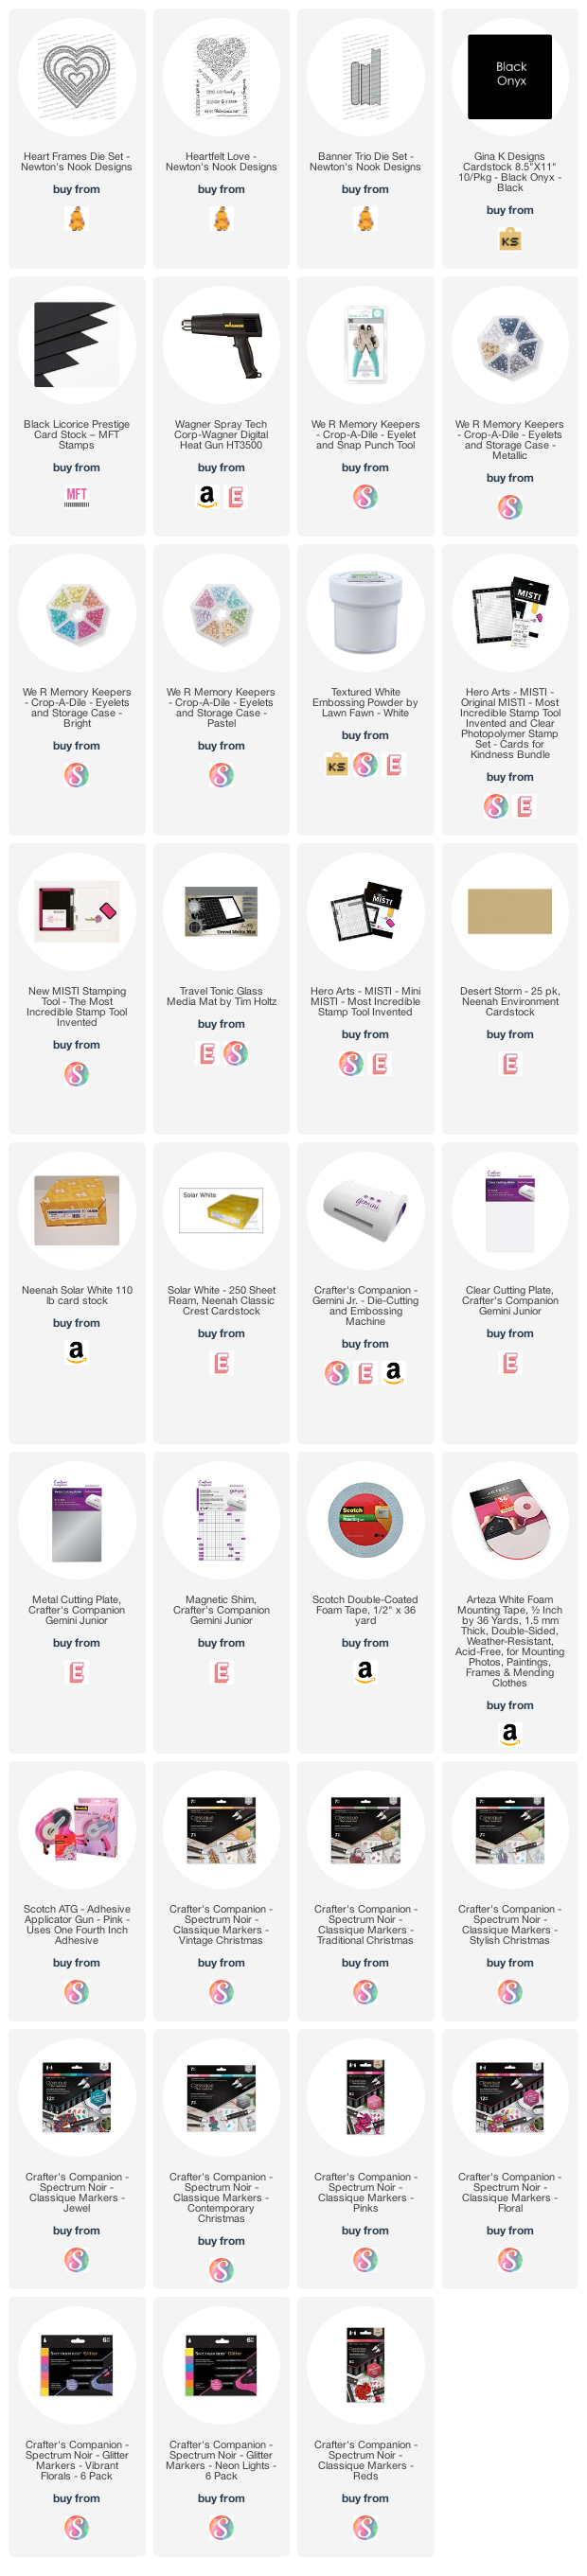
I hope you like my cards today. The supplies I use are listed and linked below. Thanks for stopping by today and happy crafting!
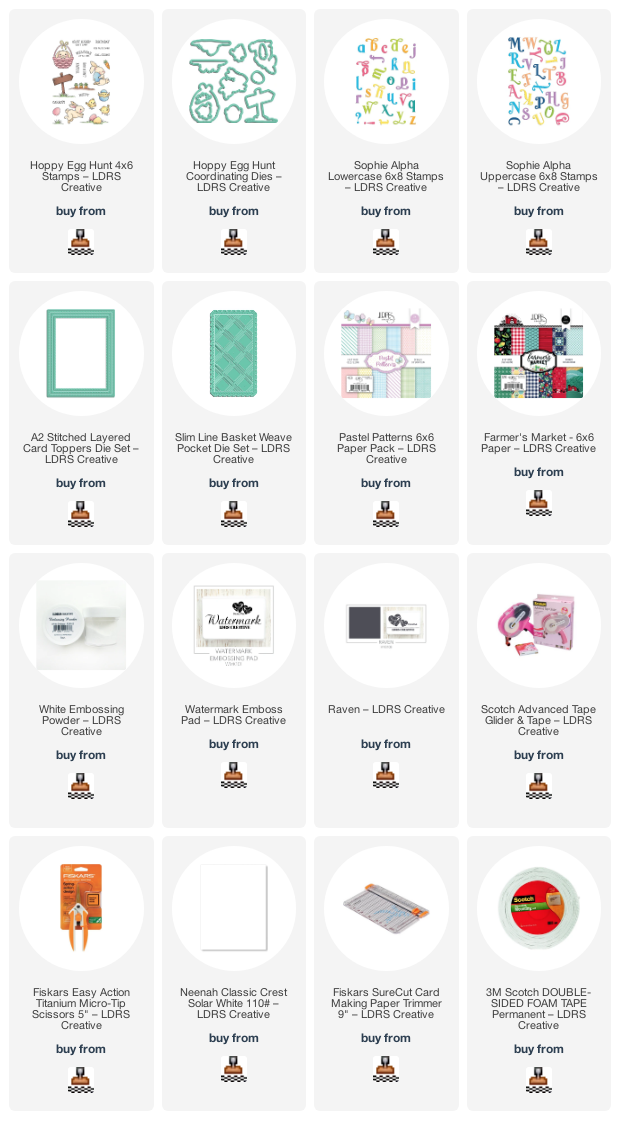
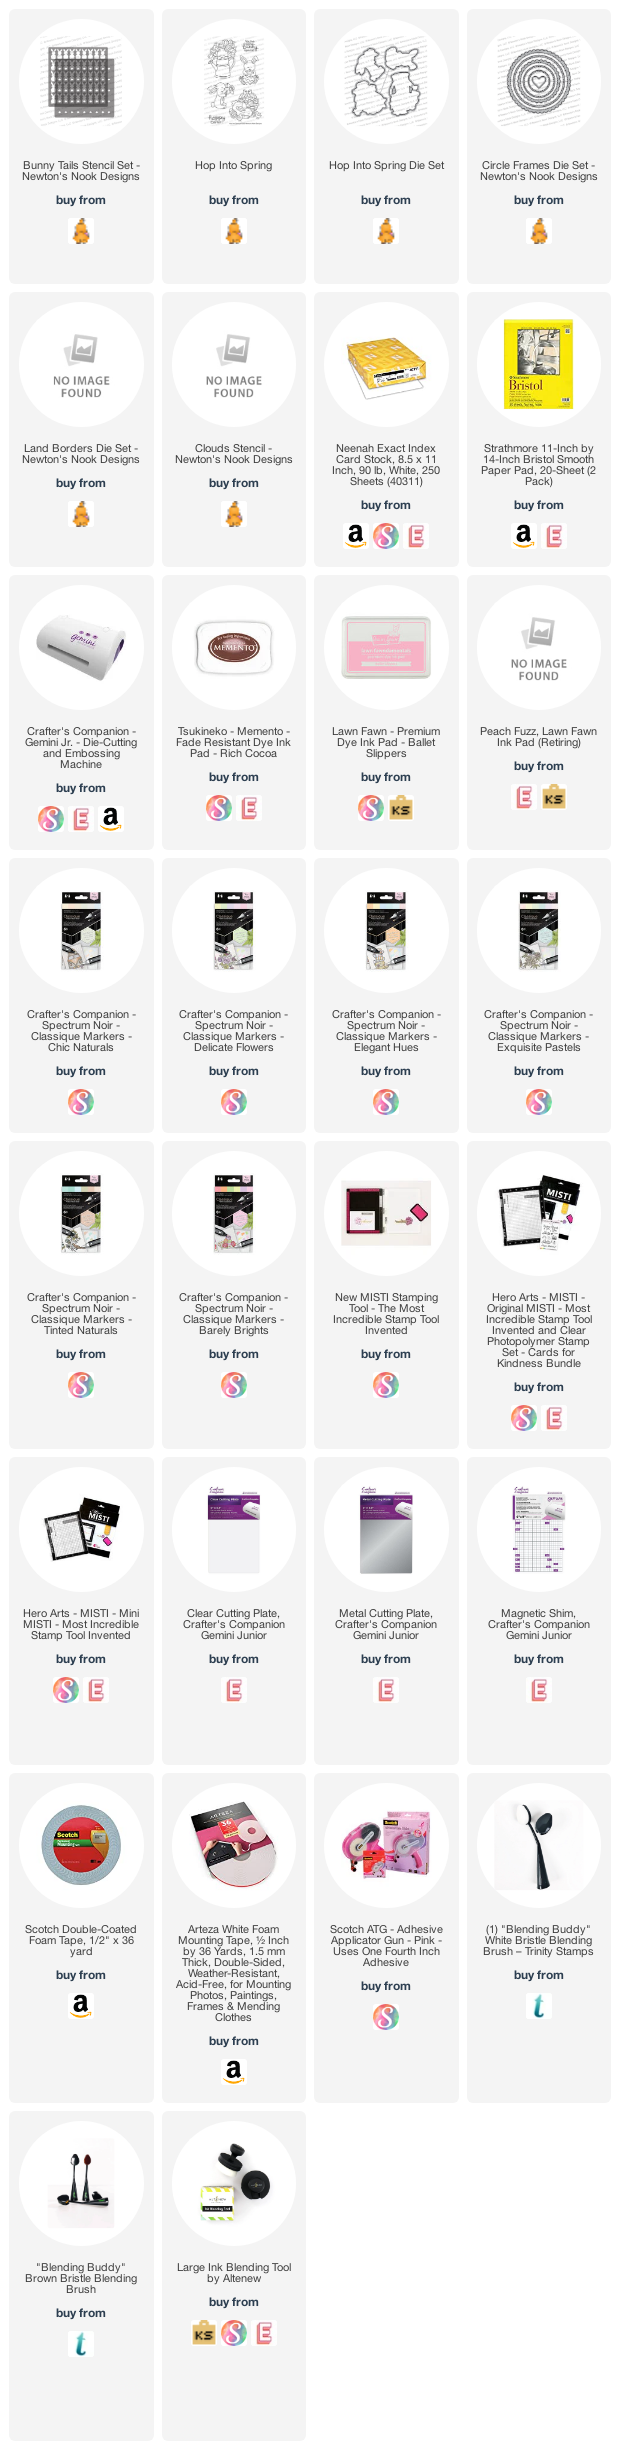
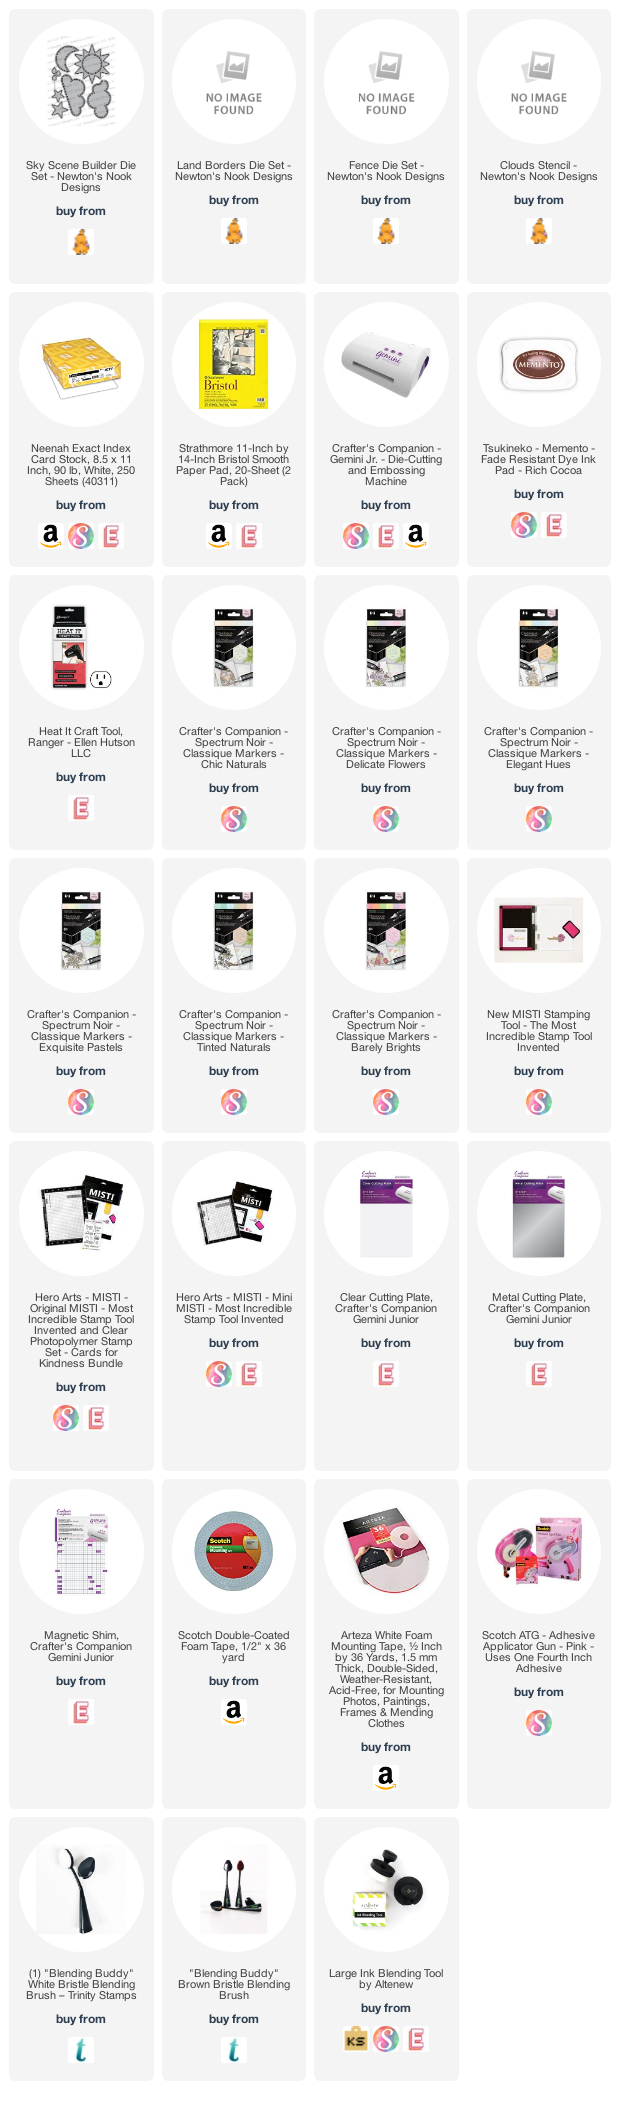
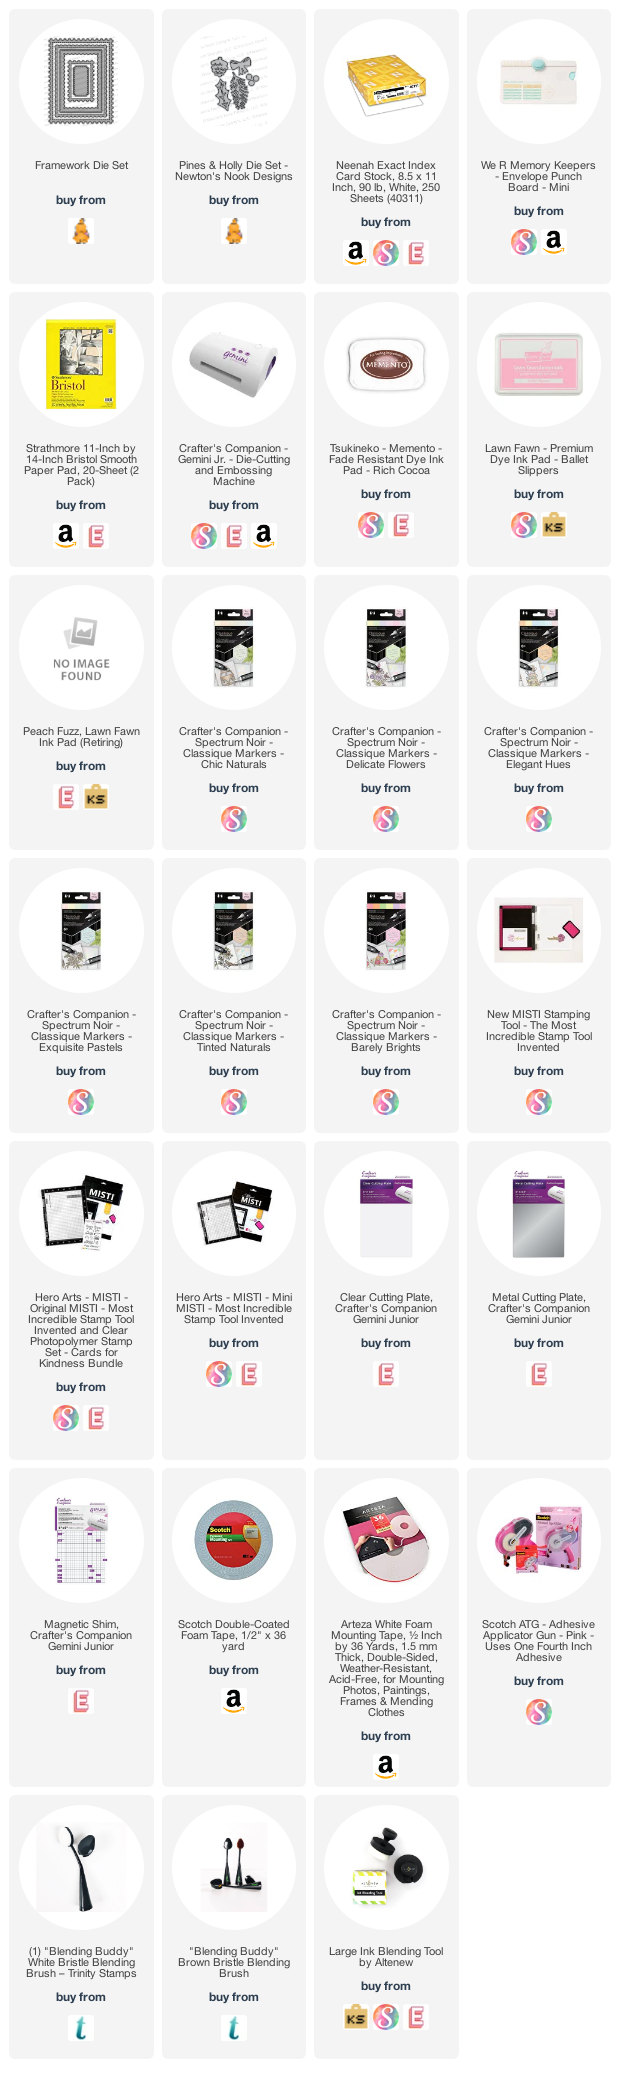
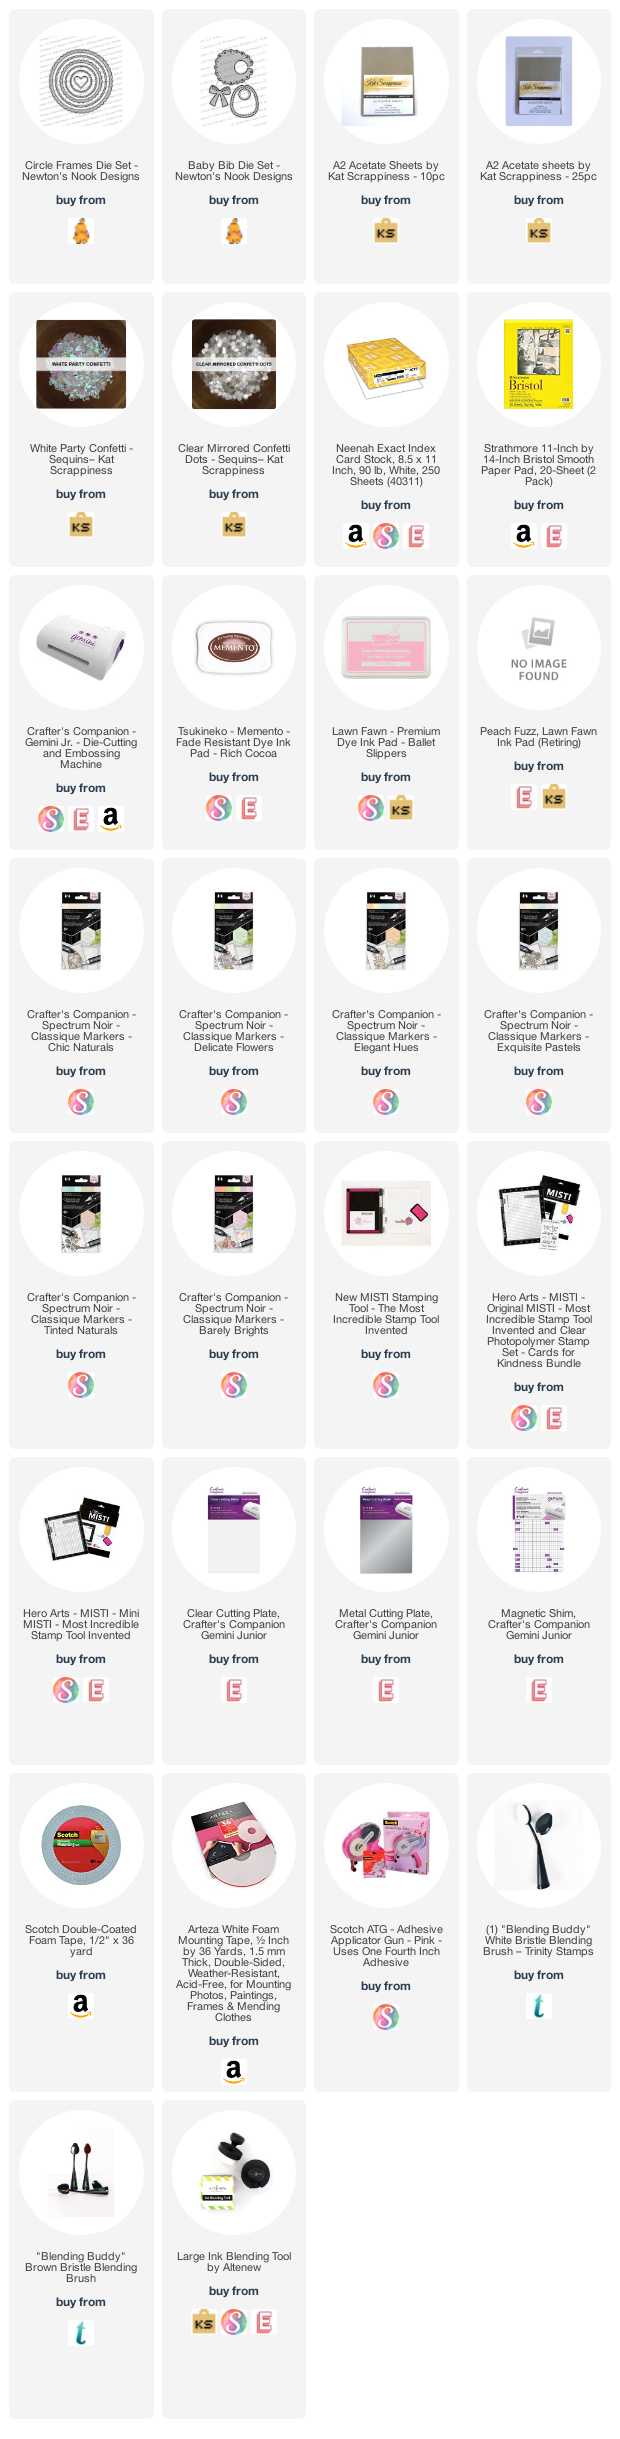
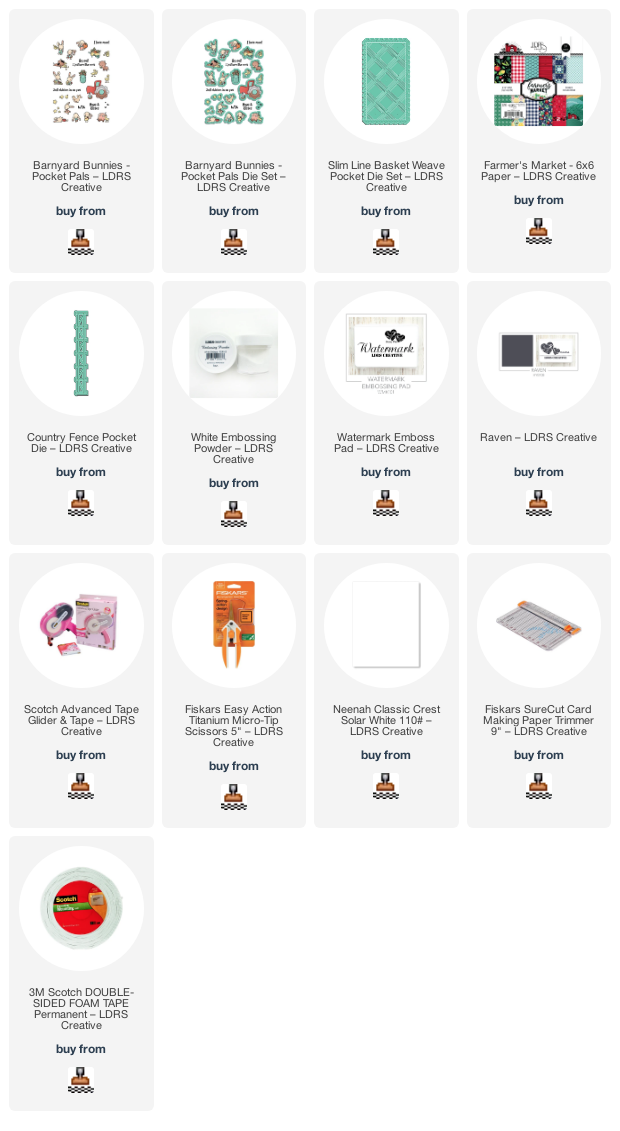
———-SUPPLIES———-