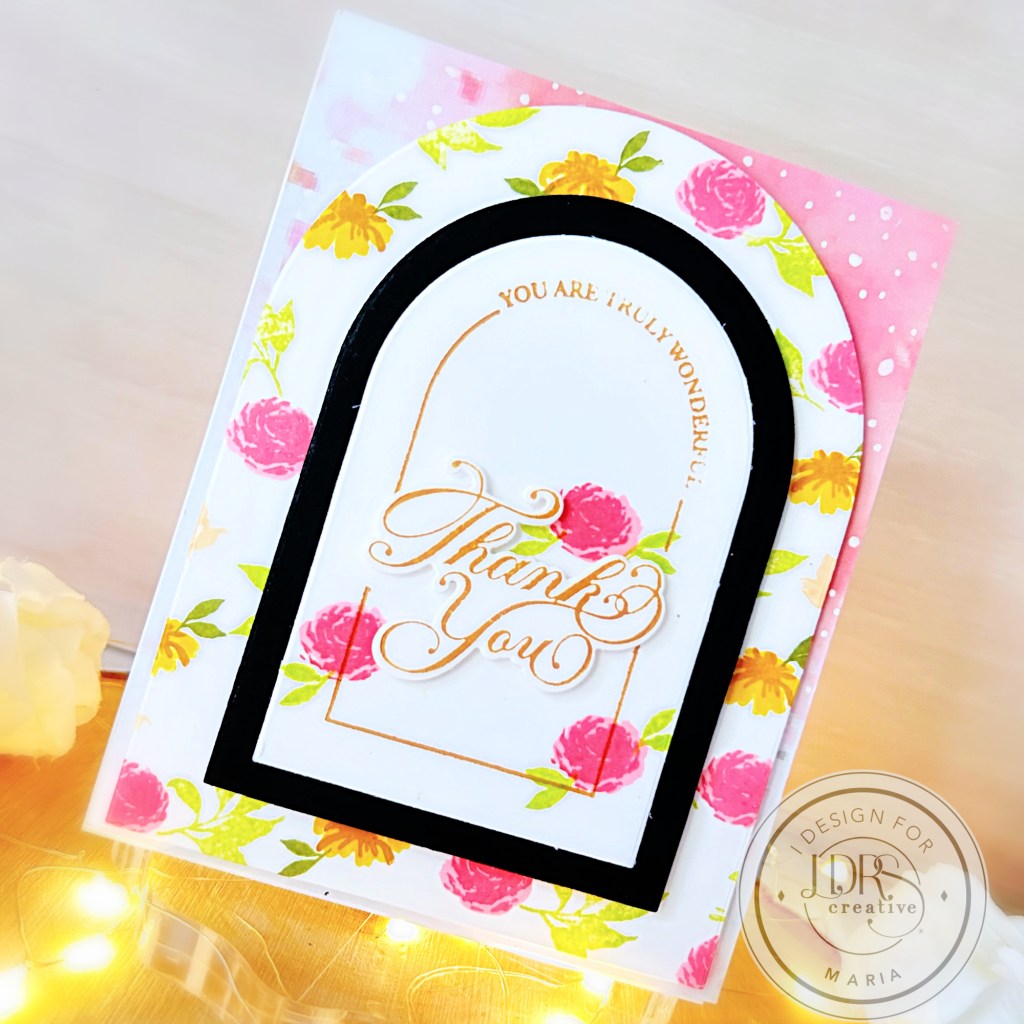
Stamped With Love

Hello LDRS Creative fans! Is anyone else looking forward to camping this year?  I am!  I’m super excited to go to the Appalachian Mountains again and go canoeing with my hubby!  This is my inspiration for today’s post.

For my project today, I am showcasing the Great Outdoors Layering Stencils, with the Postage Collage Die Set and Here Comes the Sun Postage Collage Stamp Set.
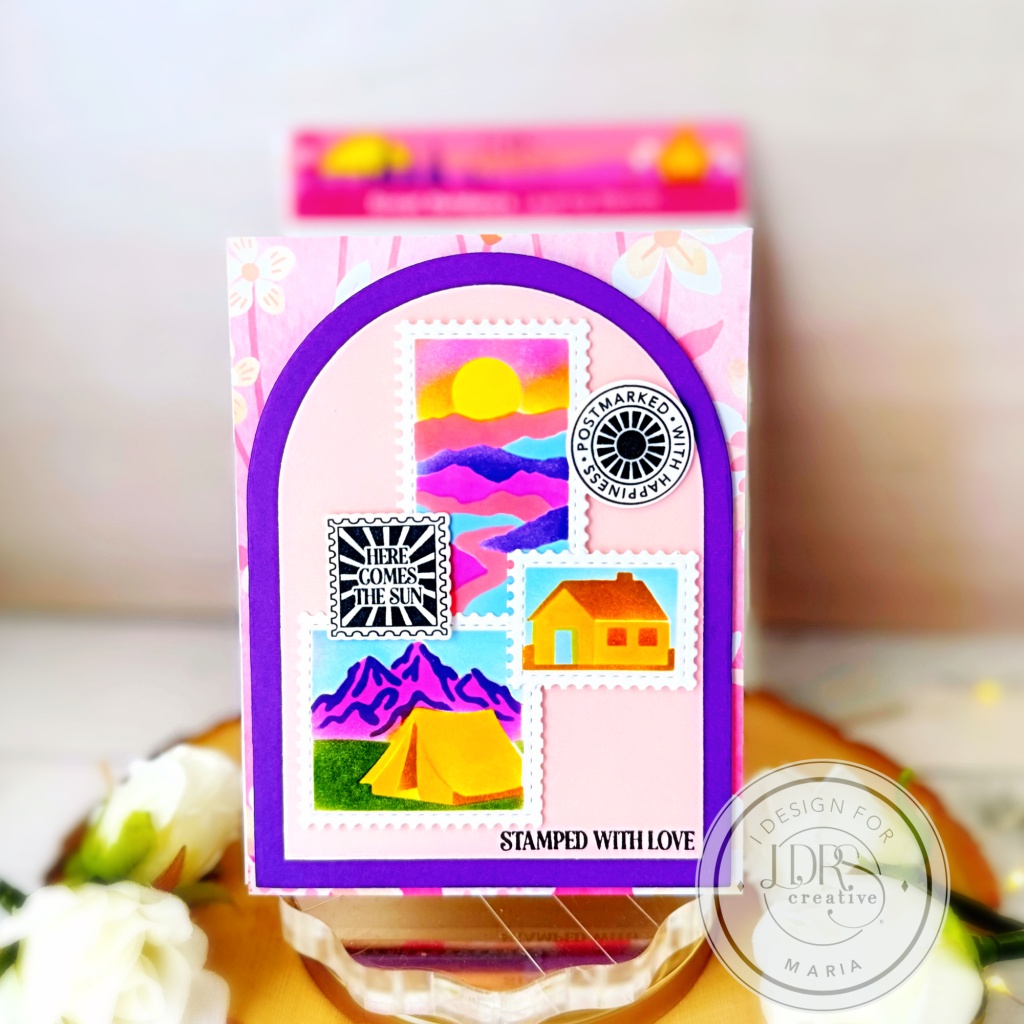
I started by die-cutting some white card stock using the Postage Collage Die Set.  It’s easy to color the images on each square using the Great Outdoors Layering Stencils.  I love that the colors are so vivid because of the LDRS Hybrid inks.  For reference, I followed the recommendation that came with the Great Outdoors Layering Stencils packaging.   
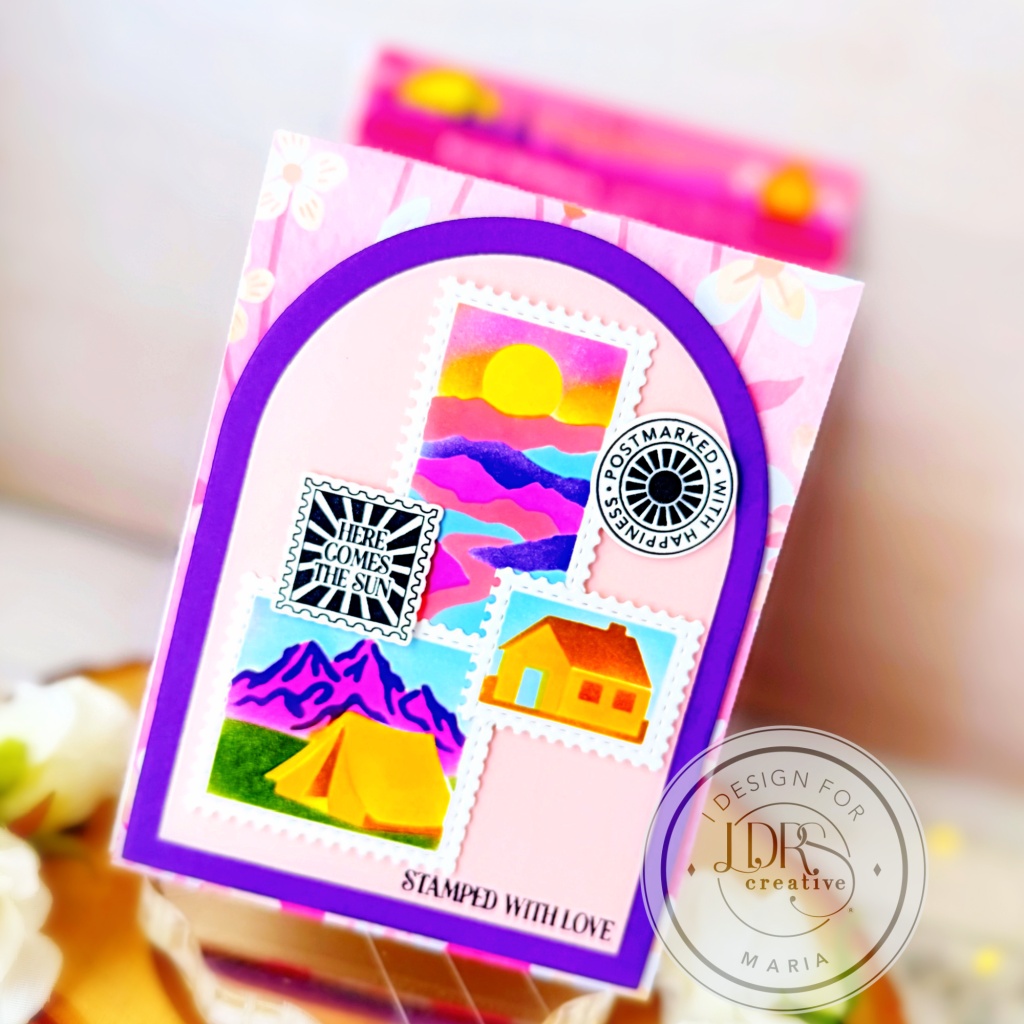
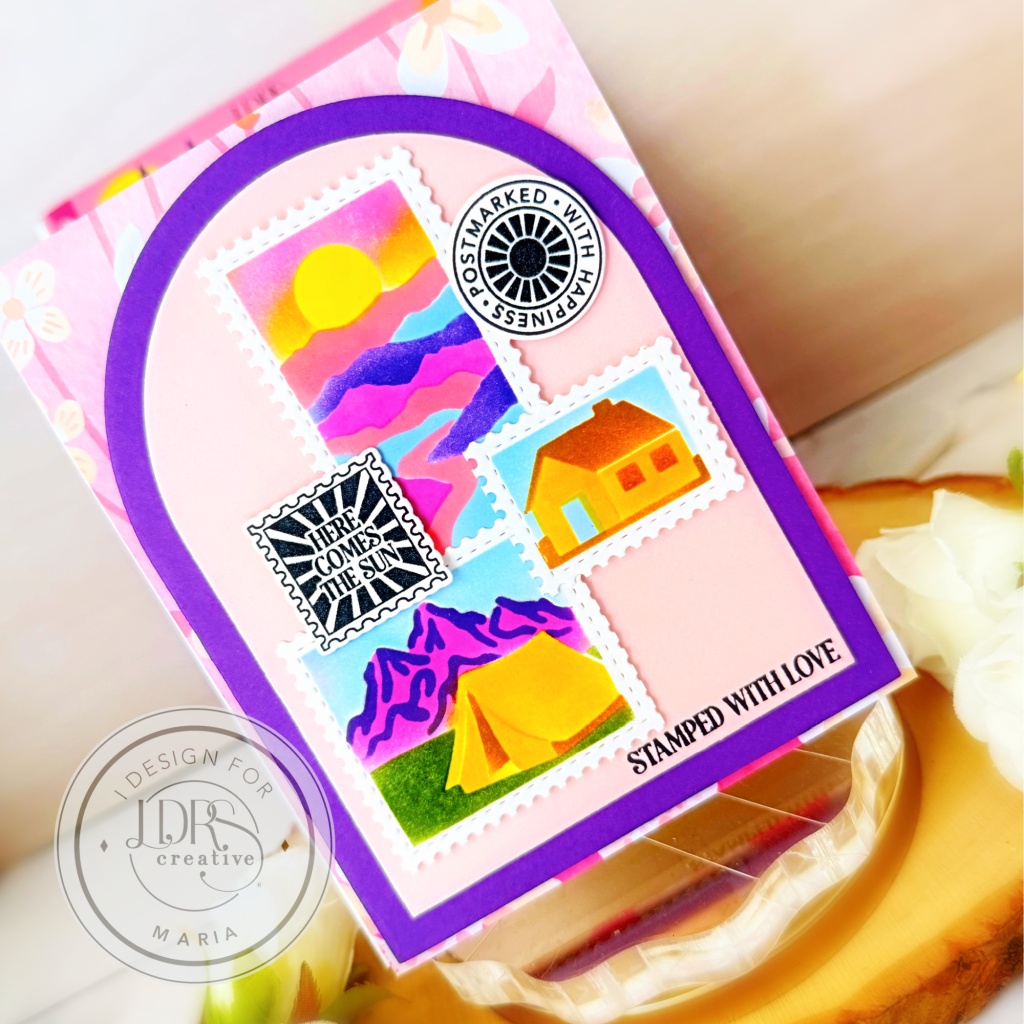
Assembling the card was easy.  I adhered the One Fine Day paper on some A2-size notecard, followed by a few arch die-cuts using the Arches Die Set.  I wanted to create a collage of the images as my focal point.  I cut them up with my precision snips and adhered them to the card with some foam tape for added dimension.

I finished the design by stamping the postage using the Here Comes the Sun Postage Collage Stamp Set.  Here’s another look:
Thanks so much for stopping by, and happy stamping!
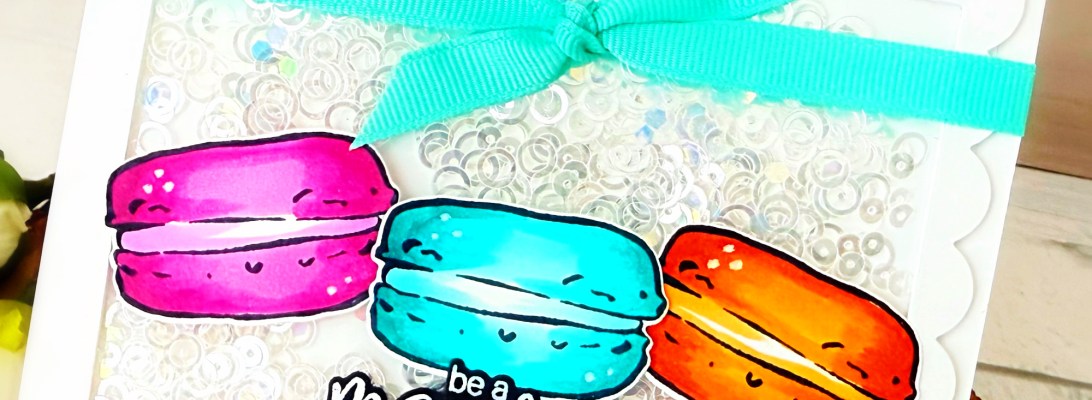
Be a Macaron In A Cookie-Cutter World!

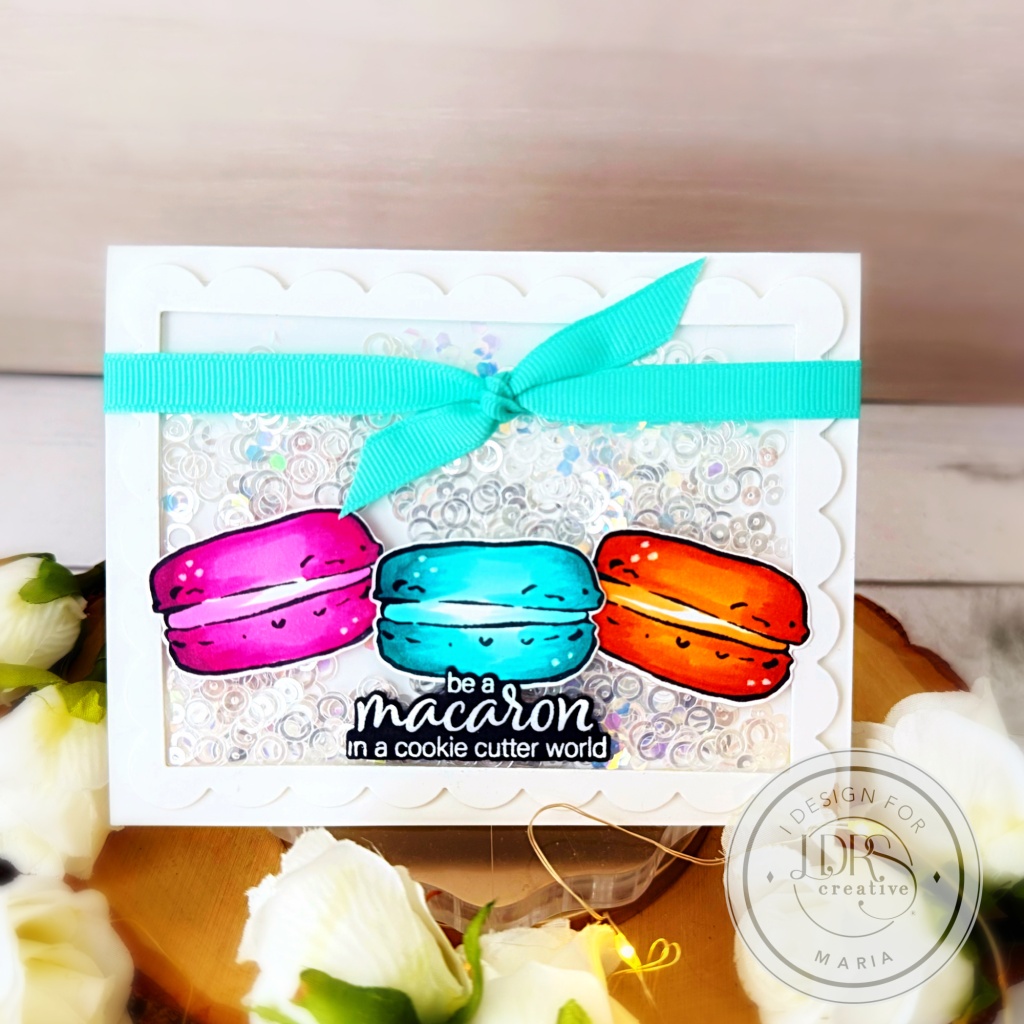
Hello everyone!   Is anyone else feeling “blah” about the weather?  It has been raining here in Florida, and the humidity kicked in full, uncomfortable mode!  I wanted to create a cheerful, shaker-card, showcasing the Macarons Stamps Set and Coordinating Dies bundle.

The images were stamped on Neenah Solar White card stock with Raven Hybrid ink and colored with alcohol markers.  I die-cut the images using the Macarons Coordinating Die and set them aside while I prepared the shaker card.

The scallop frame was created using the Mixed Scallop Rectangle Die, with the A2 Diagonal Stitched Layered Card Topper.  I adhered the acetate sheet and added foam adhesive to create the well.  I used iridescent sequins for my shaker element and adhered the frame to an A2-size top-folding notecard.  I added the colored images using liquid glue.

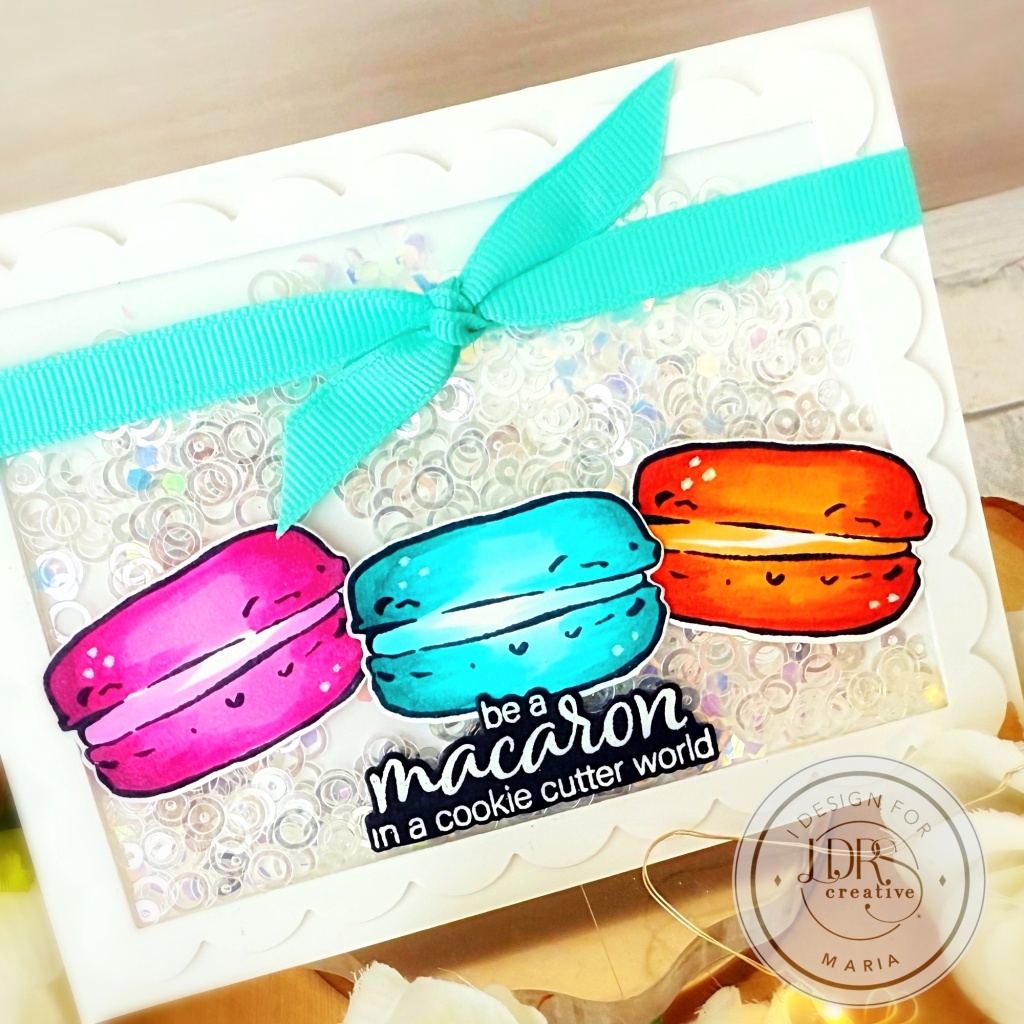
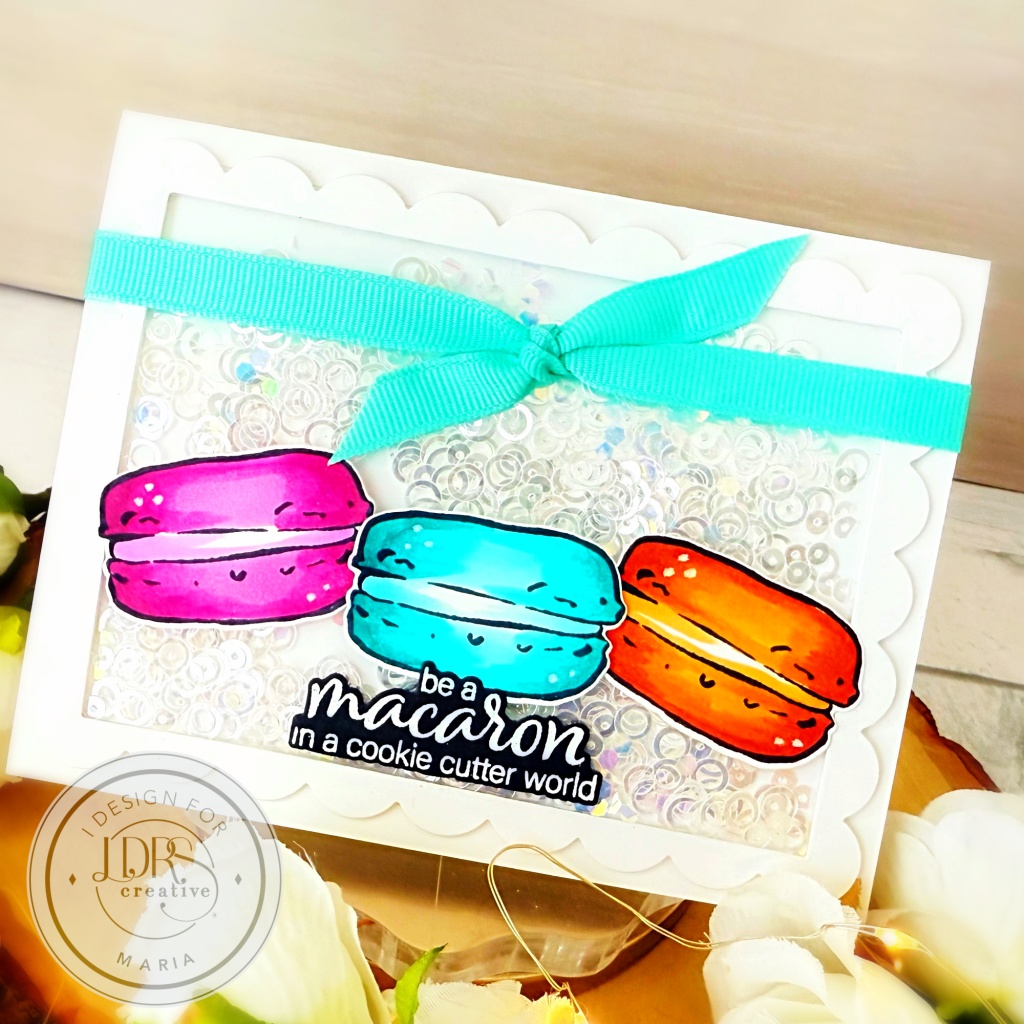
The sentiment was stamped and heat-embossed with White embossing powder and adhered in the center of the card.  Lastly, I added the blue satin bow to finish the design.  Here’s another look:

I hope you like this shaker card today.  Thanks for stopping by and have a great week ahead!

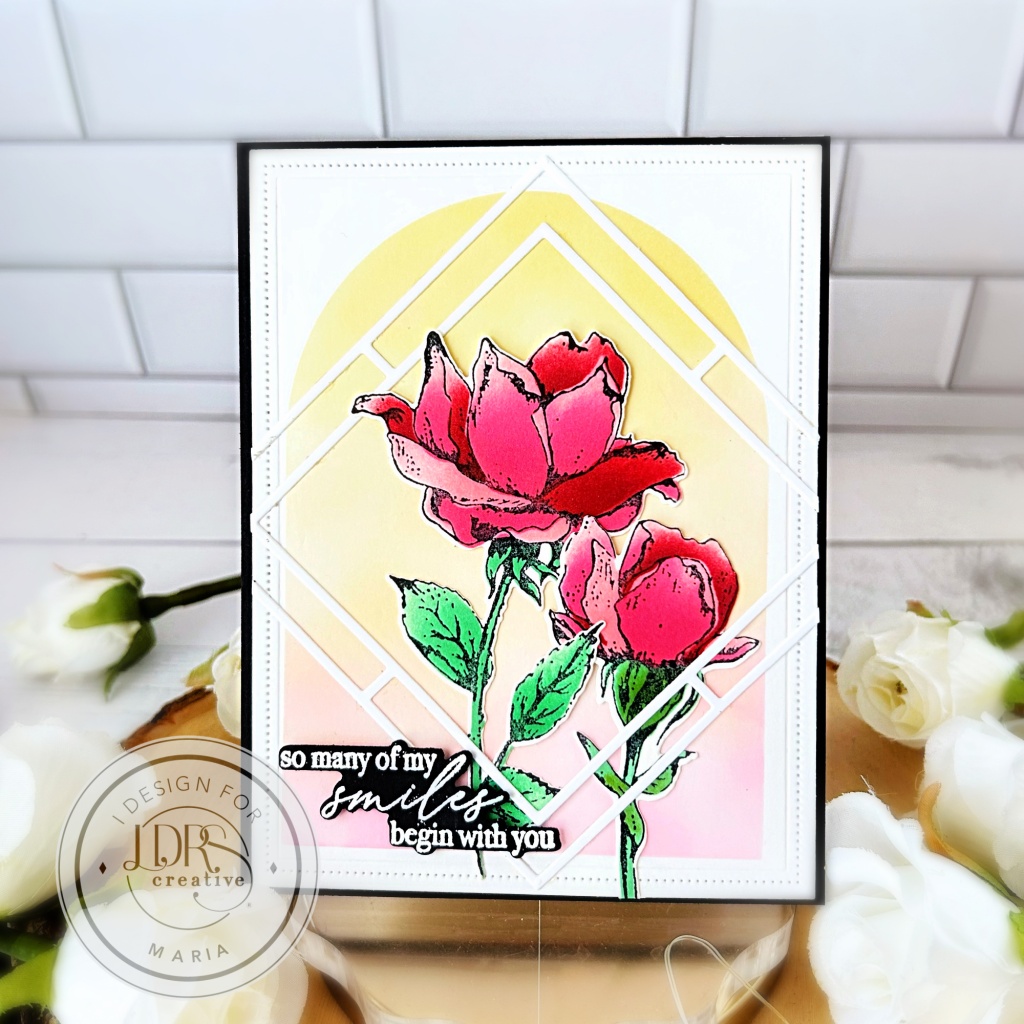
So Many of My Smiles Begin With You

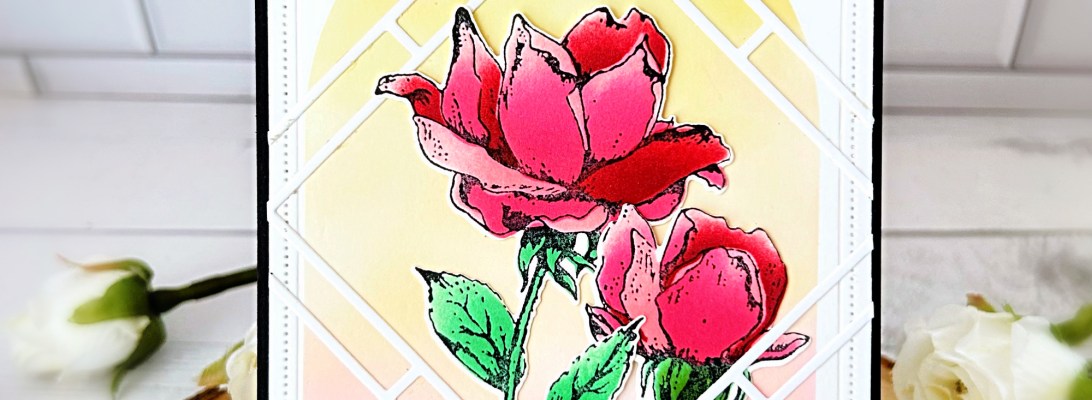
Hello everyone! In today’s post, I want to share a card with a lot of texture and details!  I am showcasing the Velvet Petals Impress-ion Press + Foil Plates, with the Velvet Petals Layering Stencils and the Velvet Petals Coordinating Dies.

I started to die-cut the card front using the Pinpoint Rectangle Die set.    I wanted to add some color to the background and used the Arches Spotlight Stencil.  I mixed Banana Cream Pie, Peachy Keen, and Pink Tutu Hybrid inks.  

Next, I used the Velvet Petals Impress-ion Press + Foil Plates with the BetterPress Plates to stamp an impression on the watercolor cardstock with Raven Hybrid ink.  Coloring the images was very easy using the Velvet Petals Layering Stencils with Scarlet Rose, Lipstick Jungle, Soft Kisses, and Pistachios-A-Plenty Hybrid inks.

To add more texture, I die-cut the square white frame using the Floating Squares Die set.  I adhered the colored roses, then added the floating white square with liquid glue.  The background was then foam-mounted to the card base for more dimension and finished by adding the sentiment!  Here’s another look:

I LOVE how this project turned out, and I hope you do as well.  Thanks for stopping by and have an amazing day!

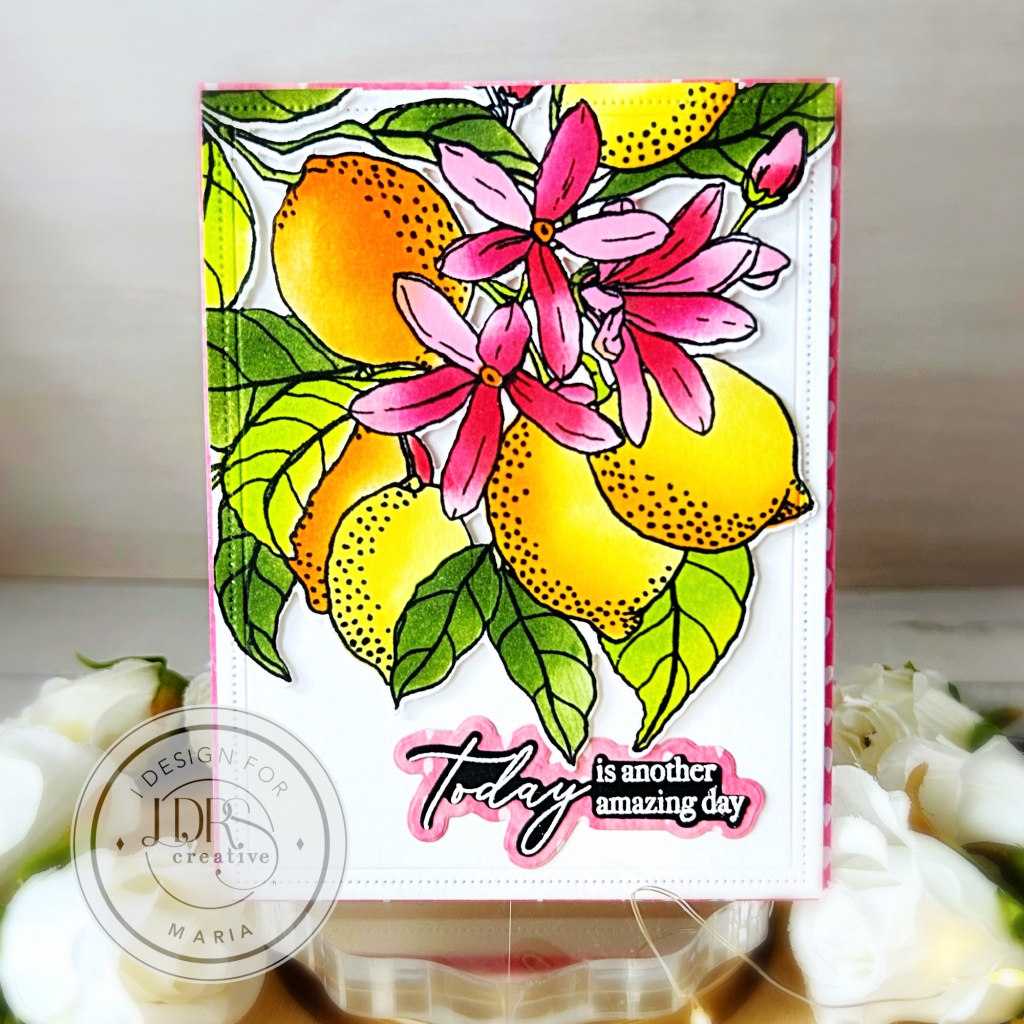
Today Is Another Amazing Day with LDRS Creative

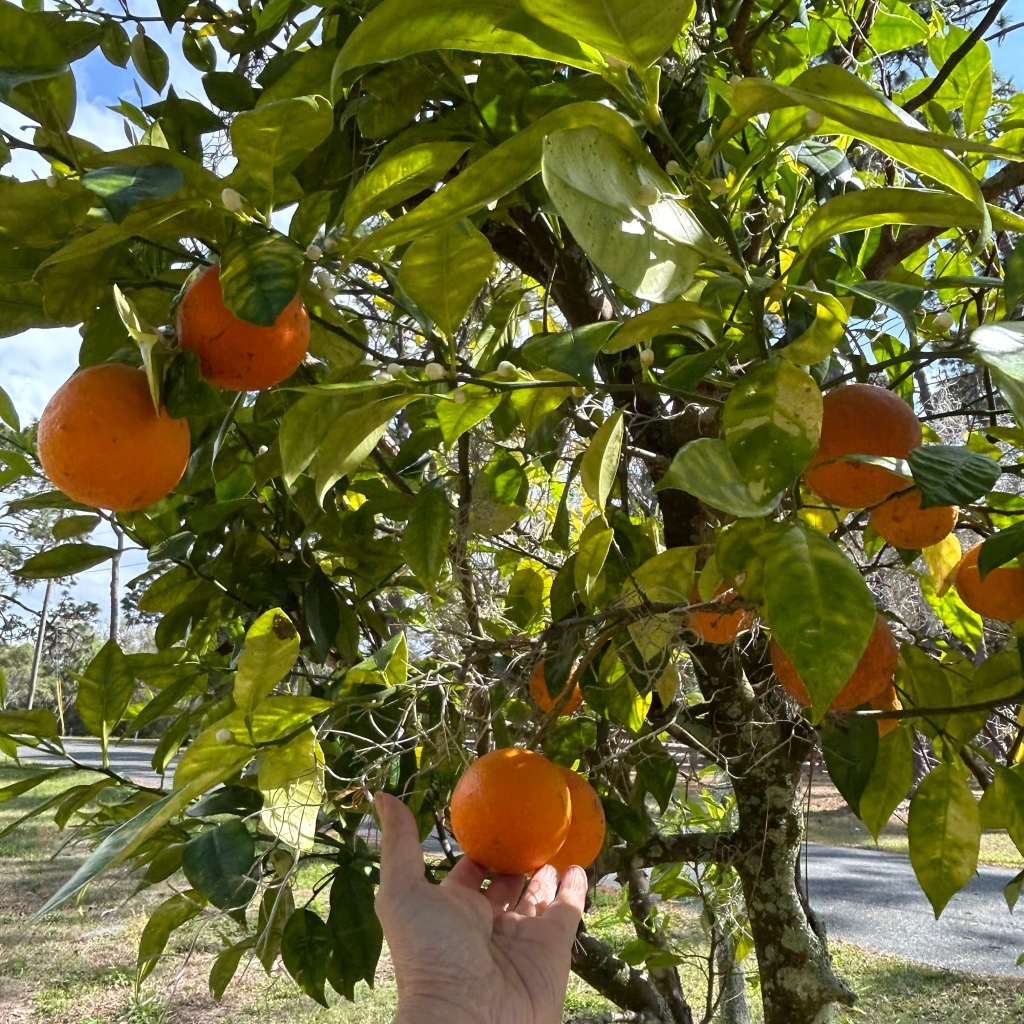
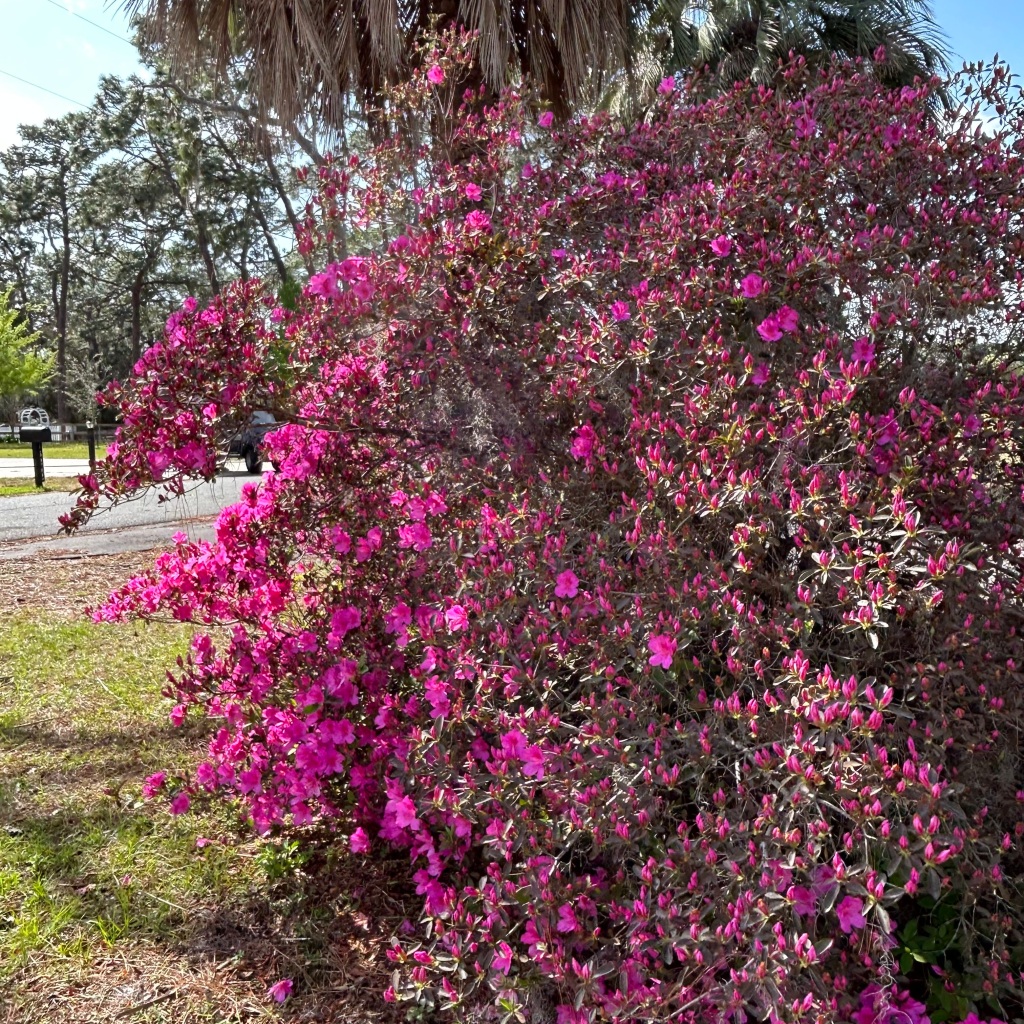
Spring has sprung here in Florida, and I enjoy looking at all the beautiful flowers in my yard!  The citrus trees have also bloomed, and I can finally harvest some of the oranges and lemons from the garden!  This is my inspiration for today’s post.

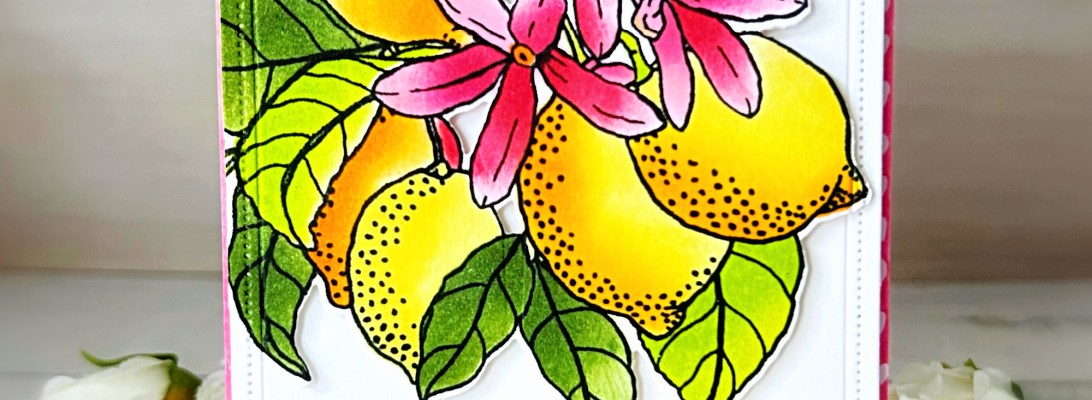
For my card today, I am showcasing the Fruit Tree 5×7 Stamp Setwhich includes the Fruit Tree Coordinating Dies, Fruit Tree Layering Stencils, and the Pinpoint Rectangle Die.

I stamped the image on Neenah Solar White cardstock using Raven Hybrid Ink.  I placed stencil number 1 from the Fruit Tree Layering Stencils onto the image and started inking them up with LDRS Hybrid inks.

What is truly helpful for me is the Stencil Layering Guide that is included in the Fruit Tree Layering Stencils packaging.  It not only provided me with instructions on how to use the stencil, but it also suggested different colors of the hybrid inks.  For reference, I used the following inks: Kiss Me RedPink Tutu, Lipstrick Jungle, Evergreen, Key-Lime Pie, Banana Cream Pie, and In Your Face Orange.

I used the Fruit Tree Coordinating Dies to die-cut the image.  Since I knew I was going to use the Pinpoint Rectangle Die as my card background, I used the same die to cut the colored image, as well as die-cut another white card stock. 

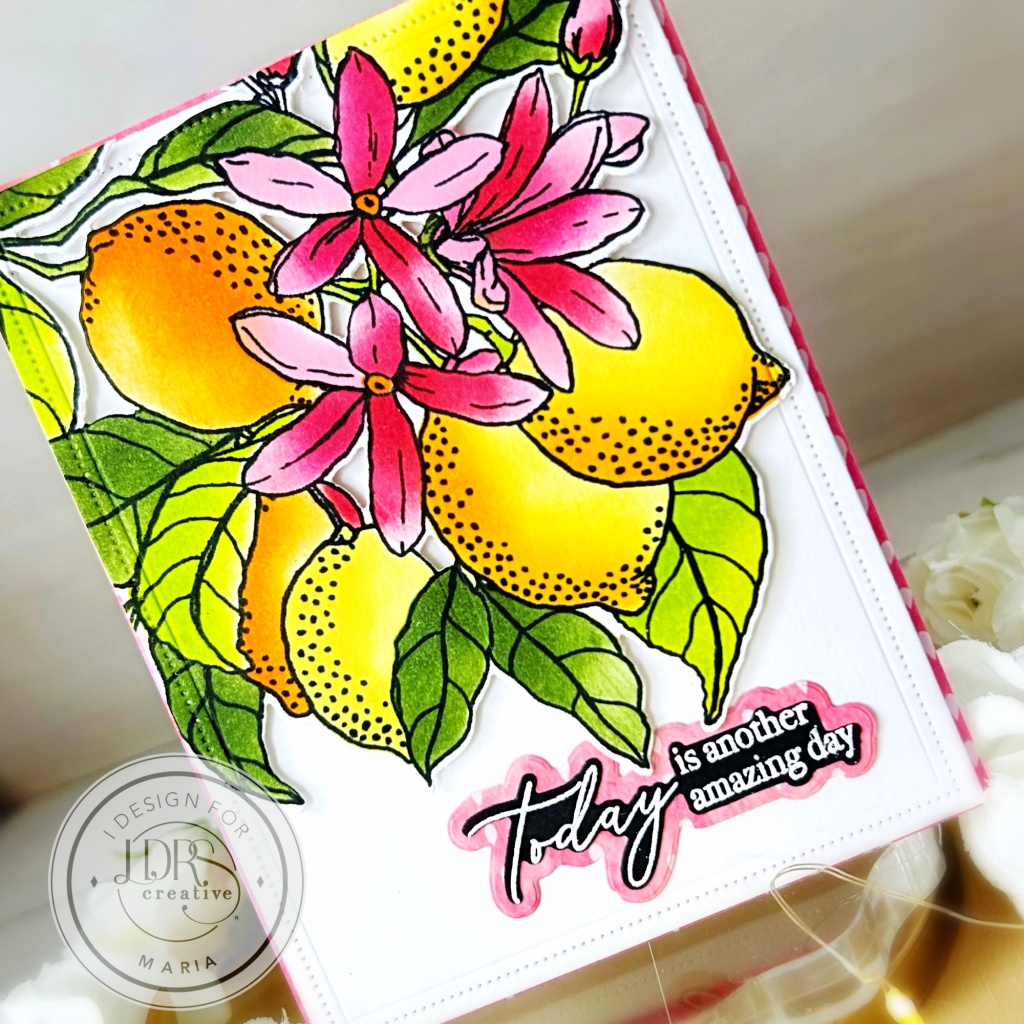
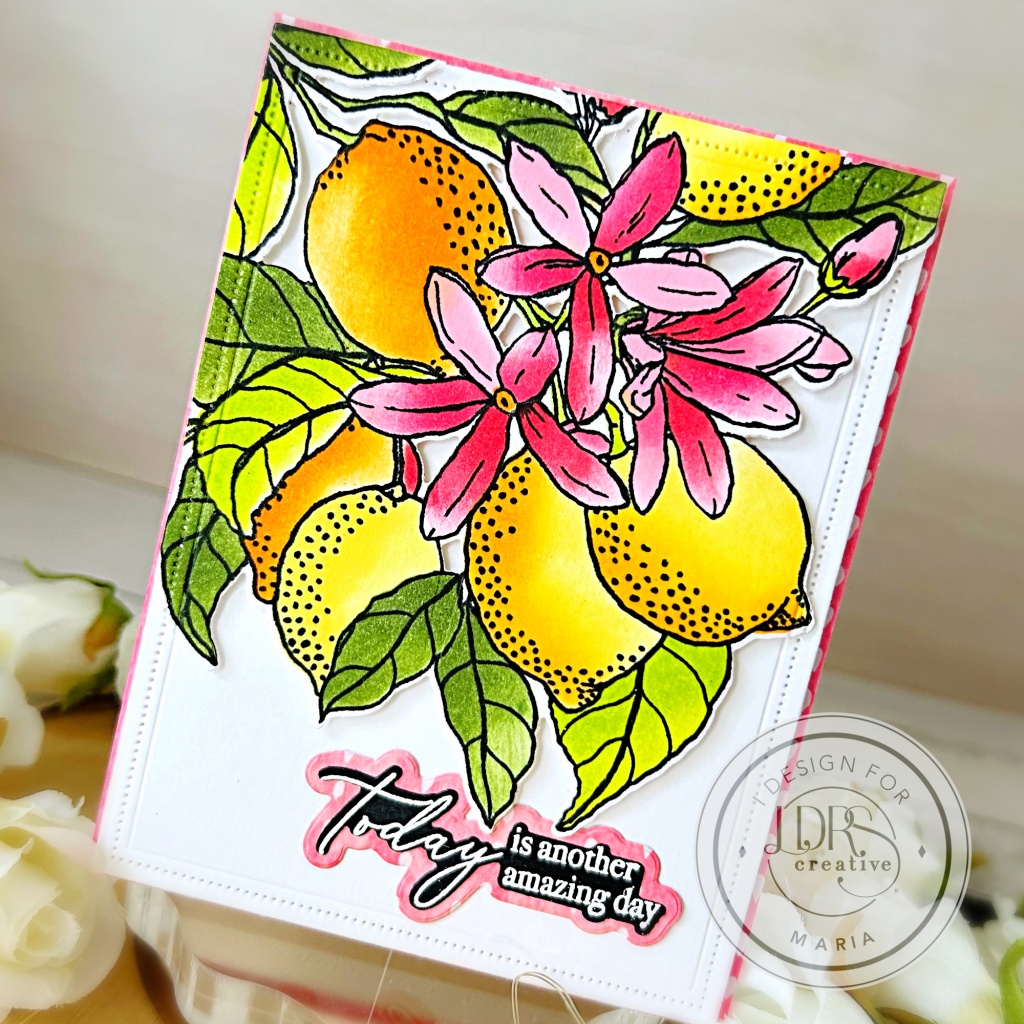
To ground the image, I adhered the patterned paper from the One Fine Day collection on an A2-size notecard.  To add dimension, I foam-mounted the image onto the white card stock and adhered to the card with liquid glue.  Lastly, the sentiment was stamped and heat-embossed and added to the card to finish the design.  Here’s another look at the finished card:

I hope you like my project.  Have an amazing day, and happy crafting!

A Simple Happy Birthday Card with LDRS Creative

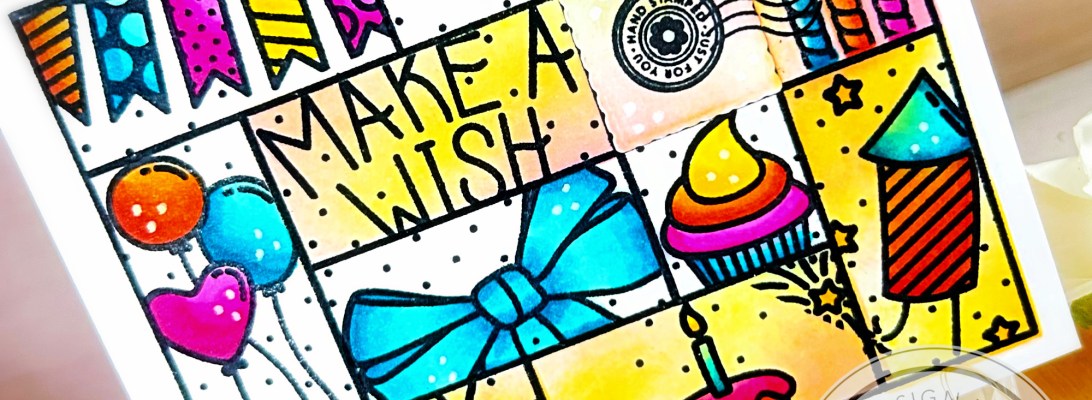
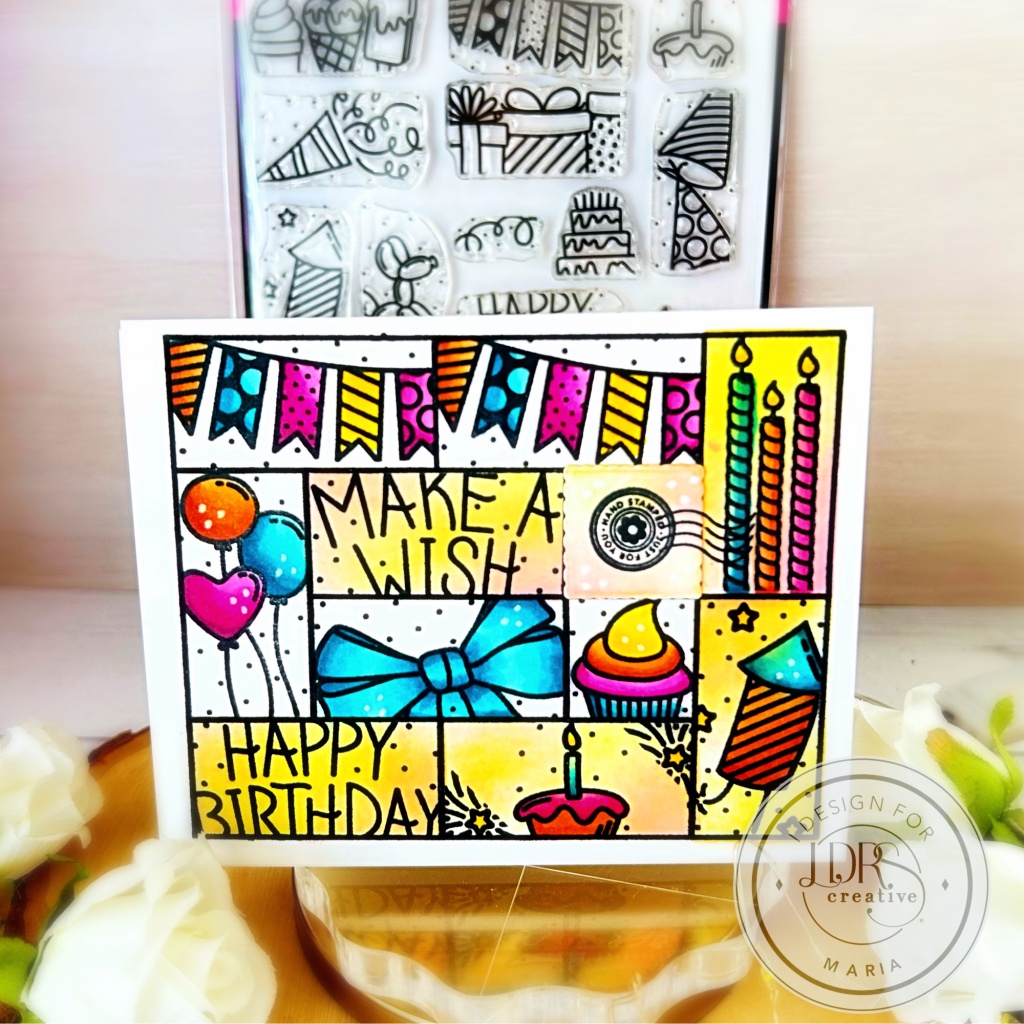
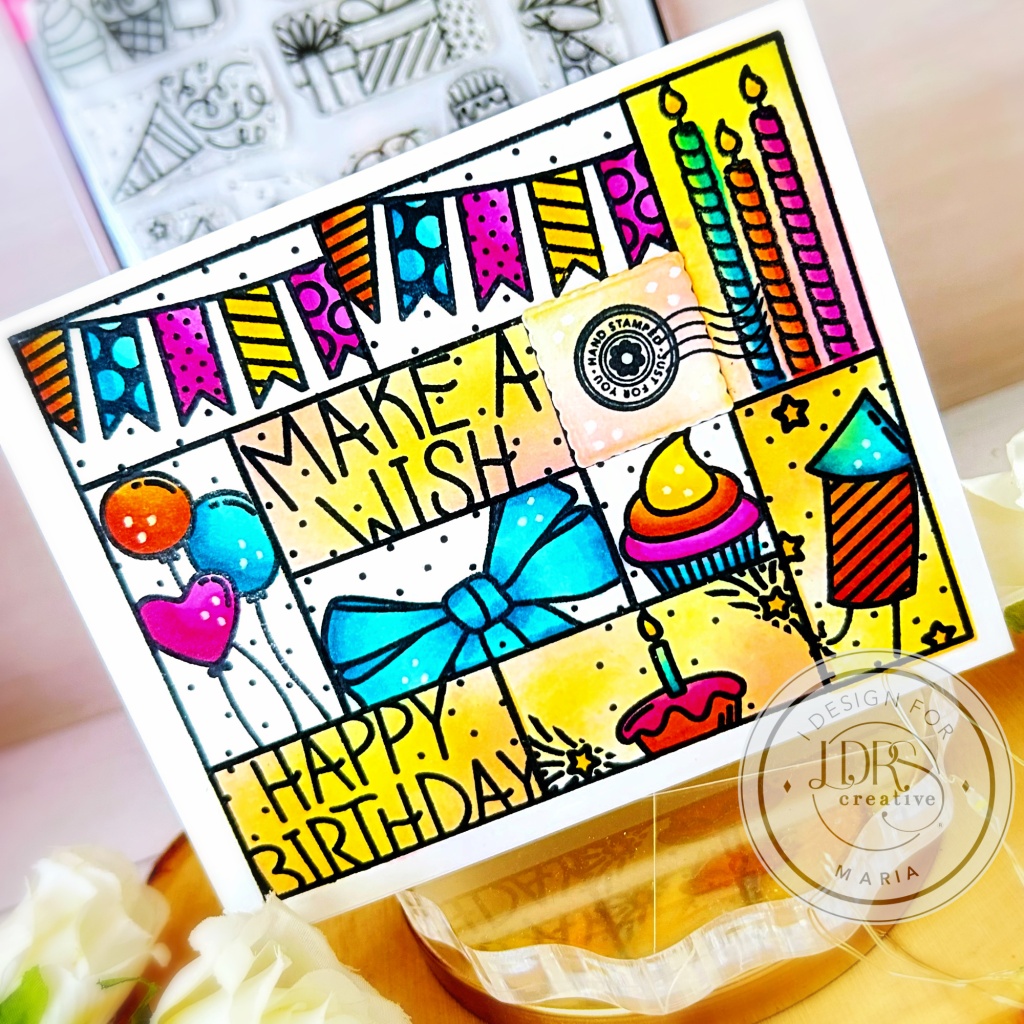
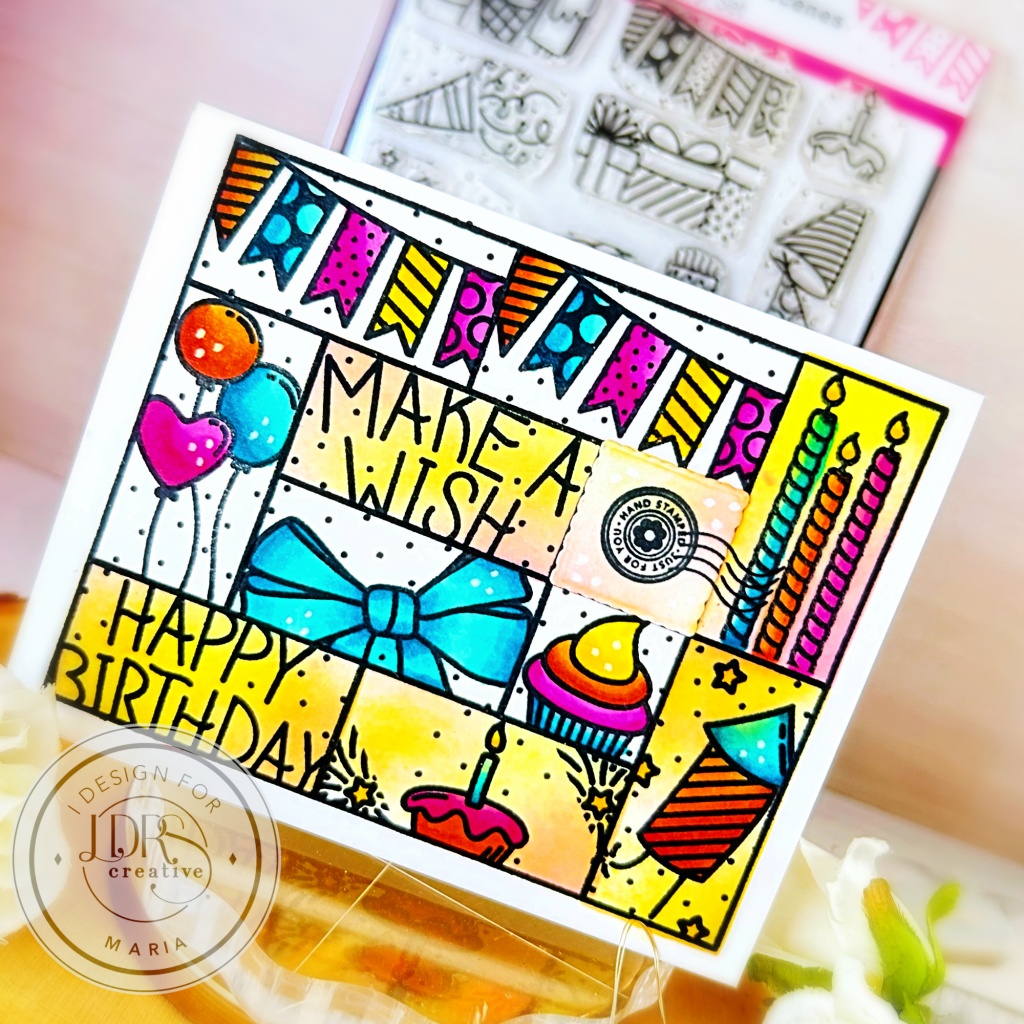
Hello everyone! I’m back with you today sharing this straightforward card, showcasing the beautiful Birthday Puzzle Scenes 6×8 Stamp Set the Puzzle Frames Stamp, and Puzzle Mask Stencil.

I began by stamping the Puzzle Frames Stamp on white cardstock with Raven Hybrid ink.  Using the Birthday Puzzle Scenes 6×8 Stamp Set, I chose a few cute images and stamped each inside the block.

I wanted this birthday card to be very colorful so I chose bright blue, orange, yellow, and pink markers!  I used the Puzzle Mask Stencil with a few blending brushes to add some color to the blocks.  For reference, I used Pink Tutu and Banana Cream Pie hybrid inks.

The final step was to add a little “stamp” on the card.  I die-cut the square using the Nested Postage Collage Die and stamped the image from the Here Comes The Sun Postage Collage Stamp Set.

I hope you like my project today.  Thanks for stopping by, and happy crafting!

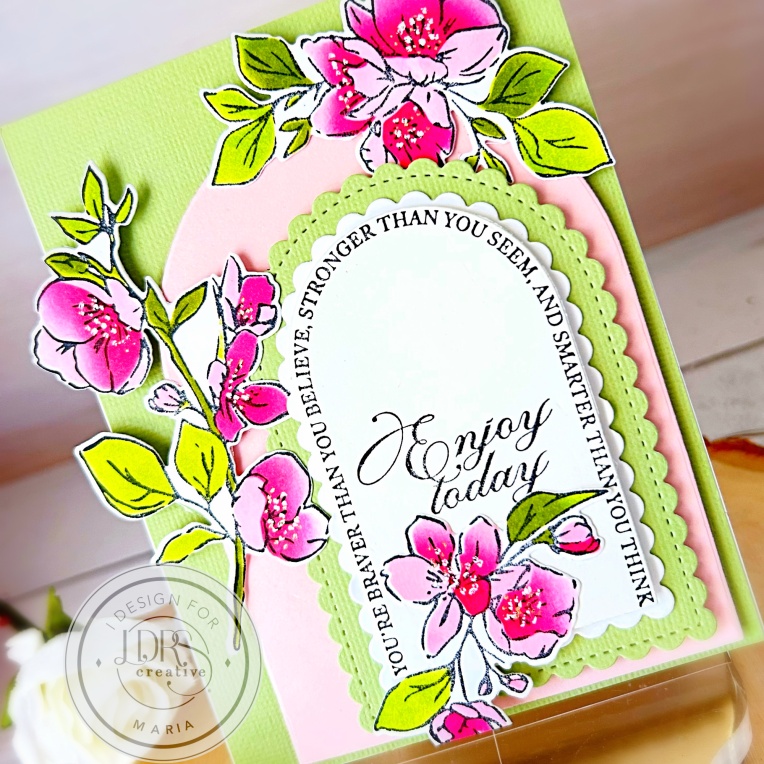
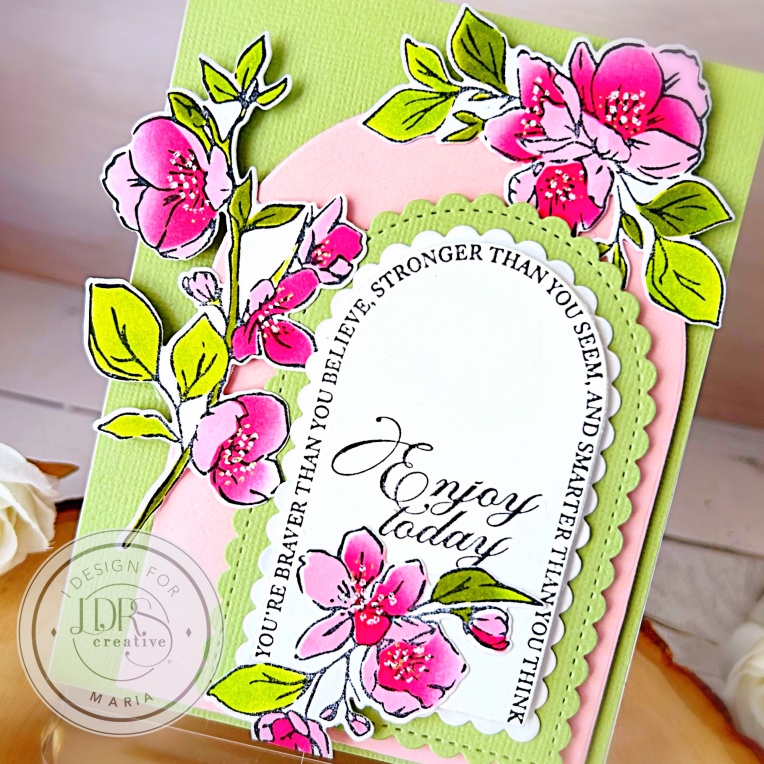
An Elegant Card Featuring Apple Blossom Swag Bundle by LDRS Creative

Hello everyone and Happy 2025! I hope you are all doing well! I want to start the new year by creating more projects and giving you a lot of content this year!

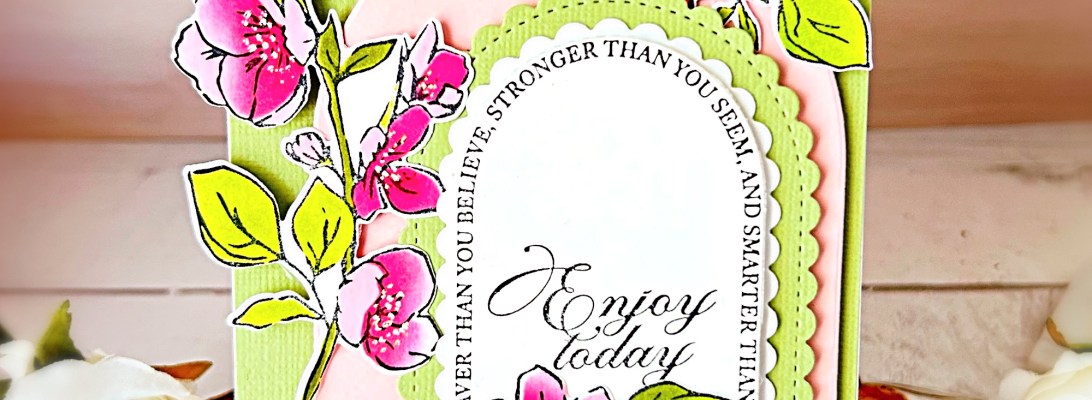
I always run out of all-occasion handmade cards and that’s because I send them to friends all the time!  I was looking at the new LDRS collection and the Apple Blossom Swag Bundle is just the right combo to create this beautiful card below.

I started by placing the Apple Blossom Swag Impress-ion Press + Foil Plates on the BetterPress platform and inking them with Raven Hybrid ink.  I run the BetterPress platform through the die-cutting machine to get a nice impression.

Next, I used the Apple Blossom Swag Stencil to color the images.  I love that I don’t have to be an expert when it comes to coloring because the stencils made it very easy for me to layer the colors and add dimension.  For reference, I used Pink Tutu, Lipstick Jungle, Prickly Pear Perfection, and Olive Branch hybrid inks.

Once I finished coloring the images, I used the Apple Blossom Swag Coordinating Dies to cut them out.  The final step was to get the sentiment stamped and die-cut.  I used the Arch Builder Impress-ion Press + Foill Dies with Raven Hybrid ink, followed by die-cutting the same using the Arches Die.

Finally, assembling the card was very easy by layering the Stitched Scallop and Arches dies with foam adhesive for dimension and stability.  Here’s another look at the card.

I hope you like this card as much as I do!  Thanks for stopping by, and happy crafting!

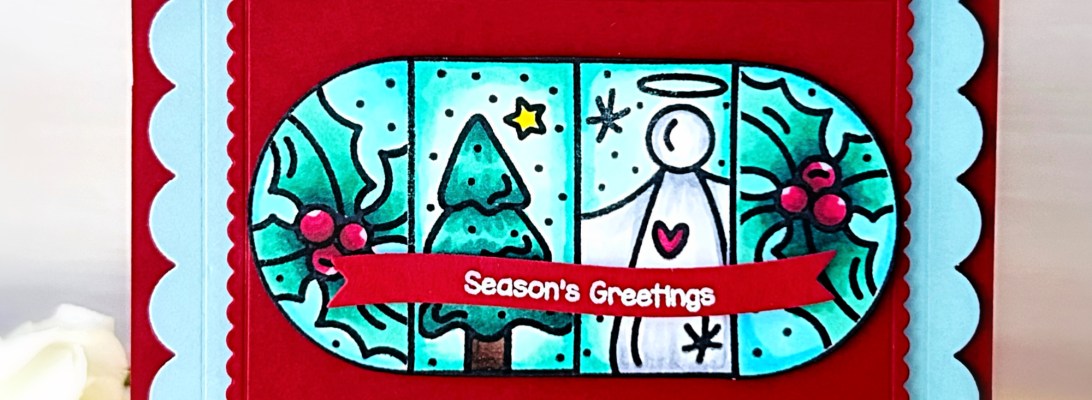
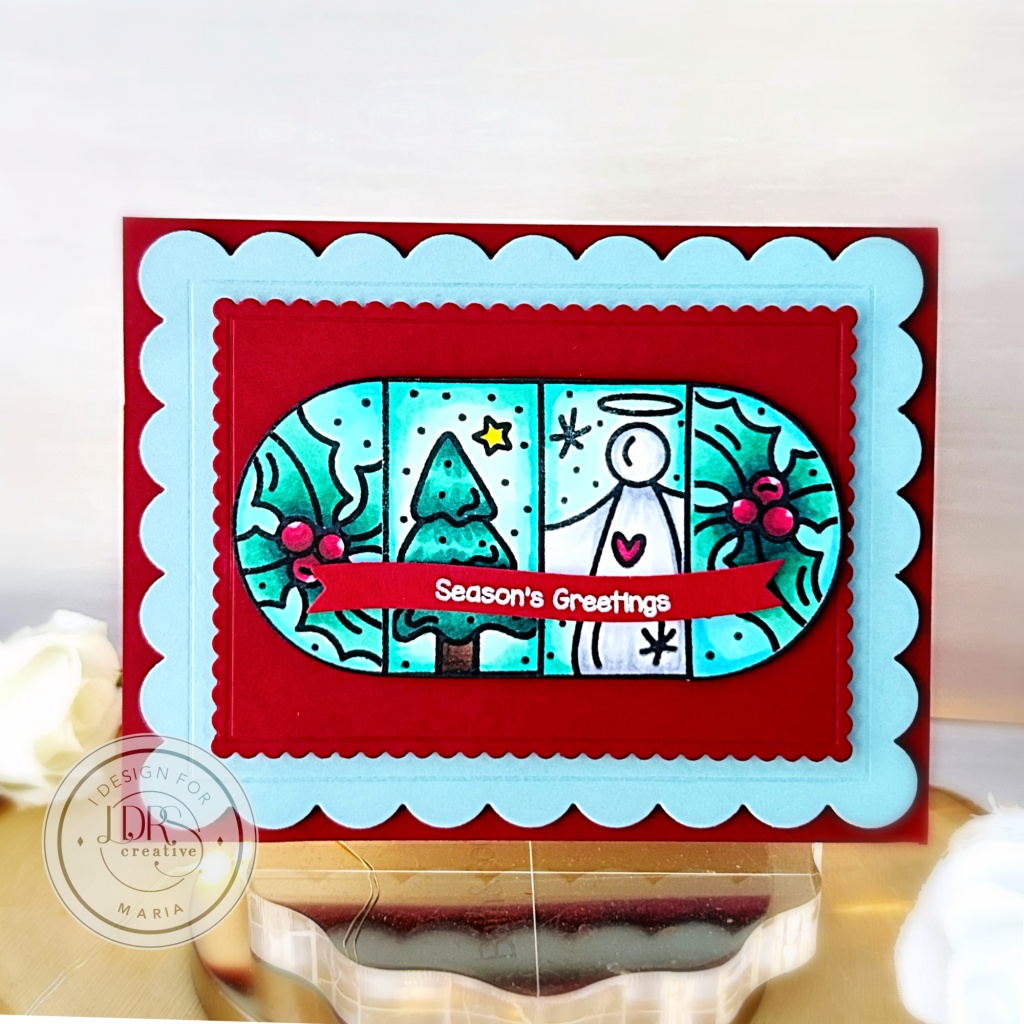
Christmas Puzzle Stamps & Stencil Bundle with LDRS Creative

Hello LDRS Creative fans! I am so glad to share this easy, yet classy Christmas card, showcasing the Christmas Puzzle Stamps and Stencil Bundle.  Pairing these sets would allow you to mix and match some festive images to create unique cards!

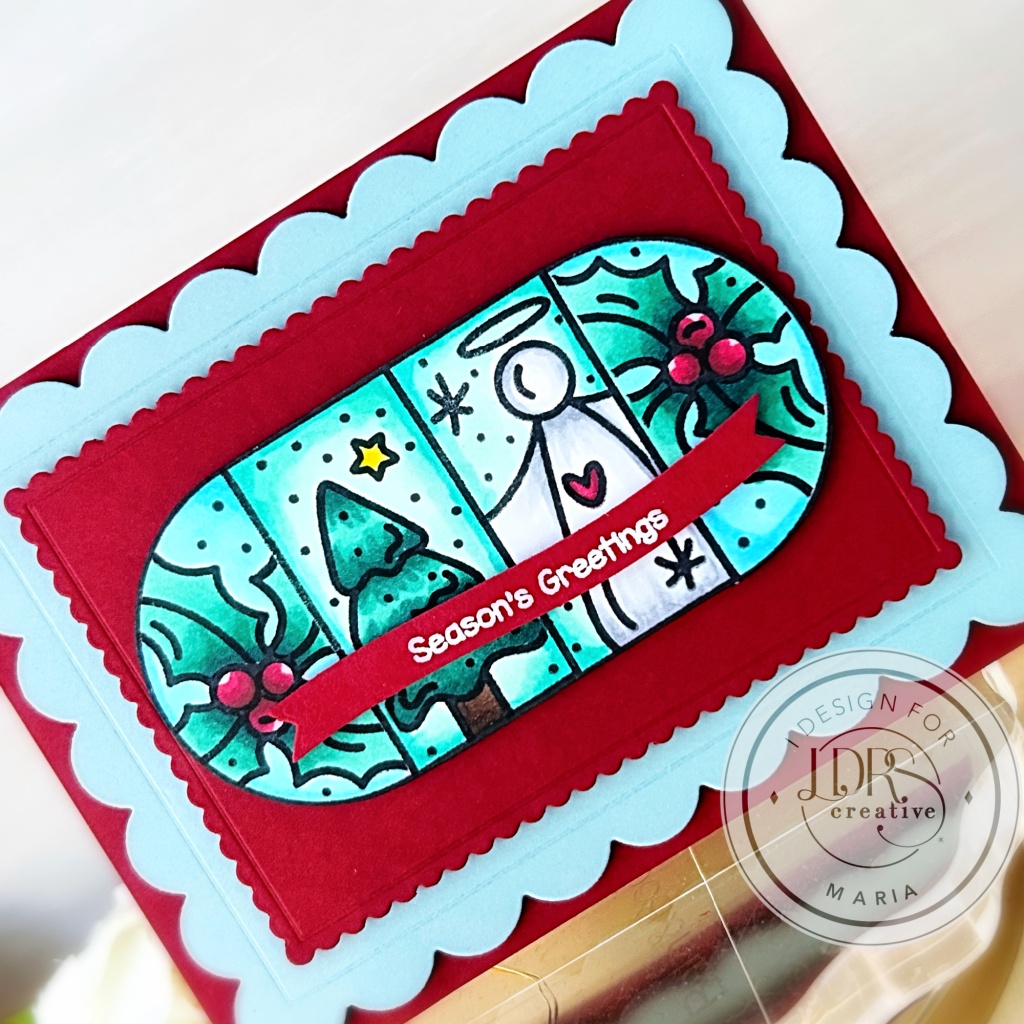
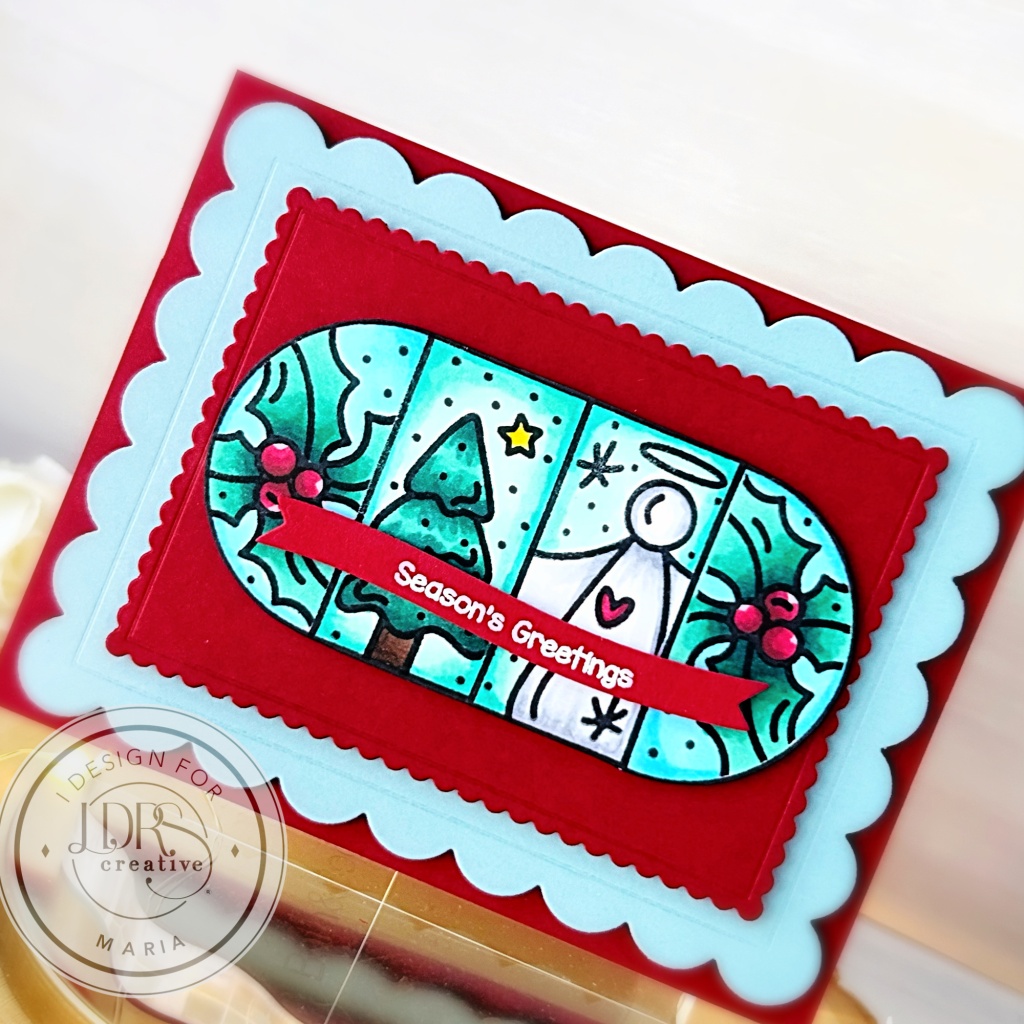
I started by stamping the frames on some Neenah Classic Crest Solar White card stock using  Raven Hybrid ink. I chose the Holly, Angel, and Christmas Tree images from the Christmas Puzzle Scenes Stamp Set to fill in the puzzle with the help of the Puzzle Mask Stencil. I colored the images with alcohol markers and used my precision snips to fussy-cut the images.

Next, I die-cut the red and blue card stock using the Mixed Scallop Rectangle dies and foam-mounted each piece on some A2-size notecard.  I also foam-mounted the focal image to make it stand out and added a sentiment from the Christmas wishes stamp set to finish the card design.  Here’s another look at the card:

I hope you like my project today and that you found the instructions simple to follow. Thanks for stopping by, and happy crafting!

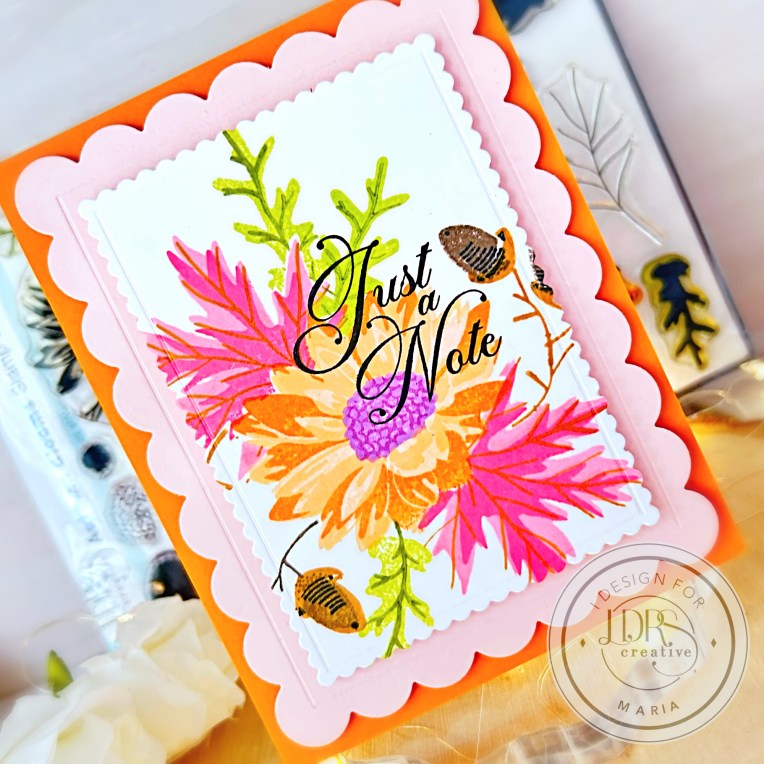
AUTUMN BLOOMS WITH LDRS CREATIVE

Hello LDRS Creative fans! It’s been very gloomy the last couple of days here in Florida, [before and] after hurricane Milton.  I am just so grateful that the property damage was very minimal and we didn’t lose any power!  I needed to create something colorful to cheer me up, so I grabbed the Autumn Blooms Stamp and Stencil Bundle.

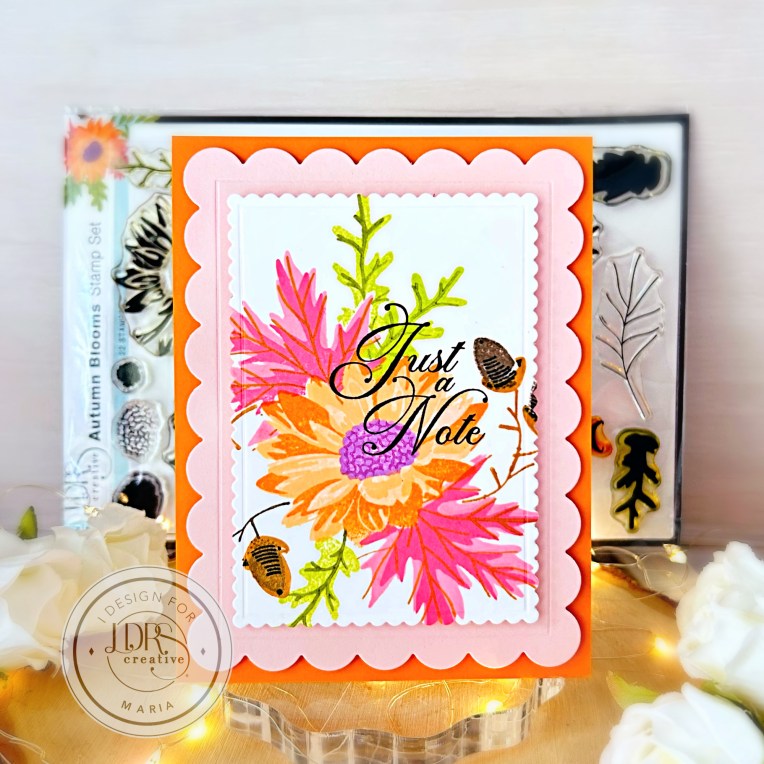
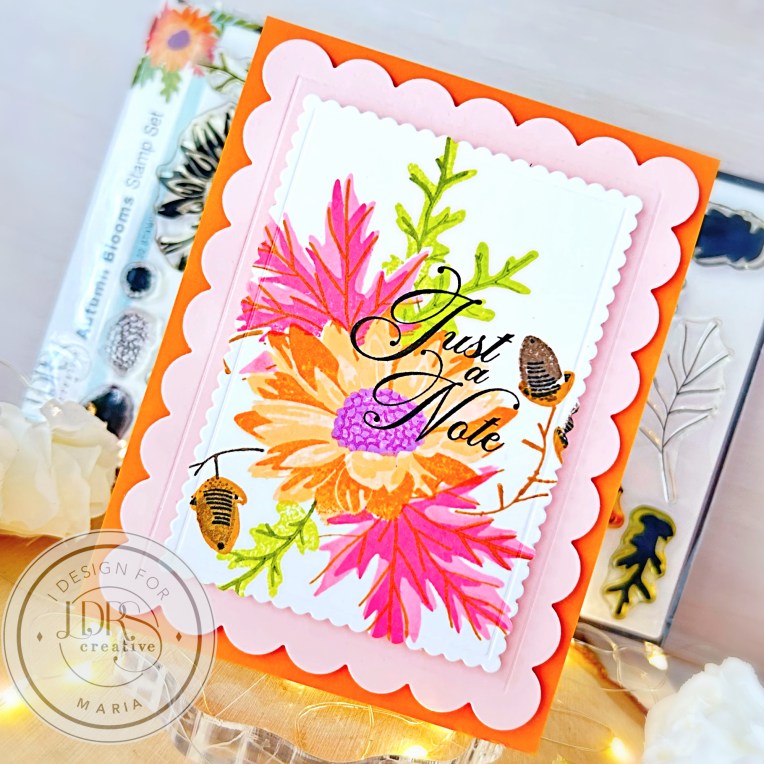
I began by stamping the flower in the foreground with Peachy Keen Hybrid Ink and then added Tangerine DreamIn Your Face OrangeLa-la Lavender, and Boysenberry Blast. Next, I used the Autumn Blooms Mask Stencil to cover the flower while I worked on the background images!

The Autumn leaves were stamped with Pink Tutu, Lipstick Jungle, and Iced Tea Hybrid inks, then the acorn was added using Iced Tea and Coffee Bean. I stamped the leaves twice for balance, and then used Key-lime Pie and Olive Branch for the final touch.

Now comes the fun part of assembling the card! I used the second die from the Mixed Scallop Rectangle Die set and the largest die with some pink cardstock to cut out the main image. I enjoy layering these two! I added dimension by foam-mounting the focal image onto the pink scallop with foam adhesive.

Next, I added orange card stock to a white card base and foam-mounted the pink scallop on top for dimension.

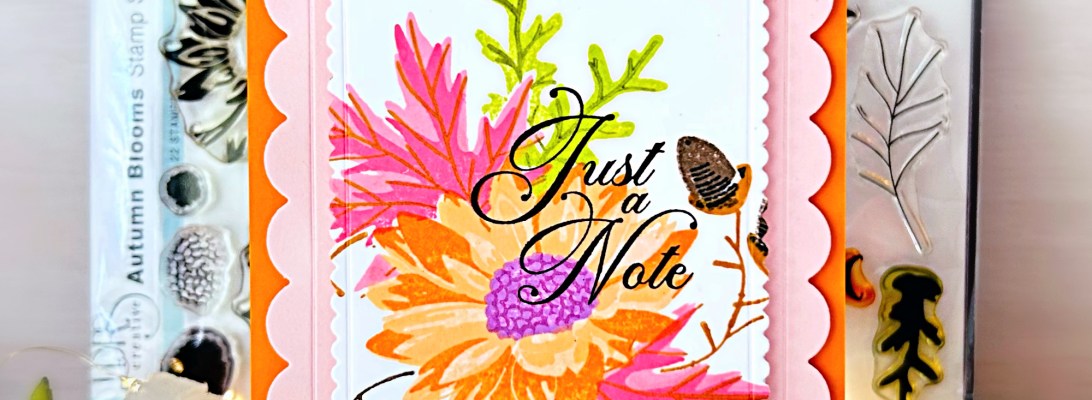
I completed the card design by stamping the sentiment with Raven Hybrid ink from the Floral Swag Stamp Set. Here’s another look at the finished card:

I hope you enjoy this card and found the instructions easy to follow. The supplies used are linked in this post. Thanks for visiting and happy crafting!

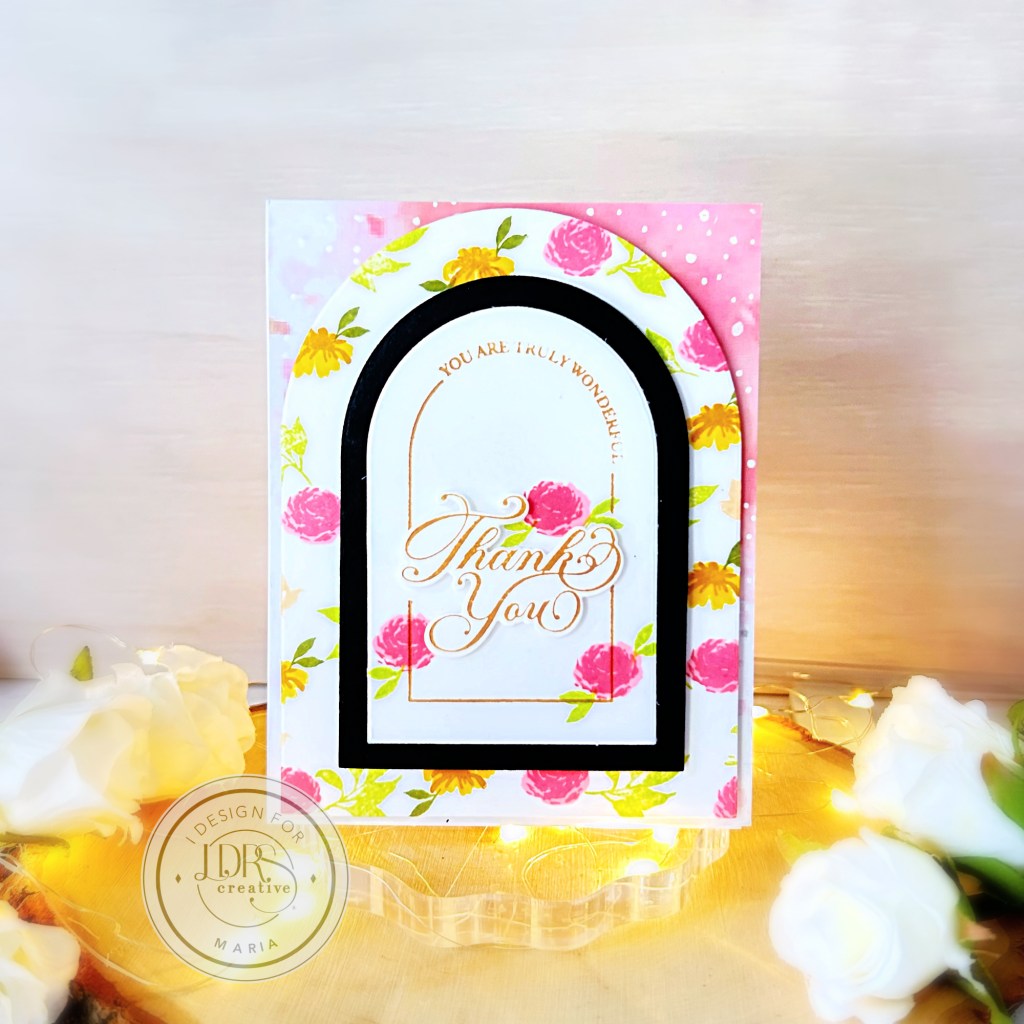
Wildflower Layered Botanicals with LDRS Creative

I hope everyone’s doing well! It’s been hot, humid and raining here in Florida and I have been dreaming about the cooler weather coming up soon.  I wanted to create something that’ll cheer me up and decided to create this floral card.

Here are the products I used to create the card:

Wildflower Layered Botanicals Stamp Set

Arches Die Set

Arches Thank You Impress-ion Press+Foil Plates

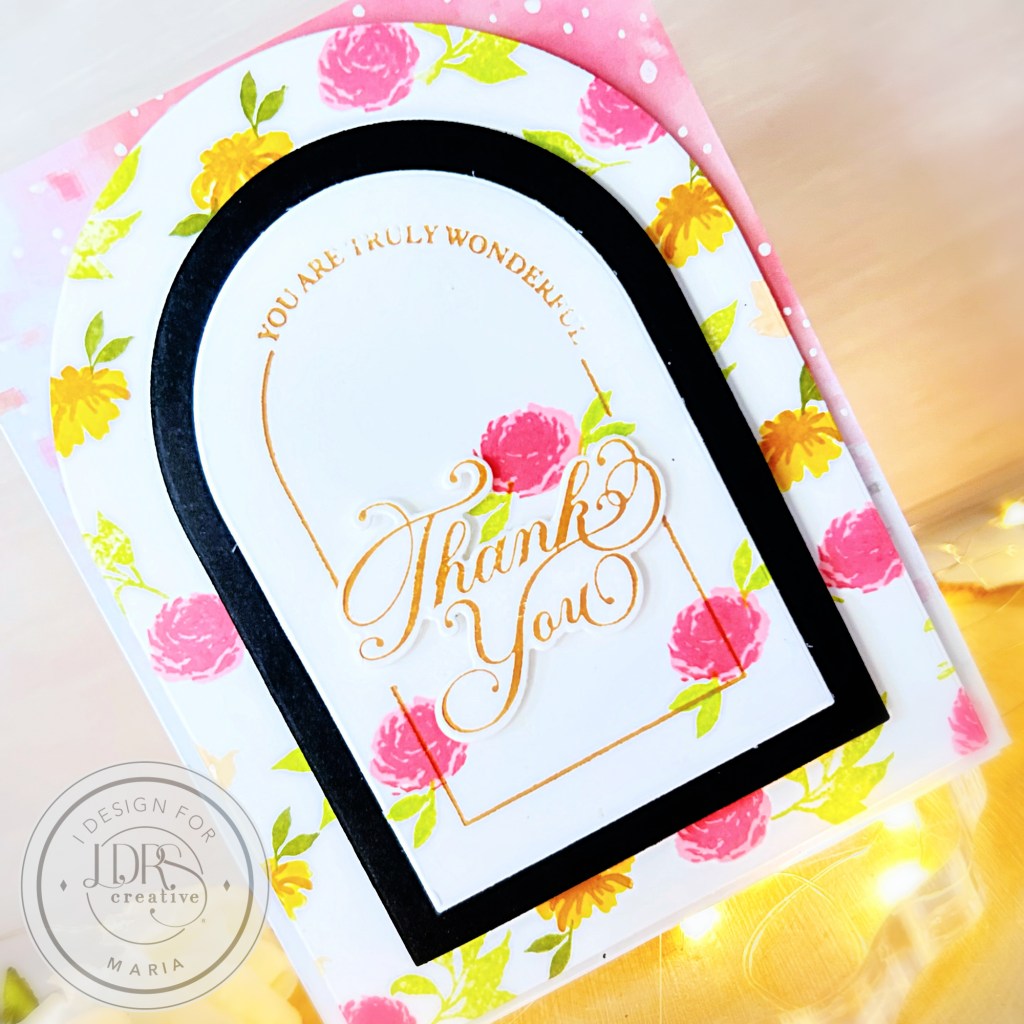
I started by stamping the beautiful floral images on some A2-size solar white card stock using the  Wildflower Layered Botanicals Stamp Set.  For reference, I used the following hybrid inks ->  Pink TutuLipstick JungleKey Lime PieDan-D-LionOlive Branch and Iced Tea.

Next, I die-cut the stamped image using the  Arches Die Set and foam-mounted this piece on some watercolored background. I used the same Arches Die Set to die-cut the black card stock and adhered the same with foam adhesive for more dimension.  I also used the  Arches Thank You Impress-ion Press+Foil Plates with  Iced Tea hybrid ink and ran it through my die-cutting machine to get the impression and adhered on the card front with glue. 

I finished my card design by stamping a trio of the small roses  with leaves on the focal panel.  I absolutely LOVE this stamp set!  It is so beautiful and easy to layer.  Here’s another look:

Thank you so much for stopping by today and happy crafting!