Handmade Christmas with Newton’s Nook Designs

Hello my crafty friends.  It’s a double-whammy kind of day for me at Newton’s Nook Designs.  I not only have this blog post, but there is also an exclusive Designer Nook’s newsletter where I featured another project today.  The Designer Nook newsletter is only available for subscribers so if you haven’t signed up for that, please head on over to the Newton’s Nook Blog.

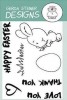
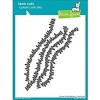
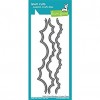
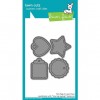
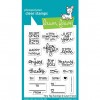
For my projects today, I am showcasing the Naughty or Mice stamp set, Naughty or Mice die set, Festive Forest stamp set and Festive Forest die setSweater Weather stamp set and sweater weather die set, with the Fancy Edges die set.  We all have our stash of stamps and dies and making some handmade gift boxes and tags is what I always love to do during the holidays.

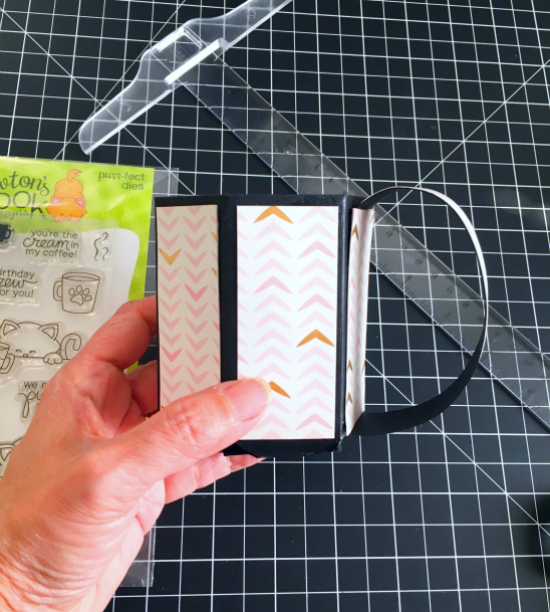
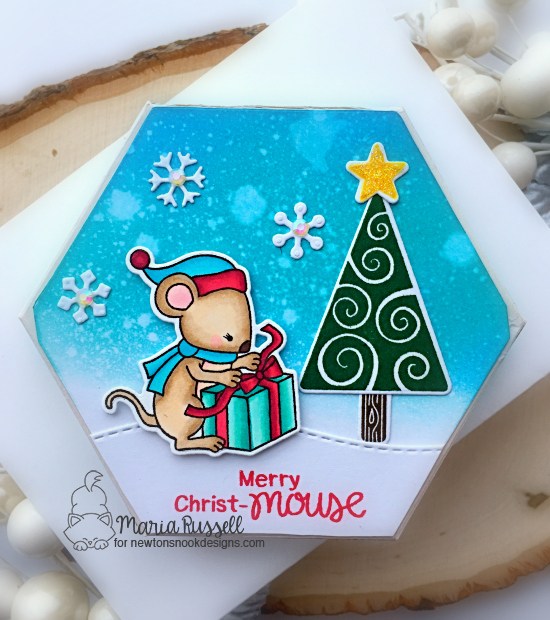
For my Hexagon gift box, I started by die-cutting the box with a die from my stash.  I used liquid glue to assemble the box.  I would not recommend doing this if you are mass-producing but for the special people in your life, I think it’s wonderful to create something unique and special during the holidays.


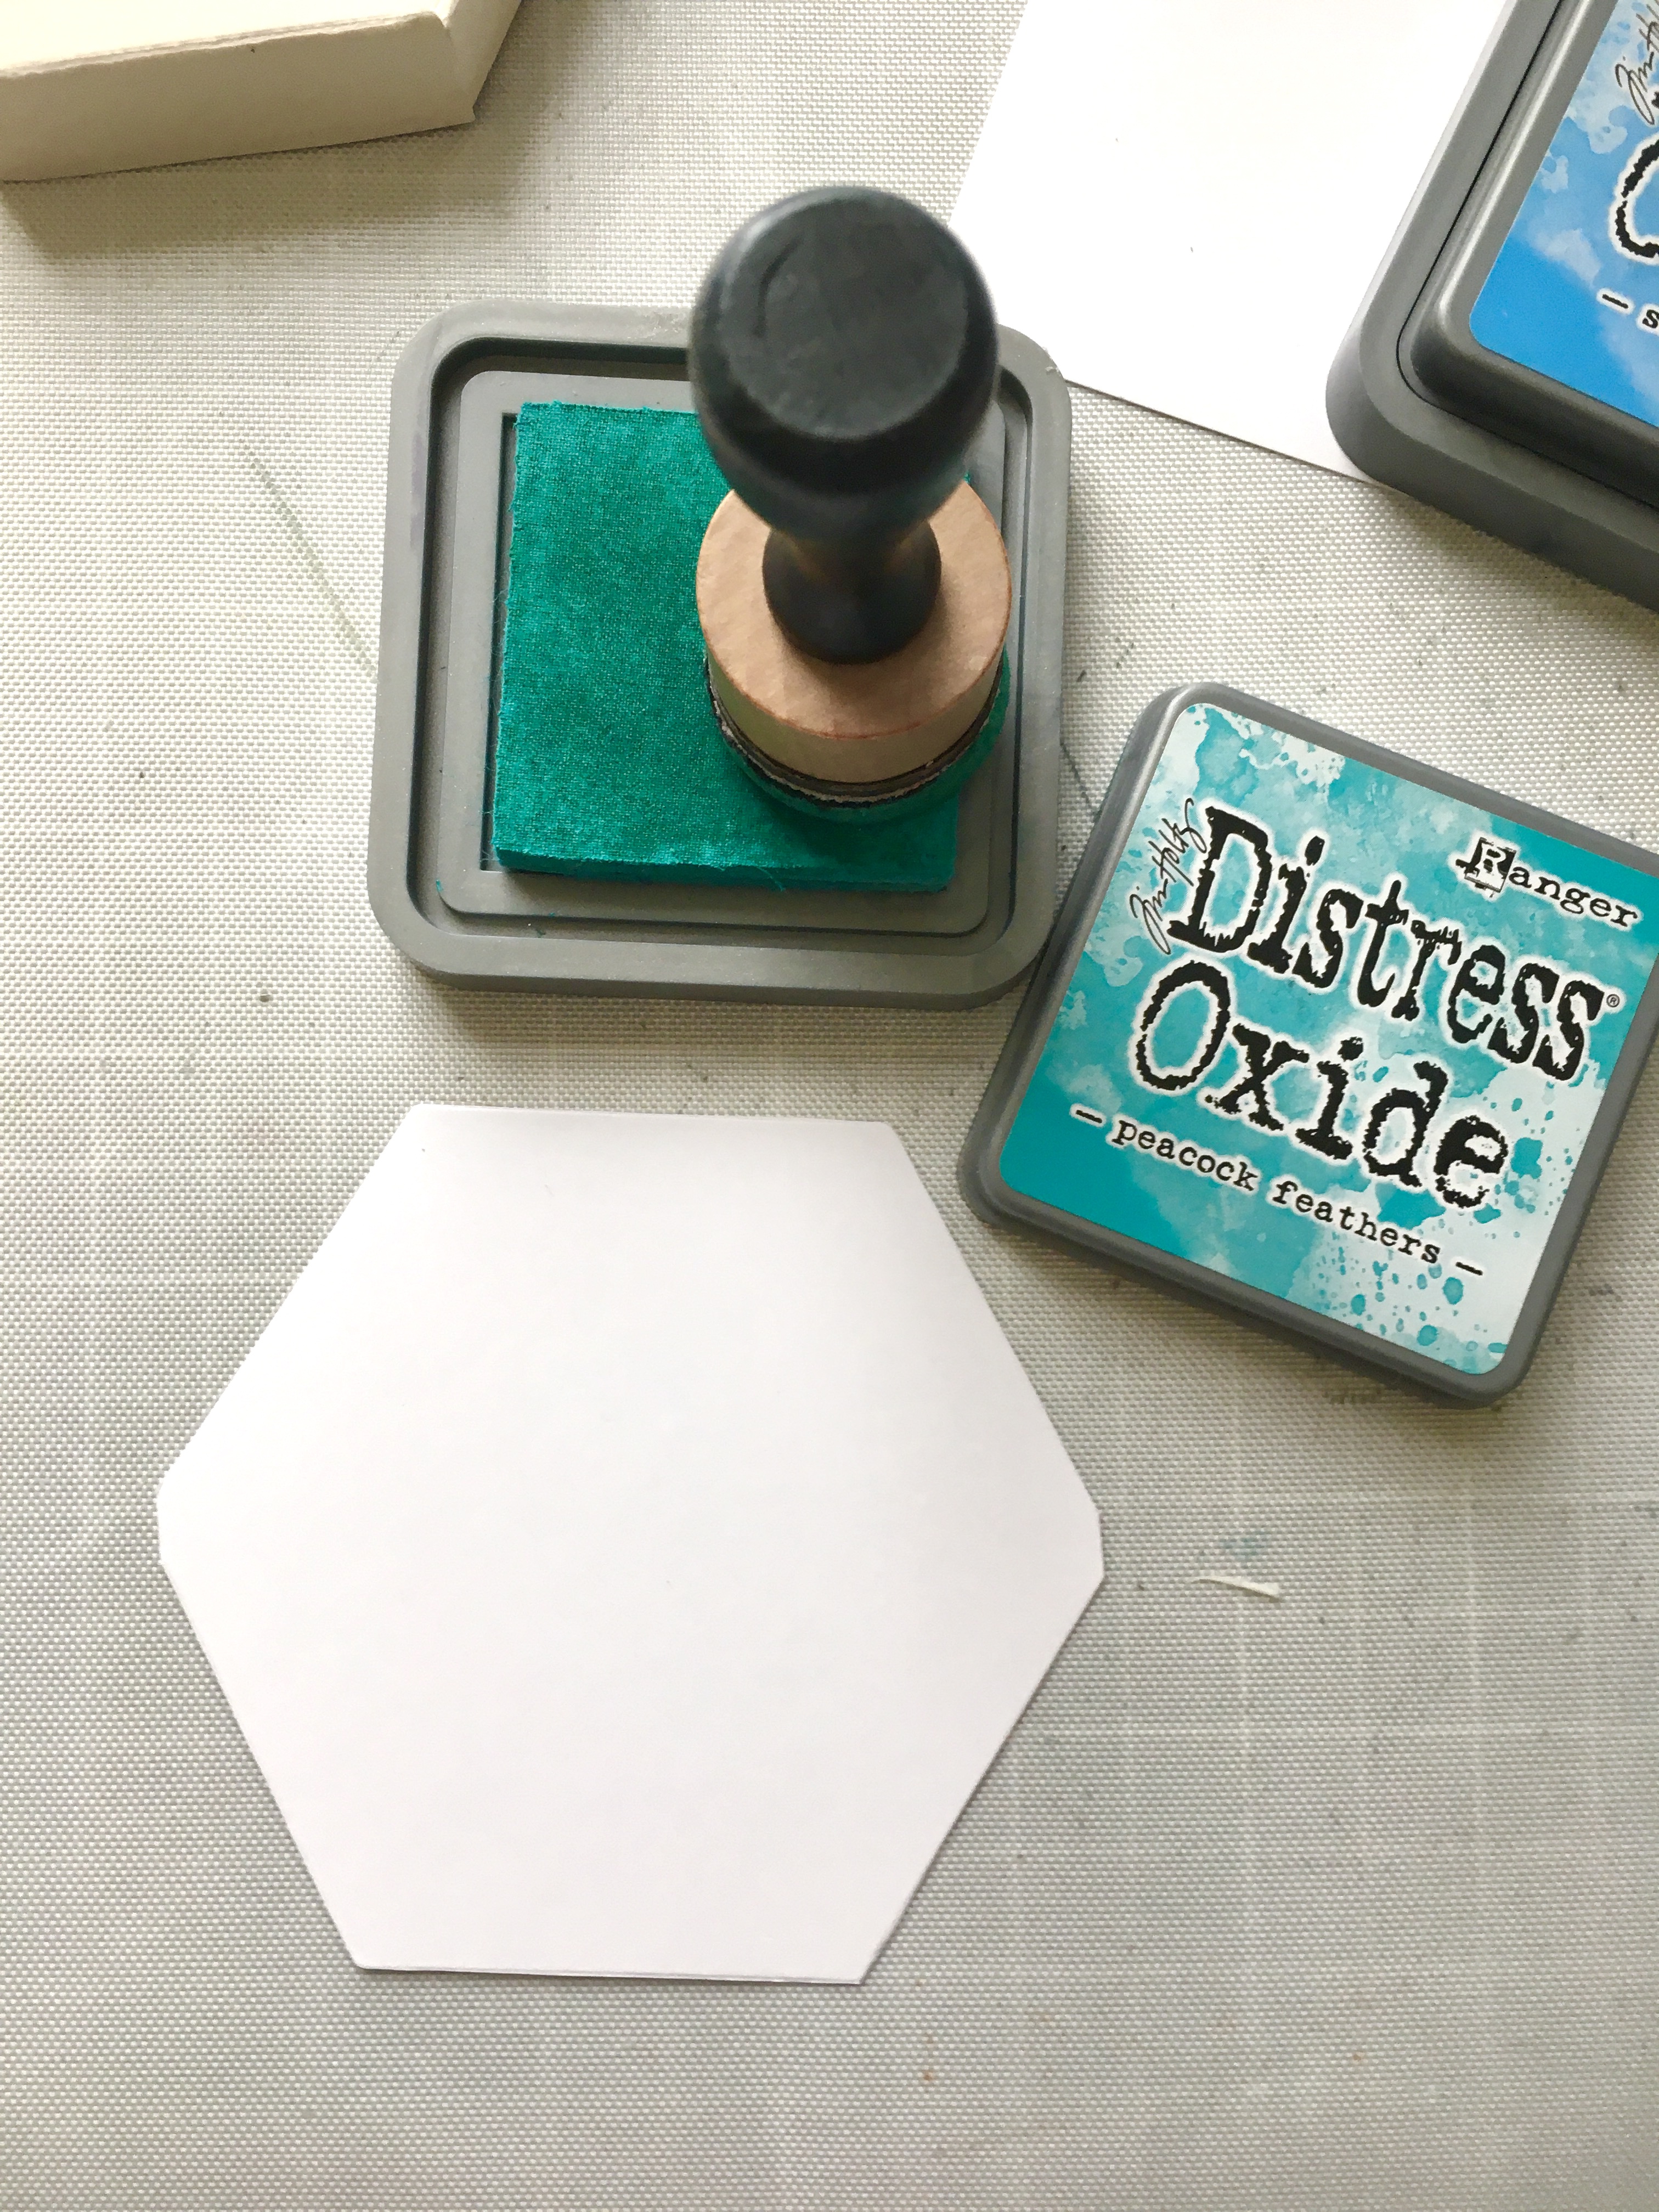
I also die-cut another piece of the hexagon with some Bristol smooth white card stock and used my cutter-bee scissors to cut out the piece.  To create my scene, I ink-blended the background with some Salty Ocean and Peacock Feathers distress oxide inks.  These are my favorite color-combo to create a blue sky.


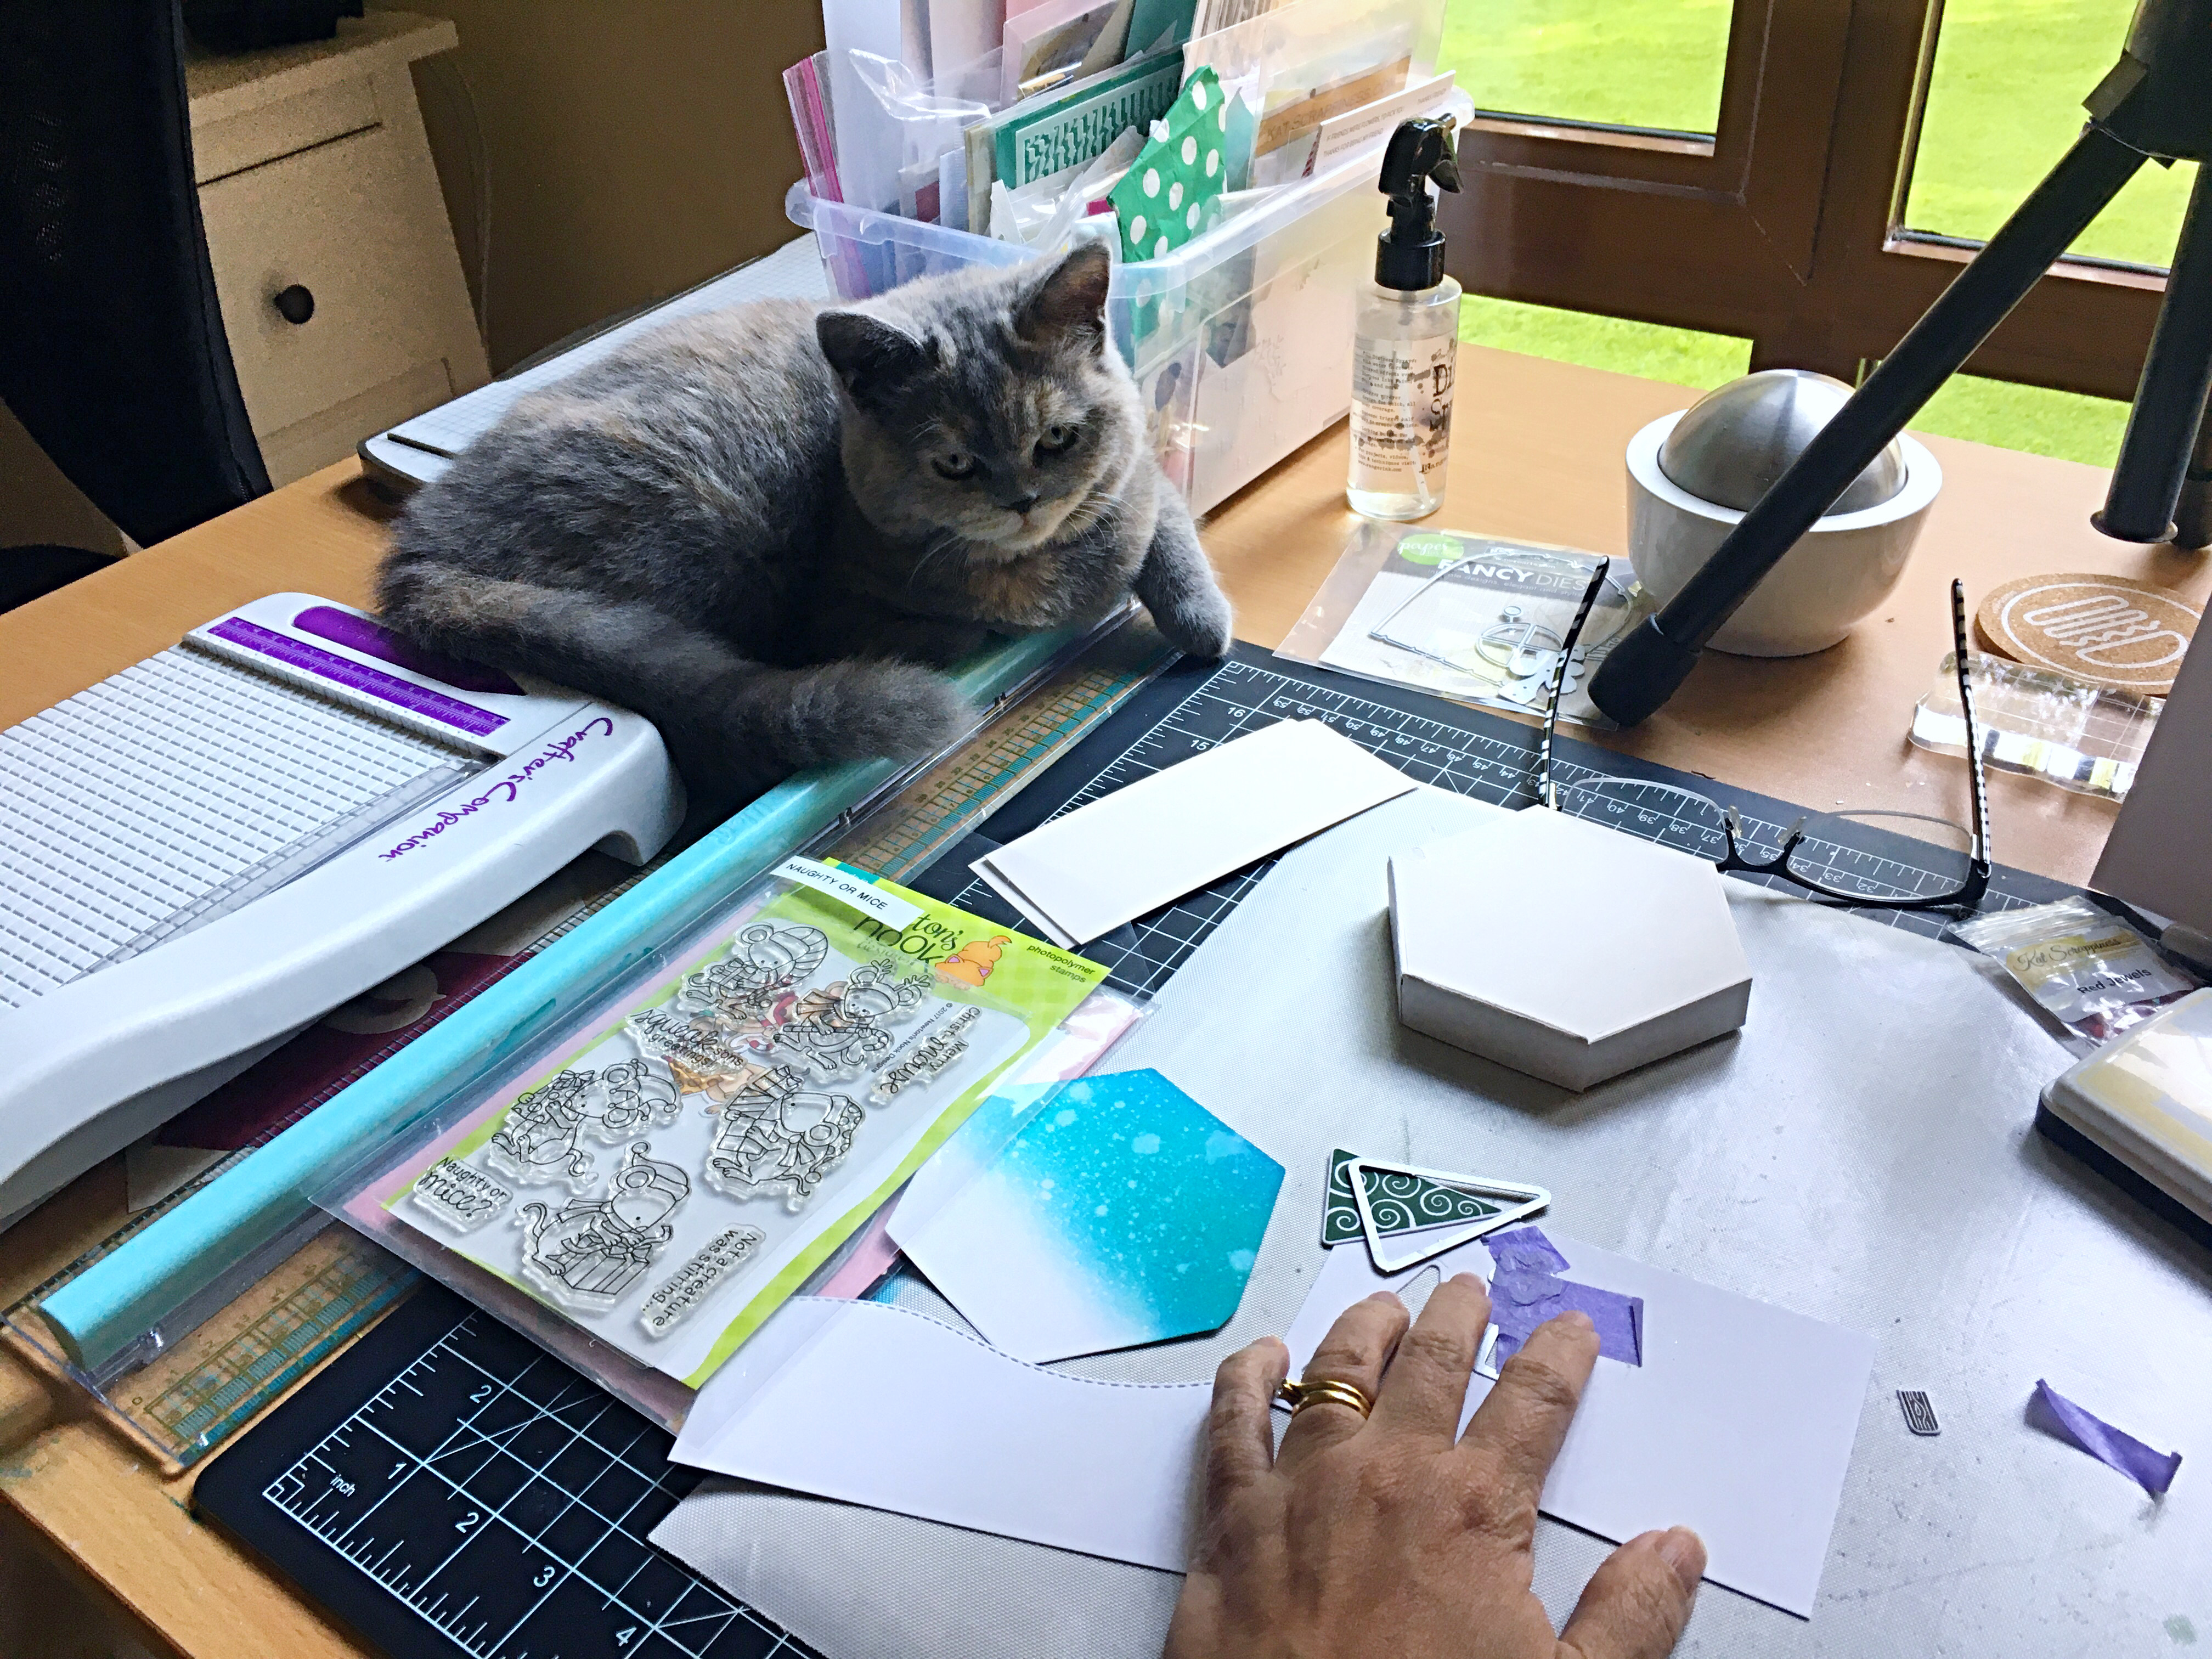
I stamped my images on some Neenah solar white card stock and used the coordinating dies to die-cut the images.  Before adhering the focal image to the box, I stamped my sentiment using some Red Lobster ink.  Here’s a photo of my cat Phoebe supervising me and making sure I was doing it right!  She loves crafting with me during the day.


I adhered the focal image to my box.  Here’s what it looks like:


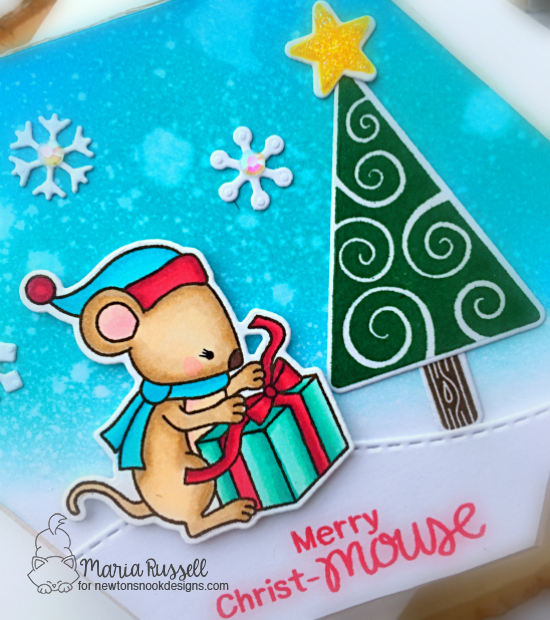
To finish my design, I added some crystal lacquer to the star and also adhered some snowflakes to adorn my scene.  Here’s a closer look:


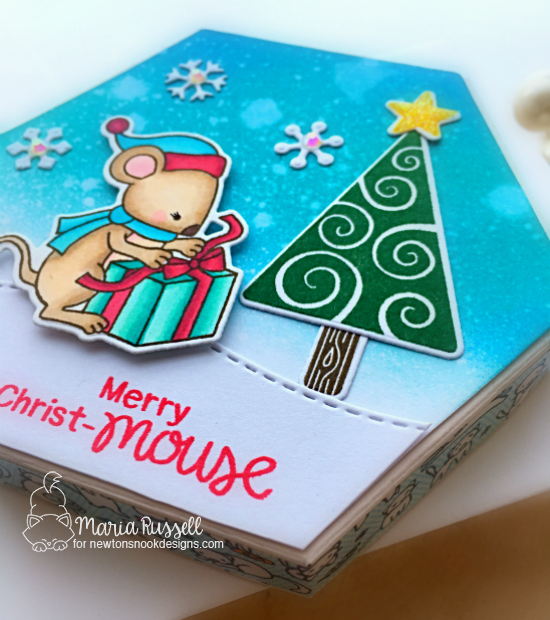
I LOVE being able to create special gift boxes and tags with the supplies I have on hand.   I also added some cute Washi tape on the side of the box for some stability.  Doesn’t it look so unique?


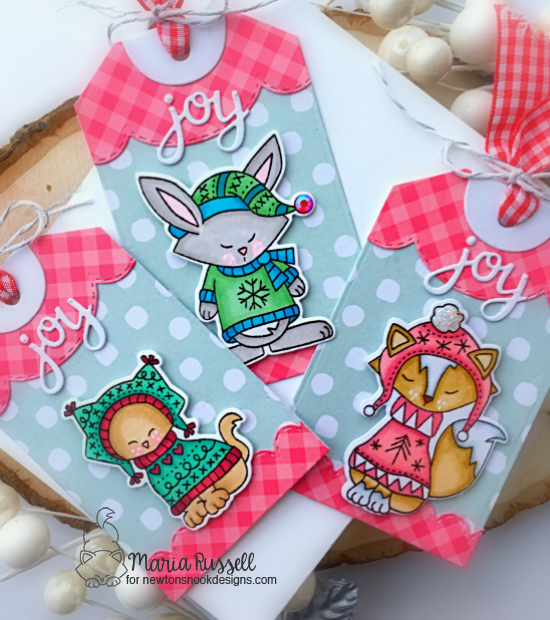
For my second project, I wanted to create some Christmas tags to go with my presents this year.  I used the Fancy Edges Tag die set and the Sweater weather stamp set.  Here are my tags:


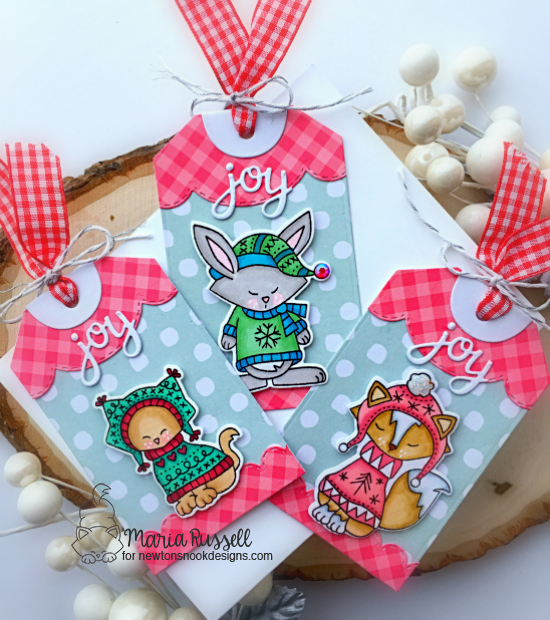
For more texture and dimension, I added some crystal lacquer and jewels to adorn the tags.  Here’s a closer look:


I hope I inspired you today to create handmade gift boxes, cards and tags for the holidays.  Thank you for stopping by my blog.  The supplies I used are listed and linked below.  Have an amazing week and happy stamping!
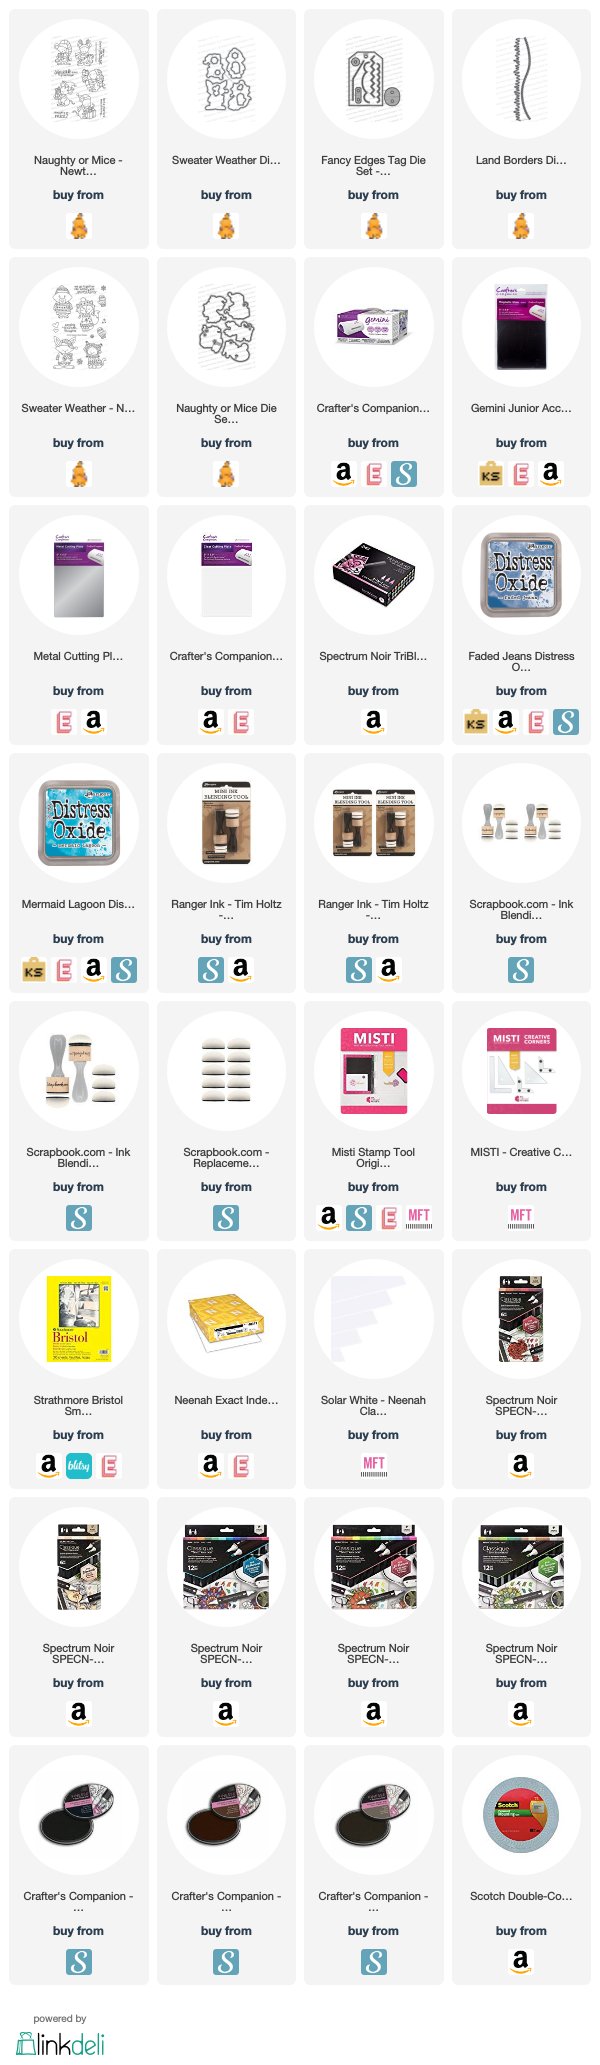
———–SUPPLIES————


https://linkdeli.com/widget.js?1559654439292

NND February Release – Bitty Bunnies

NNDFeb18ReleaseIcon

It is day 2 of the February release by Newton’s Nook Designs and the design team is showcasing the Bitty Bunnies stamp set and coordinating dies.  You also have a chance to win each stamp set during release week so check out the details I have indicated at the end of this blog post.  [Just a little important note:  I know some of you had difficulties finding the comments section.  If you would like to leave a comment to participate in the giveaway, the “comments section” will only be ever visible when a single post on Word Press is being viewed. Please click on this particular blog post and you will be able to leave a comment below.  Thank you for understanding and I apologize for the confusion.]  

Here’s what the stamp set and dies look like:

I stamped my images on Neenah solar white card stock and colored them in with my Warm Gray Copic markers (W2 and W00).   Since the bunnies looked almost white, I wanted to showcase them by adding some colors on the foreground to make them pop.  I use my home-made stencil to color the background with my distress oxide inks (Worn Lipstick, Wilted Violet and Wild Honey).

To finish my design I used some dies from my stash to create the stitching details for the butterflies.  Here’s my card:

NNDBittyBunnies1

For my second card, I colored my Bristol Smooth white card stock with Broken China, Worn Lipstick and Cracked Pistachio distress oxide inks with my mini-ink blending tool.  I adhered the bunnies with some foam tape and heat-embossed my sentiment with my white embossing powder.  Here’s the second card:

NNDBittyBunnies2

Would you like to win the “Bitty Bunnies” Stamp Set?  This stamp set will be given away to ONE lucky winner!

Here’s how to win:

Comment on the NND blog and Design Team blogs (see list below)! The winner will be chosen at random from the collective reveal posts. Make sure to check out each of their blogs and comment for your chance to win. You will not know which blog has been chosen so the more you comment on the better your chances are of winning! You have until Thursday February 15th at 9pm EST to comment  — winners will be announced on the blog post on Friday, February 16th.

Check out all the awesome Design Team Blogs below to enter:

Newton’s Nook Designs

Amanda Bodine

Holly Endress

Ellen Haxelmans

Larissa Heskett

Samantha Mann

Juliana Michaels

Naki Rager

Maria Russell

Jennifer Timko

Tatiana Trafimovich

———SUPPLIES———


Valentine’s Mailbox Treat Holder with Color Washed 12×12 Paper Pad by PHP

Maria Russell CircleAre you looking for some last-minute gift ideas for Valentine’s Day?  Look no further.  Here’s an easy and fun Valentine’s Mailbox Treat Holder idea!   You can find these mailboxes at a craft store, or go to your local Target at the Dollar spot section.  I have altered my mailbox, using the beautiful Color Washed 12 x 12 Paper Pad by Paper House Productions.  You guys are all going to love this paper pad.  The pad comes with a sticker sheet that contains alphabet stickers, and other ephemeras.

I love making 3D projects for Valentine’s Day, especially making treat holders for my family and friends.  Valentine’s Day is always a special day at my house.  When my kids were a lot younger, I would surprise them by decorating the table with hearts, candles, confetti, and flowers!  I would also leave the little treat bags on top of their plates so that before they eat breakfast and go to school, they already have their treats with them.  It made their day.  It doesn’t matter how big or small the presents were but they were always happy to get a few treats to celebrate the day.  We also made treats for their friends!

Here are the photos of my finished project:

PHPColorWashed1

PHPColorWashed2

PHPColorWashed3

PHPColorWashed4

PHPColorWashed6

I have a process video for you today to show you how I altered this inexpensive mailbox that I found from Target.  It is super fast and easy, and it doesn’t require decoupaging.  I hope you like it.  The supplies I used are listed and linked below.  Have a wonderful day!

SUPPLIES:  Color Washed 12 x 12 Paper Pad, Xyron Creative Station Lite, Mailbox


Happy Easter Card and Easter Treat Bag

Hello stampers and crafters! It’s Maria Russell here with you today and I am so thrilled to be back as a design team member for Kat Scrappiness.

Today I have created two projects, showcasing the (recently stocked) Stitched Heart Tag Dies, Stitched Rope Nested Rectangle Dies, Gerda Steiner Brush Bunny stamp set and a bunch of other products available at the shop.

If you haven’t watched the YouTube video tutorial on how I made these treat boxes, I have linked the video below. It is very easy and you can create a decent-size treat bag using these tag dies. They are so versatile you can create a ton of projects with these dies, for any occasion.  Here is the video tutorial:

For the treat bag, I started out by die-cutting the tags twice and stamped my images on the tag. I highlighted the rainbow with my white gel pen. Before assembling the treat bag, I die-cut a grass border hills die. It is important to do this step first before assembling the bag.

IMG_4339

I stamped my bunny images on Neenah solar white card stock and colored him in with my Copic markers. I adhered my bunny to the treat bag.

Using my favorite Lawn Fawn Tiny Tag Saying stamp set and Tiny Tag Dies, I stamped the sentiment on the tag, and attached it on the treat bag with my pink and white twine. Hear is the treat bag:

IMG_4341
For the card, I started out by die-cutting my front panel using the largest of the stitched rope nested rectangle dies. I sponged the “clouds” using my lawn Fawn Clouds Border Dies, with Tim Holtz Broken China distress Ink.

IMG_4338

I die-cut another grass border die and adhered it on my front panel. I stamped the eggs on Neenah Solar White card stock and colored them in with my Copic markers. I also used my Sakura Gel pens to add some details to the eggs.

To finish off my design, I adhered all of the stamped images and die-cuts on the front panel of my card. Using a blue card base, I adhered the front panel to my card base using my all-time favorite Xyron Mega Tape Runner. Here is the card:

IMG_4342

Here are the two projects:

IMG_4340

I hope you got inspired today. Please check out all the new items at Kat Scrappiness online store before they sold out again. The supplies I have used are listed and linked below. Have an amazing day!

————-SUPPLIES———

Sweet Treats Blog Hop ~ Message in a Bottle & Paper Coffee Mug Treat Holder

nndsweettreatsbloghop

Hello stampers and crafters! Thank you for stopping by my blog. Welcome to the sweet treats blog hop hosted by Newton’s Nook Designs. I have a special treat for you today. I am sharing two Valentine’s D.I.Y projects.

The first project is a unique holder for your love letter. I call it, Message in a Bottle. I made this project a few years ago and posted it on my YouTube channel.  Back then, I wanted to give my husband something unique on Valentine’s Day so I made this cute, shabby chic message in a bottle project that housed a music sheet by Led Zeppelin, called “Thank You”. This was the very first song that my husband played for me on the guitar when we were still dating many, many years ago. However, the Message in a Bottle project that you see below is a lot simpler. If you are looking for a unique project this Valentine’s Day, the possibilities are endless using this idea!

I started out by cleaning up a small empty wine bottle and set it aside to dry. For my example below, I used a music sheet patterned paper  (Note: You can write your own love letter instead)   I rolled the patterned paper using a pencil to make it easier for me, then tied it with a bow.


nndmessage1

To add interest to the message holder, I added the love die-cuts using Newton’s Nook Designs Darling Hearts Die. There is a small “love” script die that is included in this set and is perfect for this project. I also used some of my favorite sequin mixes to further decorate the bottle.


nndmessage3

This is like a shaker card, without having to use foam adhesive. I think it turned out so cute!  To finish off the design, I die-cut the heart tag using the Darling Hearts Die on pink patterned paper. I used the sentiment and the heart from the Holiday Smooches stamp set. I used my crop-a-dile to turn the die-cut into a tag. I tied it on the bottle with my silver twine. Don’t you just love this unique love letter holder?


nndmessage4


The second project is an adorable paper mug treat holder idea, using the We R Memory Keepers Punch Board. This Punch Board is one of my all-time favorite crafting tools because of its versatility. You can make your own envelopes, treat boxes and treat holders.

I followed a video tutorial on YouTube on how to create this Paper Coffee Mug. Since this project is for Valentine’s Day, I wanted to use White, Pink and Gold for my project. I used a beautiful patterned paper that I got from Michael’s to decorate my paper mug.


nndcoffee1

I then stamped this cute Newton image (from the Newton Loves Coffee stamp set) on Neenah solar white card stock and colored him in with my Copic markers. I used the coordinating dies to die-cut the image and adhered him to a pink circle card stock. I die-cut the scallop circle with my stitched fancy scalloped circle die to further decorate my tag. I love the pink and gold color combination.


nndcoffee2

I bought some of my favorite Keurig coffee pods and I put them inside this clear cellophane bag.  To finish wrapping up my package, I used my sweetheart twine to close the bag, and stamped my sentiment on this pink heart tag die, and tied a bow. I love this paper mug treat holder to package up some favorite coffee pods.

nndcoffee3


Here is the paper coffee mug treat holder:


nndcoffee4


Would you like to win a $10 store credit to Newton’s Nook Designs online shop?  We are giving them out to TWO lucky winners!

Here’s how to win:
Comment on the NND blog and Design Team blogs (see list below)!  The winner will be chosen at random from the collective reveal posts. Make sure to check out each of their blogs and comment for your chance to win.  You will not know which blog has been chosen so the more you comment on the better your chances are of winning!  You have until Monday, February 6th at 9pm CST to comment — winners will be announced on the NND blog on Tuesday, February 7th.

Check out all the awesome Design Team Blogs below to enter:


———-SUPPLIES———–

https://static.inlinkz.com/ppr.js

Halloween Cards & Frankie Treat Box

I am back today to share with you some Halloween projects that I made using a bunch of dies and card-making supplies from KatScrappiness.Com.

October has always been my favorite time of the year to start my crafting for Halloween, Thanksgiving and Christmas. With the days getting shorter, I want to keep myself busy and create hand-made projects to give as gifts.

The first vellum LED tea light card with the skeleton was actually made a few days ago, as I wanted to display it on top of my mantle with the rest of my Halloween D.I.Y.’s.

final-6

The second card is my favorite. When I first saw this Cheery Lynn Designs Witch’s skirt die at KatScrappiness, I immediately thought of this design for a card. I thought it is pretty hilarious!


final-5


For the sake of time, I am going to keep this blog post short and show you the process video for the Witch’s Skirt/Cauldron Card and the cute Frankie Pillow Treat Box.

I hope you like the projects. Have an amazing day!

Supplies Used: