Are you loving the release so far? It is now the 3rd day of the March reveals by Newton’s Nook Designs. You also have a chance to win each stamp set during release week so check out the details I have indicated at the end of this blog post. [Just a little important note: I know some of you had difficulties finding the comments section. If you would like to leave a comment to participate in the giveaway, the “comments section” will only be ever visible when a single post on WordPress is being viewed. Please click on this particular blog post and you will be able to leave a comment below. Thank you!]
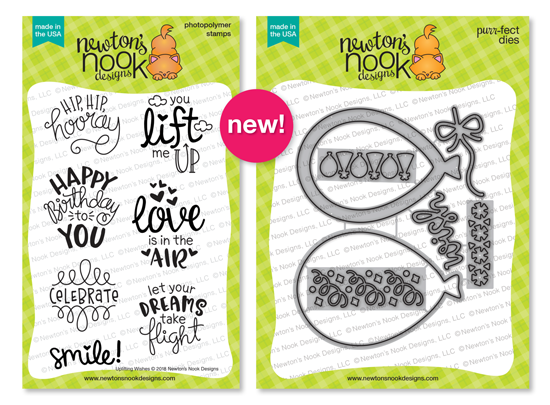
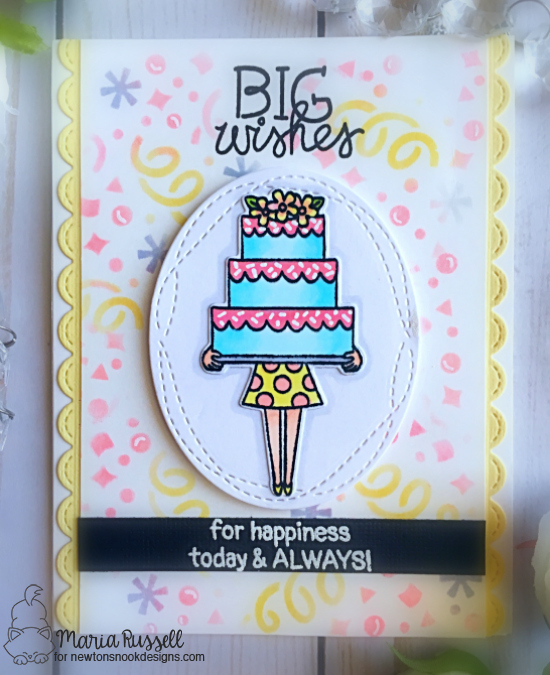
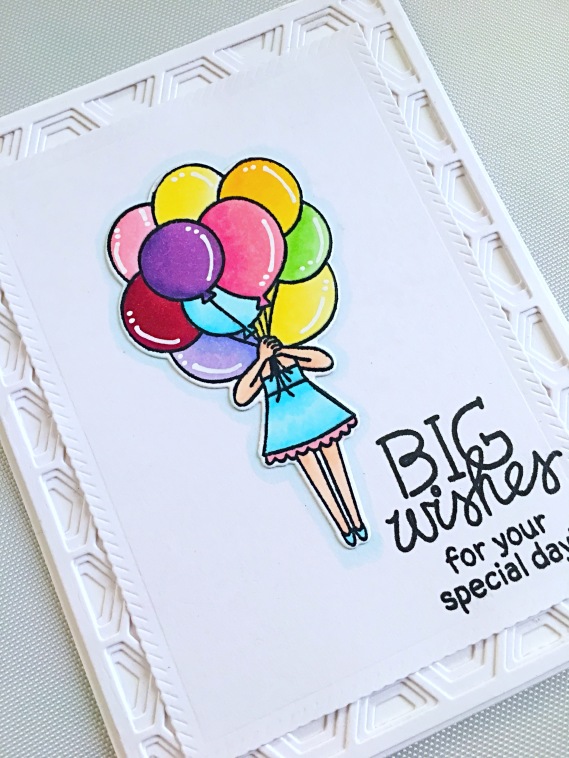
For my project today, the design team is showcasing the Newton’s Birthday Balloons and the Newton’s Birthday Balloons coordinating dies.

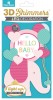
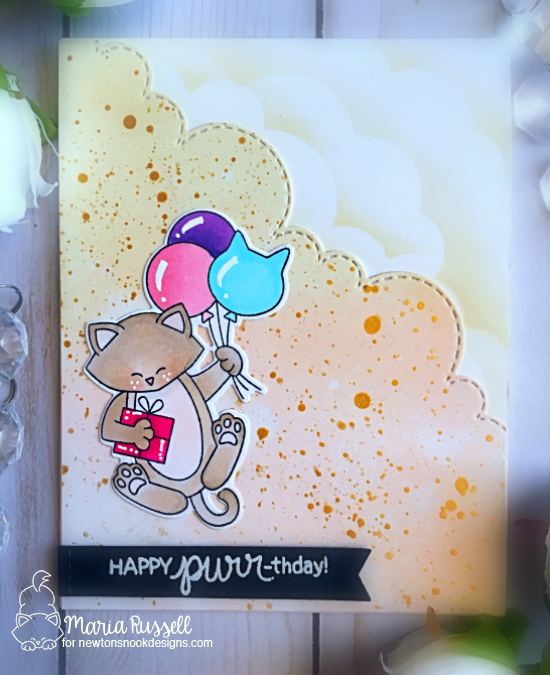
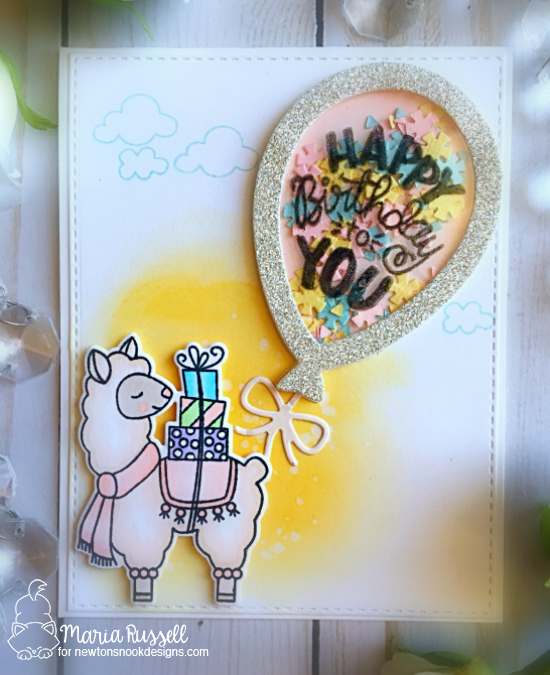
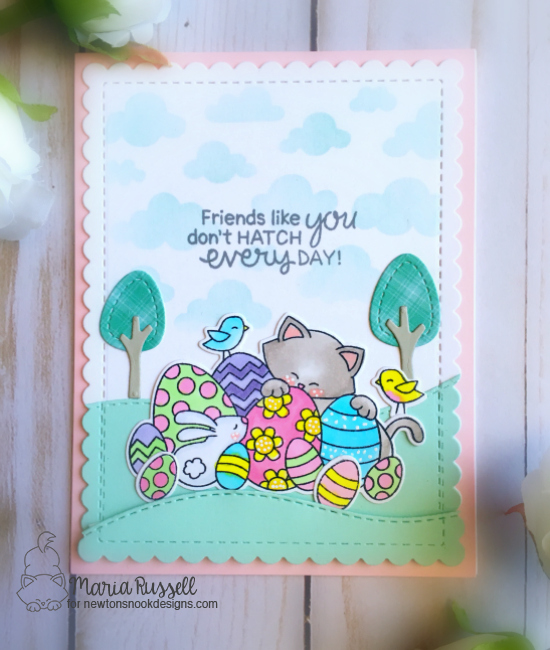
As soon as I saw this stamp set, I immediately thought of creating a scene where Newton is floating up in the air with his balloons BUT I wanted the sky to look unique, than your regular blue and white! I also pictured glitter dust, everywhere!
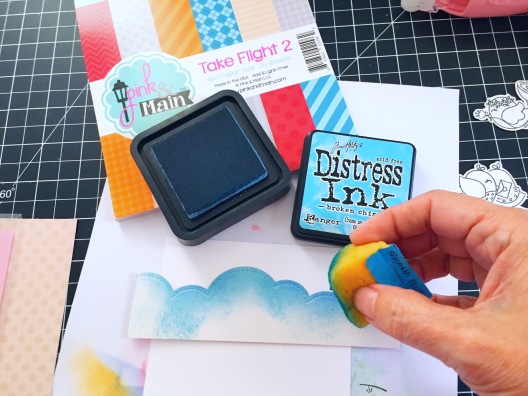
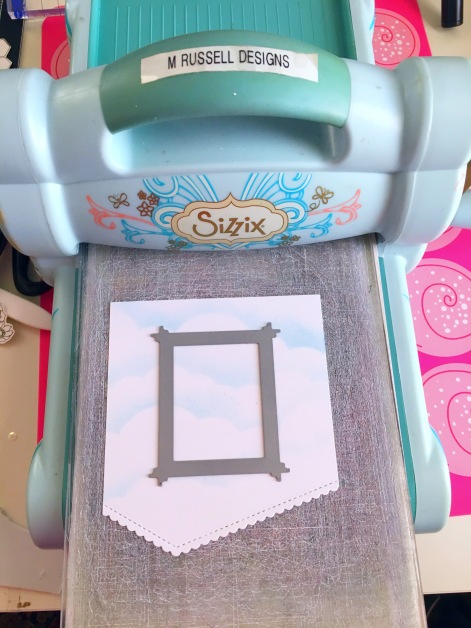
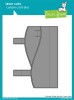
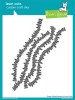
I started with die-cutting my 4 1/4 x 5 1/2 piece of Bristol smooth white card stock, using the Sky Borders die set. I inked it up with Tattered Rose and Antique Linen distress oxide inks, with my mini ink blending tools.
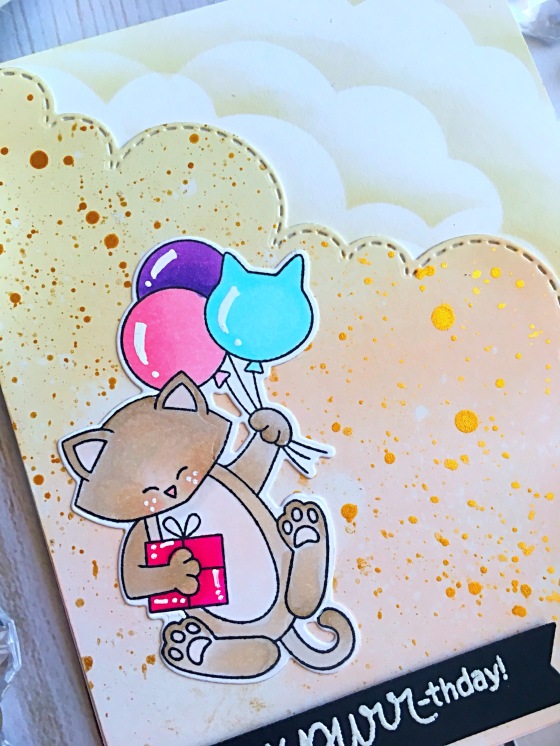
To add the glitter dust on my background, I used my Perfect Pearls Pigment Powder in Perfect Gold and added it on a clear acrylic block with some water. I used my watercolor brush to sprinkle the color onto the card stock. This created some cute glittery-gold sparkle dust on my colored background.
To finish my design, I used my Clouds stencil that I created using the Sky Borders Die, and colored my card base using the Antique Linen distress oxide with my ink blending tool. I also heat-embossed the sentiment on black card stock and added some details to the balloons with my Sharpie White paint pen. Here’s my card:
Here’s another photo to show you the gold glitter dust:
Would you like to win the “Newton’s Birthday Balloons” Stamp Set? This stamp set will be given away to ONE lucky winner!
Here’s how to win:
Comment on the NND blog and Design Team blogs (see list below)! The winner will be chosen at random from the collective reveal posts. Make sure to check out each of their blogs and comment for your chance to win. You will not know which blog has been chosen so the more you comment on the better your chances are of winning! You have until Thursday, March 15th, at 9pm EST to comment — winners will be announced on the blog post on Friday, March 16th.
Check out all the awesome Design Team Blogs below to enter:
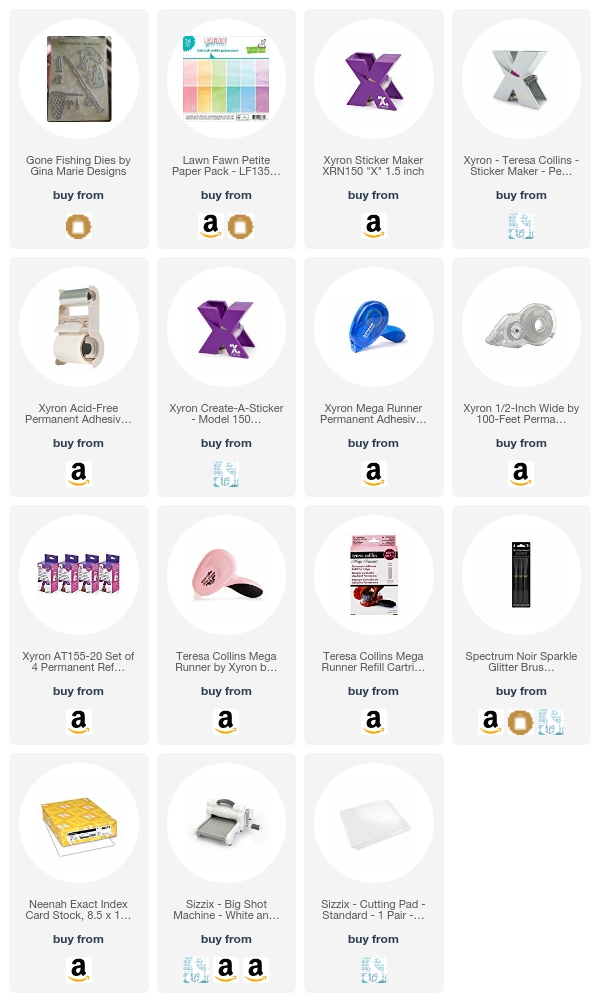
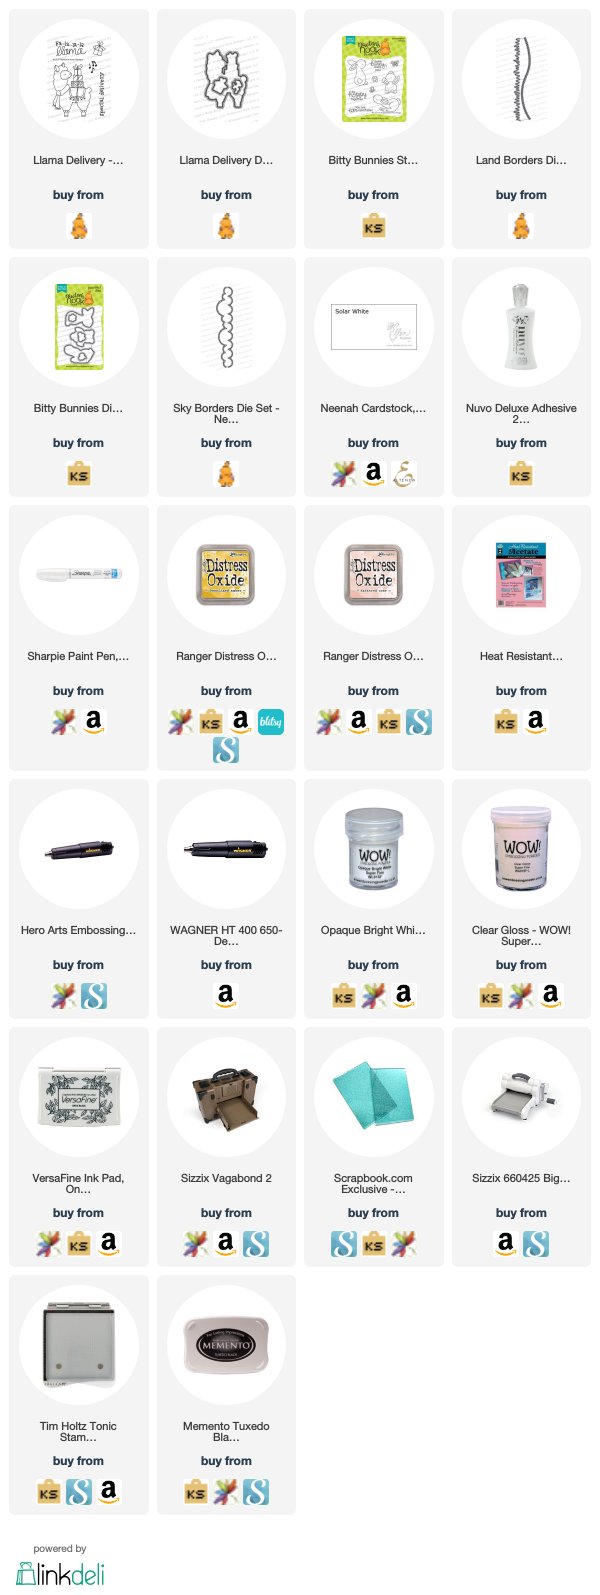
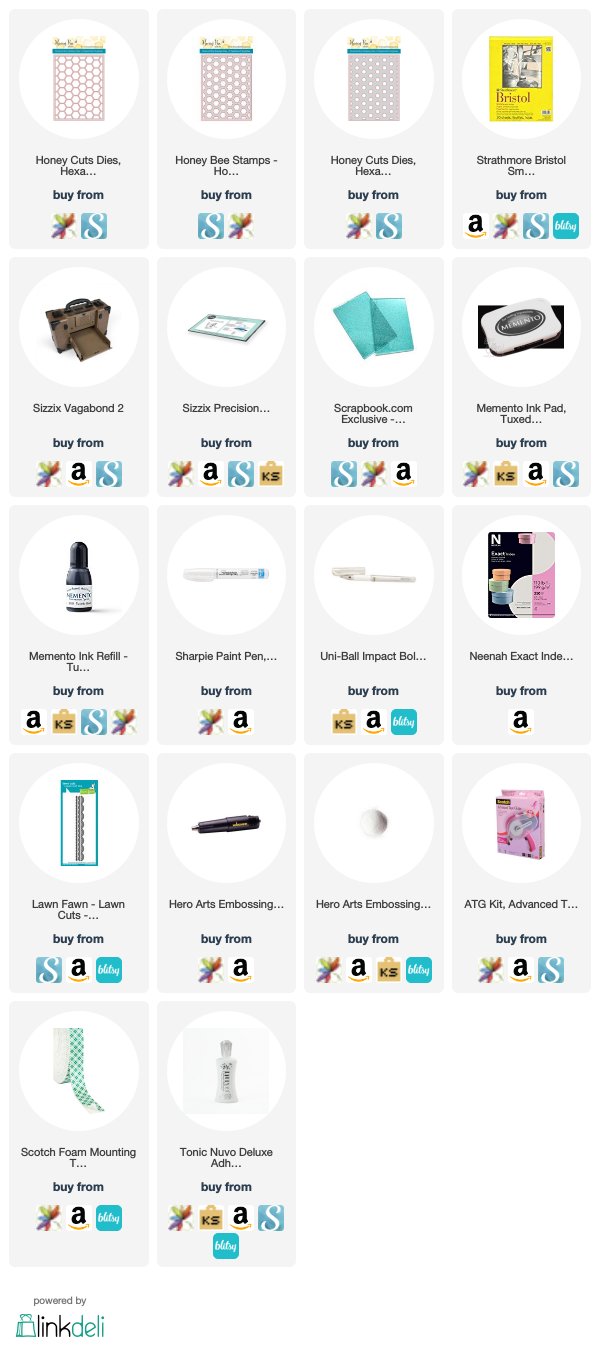
———-SUPPLIES———-


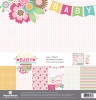
 Are you looking for some last-minute gift ideas for Valentine’s Day? Look no further. Here’s an easy and fun Valentine’s Mailbox Treat Holder idea! You can find these mailboxes at a craft store, or go to your local Target at the Dollar spot section. I have altered my mailbox, using the beautiful