Newton’s Nook Designs January Release Day 1 – Woodland Duo

nnd_releasejan17


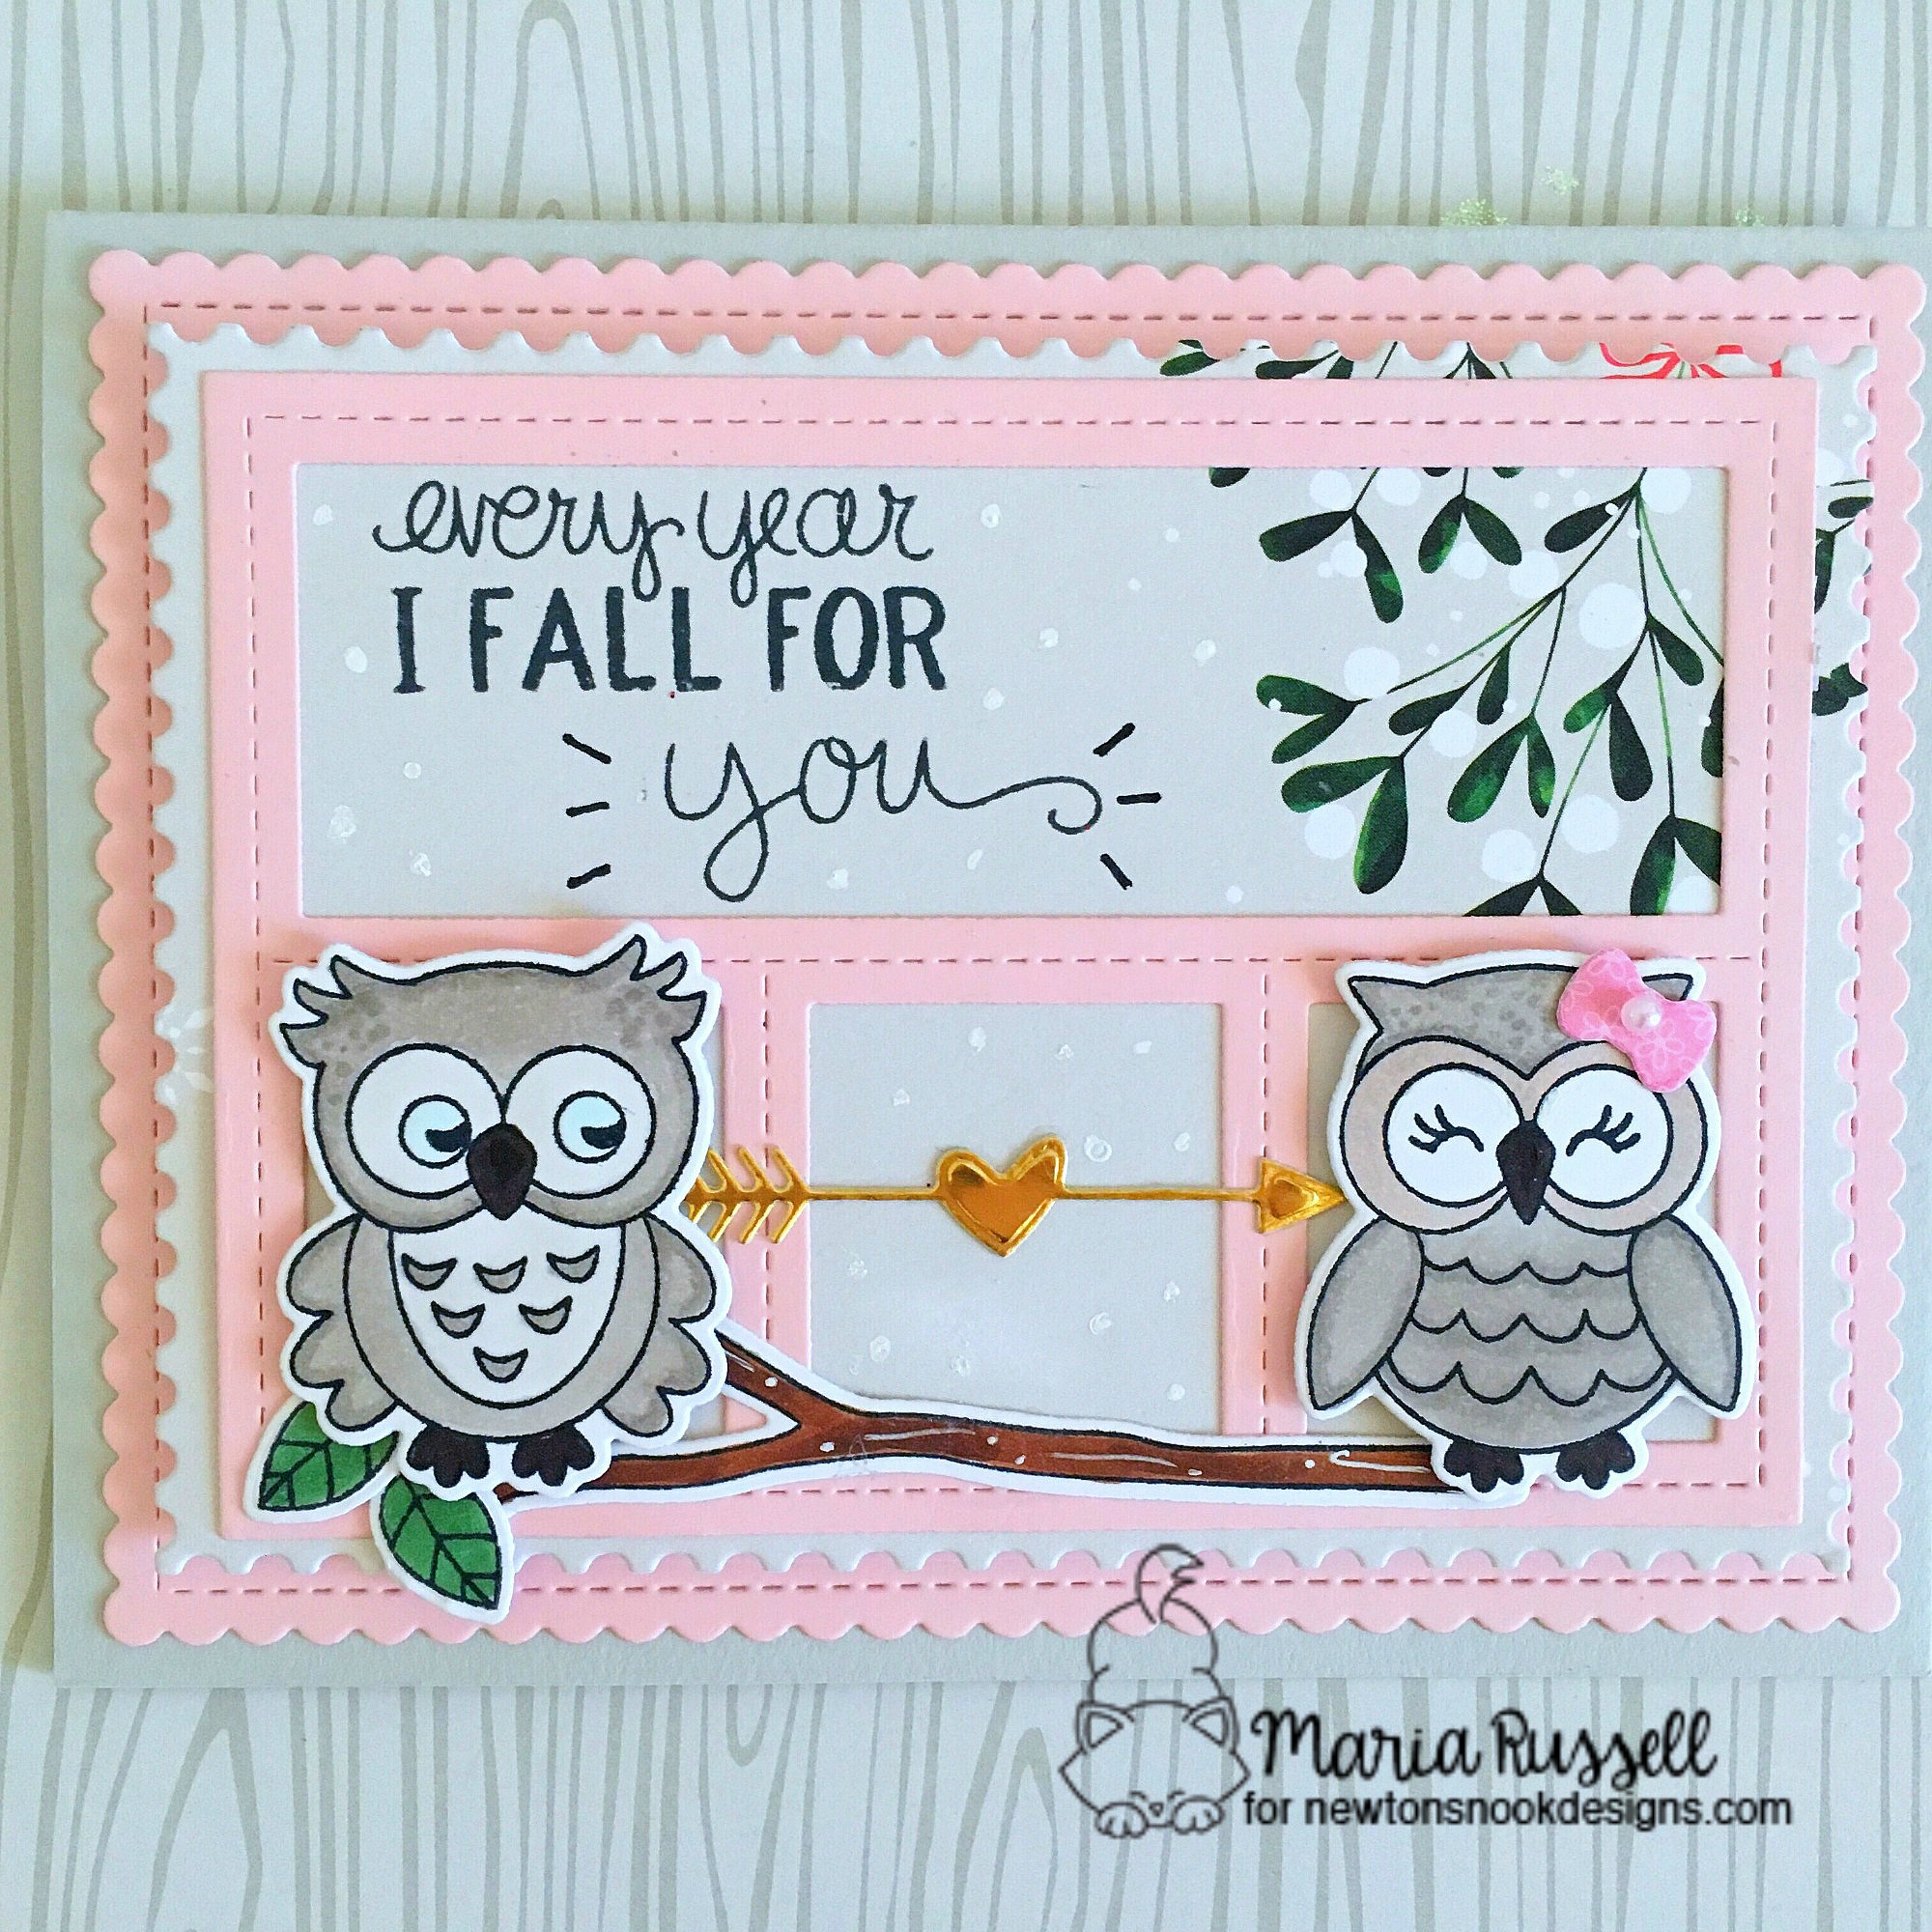
Hello stampers and crafters.  I’m super excited to share this blog post as today is release day (Day 1) at Newton’s Nook Designs.  I have created a Valentine’s Day card, showcasing the new Woodland Duos stamp set. This stamp set coordinates with the previously released, Darling Hearts Die set. You will absolutely love the images on this stamp set!


I started out by stamping my images on Neenah solar white card stock with my memento tuxedo black ink. I colored the images using my Copic markers, and die-cut my stamped images with its coordinating dies.   I wanted to do some inlaid technique to show off the beautiful images in one card without the bulk.


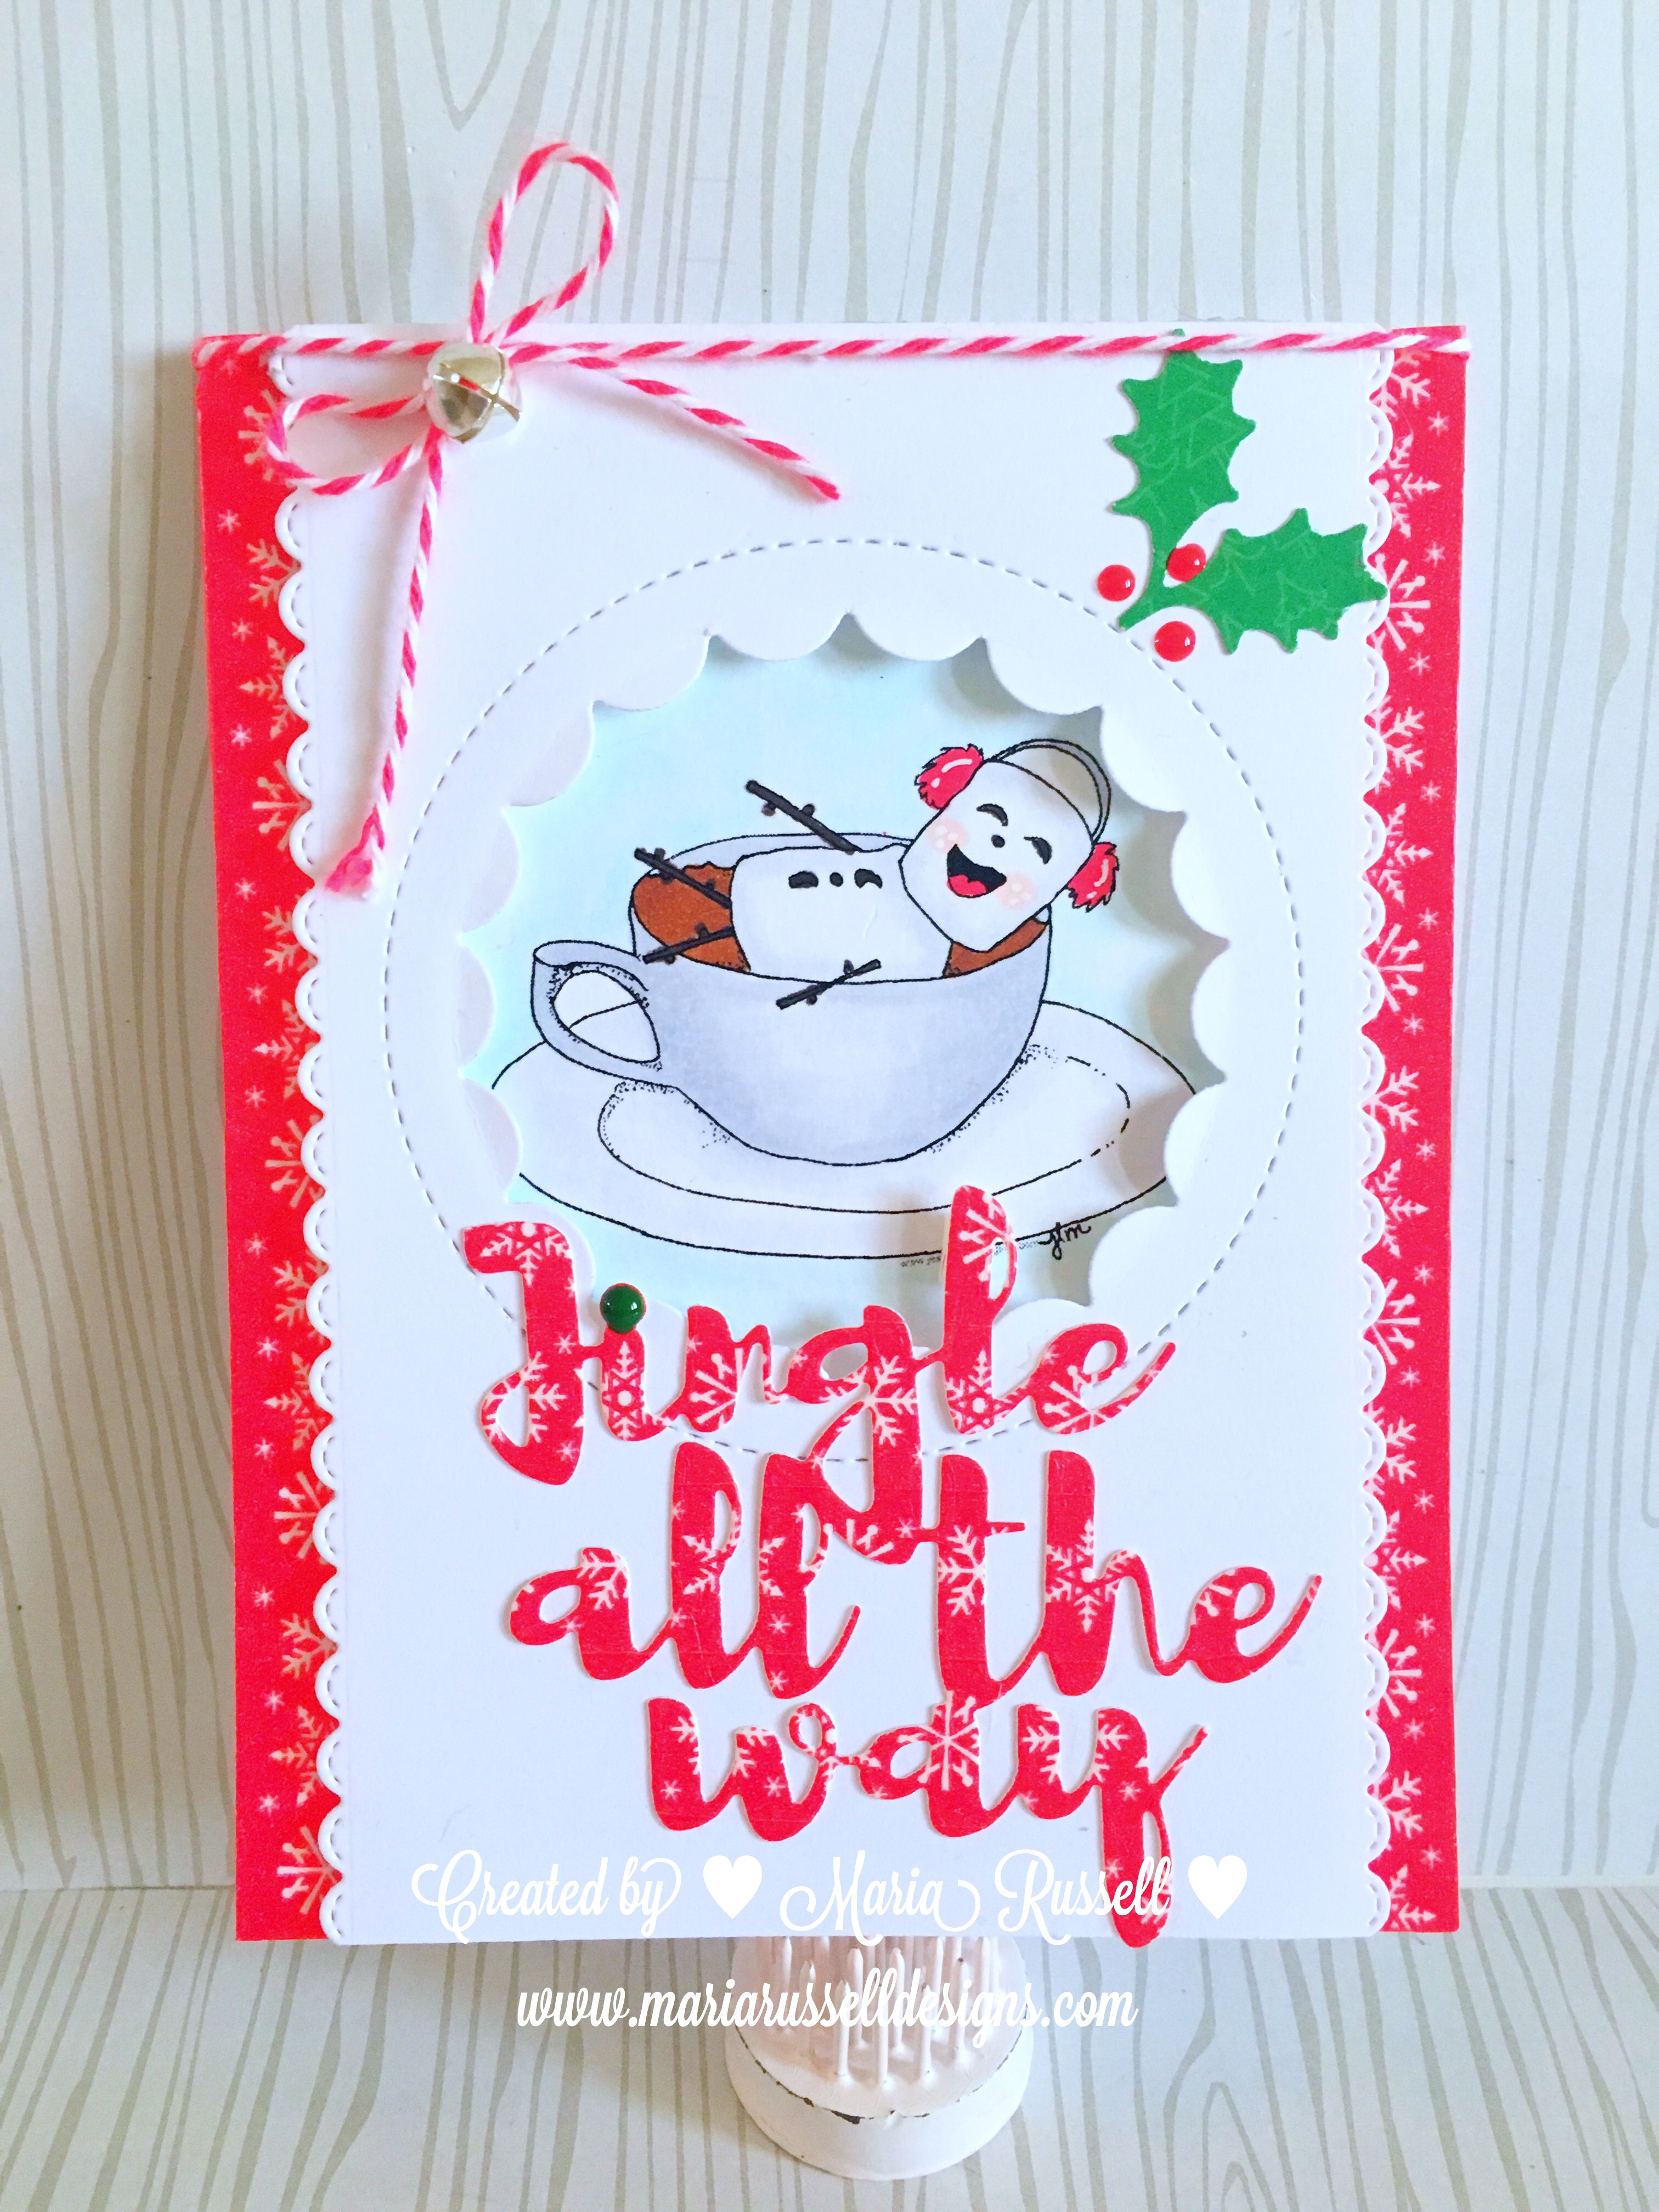
For my card below, I decided to use the foxes and the raccoons, with one of the small hearts included in the set. (I have made another card with the Owl images, which I will later share on a different post with a process video.)


nnd_darling-duo2


I finished off the design by using three different patterned papers, and added the tiny red bow. What do you guys think? I hope you like it as much as I do. This stamp set will be available for purchase on January 20 at 8:00 a.m. CST.


20170101_woodlandduos_pkg


Would you like to win this “Woodland Duos” stamp set?  This set will be given away to ONE lucky winner.


Here’s how to win: 


Comment on the NND blog and Design Team blogs (see list below)!  The winner will be chosen at random from the collective reveal posts. Make sure to check out each of their blogs and comment for your chance to win. You will not know which blog has been chosen so the more you comment on the better your chances are of winning!  You have until Thursday January 19th at 9pm CST to comment  — winners will be announced on the Newton’s Nook Designs blog post on Friday, January 20th.


Check out all the awesome Design Team Blogs below to enter:


Newton’s Nook Designs

Amanda Bodine

Holly Endress

Ellen Haxelmans

Larissa Heskett

Samantha Mann

Juliana Michaels

Naki Rager

Maria Russell (you’re here)

Jennifer Timko

Tatiana Trafimovich


Every Year I Fall For You

I am super excited to share this post today because it is my first post as a design team member for Newton’s Nook Designs (“NND”).

Since Valentine’s Day is just around the corner, I decided to start my projects early.  I wasn’t really sure in the beginning what images I wanted to use for the card so I had stamped out a couple of NND images on Neenah solar white card stock, using my stamping tool and colored the images using my Copic markers. I ended up not using the other images I colored and I have set it aside for a future project in mind. I die-cut the images with my die-cutting machine using the coordinating dies.


img_3315


For my card, I am showcasing the “What A Hoot stamp set and What A Hoot Die Set” and for my sentiment, I used “Fall-ing For You stamp set“. I did a little bit of masking so that I only use the words “every year, I fall for you”. I think it turned out perfectly!


img_3326


Here is the card. The supplies I have used are listed and linked below. I hope you like my card and somehow got inspired to create something beautiful today.  For cute stamp set and dies, please visit http://www.newtonsnookdesigns.com, and share your creations with us on Instagram (using hashtags, #newtonsnookdesigns, #NND) or share it on NND’s Facebook Group (https://www.facebook.com/groups/NewtonsNookDesigns/).

Have an amazing day!


nnd_whatahoot_blog


———SUPPLIES————-

https://static.inlinkz.com/ppr.js

Holiday Spirits Christmas Card

Hello everyone! It’s Maria here with you today and I will be showcasing a lot of items from Kat Scrappiness. For my card, I have used the Avery Elle Holiday Spirits stamp set and Holiday Spirits Dies, with DCAM 8×8 Bricked Wall Stencil and Deck the Halls sequin Mix.

Here is the card:

img_2935

The process video below will not show any Copic coloring because I wanted to keep the video as short as possible. You will, however, see how I stenciled the background and assembled the card.


I hope you found the video helpful and got inspired today. The supplies I have used are listed and linked below. Happy holidays!

—–SUPPLIES—–

Winter Scene Christmas Card

Is everyone ready for Christmas? To tell you the truth, I’m not. This year, I am way behind the shopping and all the other things that I need to do before Christmas. The only thing I was able to do last weekend was to at least take the fall décor down and put the Christmas décor up. I am waiting for my kids to arrive so we can all decorate the tree. But enough about my procrastination!

I was listening to some Christmas music today and got inspired to create this Winter Scene Christmas card, showcasing the Winter House Scene Die and Merry Christmas script die by Gina Marie Designs, available at Kat Scrappiness. This die is a must-have! You can easily mass-produce the card below. I promise you, it’s really easy. Please watch the process video below to see how I made the card.

final-23

Here’s the process video:


I hope you got inspired today. Supplies are listed and linked below in case you are interested to purchase them.

Have a wonderful day!


The Greeting Farm – Let’s Mingle

I am super excited to finally be able to share my projects! I am guest designing again for The Greeting Farm.  I have shared these two adorable Christmas cards with a process video below, showcasing Let’s Mingle stamp set and dies by The Greeting Farm.  I love these little mice!   Aren’t they adorable?


Here are the cards:


img_2645


Here’s the process video:


I hope you got inspired today! Have an absolutely, amazing day!


We Go Together Like Cocoa & Marshmallows

We go together like cocoa and marshmallows! Need I say more? I am back to share with you two projects that I have finished today for my entry to the Coffee Lovers Blog Hop (link here: http://coffeelovingcardmakers.com/2016/12/2017-winter-coffee-lovers-blog-hop/). I used this adorable free digital stamp that JessicaLynnOriginal had provided for those who would like to participate in this hop. Click here to get yours (https://www.jessicalynnoriginal.com/instant-stamp-download-jessicalynnoriginal-coms-merry-christmas-snowman-marshmallow-relaxing-digital-rubber-stamp/).


Here is a cute Christmas tag that I have made to go with my hot cocoa mix stocking stuffer:


img_2794-1


Here’s the card below.  Isn’t he adorable?  In case you were wondering, I used the new KatScrappiness Jingle All the Way script die.


img_2795-1

I hope you all got inspired today to join this fun hop. Thank you again, Amy Tsuruta and her team for putting together this amazing hop! You guys are amazing!

Newton Loves Coffee ~ Winter Coffee Lovers Blog Hop

winter-coffee-lovers-blog-hop

It’s that time of the year again and I am so excited to be participating in the “Winter Coffee Lover’s Blog Hop”.  I’d like to take this opportunity to thank Amy Tsuruta and the rest of her team responsible for facilitating this great hop!  I don’t know how you guys do it but you all absolutely rock!

Today I have made a card showcasing products from the #KatScrappiness store, as a Design Team member.  Incidentally, today is also Kat’s birthday so there is a sale at the shop for all Halloween/Fall/Christmas category for 15% off (no coupon code necessary).  The promo is valid from today until December 11, 2016 (ends at midnight PST).  Here is the link to the shop http://www.katscrappiness.com/?aff=21  You will also get a free bag of jingle bells for every order  during this time frame.

I started out by stamping my image using my stamping tool with memento tuxedo black ink on Neenah Solar White card stock. I colored Newton and the coffee image using my Copic markers W1, W2 and W5, R00, R29 and R39.

I wanted to use warm Christmas colors for this card so I die-cut the front panel using my Gina Marie wonky stitches nesting dies, and the Bo Bunny 6×6 Paper Pad Merry & Bright Collection. Red and Beige just goes so well together.

I also used a wreath die that I recently purchased and embellished it with the new Deck the Halls sequin mix by Kat Scrappiness. I love this new sequin mix.

I finished off the design by adding the snowflake sequin on the coffee mug and Santa hat for Newton. I hope you like my card. Check out the new sequin mixes and script dies available at the shop – they are amazing! The supplies I’ve used are listed and linked below.

watermarked2016-12-01-1415

If you would like to participate in the hop, please click on this link: www.coffeelovingcardmakers.com

Have an amazing day!

———SUPPLIES———

Build-A-Snowman ~ Handmade Christmas Tags

Christmas is here before you know it and I wanted to make some handmade Christmas tags to put on my presents this year.  I wanted to use this cute die set that I purchased from KatScrappiness called “build-a-snowman” by Cheery Lynn Designs.


Aren’t they adorable?


buildasnowman

Here is the process video if you would like to replicate them.  You don’t have to use the same dies that I have used. You can get inexpensive stickers at the Dollar store or any craft store to make handmade tags.


I hope you got inspired today.  Supplies I’ve used are listed and linked below:

 ——-SUPPLIES ——–

Dear Santa Christmas Cards

Hello stampers and crafters! I am back today and I am sharing two cards that I designed, showcasing the Dear Santa stamp set, the Kat Scrappiness Christmas Tree and Happy Holidays Dies and a whole lot of other supplies available for purchase at the shop.

Since I have just arrived a few hours ago from spending Thanksgiving with my family, I will not have a process video for you today for these two cards. However, these cards are pretty simple and can be mass-produced.

For the first card, I started out by stamping a bunch of the cat images, the ball of yarn, and the presents on Neenah Solar White card stock, using memento tuxedo black ink. I colored the image using my Copic markers. I also die-cut the Christmas tree using the Doodlebug “Here Comes Santa Claus” patterned paper, then adhering the pieces together with my favorite Tombow liquid adhesive.

img_2724

I wanted a white-on-white background to make my images pop but I didn’t want my card panel to look flat, so I decided to use my Taylored Expressions Twinkling Holiday embossing folder. Embossing the card stock gave it more of a dimension. I adhered all of my pieces together using my liquid adhesive and Scotch foam tape, and finished the card design with a cute Lawn Fawn tag that says “Define Naughty!” with my Lawn Fawn Peppermint twine.

img_2725

Here is the first card:

final-16

For the second card, I didn’t want to use traditional Christmas colors. I colored my cat image with light grays and pink Copic markers. I used a patterned paper from Pinkfresh Studio 6×6 paper pad to die-cut the front panel of my card.

Using my blending foam, I distressed my white card stock with Spun Sugar distressed ink and blended it until the colors matched the pink twine. I die-cut the sentiment using Kat Scrappiness Happy Holidays Script die. I LOVE THIS DIE! It cuts like butter! I then adhered all of my pieces to the front panel of my card using my liquid adhesive. I finished the design with my pink and gold twine, and White Diamonds Sequins by Kat Scrappiness. I think the card turned out simple yet classy!

final-17

I hope you like both cards and got inspired today. I promise to have a process video for my next design team project.

I have listed and linked all the supplies that I have used below in case you’re interested to purchase them.

Have an amazing day!

———-SUPPLIES———–

https://static.inlinkz.com/ppr.js