It is that time of the month where the entire design team get so excited to show off the new stamps, dies and stencils by Newton’s Nook Designs. This is a very special month because Newton’s Nook is celebrating 6 years! Yay!!!! You also have a chance to win a $20 store credit for each reveal day so please read through til the end of the blog post to find out more info. [Just a little important note: I know some of you had difficulties finding the comments section. If you would like to leave a comment to participate in the giveaway, the “comments section” will only be ever visible when a single post on Word Press is being viewed. Please click on this particular blog post and you will be able to leave a comment below. Thank you!]
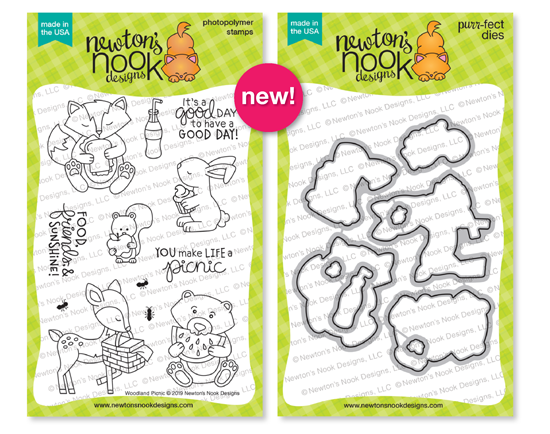
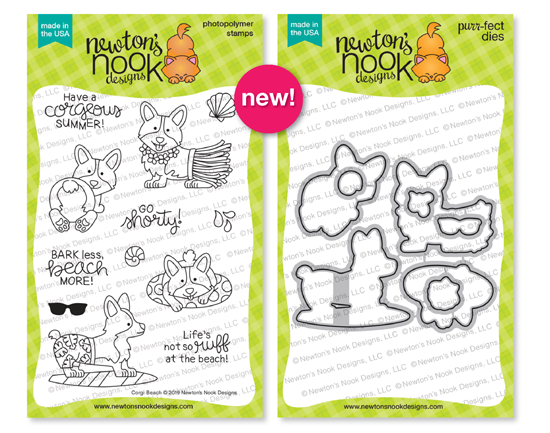
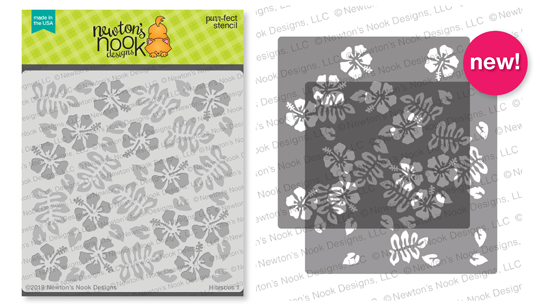
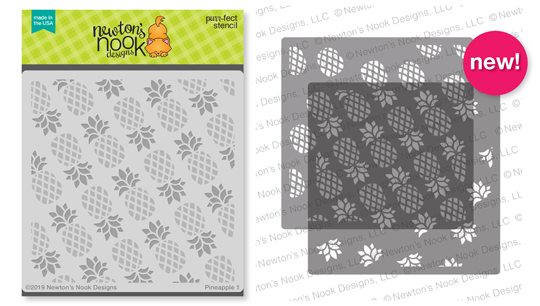
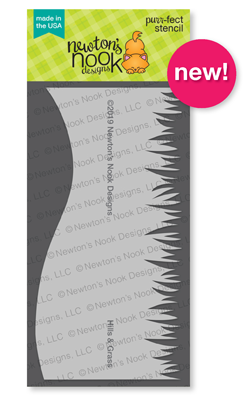
For the first day of the reveals, we are showcasing Corgi Beach + coordinating die with the Hibiscus and Pineapple Layering Stencils, PLUS three (3) new edge stencils. Here’s what they look like:
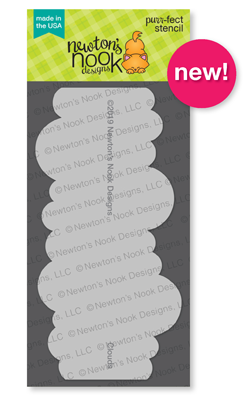
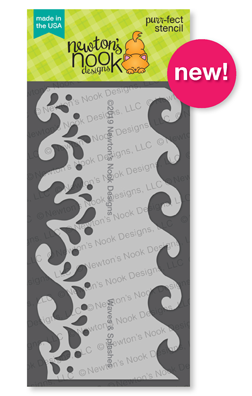
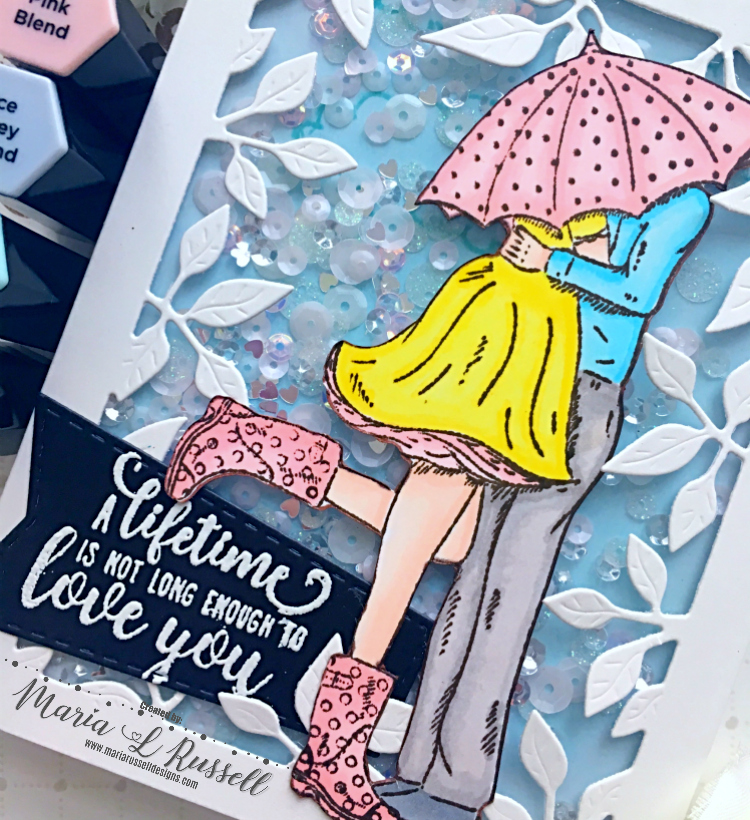
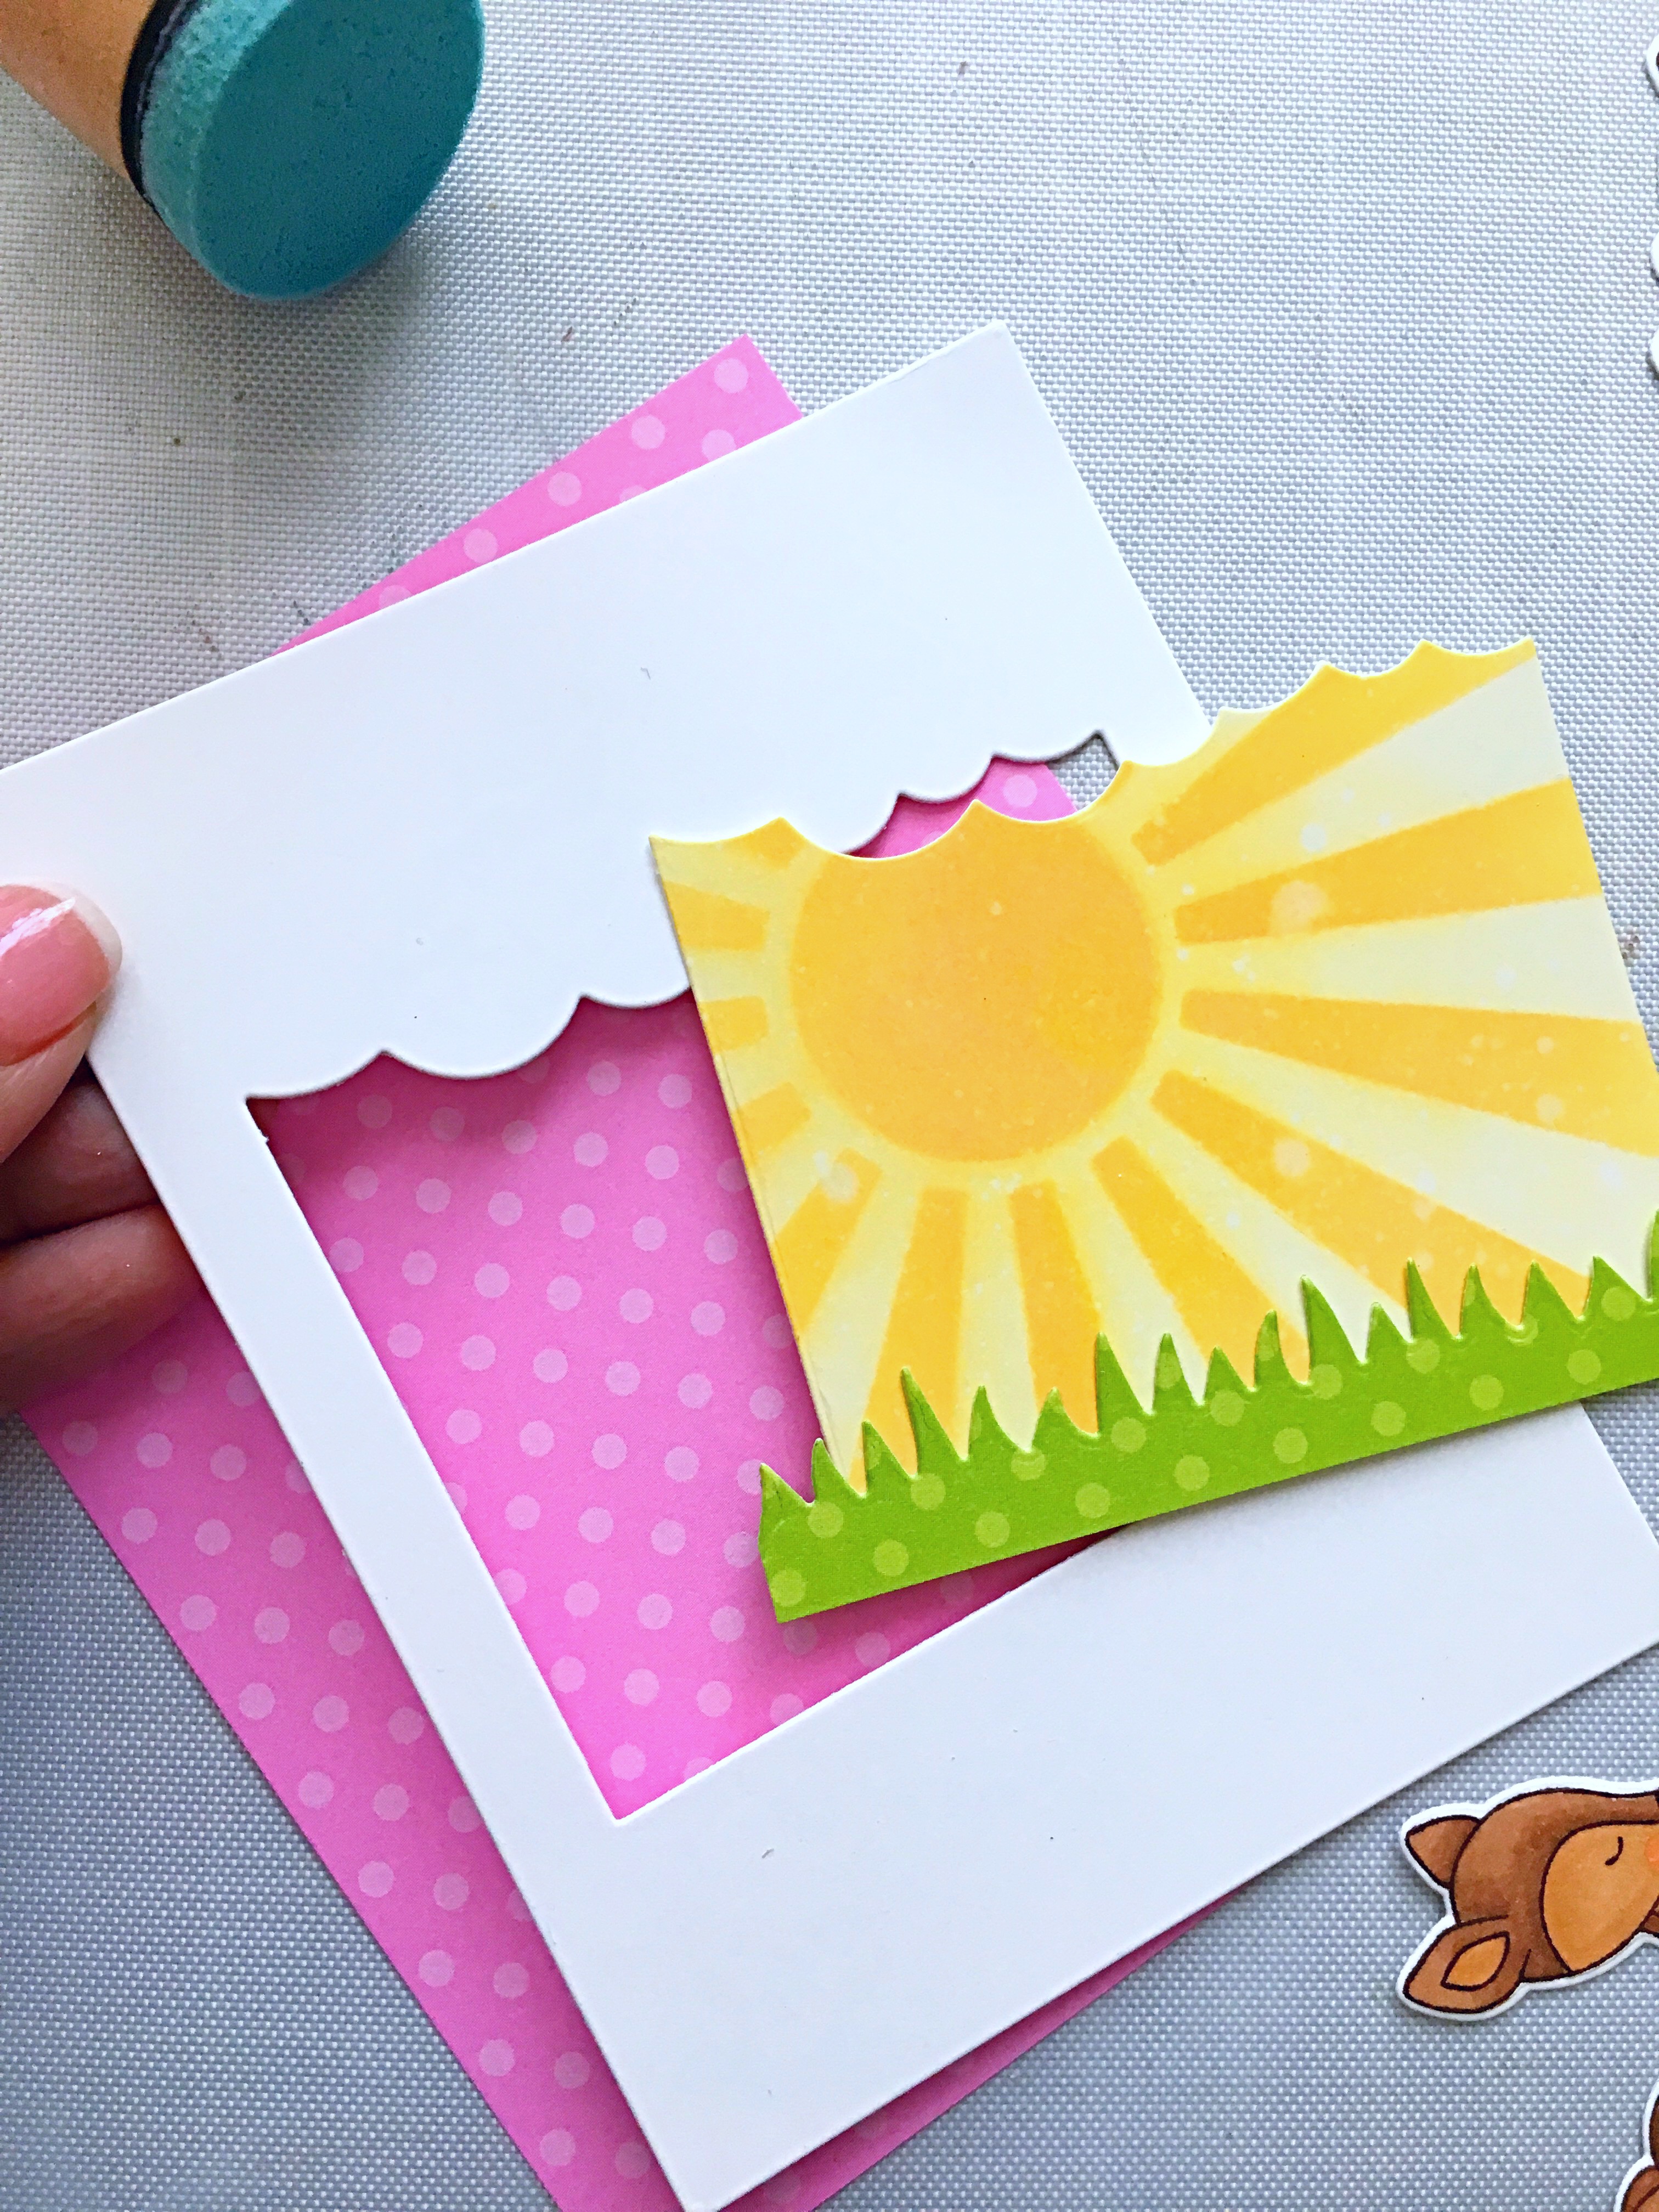
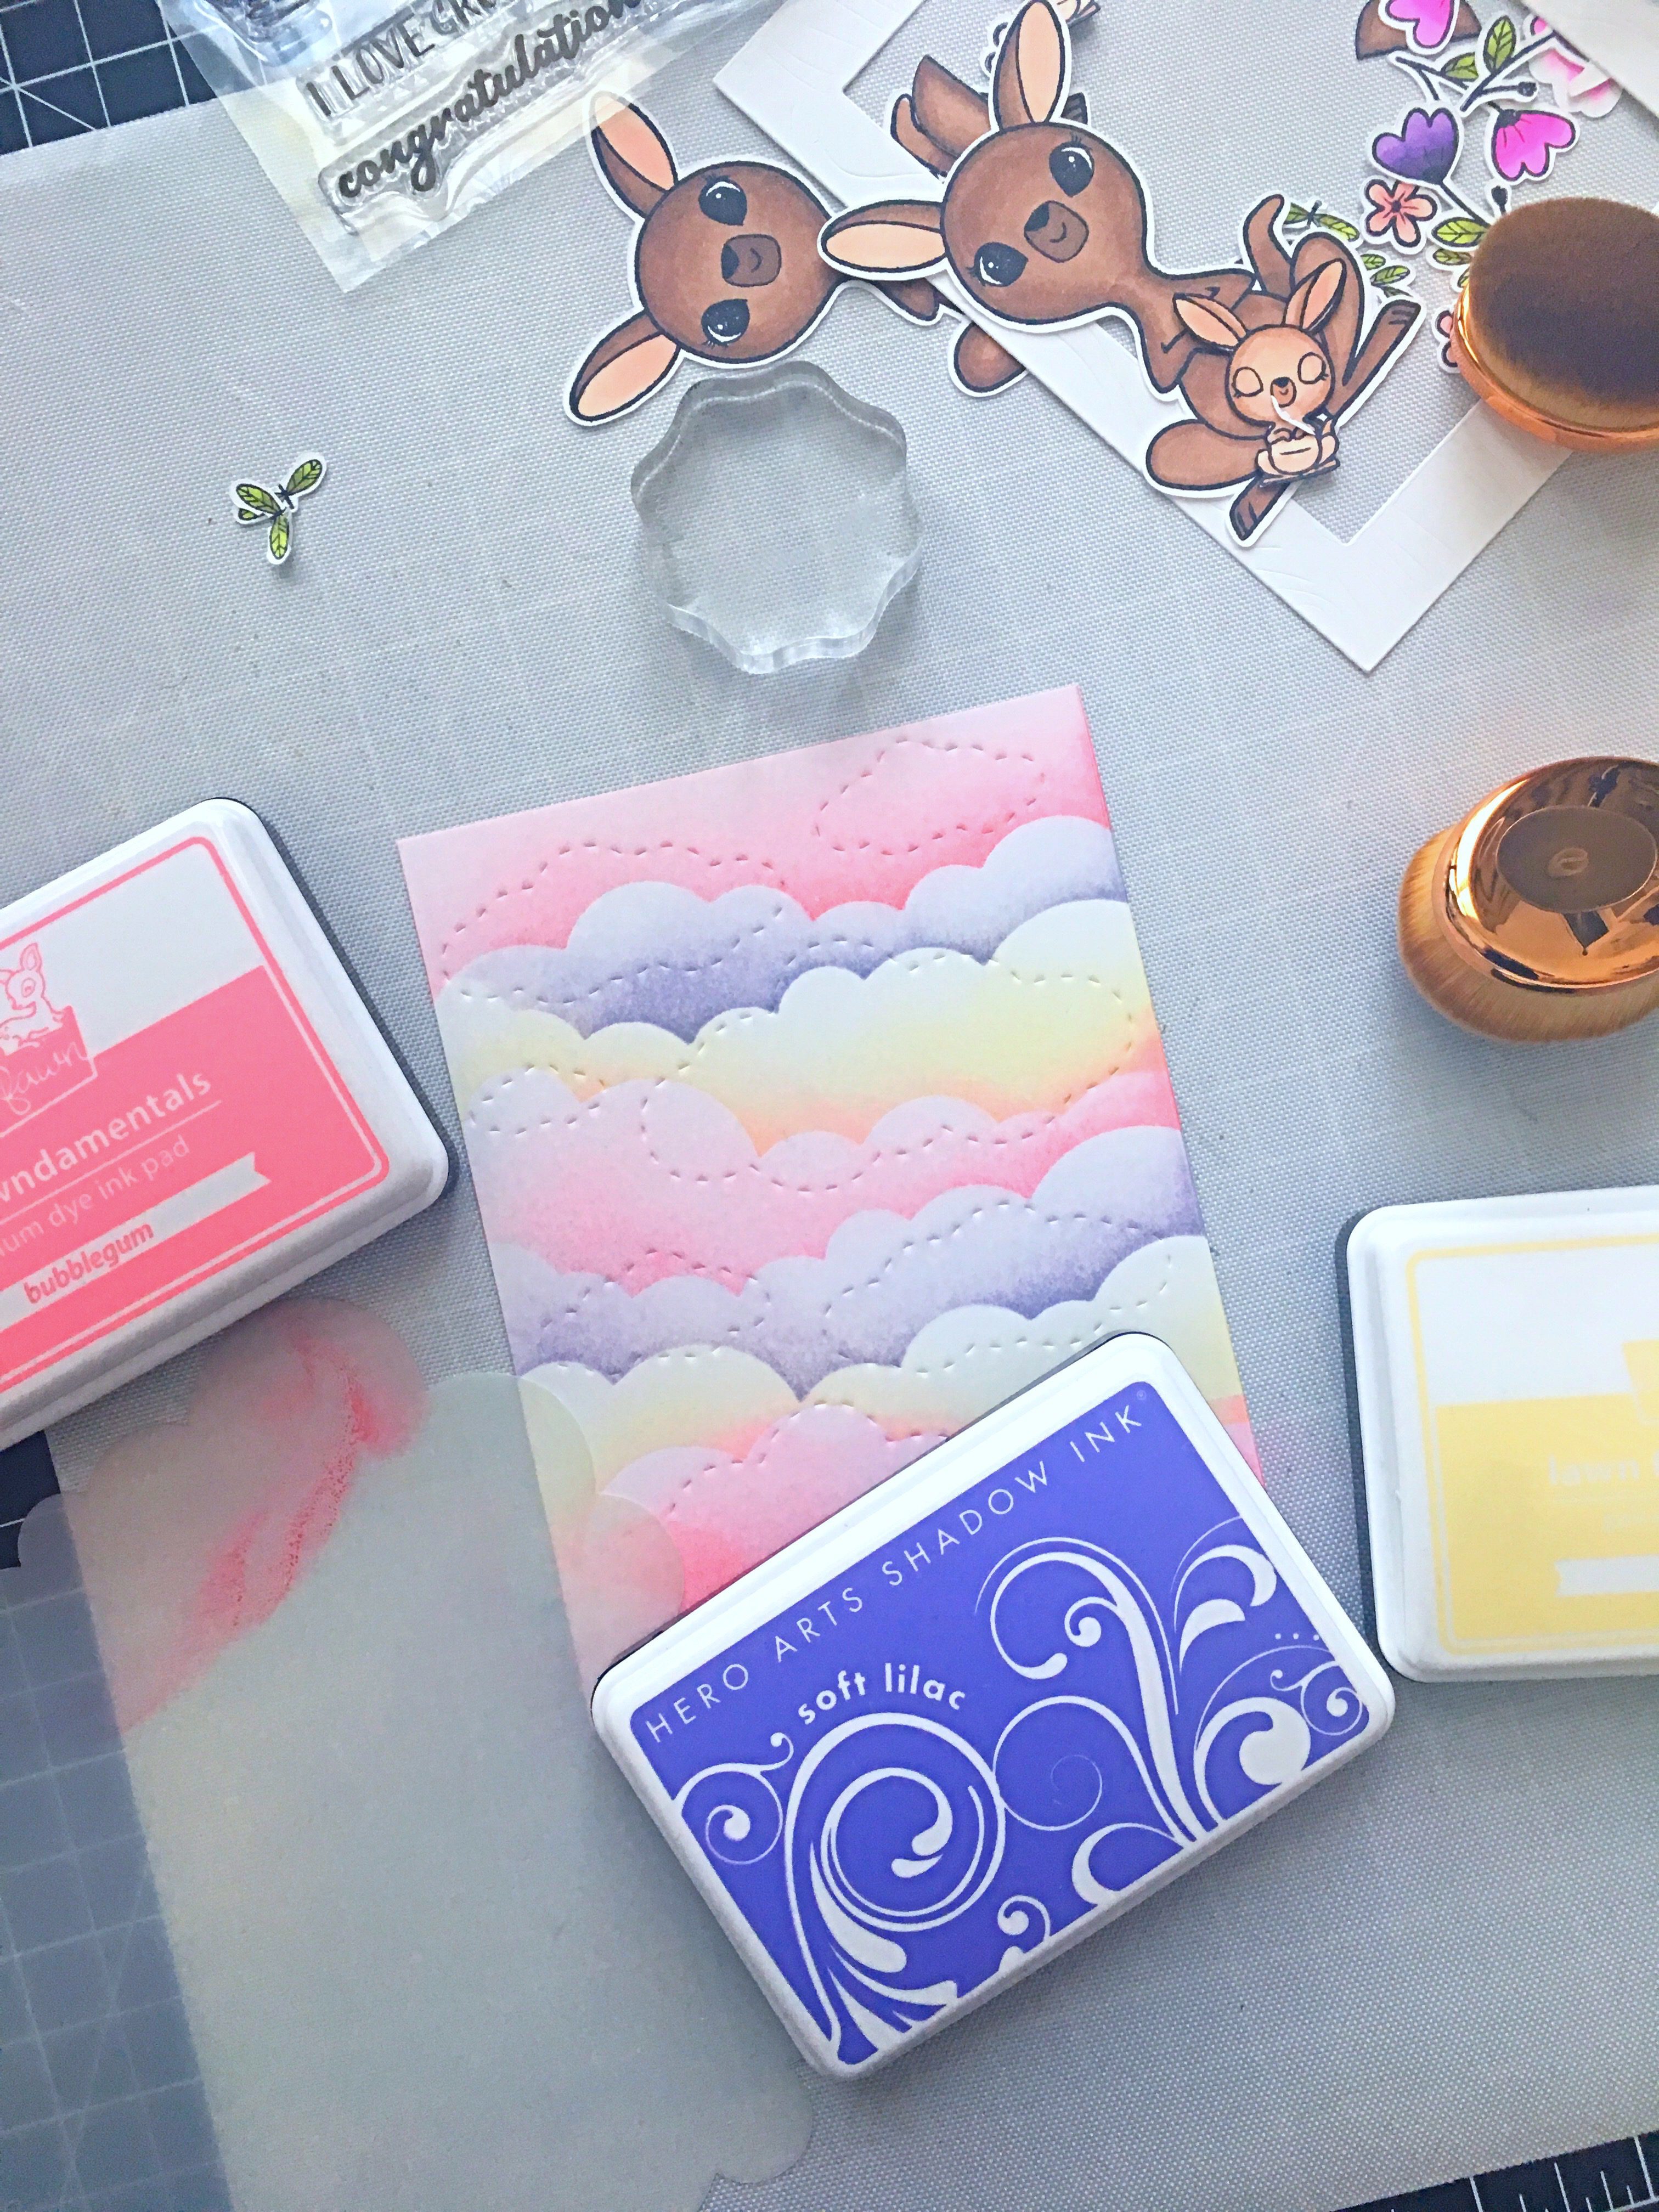
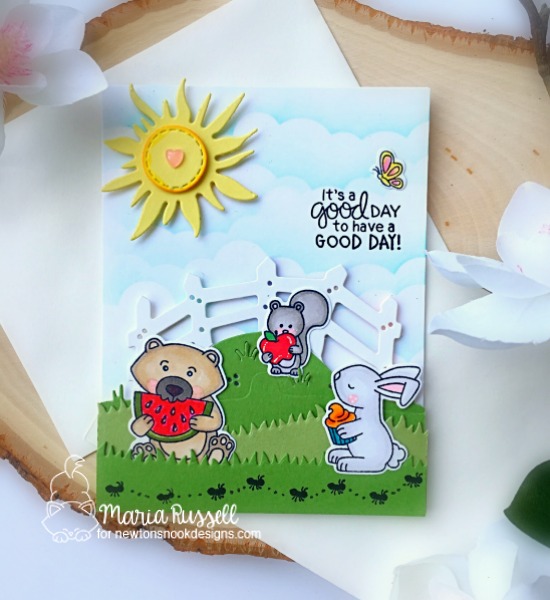
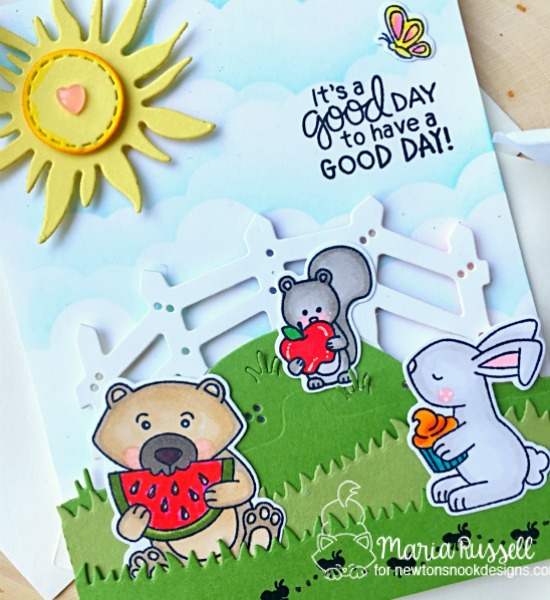
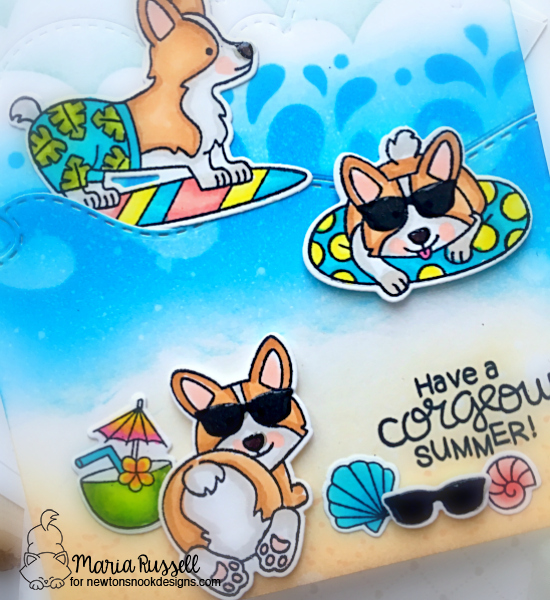
I started out with an A2 size panel of Bristol smooth white card stock and ink blended this piece with some distress oxide inks. I used the Waves edge stencil and the Clouds edge stencil to create the clouds and the water.
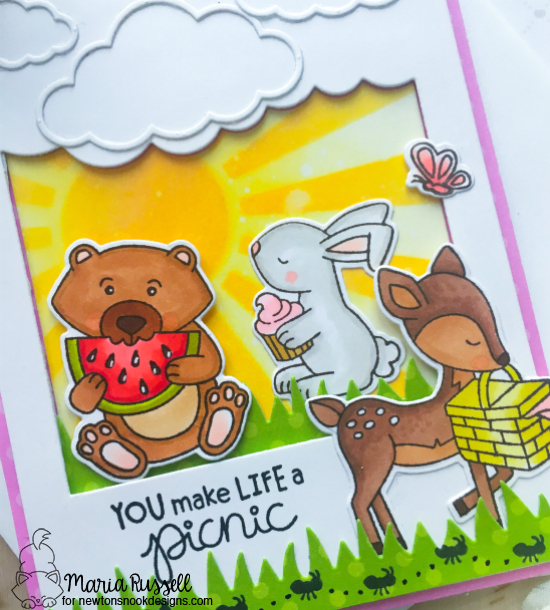
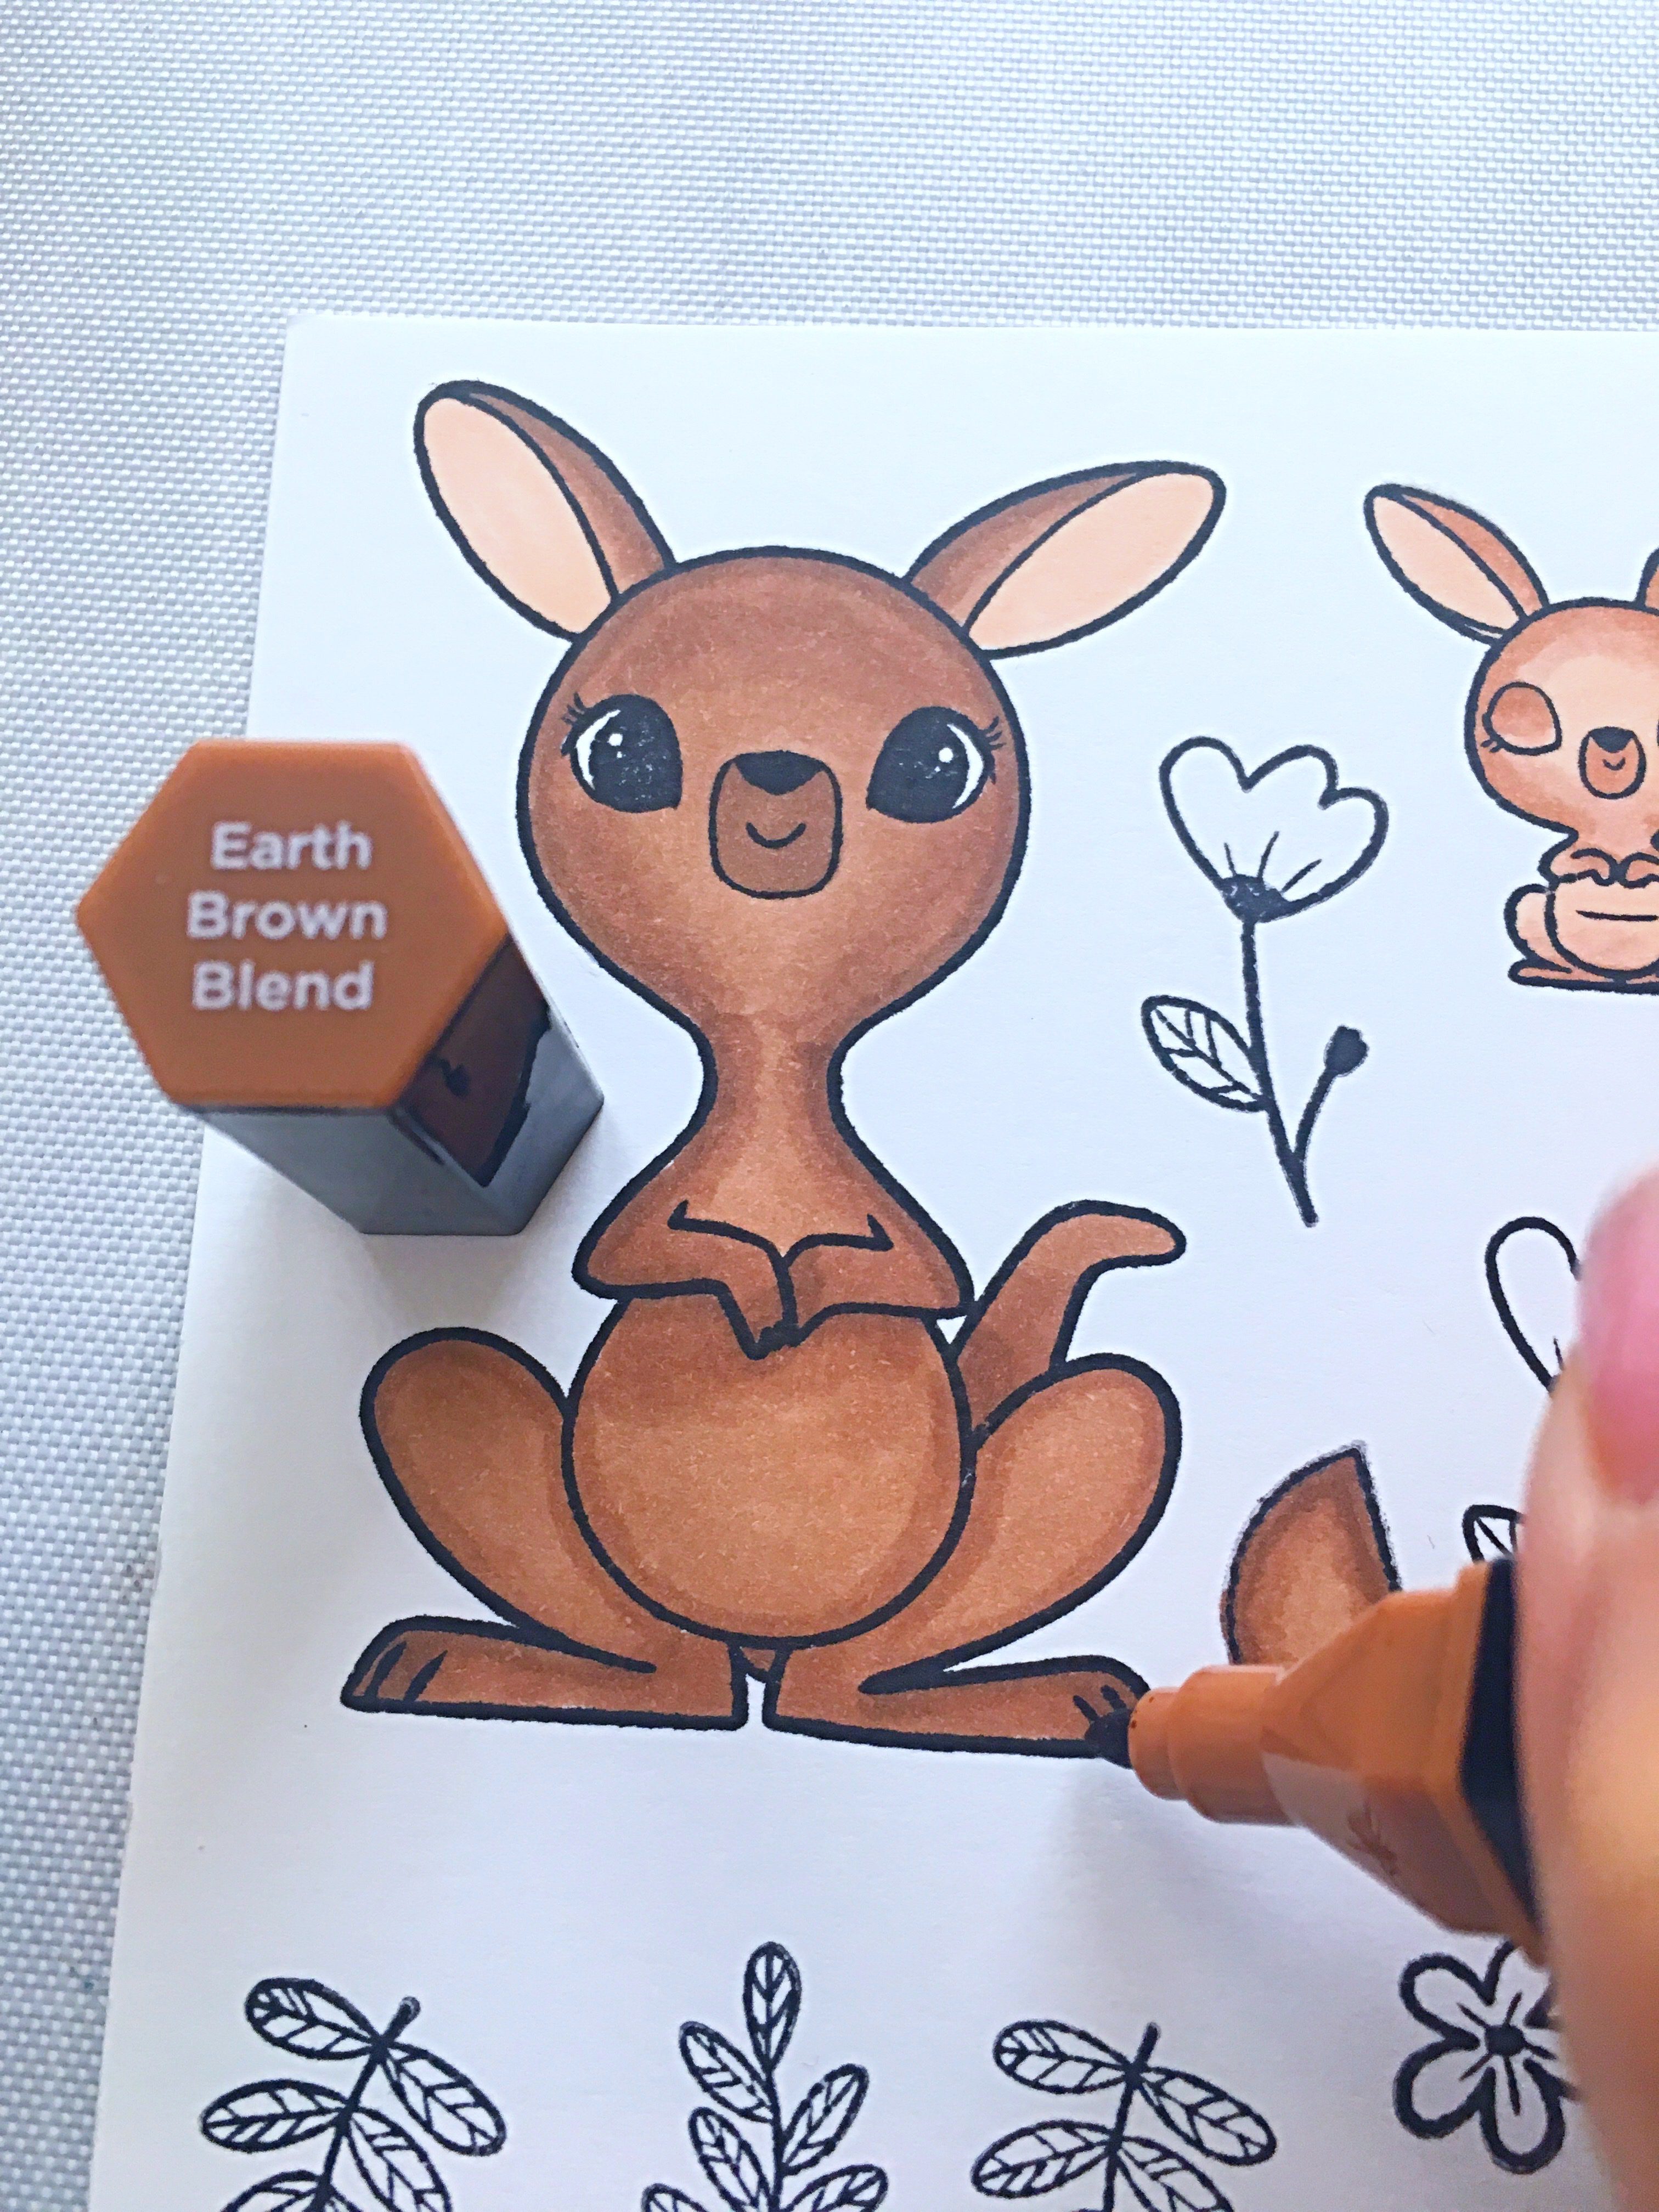
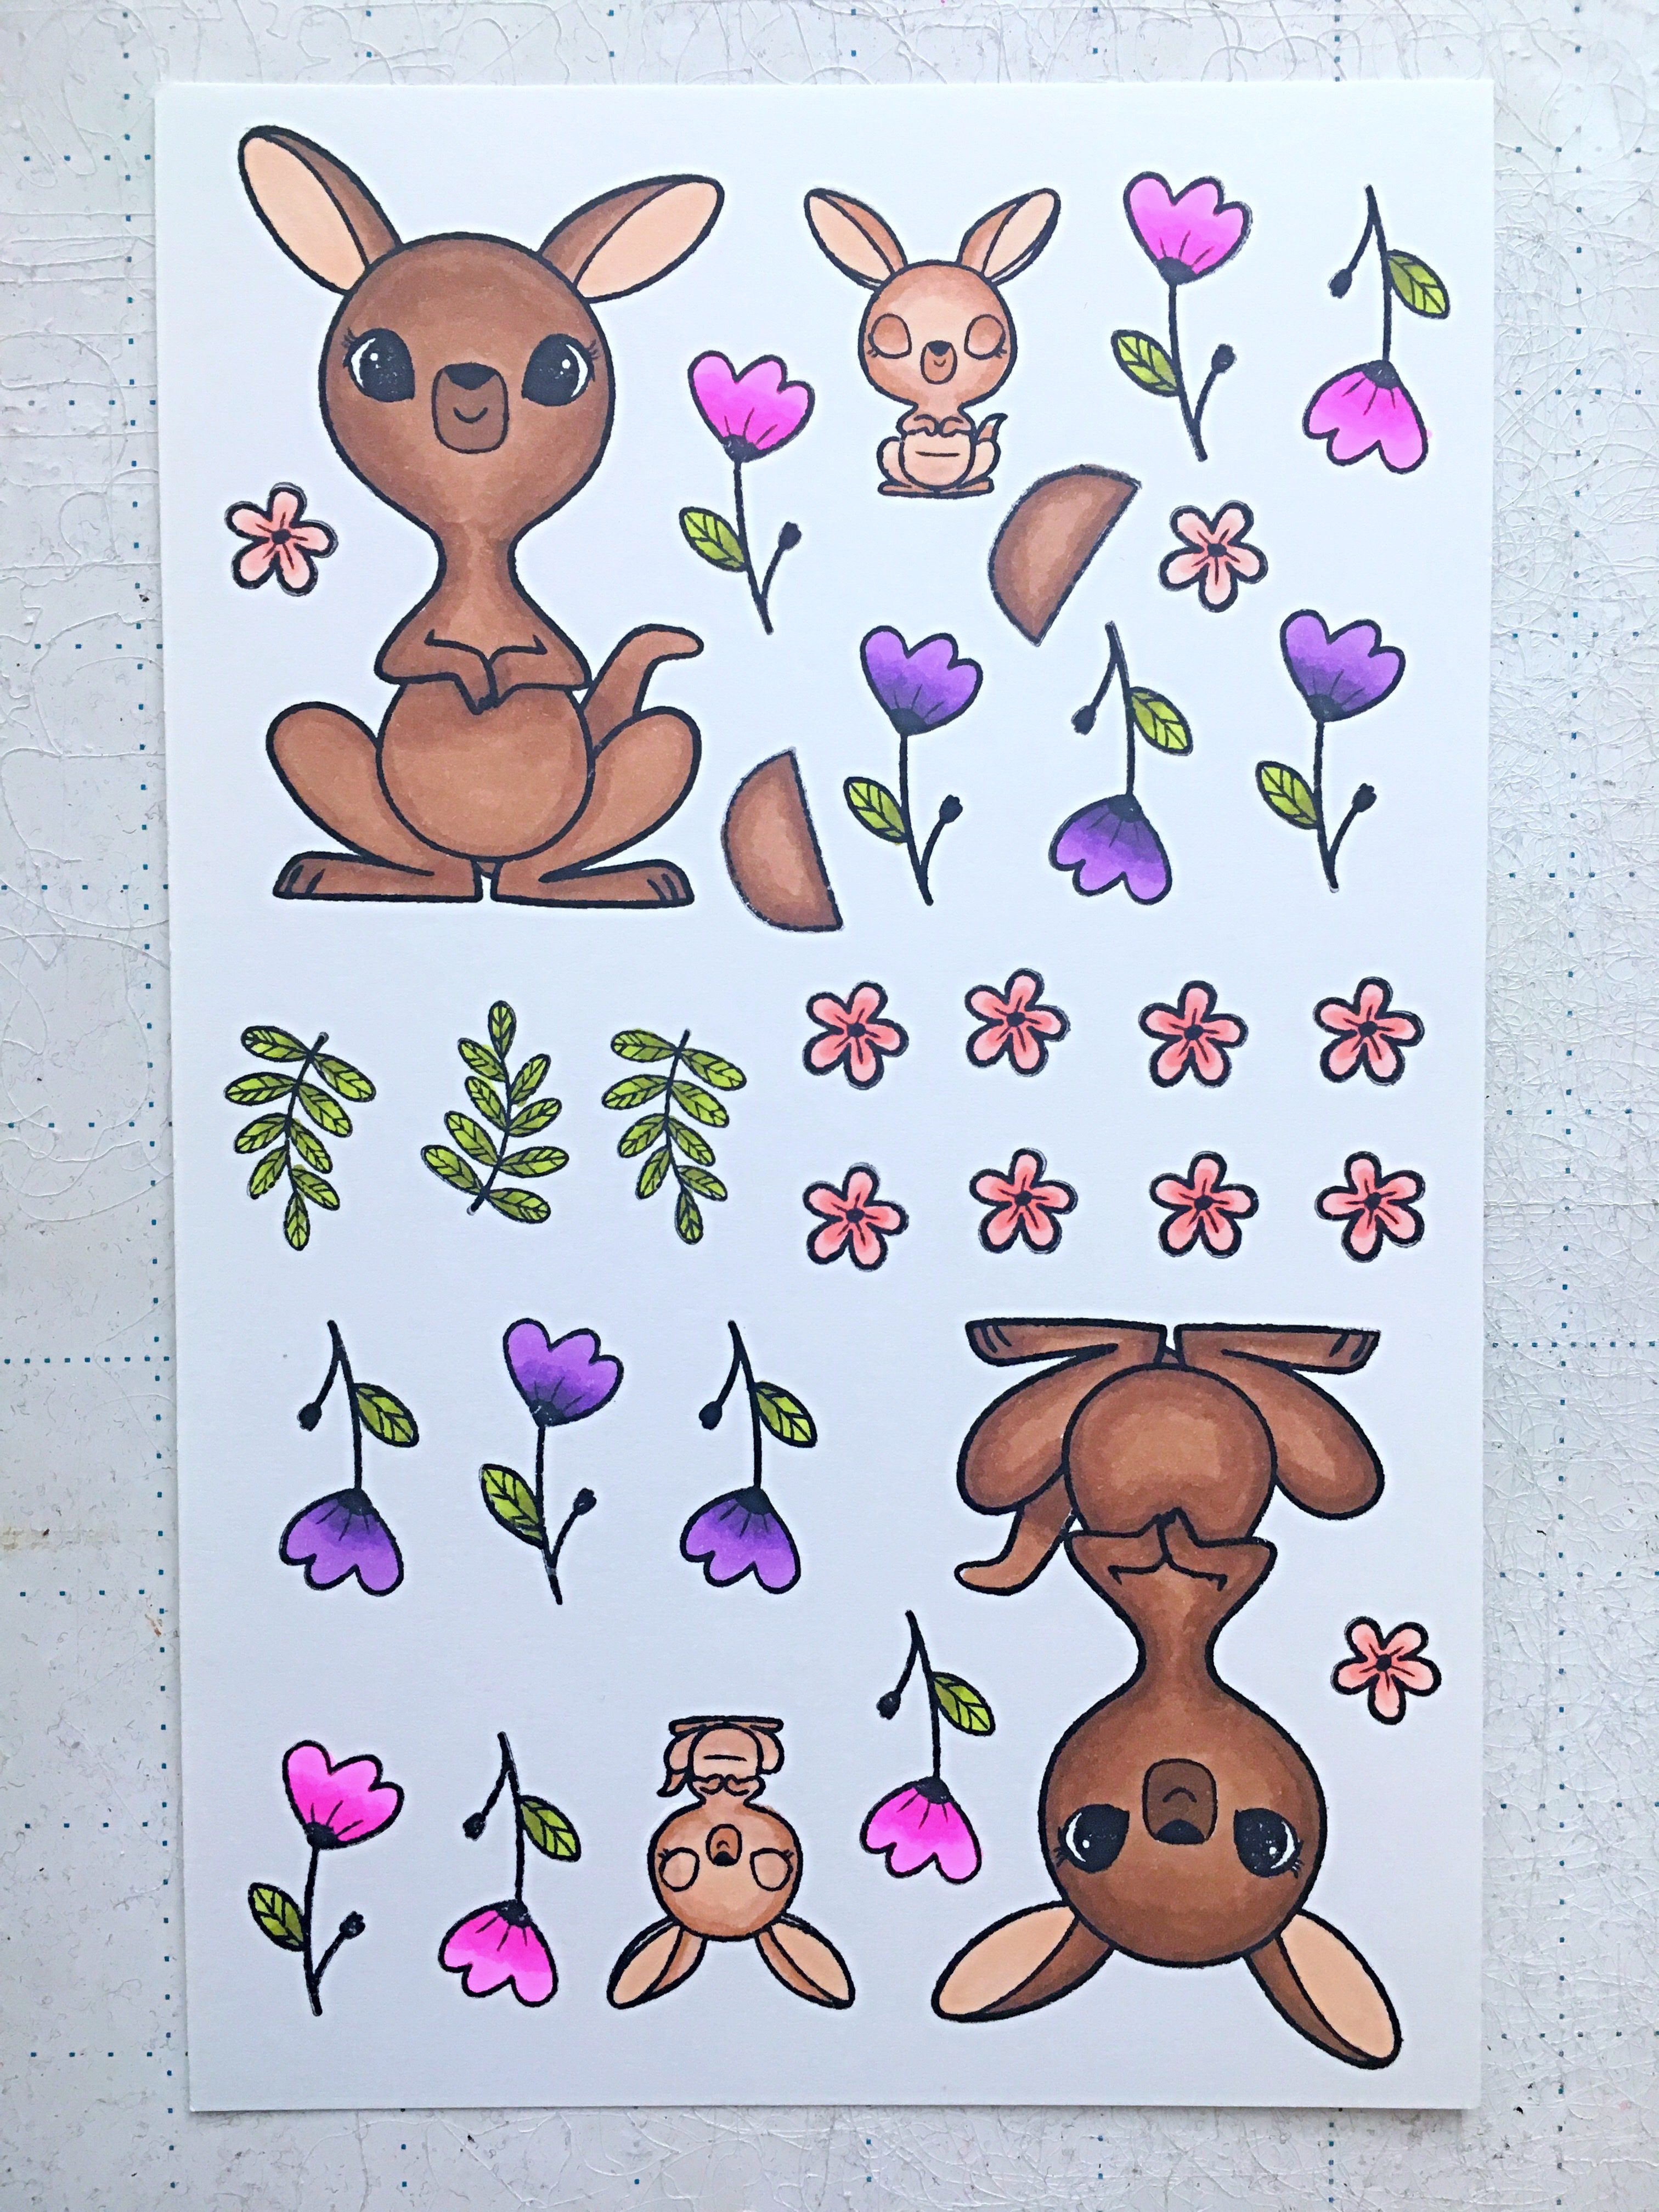
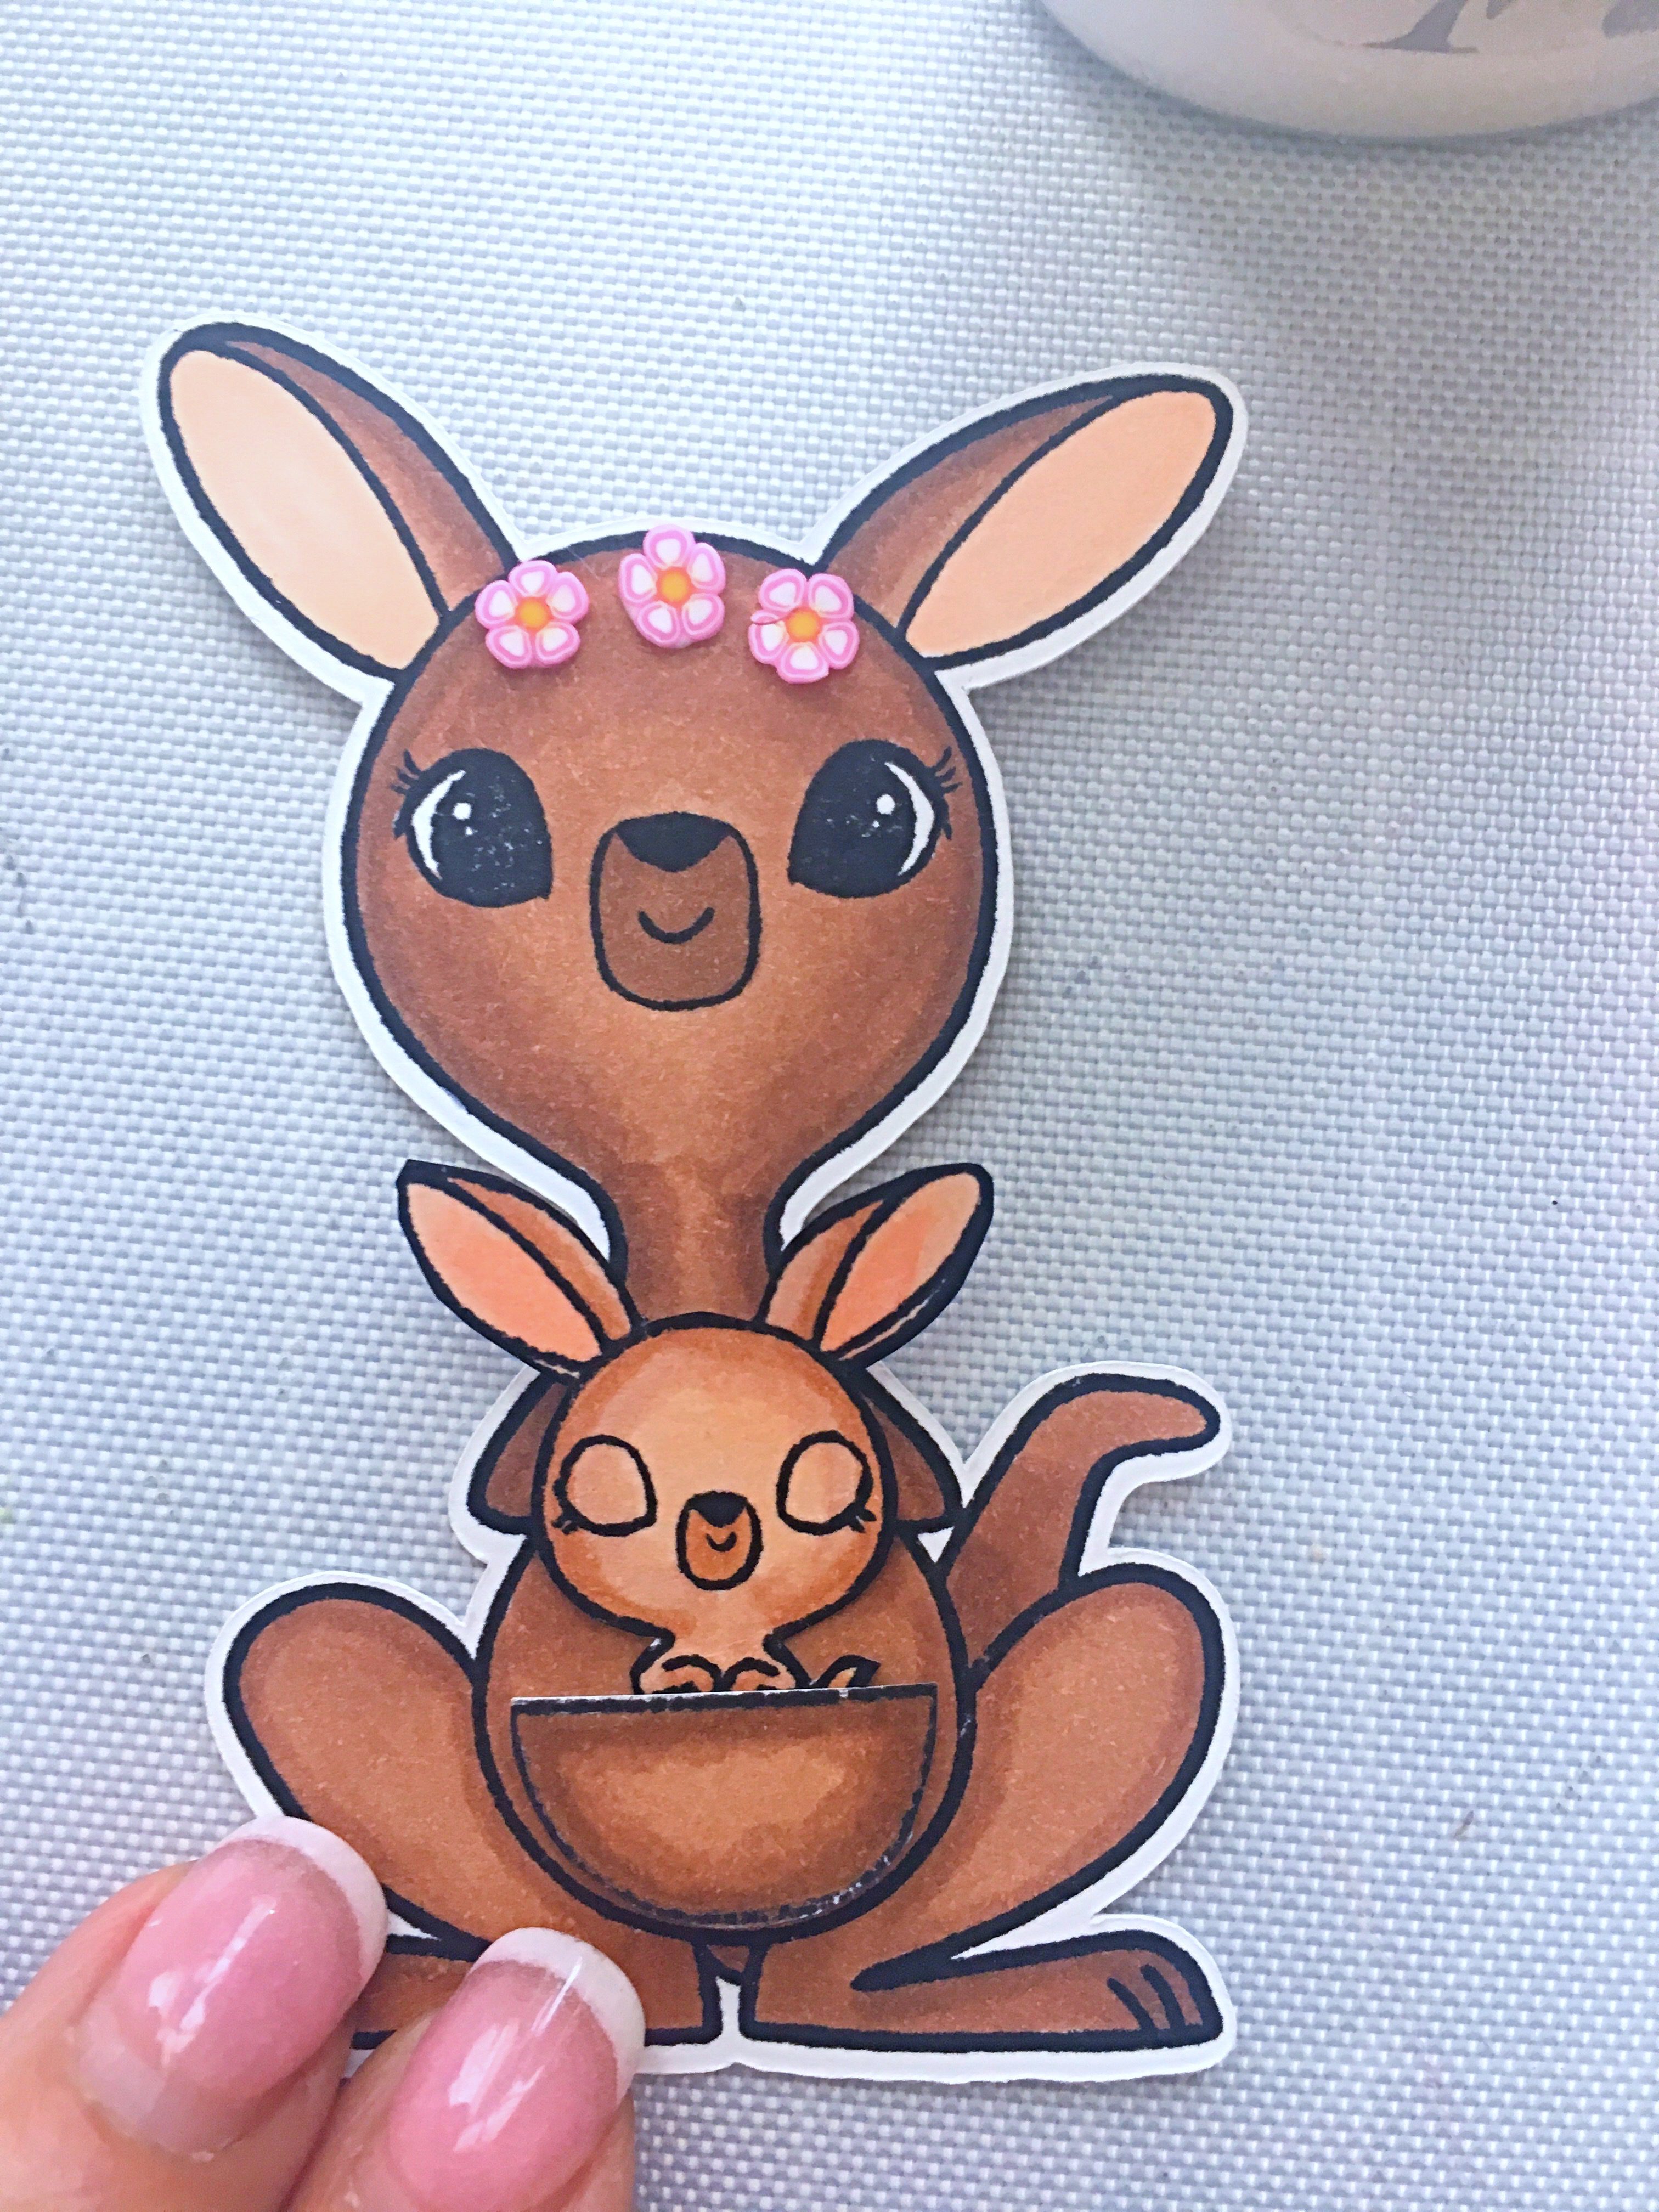
I stamped and colored my images on some Neenah solar white card stock and colored them in with my Spectrum Noir alcohol markers. I used the Sea Border and Sky Border dies to create more texture to my ink-blended panel. I adhered this piece on an A2-size side-fold card base and adhered the images with liquid and foam adhesive.
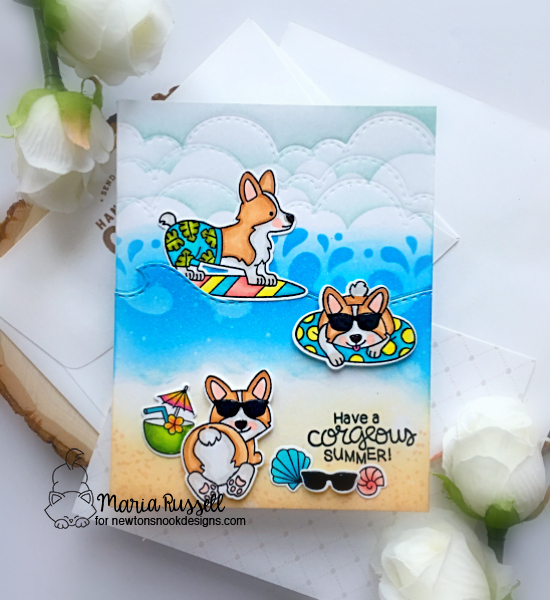
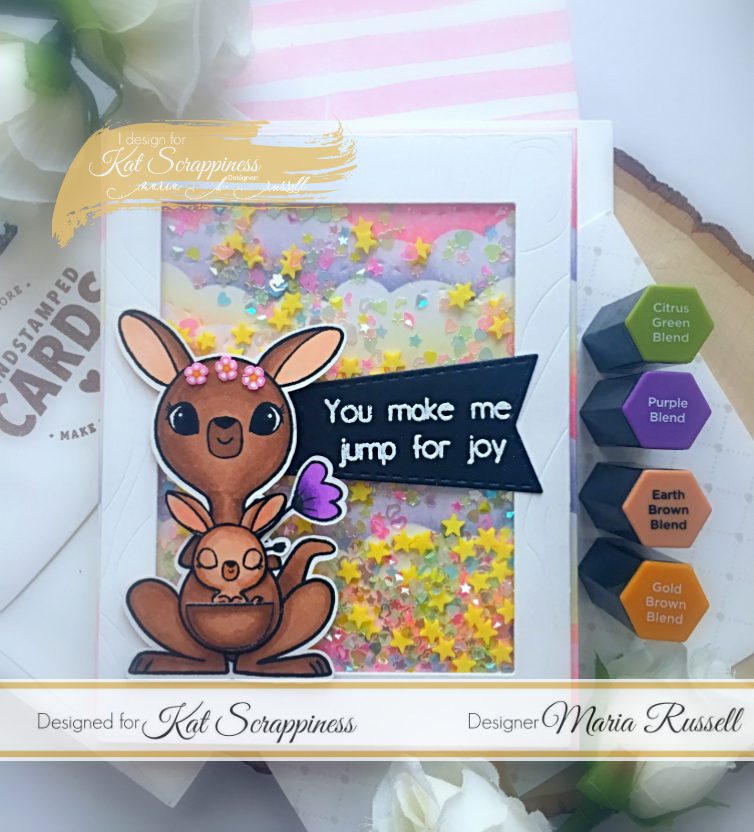
The coconut drink next to the Corgi is from the Aloha Newton stamp set. I love that you can mix and match the stamp sets available at the shop. To finish my design, I added glossy accents to the sunglasses and noses for added interest. Here’s a closer look:
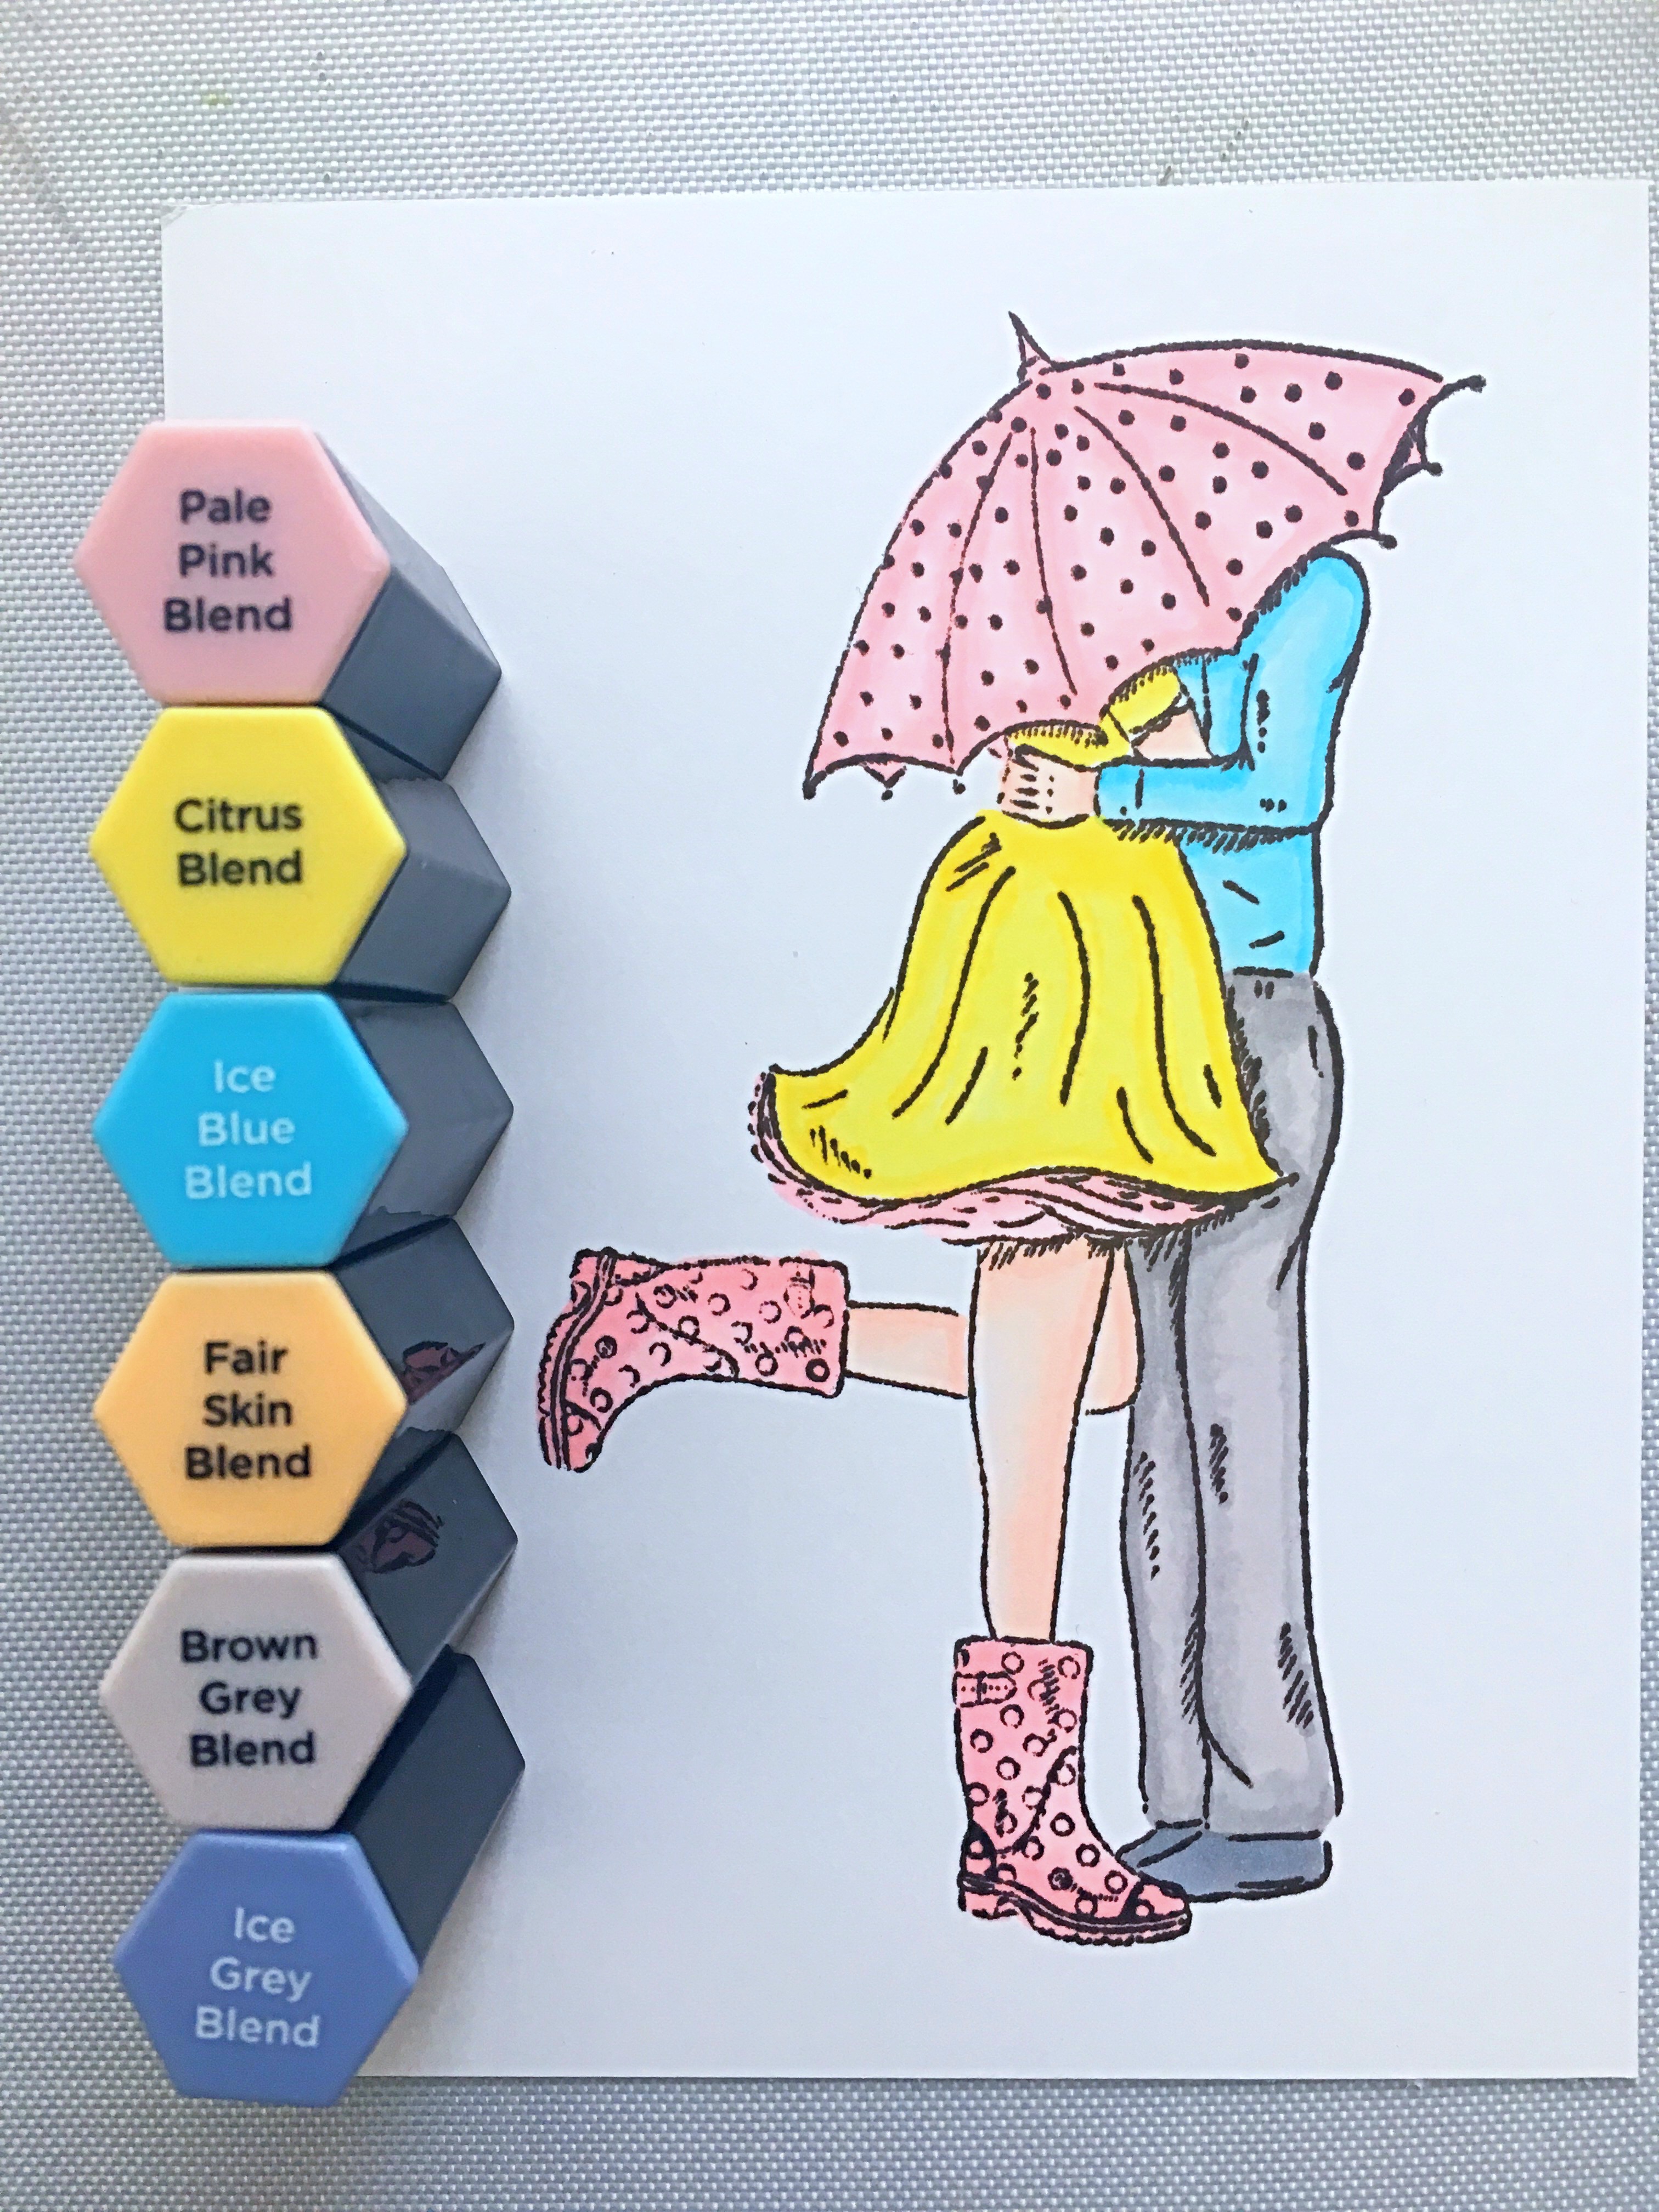
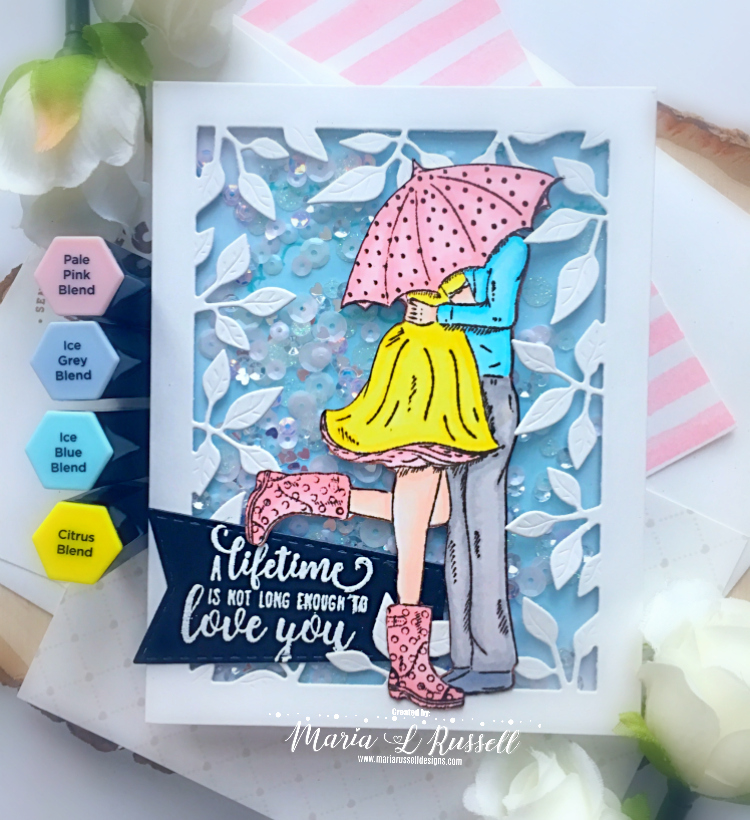
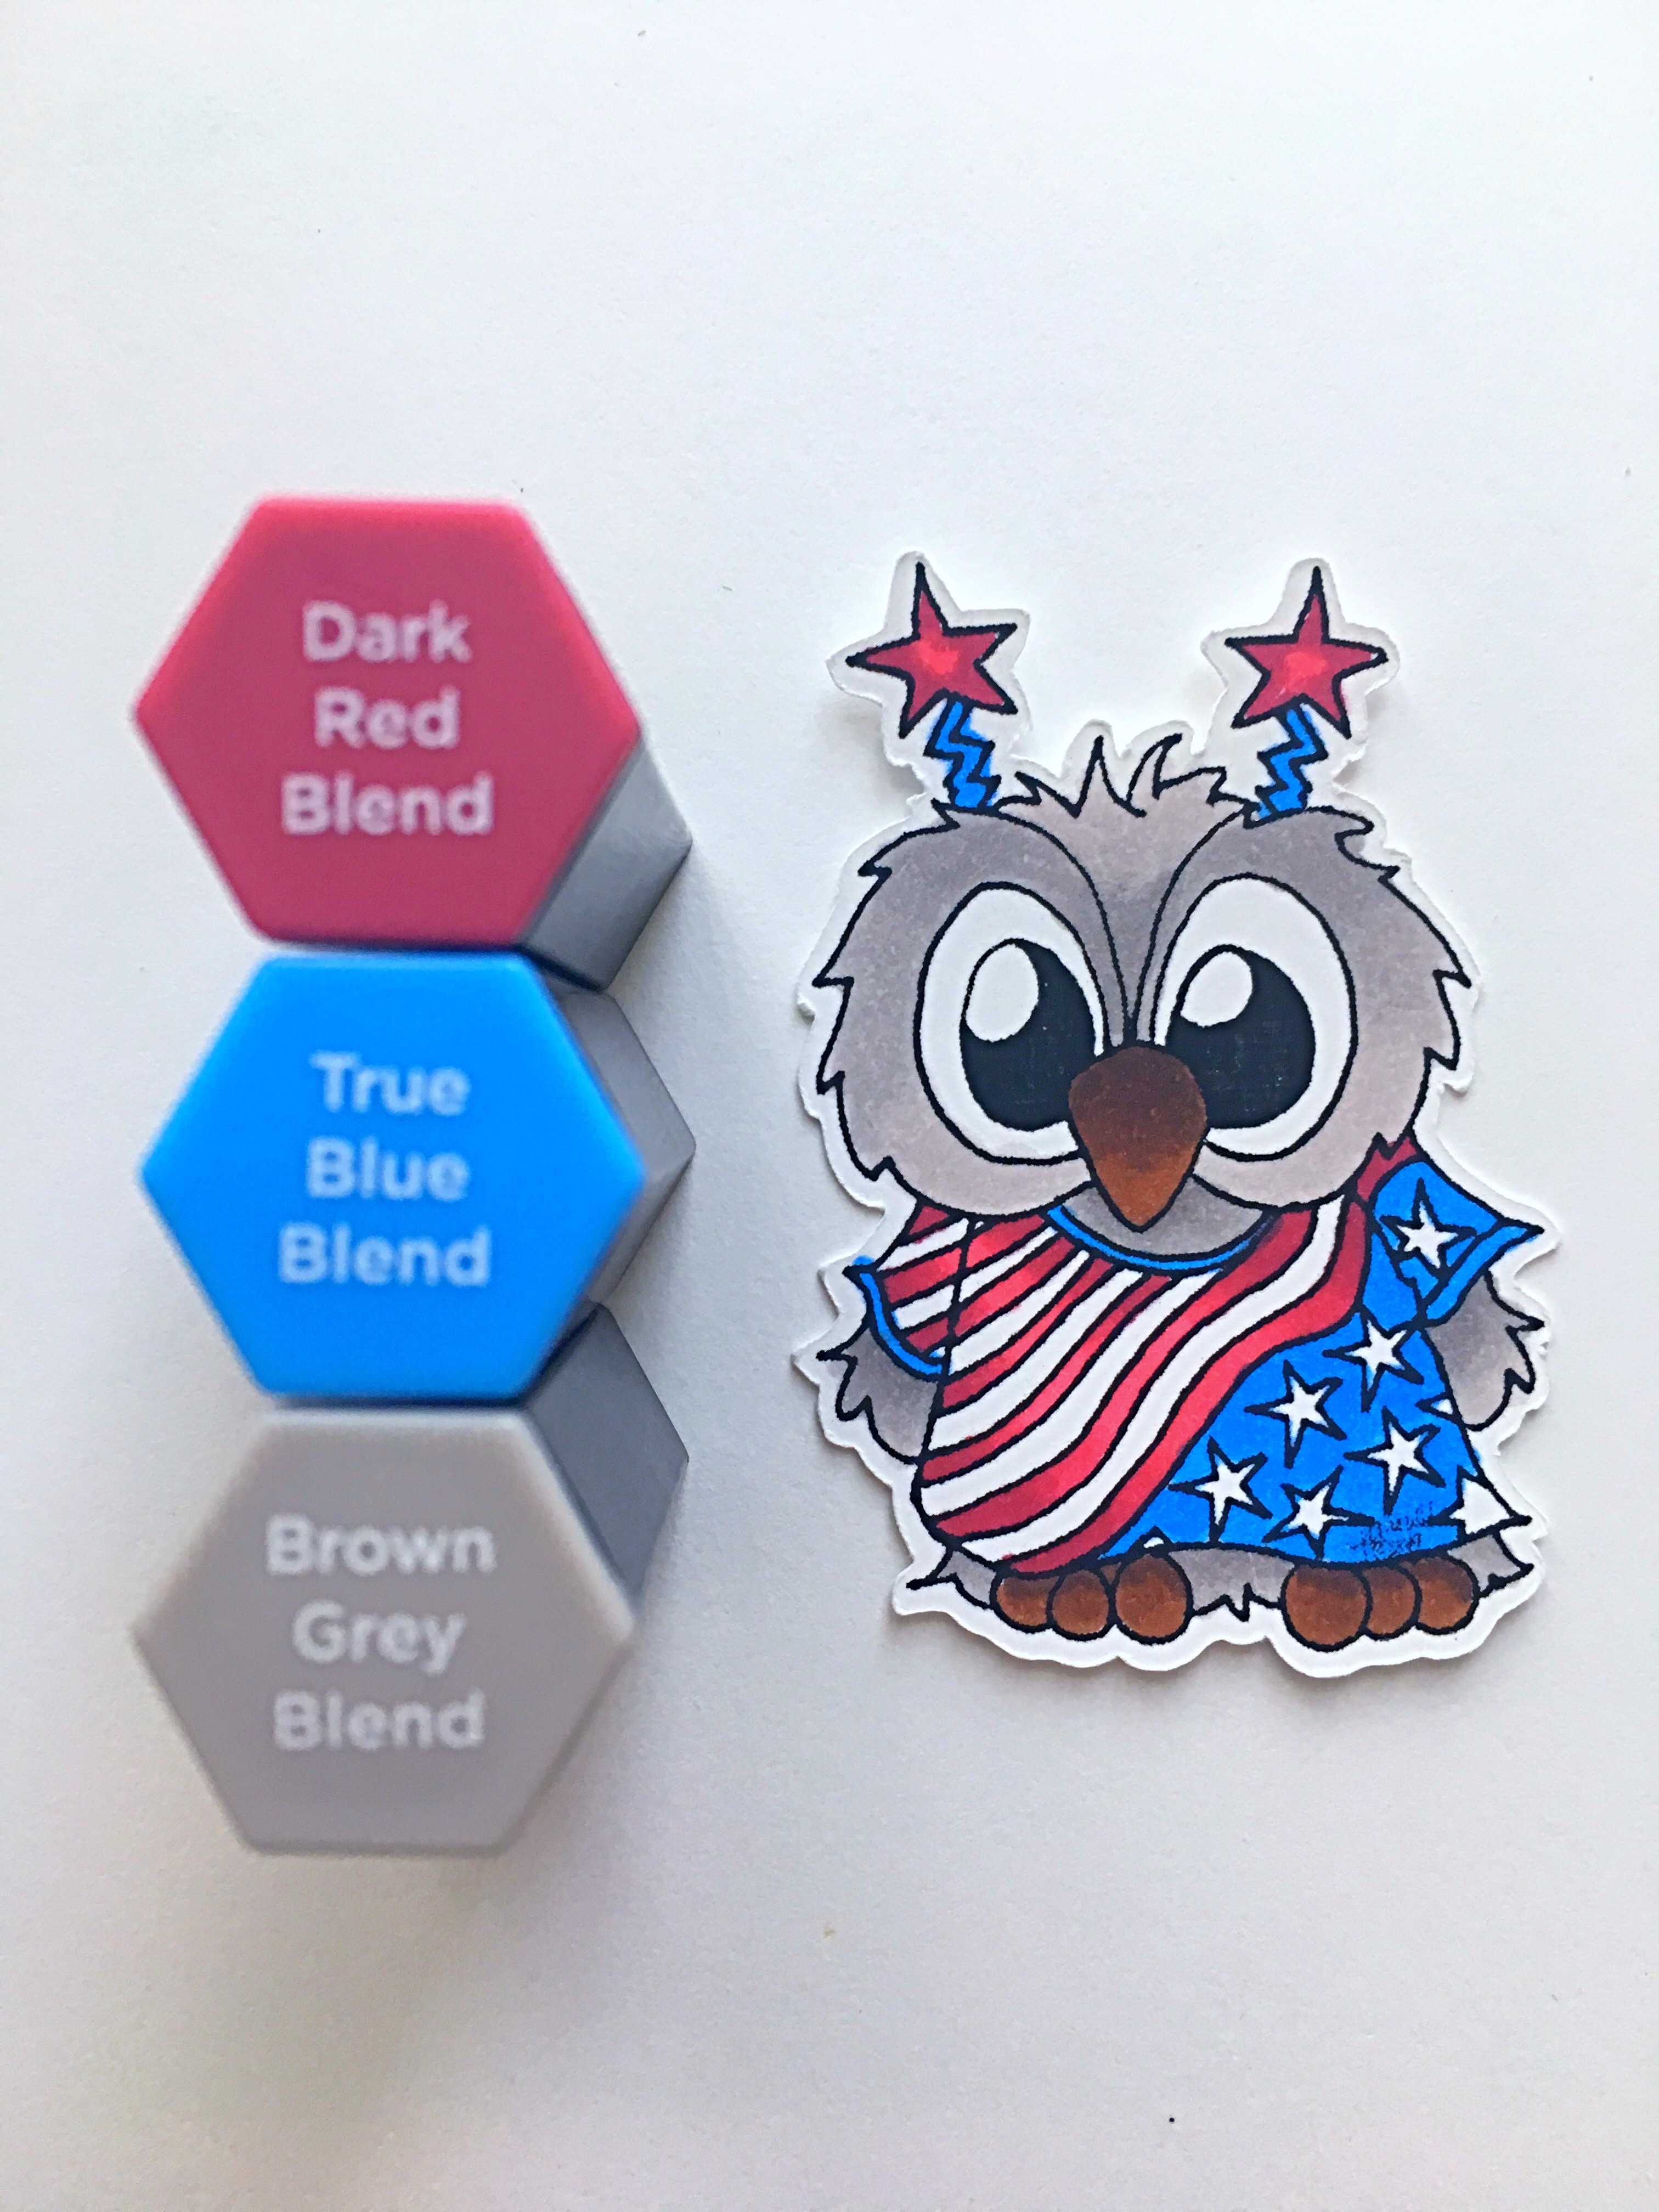
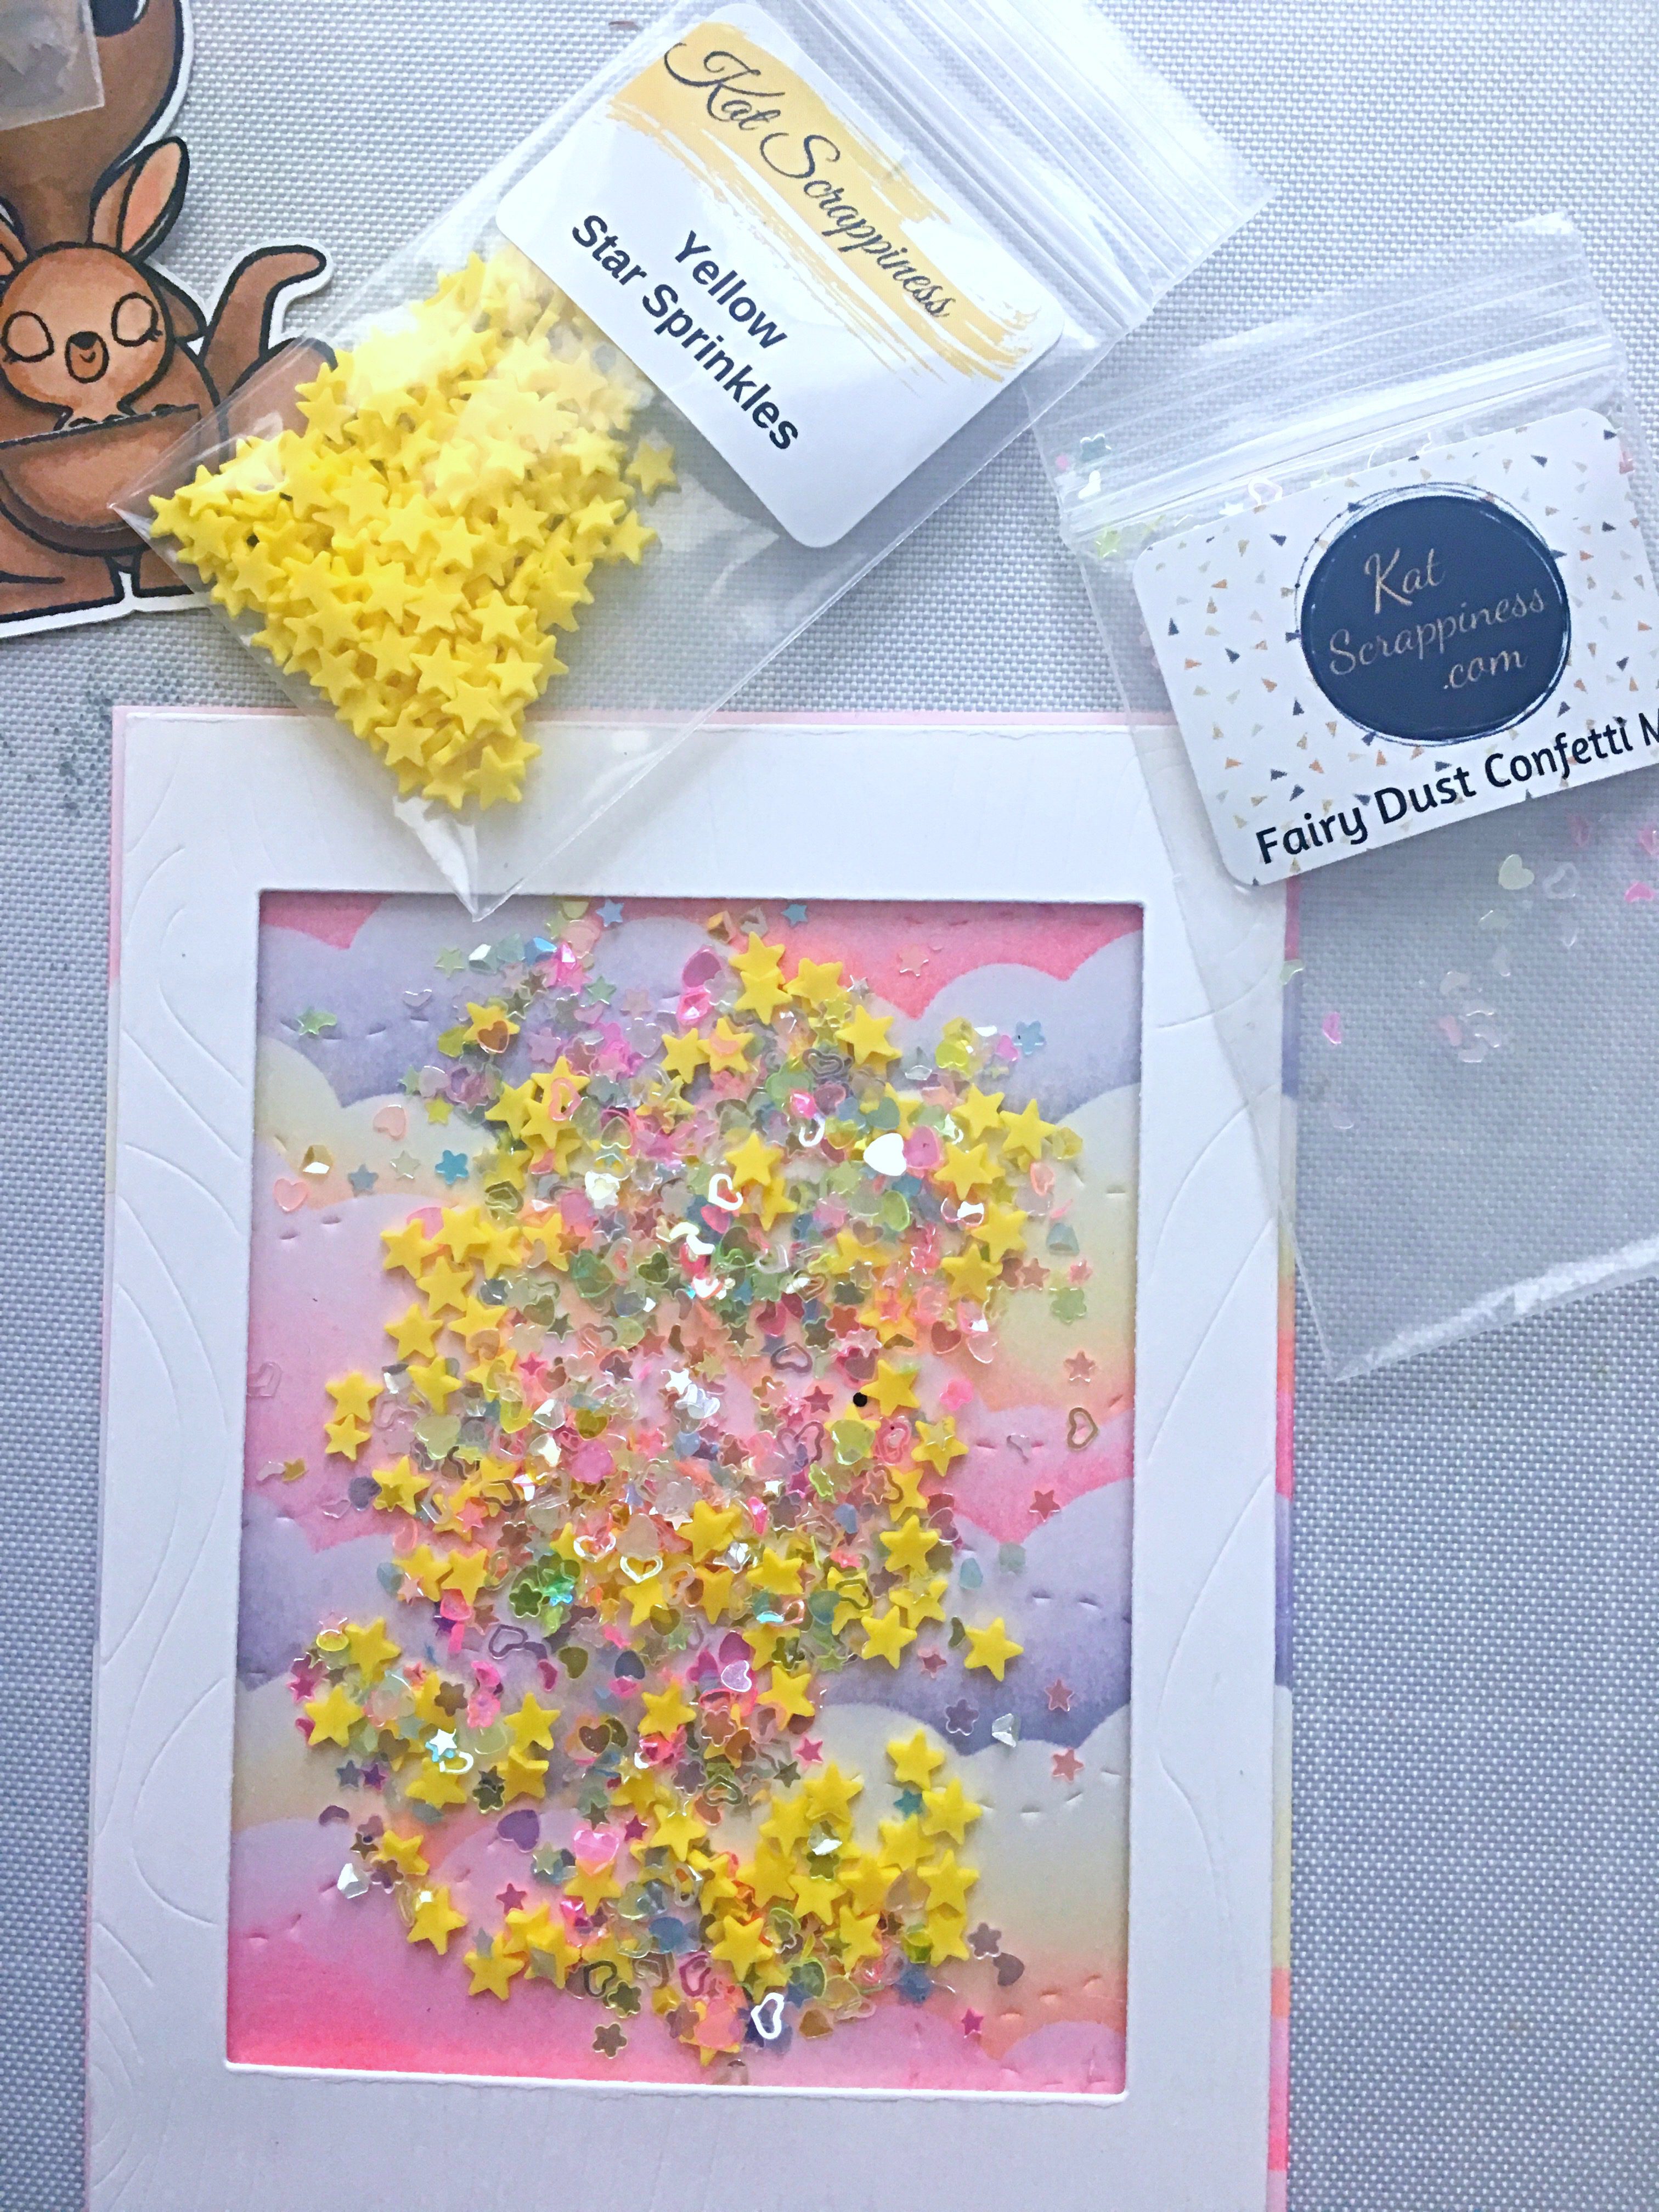
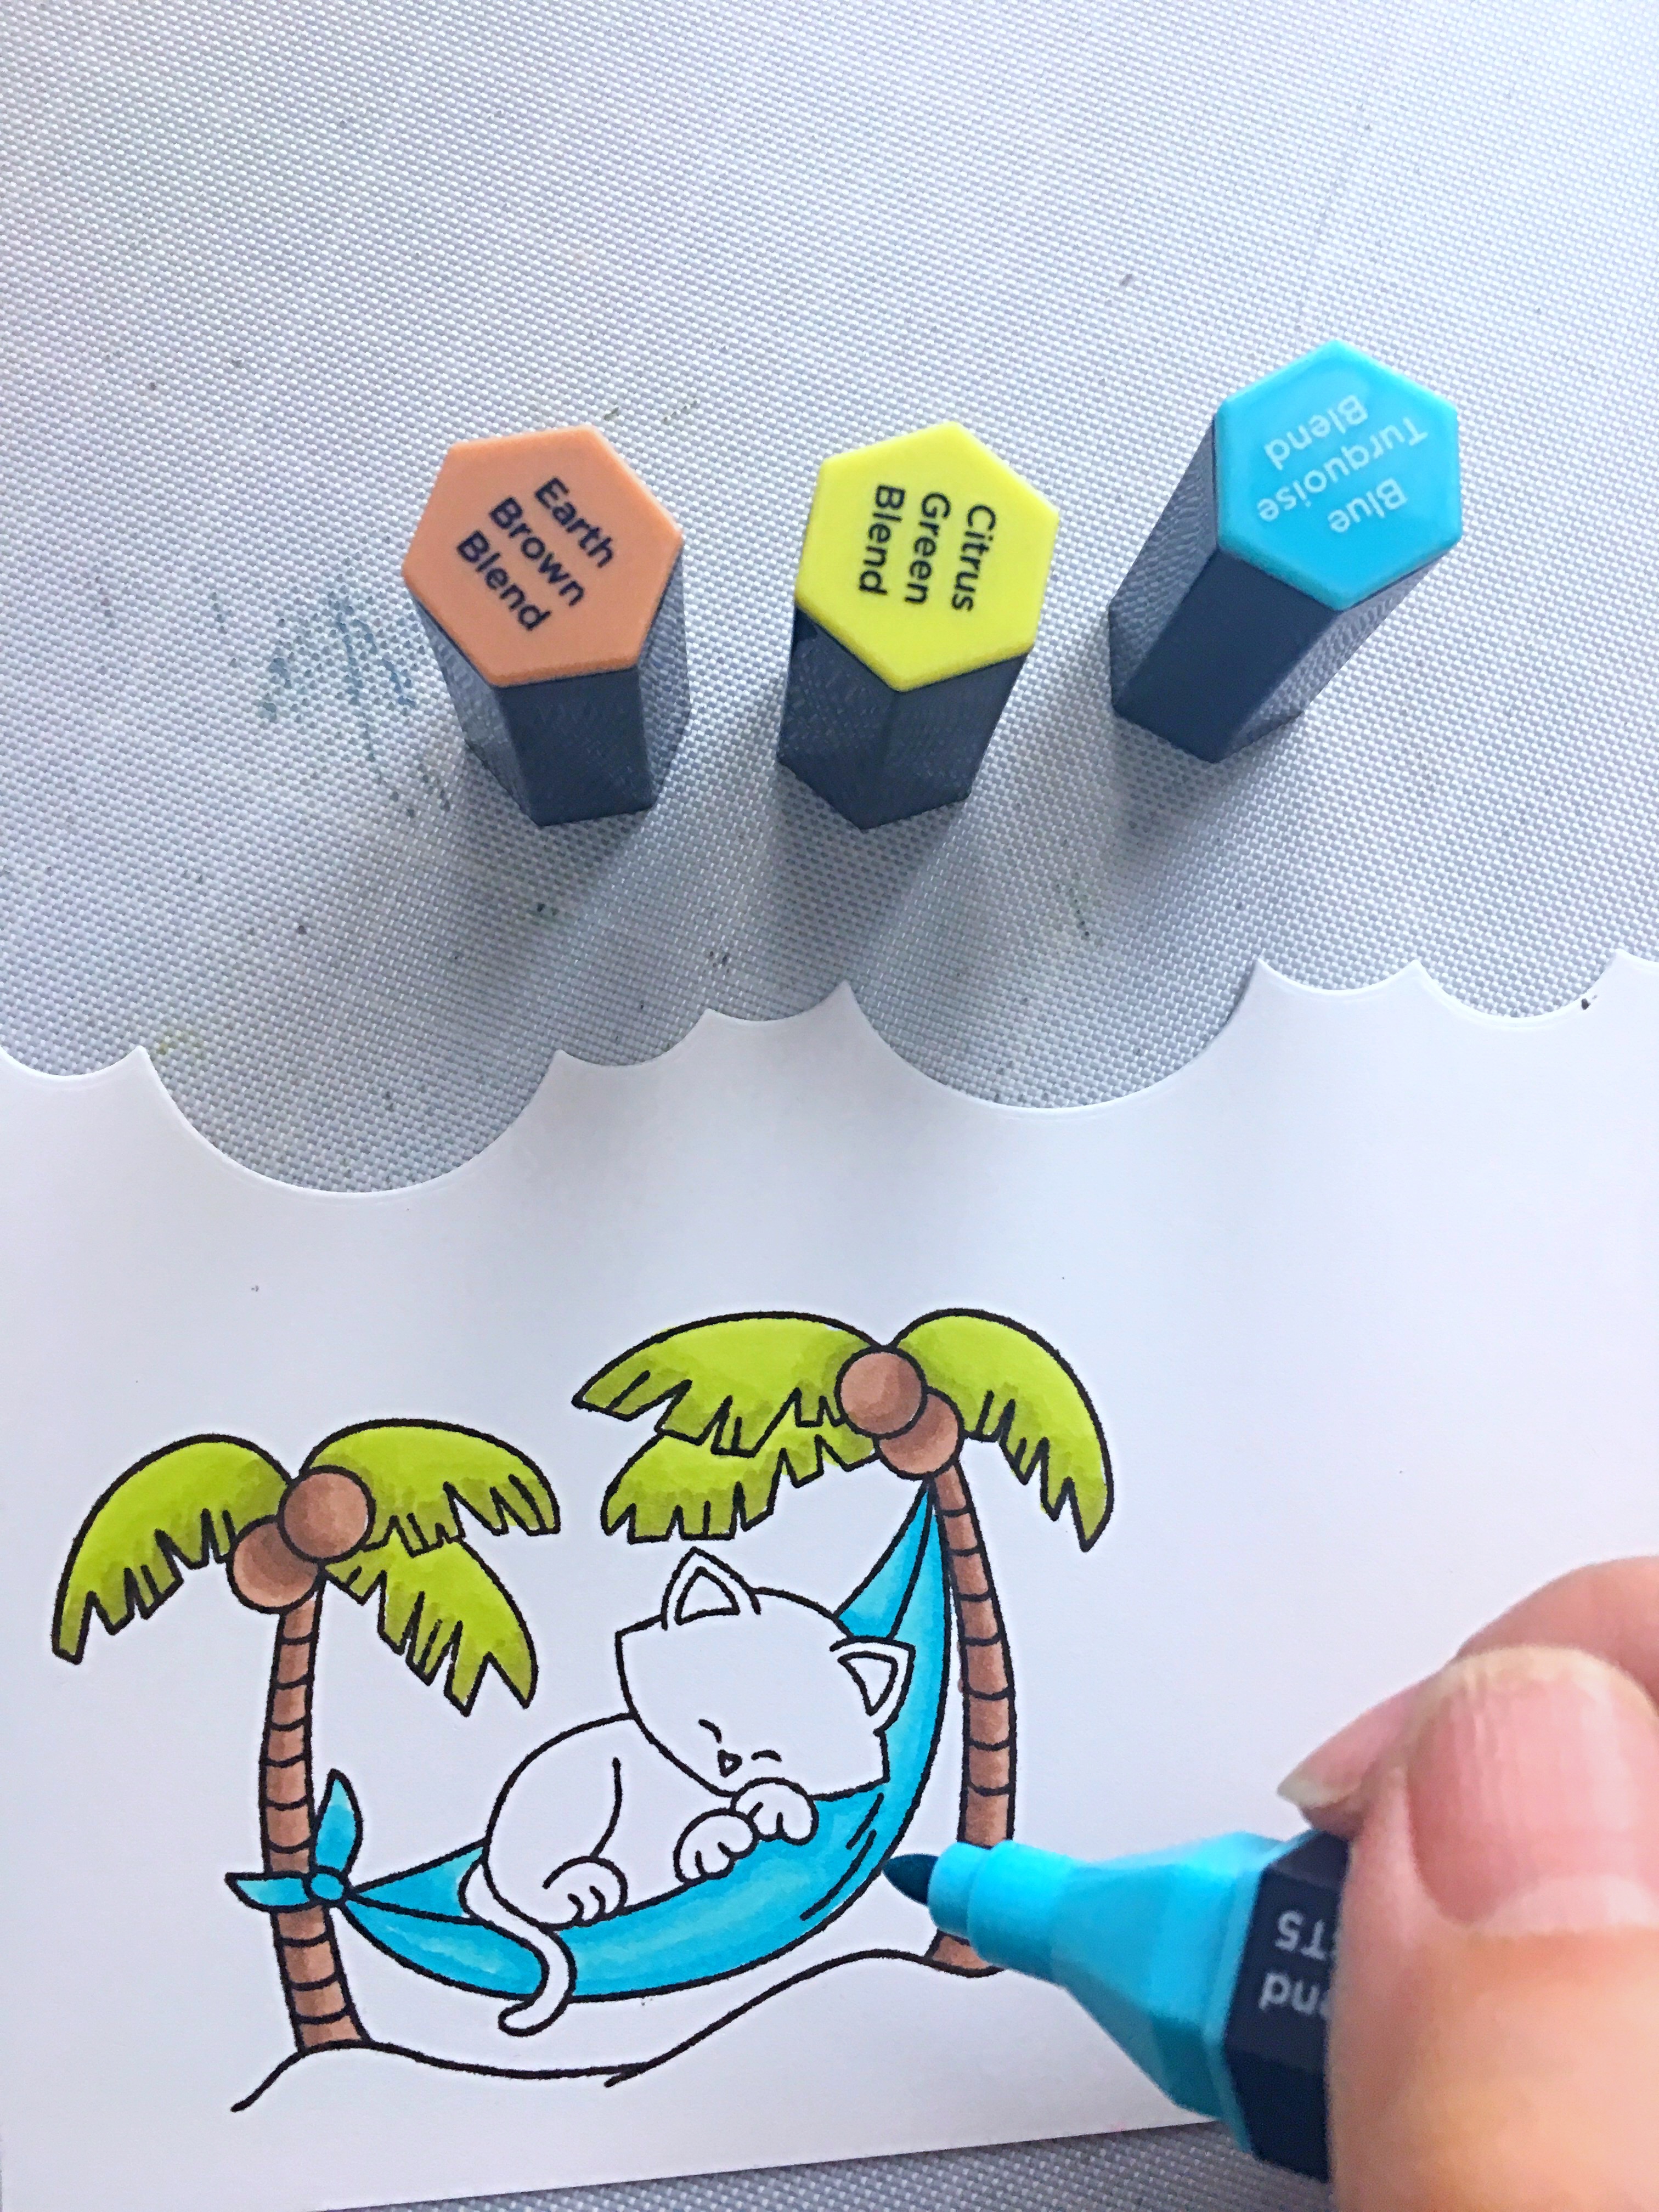
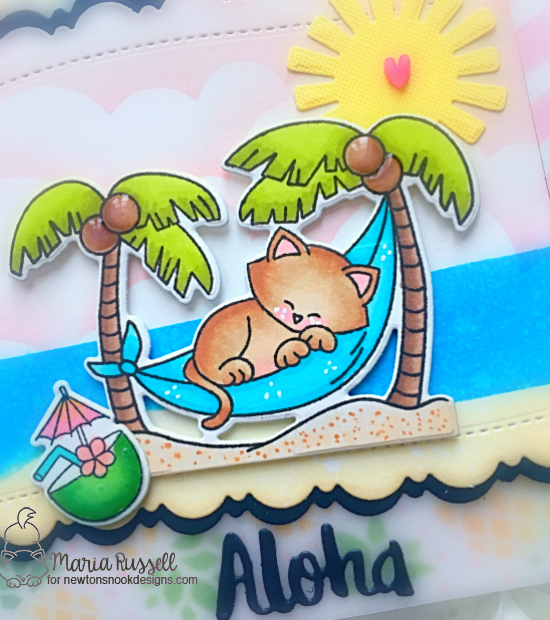
For my second card, I stamped and colored my image from the Aloha Newton stamp set using Spectrum Noir Finesse Alcohol Proof Dye Ink and colored it in with my Spectrum Noir TriBlend markers. I ink-blended some white card stock using the new Clouds and Hill Edge stencils and die cut this piece with a scalloped border die from my stash.
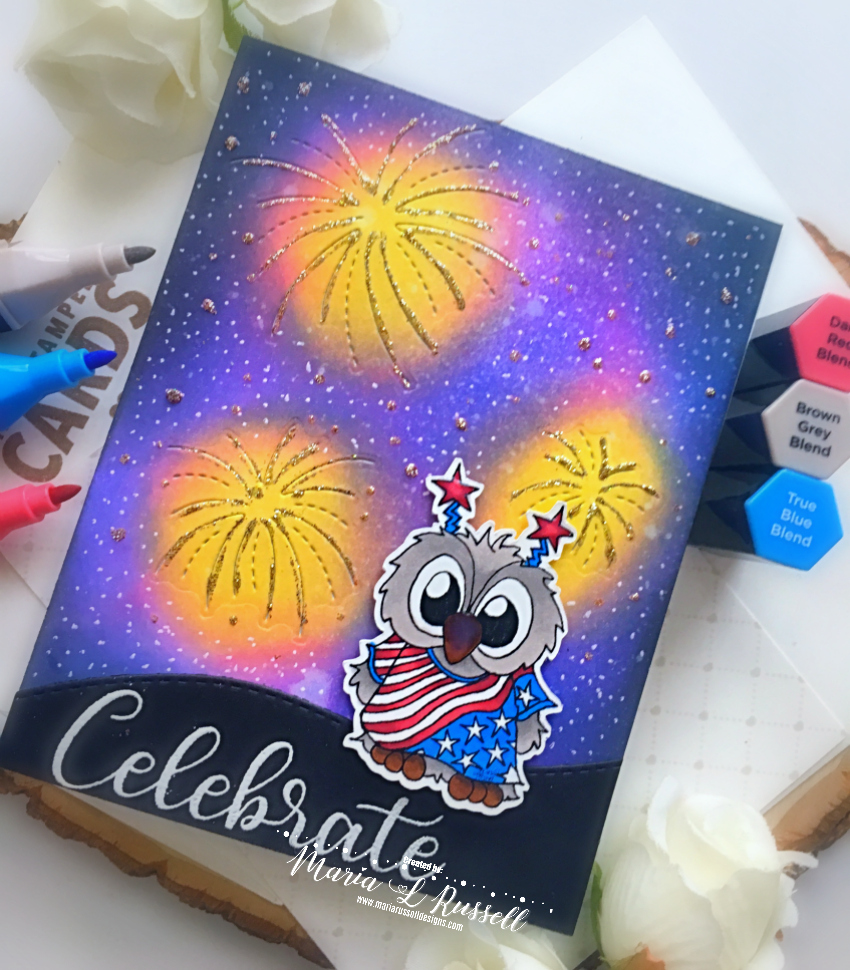
I used the new Pineapple Layering Stencil with some distress oxide inks to ink-blend a panel of Bristol smooth white card stock. I used my Spectrum Noir TriBlend marker in Light Pink blend to add the dots. I attached an A2 size vellum, and adhered my focal image on the front of the card.
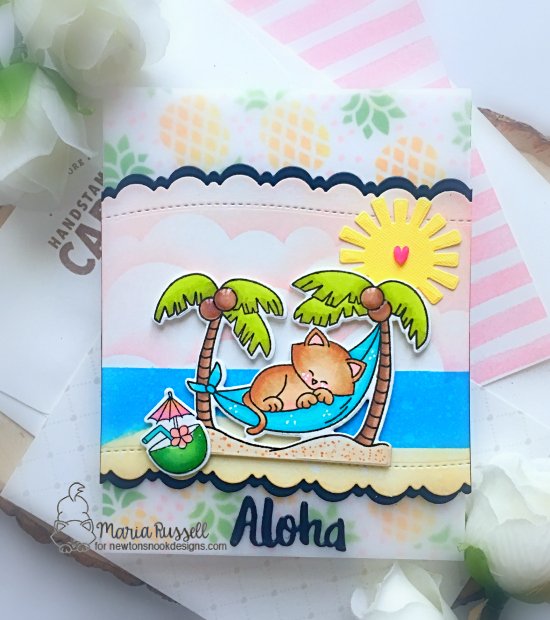
To finish my design, I added the sun, the coconut drink and the “Aloha” sentiment from the Aloha Newton die set. I also added glossy accents to the coconuts to add more texture and interest. Here’s a closer look at the card:
Would you like to win a $20 store credit to Newton’s Nook Designs? ONE lucky comment will be chosen from each reveal day to win!
Here’s how to win:
Comment on the NND blog and Design Team blogs (see list below)! The winner will be chosen at random from the collective reveal posts. Make sure to check out each of their blogs and comment for your chance to win. You will not know which blog has been chosen so the more you comment on the better your chances are of winning! You have until Thursday July 18th at 9pm EST to comment — winners will be announced on the blog post on Friday, July 19th.
Check out all the awesome Design Team Blogs below to enter:
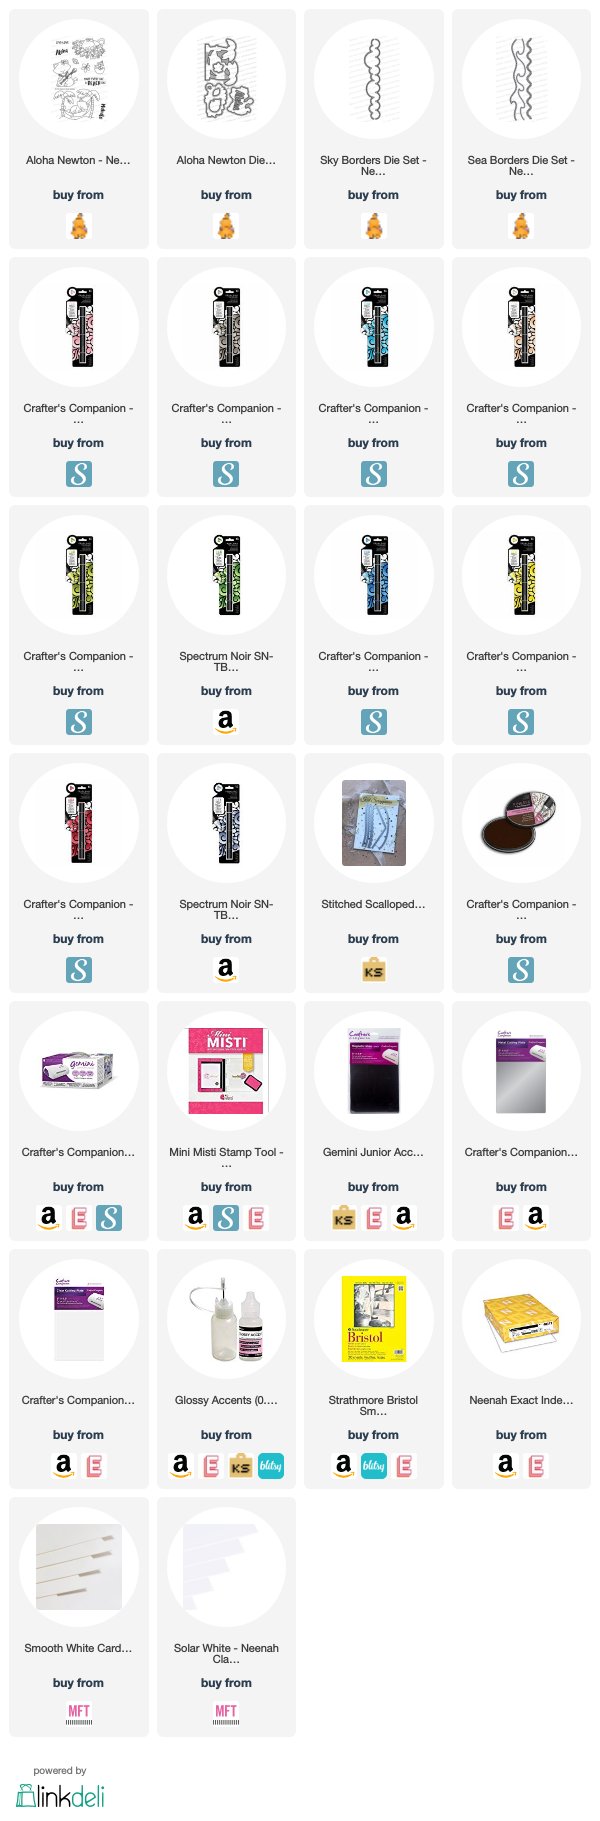
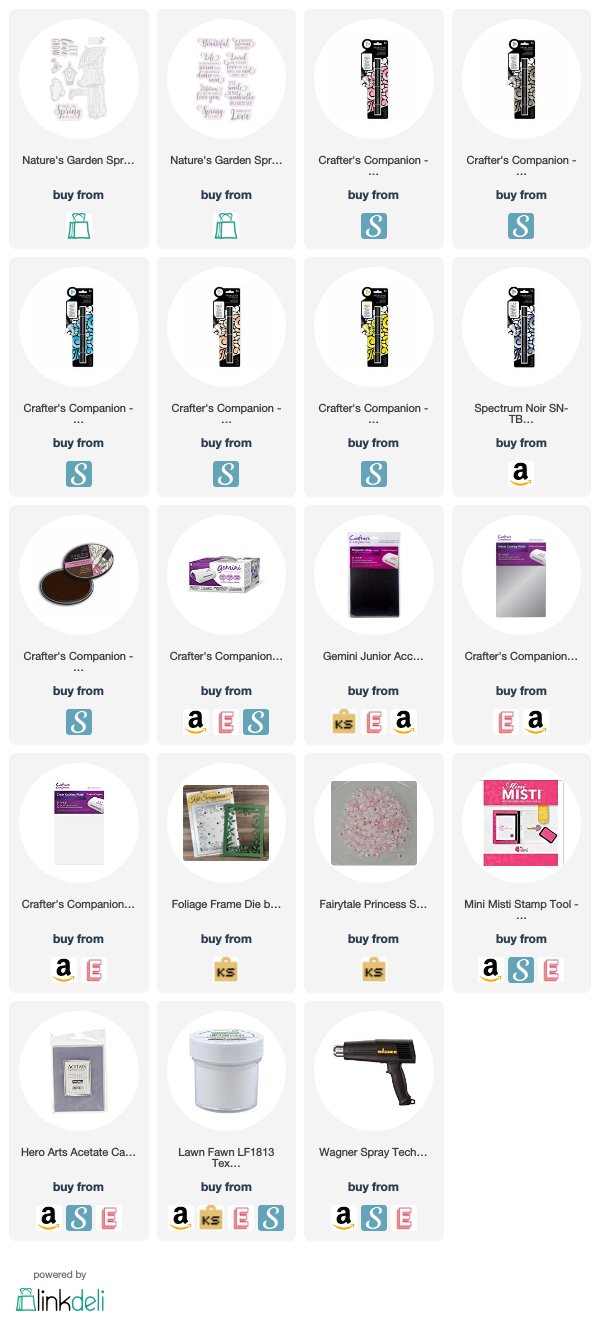
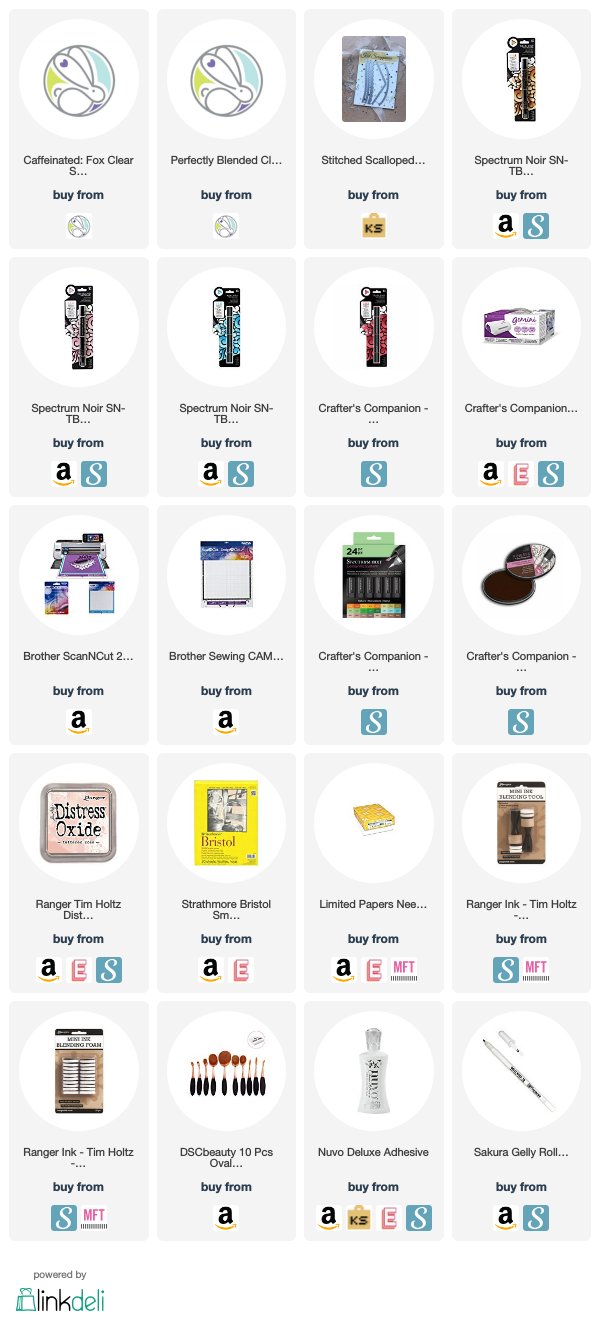
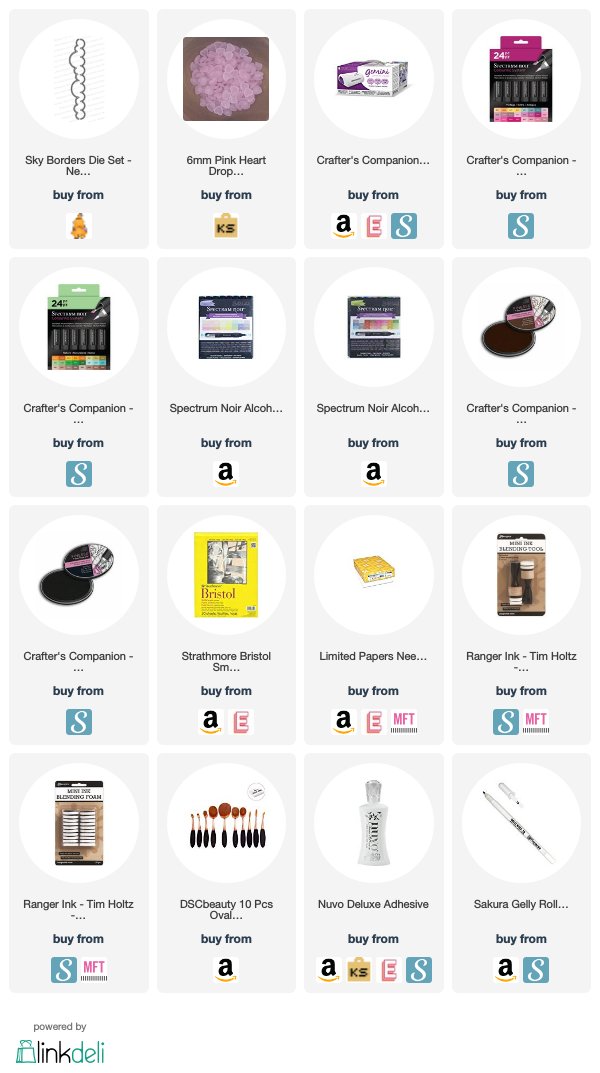
————SUPPLIES—————