National Coffee Day Blog Hop with CAS-ual Fridays


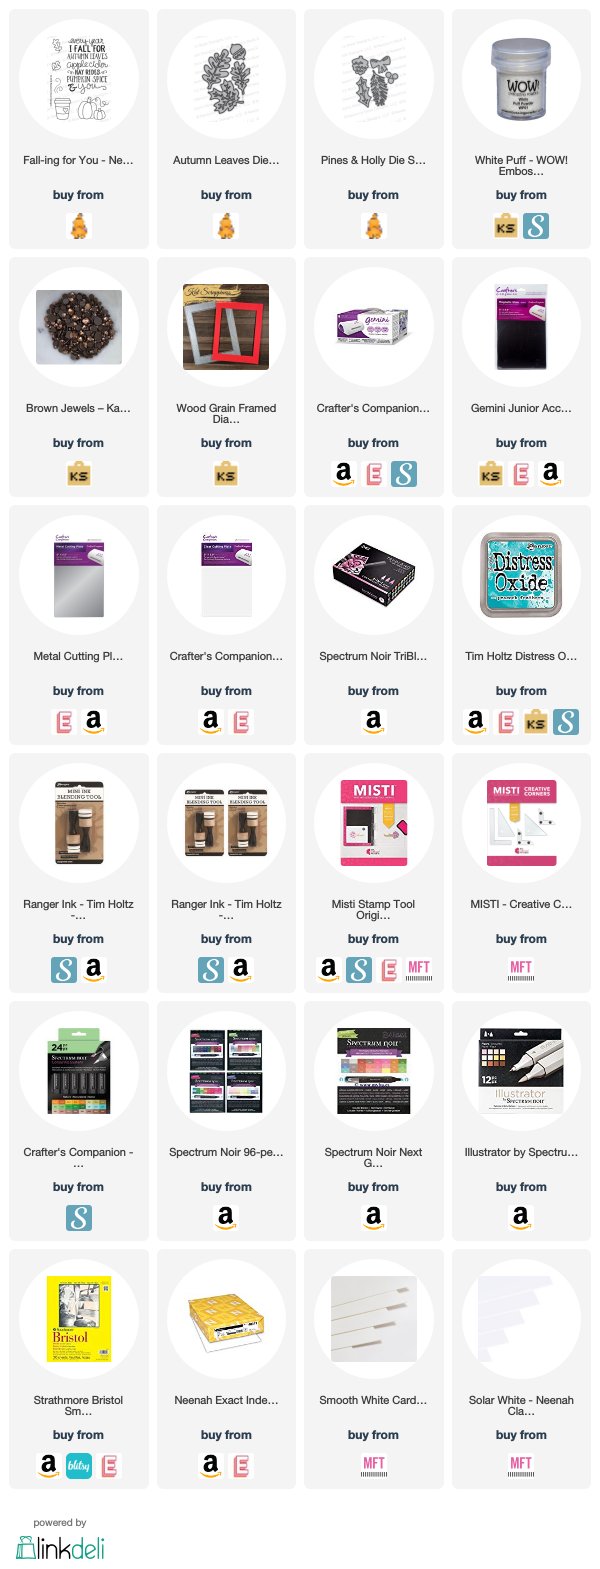
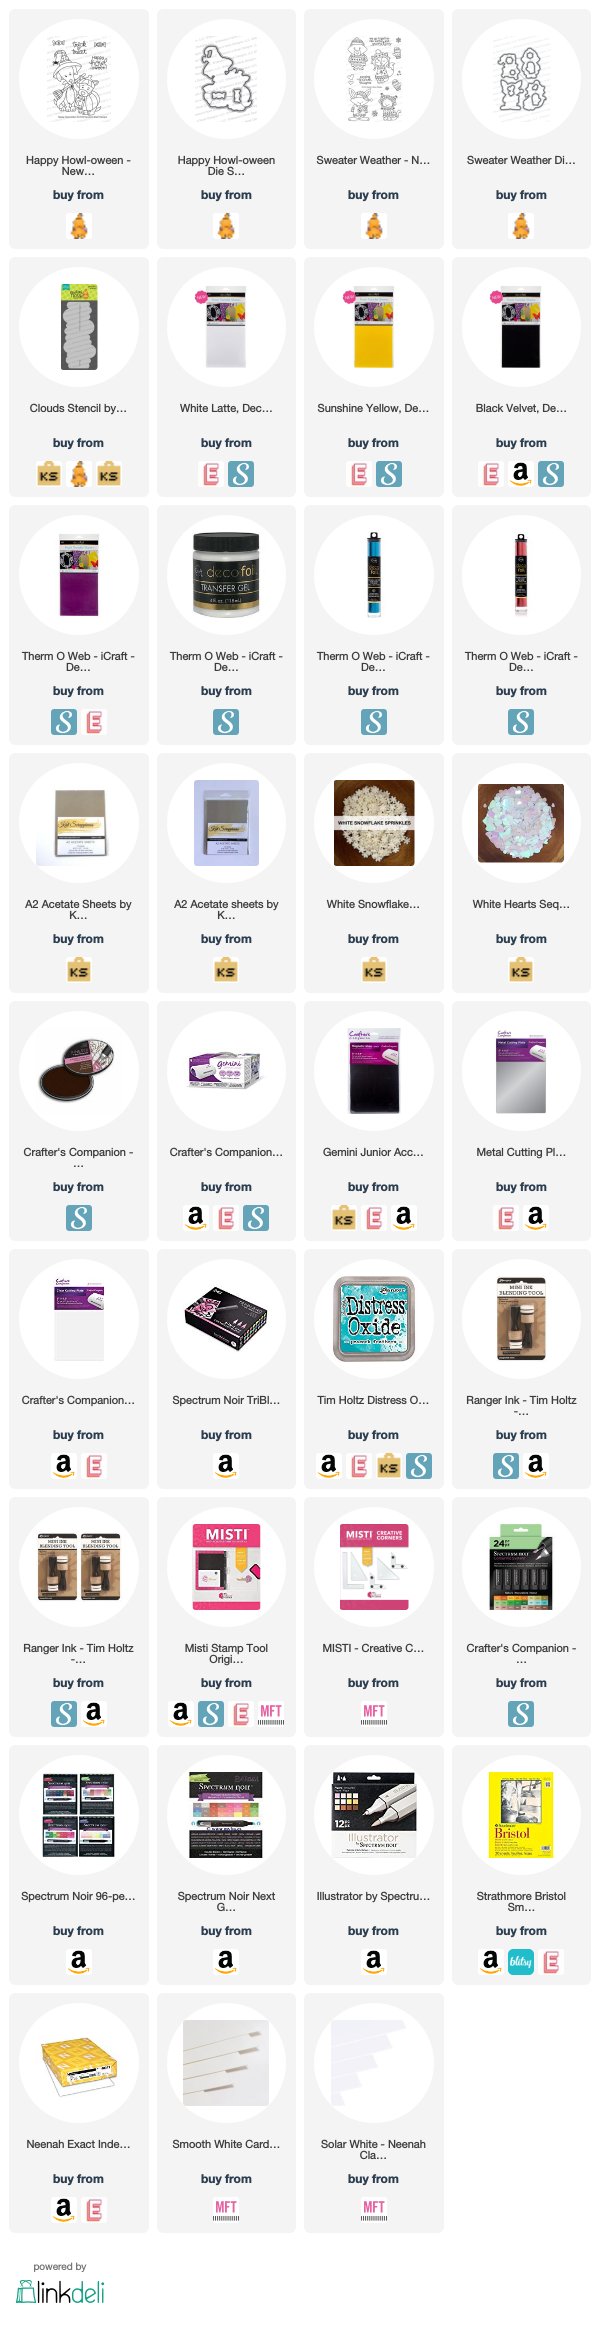
It’s National Coffee Day and we are celebrating at CASual Fridays with a blog hop.  For my project today, I am showcasing the Hearts A2 Panel Fri-Die, Cup of Coffee stamp set, Coffee Cup Fri-Dies and the Coffee Talk stamp set.  We have three prizes up for grabs so make sure to read at the end of the blog post for a chance to WIN.


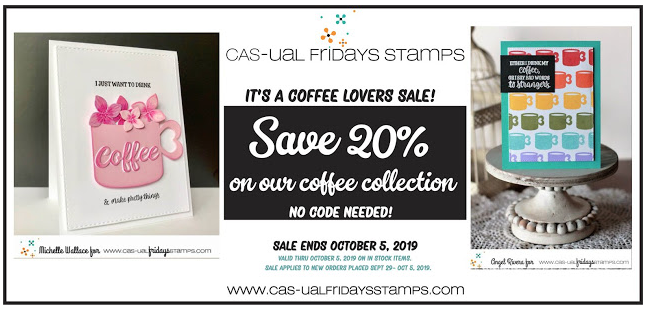
To make this day even more fun, CASual Friday had put their entire COFFEE COLLECTION on Sale for 20% off.  No coupon code needed.  For further discount, you can avail my discount code “MARIASENTME” for 15% off.


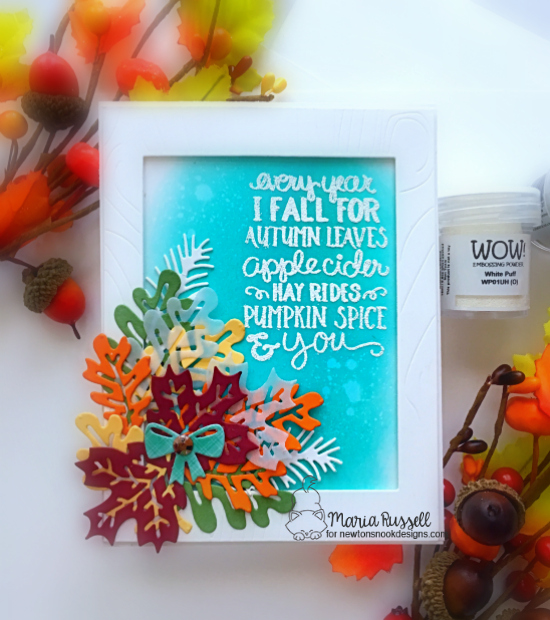
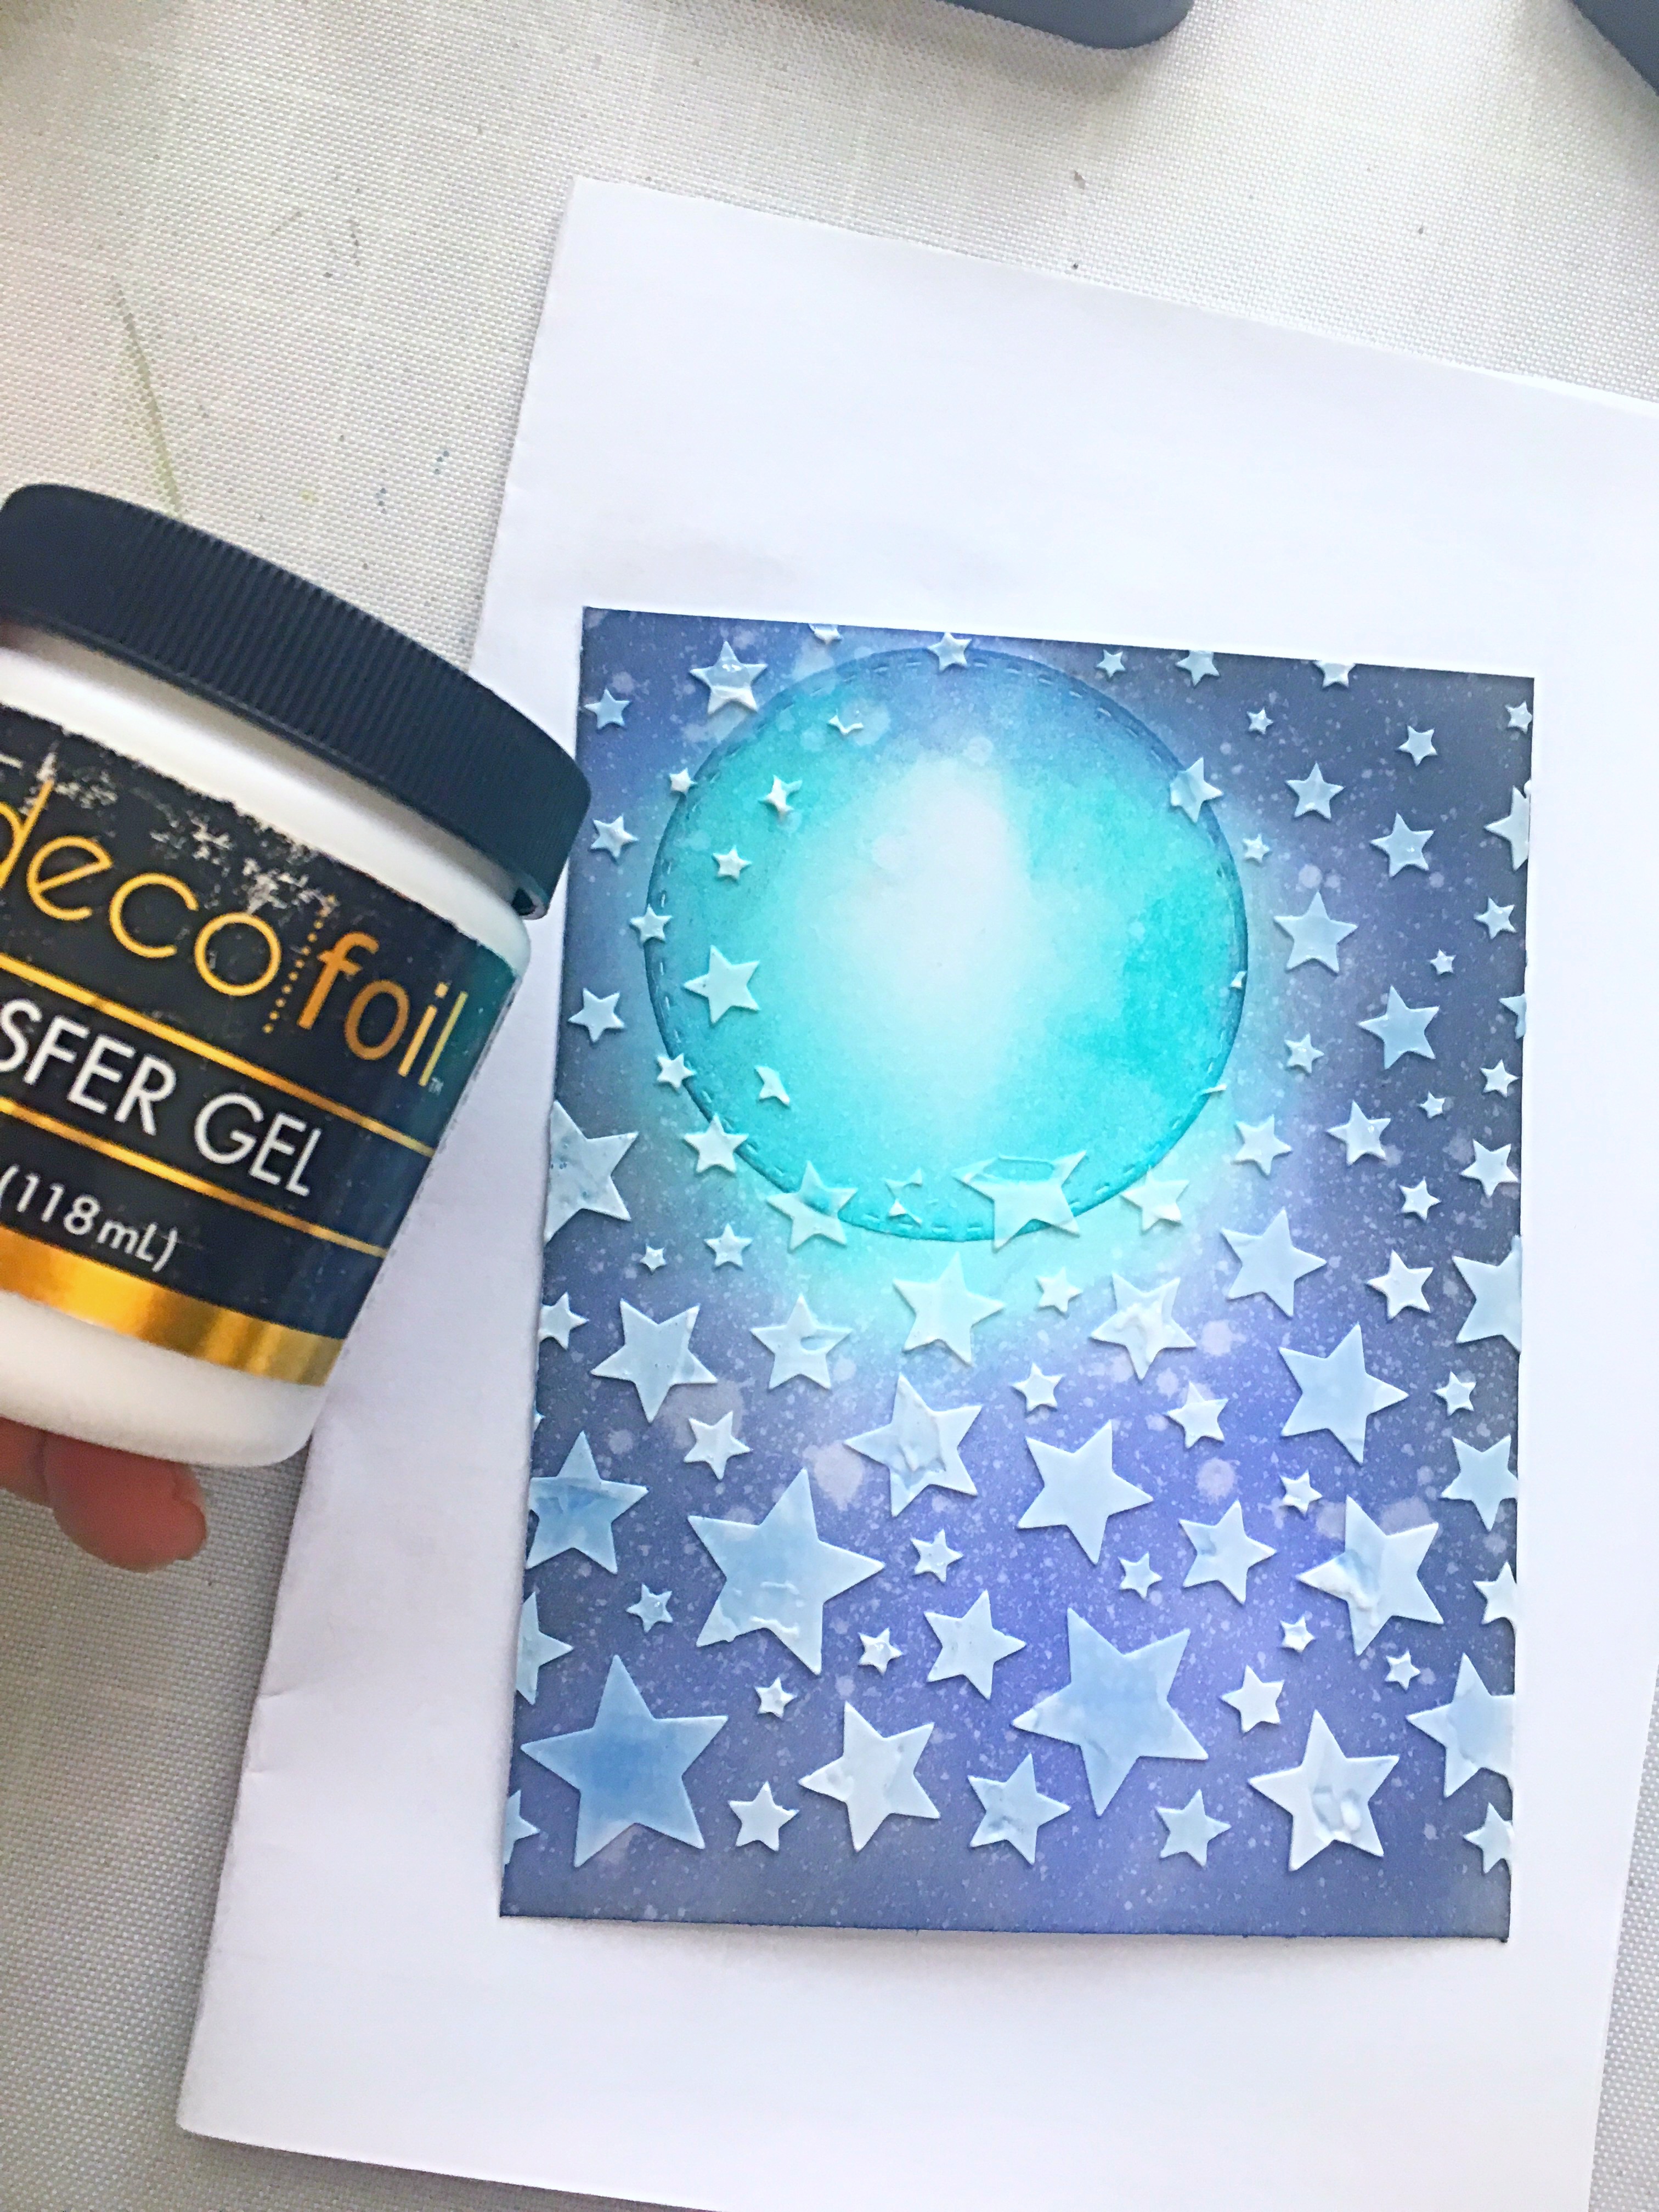
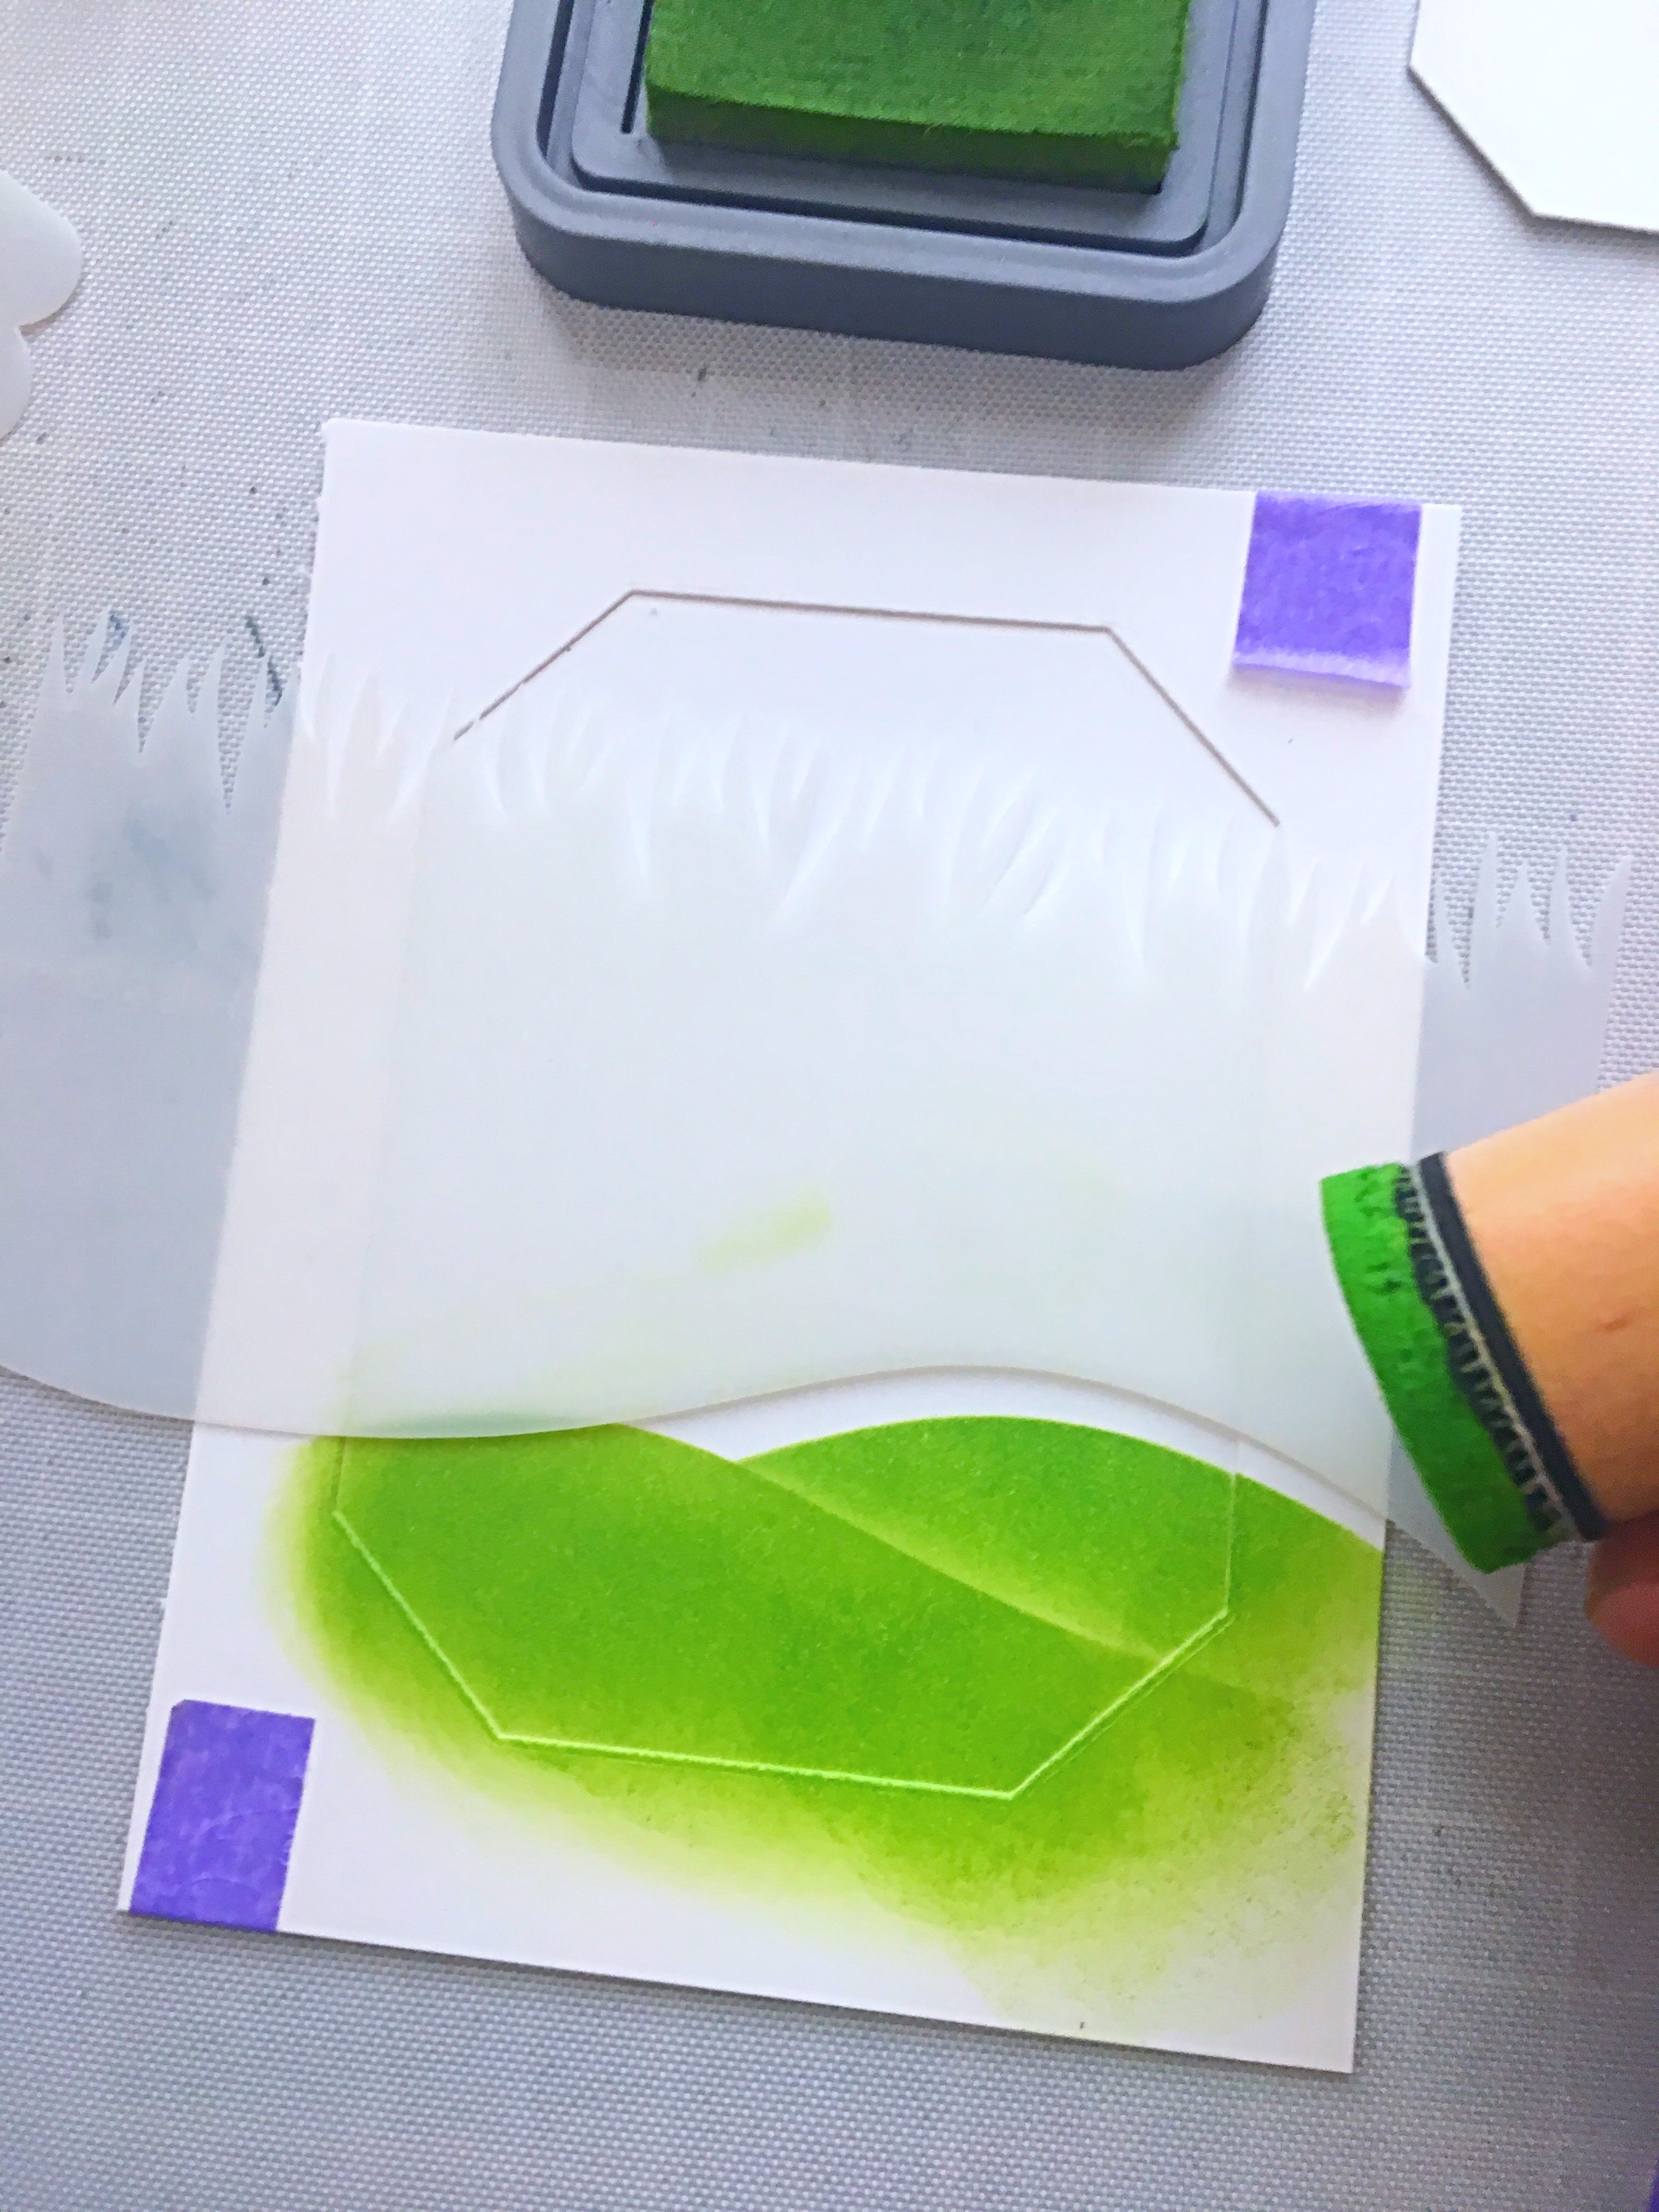
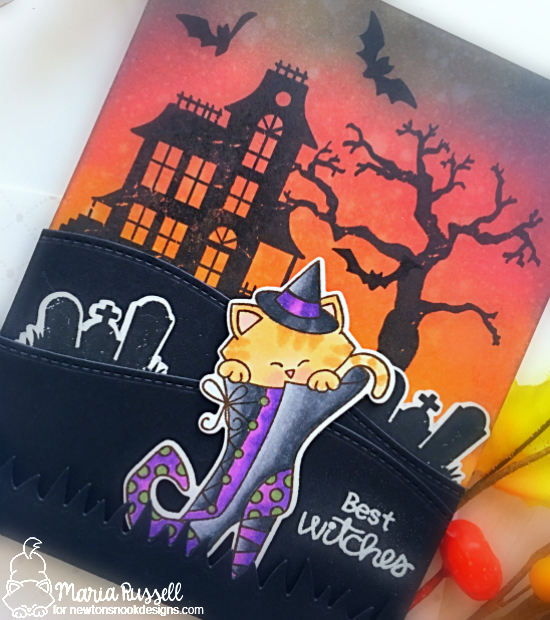
To begin, I started by using a clouds stencil from my stash and inked up my background using different shades of distress oxide inks.  I wanted some oranges and pinks as my background color to symbolize fall.  I cut another piece of Bristol smooth white card stock and used the Hearts A2 panel fri-die.  I set this die-cut aside so I can work on the other elements I need for my card.


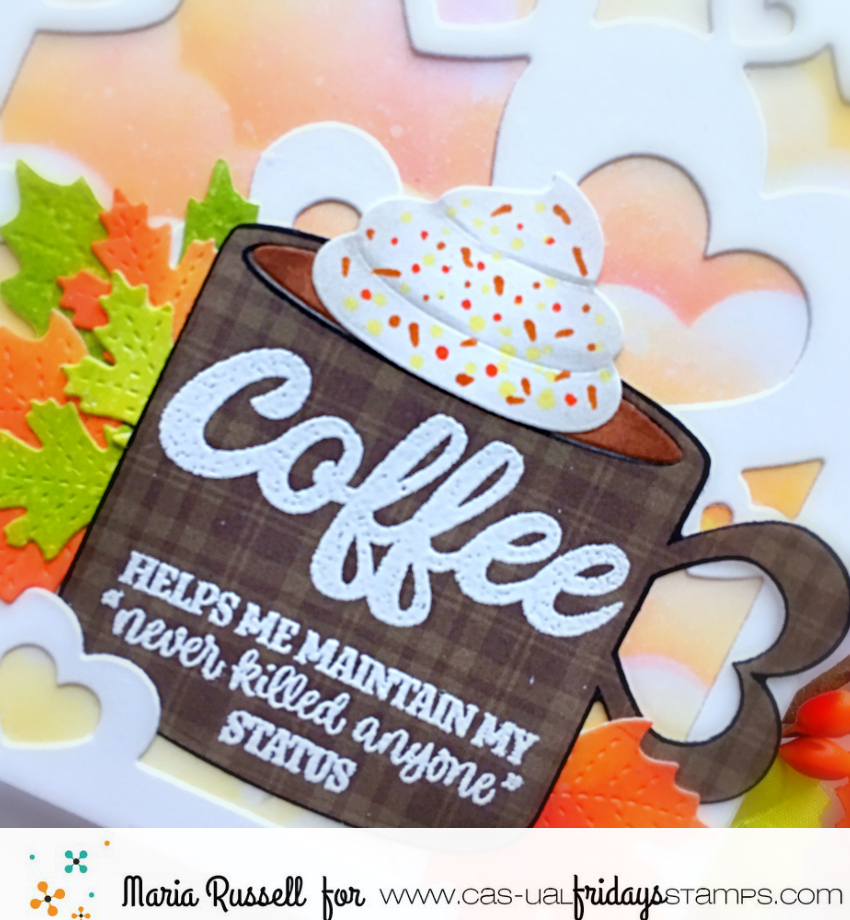
I stamped the coffee cup from the cup of coffee stamp set on a brown patterned paper.  I put this piece inside my MISTI stamping tool to stamp the sentiment from the coffee talk stamp set.  I used Versamark ink and sprinkled some white embossing powder, and heat-set this with my heating tool.


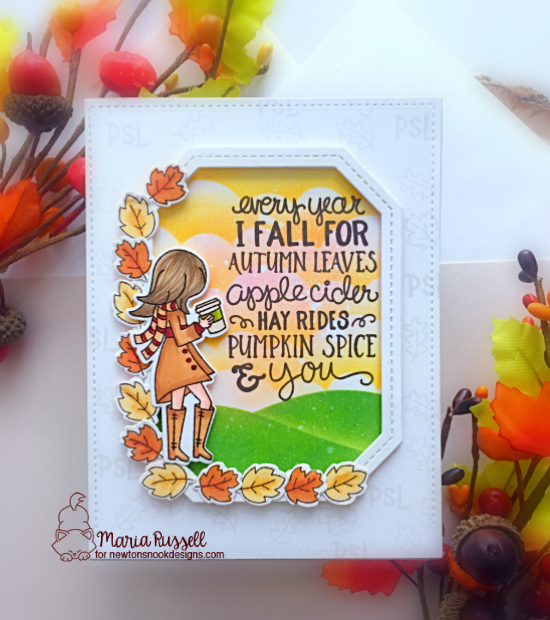
I adhered the colored panel on an A2 size side-fold card base.  I added the Hearts A2 background panel with liquid adhesive and started working on creating my scene.  I used some fall leaves that I die-cut awhile ago from my stash and started layering them for some added texture and dimension.


Lastly, I used another die from my stash to die-cut the “whipped cream” and colored it lightly with my alcohol markers.  I foam-mounted this piece onto my card.


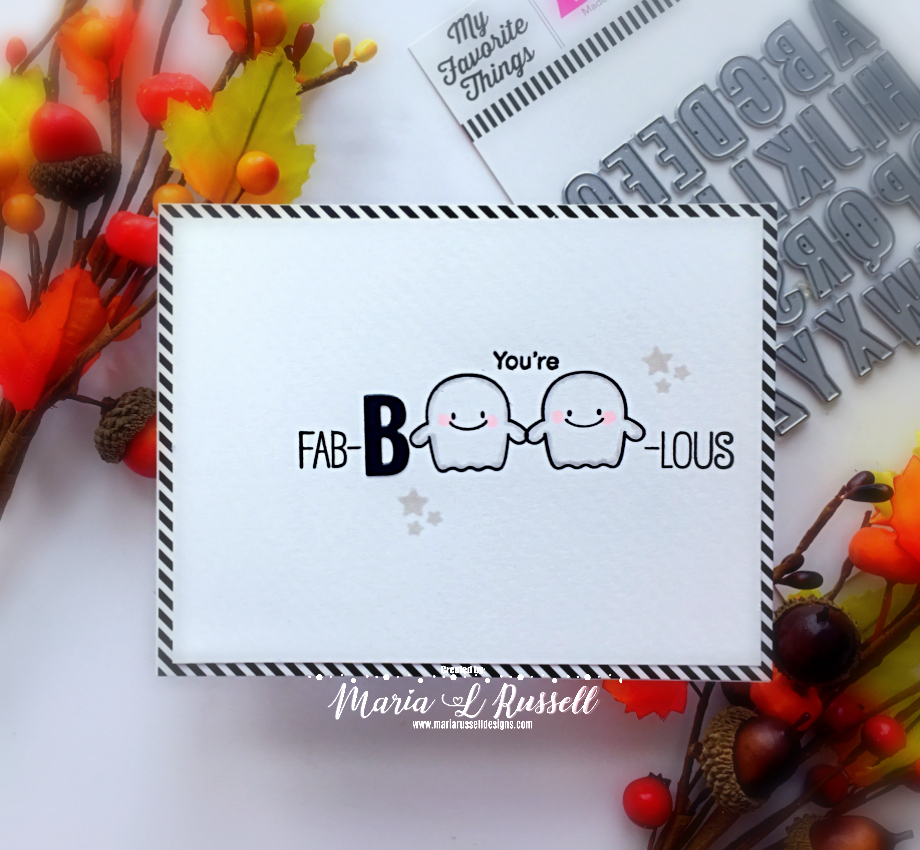
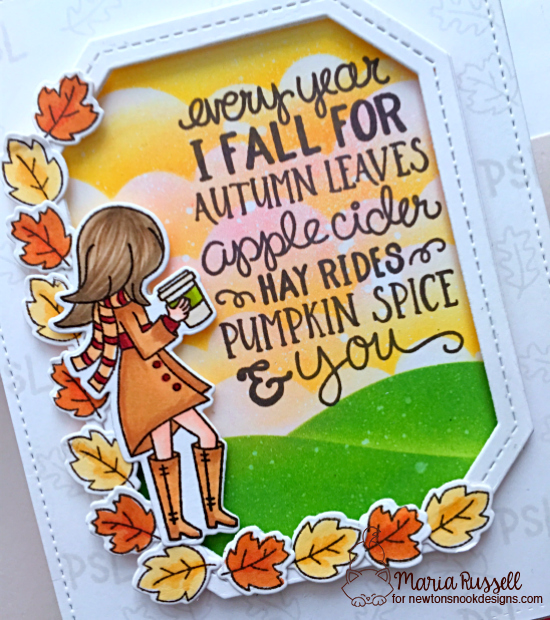
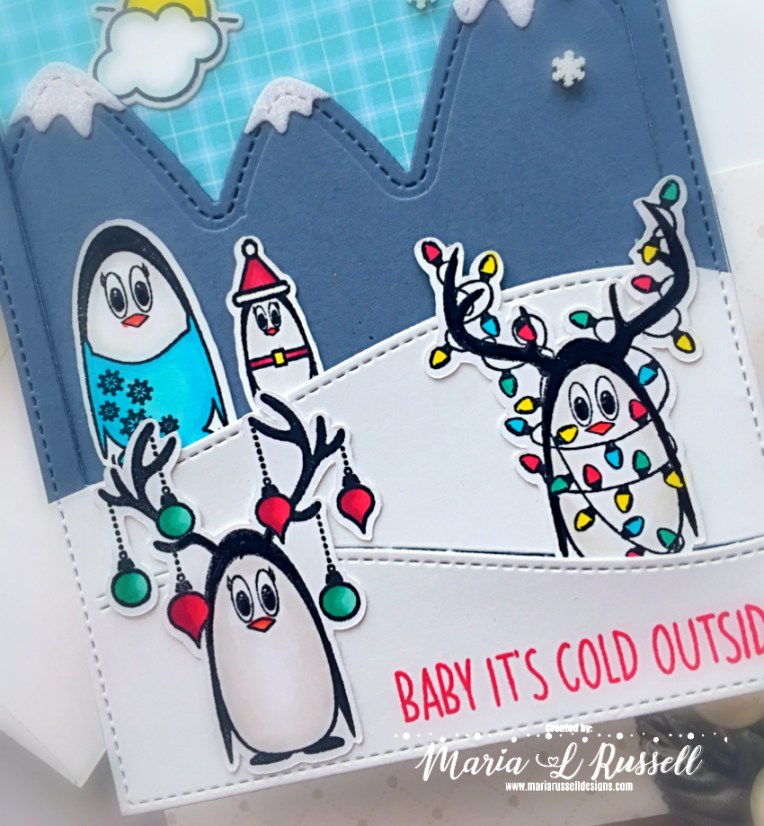
I really LOVE how this card turned out.   The white sentiment on the coffee cup stood out and the colors of the leaves complimented the colored background.  Here’s a little close-up:


I hope you like my card today.  Here are the details for the giveaway:


We have three (3) $15 prize codes up for grabs:


1.  1 lucky comment on the main Cas-ual Fridays Blog post win.


2.  1 lucky comment on @CASualFridaysStamps facebook group will win (follow the FB group).


3.  1 lucky comment on @casfridays Instagram account will win (follow @casfridays on instagram).


Newton’s Nook Designs & Wow Collaboration Week


Newton’s Nook Designs and WOW embossing powders are collaborating all week long to offer you inspiration using their products together!  Both design teams will be sharing fun ways to use embossing powders on your projects using WOW embossing powders paired with Newton’s Nook Designs stamps!  We also have a GIVEAWAY so please make sure to read at the end of this blog post to find out how you can WIN.


For my project today, I am showcasing the Fall-ing For you stamp set, Autumn Leaves die set, Pines & Holly die set, with the White Puff Embossing powder by Wow!


To start, I inked up some Bristol smooth white card stock with some peacock feathers and broken china distress oxide inks.  I used my distress sprayer to spray some water on the background and dabbed it with paper towel to dry.


I die-cut the leaves using the Autumn leaves die set with some colored card stock and vellum.   I also die cut some pine needles using one of my favorite dies, the Pines & Holly die set.


I die-cut a frame using a die from my stash and added foam adhesive to this piece and set this aside.  I stamped the sentiment from the Fall-ing For You stamp set with some Versamark ink on the colored background.  I poured some White Puff embossing powder and heat-set this using my Wagner heating tool.  I foam-mounted the frame that I die-cut earlier onto my colored background.


Lastly, I added the leaves with some liquid and foam adhesives and also adhered the bow.  I added some brown jewel to finish the design.  Here’s my card:


I think combining the Fall-ing For you stamp set with the Autumn Leaves die set makes the perfect fall-theme card.  It’s simple but creates a huge impact.  This is also my first time using some Wow! Embossing powder and I really LOVE it!  Here’s a little close-up of the card:


I hope you like my card today and got inspired!   Would you like to win a $25 store credit Newton’s Nook Designs?

Here’s how to win:  Leave comments on the NND & Design Team blog posts using WOW  products all week (September 23-27) to enter.  One winner will be randomly chosen from blog posts throughout the week so the more posts you leave comments on the better your chances are of winning!  You have until Friday September 27th at midnight CST to comment.  The winner will be announced on the NND blog post on Monday, September 30th.

Want another chance to win? WOW is also giving away a prize pack! Visit the WOW blog each day this week for more inspiration and details on how to win their prize!


Thank you for stopping by today.  The supplies I used are listed and linked below.  Have a nice day and happy stamping!


———-SUPPLIES———-


2019 Card Design Superstar with MFT Stamps – Clean & Simple


I hope you are all having a fabulous day.  This is my second post for today for the MFT Stamps 2019 Card Design Superstar contest!   This post is to enter the Clean & Simple category.


For my card below, I am showcasing the Birdie Brown Fab-BOO-lous Friends stamp set with the LLD Little Letters Die-namics.


I started by masking the sentiment and stamping it on some A2-size Neenah 80 lb. solar white card stock.  I also stamped the two ghosts from the BB Fab-BOO-lous stamp set and colored them in with some T1 and T0 copic markers.  I used my R00 to add some pink color to their cheeks.


I die-cut the letter “B” on some black card stock using the LLD Little Letters Die-namics. and adhered it right next to the ghost.  I stamped the remaining sentiment with Versafine Onyx black ink and also stamped the stars using some light gray ink.


I adhered my foreground on some MFT Just Delightful patterned paper and added this piece on some A2-size card base.  Here’s my card:


If you guys have been following me for awhile, you know that clean & simple is not my strongest point.  This category was quite the challenge for me!  I think having this contest is amazing because it challenges us (card-makers), to go beyond our comfort zone and try something new.  Here’s a closer look:


I hope you like my card today and got inspired.  If you would like to enter the contest, please click on this link: 2019 Card Design Superstar.   The supplies I used are listed and linked below.  Have a great day and happy stamping!


———-SUPPLIES———-


2019 Card Design Superstar with MFT Stamps – Coloring Virtuoso


It is that time of the year when most card-makers get nervous trying to come up with unique designs to join the MFT Stamps 2019 Card Design Superstar contest!  I have entered the last two years but never won.  There are so many amazing card-makers out there and the competition gets tougher every year.    However, I think this is a great way to interact with a lot of people and I adore MFT Stamps for giving us a chance to show off our skills.  For this post, I am entering the “Coloring Virtuoso” category.


For my project today, I am showcasing the Spooktacular Friends stamp set, the Tucked-In Turf die-namics and the Grassy Hills die-namics.


To begin, I die-cut a piece of masking paper using a circle die and masked some A2-size Bristol smooth white card stock.  I inked up this piece using some water-reactive inks.  I used my distress sprayer to spray some water on my colored background and dabbed it dry with my paper towel.


I stamped the images from the Spooktacular Friends stamp set and colored them in with my alcohol markers.  Since I didn’t have the coordinating dies for this, I used my cutter-bee scissors to fussy-cut the images.  I also colored the border on the images with some T7 Copic marker.  Since I have a night scene, I didn’t want the edges of the images to have some white border.


I die-cut some black card stock using the Tucked-In Turf and Grassy Hills Die-namics.  I used my blending brush and some Sweet Tooth Pigment Ink by MFT Stamps to add some texture on the grass.  Since I have a ginormous moon, I needed to make the grass look more realistic by having some light shadows.


I adhered my colored background on an A2 size card base.  I foam mounted some of the grassy hills and started assembling my card.  I stamped the tree image directly onto the foreground with some Versafine Onyx black ink.  I then used my white gel pen to add some color to the ghost.  Lastly, I stamped the sentiment on the card with some Versamark ink.  I sprinkled some white embossing powder and heat-set this with my Wagner Heating tool.  Here’s my card:


I don’t know about you but I think one of the most difficult part about creating a night scene is to make sure that the images pop against the dark background.  This is the reason why I colored the edges with some dark marker.  I wanted them to pop against the dark background but I didn’t want the white edges to stand out either.  Here’s a closer look:


I hope you like my card today.   If you would like to participate and have some fun, please visit their blog post here:  2019 Card Design Superstar Contest.   The supplies I used are listed and linked below.  Have an amazing day and Happy stamping!


———-SUPPLIES———-


Newton’s Nook Designs & Therm-O-Web Collaboration Week


This week Newton’s Nook Designs and Therm O Web are partnering for fabulous Fall, Halloween and Christmas inspiration! All week long both design teams will be sharing ways to use Therm O Web products with Newton’s Nook Designs stamps!  We also have  GIVEAWAY so please make sure to read at the end of this post to find out how you can WIN.


I went NND and TMW crazy and created three projects for you today!  I am showcasing (one of my all-time favorite stamp set from Newton’s Nook)  the Sweater Weather stamp set and its coordinating dies with the Happy Howl-Oween stamp set and coordinating dies.  I am also showcasing a LOT of products provided to us by Therm O Web, which you will be able to see if you watch my YouTube video below.  I also would like to take this opportunity to thank Therm O Web for spoiling the NND Design Team with your amazing products.


For my first project, I die-cut a masking paper with a circle die and masked my Bristol smooth white card stock.  I inked up my background with some distress oxide inks.  I sprayed my inked background with some water to get the oxidize effect and dabbed it with paper towel to dry.  I used the Deco Foil Transfer Gel and Newton’s Nook Cascading Stars Stencil to create the stars on my background.  I set this piece aside to dry for about 40 minutes and ran it through my laminator with some Deco Foil Ocean Blue Transfer Sheets.  I removed my mask and colored the moon a little bit with my B000 copic marker.


To create my scene for my trick-or-treaters, I used a house die from my stash and TMW Flock transfer sheets in Purple Punch, Sunshine Yellow, Black Velvet and White Latte to create my spooky house.  I also die-cut the grass using the Land Borders die set.


I stamped my image using the Happy Howl-Oween stamp set and colored the images in with my Spectrum Noir alcohol markers.  I die-cut the image using the coordinating die.  Now that I have all of my elements, I started building up my scene.


I used a white pigment ink and a blending brush to highlight the grass.  By doing so, this gave it a more realistic effect since I have a HUGE moon shining over everything!  I finished my design by stamping the bats.  I also stamped my sentiment in Versamark ink and sprinkled some white embossing powder.  I used my Wagner heating tool to heat set the sentiment.  Here’s a closer look at the card:


For my second project, I wanted to use the flock transfer sheets and my embossing folder  to create a winter scene for my critters from the Sweater Weather stamp set.  I have a process video for you for the two Christmas cards.  Here’s the first one:


For the second Christmas card, I used the Oh Christmas Tree Designer Toner Sheets , the White Latte Flock Transfer Sheet and the Gina K Designs for TMW Red Velvet Deco Foil to create a fun shaker card:


Here’s my YouTube process video:


I hope you like my projects today.  I would be so grateful if you could visit my YouTube channel and subscribe if you haven’t already!  The supplies I used are listed and linked below (affiliate links may have been used for some of the items at no additional cost to you).

There are more amazing projects today over on the Therm O Web blog so pop over there for more inspiration!


GIVEAWAY DETAILS:
Time for prizes! Would you like to win a $25 store credit at Therm O Web or to Newton’s Nook Designs?  Both companies will be giving away a prize this week!  Visit the Newton’s Nook Designs blog and the Therm O Web Blog  to enter for a chance to win!  Have an amazing day and happy stamping!

————SUPPLIES————


Pumpkin Spice & You with Newton’s Nook Designs

Today, I’m sharing another fall/coffee-theme card with one of my favorite stamp sets released last month called Pumpkin Latte.  I don’t know about you, but I am just so ready for sweater weather!  It is still extremely HOT and humid over here and I am dreaming of some cooler weather, or even rain!   Who else is getting antsy and waiting for fall to come?


To begin, I stamped my images using Spectrum Noir Alcohol Proof Dye Ink in Rustic Brown on some Neenah solar white card stock.  I colored my images in with my Copic and Spectrum Noir alcohol markers.  I used the coordinating dies, to die-cut the images.


On another piece of Neenah solar white card stock, I die-cut a frame and used the negative piece to mask-off some Bristol smooth white card stock.  I used the new Hills & Grass Stencil to add my grassy hill with Mowed Lawn distress oxide ink.  I flipped the stencil so that I can create another grassy hill for added depth and dimension.  I also used the Clouds Stencil with Carved Pumpkin and Worn Lipstick distress oxide inks to create my fall sky.


Before I adhered my frame on my colored background, I used my Fog ink to stamp small images all over the card.  I wanted to add more details to the background but without overwhelming the whole design.  I foam-mounted the frame on the card and adhered the leaves along the side with some liquid adhesive.


Lastly, I foam-mounted the focal image on my card.  I stamped the sentiment from the Fall-ing For You stamp set using my Misti stamping tool for more precision.  Here’s my card:


The Fall-ing For You stamp set is one of my all-time favorite stamps by Newton’s Nook Designs.   This card is really simple but I love the bold sentiment and also love the colors I used on this card.  Here’s a closer look:


That is all for today.  I hope you like my card and got inspired.  The supplies I used are listed and linked below in case you would like to purchase them.  Some affiliate links may have been used for some of the products linked, without an additional cost to you.  Thank you for stopping by my blog today and happy stamping!


————SUPPLIES———-


STAMPtember Collaboration with Simon Says Stamp and Newton’s Nook Designs

Today Newton’s Nook Designs is featured on the Simon Says Stamp site with an EXCLUSIVE stamp set that was designed just for the 2019 STAMPtember celebration!  You can purchase the new Let’s Party stamps and coordinating die set today at Simon Says Stamp.  Remember, these items are ONLY available through Simon Says Stamp while supplies last!
Today, I am sharing a birthday card showcasing the Let’s Party stamp set.  I started by stamping my images on some Neenah solar white 110 lb. card stock and colored my images in using some Spectrum Noir alcohol markers.  I die-cut the images using the coordinating dies.
I inked up an A-2 size piece of Bristol smooth white card stock with Peacock Feathers distress oxide ink.  To add more texture, I added some gold splatters on the colored background using my Sakura watercolor and my watercolor brush.  I waited for about half an hour for this to dry, and adhered this piece on an A2 size card base.
I die-cut the words “Happy Birthday” a few times on white card stock using a die from Mama Elephant.  I inked up the top piece with some Dusty Concord distress oxide ink.
I foam-mounted the die-cut panel on my colored background.  This frame piece was die-cut using the Gift Box cover up die-namics from My Favorite things.  I adhered the Happy Birthday die-cut on the foreground and added my cute critters.  Here’s my card:
To finish my design, I added some glossy accents to the balloon for added texture and dimension and also adhered the little gift boxes between the two dogs.  Here’s a little close-up:
I hope you like my projects today.  Please visit Simon Says Stamp to purchase this exclusive stamp set.  Thank you for stopping by and happy stamping!
70df8-maria2brussell2bsignature2blogo

Joy Clair Stamps 5th Anniversary Blog Hop

Hello my crafty friends!  I am so excited to share today’s post because I have been invited to guest-design and join the Joy Clair’s 5th Anniversary Blog Hop!   I’d also like to take this opportunity to thank Joy Clair for inviting me. 


Hop along with us and leave a comment on each of the participating blog post.  Joy Clair will be giving away one (1) $25 gift card to TWO (2) LUCKY WINNERS!  

For my cards today, I am showcasing the Christmas Penguins stamp set.  

To begin, I stamped and colored my images with Spectrum Noir Harmony Quick Dry Dye Ink in Rustic Brown using my MISTI stamping tool.  I colored the images in with my alcohol markers.  I used my Brother Scan N Cut machine to die-cut the images.

I also die-cut some of the elements that I needed to create my winter scene using some dies from my stash.   Here’s my first card:

Those little penguins are super adorable! I finished my design by stamping the sentiment “Baby It’s Cold Outside” with some lobster ink by Lawn Fawn. I also added some snowflake sprinkles for some added texture. Here’s a closer look:

For my second card, I ink-blended a Bristol smooth white card stock with some distress oxide inks using my blending brushes. I wanted to create a soft-winter sky for my scene. I also die-cut the trees and the snow hill using some dies from my stash.

I colored the trees using some dye inks and mini ink blending tool. I took my time until I was satisfied with the colors. I adhered the trees and the penguins on my colored background with some foam adhesive for added dimension. Here’s my second card:

To finish my design, I stamped the sentiment on the card and used my black gel pen to add more depth to the eyes. Here’s a closer look:

I hope you like my cards today and got inspired. The supplies I used are listed and linked below in case you’re interested.


The next person on the hop is—-> Jowilna. In case you get lost, I have also included the line-up below (click to enter and see the line-up).

You are invited to the Inlinkz link party!

Click here to enter

———–SUPPLIES———-

Newton’s Nook Designs August Release Day 4- Witchy Newton, Happy Howl-oween & Ghost Stencil


It is the last day of the August reveals by Newton’s Nook Designs and I always get a little bummed.  Were you able to check out the three of the reveals?  Which one is your favorite so far?   You also have a chance to win each stamp set during release week so check out the details I have indicated at the end of this blog post.  [Just a little important note:  I know some of you had difficulties finding the comments section.  If you would like to leave a comment to participate in the giveaway, the “comments section” will only be ever visible when a single post on Word Press is being viewed. Please click on this particular blog post and you will be able to leave a comment below.  Thank you!]  


Today’s reveal will get you in the mood for Halloween and we are showcasing a lot of products –> the Witchy Newton stamp set and coordinating dies, Happy Howl-oween stamp set and coordinating dies and the Ghosts stencil.


For my first card, I also used the Spooky Halloween stamp set and the Land Border die set.


I ink-blended my background with some distress oxide inks and die-cut the other elements that I needed to create my scene.   I stamped and colored my images with Spectrum Noir alcohol markers and used the dies to die-cut the images.  I foam-mounted the image on my card and finished my design by stamping my sentiment with Versamark ink and heat-set this with my heating tool.  Here’s a closer look:


For my second card, I masked my Bristol smooth white card stock with masking paper and ink-blended this piece with some distress oxide inks.  I adhered this piece on some A2 size black card base.


I used the Picket Fence die for the picket fence and the Land Border die set for the grass with some black card stock.  I assembled the card by adhering all of the pieces that I needed for my Halloween scene.


I added the ghosts using the Ghosts stencil on my card by slightly tracing the images with my Versamark pen.  I sprinkled some white embossing powder and heat-set this with my heating tool.  I did the same thing for my sentiment.  I finished the design by stamping the bats.  Here’s a closer look:


Are you now in the mood for Halloween?  I love all of the stamps, dies and stencil that we revealed this week!  Jennifer is truly an AMAZING artist!


Would you like to win the “Witchy Newton”or the “Happy Howl-Oween” Stamp Set? This stamp set will be given away to ONE lucky winner!  Here’s how to win:


Comment on the NND blog and Design Team blogs (see list below)! The winner will be chosen at random from the collective reveal posts. Make sure to check out each of their blogs and comment for your chance to win. You will not know which blog has been chosen so the more you comment on the better your chances are of winning! You have until Thursday August 22nd at 9pm EST to comment  — winners will be announced on the blog post on Friday, August 23rd.


Check out all the awesome Design Team Blogs below to enter:

Newton’s Nook Designs

Amanda Bodine

Holly Endress

Ellen Haxelmans

Larissa Heskett

Samantha Mann

Zsofia Molnar

Naki Rager

Maria Russell

Andrea Shell

Tatiana Trafimovich

————SUPPLIES————-