It is Day 2 of the October reveals by Newton’s Nook Designs. I hope you were able to check out yesterday’s reveal. You also have a chance to win the stamp set being revealed each day so please read through ’til the end of the blog post to find out more info. [Just a little important note: I know some of you had difficulties finding the comments section. If you would like to leave a comment to participate in the giveaway, the “comments section” will only be ever visible when a single post on Word Press is being viewed. Please click on this particular blog post and you will be able to leave a comment below. Thank you!]
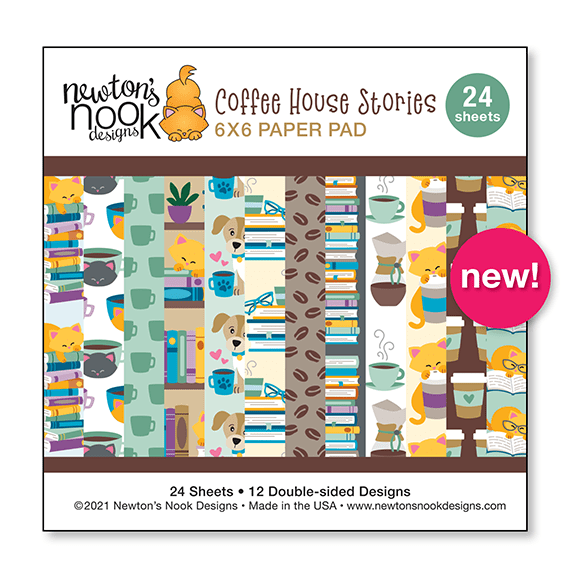
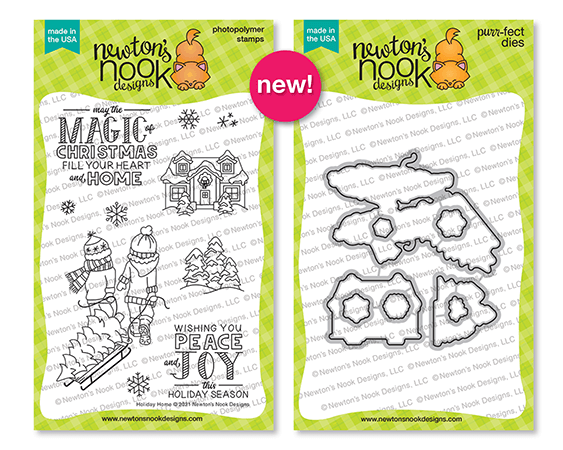
For day 2, we are showcasing the All Booked Up Stamp Set + Coordinating Dies and Bookmark Die Set.
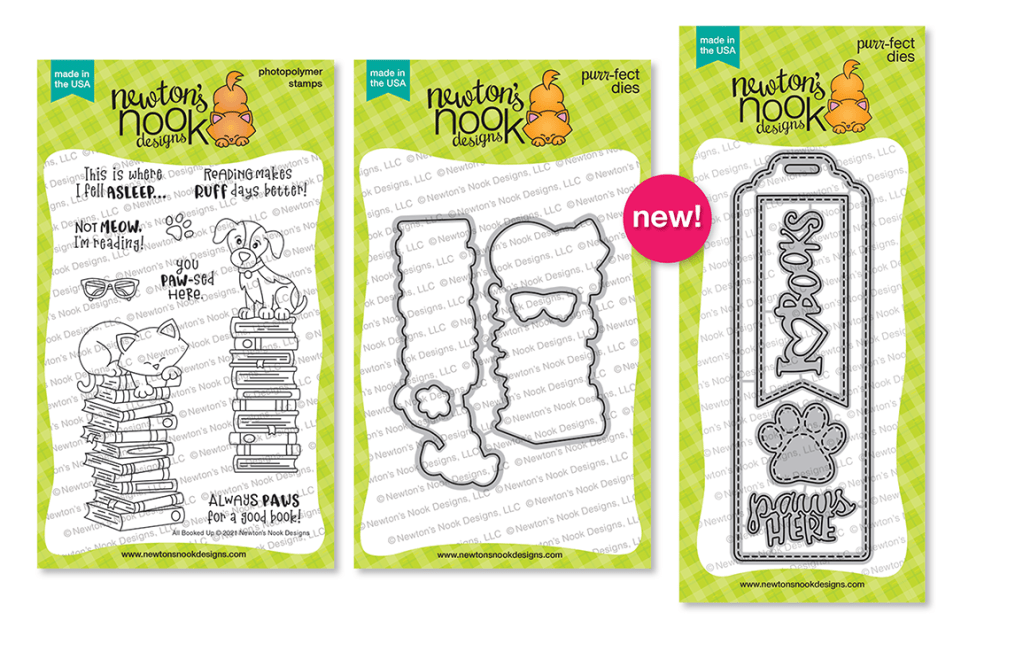
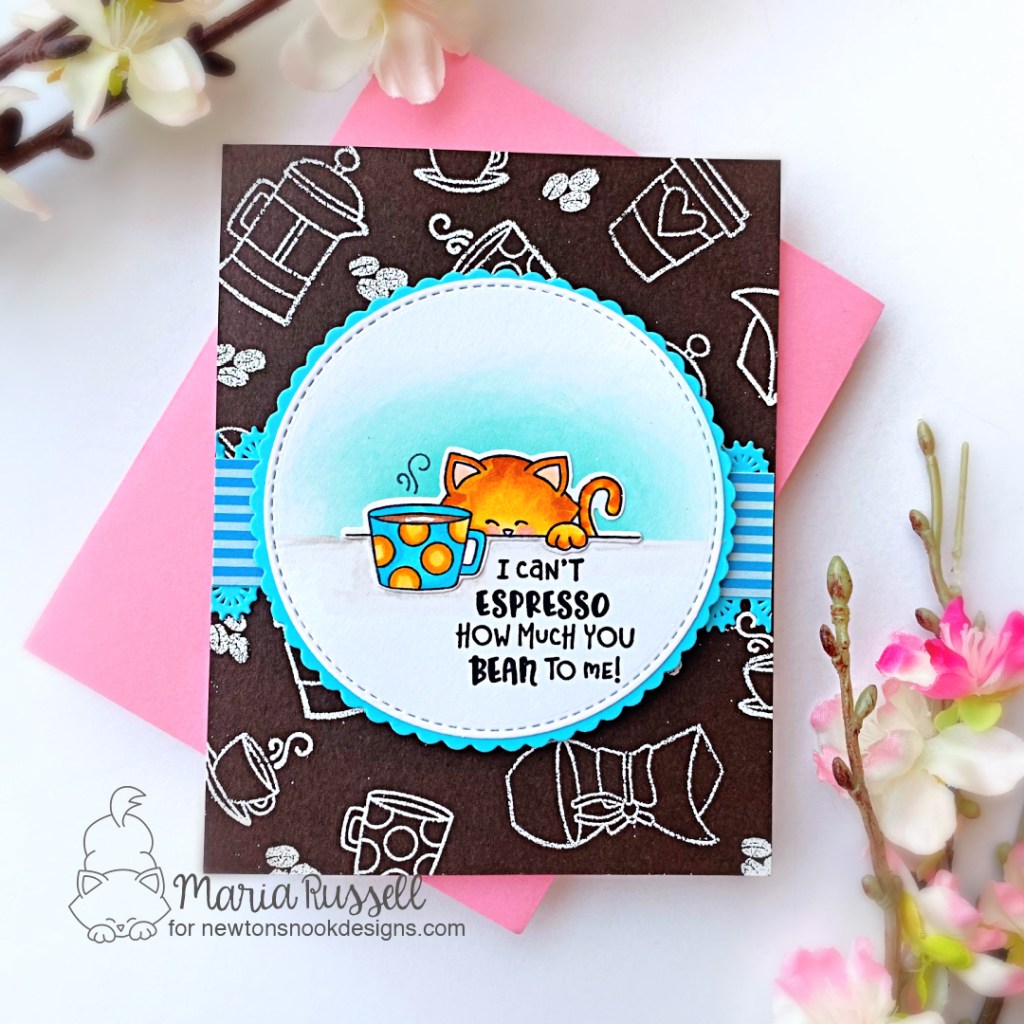
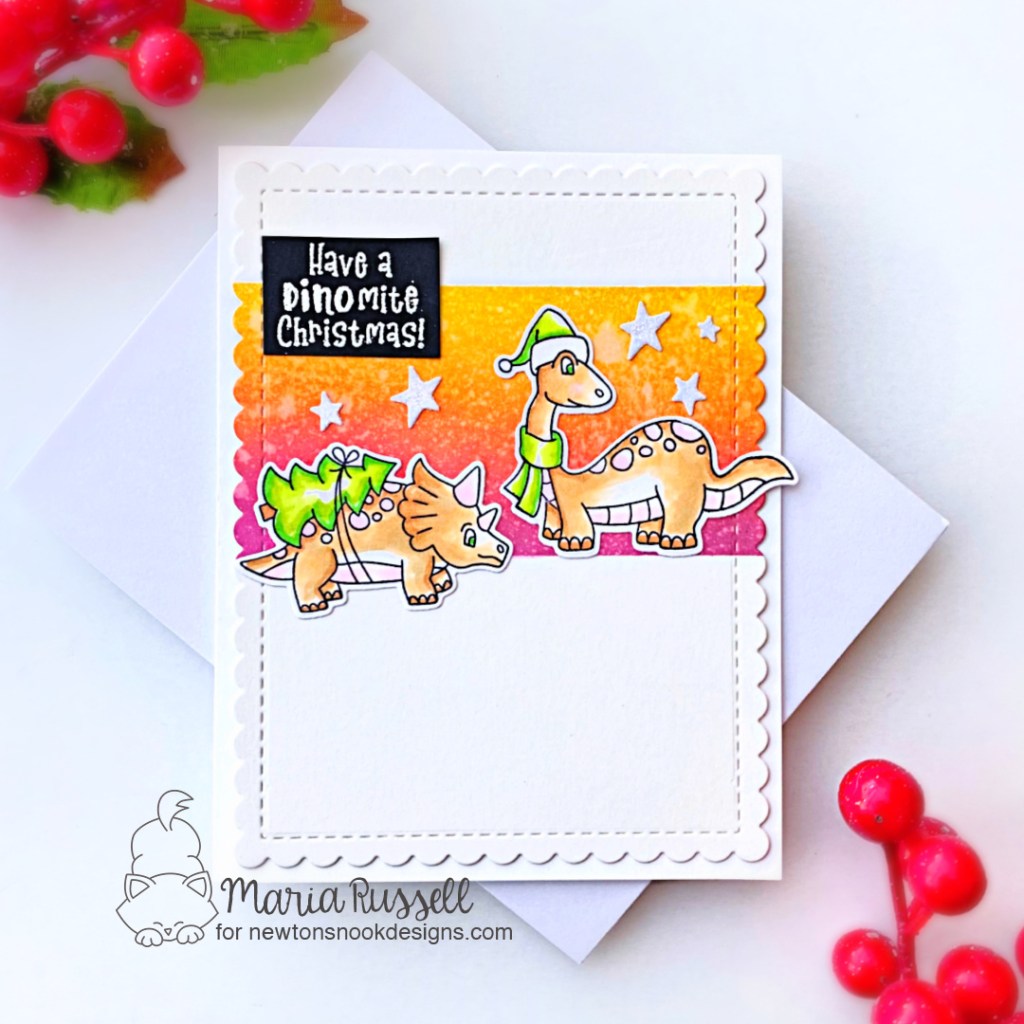
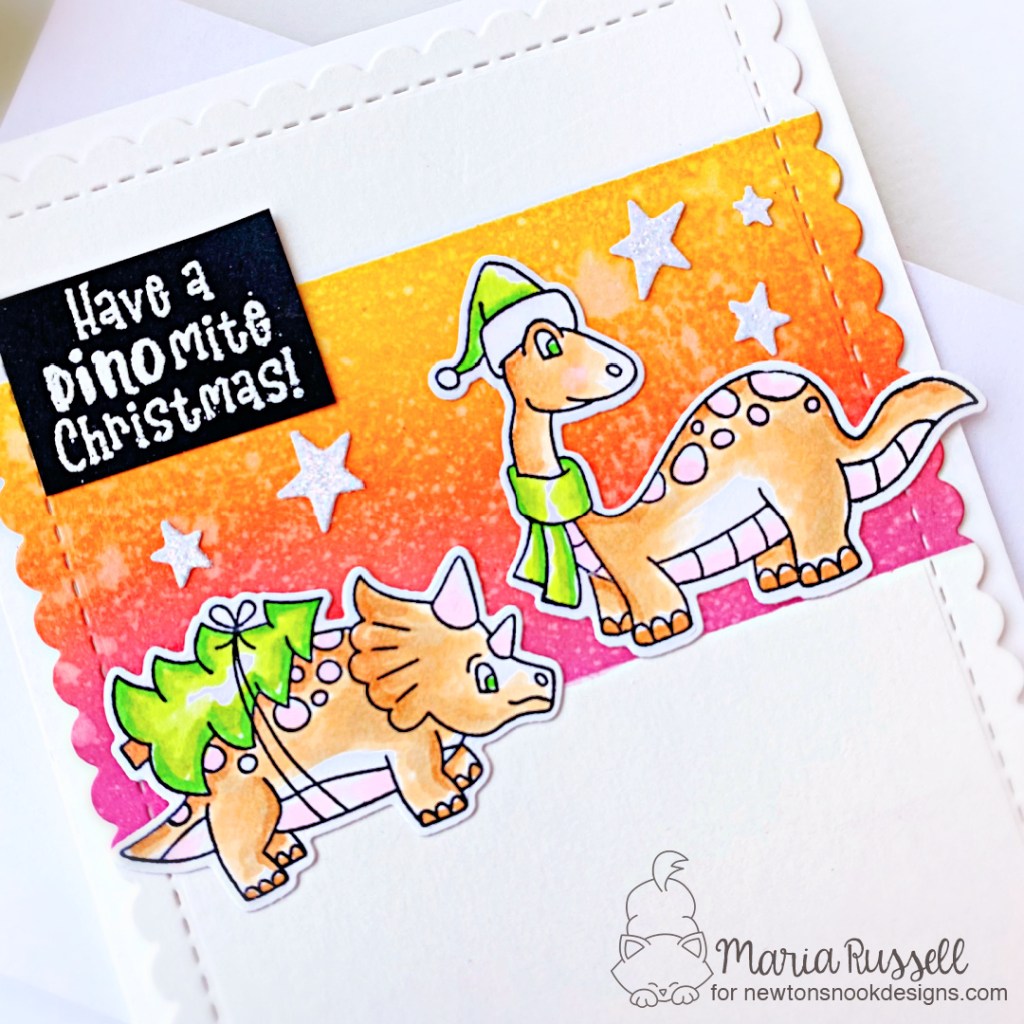
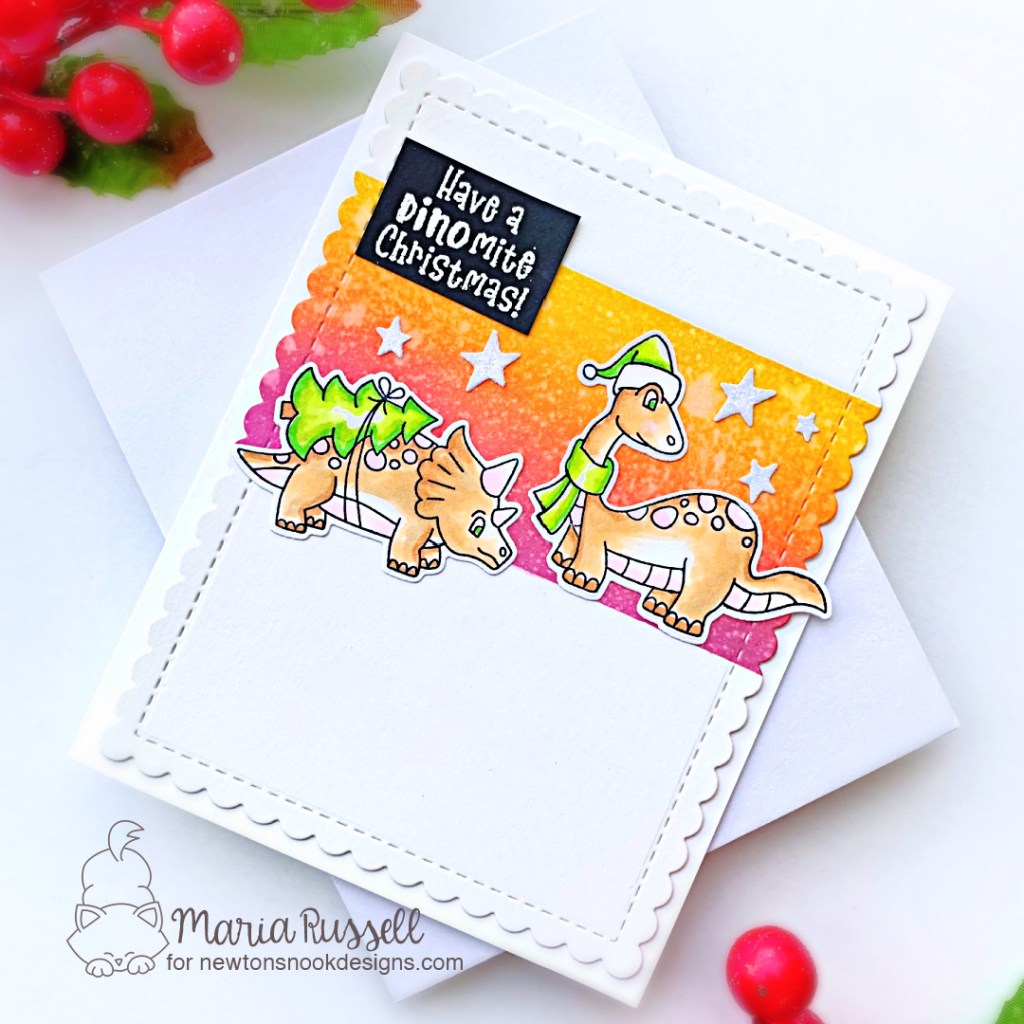
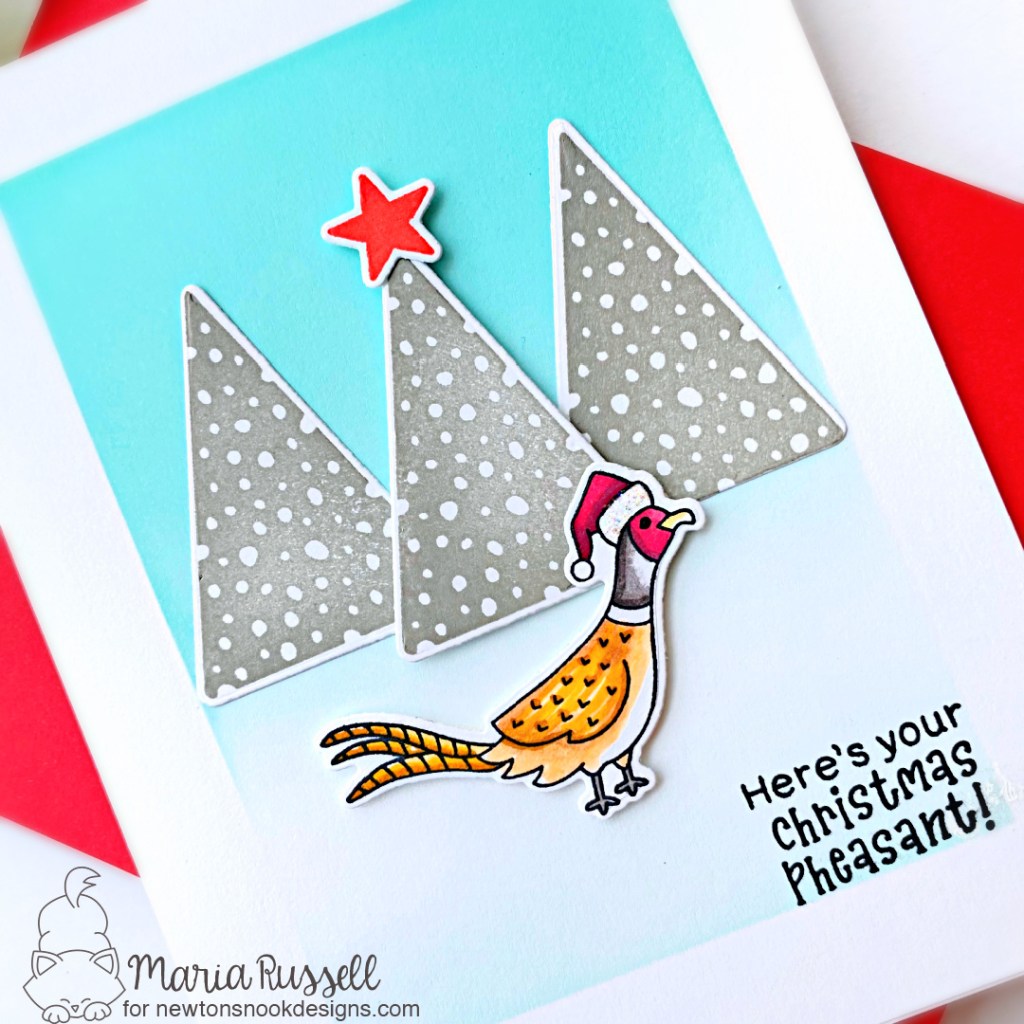
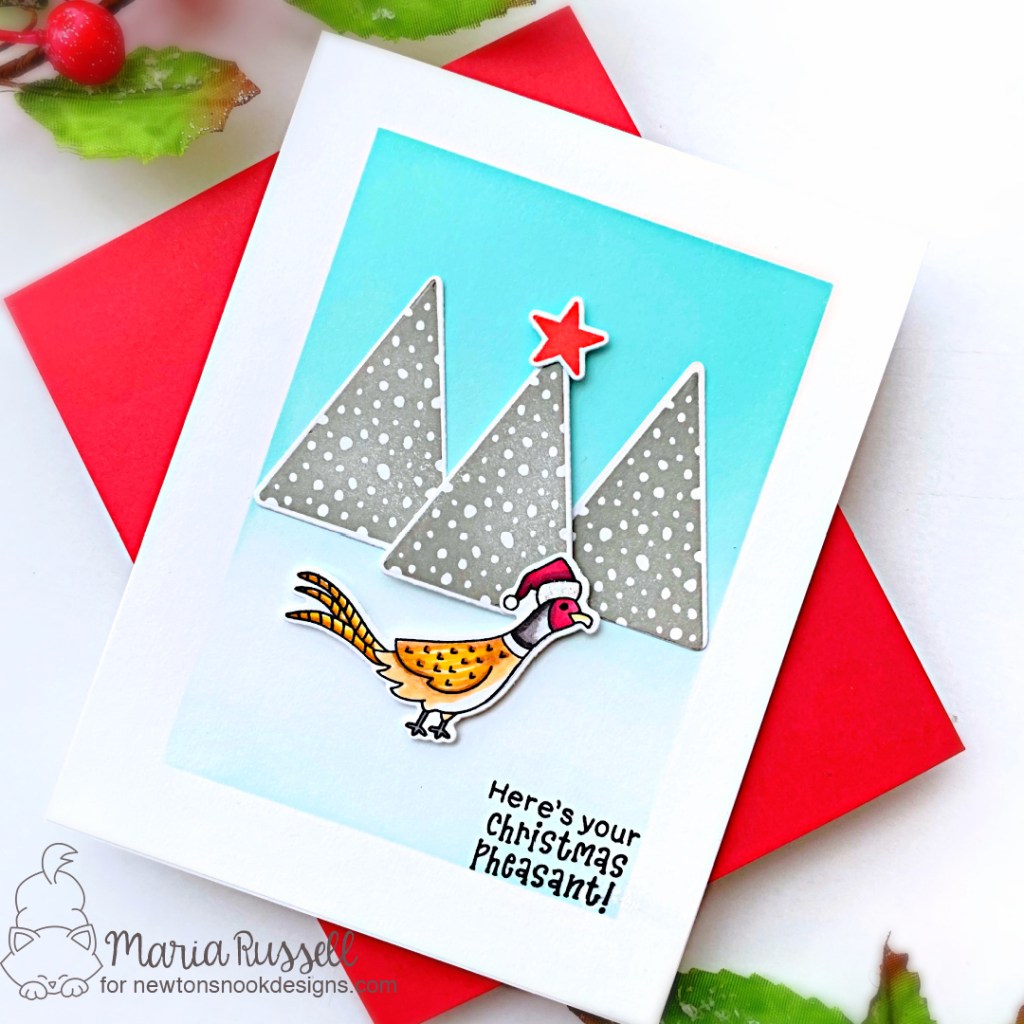
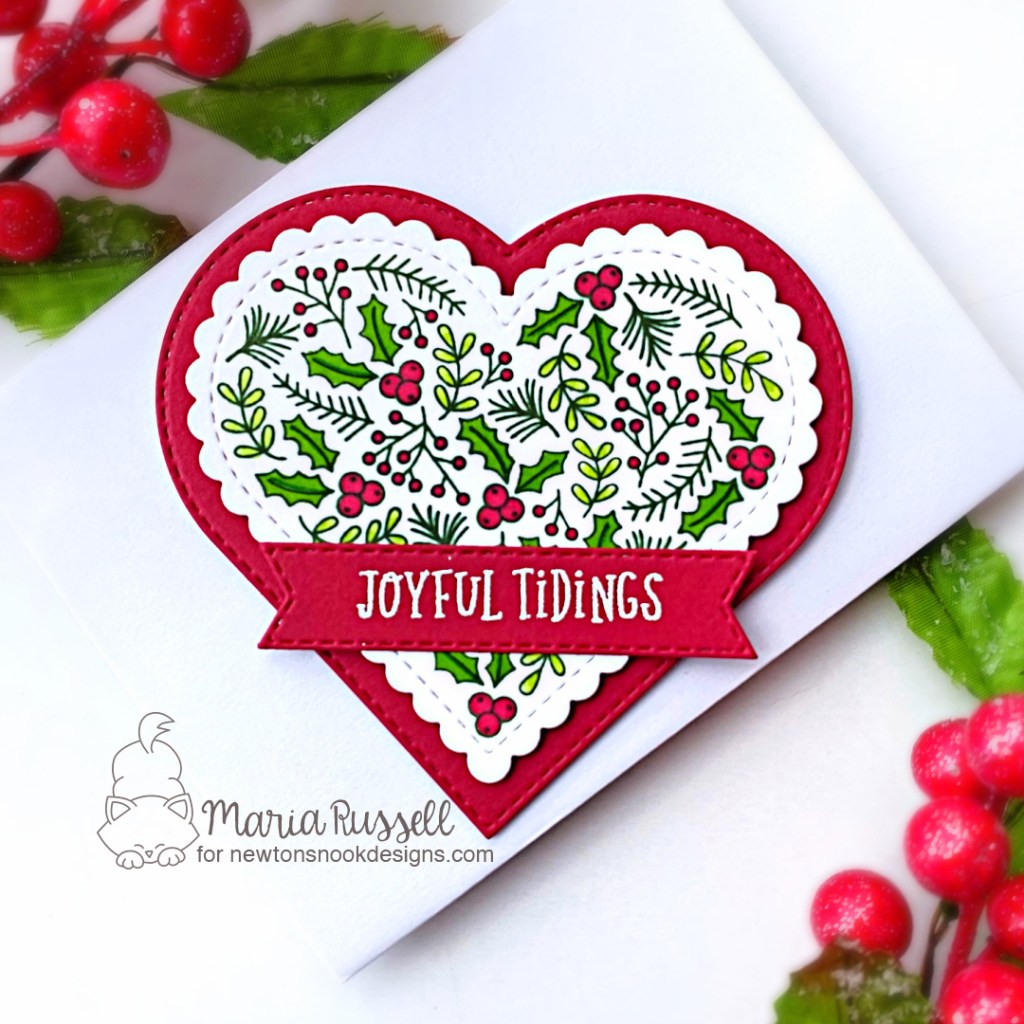
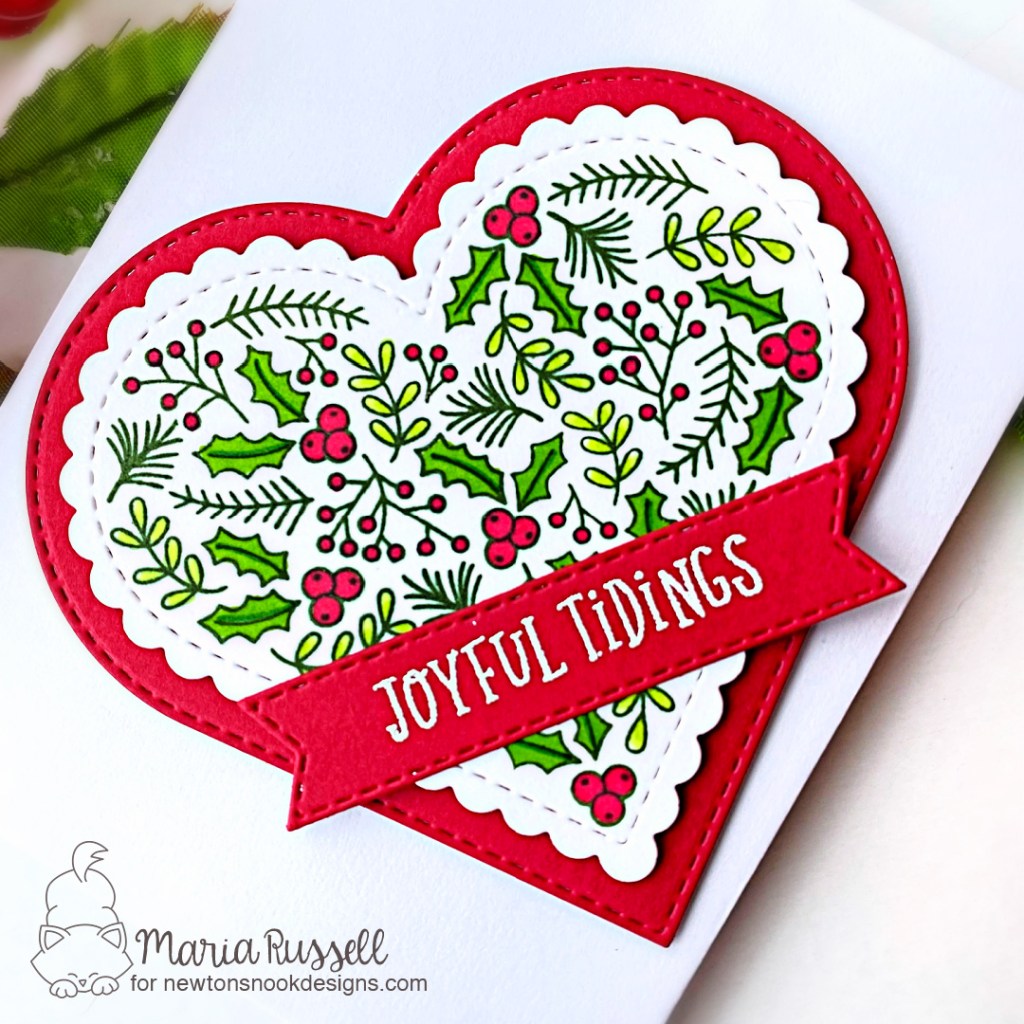
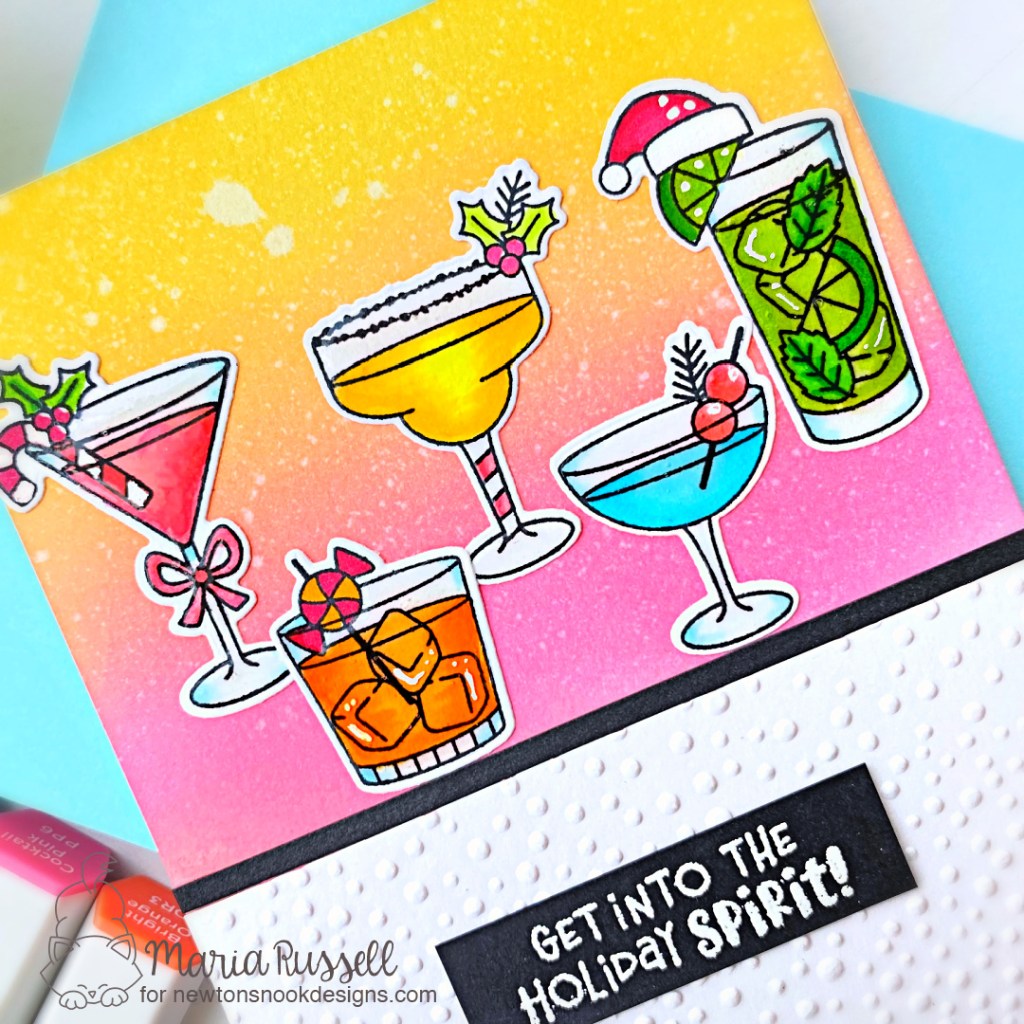
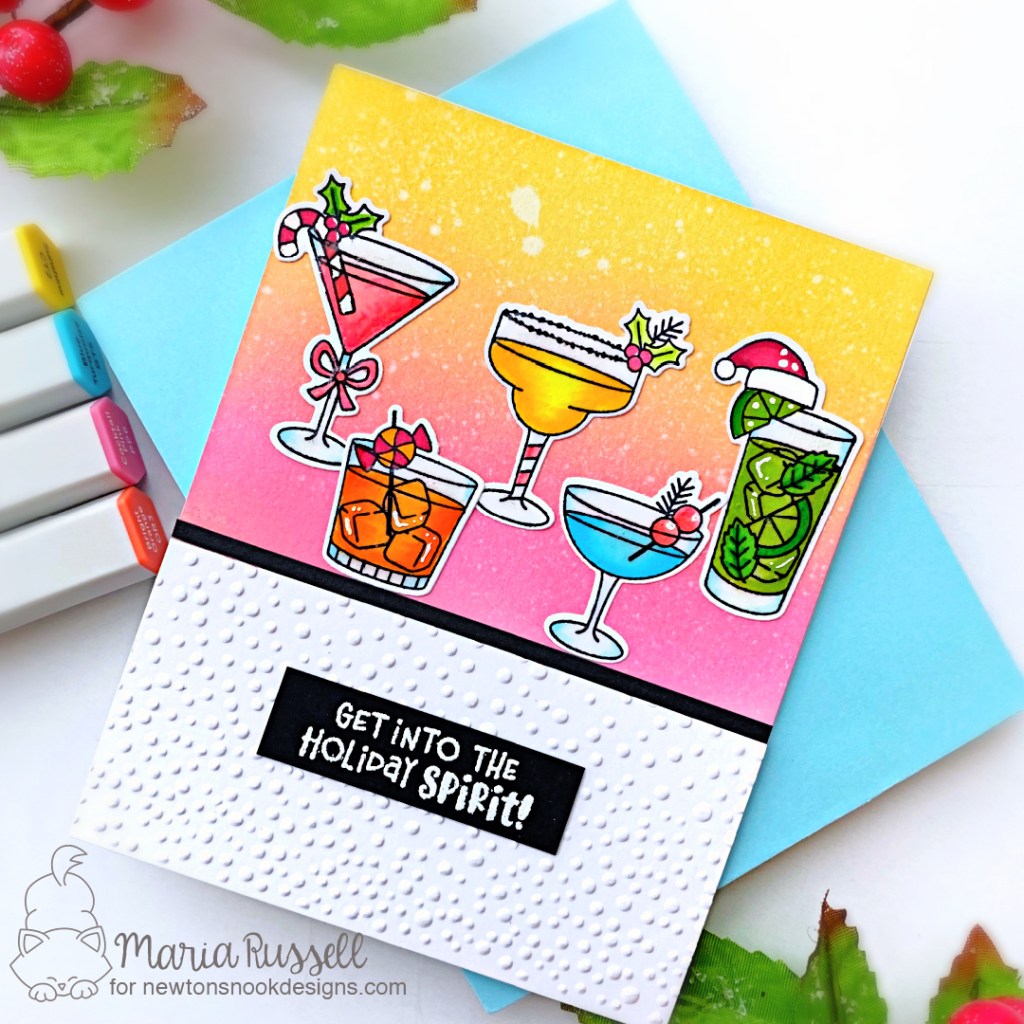
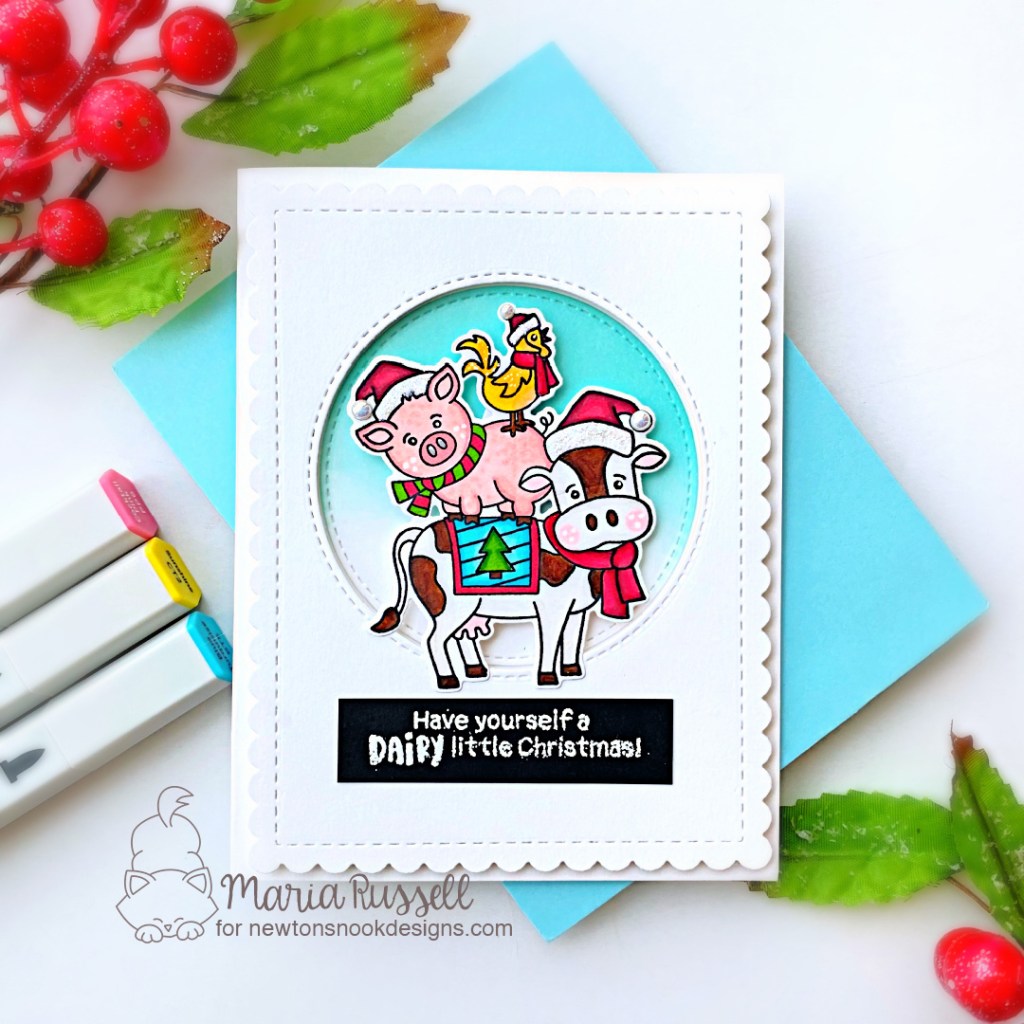
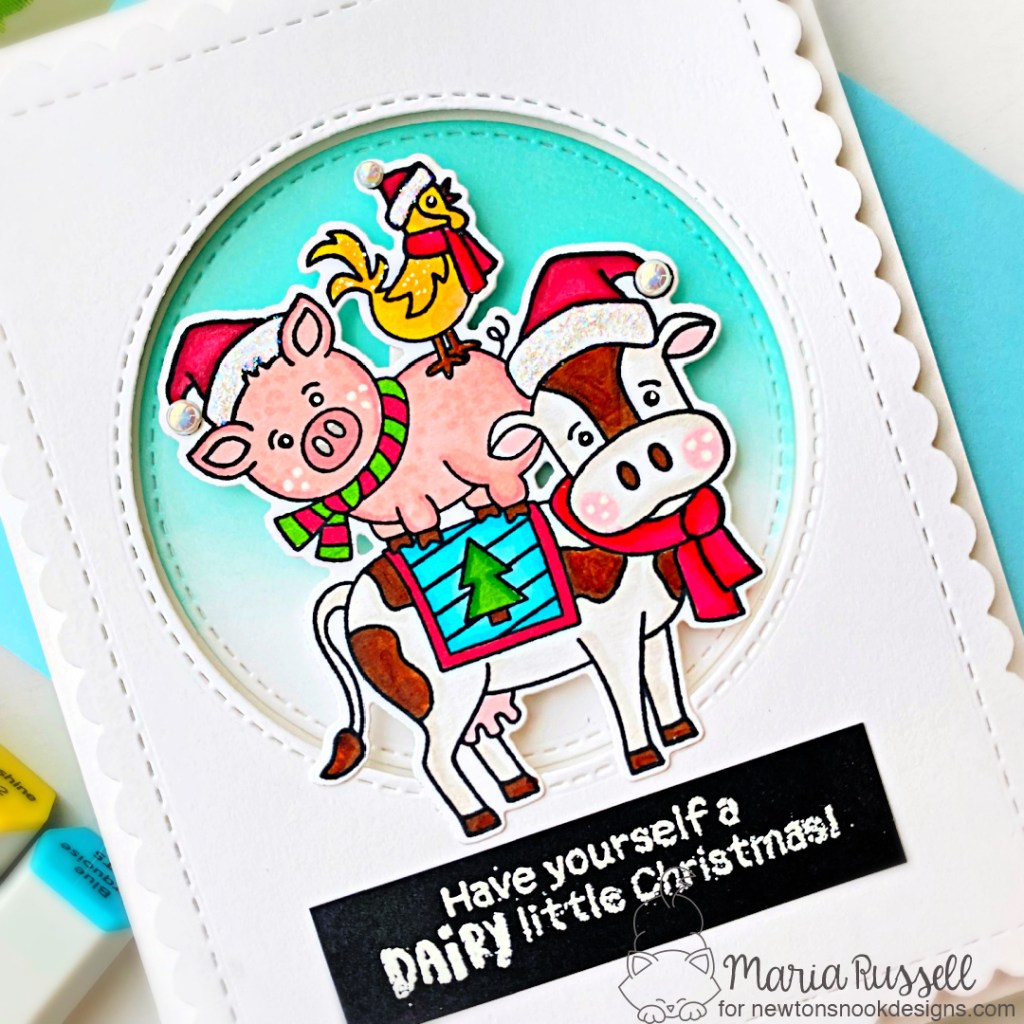
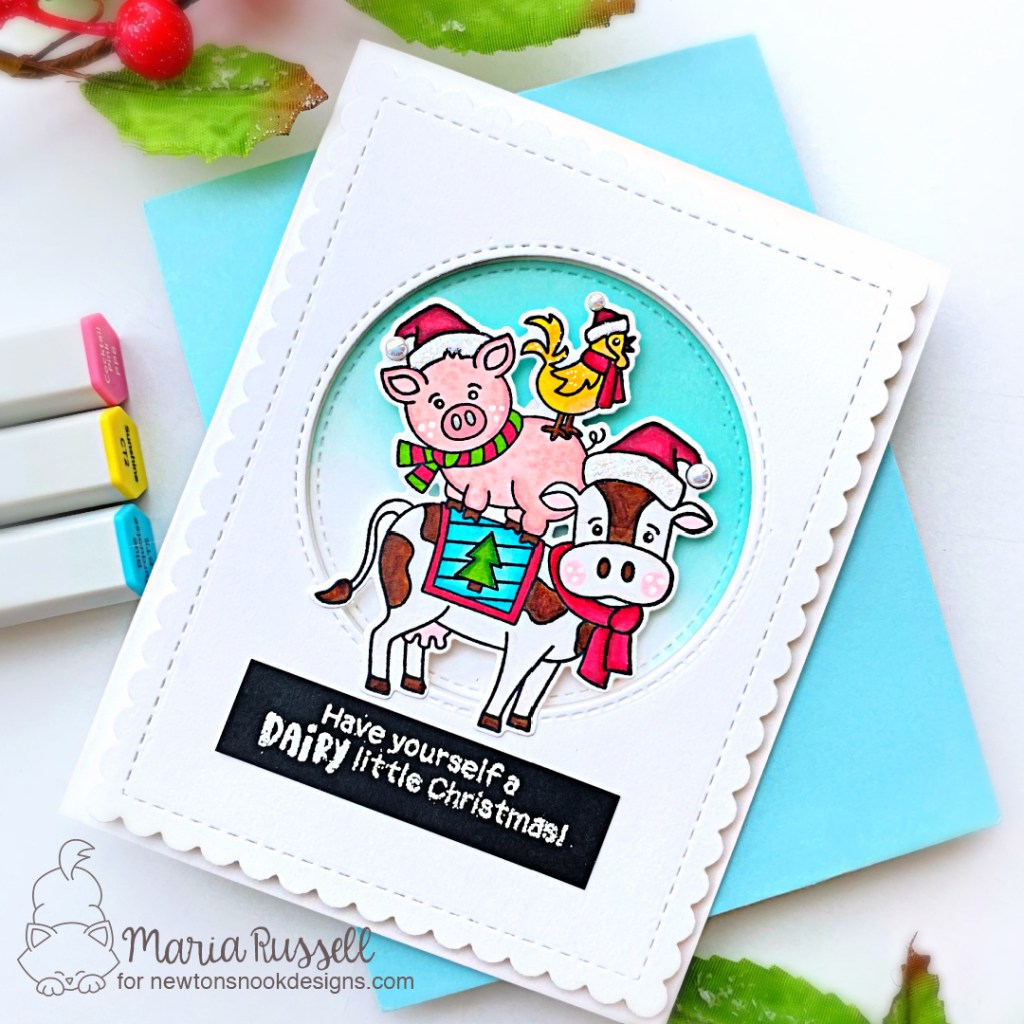
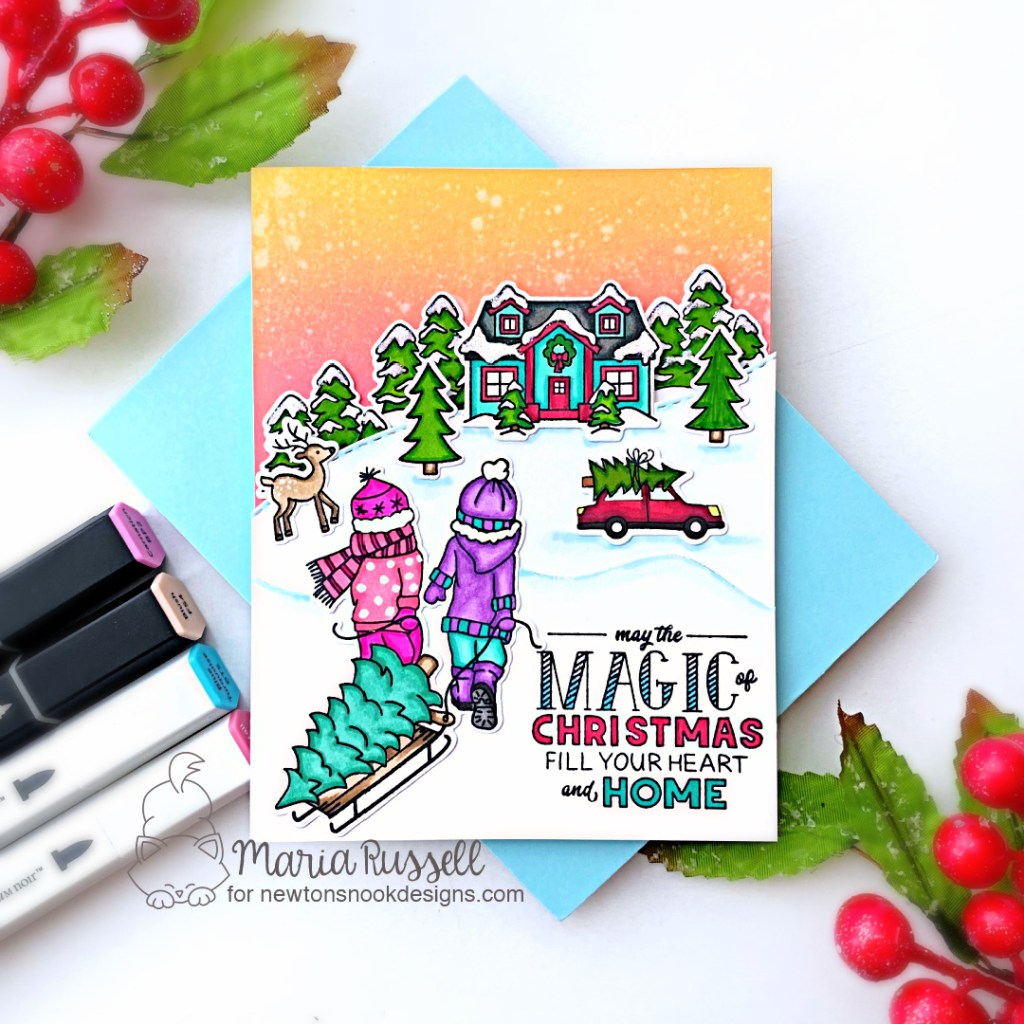
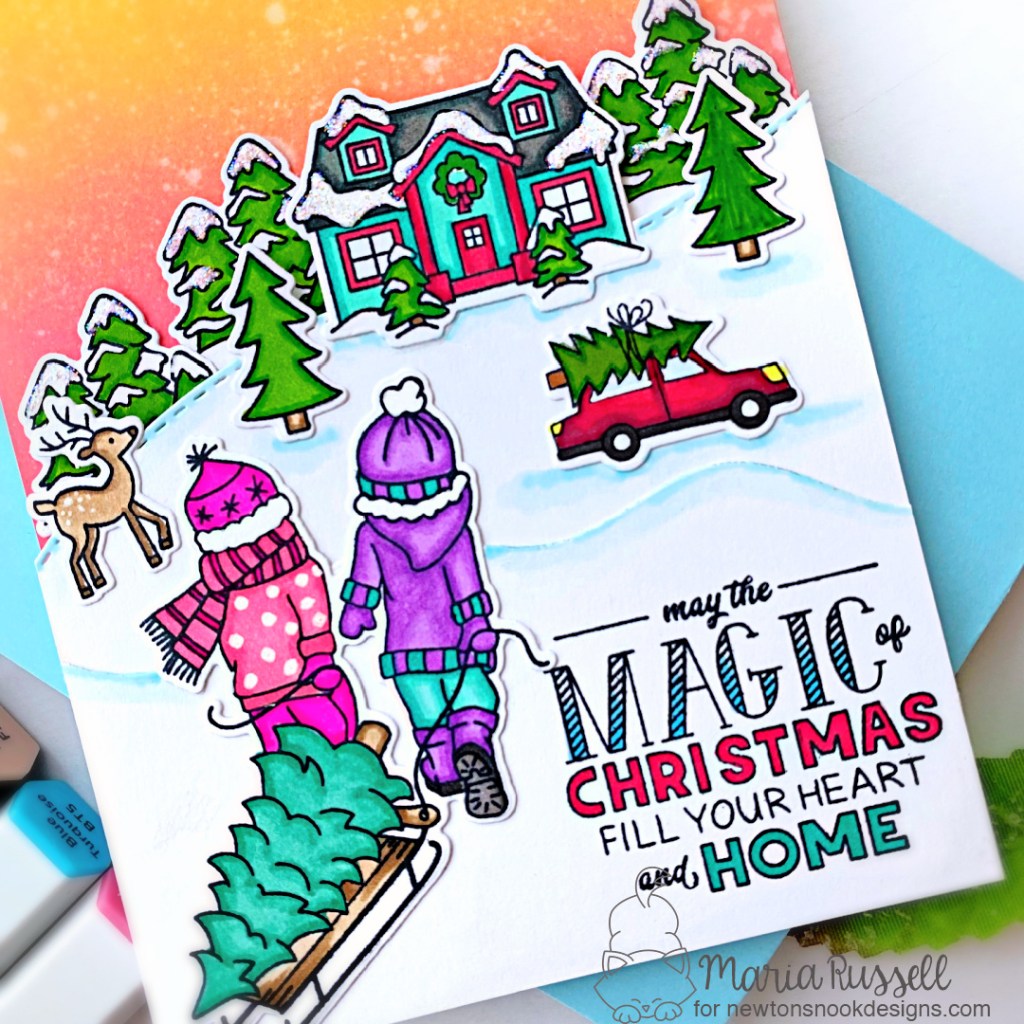
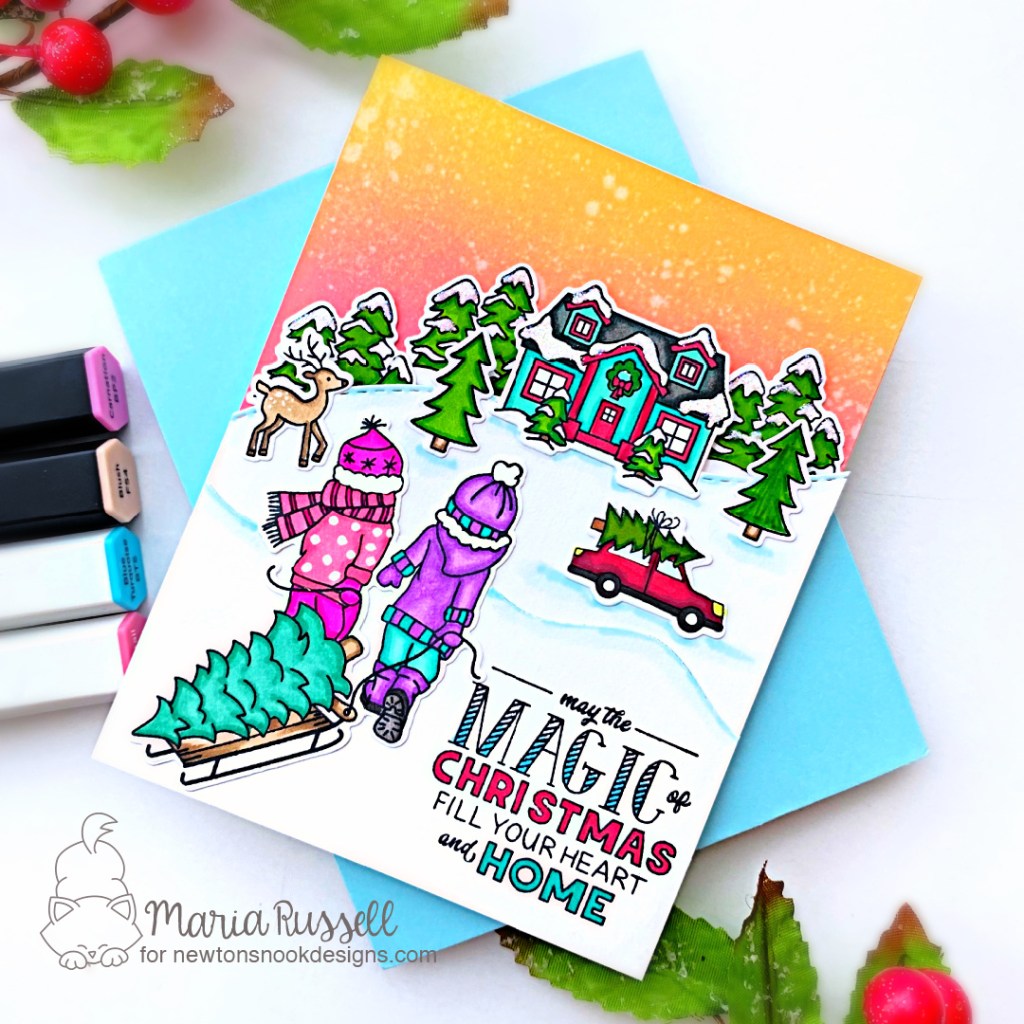
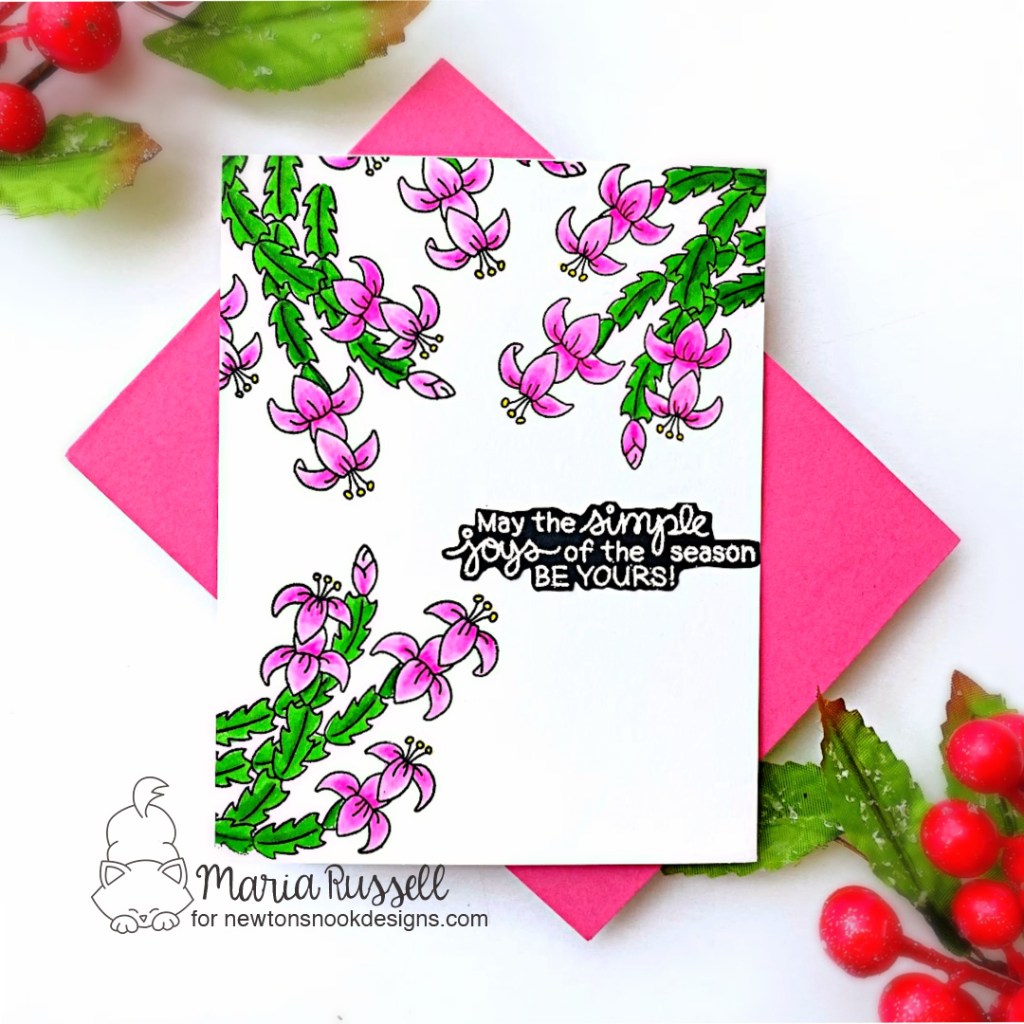
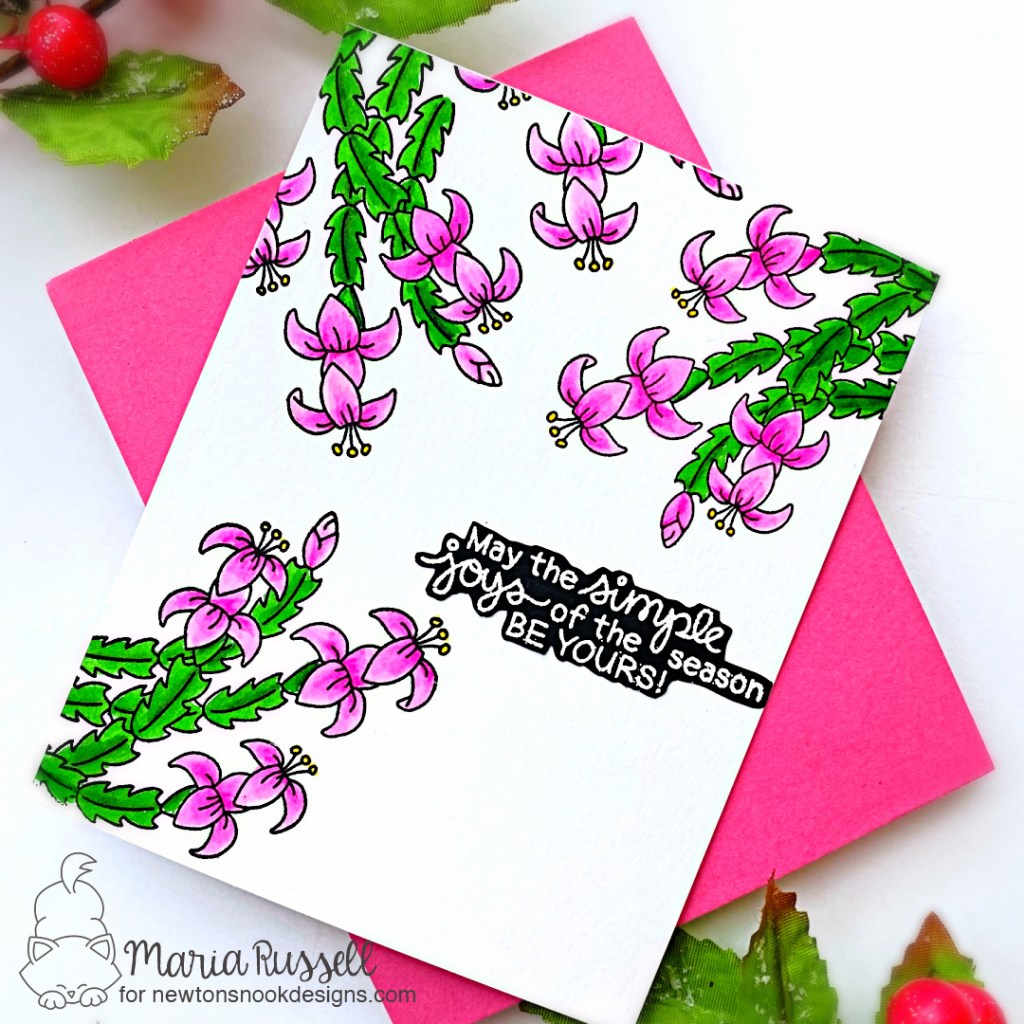
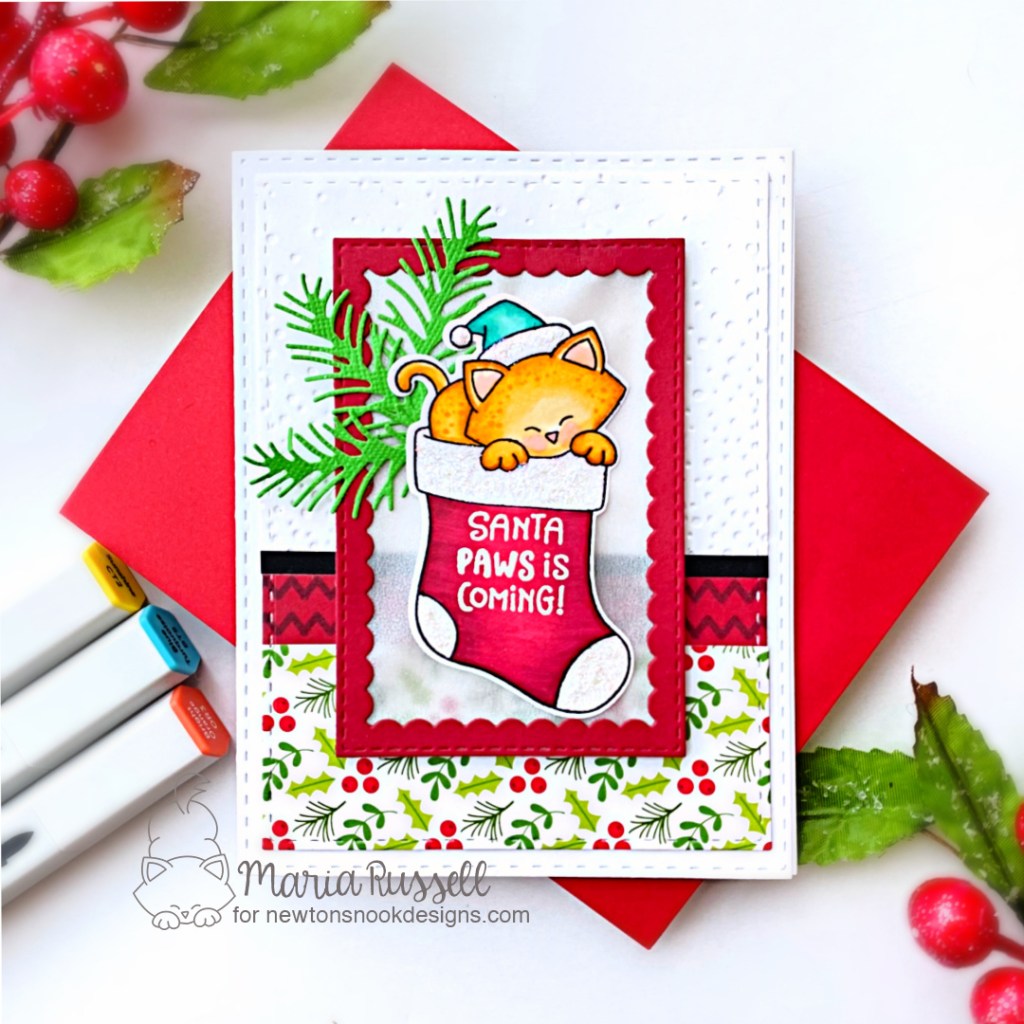
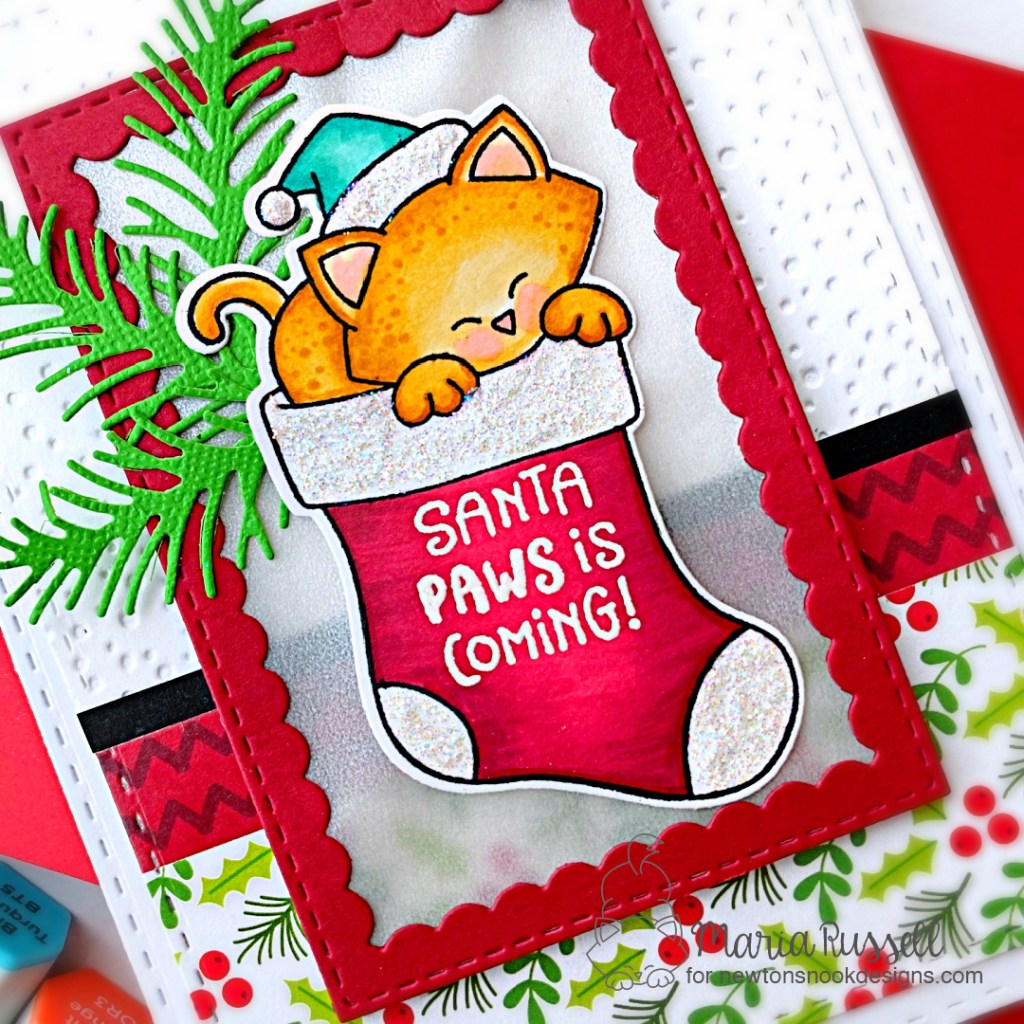
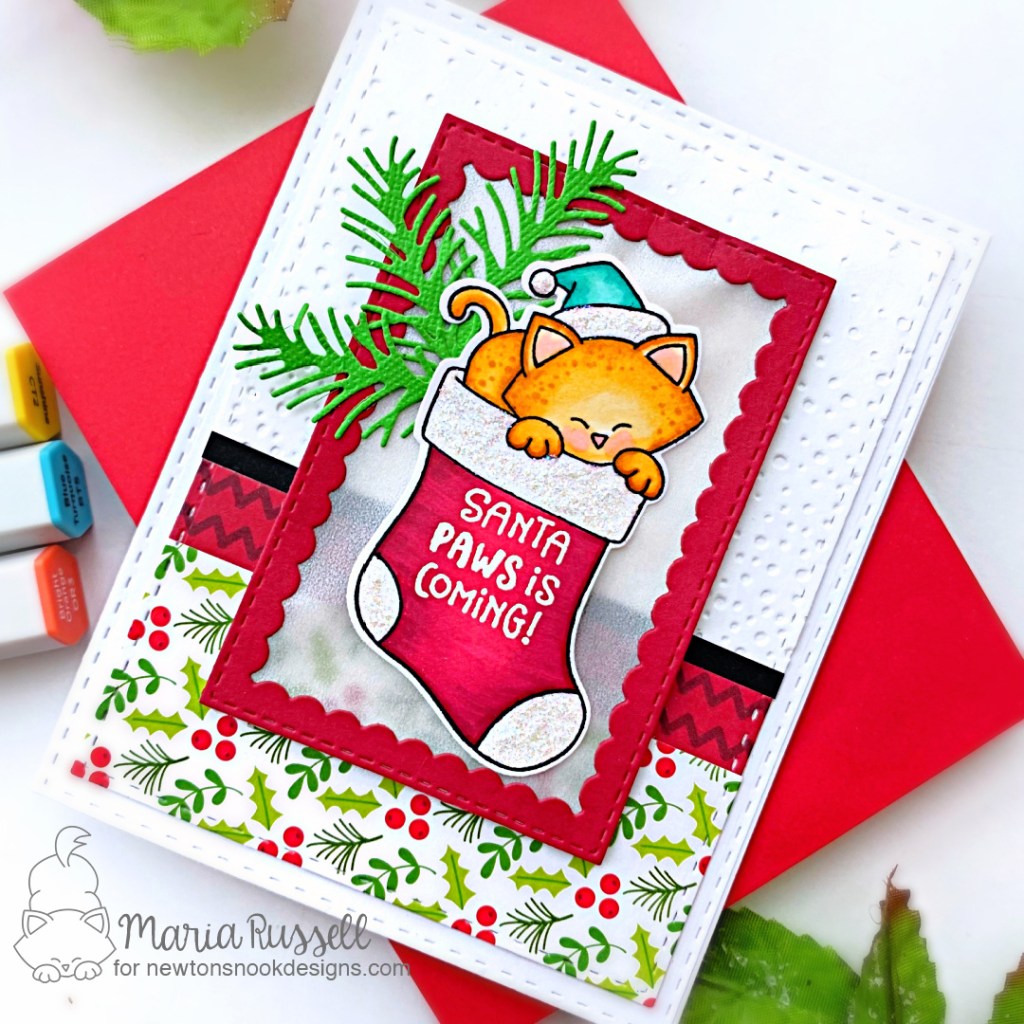
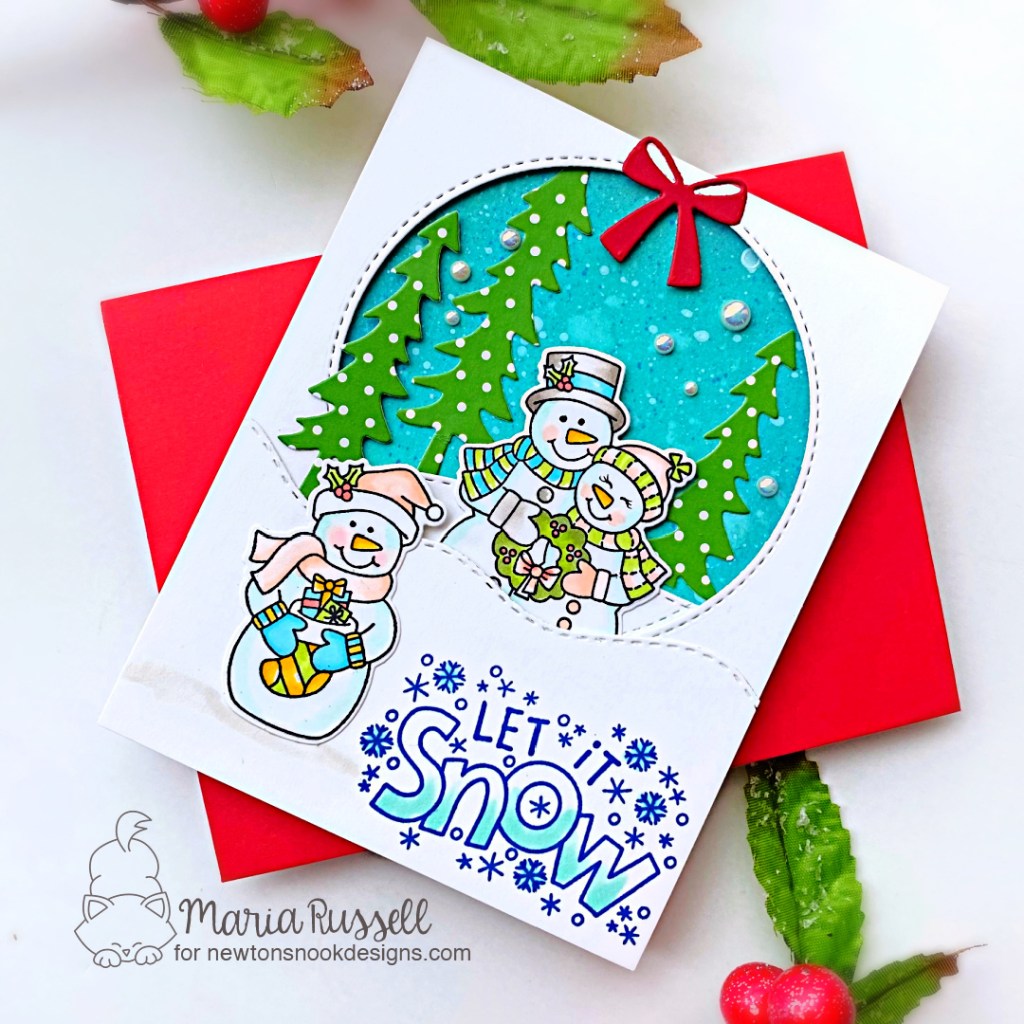
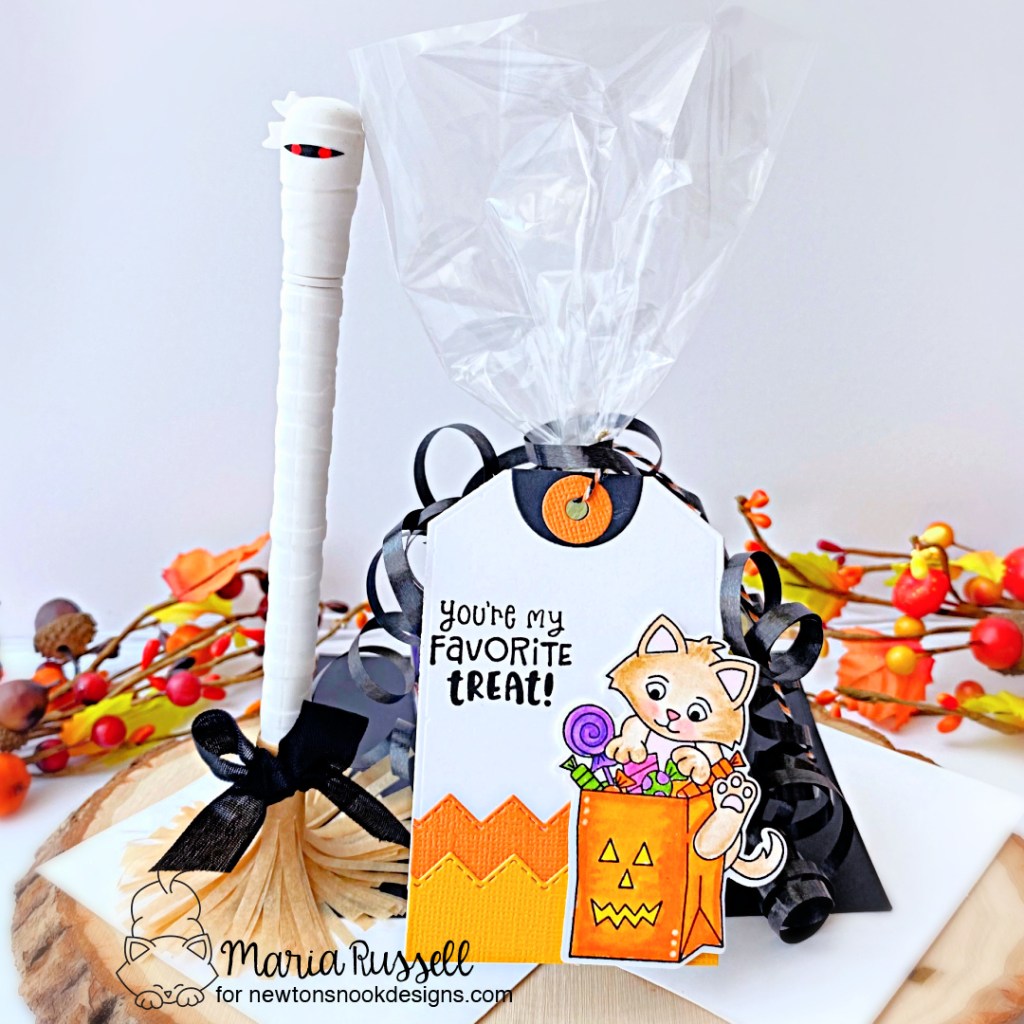
I started by stamping the images from the All Booked Up Stamp Set on some Neenah Solar White Card Stock. I colored the images in with alcohol markers and used the coordinating dies to cut them out.
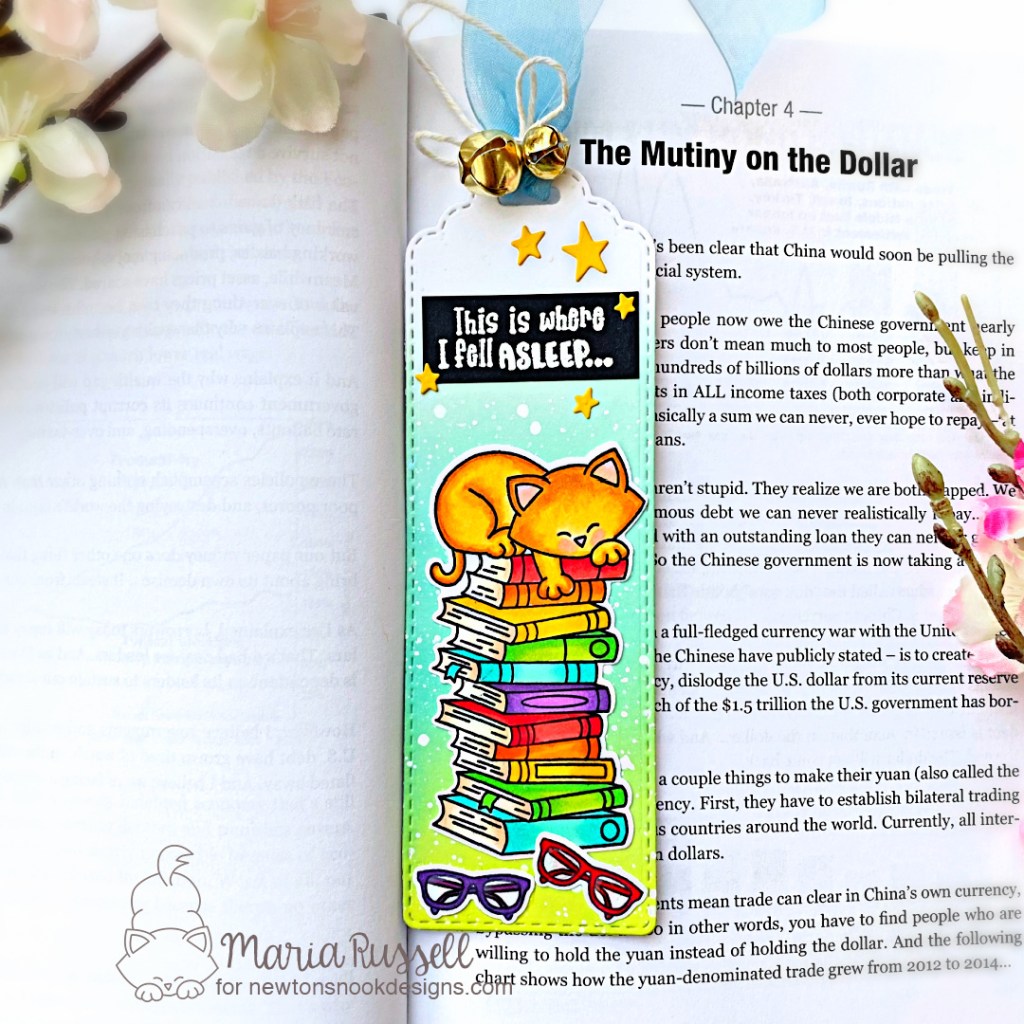
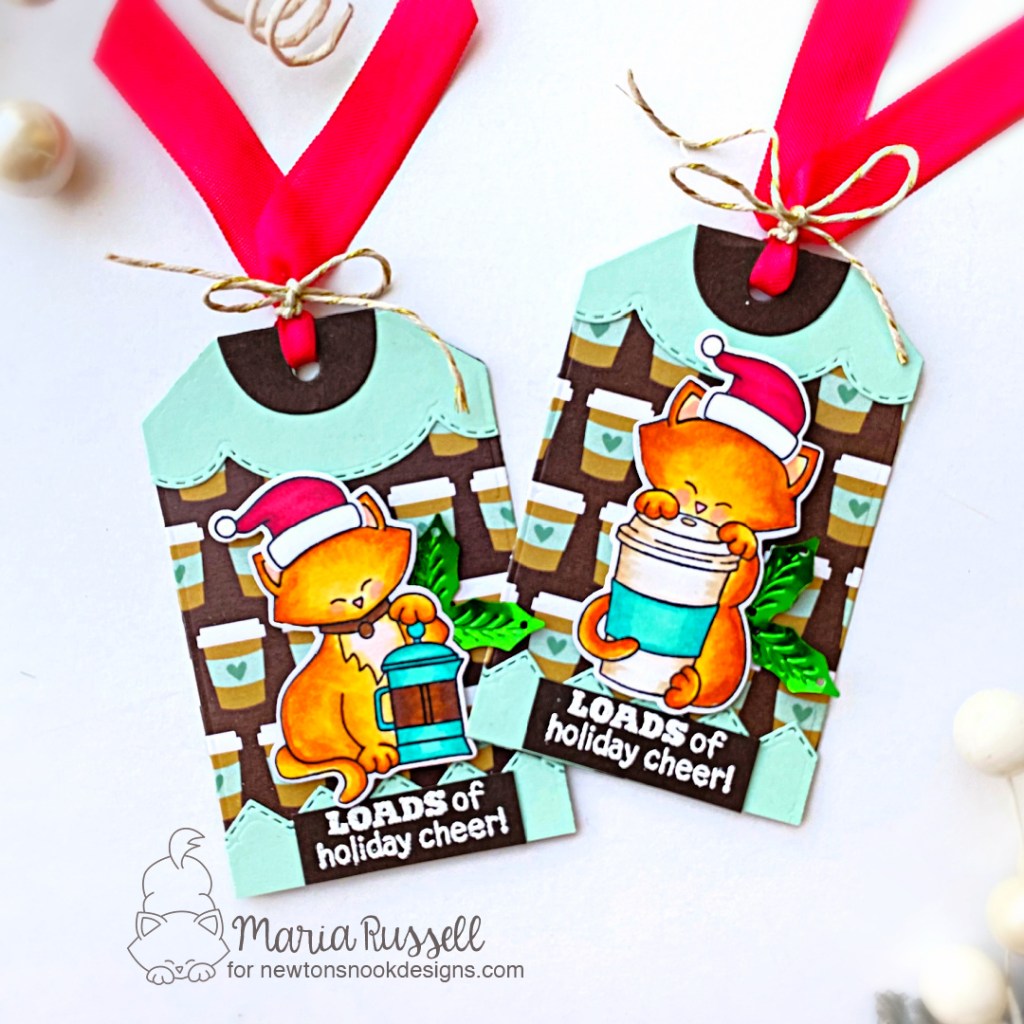
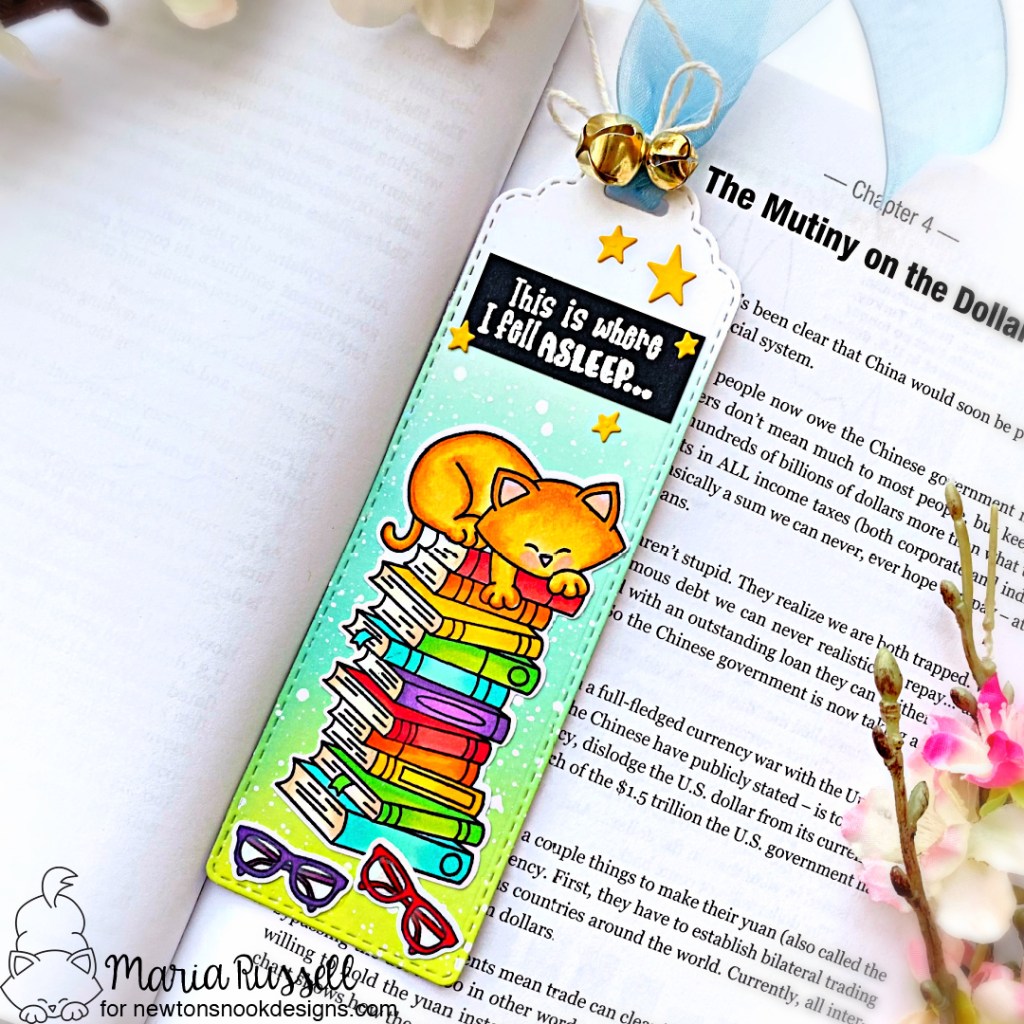
Next, I used the new Bookmark Die Set to die-cut some Bristol Smooth white card stock. I ink-blended this panel with Twisted Citron and Salvaged Patina Distress Oxide inks. I also used some White Copic paint to splatter some white paint on the bookmark for added interest.

I adhered the colored images on the bookmark and added glossy accents to the eyeglasses for added texture. I set this aside to let it dry for about half an hour and worked on adding a sentiment to the bookmark. I stamped the sentiment on some black card stock and with Versamark ink and sprinkled some white embossing powder to this. I heat-set the powder with my heating tool and adhered the sentiment onto the bookmark.
I finished the bookmark by adhering some gold stars. I also added some blue ribbon with white & gold twine and for a little bit of a festive and fun touch, I added the gold jingle bells!
Would you like to win the “All Booked Up” Stamp Set? This stamp set will be given away to ONE lucky winner!
Here’s how to win: Comment on the NND blog and Design Team blogs (see list below)! The winner will be chosen at random from the collective reveal posts. Make sure to check out each of their blogs and comment for your chance to win. You will not know which blog has been chosen so the more you comment on the better your chances are of winning! You have until Wednesday November 17th at 9pm ET to comment — winners will be announced on the blog post on Thursday, November 18th.
Check out all the awesome Design Team Blogs below to enter:
Maria Russell (you are here)
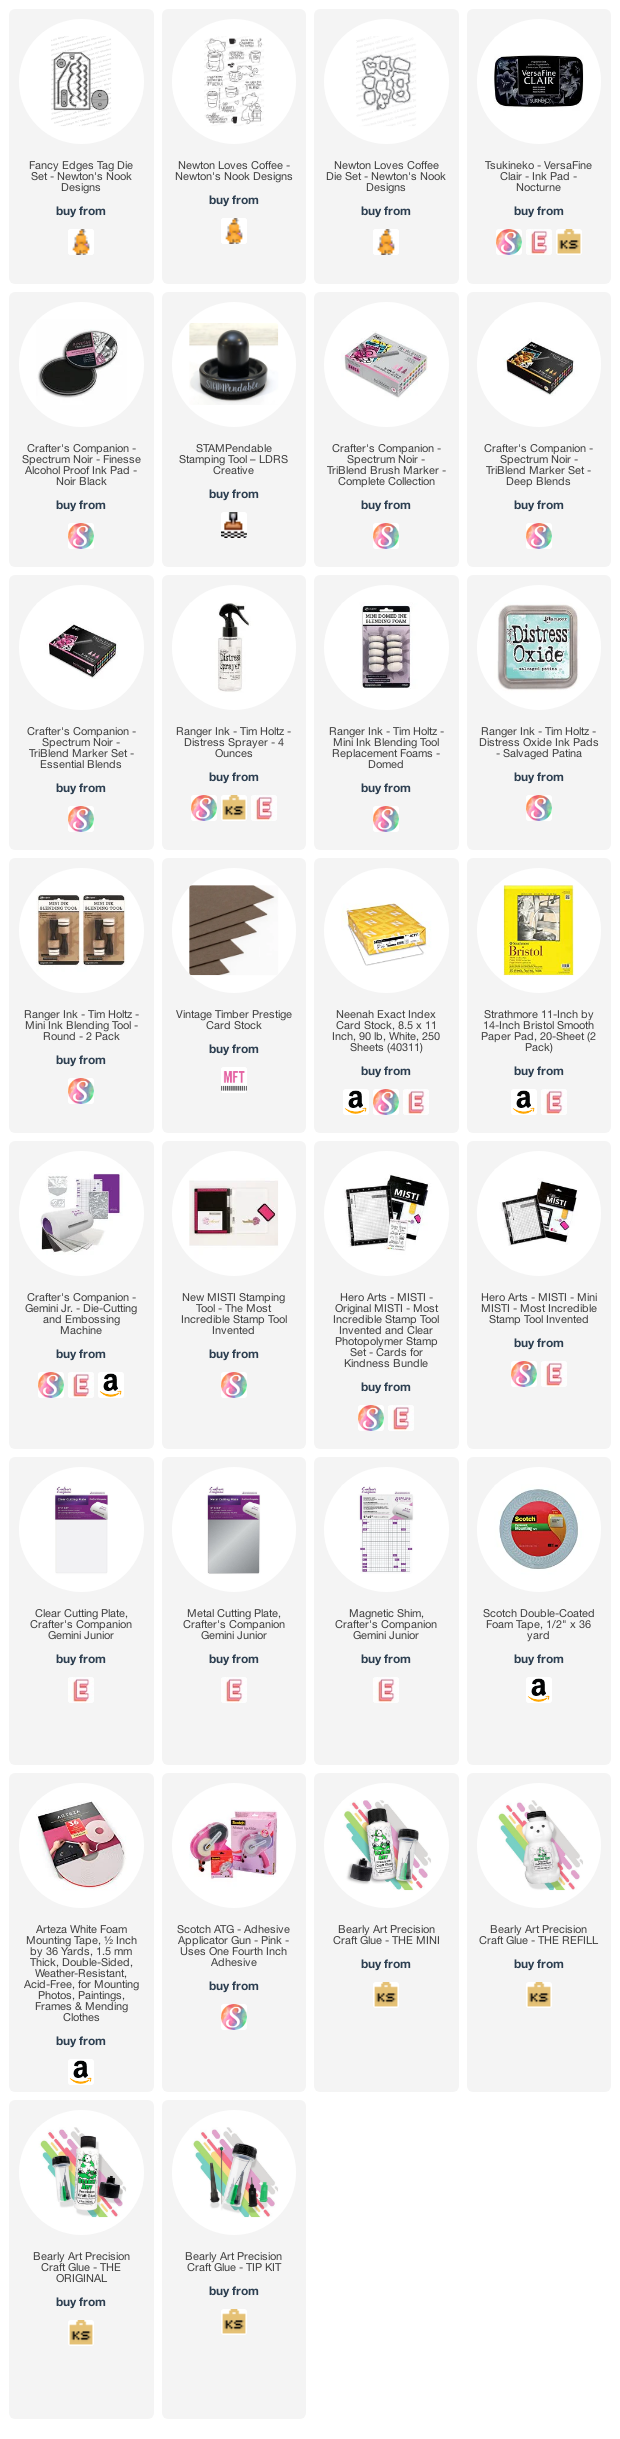
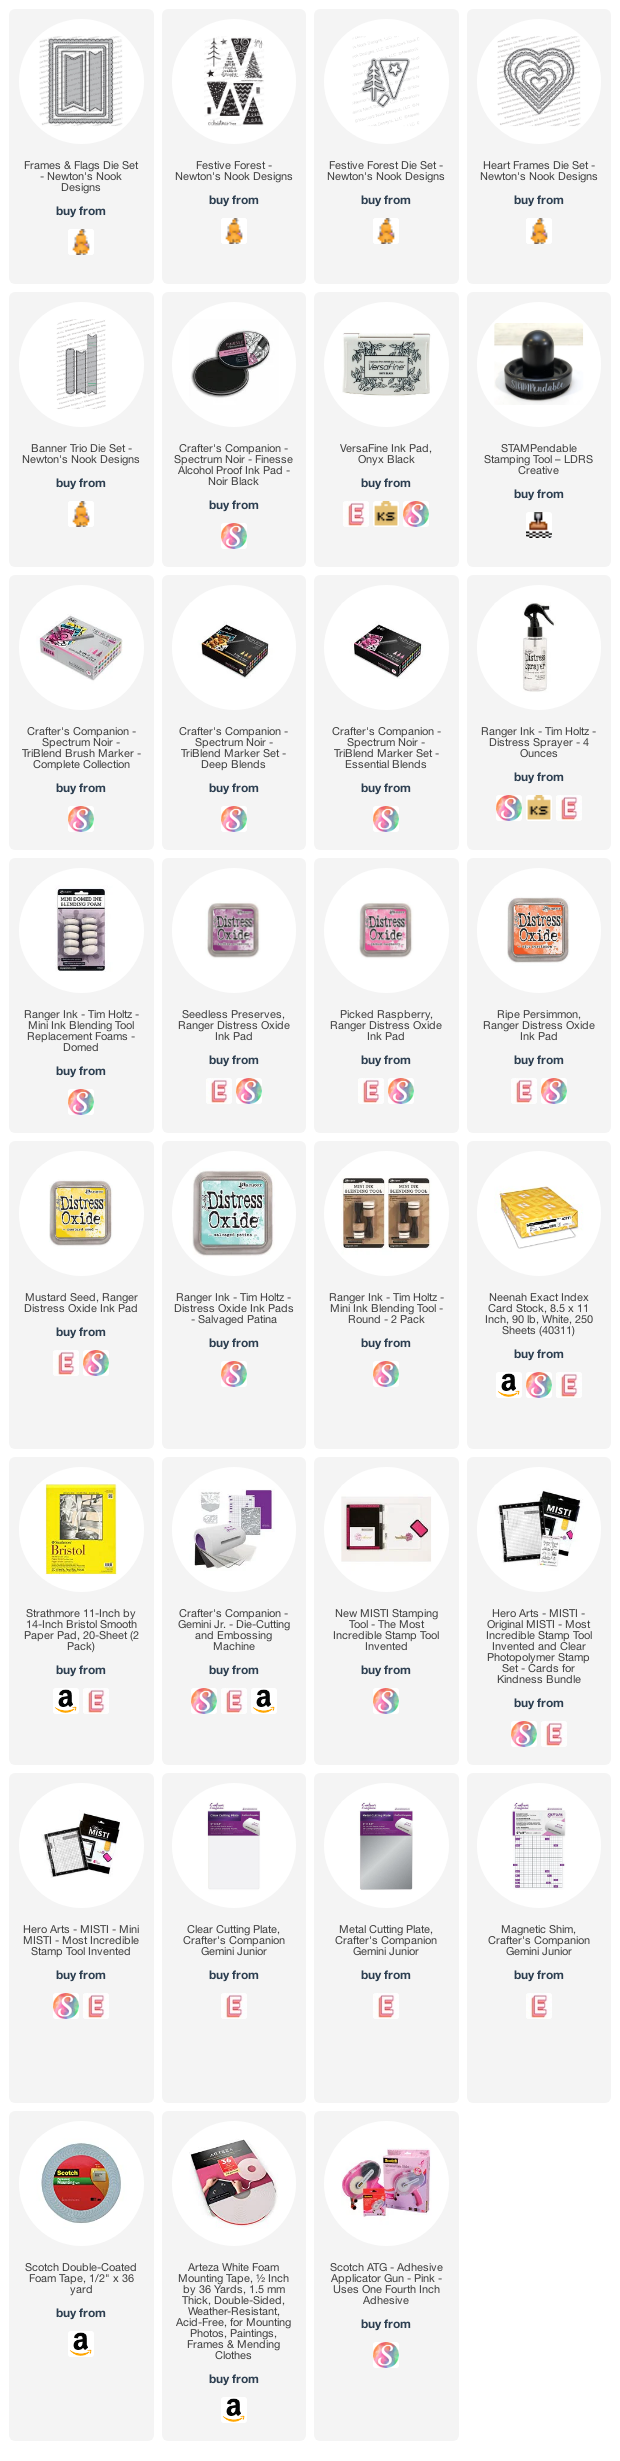
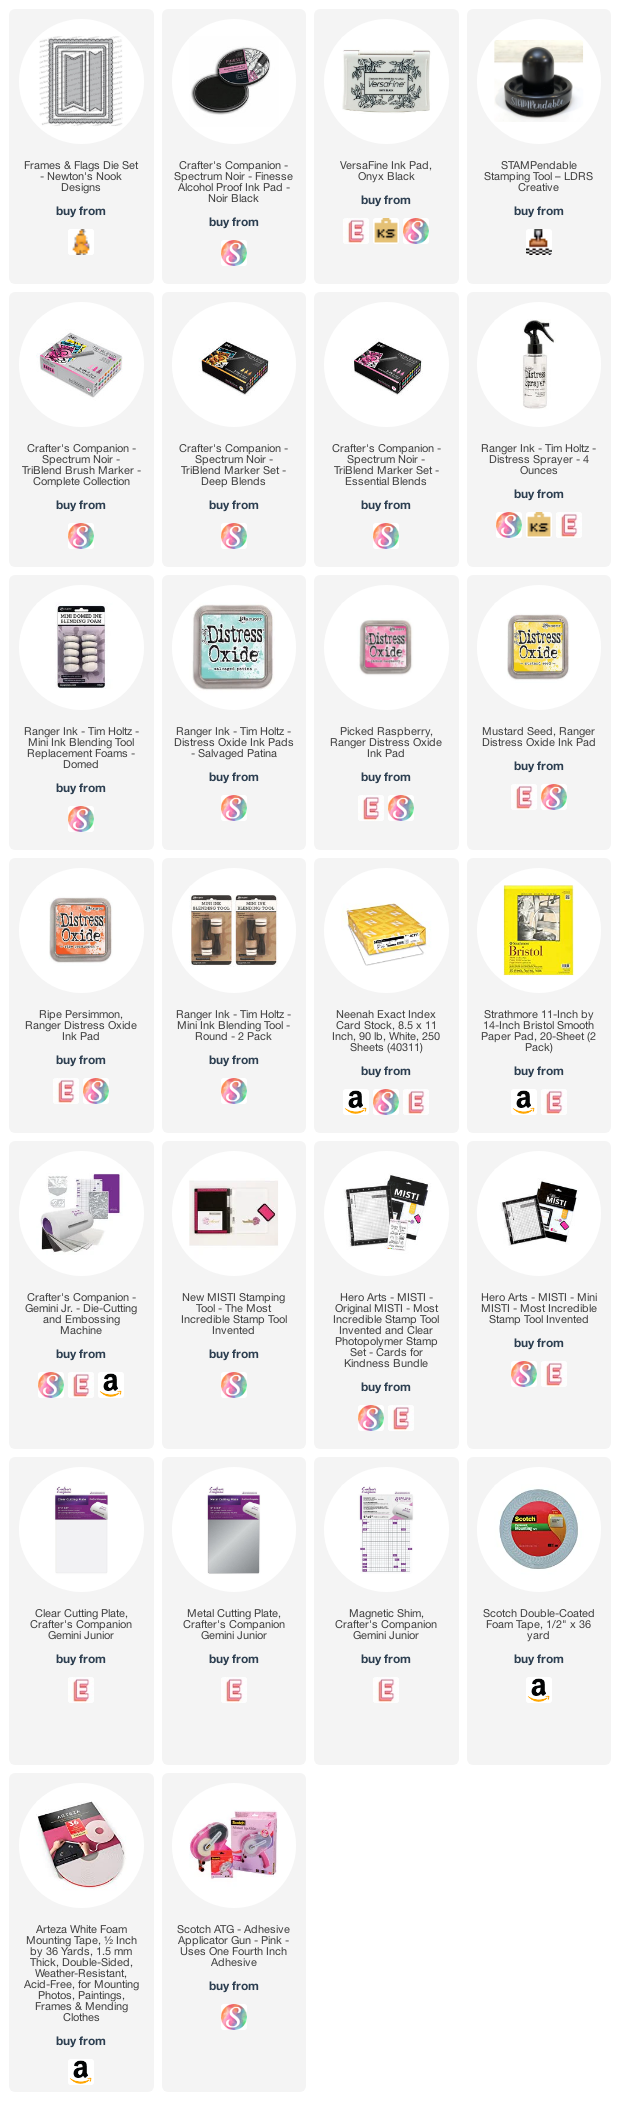
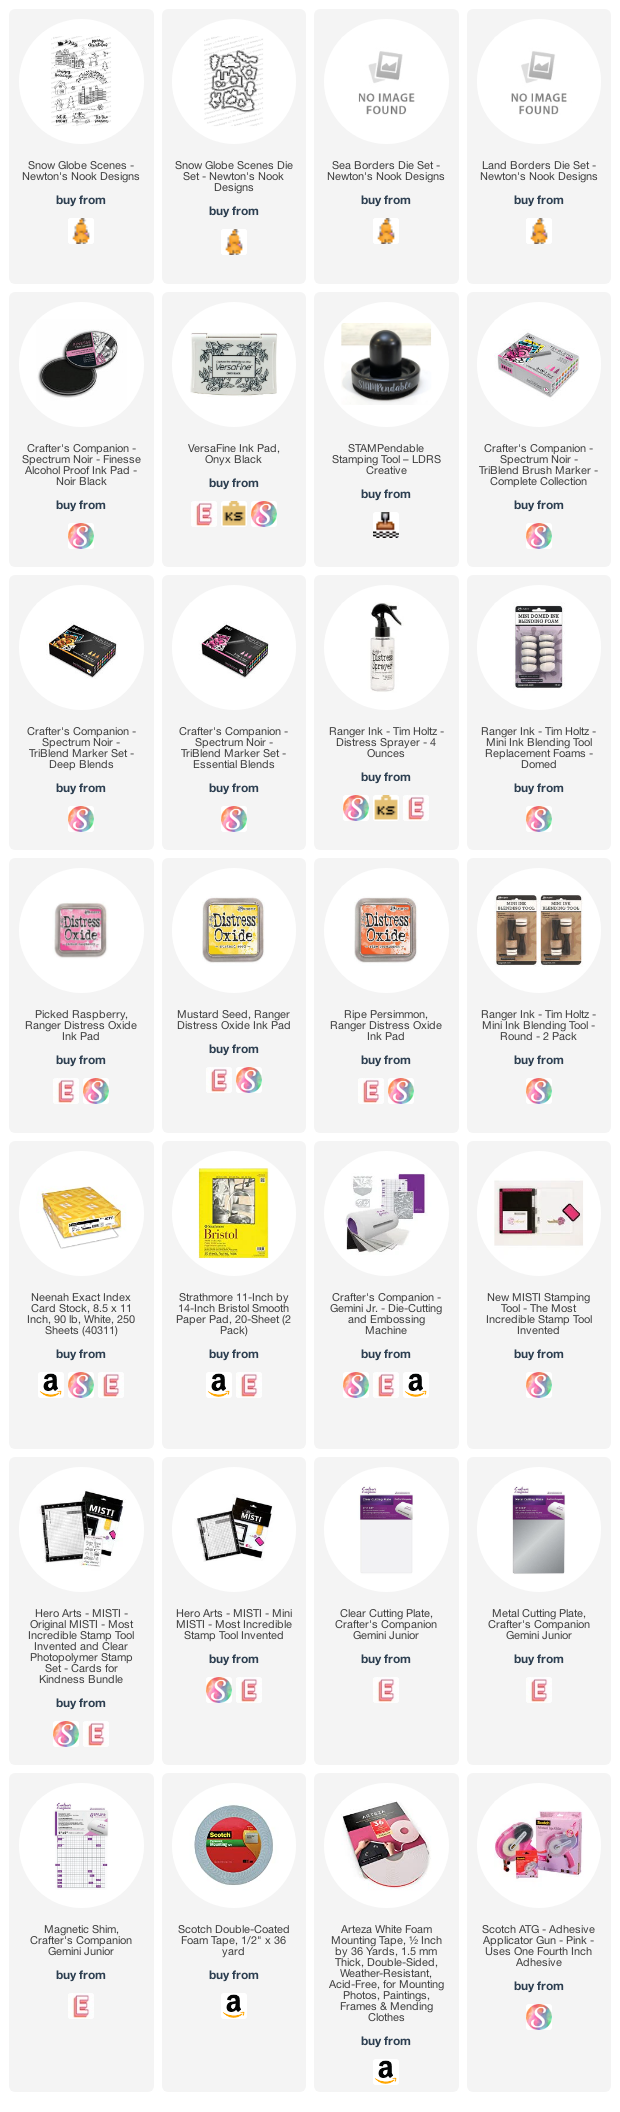
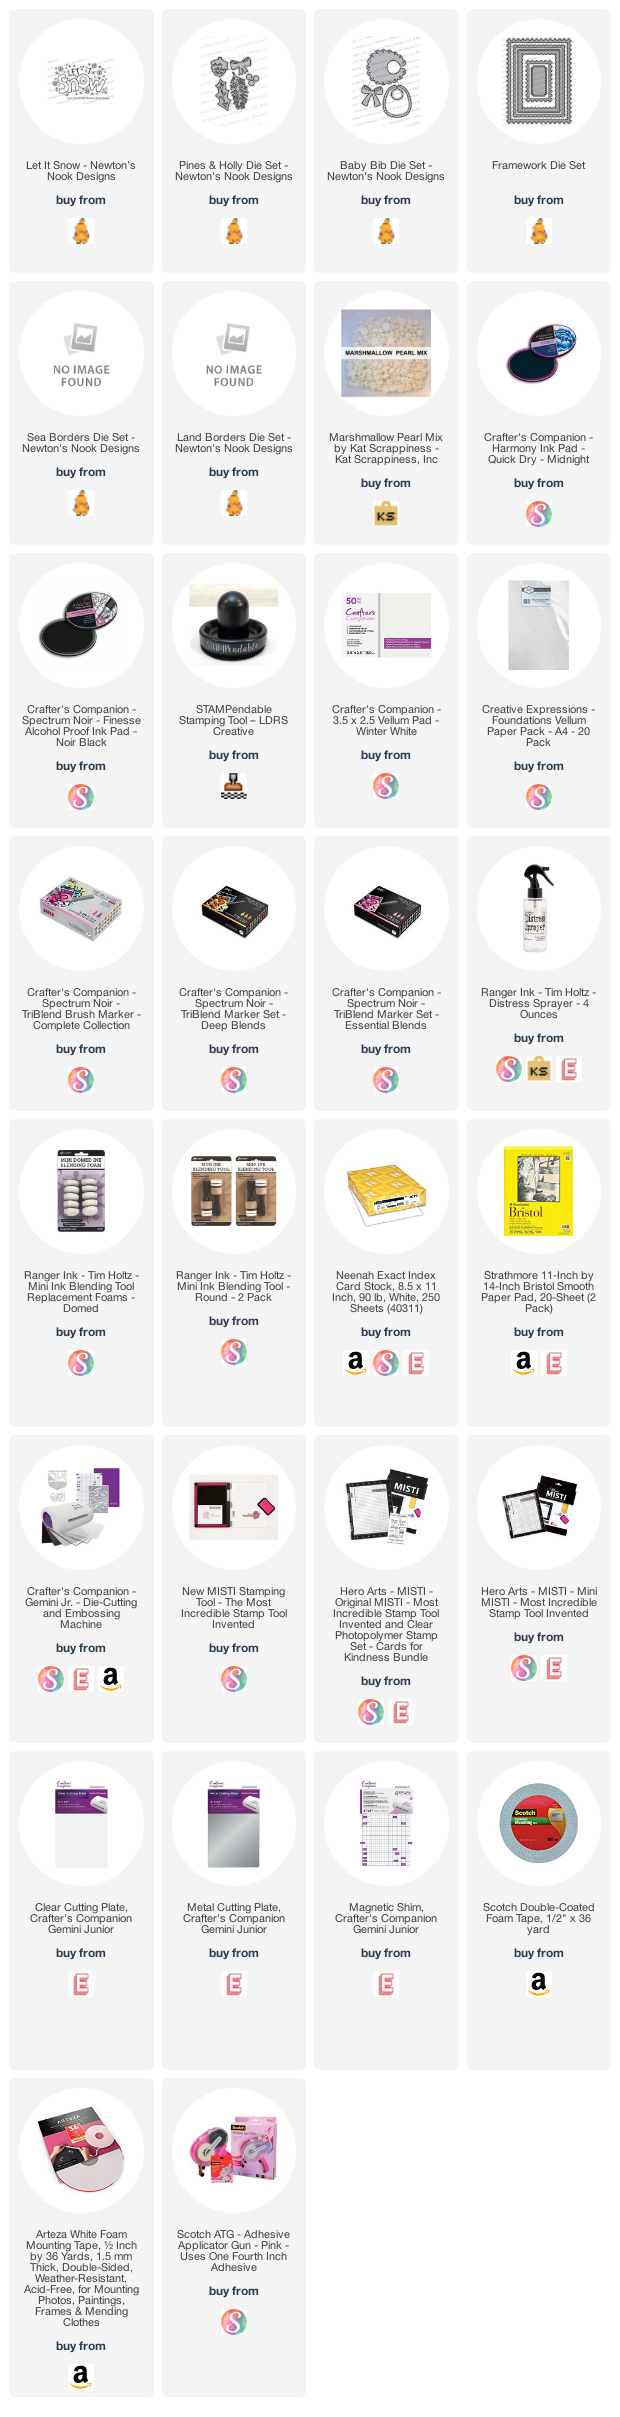
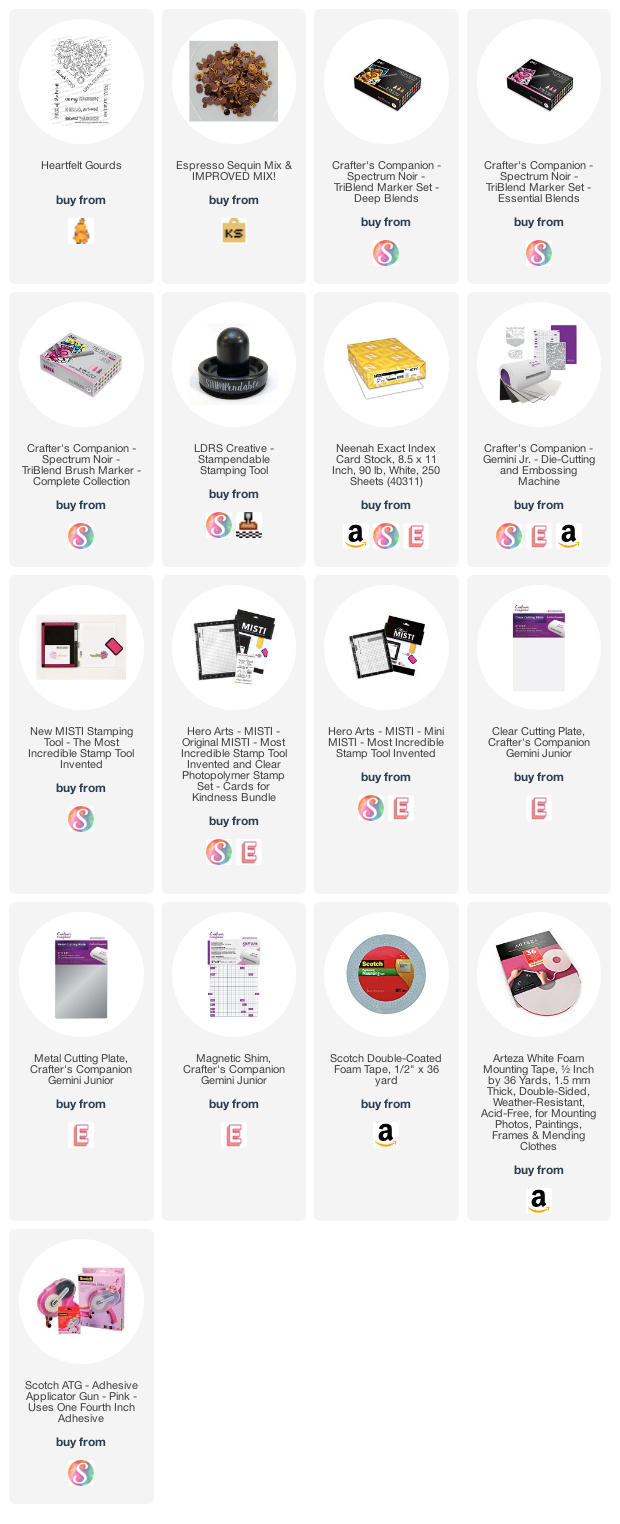
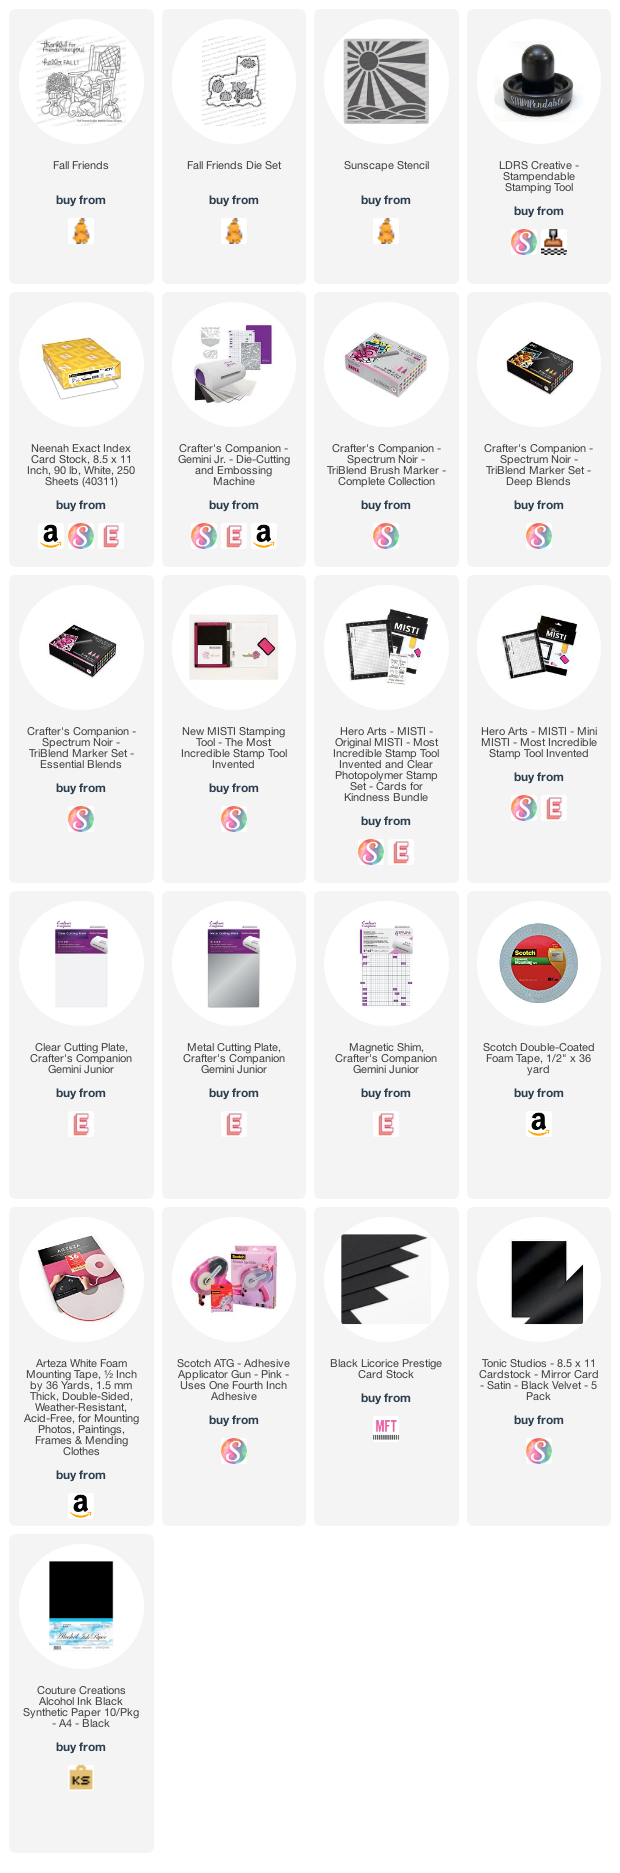
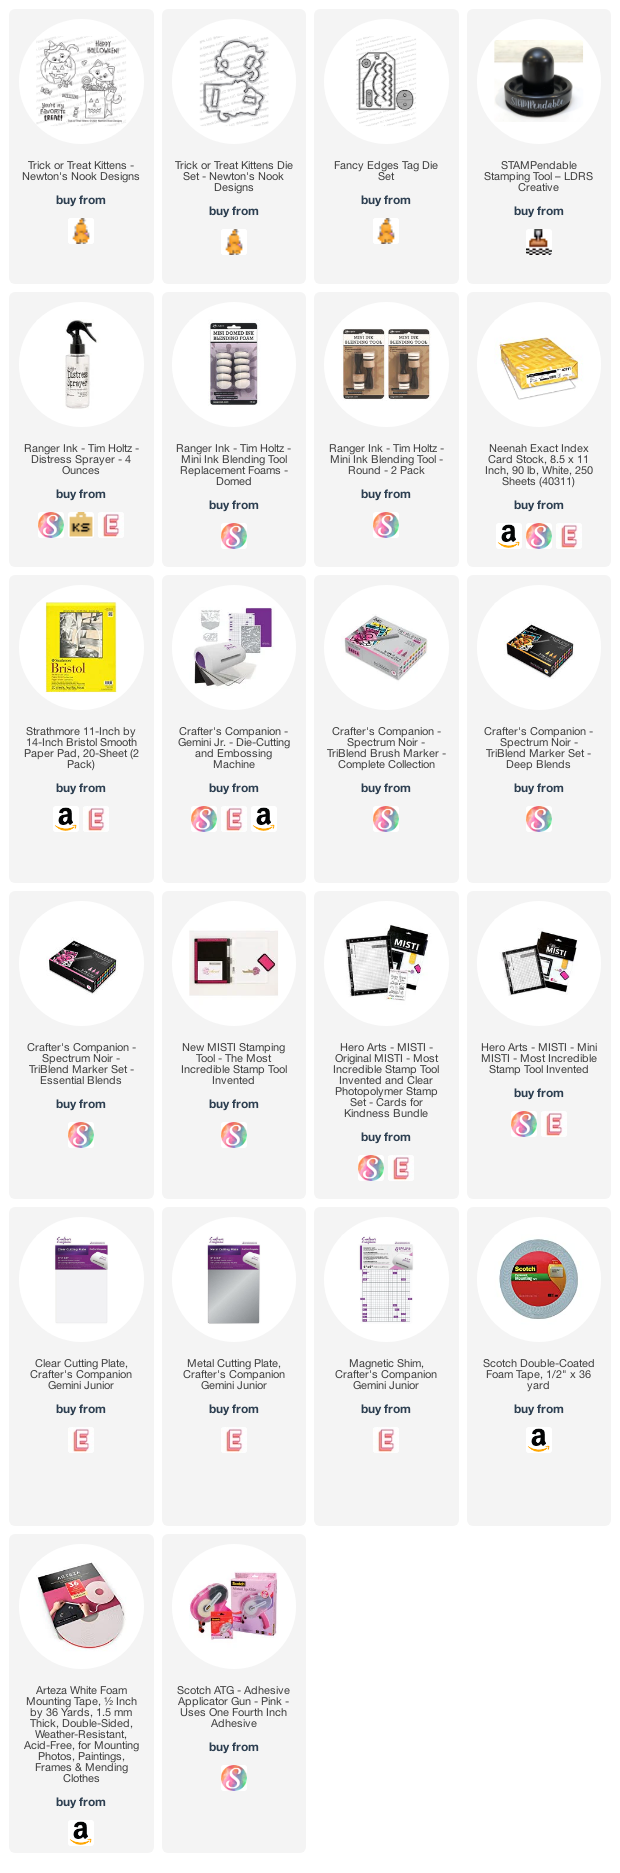
———–SUPPLIES———