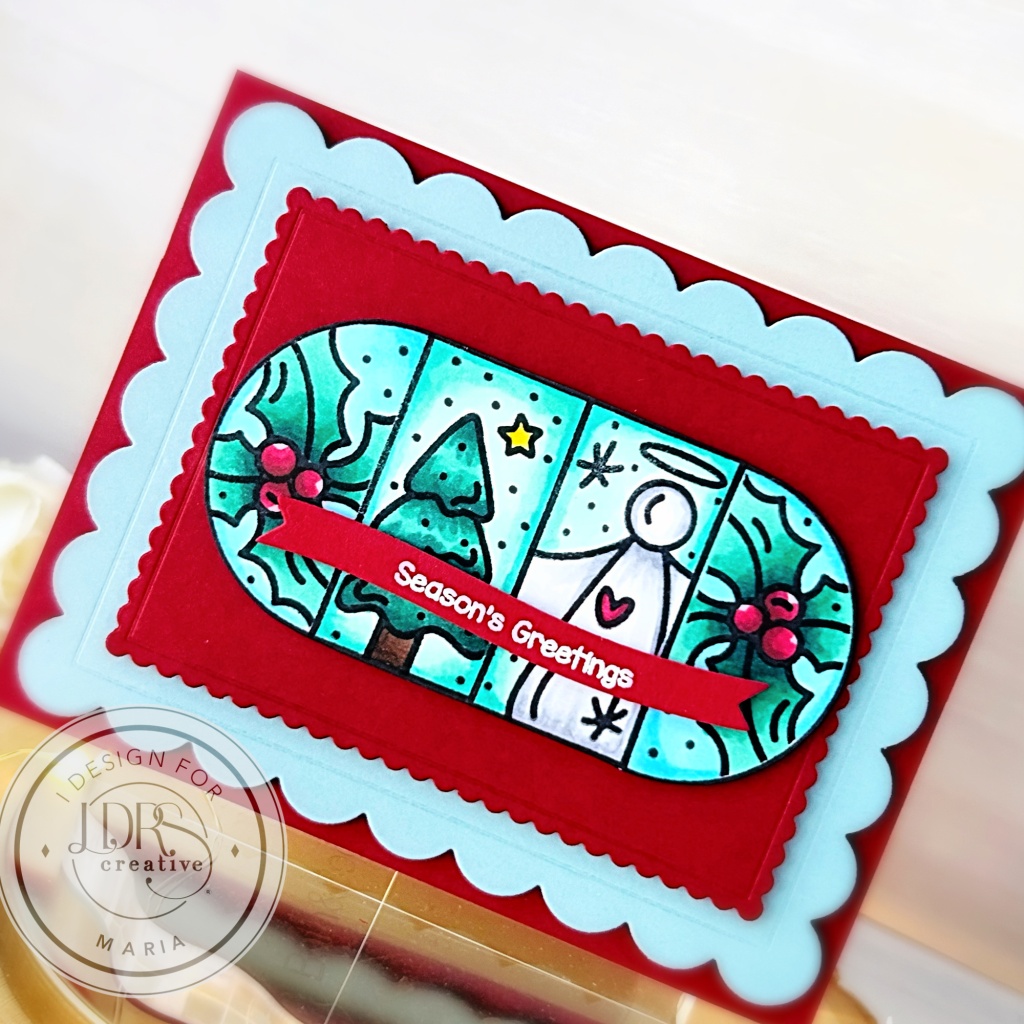
Hello LDRS Creative fans! I am so glad to share this easy, yet classy Christmas card, showcasing the Christmas Puzzle Stamps and Stencil Bundle. Pairing these sets would allow you to mix and match some festive images to create unique cards!
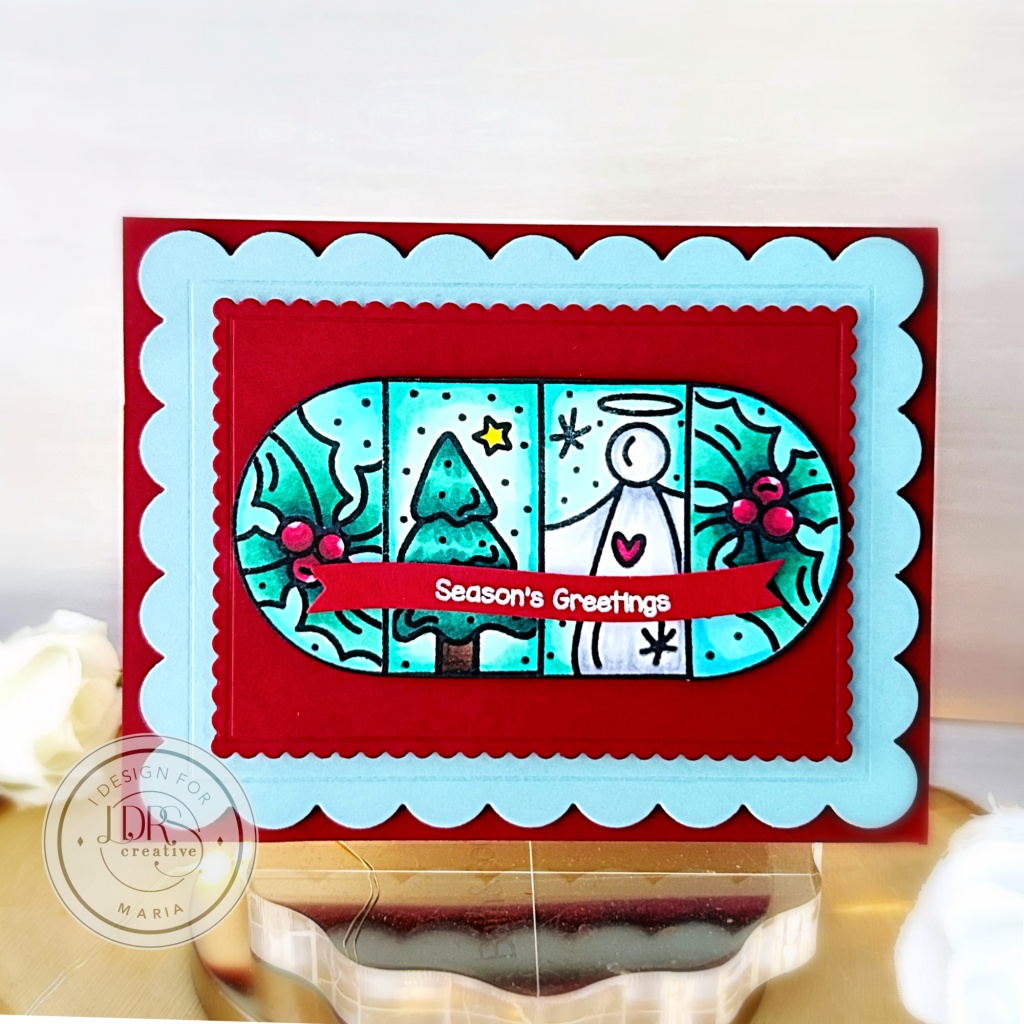
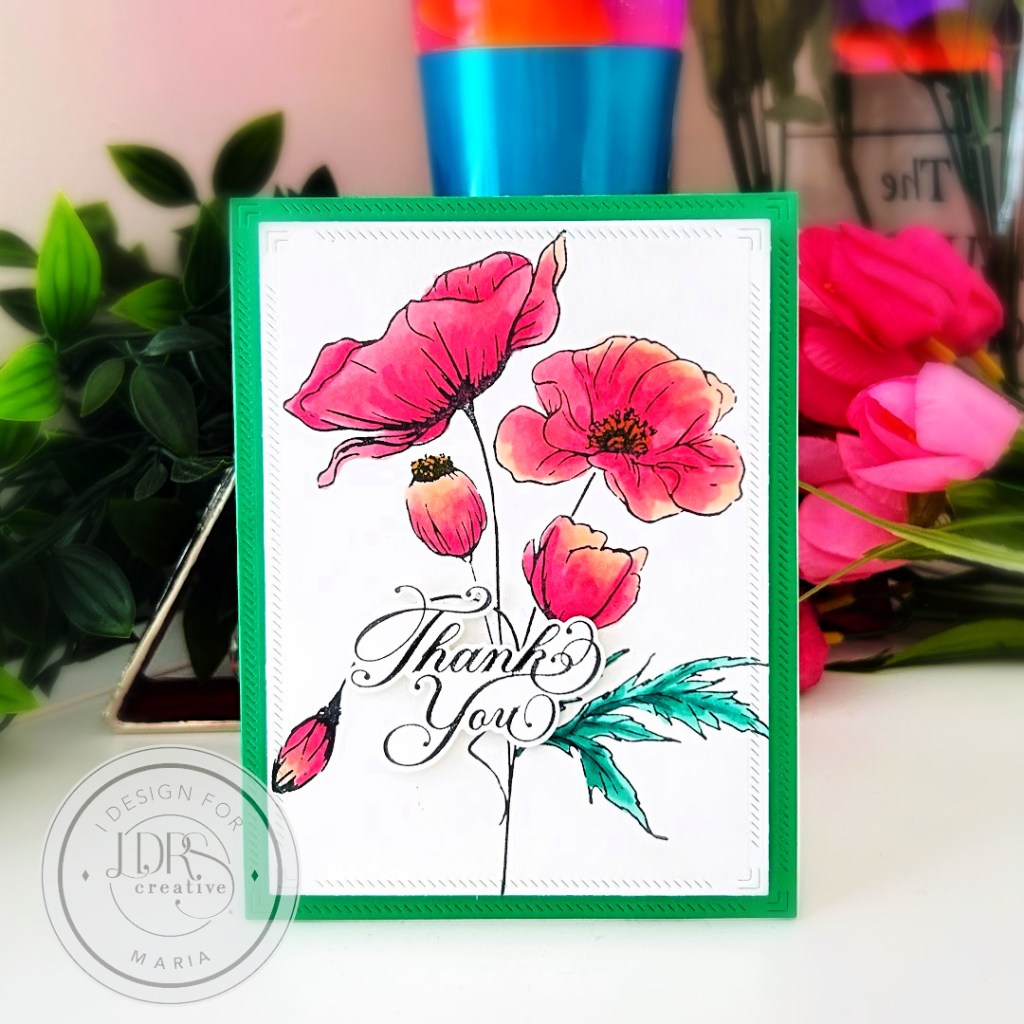
I started by stamping the frames on some Neenah Classic Crest Solar White card stock using Raven Hybrid ink. I chose the Holly, Angel, and Christmas Tree images from the Christmas Puzzle Scenes Stamp Set to fill in the puzzle with the help of the Puzzle Mask Stencil. I colored the images with alcohol markers and used my precision snips to fussy-cut the images.
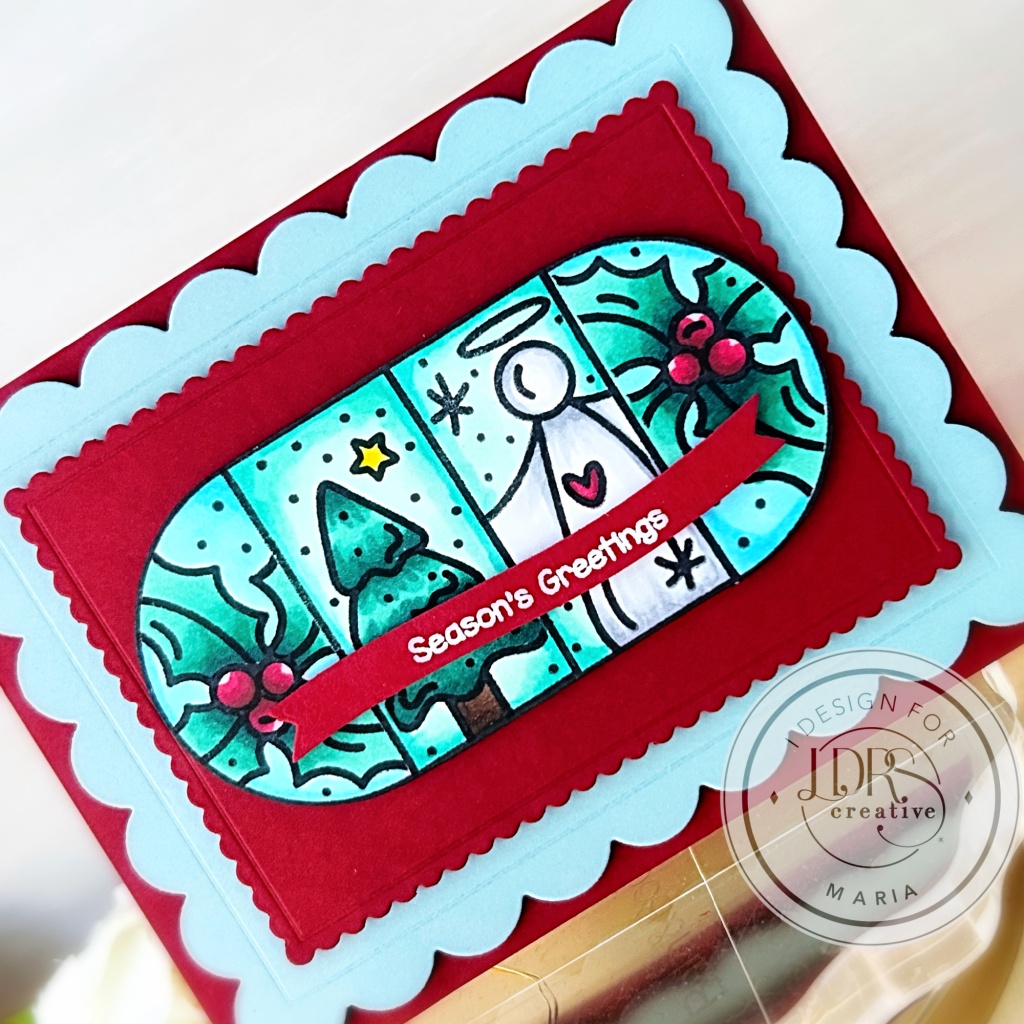
Next, I die-cut the red and blue card stock using the Mixed Scallop Rectangle dies and foam-mounted each piece on some A2-size notecard. I also foam-mounted the focal image to make it stand out and added a sentiment from the Christmas wishes stamp set to finish the card design. Here’s another look at the card:
I hope you like my project today and that you found the instructions simple to follow. Thanks for stopping by, and happy crafting!