Ahhh! Love is in the air! It is my favorite time of the month when the design team share all of our projects for the new stamp release of the month. I got carried away and made a couple of cards for you today to showcase the new Love Bites stamp set and coordinating dies, with the Tumbling Hearts Stencil. You also have a chance to win each stamp set during release week so check out the details I have indicated at the end of this blog post. [Just a little important note: I know some of you had difficulties finding the comments section. If you would like to leave a comment to participate in the giveaway, the “comments section” will only be ever visible when a single post on Word Press is being viewed. Please click on this particular blog post and you will be able to leave a comment below. Thank you for understanding and I apologize for the confusion.]
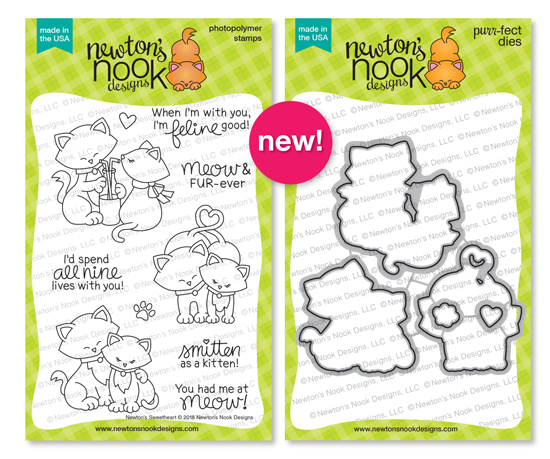
Here’s a photo of the stamp set. Those little Olives are so adorable, oh my gosh!

I started out by stamping my images on Neenah solar white 110 lb card stock with my memento tuxedo black ink using my favorite Tim Holtz stamp platform. I colored the images in with my Copic markers.
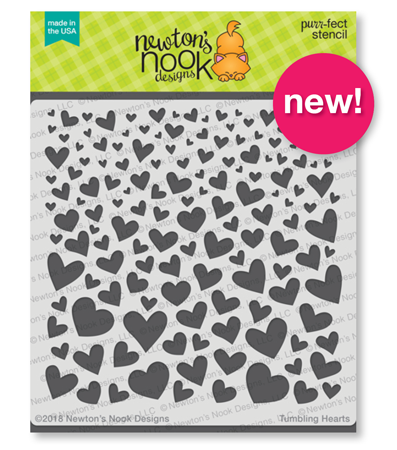
For my first card, I die-cut my smooth white card stock using the Scallop Frame from the Frames and Flags die set. I colored my background using the new Tumbling Hearts Stencil with my blending tool and light pink stamp ink. I die-cut another square from the Frames and Flags die set and adhered my images on the foreground with the sentiment strip. I added the 3 pink hearts and finished my design with glossy accents. I also used my Sharpie white pen to add some details to the images. Here is the first card:

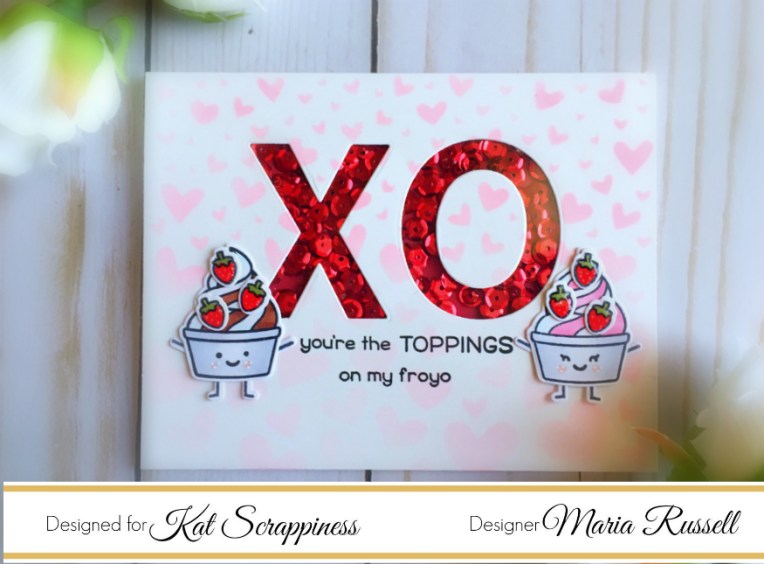
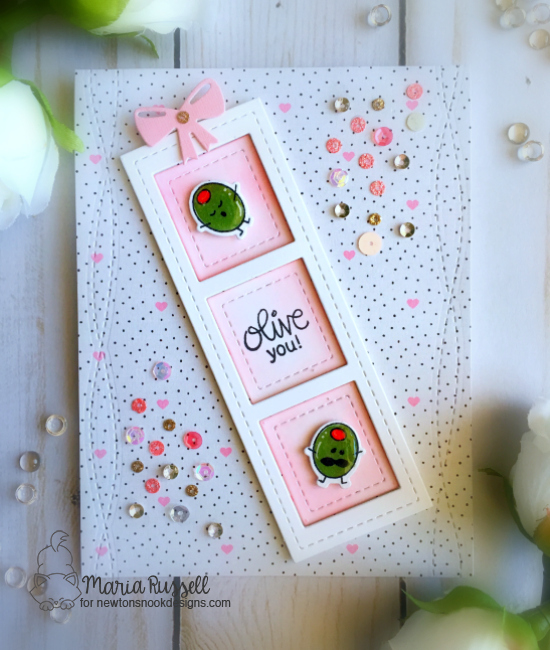
And here is my favorite card below. These cute little Olives with tiny little feet are my favorite. Since the images are so tiny, I decided to showcase them using a film strip die that I have from my die collection. I kept the card simple but I love how it turned out. I finished my design by adding glossy accents to the olives, the bow from the Pines and Holly Die set and my favorite sequin mix from Kat Scrappiness. Here is card no. 2:
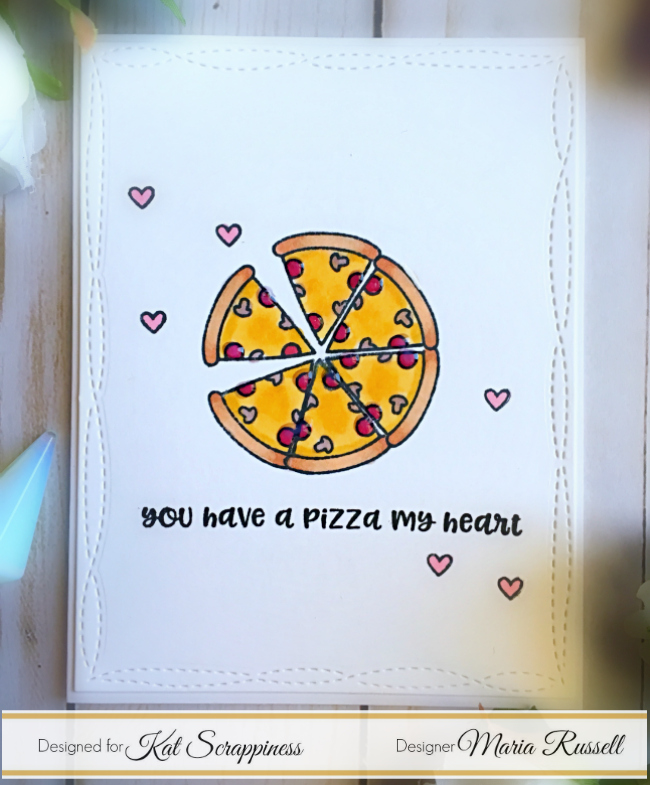
Can these images get any cuter? They are perfect for Valentine’s Day, or just-because! This stamp set is a must-have. This would be perfect to make some lunch note cards to add to your kids lunch boxes.
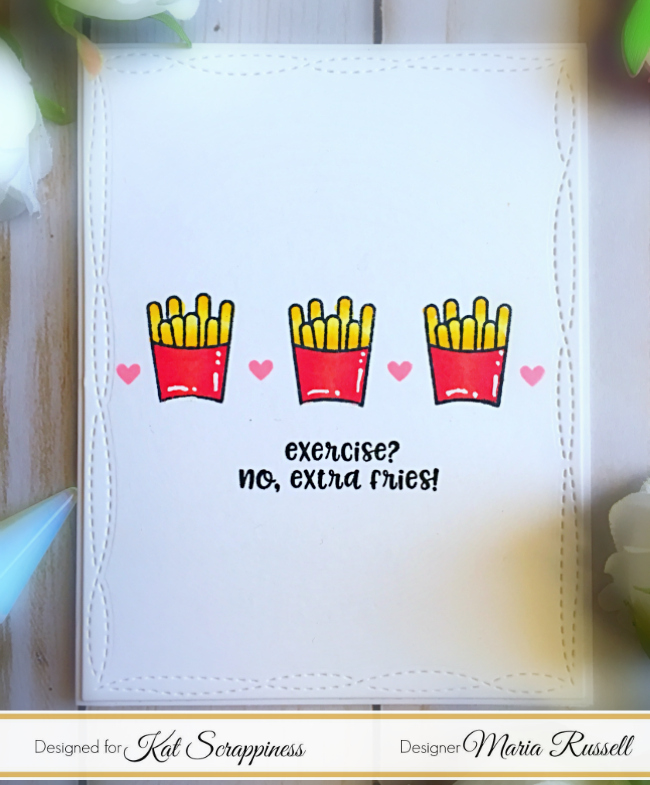
For my third card, I decided to make a shaker card. I stamped the muffin images with pink ink on my white card stock and die cut the middle using a die from my collection. To finish my design, I added the sentiment strip from the Frames and Flags Die and adhered the pink hearts. I also used my Sharpie white pen to add details to the images. Here is the card:

Which one is your favorite? I had so much fun creating these projects. I hope you got inspired. I also listed and linked some of the supplies I used.
Would you like to win the “Love Bites” Stamp Set? This stamp set will be given away to ONE lucky winner!
Here’s how to win:
Comment on the NND blog and Design Team blogs (see list below)! The winner will be chosen at random from the collective reveal posts. Make sure to check out each of their blogs and comment for your chance to win. You will not know which blog has been chosen so the more you comment on the better your chances are of winning! You have until Thursday January 18th at 9pm EST to comment — winners will be announced on the blog post on Friday, January 19th.
Check out all the awesome Design Team Blogs below to enter:
Newton’s Nook Designs
Holly Endress
Ellen Haxelmans
Larissa Heskett
Samantha Mann
Juliana Michaels
Naki Rager
Maria Russell (you are here)
Jennifer Timko
Tatiana Trafimovich
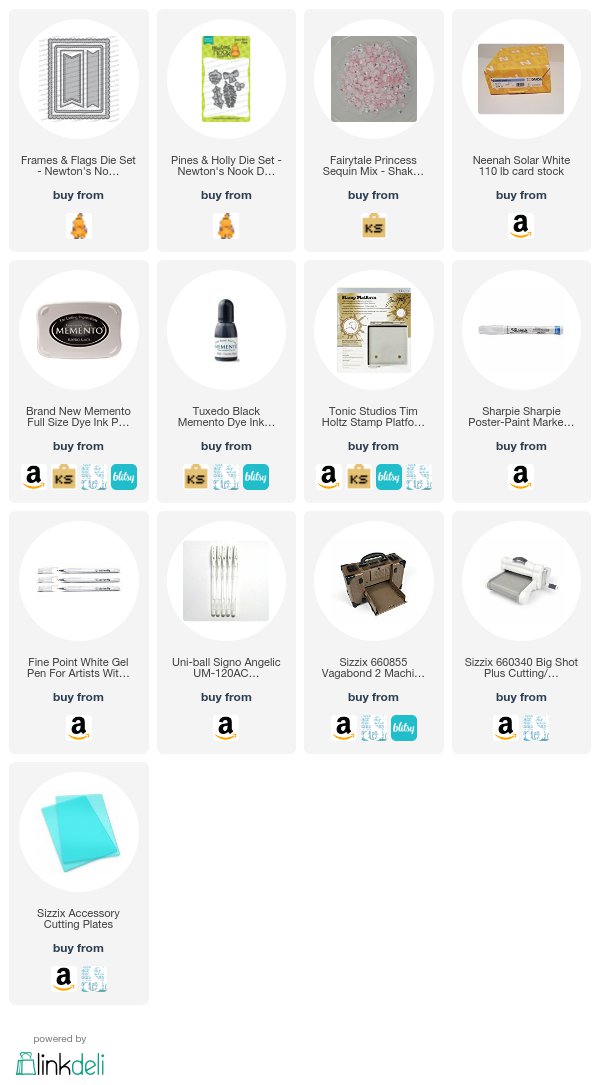
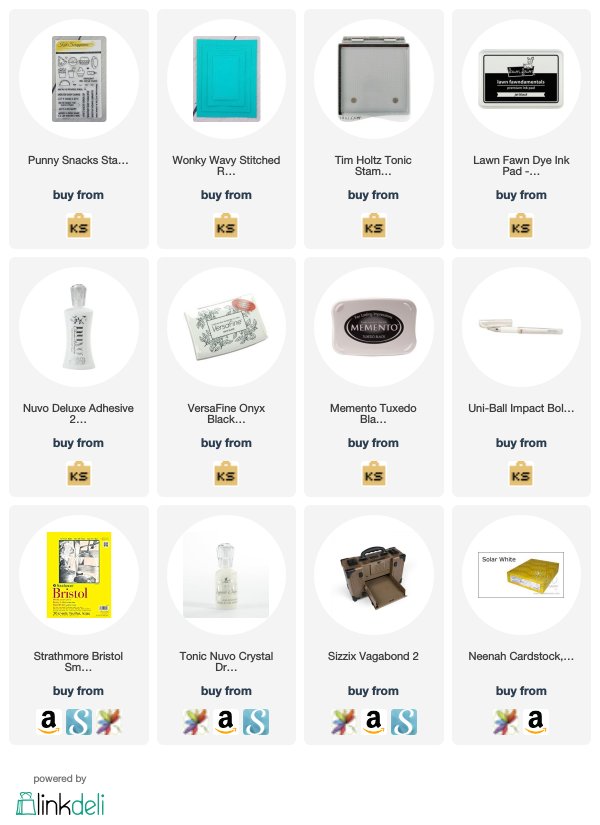
———–SUPPLIES————