Spring Coffee Lovers Blog Hop – KatScrappiness Coffee and You

coffee lovers blog hop logo_spring

It’s that time of the year again and I am so excited to be participating in the “Spring Coffee Lover’s Blog Hop”.  I’d like to take this opportunity to thank Amy Tsuruta and the rest of her team responsible for facilitating this great hop!  I don’t know how you guys do it but you all rock!

Today I made a card showcasing products from the #KatScrappiness shop (www.katscrappiness.com).    THERE IS A SPECIAL COUPON CODE at the shop during the duration of the hop only, so hurry and shop for all the crafty products you’ve all wanted to order from the shop (use coupon code: “SPRINGCOFFEE” for 15% off your order).

katscrapclbhpromo

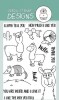
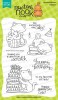
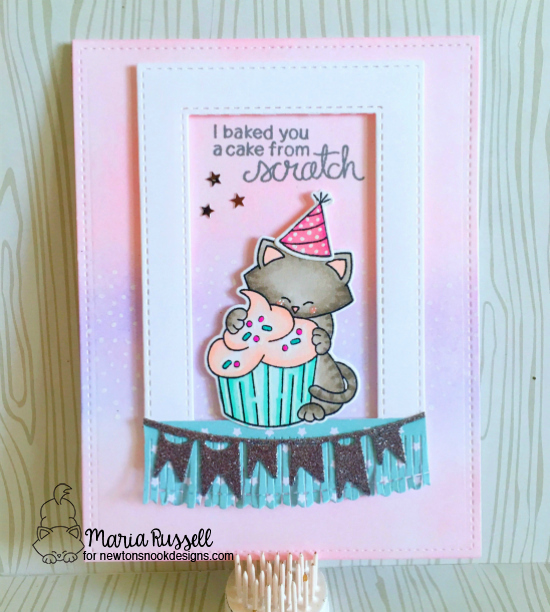
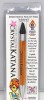
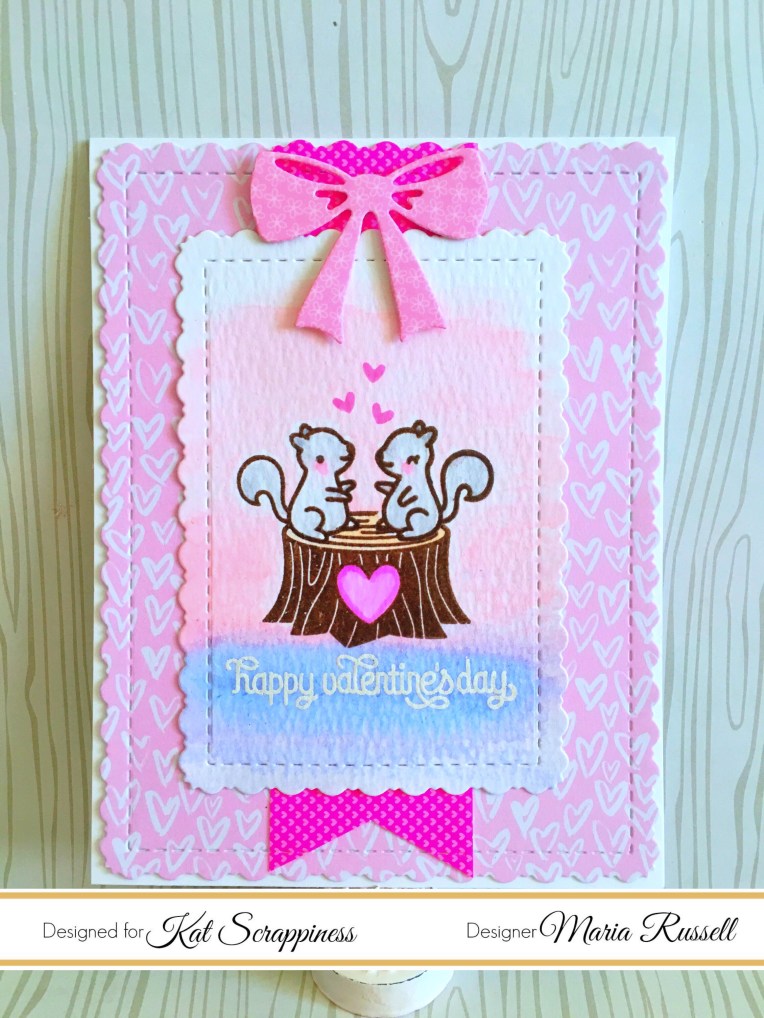
I started out by stamping my bear image (Gerda Steiner Warm Fuzzies stamp set)  using my stamping tool with memento tuxedo black ink on Neenah Solar White card stock. I colored my image in with my Copic markers, then used my precision cut scissors to fuzzy-cut the image.

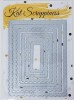
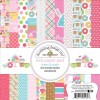
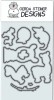
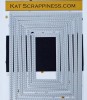
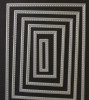
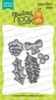
Using the largest of the Stitched Fancy Scalloped Rectangle dies, I die-cut my front panel with the Doodlebug Cream & Sugar 6 X 6 paper pad. I also created the half-circle window using a die from my stash.

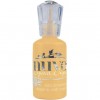
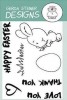
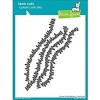
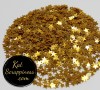
To finish off my design, I die-cut the trees, stamped my sentiment on the banner, and adhered them all to the card. For my final touch, I used my new favorite, Crystal Nuvo Drops in Dandelion. Here is my card:

KatScrapCLBH1

For more details about the hop or if you would like to participate, please click on this link: http://www.coffeelovingcardmakers.com.

Thank you for stopping by and have an amazing day!
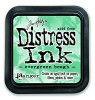
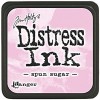
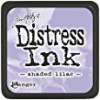
————-SUPPLIES———-

(Some affiliate links may have been used at no additional cost to you)

Llama Tell You Card & Planner Decorating

I am back today to share with you my design team projects for KatScrappiness, showcasing the Gerda Steiner Llama Tell You stamp set and its coordinating dies, with Stitched Fancy Scalloped Dies, Double-Stitched Rectangle dies and a bunch of other supplies available now at the shop.

I am going to keep this blog post short as I have a process video for you today.  The supplies I have used are listed and linked below.  I hope you got inspired! Have an amazing day!

KatScrapLlama1

KatScrapLlama2

Here’s the process video:

——-SUPPLIES———

Happy Easter Card and Easter Treat Bag

Hello stampers and crafters! It’s Maria Russell here with you today and I am so thrilled to be back as a design team member for Kat Scrappiness.

Today I have created two projects, showcasing the (recently stocked) Stitched Heart Tag Dies, Stitched Rope Nested Rectangle Dies, Gerda Steiner Brush Bunny stamp set and a bunch of other products available at the shop.

If you haven’t watched the YouTube video tutorial on how I made these treat boxes, I have linked the video below. It is very easy and you can create a decent-size treat bag using these tag dies. They are so versatile you can create a ton of projects with these dies, for any occasion.  Here is the video tutorial:

For the treat bag, I started out by die-cutting the tags twice and stamped my images on the tag. I highlighted the rainbow with my white gel pen. Before assembling the treat bag, I die-cut a grass border hills die. It is important to do this step first before assembling the bag.

IMG_4339

I stamped my bunny images on Neenah solar white card stock and colored him in with my Copic markers. I adhered my bunny to the treat bag.

Using my favorite Lawn Fawn Tiny Tag Saying stamp set and Tiny Tag Dies, I stamped the sentiment on the tag, and attached it on the treat bag with my pink and white twine. Hear is the treat bag:

IMG_4341
For the card, I started out by die-cutting my front panel using the largest of the stitched rope nested rectangle dies. I sponged the “clouds” using my lawn Fawn Clouds Border Dies, with Tim Holtz Broken China distress Ink.

IMG_4338

I die-cut another grass border die and adhered it on my front panel. I stamped the eggs on Neenah Solar White card stock and colored them in with my Copic markers. I also used my Sakura Gel pens to add some details to the eggs.

To finish off my design, I adhered all of the stamped images and die-cuts on the front panel of my card. Using a blue card base, I adhered the front panel to my card base using my all-time favorite Xyron Mega Tape Runner. Here is the card:

IMG_4342

Here are the two projects:

IMG_4340

I hope you got inspired today. Please check out all the new items at Kat Scrappiness online store before they sold out again. The supplies I have used are listed and linked below. Have an amazing day!

————-SUPPLIES———

Cupcake Inspirations Challenge #396 – Birthday Card

There is a new challenge at Cupcake Inspirations Blog (http://cupcakeinspirations.blogspot.com) and Newton’s Nook Designs is a sponsor for this event. The theme is so cute so I decided to play along. Here is the inspiration photo:

For my card below, I am showcasing the brand new Newton Loves Cake stamp set with an older Newton’s Sick Day stamp set.

Here are some photos on how I layered the cats. I have used some craft foam and my Xyron adhesive to add an even dimension to my card. This will ensure that when you send your handmade cards to the mail, it wouldn’t get crushed in the process.

To adhere the intricate pieces on my card, I used my Xyron sticker maker. I honestly cannot live without this little machine.

img_3974

Here is my card. It is a birthday card for my big sister, who loves cats. She also rescues sick stray cats and nurse them back to health. I’ve always called her the cat lady but in reality, she has the biggest heart for all animals.

nndcc396

I hope my card has given you some inspiration today to create something beautiful! Happy crafting!

———SUPPLIES———-

https://static.inlinkz.com/ppr.js

Inky Paws Challenge #41 – Newton’s Nook Designs

There’s a new Inky Paws Challenge on the blog (http://www.inkypawschallenge.com) and this time it is a color challenge, using Mint, Light Pink, Yellow and White. I absolutely adore pastel colors so I decided to participate in this challenge!

Here is the inspiration photo:

nndinkypaws41

I started out by die-cutting my Neenah Solar White card stock and distressed my background using Spun Sugar and Scattered Straw distress inks.  I splattered white paint all over my background using my white opaque paint.

I stamped my image showcasing NND’s Sweater Weather stamp set and colored her in with my Copic markers.  Using the same mint Copic marker, I colored my card stock and used my “love” script die to die-cut the pet sentiment, and stamped “you” from the tag sampler stamp set.

I used my Xyron sticker maker to adhere the “love” sentiment on my card.  I always use my sticker maker to adhere intricate dies.

Here is my card:

nndinkypaws41a

For more information about the color challenge, please visit http://www.inkypawschallenge.com. You have two weeks to join.  Winner will get a $10 gift code for the Newton’s Nook Designs shop.

The supplies that I have used for today’s card are listed and linked below if you are interested. Have an amazing day!

———SUPPLIES———-

Newton’s Nook Designs February Release – Day 3 – Newton Loves Cake

nnd_feb17_releaseicon

Hello everyone!  It is the last day of the February release at Newton’s Nook Designs.  If you haven’t checked out yesterday’s post, please do so to see the amazing projects created by our design team members. [ Just a little important note:  I know some of you had difficulties finding the comments section.  If you would like to leave a comment to participate in the giveaway, the “comments section” will only be ever visible when a single post on WordPress is being viewed. Please click on this particular blog post and you will be able to leave a comment below.   I have contacted WordPress and that is what they told me. Thank you for understanding and I apologize for the confusion.]


All the new stamps and coordinating dies will be available for purchase tomorrow, February 17th.  You also have a chance to win each stamp set during release week so check out the details I have indicated at the end of this blog post.

For today’s post, I have created a birthday card, showcasing the new stamp set called Newton Loves Cake and Newton Loves Cake coordinating dies.

I started out by stamping my images on Neenah solar white card stock, with my memento tuxedo black ink.  I colored the images with my Copic markers and die-cut them using the coordinating dies.

I die-cut my card panel and distressed the background using my favorite distress inks – Spun Sugar and Shaded Lilac.  For the second card, I used Spun Sugar and Evergreen Bough.  I wanted to use some soft pastel colors for these two birthday cards.

To finish the design, I die-cut a rectangle frame to create a window, adding the banner to the frame.  I stamped my sentiment and adhered the 3 silver stars.  I also used my white gel pen to add some white dots to the card, making it look more whimsical.

Here’s the first card:

nndnewtonlovescake2

And here’s the second card I designed with the same concept but different shape and colors.  I wanted to really show off this stamp set by creating more than one sample for you.  The possibilities are endless using this stamp set!

nndnewtonlovescake1

What do you guys think? I hope you like the birthday cards. This Newton Loves Cake stamp set and coordinating dies will be available for purchase on Friday, February 17, at 8:00 a.m. CST.

Would you like to win the “Newton Loves Cake” Stamp Set?  This stamp set will be given away to ONE lucky winner!

Here’s how to win:

Comment on the NND blog and Design Team blogs (see list below)! The winner will be chosen at random from the collective reveal posts. Make sure to check out each of their blogs and comment for your chance to win. You will not know which blog has been chosen so the more you comment on the better your chances are of winning! You have until Thursday, February 16th, at 9pm CST to comment — winners will be announced on the blog post on Friday, February 17th.


Check out all the awesome Design Team Blogs below to enter:

Newton’s Nook Designs

Amanda Bodine

Holly Endress

Ellen Haxelmans

Larissa Heskett

Samantha Mann

Juliana Michaels

Naki Rager

Maria Russell (you are here)

Jennifer Timko

Tatiana Trafimovich


————SUPPLIES———–

Valentine’s Day Card

Hello everyone! I’m back today to share with you a cute Valentine’s Card, showcasing products available at Kat Scrappiness, i.e. stamp sets by Lawn Fawn – Love Letters, Cheery Christmas and Mom & Me stamp sets, Stitched Fancy Scalloped Rectangle Dies, Inkadinkado masking paper and Gina Marie Designs ribbon bow dies. I apologize that I don’t have a process video today as I am currently traveling for a few days.

I wanted to create a very simple card with some masking technique.  I started out by die-cutting my watercolor card stock using the stitched fancy scalloped die. I stamped my two squirrels on Inkadinkado masking paper and fuzzy cut them with my precision scissors.

Using my stamping tool, I laid out my scene and stamped my squirrels twice with Versafine vintage sepia pigment ink.  I heat-set it with some clear embossing powder.  Using the mask I created, I covered the squirrels so I can stamp the wood stump on top of the squirrel. Removing the mask, I also set the tree stump with clear embossing powder.

I colored the images using my Zig clean color real brush markers.  I used my heating tool to dry them out a little, and covered the images with my mask.

I smudged some spun sugar and shaded lilac distress inks on a clear acrylic block, sprayed it with water, and used my flat watercolor brush to carefully start brushing the color onto the paper.  [Since the images are already covered with my masking paper, I was not afraid to do this technique.] I removed the mask and set it aside to dry.

I finished off the design by using a patterned paper by Crate Paper design, and die-cut a bow using a ribbon bow die by Gina Marie Designs.

Here is the final card:

img_3703

I hope you got inspired today. The supplies I have used are listed and linked below.  Thanks for stopping by and have an amazing day!

———SUPPLIES——–

Inky Paws Challenge # 40

There’s a new Inky Paws Challenge on the blog (http://www.inkypawschallenge.com) and this time it is a sketch challenge. I love sketch challenges! It gets me out of my comfort zone to try and design something that I’ve never done before.

Here is the sketch:


inky-paws-challenge-40

I started out by stamping the images on Canson watercolor card stock with my Versafine Onyx Black Ink and colored them in with my Zig Clean Color Real Brush markers. For this card, I am showcasing a couple of stamps from Newton’s Nook Designs. The mixer, spoon and measuring cup are from the Made From Scratch stamp set and the doodle design is from the Love A La Carte stamp set.

I finished my design by using some Doodlebug patterned paper. Instead of using twine, I decided to use the bow from a Christmas die-set by NND called Pines and Holly Die Set.  Here is my version of the challenge.

nndinkypaws40

What do you guys think? I hope you got inspired today and join us for this challenge. For more information, please visit http://www.inkypawschallenge.com. You have two weeks to join the challenge.  Winner will get a $10 gift code for the Newton’s Nook Designs shop.

The supplies that I have used for today’s card are listed and linked below if you are interested. Have an amazing day.

——–SUPPLIES———-

https://static.inlinkz.com/ppr.js

D.I.Y. Treat Bag using Stitched Heart Tag Dies by KatScrappiness

Hello stampers and crafters! I am back with you today to share with you a process video on how I made Valentine’s treat bags using the new stitched heart tag dies by Kat Scrappiness.

Instructions:

In order to make the bag, you will need two pieces of the stitched heart tag dies.

1. You will also need a matching piece of either card stock or patterned paper measuring 2 inches by 11 7/8. On the 11 7/8 side, score the paper at 4 inches, and 7 7/8 inches.

2. Flip the paper.

3. On the 2 inches side, score at 1/4 inch on both sides.

Here is the process video. All supplies are listed and linked below.


———–SUPPLIES———-

https://static.inlinkz.com/ppr.js