A Lifetime is not Long Enough to Love You

Hello fellow Spectrum Noir and Crafter’s Companion fans!  I hope you’re all having a great week.  I am so excited to share today’s card because I used all of my favorite products and combined them into this project.

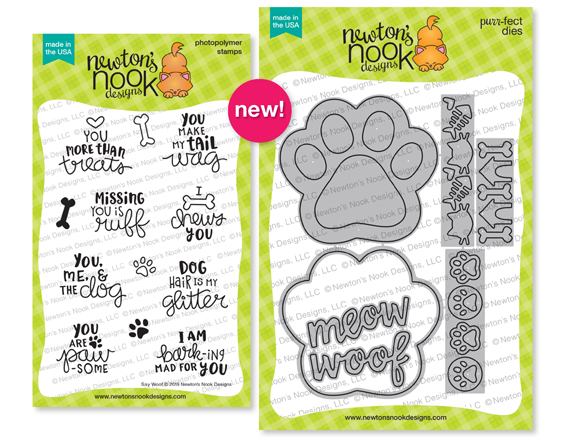
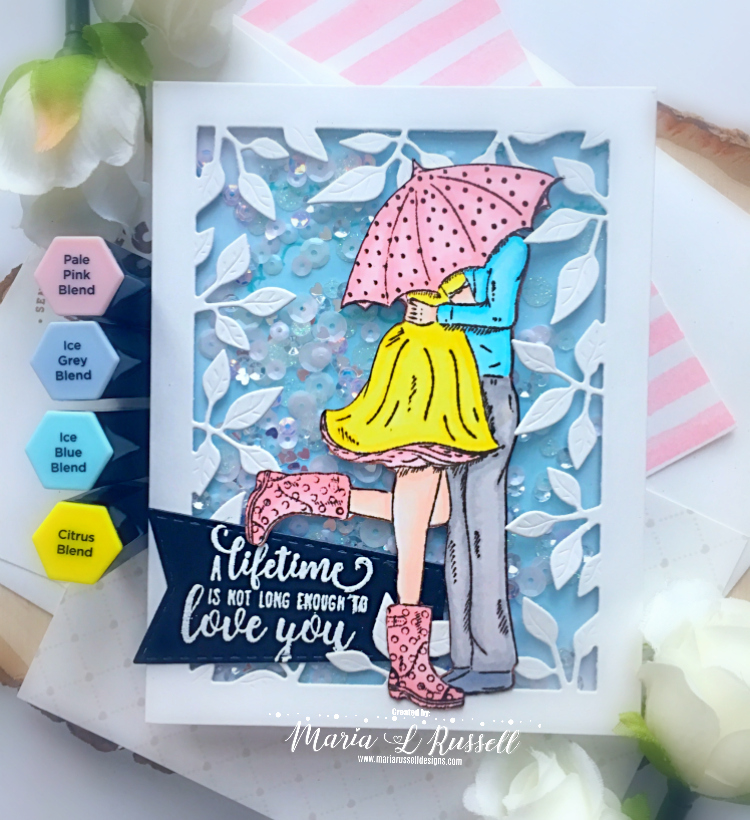
For today’s card, I am showcasing the Crafter’s Companion Spring is in the Air and Spring Sentiments stamp set, along with Spectrum Noir TriBlend markers and Finesse Alcohol Proof Dye in Rustic Brown.

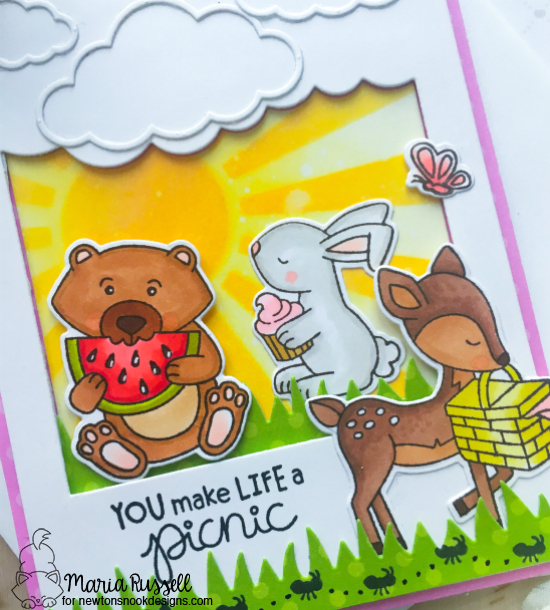
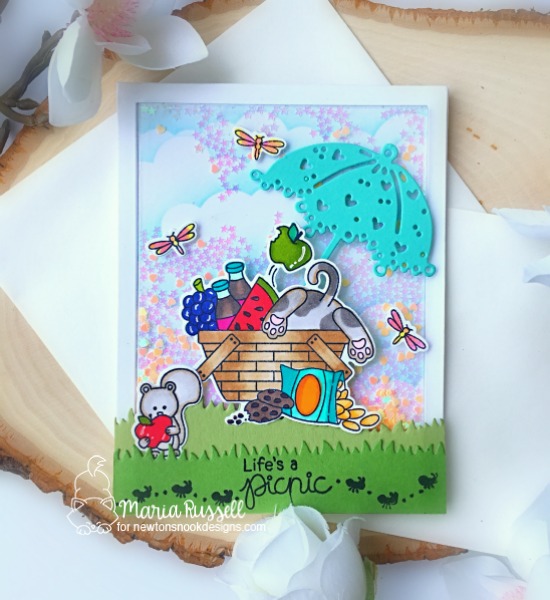
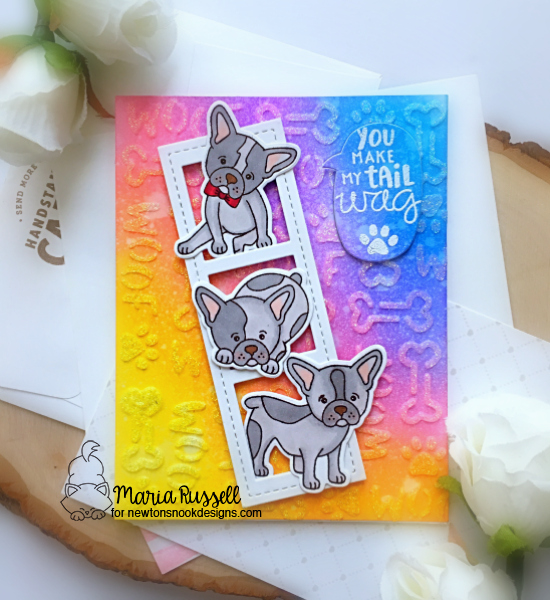
I started by stamping the image on some Spectrum Noir Ultra Smooth Premium White Card Stock with Finesse Alcohol Proof Dye ink in Rustic Brown.  I colored the image in with my Spectrum Noir TriBlend markers. The colors I used are shown in the photo below.

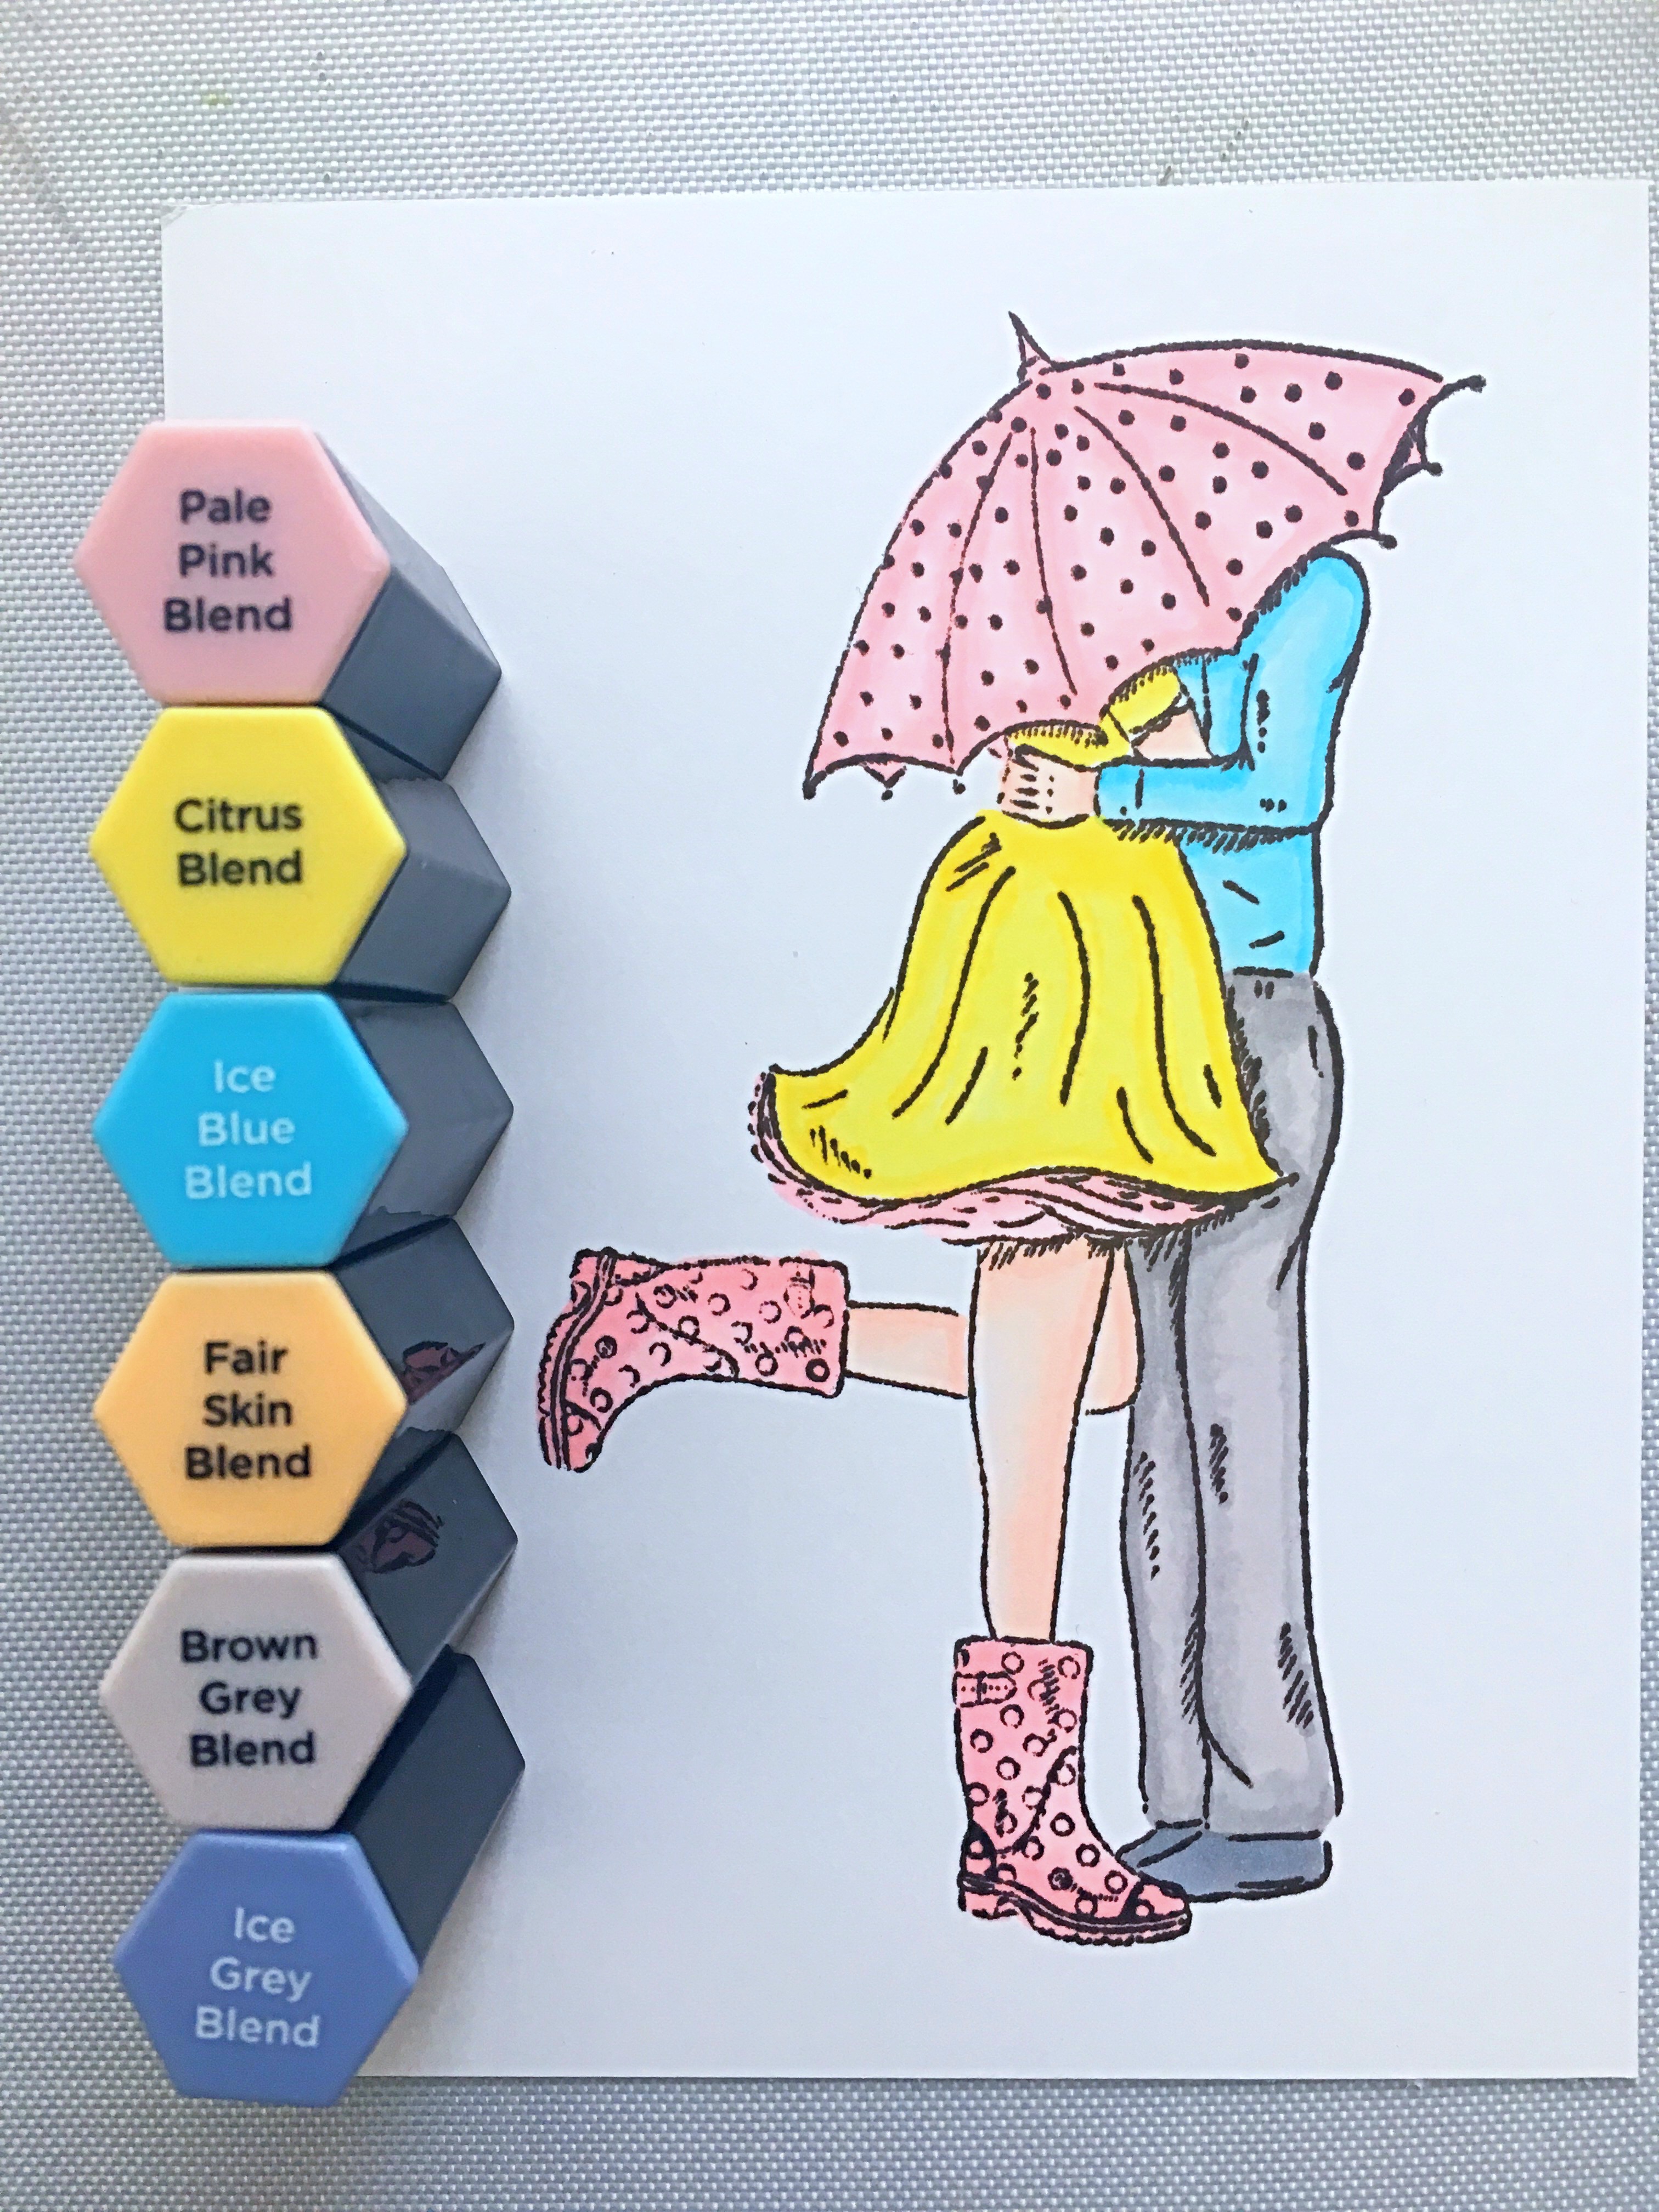
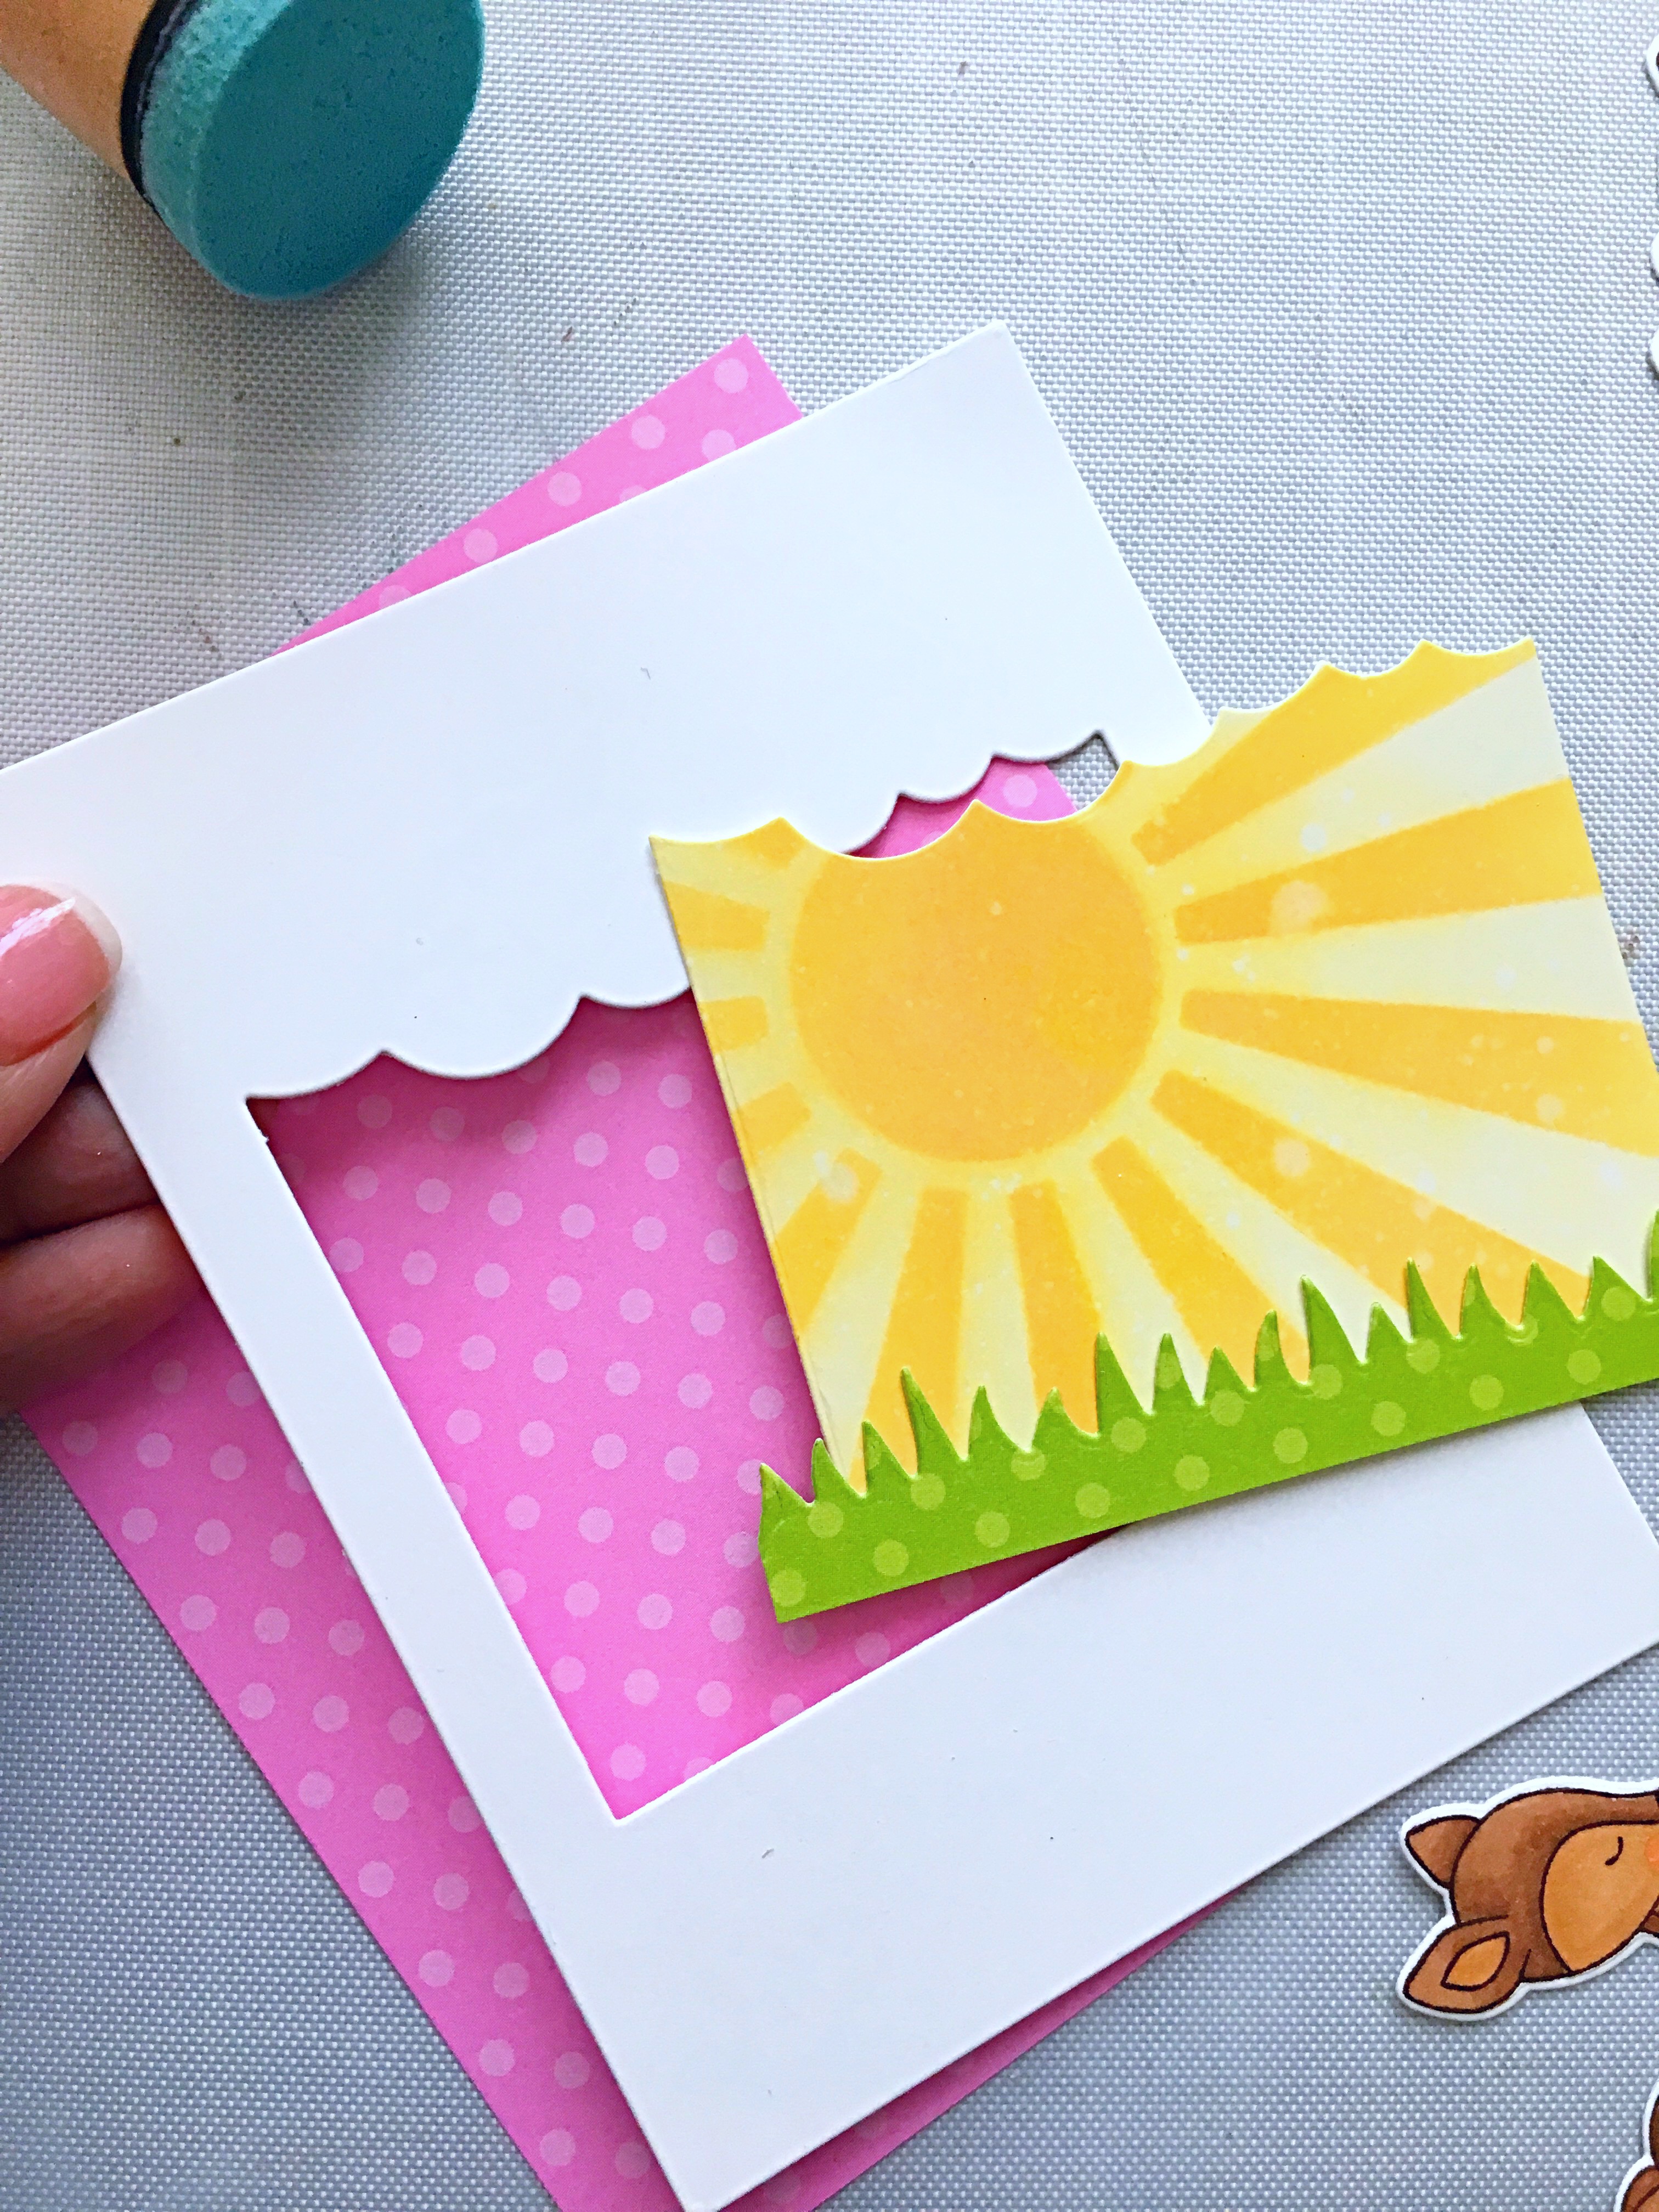
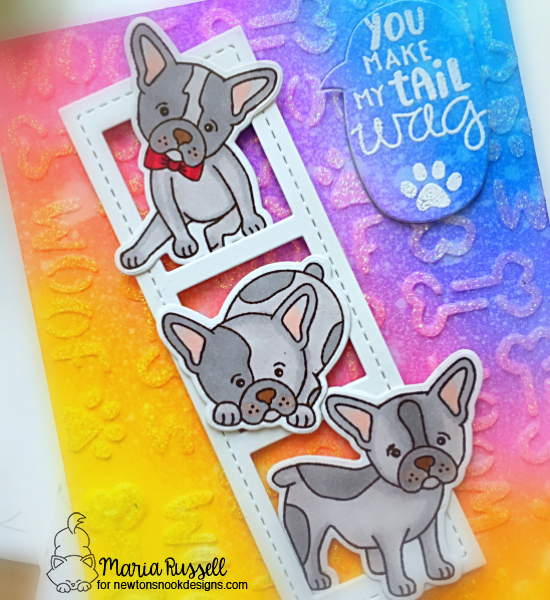
I ink-blended another piece of Ultra smooth white card stock with some ink from my stash and stamped the clouds from the Spring is in the Air stamp set.  I used the Fairytale Princess sequin mix as my shaker element.  I cut a piece of acetate sheet and used a Foliage Frame die  from my stash  to cut another 110 lb. white card stock.  I adhered both pieces on the colored background with foam adhesive.

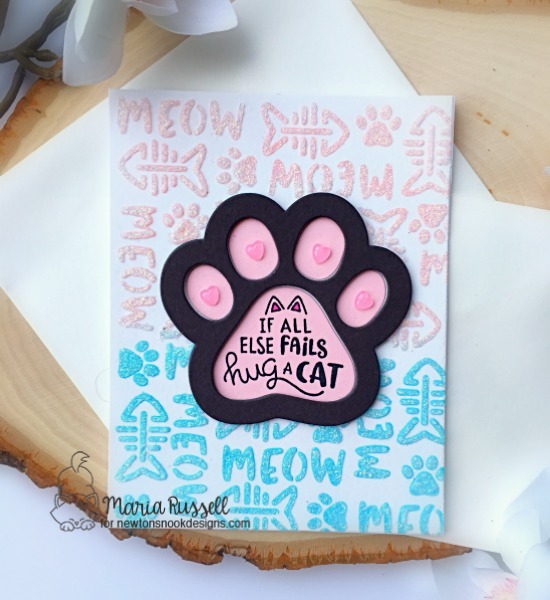
I stamped my sentiment onto a black card stock with Spectrum Noir watermark ink and sprinkled it with white embossing powder.  I used my heating tool to heat set it and used a banner die to cut it out.  I adhered the image and the sentiment on the card.

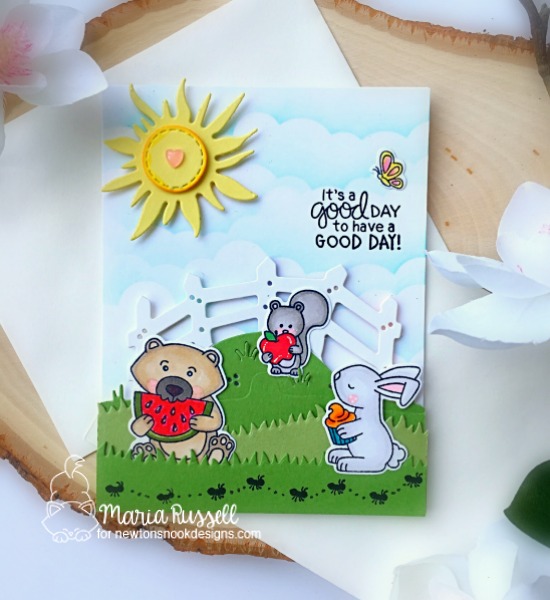
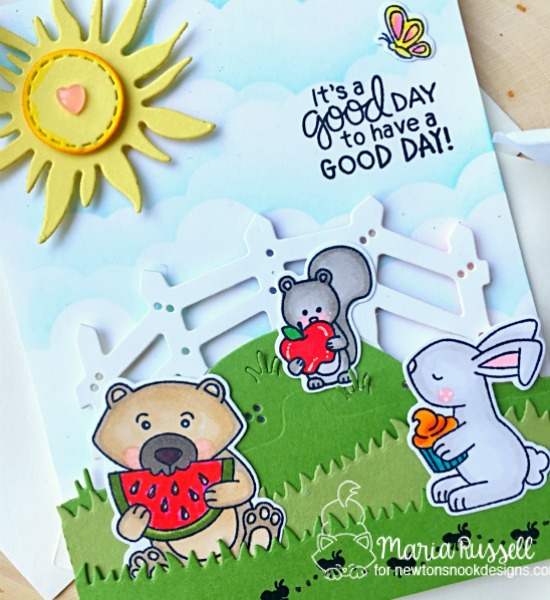
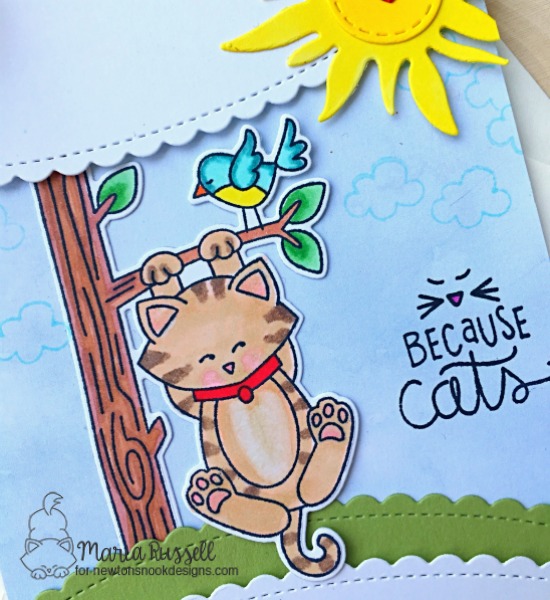
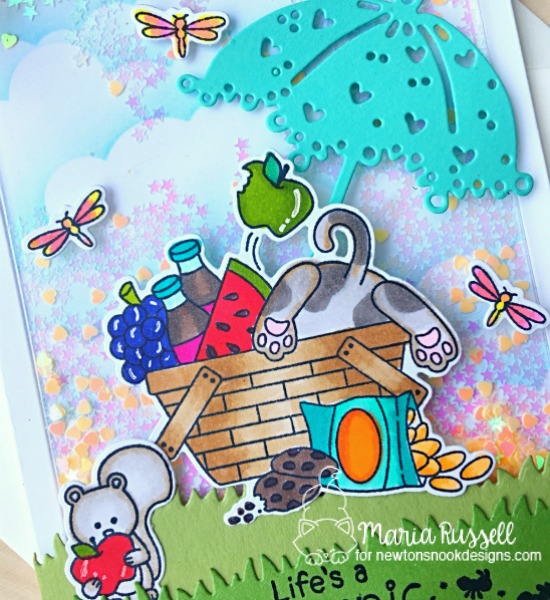
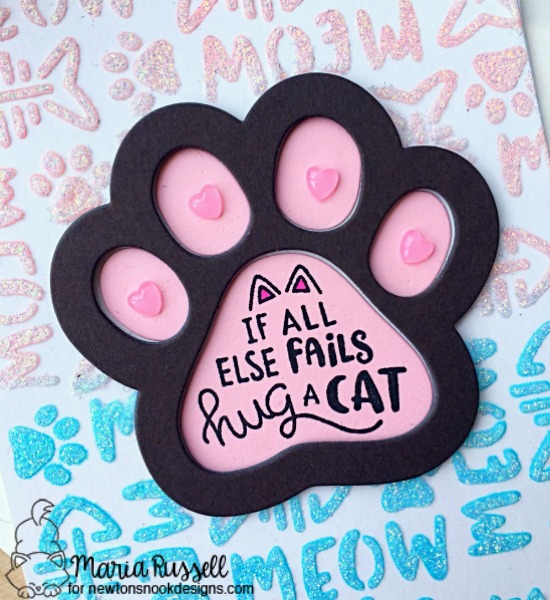
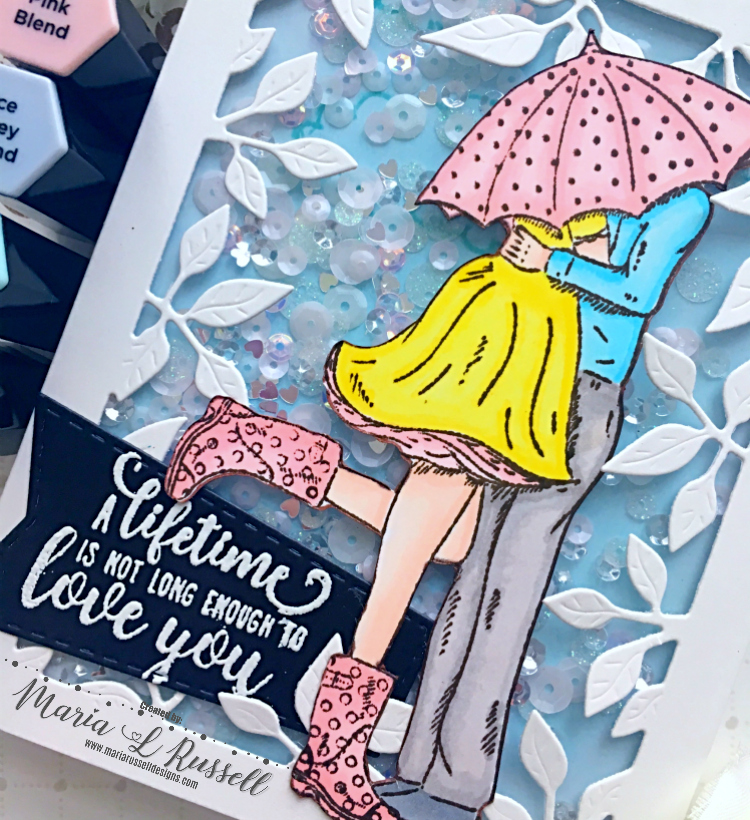
Words cannot even describe how much I love this card!  I think the Spring is in the Air and Spring Sentiments stamp sets are a definite must-have for any stamper/paper crafter.  You can use this for any occasion, not just for Spring.  Here’s a closer look:

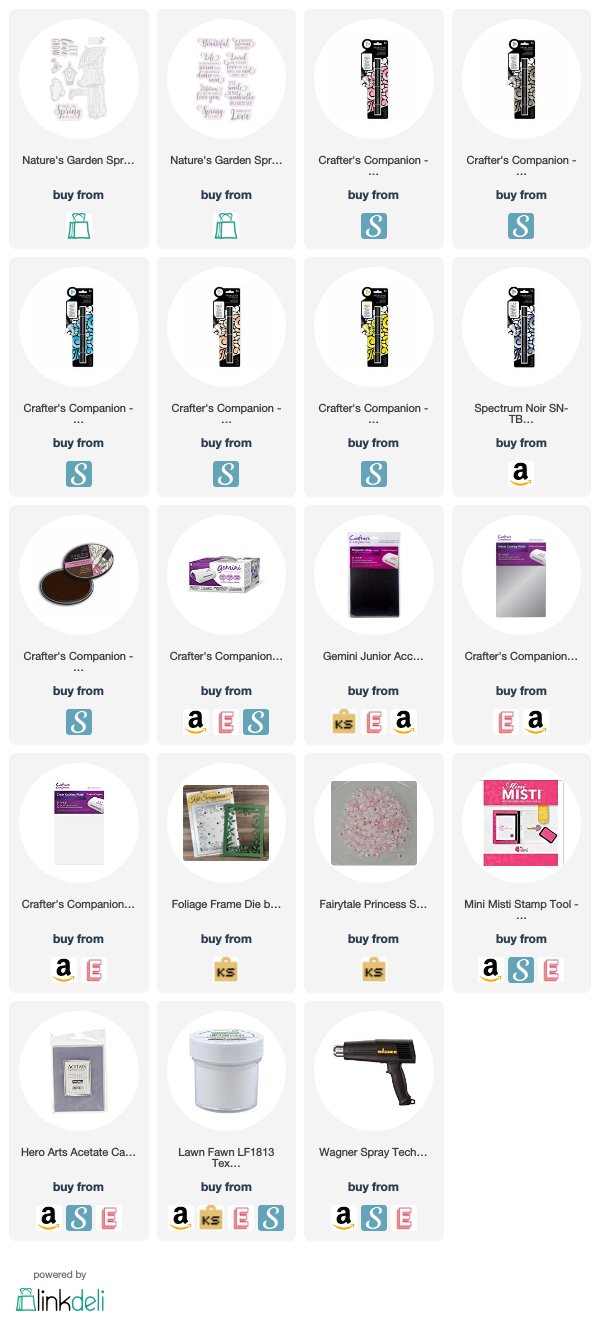
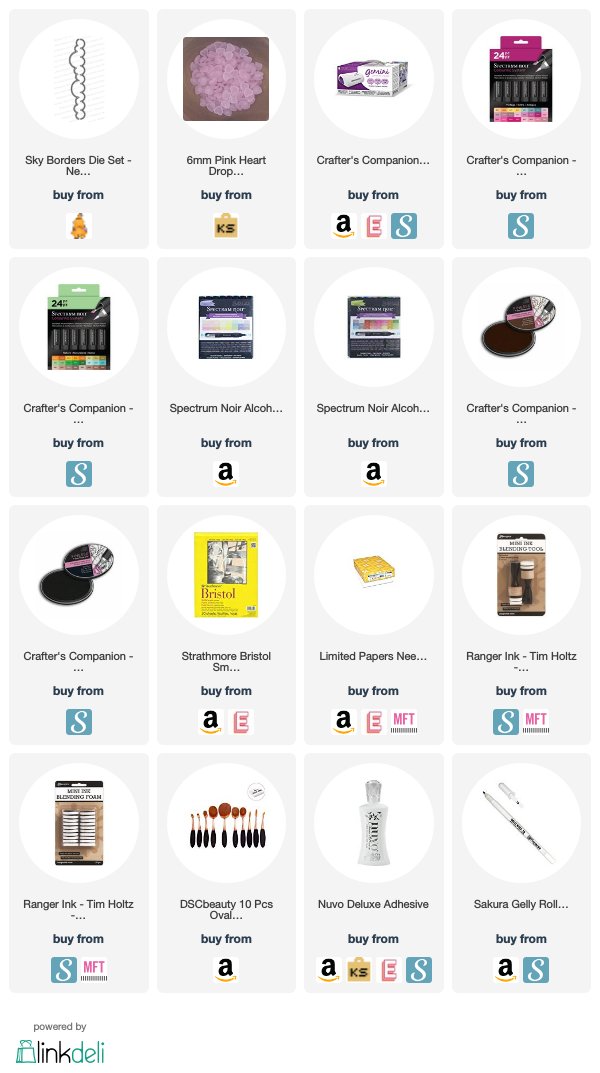
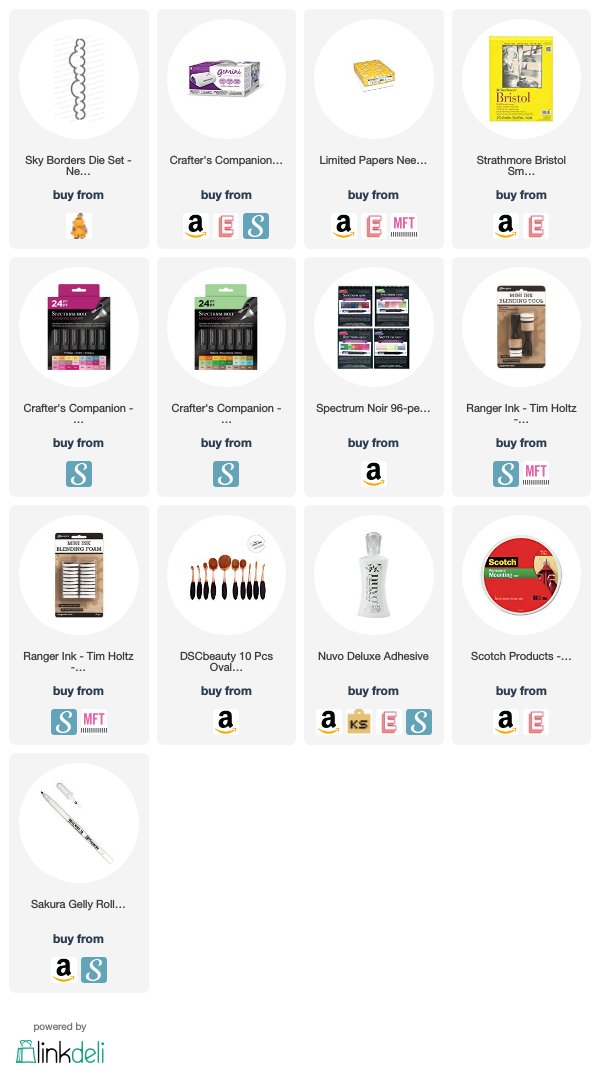
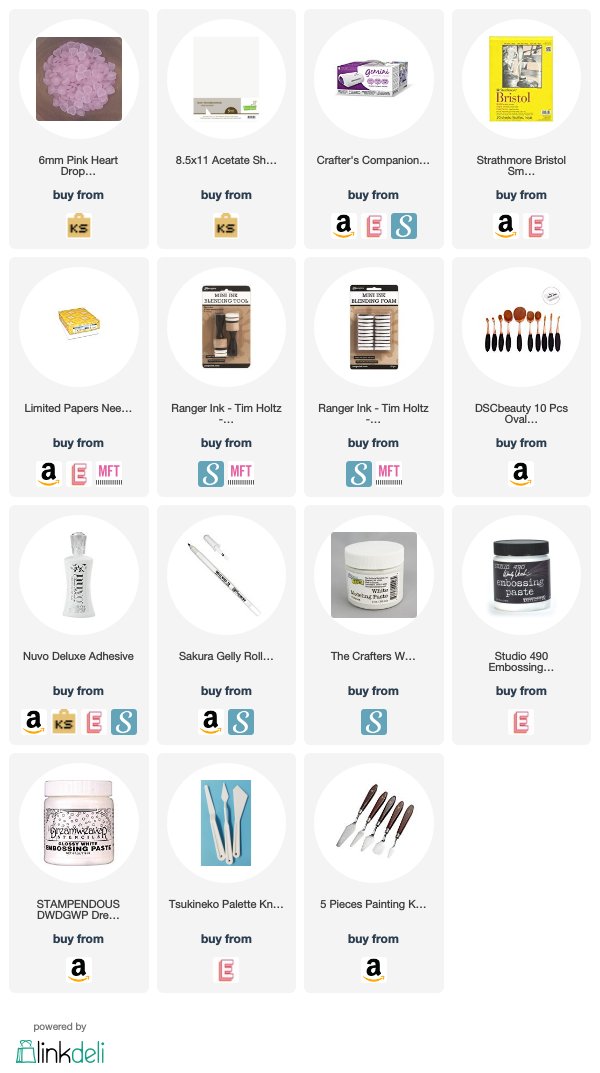
I hope you like my project today.  Please visit Crafter’s Companion to purchase the supplies I showcased today.  The rest of the supplies I used are listed and linked below.  Have a wonderful day and happy stamping!

————SUPPLIES———–

More Little Huggables with CAS-ual Fridays Stamps

Hello CAS-ual Fridays fans! It’s Maria back on the blog with you today with another card, showcasing the Little Huggables stamp set and Little Critter Fri-Dies.

Here’s my card:


I started with an A2 size Neenah solar white panel and used a circle die from my stash to die-cut the middle.

The inner circle was ink blended with distress oxide inks, using a clouds stencil for some pop of color.

I stamped and colored the images with alcohol markers. I used the coordinating dies to die-cut them all out.

I added some fun foam to the card panel for stability and adhered the little critters.  I glued this panel on my card base.

I positioned the sentiments on my acrylic block and stamped them under each little critter.  I also stamped the little paw prints using some ballet slippers ink.

I finished my design by using my black gel pen to add some interest and texture to their noses and eyes.  Here’s a closer look:

I hope you like my project today.  Please visit CAS-ual Fridays Stamps  to purchase the stamp and dies that I featured today.  Don’t forget to use my coupon code “MARIASENTME” for 15% off your order.  Happy stamping!

Newton’s Nook Inky Paws 100th Challenge

Hello Newton’s Nook fans! I’m back today with a project celebrating Newton’s Nook Designs Inky Paws Challenge #100! The rules for this challenge are, pick any of your favorite challenge or challenges from the previous Color, Sketch or Theme challenges and play it again!


It was quite challenging for me to pick a favorite but the one I’ve always wanted to try is Challenge # 34 – Summer Theme.  I used one of my favorite summer stamp set called Newton’s Summer Treats with its coordinating dies.  Ice cream is my favorite dessert and this stamp set is just adorable!


This was the challenge I chose, all you have to do is visit the Inky Paws Challenge page to choose your favorite and play along with us!  The challenge will run for two weeks from June 17-28, 2019.  You still have plenty of time to join.  For this special challenge, Newton’s Nook is hosting 4 link ups and will choose a random winner from each link up to win a $25 store credit (total of four winners!!!!)


Here’s what I made:


I started by stamping the images from the Newton’s Summer Treats stamp set and die-cut the same with its coordinating dies.


The background was ink-blended with Mermaid Lagoon, Picked Raspberry and Carved Pumpkin distress Oxide inks.  I used my distress sprayer to spray some water and dabbed it with some paper towel for added texture.


The palm tress and grass hills were die-cut from some dies from my stash.  I stamped the sentiment with versamark ink and sprinkled some white embossing powder and heat set with my heating tool.


I adhered the images on the front panel.  To finish my design, I used glossy accents and stardust stickles on the ice cream and popsicle for added dimension and interest.  Here’s a closer look:


Thank you for stopping by my blog today and I hope you like my project.  Have an amazing day and happy stamping!


You Make Life a Picnic with Newton’s Nook Designs

Hello my crafty peeps! I hope you are having a great week so far! I am back today with a summer-themed card showcasing the Woodland Picnic stamp set and coordinating dies, just released last week.  The stamp set and dies are now available for purchase at Newton’s Nook Designs .

Here’s my card:

I started with an A2 size Bristol smooth white card stock and used a die from my stash to die-cut the window.  I took the middle negative piece and the Sunscape Stencil to ink-blend the background with distress oxide inks.


I stamped the images on some Spectrum Noir Ultra Smooth Premium white card stock and colored the images in with my Spectrum Noir TriBlend markers.  I used the coordinating dies to die-cut the images.

The grass panels were die-cut using the Land Borders die set and some patterned paper.  The clouds were die-cut using some dies from my stash.

To finish my design, I stamped the tiny ants from the Newton’s Picnic stamp set on the grass panel and also stamped the sentiment with Versafine Onyx Black ink.  Here’s a closer look:

I absolutely ADORE the images on this stamp set, I can’t even pick a favorite.  This stamp set is so versatile you can use it for any season.

I hope you like my card today.  The supplies I used are listed and linked below.   Have a wonderful day and happy crafting!

————SUPPLIES—————


Newton’s Nook Designs June Release – Day 4 – Woodland Picnic

NNDJune19ReleaseIcon

I am always a bit bummed when it’s the last day of the month’s reveals by Newton’s Nook Designs.   Were you able to check out the first three days of the reveal?   Which one is your favorite so far?  You have a chance to win each stamp set during release week so check out the details I have indicated at the end of this blog post.  [Just a little important note:  I know some of you had difficulties finding the comments section.  If you would like to leave a comment to participate in the giveaway, the “comments section” will only be ever visible when a single post on Word Press is being viewed. Please click on this particular blog post and you will be able to leave a comment below.  Thank you!]  


For our projects today, the design team is showcasing the Woodland Picnic stamp set and coordinating dies.


Here’s my card:


The card front was ink blended with some distress oxide ink.  I adhered this piece on an A2 size, side-folding card base.


I stamped the critters on some Neenah solar white card stock and used the coordinating die to cut them out.  I also used some dies from my stash to cut the little bridge, the sun and the grass panels.  I adhered these pieces on the card front with some liquid and foam adhesives.


I finished my design by stamping the little ants and added black dots using my black gel pen for some added texture and interest.  I also added the 6 mm Pink Heart Droplets in the middle of the sun.  Here’s a closer look:


That’s it for this week.  I hope you like my projects for the June release.

Would you like to win the “Woodland Picnic” Stamp Set? This stamp set will be given away to ONE lucky winner!

Here’s how to win: 

Comment on the NND blog and Design Team blogs (see list below)! The winner will be chosen at random from the collective reveal posts. Make sure to check out each of their blogs and comment for your chance to win. You will not know which blog has been chosen so the more you comment on the better your chances are of winning! You have until Thursday June 13th at 9pm ET to comment  — winners will be announced on the blog post on Friday, June 14th.

Check out all the awesome Design Team Blogs below to enter:

Newton’s Nook Designs

Amanda Bodine

Holly Endress

Ellen Haxelmans

Larissa Heskett

Samantha Mann

Zsofia Molnar

Naki Rager

Maria Russell (you are here)

Andrea Shell

Tatiana Trafimovich

————SUPPLIES—————


Newton’s Nook Designs June Release – Day 3 – Newton Hangs Out & Newton’s Picnic

NNDJune19ReleaseIcon

It is the third day of the June reveals by Newton’s Nook Designs.   I hope you were able to check out Monday and Tuesday’s reveals.  You also have a chance to win each stamp set during release week so check out the details I have indicated at the end of this blog post.  [Just a little important note:  I know some of you had difficulties finding the comments section.  If you would like to leave a comment to participate in the giveaway, the “comments section” will only be ever visible when a single post on Word Press is being viewed. Please click on this particular blog post and you will be able to leave a comment below.  Thank you!]  

For our projects today, the design team is showcasing the Newton Hangs Out stamp set and coordinating dies and the Newton’s Picnic stamp set and coordinating dies.

NNDJUNE19_NewtonHangsOut

NND_UNE19_NewtonsPicnic

Here’s my first card:

NNDNewtonHangsOut1A

I started with an A2 size watercolor patterned paper and used the small cloud image from the Newton Hangs Out stamp set and stamped it all over the paper.  I adhered this piece onto an A2 size side-fold card base.

I stamped the image on some Neenah solar white card stock and used the coordinating die to cut it out.  I also used some dies from my stash to cut the scalloped border and the sun.  I adhered these pieces on the card front with some liquid and foam adhesives.

To finish my design, I added the heart sequin in the middle of the sun and used one of my favorite sentiments from the Cat-itude stamp set (revealed on Monday).  Here’s a closer look:

NNDNewtonHangsOut1B

I created a fun shaker card for my next project, using the Newton’s Picnic stamp set.  To begin, I stamped the image on Neenah solar white and colored him in with my Spectrum Noir alcohol markers.  I die-cut the image using the coordinating die.

The front panel was ink blended with distress oxide ink and I used the clouds border die to create my own stencil.  I adhered this piece on an A2 size card base.

The white border frame was die-cut using a die from my stash.  I add

NNDNewtonsPicnic1A

Here’s a closer look:

NNDNewtonsPicnic1B

Would you like to win the “Newton Hangs Out” or the “Newton’s Picnic” Stamp Set? We will choose ONE lucky winner for each stamp set!

Here’s how to win: 

Comment on the NND blog and Design Team blogs (see list below)! The winner will be chosen at random from the collective reveal posts. Make sure to check out each of their blogs and comment for your chance to win. You will not know which blog has been chosen so the more you comment on the better your chances are of winning! You have until Thursday June 13th at 9pm ET to comment  — winners will be announced on the blog post on Friday, June 14th.

Check out all the awesome Design Team Blogs below to enter:

Newton’s Nook Designs

Amanda Bodine

Holly Endress

Ellen Haxelmans

Larissa Heskett

Samantha Mann

Zsofia Molnar

Naki Rager

Maria Russell (you are here)

Andrea Shell

Tatiana Trafimovich

————SUPPLIES—————


Newton’s Nook Designs June Release – Day 2 – Say Woof Stamp Set & Woof Stencil

It is the second day of the June reveals by Newton’s Nook Designs.   I hope you were able to check out yesterday’s reveal.  You also have a chance to win each stamp set during release week so check out the details I have indicated at the end of this blog post.  [Just a little important note:  I know some of you had difficulties finding the comments section.  If you would like to leave a comment to participate in the giveaway, the “comments section” will only be ever visible when a single post on Word Press is being viewed. Please click on this particular blog post and you will be able to leave a comment below.  Thank you!]  

For our projects today, the design team is showcasing the Say Woof stamp set and the Woof Stencil:

Here’s my card:

I started with an A2-size Bristol smooth panel and ink blended this using my blending tools and distress oxide inks.  I sprayed the panel with some water and dabbed it with some paper towel to get the distress look.  I used the speech bubble die to die-cut the panel and stamped this piece with some Versamark ink and sprinkled white embossing powder, then heat-set with my heating tool.  To add more texture and interest, I used the Woof stencil and Moonstone glimmer paste.

The film strip was die-cut 3 times and I adhered them together to add some dimension.  I stamped and colored the dogs from the Fabulous Frenchies stamp set and used the coordinating dies to cut them out.

To assemble the card, I adhered the front panel to a side-fold card base, then added the film strip with some liquid adhesive.  The dogs were adhered using foam adhesive.  Lastly, I added the speech bubble with some foam tape to make it stand out.

Here’s a closer look:

I made another card using the Say Woof stamp set and the Woof stencil.  Here’s what it looks like:

Don’t you just love the sentiment on this card?!  I know all dog-lovers will agree that “dog hair” is our glitter, haha!  This stamp set is another must-have!

Would you like to win the “Say Woof” Stamp Set?  This stamp set will be given away to ONE lucky winner!

Here’s how to win: 

Comment on the NND blog and Design Team blogs (see list below)! The winner will be chosen at random from the collective reveal posts. Make sure to check out each of their blogs and comment for your chance to win. You will not know which blog has been chosen so the more you comment on the better your chances are of winning! You have until Thursday June 13th at 9pm ET to comment  — winners will be announced on the blog post on Friday, June 14th.

Check out all the awesome Design Team Blogs below to enter:

Newton’s Nook Designs

Amanda Bodine

Holly Endress

Ellen Haxelmans

Larissa Heskett

Samantha Mann

Zsofia Molnar

Naki Rager

Maria Russell (you are here)

Andrea Shell

Tatiana Trafimovich

————SUPPLIES—————


Newton’s Nook Designs June Release – Day 1 – Cat-itude, Paw Print Shaker Die and Meow Stencil

It is that time of the month where the entire design team get so excited to show off the new stamps, dies and stencils by Newton’s Nook Designs.   You also have a chance to win a stamp set for each reveal day so please read through til the end of the blog post to find out more info.  [Just a little important note:  I know some of you had difficulties finding the comments section.  If you would like to leave a comment to participate in the giveaway, the “comments section” will only be ever visible when a single post on Word Press is being viewed. Please click on this particular blog post and you will be able to leave a comment below.  Thank you!]  

For the first day of the reveals, we are showcasing Cat-itude Stamp Set, Paw Print Shaker Dies and the MEOW Stencil:

Cat-itude Stamp Set with paw Print Shaker Die

Here is my card:

I started out with an A2 size panel of Bristol smooth white card stock and ink blended some distress oxide inks.  I used the MEOW stencil and white embossing paste to add some texture to the card.


I used the Paw Print Shaker Die to die-cut some card stock, patterned paper and acetate sheet.  I assembled the shaker by adding some foam adhesive and used some pink sequins as my shaker element.  I adhered this piece onto my ink-blended panel.  To finish my design, I die-cut the word “meow” using the die from the Paw Print Shaker set on some glittered card stock and adhered this piece on top of the Paw Print shaker piece.  Here’s a closer look:


For my second card, I did most of the steps mentioned above but used Moonstone glimmer paste to add some texture.  I die-cut the Paw Print shaker with some colored card stock and stamped the sentiment using the Cat-itude stamp set.  This stamp set is a must-have for any cat-lovers!


To finish my design, I added some 6 mm Pink Heart Droplets by Kat Scrappiness.  Don’t  you just love the sentiments on this stamp set?  Here’s a closer look:


Would you like to win the “Cat-itude” Stamp Set?  This stamp set will be given away to ONE lucky winner!

Here’s how to win: 

Comment on the NND blog and Design Team blogs (see list below)! The winner will be chosen at random from the collective reveal posts. Make sure to check out each of their blogs and comment for your chance to win. You will not know which blog has been chosen so the more you comment on the better your chances are of winning! You have until Thursday June 13th at 9pm ET to comment  — winners will be announced on the blog post on Friday, June 14th.

Check out all the awesome Design Team Blogs below to enter:

Newton’s Nook Designs

Amanda Bodine

Holly Endress

Ellen Haxelmans

Larissa Heskett

Samantha Mann

Zsofia Molnar

Naki Rager

Maria Russell (you are here)

Andrea Shell

Tatiana Trafimovich

————SUPPLIES—————


Take Life One Sip at a Time

Hello The Rabbit Hole Designs fans!  Maria here with you and it’s my day to take over the TRHD blog.   For today’s project, I am showcasing the Caffeinated Rabbit and the Perfectly Blended stamp set.

I have a cute and simple card for you today with one of my favorite caffeinated creature.

Here’s how I made the card:

  • stamp the rabbit image on smooth white card stock and color the images in with alcohol markers (or any medium of your choice).
  • die-cut the image with an electronic die-cutting machine or fussy cut with scissors.  I used my Brother Scan N Cut 2.
  • cut an A2 size piece of smooth white card stock and use the solar burst stencil and a blending brush with Tattered Rose distress oxide ink and antique linen to add color to the background.
  • use the “hello” die to die-cut the word from the background.
  • adhere some fun foam to the back of the card stock and adhere this piece onto a chocolate brown card base.
  • line up the negative pieces of the die-cut and adhere using liquid glue.
  • adhere the bunny on top of the “hello” using liquid glue.
  • finish the design by adding the sentiment from the Perfectly Blended stamp set.

Here’s a closer look:

Another simple card but I really love how it turned out.  If you are looking for further details about my project including supplies used, I would be so grateful if you can stop by my blog today at:

I hope you like my card and got inspired.  Have an amazing day and happy crafting!

For more inspiration, updates, and news make sure to check out these places.


————SUPPLIES————–