I get super excited each month as we start our reveals of the new stamp set and dies by Newton’s Nook Designs. You also have a chance to win each stamp set during release week so check out the details I have indicated at the end of this blog post. [Just a little important note: I know some of you had difficulties finding the comments section. If you would like to leave a comment to participate in the giveaway, the “comments section” will only be ever visible when a single post on Word Press is being viewed. Please click on this particular blog post and you will be able to leave a comment below. Thank you!]
For our first reveal day, the design team is showcasing the Blooming Botanicals stamp set and the Framework Die Set. I know this sounds so redundant but you are going to love the new stamps and dies this month. The new Framework die set is a must-have! It is a combination of postage, scallop and stitched dies and you can use them in different projects.

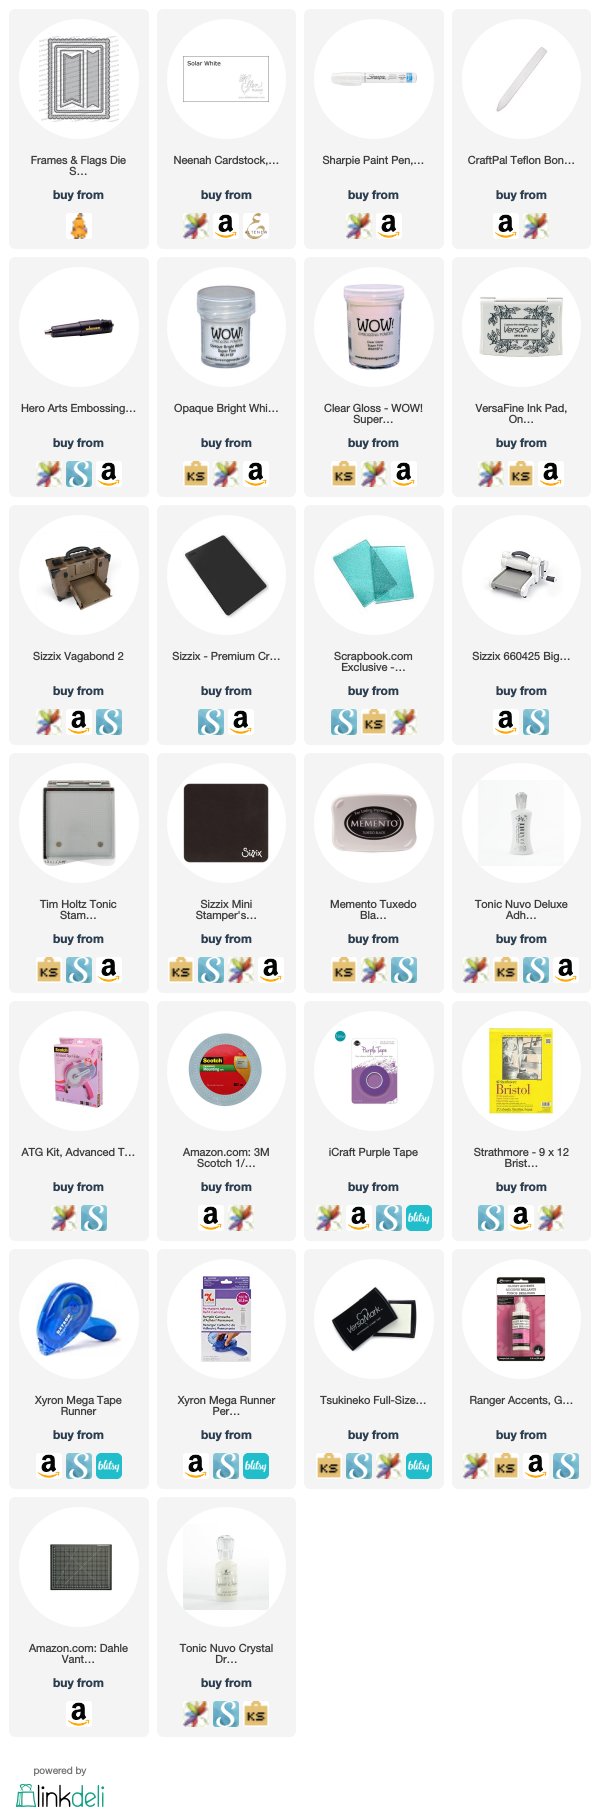
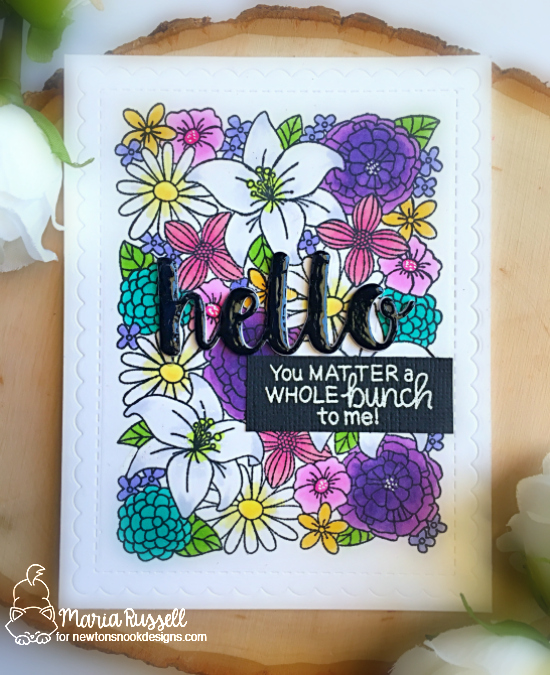
For my first card, I stamped the images onto Neenah solar white card stock with my Tim Holtz stamp platform and memento tuxedo black ink. I colored the images in with my Copic markers.
I wanted to get an embossed impression on my foreground so I decided to use my Sizzix Premium Crease Pad and the scallop die from the Frames and Flags die set. I ran it through my die-cutting machine. I have really been loving the dry-embossed look lately so you will be seeing a lot of these on my projects this week.

At first, I was also going to do a “ghost” sentiment on my card. I die-cut the colored panel with a Hello die from my stash.

As you can see from the above photo, it didn’t really stand out as much even with the added dimension using foam tape so I die-cut another piece of the script sentiment on black card stock. I also heat-embossed the sentiment onto another piece of black card stock. To finish my design, I added some morning dew crystal drops on the “hello” sentiment.

Here’s my first card:
Here’s another look:

For my second card, I wanted to color the flowers on dark card stock using my Prisma color pencils. I stamped the image with my VersaMark ink on Dark gray card stock and heat-embossed it with my white embossing powder. I used my colored pencils to color them in.

I used the Postage die from the new Framework die set and ran it through my die-cutting machine with my Sizzix Premium Crease Pad to create the impression. To finish the design, I die-cut another piece of black card stock with the ticket stub die, included in the Framework die set, and heat-embossed the sentiment. Here’s the second card:

Here’s another look:

I am not sure if I like the second card but I’ve always wanted to try coloring on dark card stock with my color pencils. Even though I prefer my first card, I also like how this one turned out.
Would you like to win the “Blooming Botanicals” Stamp Set? This stamp set will be given away to ONE lucky winner!
Here’s how to win:
Comment on the NND blog and Design Team blogs (see list below)! The winner will be chosen at random from the collective reveal posts. Make sure to check out each of their blogs and comment for your chance to win. You will not know which blog has been chosen so the more you comment on the better your chances are of winning! You have until Thursday May 17th at 9pm EST to comment — winners will be announced on the blog post on Friday, May 28th.
Check out all the awesome Design Team Blogs below to enter:
———-SUPPLIES———-