Catherine Pooler and Cas-ual Fridays Collaboration Weekend


Hello and welcome to the Catherine Pooler and CAS-ual Fridays Collaboration weekend!  I am so pleased to participate in this amazing blog hop!  Both companies are giving away a $30 Gift Certificate to the shop and the winners will be announced on each company’s blog post on Tuesday, September 29th.


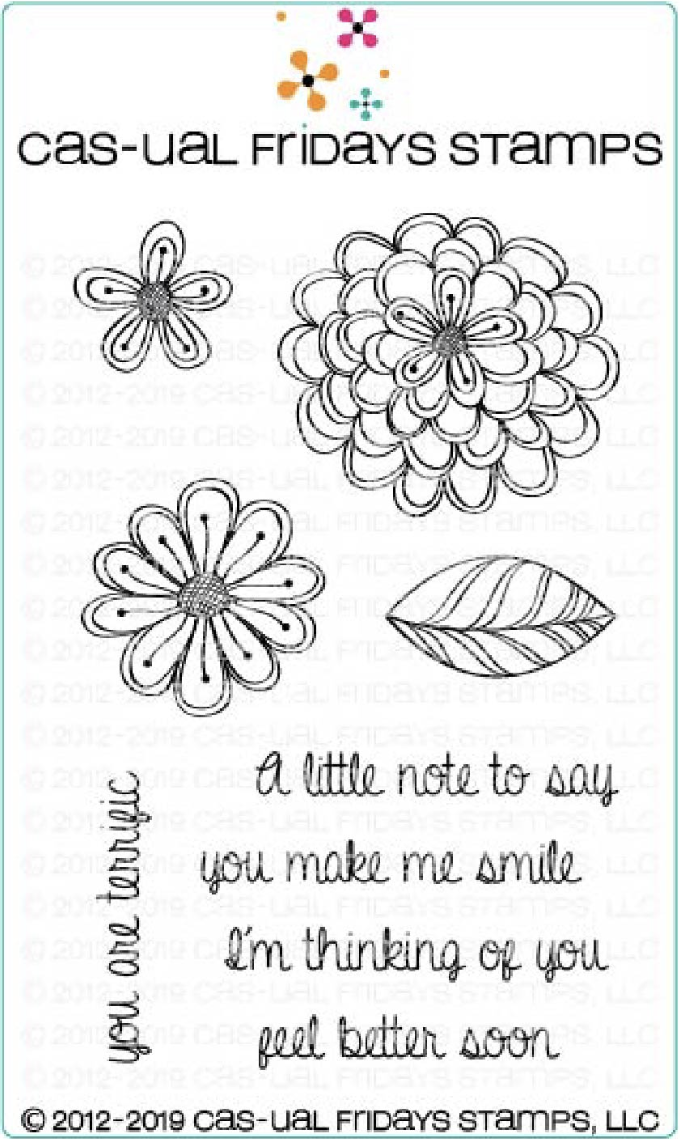
For this hop, I am showcasing the Happy Birthday stamp set and SweetFriend Fri-dies by Cas-ual Fridays, along with the AMAZING CP Minis – Carnivale Collection,  CP Off The Loom Stencil, Oval Balloon StencilCP Minis – Life of the Party and CP mini ink in Midnight.


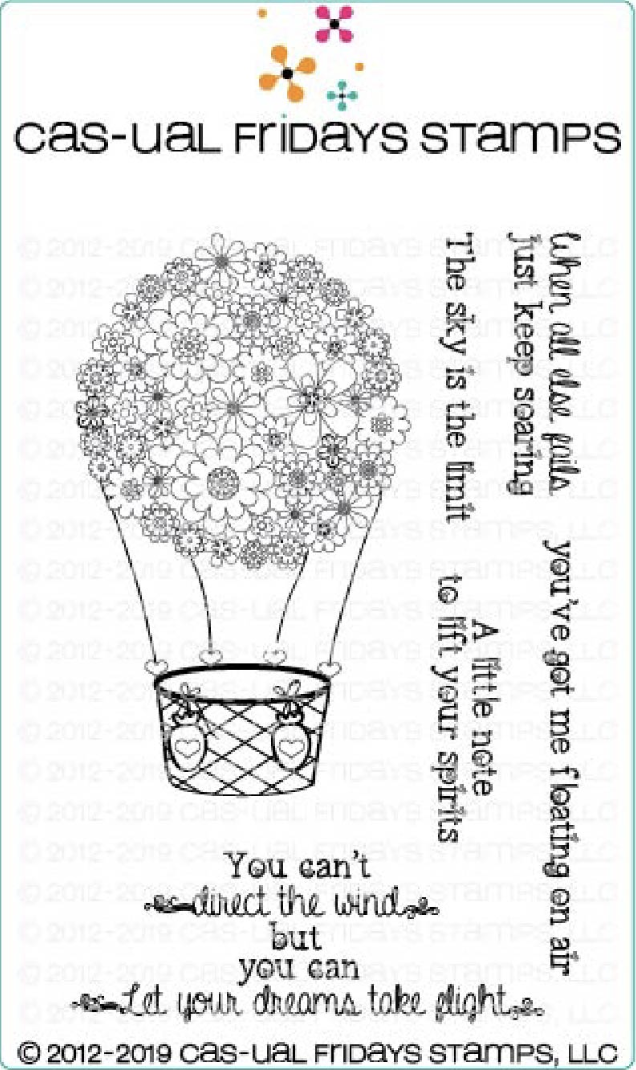
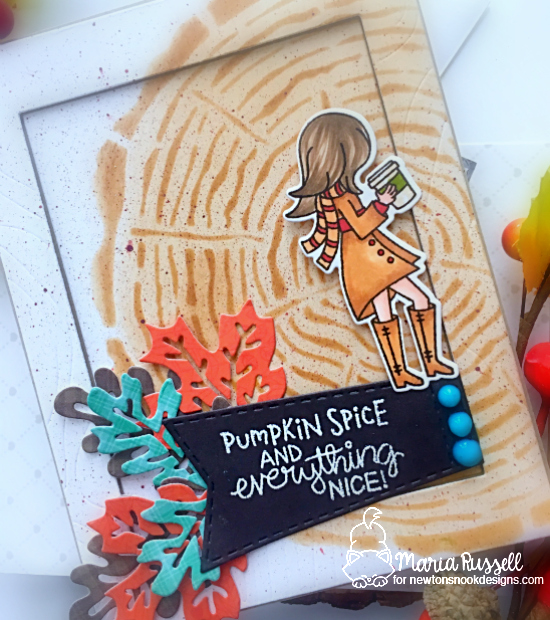
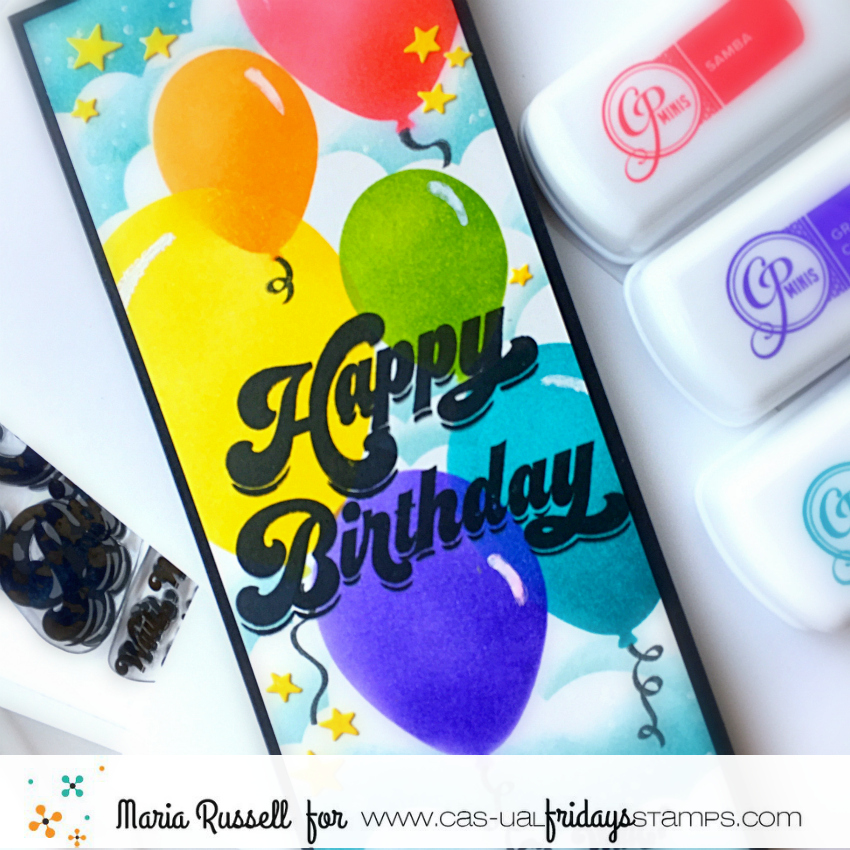
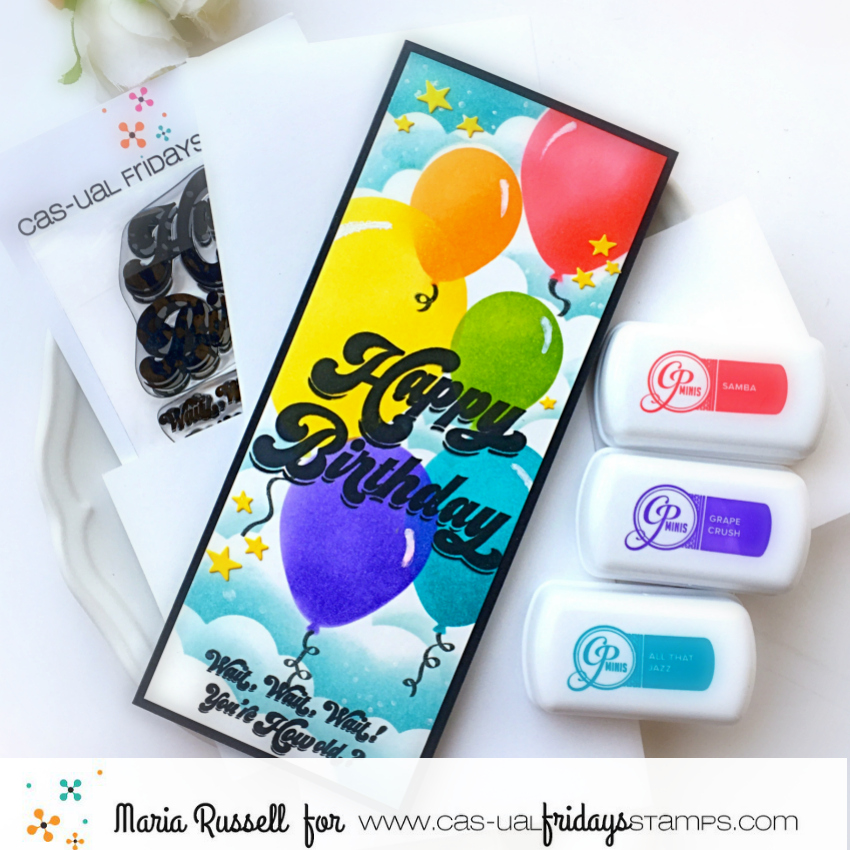
For my first card, I started by using the CP Oval Balloon stencil and inked up the balloons using CP Mini inks in Samba, Tiara, Lime Rickey, Grape Crush and All that Jazz.  I also used a stencil from my collection to add the clouds with All That Jazz ink. 


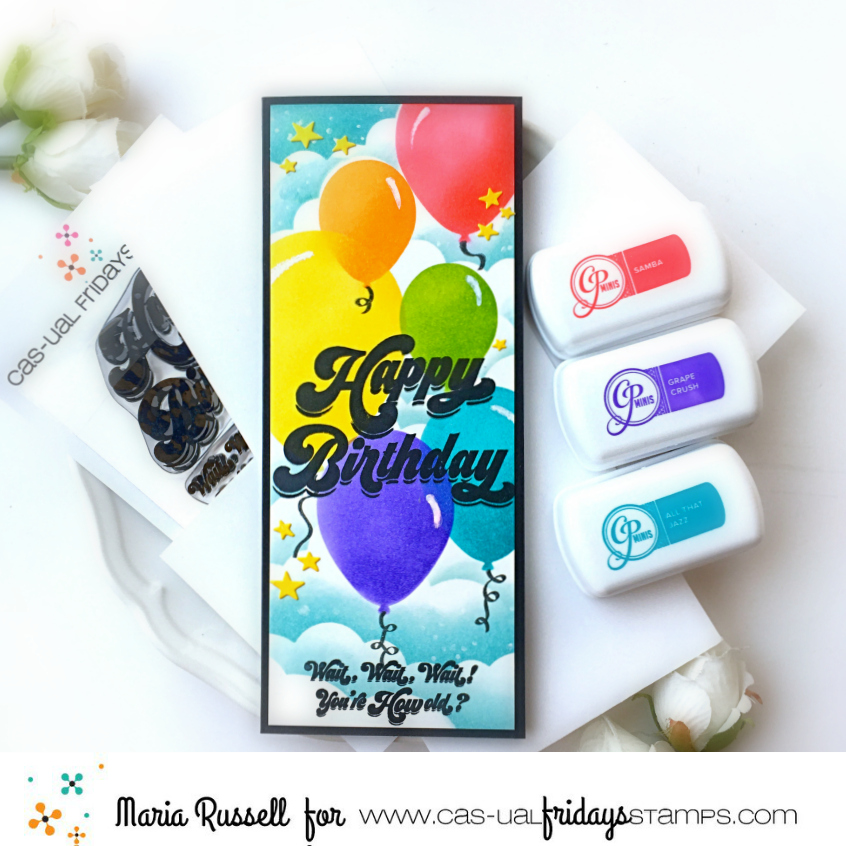
The balloon strings and the sentiment from the CFS Happy Birthday stamp set were stamped using the CP mini ink in Midnight.   I used my white gel pen to add more texture to the balloons.


To finish my design, I die-cut some yellow stars using a die from my collection.  Here’s another look:


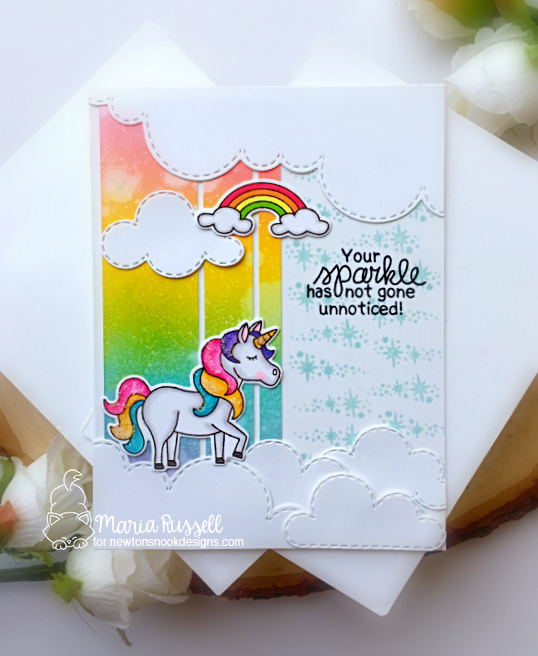
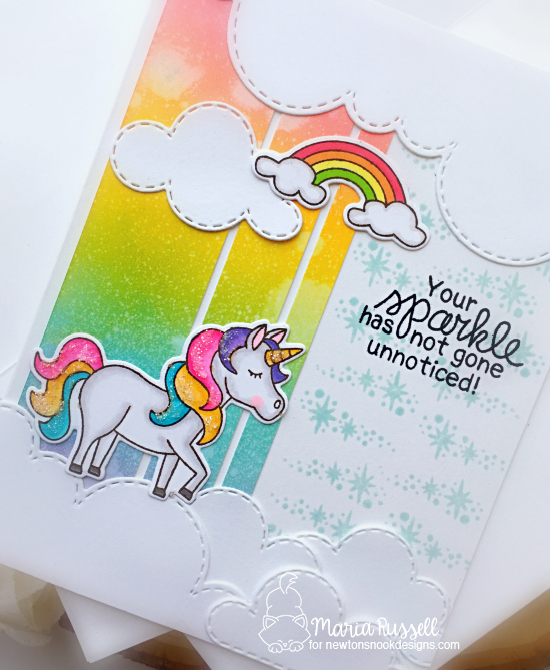
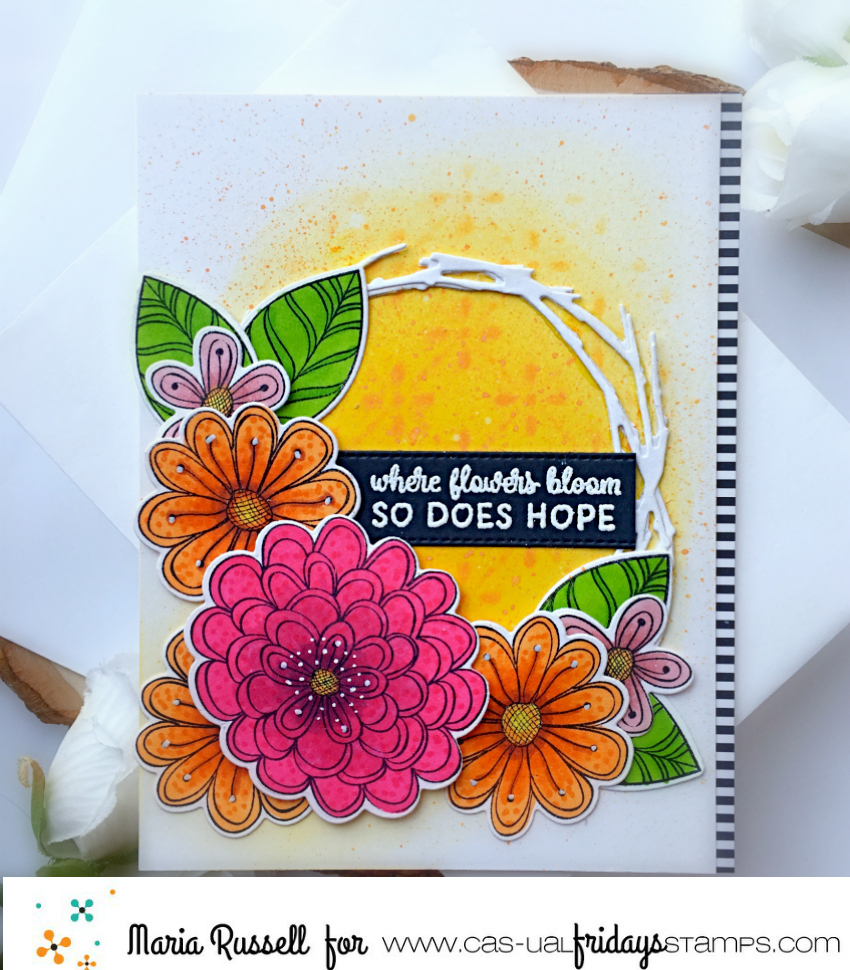
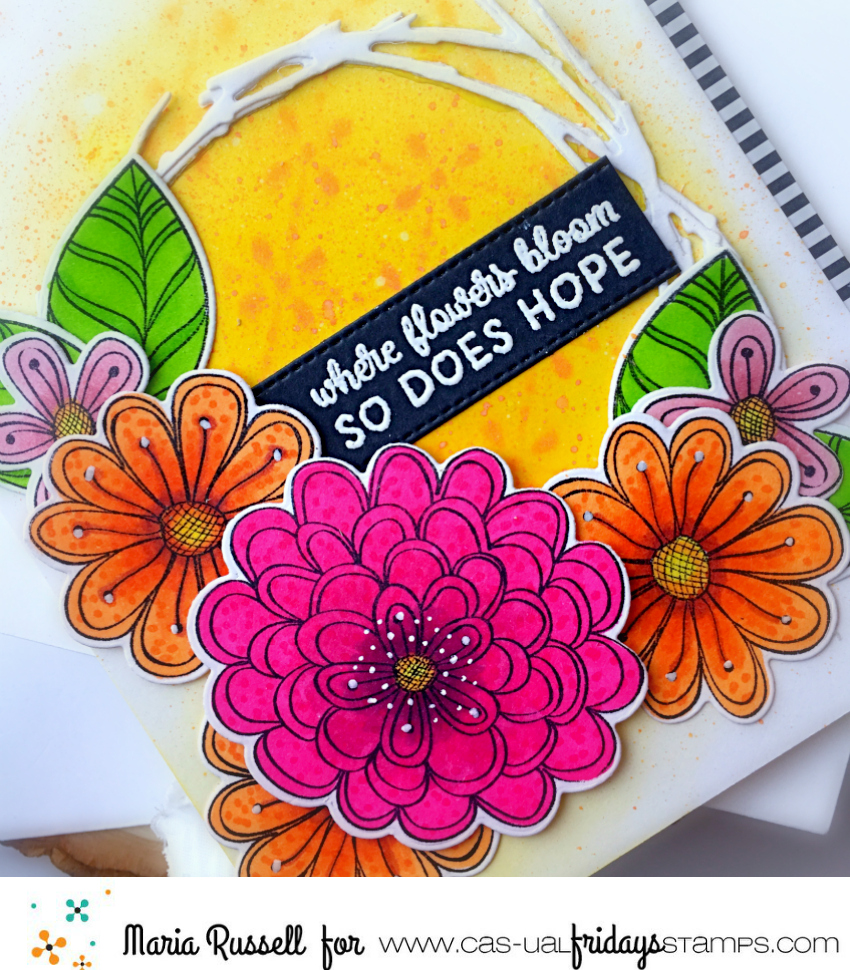
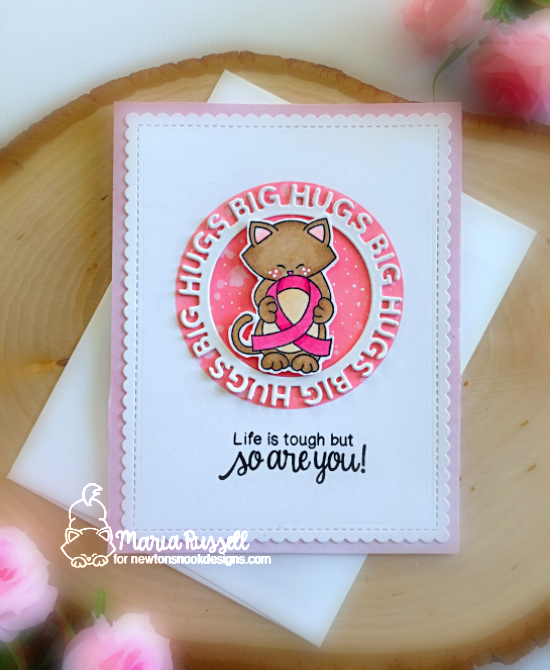
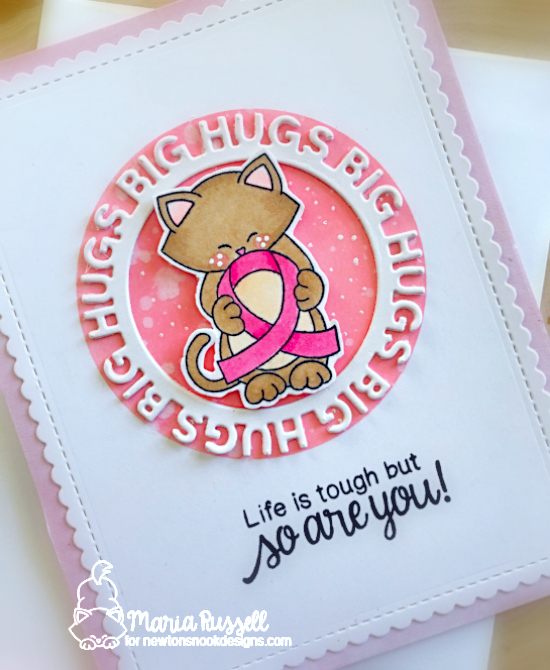
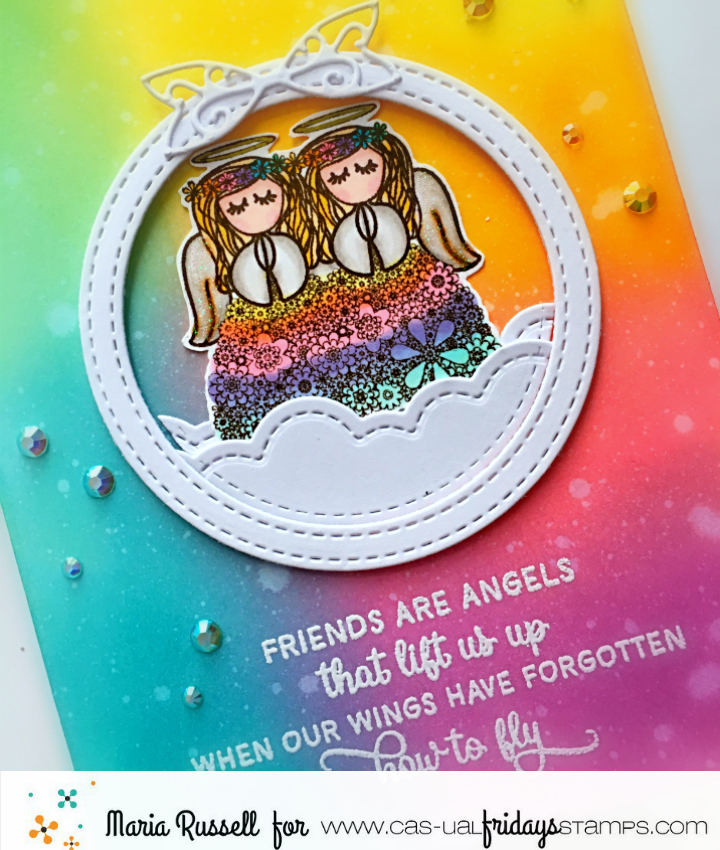
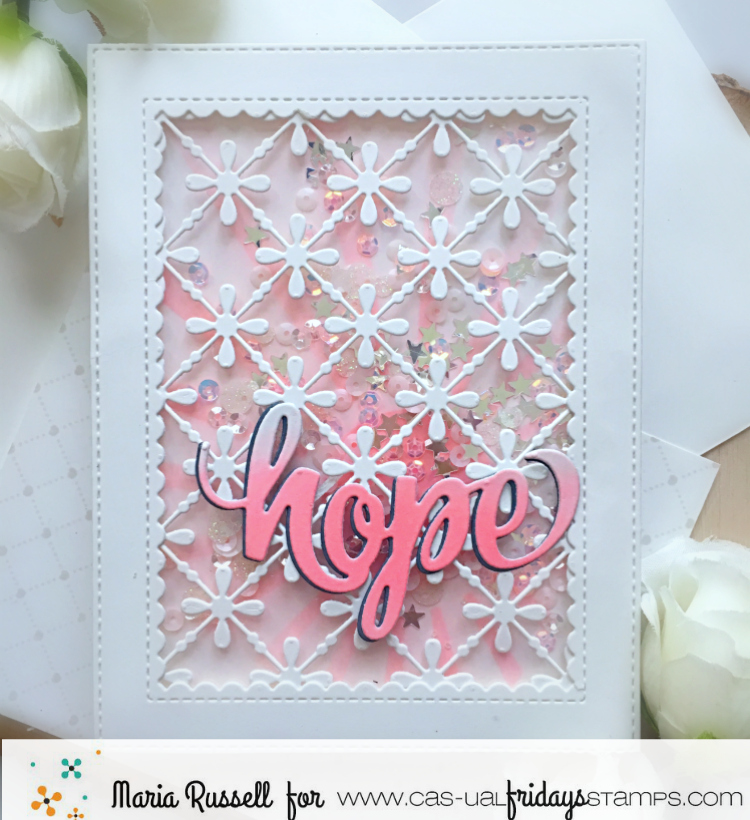
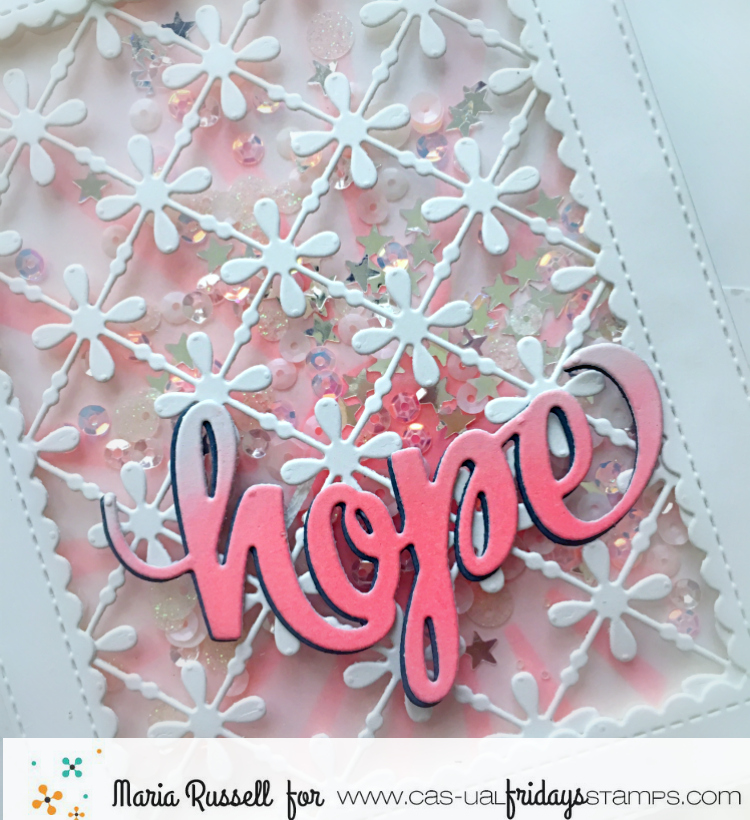
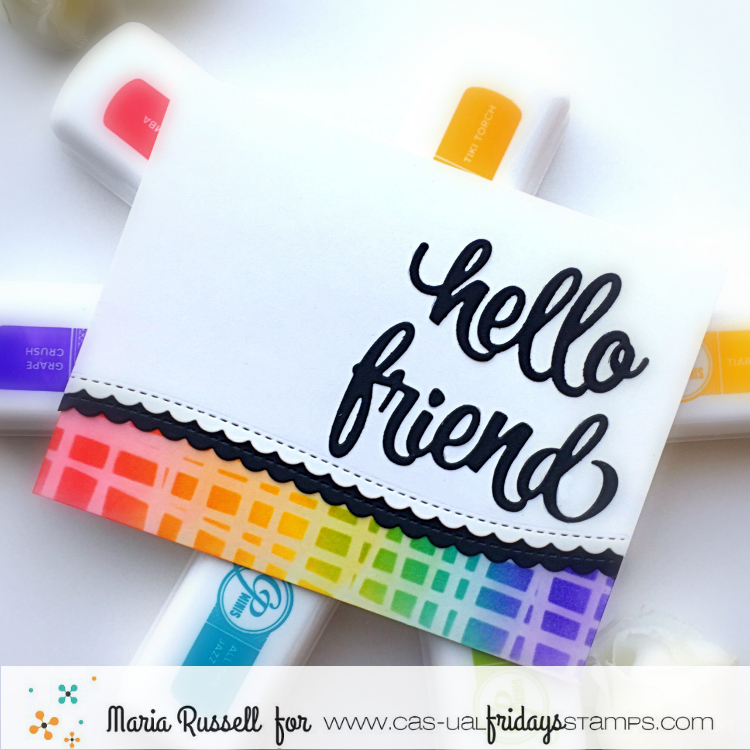
For my second card, I inked up an A-2 size panel of Bristol smooth white card stock using the CP Off the Loom Stencil and CP Mini inks in Samba, Tiara, Lime Rickey, Grape Crush and All that Jazz.  These inks are so juicy and wonderful to blend to create a seamless, colorful background.


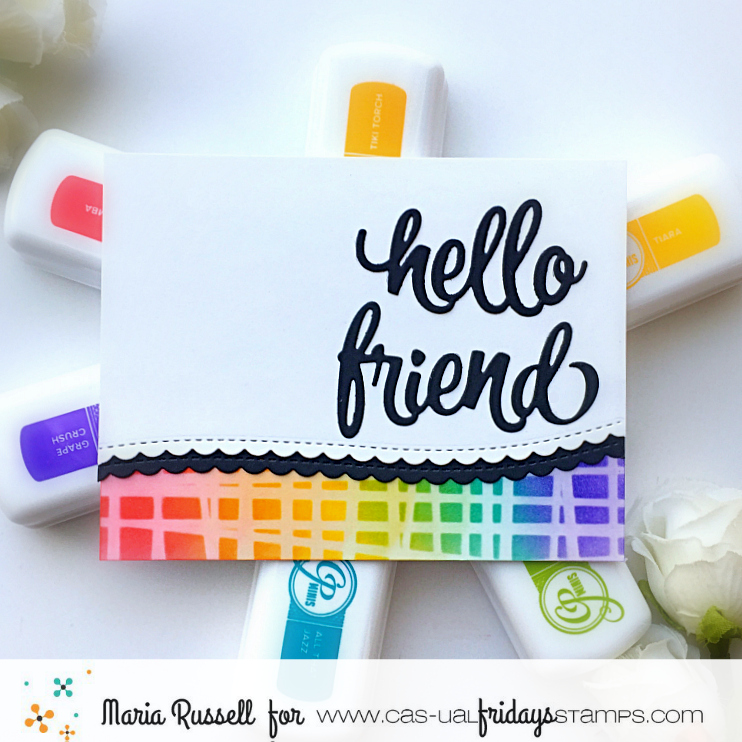
I adhered this panel on an A2-size top-fold card base.  Next, I die-cut some Neenah solar white and black card stock using a die from my collection.  I adhered both pieces on the card with my tape runner.


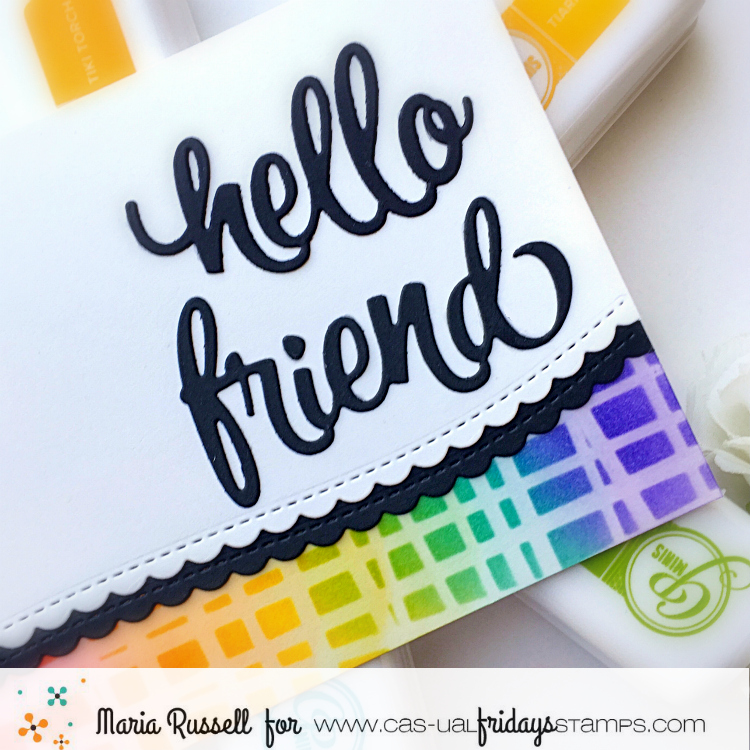
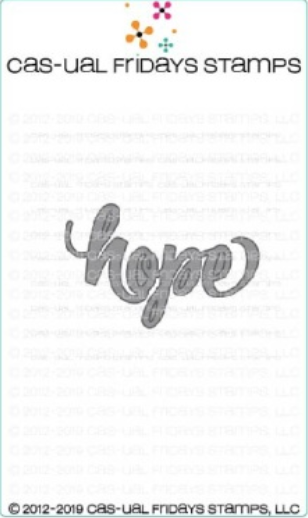
I finished my card design by die-cutting the “hello friend” using the Sweet Friend fri-dies and adhering it onto the card with liquid glue.  Here’s another look:


I am so in-love with these Catherine Pooler inks that I purchased more of them to complete my CP mini ink collection!   


I hope you like my cards today!   The supplies I use are listed and linked below.  Don’t forget to leave a comment on each stop for a chance to win one of the (2)  $30 Gift Certificates by both companies today.  Thanks for stopping by and happy stamping!


Here’s the order of the hop:

Catherine Pooler

Nora Noll

Allison Cope

Larissa Heskett

Nanette Tracy

Vicki Dutcher

Chrissie Tobias

Shona Chambers

Susan Powell

Michelle Wallace

Jen Carter

Lisa Bzibziak

Karen Baker

Maria Russell (you are here)
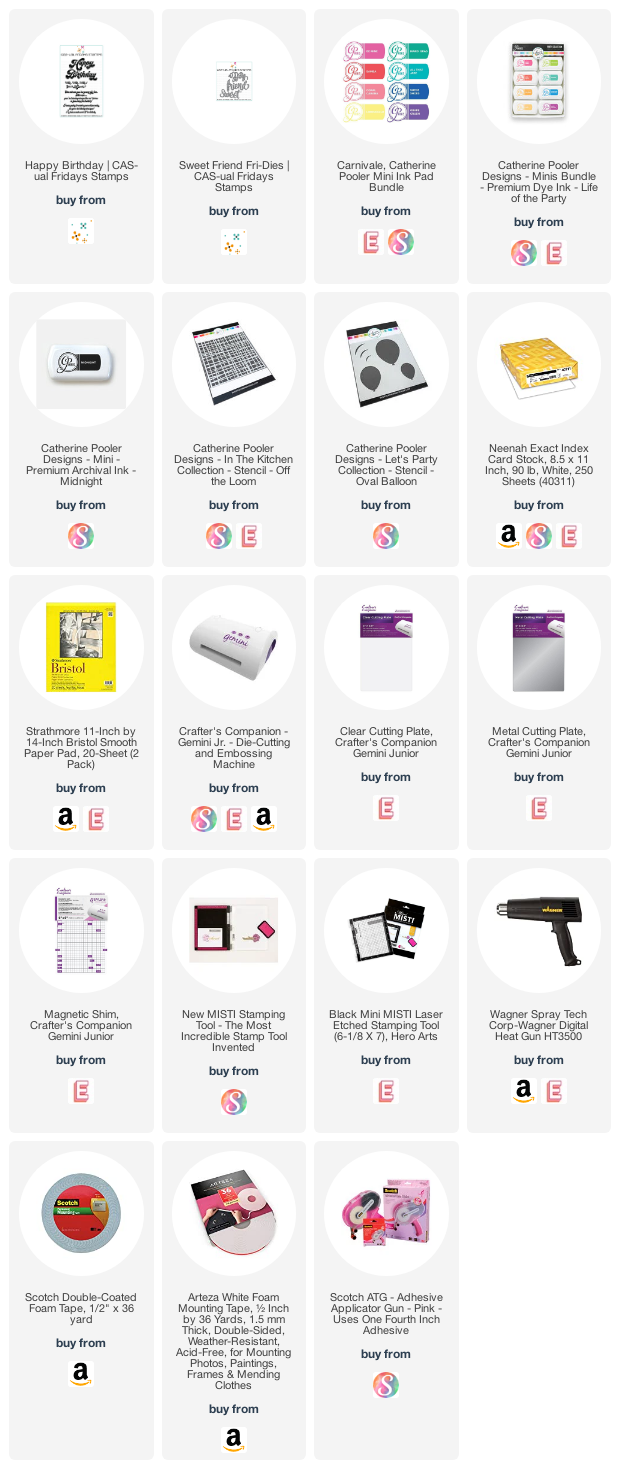
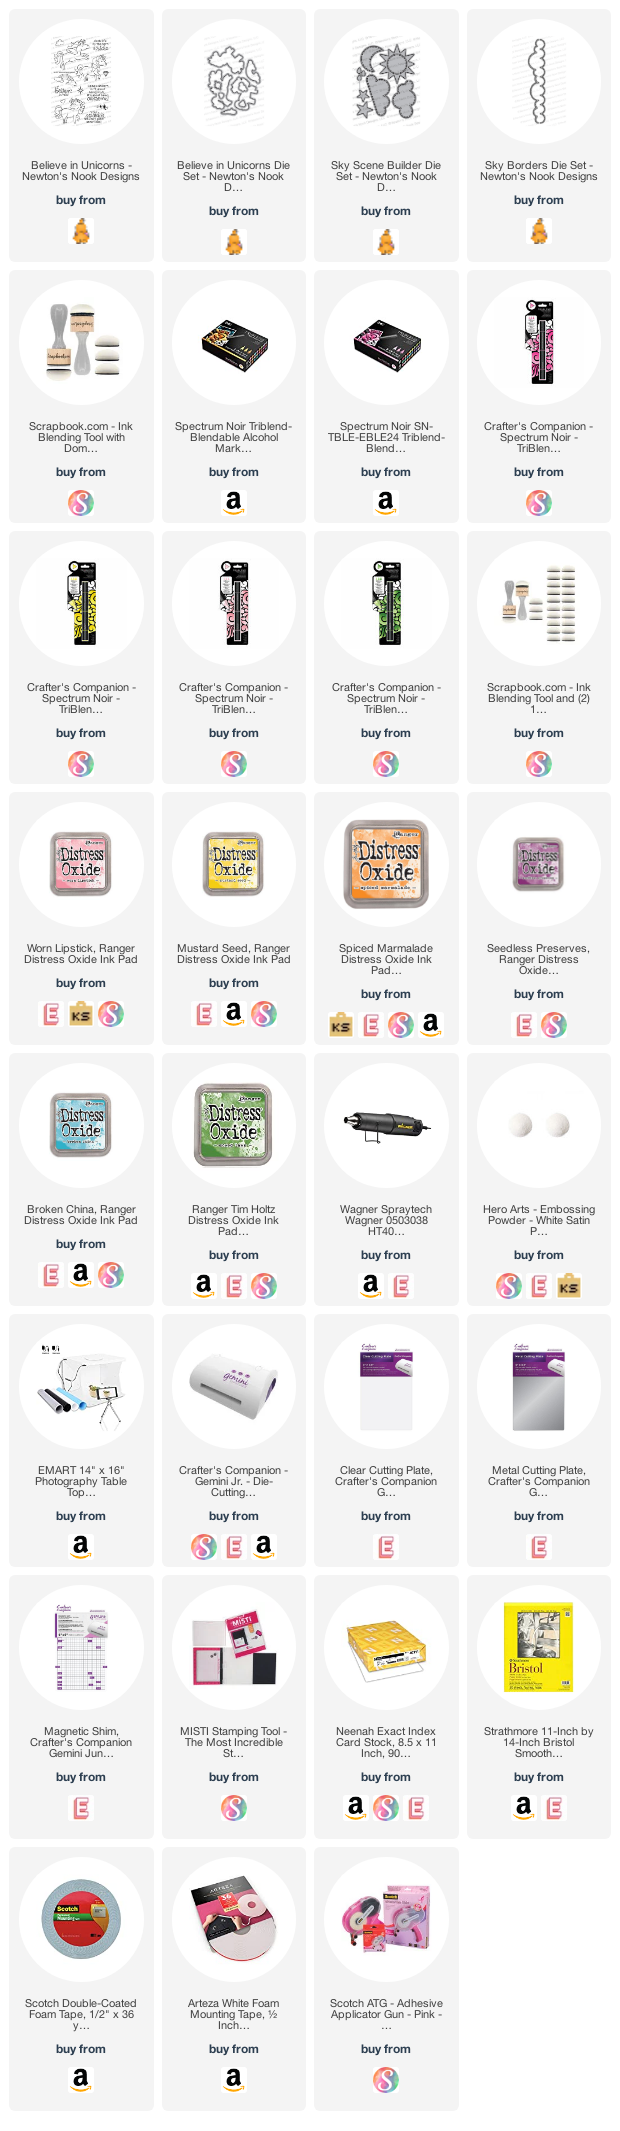
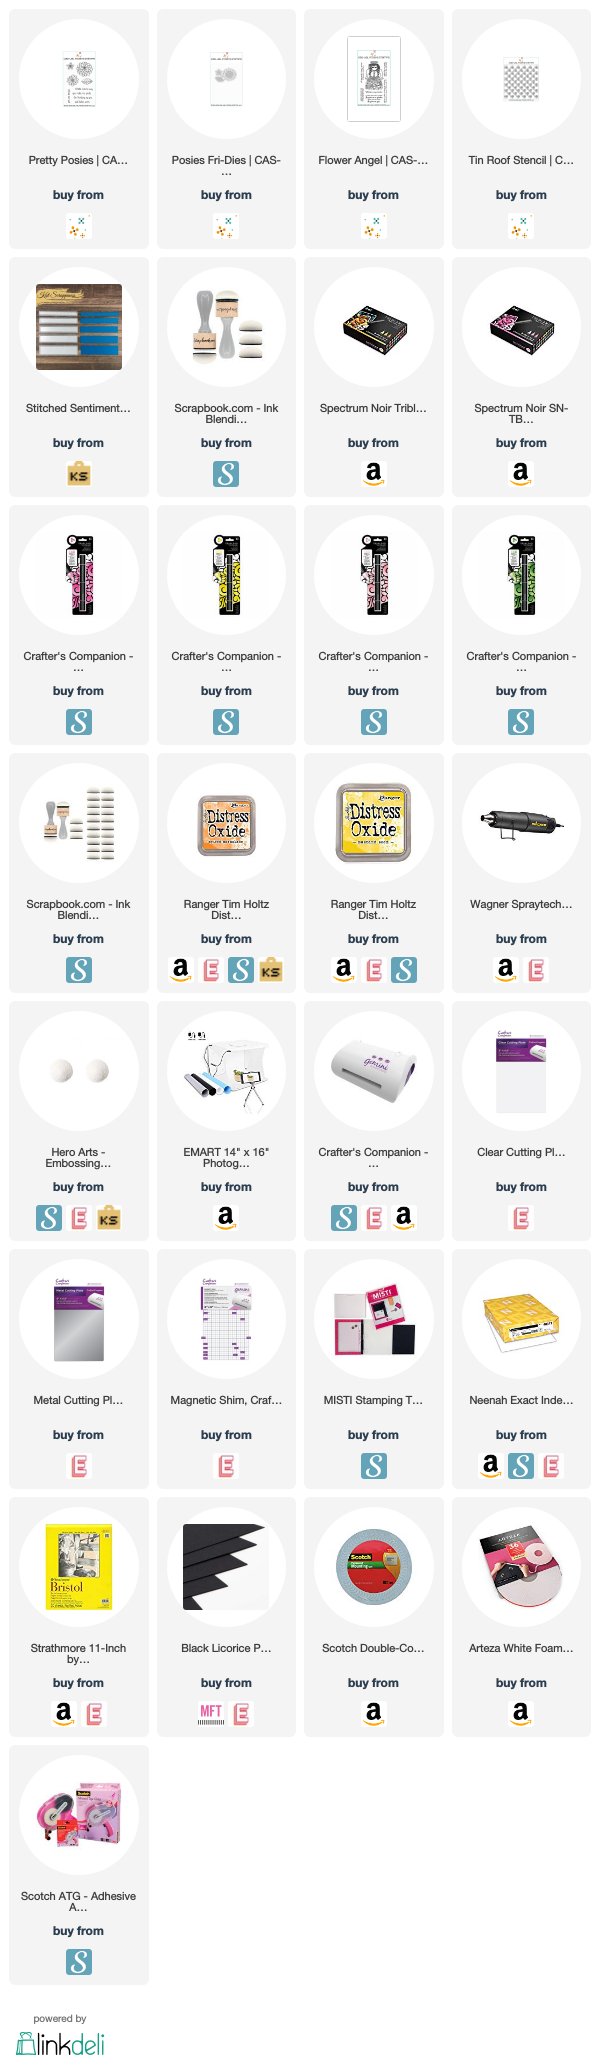
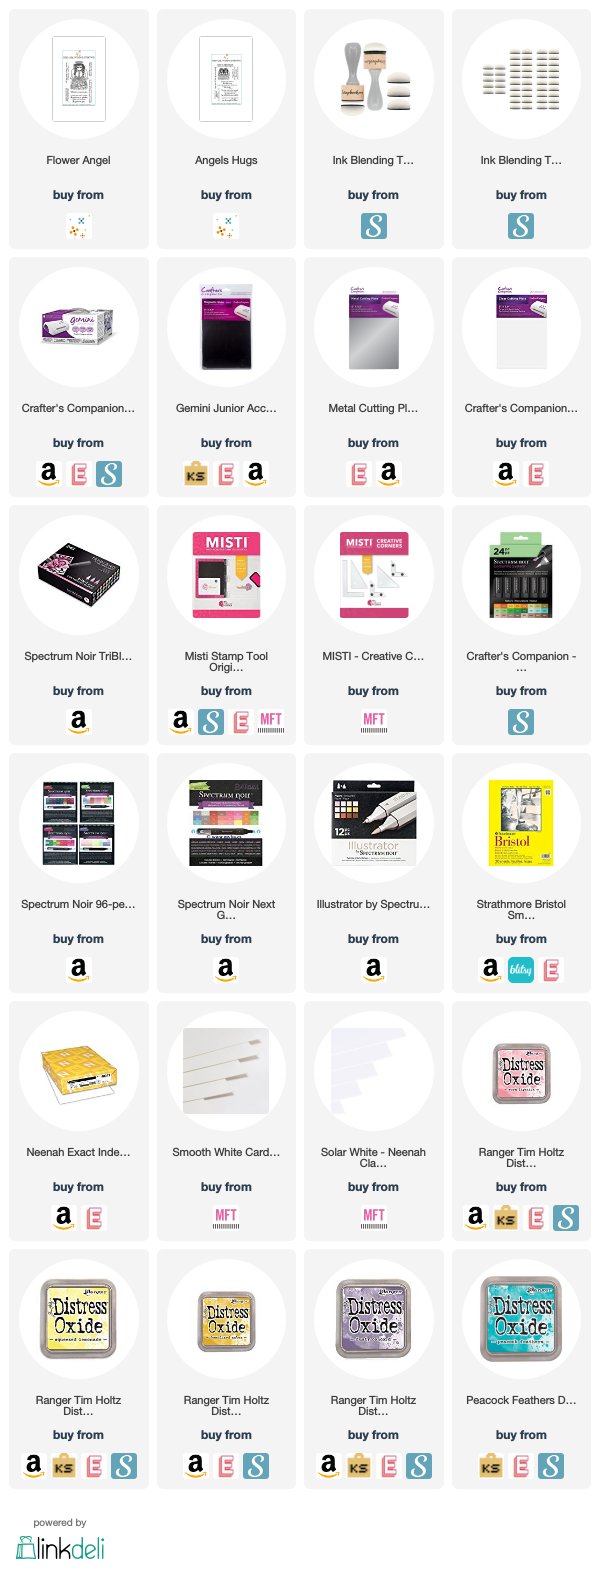
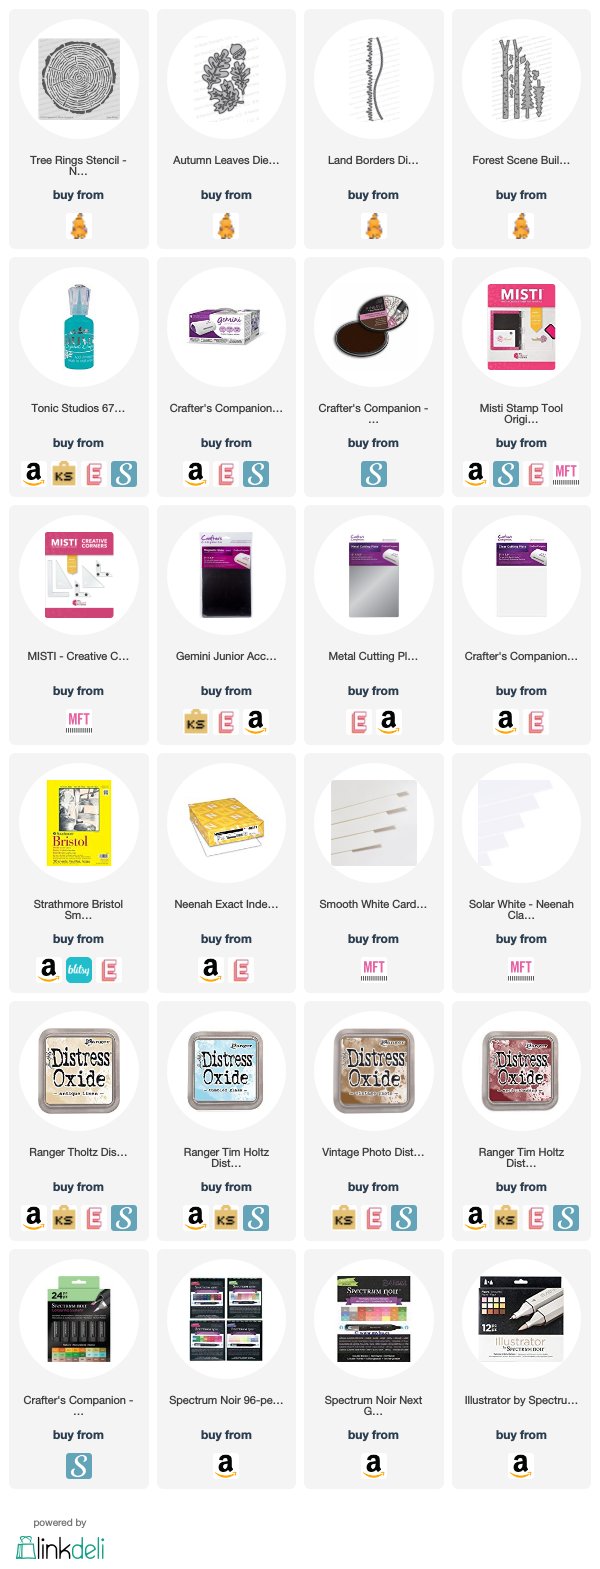
CAS-ual Fridays


————SUPPLIES————-

Send Uplifting Smiles Blog Hop with Newton’s Nook Designs

Let’s spread smiles with a Send Uplifting Smiles Blog Hop!  The goal of this hop is to inspire everyone and help brighten your mood while many of us are staying home or practicing social distancing due to the coronavirus. During this uncertain time, we want to encourage everyone to create cards to send to those they care about and spread smiles!  For my porject today, I am showcasing the Believe in Unicorns stamp set and Believe in Unicorns die set, with the Sky Borders die set and Sky Scene builder dies.


To begin, I stamped my images on some Neenah solar white card stock and colored them in with my Spectrum Noir classique markers.  I die-cut the images using the coordinating dies.  


I die-cut the clouds using the Sky Border and Sky Scene builder dies.  


I ink-blended an A2 size panel of Bristol smooth white card stock with some distress oxide inks and cut them into strips.  I adhered them on an A2 size card base with liquid glue.   I stamped the stars with dots using some light blue dye ink and foam-mounted the clouds.  I also added some of the smaller clouds with liquid glue.


I adhered my focal image on the card and added stickles to the unicorn’s mane and tail


Lastly, I stamped the sentiment with some Versafine Onyx black ink.  This card is going to my friend who loves unicorns.   Here’s a closer look:


Did you get inspired?  What will you create?  Newton’s Nook Designs is having a sale this weekend too so you can stock up on your favorites to make some cards today!  Check out their shop at www.newtonsnookdesigns.com for details!  I also listed and linked the supplies below.
 

Send Uplifting Smiles Hop Giveaway!


Would you like to win a $25 store credit to Newton’s Nook Designs online shop?  We are giving them out to TWO lucky winners!

Here’s how to win:


Comment on the NND blog and Design Team blogs (see list below)!  The winner will be chosen at random from the collective reveal posts.  Make sure to check out each of their blogs and comment for your chance to win. You will not know which blog has been chosen so the more you comment on the better your chances are of winning!  You have until Monday, April 20th at 9pm EST to commentwinners will be announced on the blog post on Tuesday, April 21st.


Check out all the awesome Design Team Blogs below to enter:


Crafting of Hue Sponsorship with Cas-ual Fridays – Celebrate Life

Hello everyone!  I’m super excited to share today’s post!  Cas-ual Fridays Ink Squad is celebrating with  a 20% off the entire collection (using coupon code: HUE20) at the shop and we are this week’s sponsor for Crafting of Hue.


This weekend’s theme is all about “CELEBRATION” and my project today is about “Celebrating Life“.   I have a friend who is going through so much pain lately and this card is for her.  I want her to know that “life is beautiful” and even though it seems that her world is surrounded by darkness, there’s always light at the end of the tunnel.


For my card today, I am showcasing the Tin Roof stencilPretty Posies stamp set, Posies Fri-Dies and the sentiment is from the Flower Angel stamp set.


To make my card, I started by stamping my images on Neenah solar white card stock and colored the images in with my Spectrum Noir alcohol markers.  I use the Posies fri-dies to die-cut the images.


I cut an A2 size piece of Bristol smooth white card stock and inked up this panel with Mustard Seed and Spiced Marmalade distress oxide ink.  I used the Tin Roof stencil and Spiced Marmalade ink to create more texture for my background.  I smooshed the ink pad onto an acrylic block and added some water, then used my watercolor brush to add droplets to this panel.  I then wiped it with my paper towel and set it aside to dry.


I die-cut the white wreath using a die from my stash and adhered this piece on my colored background.  I added the flowers with foam and liquid adhesive and put this piece back on to my paper trimmer and trimmed about an eighth of an inch.   I added this panel to an A2 size card base.


To ground the bold images and balance it out, I added a strip of black and white patterned paper.


I stamped the sentiment on a strip of black card stock and sprinkled some white embossing powder then heat-set with my heating tool.  I adhered this piece in the middle using my tape runner.  Here’s my card:


To finish my design, I used my white gel pen and drew some white dots on the images for added texture and dimension.  Here’s a closer look:


I hope you like my card today.  The supplies I used are listed and linked below.  Thanks for stopping by and have a great weekend!


———-S U P P L I E S———


Life Is Tough But So Are You with Newton’s Nook Designs

Hello Newton’s Nook fans!  I hope you all had a great holiday with your loved ones!  I sure enjoyed having spent Christmas and New Year’s with my family.  Quality time with my husband and children is one of the things I cherish that nurtures my soul.  I needed a break from all of my DT responsibilities  and so grateful that I got to do it this year.


One of my friends was recently diagnosed with breast cancer and she is currently going through chemo.  Thank God they were able to detect it at an early stage.  However, going through chemo is taking its toll on her tiny frame that she is starting to feel really depressed.  I wanted to cheer her up by creating this card today, showcasing the Newton’s Support stamp set.


I started by creating my own mask by die-cutting a circle on some 110 lb card stock with my circle die.  I used washi tape to temporarily adhere this piece on some Bristol smooth white card stock.  I used my blending brush and Worn Lipstick distress oxide ink to ink up my card stock.  I splattered some water on the card stock and dabbed it with my paper towel to dry.


I stamped my image on some Neenah solar white card stock and colored the image with my alcohol markers.  Since this set didn’t have a coordinating die, I used my cutter-bee scissors to fussy-cut the image.  I also die-cut the “big hugs” circle twice, using a die from my stash and adhered them together with some liquid adhesive.


I adhered the ink-blended background on some pink card base and also adhered the “big hugs” die-cut with some liquid adhesive.  I foam-mounted my colored image in the middle of the circle.  Lastly, I stamped my sentiment using Versafine Onyx black ink.  Here’s what it looks like:


My friend also LOVES cats so this stamp set is perfect to use for my card today.  Here’s a closer look:


I hope you like my card today.  The supplies I used are listed and linked below.  Thank you so much for stopping by today and happy stamping!


———–SUPPLIES————


Just Keep Soaring with Cas-ual Fridays

Hello Cas-ual Fridays fans! Maria here on the blog with you.  HAPPY New Year’s Eve!  Is everyone gearing up for midnight with a little bit of fireworks and some great food?  I am so lucky that I am back home in Florida and will get to celebrate tonight with my husband and children, and some closed friends!

I have a little “cheer-me-up” card today, showcasing the Floating stamp set, with the Hearts A2 Panel Fri-Die.


I started by ink-blending my background with some distress oxide inks on Bristol smooth white card stock.  I set this aside to dry.

I stamped my image on some Neenah solar white card stock and colored the images in with my Copic markers.  I fussy-cut the image with my cutter-bee scissors.

I die-cut some Neenah solar white card stock using the Hearts A2 panel fri-die.  I foam-mounted this piece on an A2 size card base.  I also adhered my main focal point on the card.

I used a die from my stash to die-cut a banner and stamped my sentiment using versamark ink.  I sprinkled some white embossing powder and heat-set using my heating tool.  I adhered this piece on my card.  Here’s what it looks like:


I love that this card is very simple, and easy to make.  I don’t think it even took me 5 minutes to finish this card.  Here’s a closer look:


I hope you like my card today.  Please don’t forget to use my coupon code below to get 15% off your order.  Have an amazing day and happy stamping!  See you next year!


Cas-ual Fridays Release – Day 1 – Angels Hugs & Flower Angel

We are super excited because today Day 1 of Cas-ual Fridays Stamps release.  You also have a chance to win a prize during each reveal day so please stop by the main Ca-sual Fridays Stamp blog post to find out more info.


For the first day of the reveals, we are showcasing the Flower Angel and Angel Hugs stamp sets.  Check out the Cas-ual Fridays online store or click on the supplies list below to purchase the stamps we are revealing each day.  Don’t forget to use my coupon code below to get 15% off your order.


For my first project, I started by stamping my images on Neenah solar white card stock and colored it it with my Spectrum Noir Classique alcohol markers.  I fussy-cut the image using my precision snips.


I wanted to create a slimline card so I inked up a 4 1/4 x 8 1/2 size Bristol white card stock using a Tim Holtz stencil and some distress oxide inks.  I also die-cut some white card stock and vellum using a clouds die from my stash.


I adhered the colored background onto a slimline card base and started to create my scene by foam mounting the clouds one at a time to create more dimension.  I also foam-mounted my focal image to the card.


Lastly, I stamped my sentiment to the card using some distress oxide ink.  Here’s my card:


I absolutely LOVE the sentiments on this stamp set.  Here’s a closer look at my card:


For my project, I inked up some Bristol smooth white card stock with some distress oxide inks and sprayed it with some water using my distress oxide sprayer.  I blotted it with some paper towel to dry.


I colored my images using some Spectrum Noir Classique alcohol markers and fussy cut the image using my precision snips.  I also die-cut a circle frame, a bow and clouds using some dies from my stash.


I foam-mounted the circle frame onto my card and started working on my scene by either foam-mounting the images or adhering them with liquid adhesive.


Lastly, I stamped my sentiment with versamark ink.  I sprinkled some white embossing powder and heat-set it with my heating tool.


To finish my design, I added some crystal jewel to my card for added texture.  Here’s a closer look:


I hope you like my card today.  The supplies I used are listed and linked below.  Please visit Cas-ual Fridays Blog for a chance to win some prizes.  Come back tomorrow for Day 2 of the reveals.  Thank you so much for joining me and happy stamping!


———–SUPPLIES————


STAMPtember Collaboration with Simon Says Stamp and Newton’s Nook Designs

Today Newton’s Nook Designs is featured on the Simon Says Stamp site with an EXCLUSIVE stamp set that was designed just for the 2019 STAMPtember celebration!  You can purchase the new Let’s Party stamps and coordinating die set today at Simon Says Stamp.  Remember, these items are ONLY available through Simon Says Stamp while supplies last!
Today, I am sharing a birthday card showcasing the Let’s Party stamp set.  I started by stamping my images on some Neenah solar white 110 lb. card stock and colored my images in using some Spectrum Noir alcohol markers.  I die-cut the images using the coordinating dies.
I inked up an A-2 size piece of Bristol smooth white card stock with Peacock Feathers distress oxide ink.  To add more texture, I added some gold splatters on the colored background using my Sakura watercolor and my watercolor brush.  I waited for about half an hour for this to dry, and adhered this piece on an A2 size card base.
I die-cut the words “Happy Birthday” a few times on white card stock using a die from Mama Elephant.  I inked up the top piece with some Dusty Concord distress oxide ink.
I foam-mounted the die-cut panel on my colored background.  This frame piece was die-cut using the Gift Box cover up die-namics from My Favorite things.  I adhered the Happy Birthday die-cut on the foreground and added my cute critters.  Here’s my card:
To finish my design, I added some glossy accents to the balloon for added texture and dimension and also adhered the little gift boxes between the two dogs.  Here’s a little close-up:
I hope you like my projects today.  Please visit Simon Says Stamp to purchase this exclusive stamp set.  Thank you for stopping by and happy stamping!
70df8-maria2brussell2bsignature2blogo

Newton’s Nook August Release Day 1 – Pumpkin Latte


It is that time of the month where the entire design team get so excited to show off the new stamps, dies and stencils by Newton’s Nook Designs.  You also have a chance to win the stamp set being revealed each day so please read through til the end of the blog post to find out more info.  [Just a little important note:  I know some of you had difficulties finding the comments section.  If you would like to leave a comment to participate in the giveaway, the “comments section” will only be ever visible when a single post on Word Press is being viewed. Please click on this particular blog post and you will be able to leave a comment below.  Thank you!]  


For the first day of the reveals, we are showcasing the Pumpkin Latte stamp set and Pumpkin Latte coordinating dies:


I started out with an A2 size panel of Bristol smooth white card stock and ink-blended this piece with some distress oxide inks.  I inked up another piece of Bristol smooth white card stock and used the Land Borders die to die-cut the hills.


I die-cut the birch trees using the Forest Scene Builder die set with some gray card stock.  I also die-cut the pumpkin leaves and vines using an old die from my stash.


I stamped and colored my images on some Neenah solar white card stock with Spectrum Noir Alcohol Proof Ink in Rustic Brown.  I colored my images in Spectrum Noir alcohol markers. I die-cut the images using the Pumpkin Latte coordinating dies.


I adhered the birch trees on my colored background with some liquid adhesive and foam-mounted the hills.  I layered the rest of the colored images with either liquid or foam adhesive.


To finish my design I used my white gel pen and added some line and dots to the images to give it more dimension.  Here’s a little close-up:


For my second card, I used the Tree Rings stencil to color my Bristol smooth white card stock with my mini ink blending tool and Vintage Photo distress ink.  I smooshed my Aged Mahogany distress oxide ink on an acrylic block and added some water.  I used my watercolor brush to sprinkle some of the color to my colored background.  I let this dry for about 20 minutes and used my frame border die to die-cut the piece.  I foam-mounted the frame and adhered these pieces onto an A2-size kraft card base.


I die-cut the leaves using the Autumn Leaves die set with different patterned papers.  I also die-cut another banner strip from some coffee card stock and stamped the sentiment with versamark ink.  I sprinkled white embossing powder and heat-set this with my Wagner Heating tool.  I adhered the banner with some foam adhesive and started layering the autumn leaves on the card.


Lastly, I adhered my colored image on the card with foam adhesive and added Caribbean Ocean crystal drops for added texture.


I don’t know about you but making these cards made me crave some pumpkin spice latte.  I am not sure if they’re already available at Starbuck’s but I’m definitely craving one.  Here’s a closer look:


What do you think?  Which one is your favorite today?  I hope you like my cards today.


Would you like to win the “Pumpkin Latte”  Stamp Set? This stamp set will be given away to ONE lucky winner!  Here’s how to win:

Comment on the NND blog and Design Team blogs (see list below)! The winner will be chosen at random from the collective reveal posts. Make sure to check out each of their blogs and comment for your chance to win. You will not know which blog has been chosen so the more you comment on the better your chances are of winning! You have until Thursday August 22nd at 9pm EST to comment  — winners will be announced on the blog post on Friday, August 23rd.

Check out all the awesome Design Team Blogs below to enter:

Newton’s Nook Designs

Amanda Bodine

Holly Endress

Ellen Haxelmans

Larissa Heskett

Samantha Mann

Zsofia Molnar

Naki Rager

Maria Russell

Andrea Shell

Tatiana Trafimovich

————SUPPLIES—————


Hope Shaker Card with Cas-ual Fridays Stamp

Hello everyone! It’s Maria back on the blog with you today with another card, showcasing the Tin Roof Cover Die and the Big Hope Fri-Die.


This type of card is never easy to make.  A friend of mine was diagnosed with breast cancer a few months ago and she is currently going through some chemo treatment.  She’s doing really well (thank the Lord above)!  I will be sending her a gift and so I created this card to go along with it.

This card is really simple to make and I didn’t even do any stamping.  I started by die-cutting the Tin Roof Cover Die with a 110 lb. white card stock.  I also die-cut the word “hope” and set both aside as I worked on my background.

I ink-blended an A2 size Bristol Smooth white card stock with Spun Sugar and Worn Lipstick using a sunburst stencil.  I know you can hardly see the inside but it is a sun-ray.  I figured the significance of this would have a huge impact since there’s always light at the end of the tunnel, and she is almost there!

I die-cut a frame die and adhered my Tin Roof die-cut behind the frame.  I wanted to create a shaker card and needed the frame to cover the foam tape.  I also adhered the acetate sheet to keep the shaker elements intact.

I used some light pink and crystal sequins mix with sparkling stars for my shaker element.  This card is so pretty in real life.

To finish my design, I ink-blended the “hope” die-cut with the same distress oxide ink that I used for the background and layered it with some dark gray card stock to add some texture and dimension.  Here’s a closer look:

I hope you like my project today.  Please visit CAS-ual Fridays Stamps  to purchase the stamp and dies that I featured today.  Don’t forget to use my coupon code “MARIASENTME” for 15% off your order.  Happy stamping!