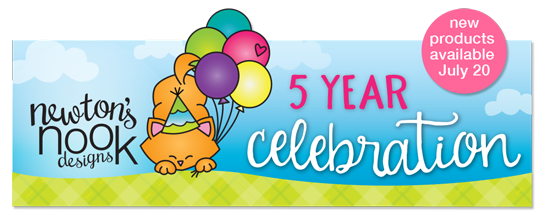
We are so excited for our July release because this month marks Newton’s Nook 5-year anniversary. We will be celebrating with a fun blog hop at the end of the week in addition to the large product release so be prepared to be dazzled. First day is the start of our reveals of the new stencils, stamp set and dies by Newton’s Nook Designs. You also have a chance to win a $20 Store Credit for each reveal day so please read through til the end to find out more info. [Just a little important note: I know some of you had difficulties finding the comments section. If you would like to leave a comment to participate in the giveaway, the “comments section” will only be ever visible when a single post on Word Press is being viewed. Please click on this particular blog post and you will be able to leave a comment below. Thank you!]
For our first reveal day, the design team is showcasing the:
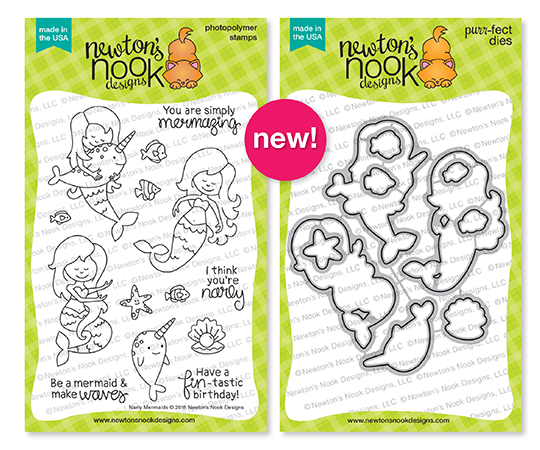
Narly Mermaids and coordinating dies
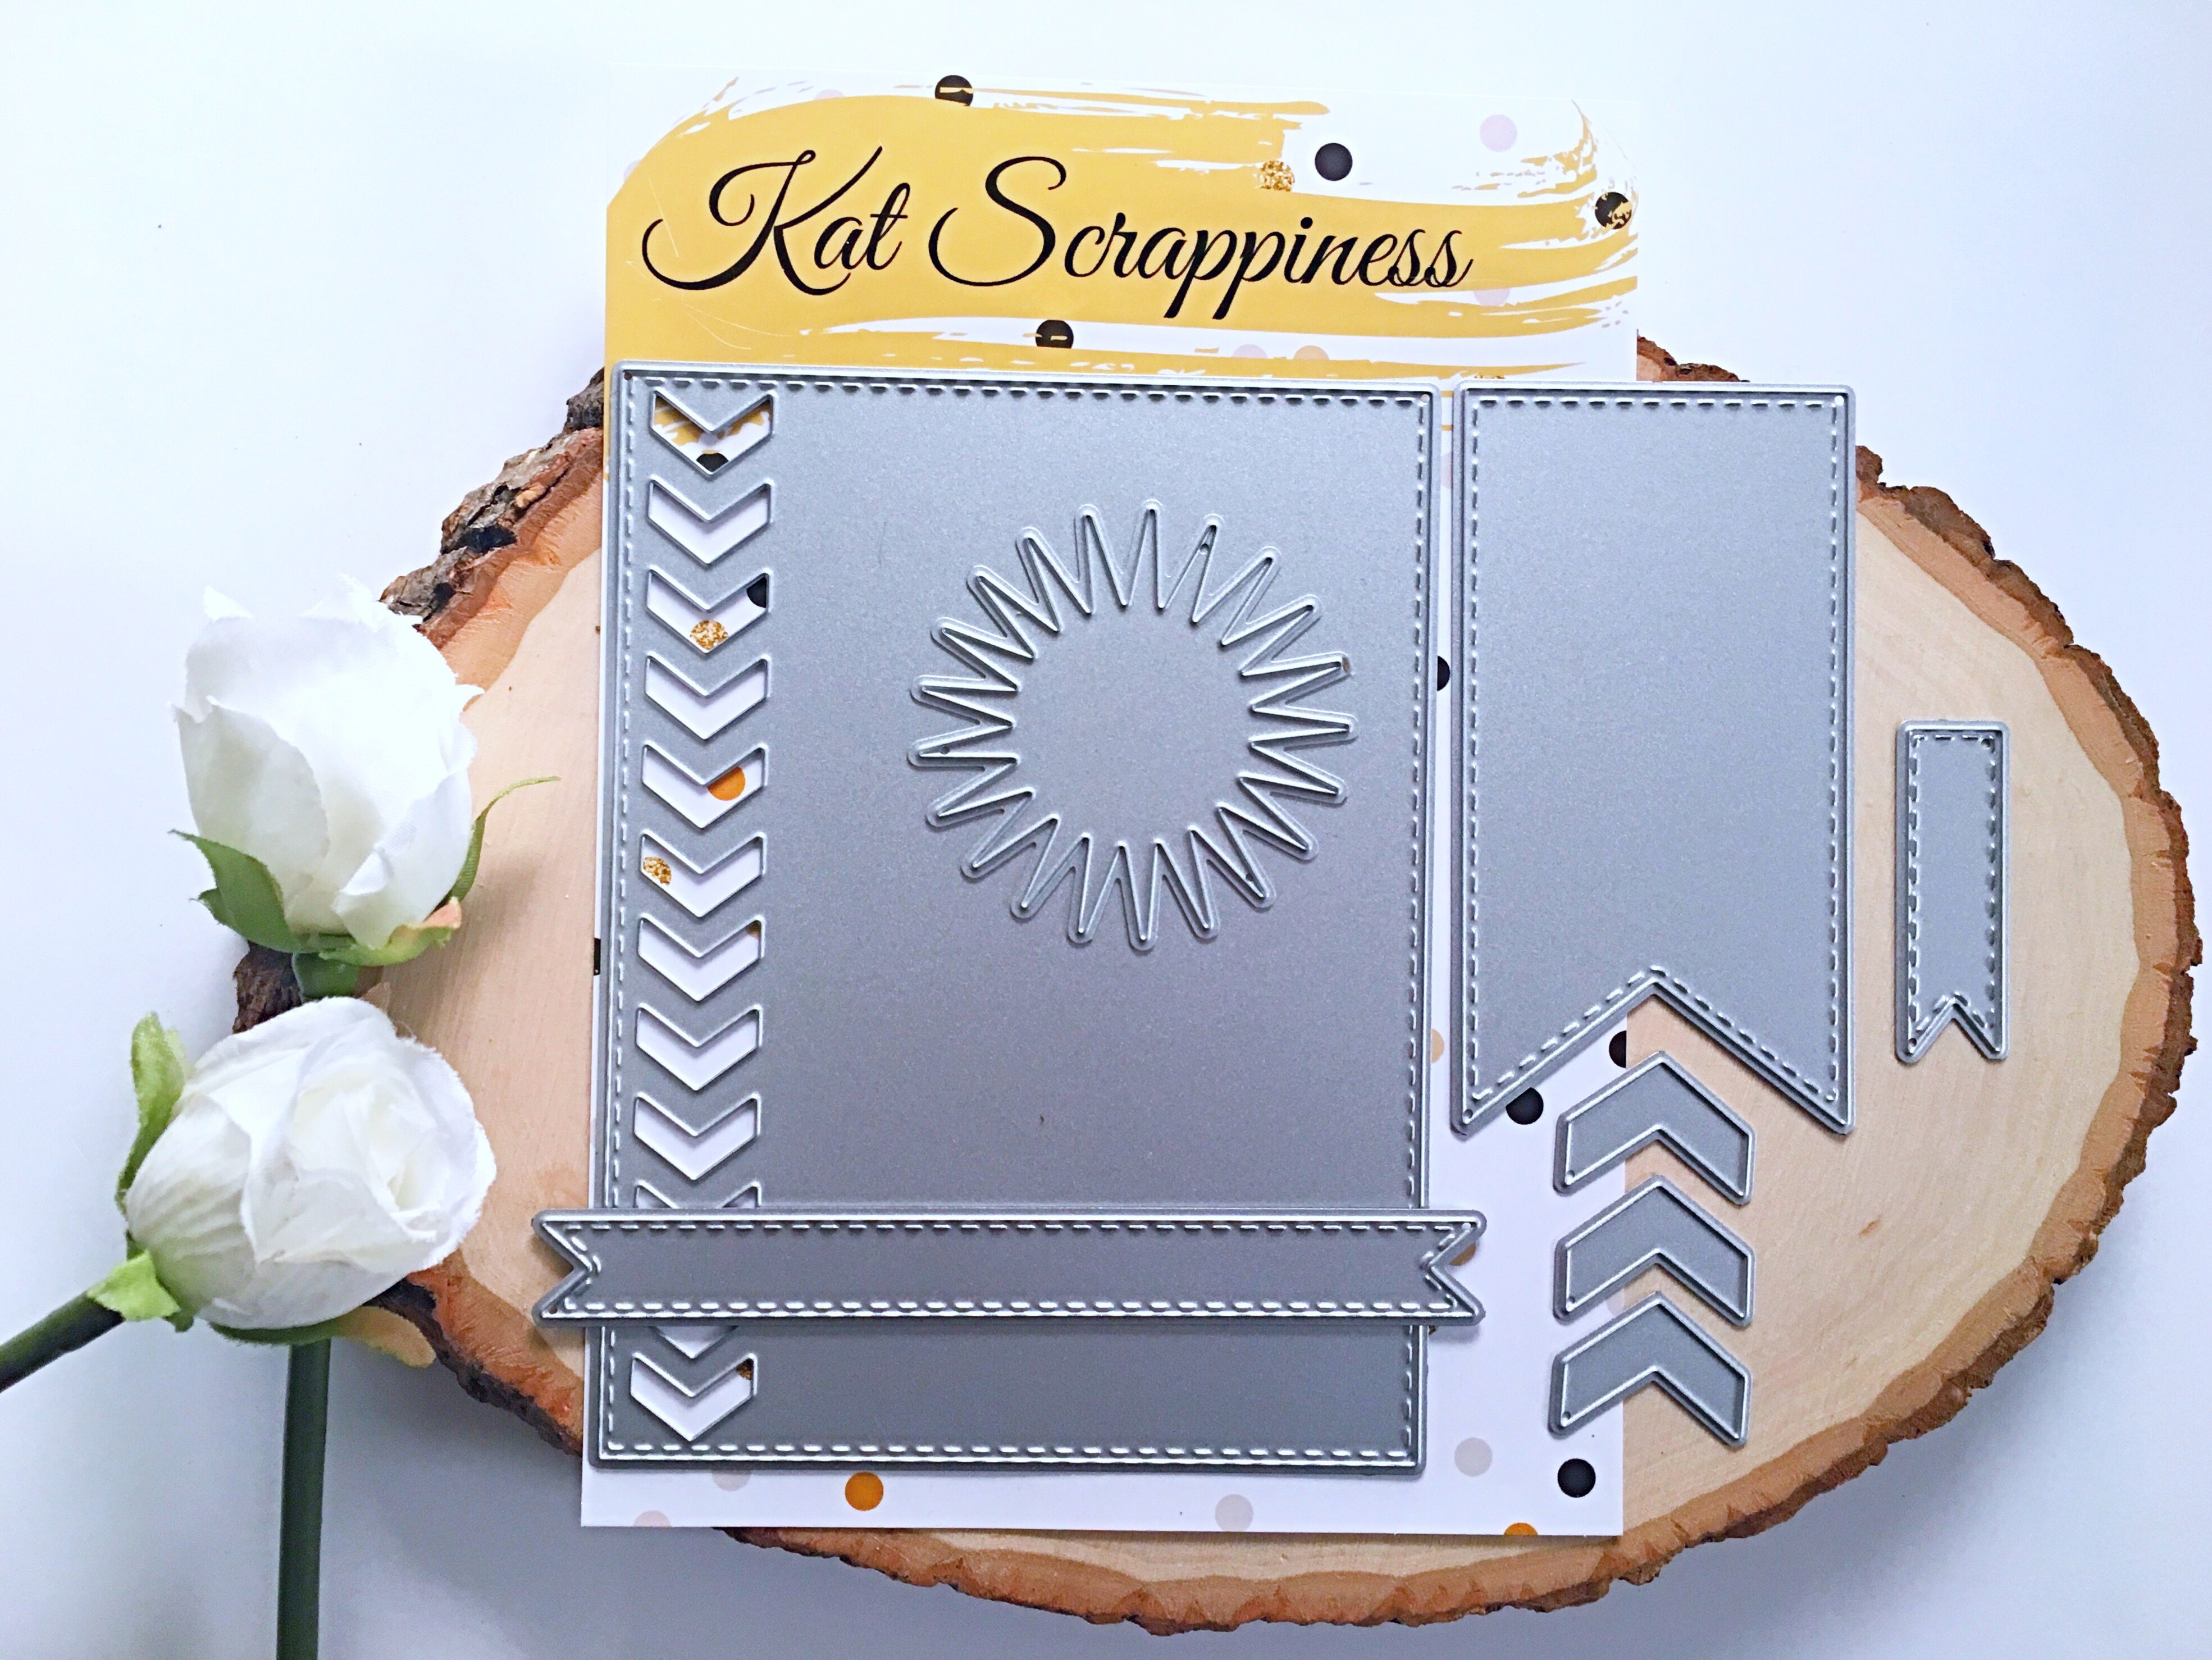
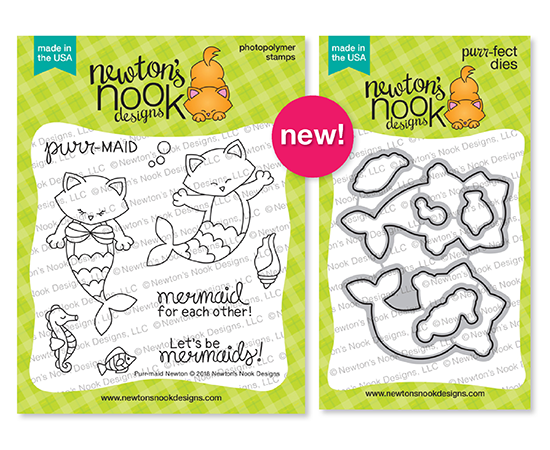
Purrmaid-Newton and Coordinating Dies
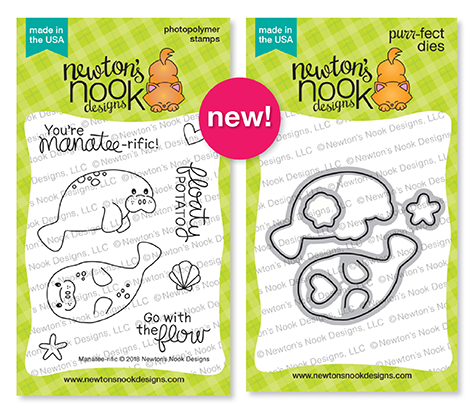
Manatee-rific and coordinating dies
With two stencils – Tropical Fish and Seashells

I know this sounds redundant but each reveal month, I am just blown away by the talented Jennifer Jackson. It seems that every month, it just gets better and better!
Since we are featuring a ton of products this week, I will not have a step-by-step tutorial on how I made the cards. However, be sure to subscribe to my YouTube channel because I will posting video tutorials for most of the cards that you see today in the next few weeks.
Here is my Narly Mermaid card. I also combined this card with the Tranquil Tides stamp set to create my under-water scene.
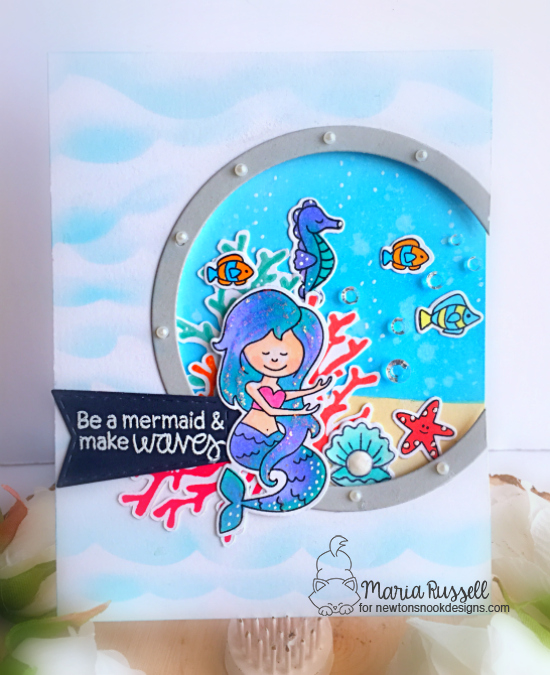
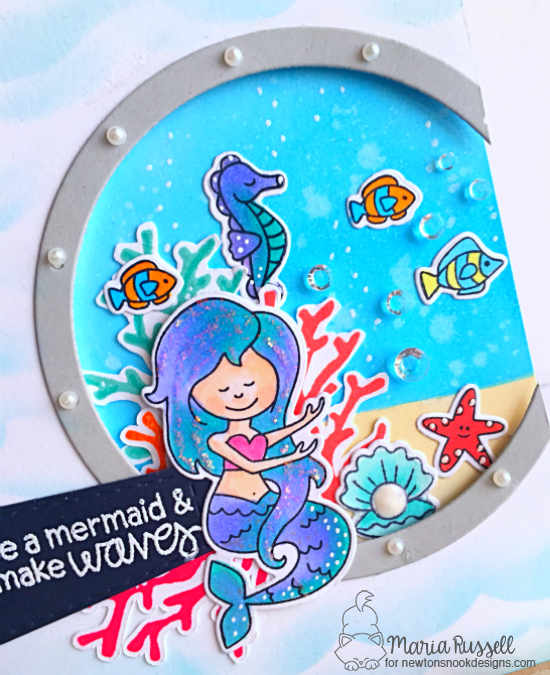
I just love the sparkling jewels that I added to my scene to make them look like bubbles. Here’s a little close-up:
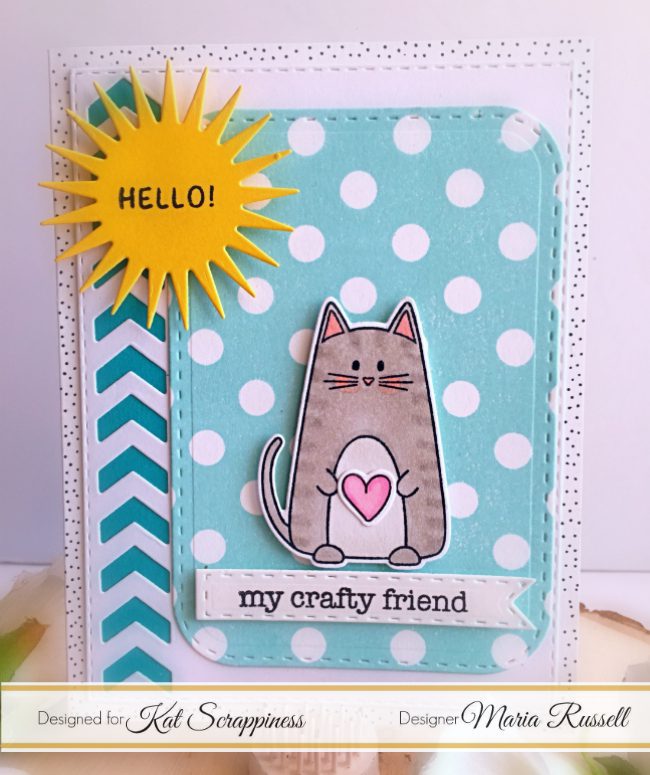
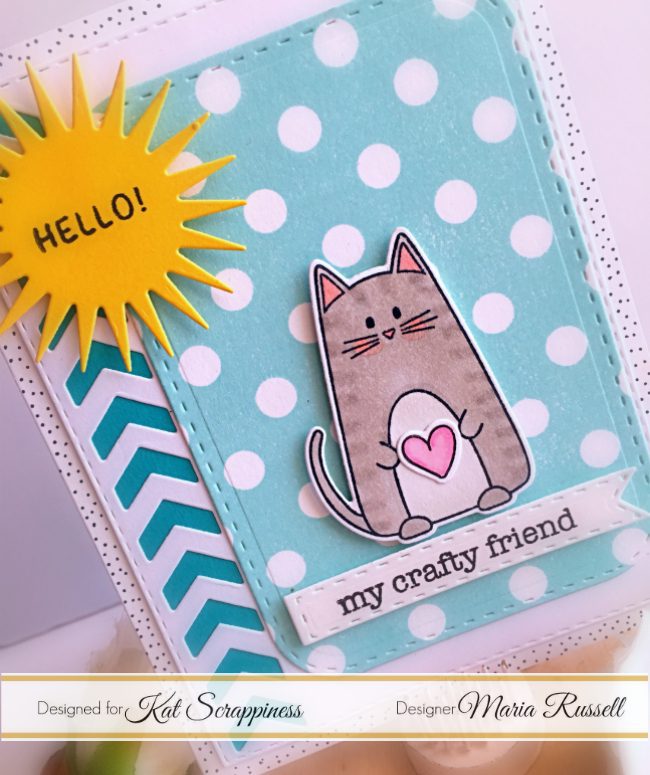
The second stamp set is called Purr-maid Newton. Oh my goodness! I have been hounding Jennifer to create a mermaid cat and my wishes finally came true! Haha! This stamp set is a MUST-HAVE!
Once again I combined the stamp set with the Tranquil Tides stamp set, with the Sea Borders die set and the Waves stencil.
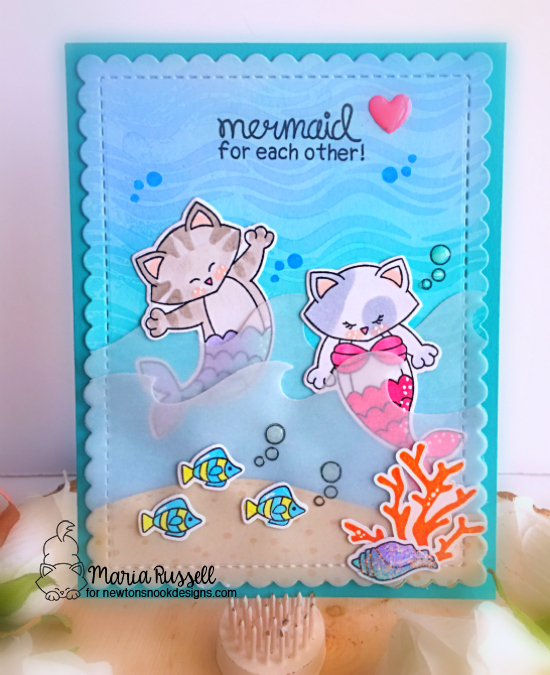
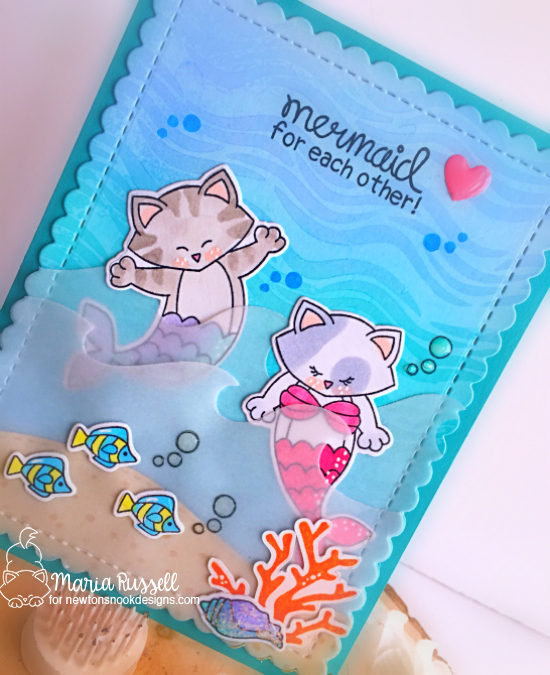
I used the Sea Borders die set to create the fun waves. Here’s another look:
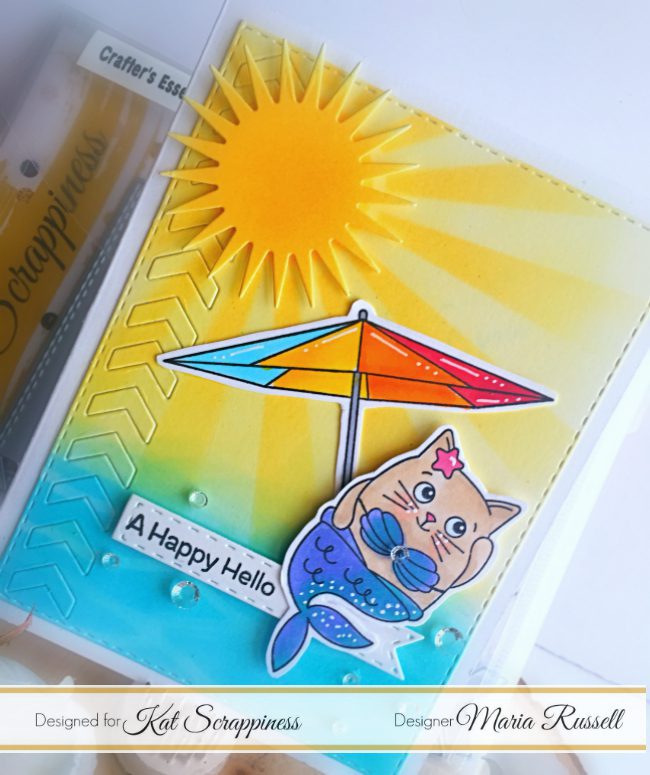
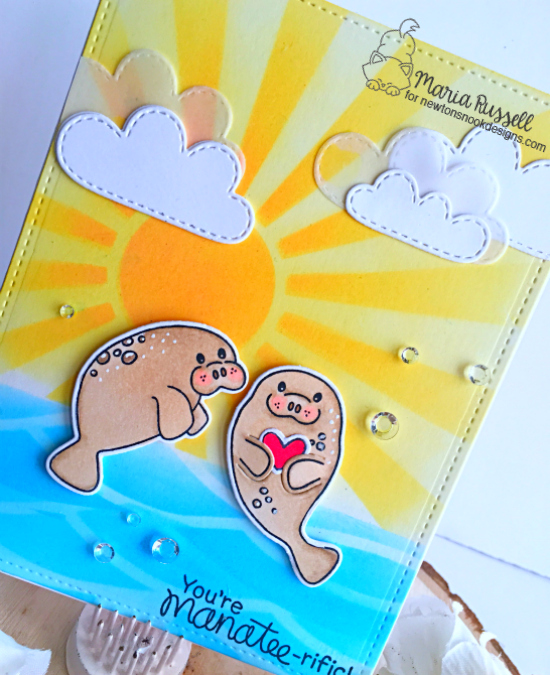
Last but not the least, here is my card using the Manatee-rific stamp set and coordinating dies with the Sunscape stencil. Just looking at this card makes me happy!
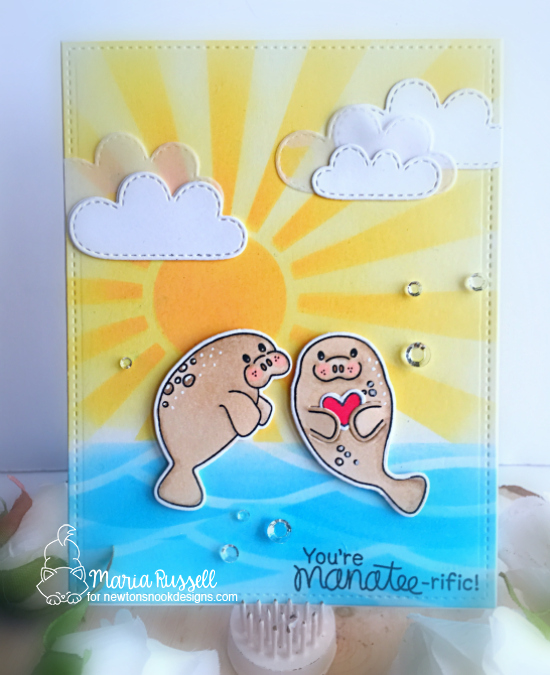
I added more sparkling clear jewels to make them look like bubbles. I also LOVE that the die cuts the middle piece and the Manatee will hug tine embellishments like heart or seashell included in the stamp set. SUPER ADORABLE! Here’s a little close-up:
Which one is your favorite? I can’t pick one because I love them all!
Would you like to win a $20 store credit to Newton’s Nook Designs? ONE lucky comment will be chosen from each reveal day to win!
Here’s how to win:
Comment on the NND blog and Design Team blogs (see list below)! The winner will be chosen at random from the collective reveal posts. Make sure to check out each of their blogs and comment for your chance to win. You will not know which blog has been chosen so the more you comment on the better your chances are of winning! You have until Thursday, July 19th, at 9pm EST to comment — winners will be announced on the blog post on Friday, July 20th.
Check out all the awesome Design Team Blogs below to enter:
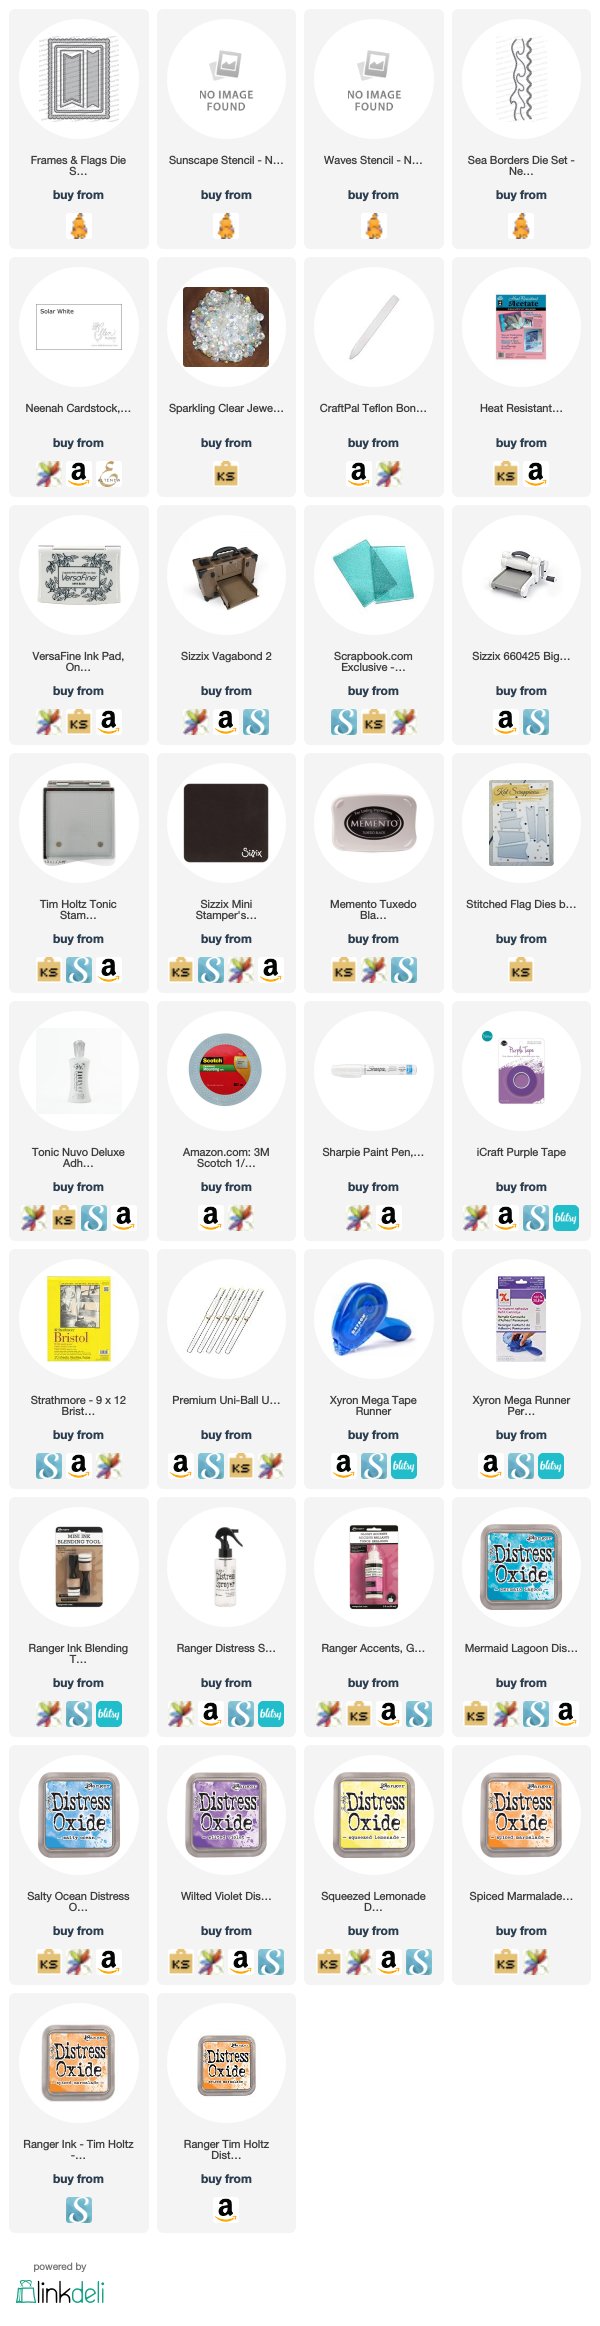
———-SUPPLIES———-