It is that time of the month where the entire design team get so excited to show off the new stamps, dies and stencils by Newton’s Nook Designs. You also have a chance to win a stamp set for each reveal day so please read through til the end of the blog post to find out more info. [Just a little important note: I know some of you had difficulties finding the comments section. If you would like to leave a comment to participate in the giveaway, the “comments section” will only be ever visible when a single post on Word Press is being viewed. Please click on this particular blog post and you will be able to leave a comment below. Thank you!]
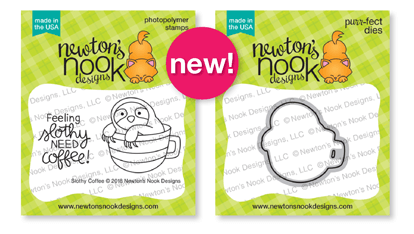
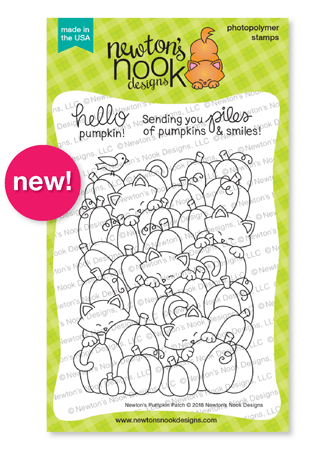
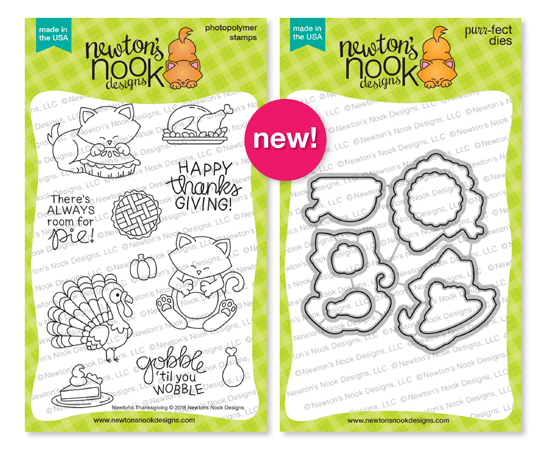
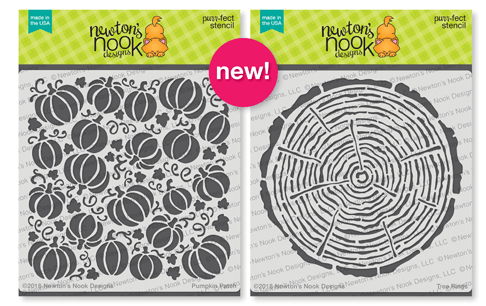
For our first day of the reveals, we are showcasing TWO new stamp sets and TWO AMAZING stencils – the Newton’s Thanksgiving stamp set and coordinating dies, Newton’s Cornucopia stamp set and coordinating dies with the Pumpkin Patch and Tree Rings stencil. I LOVE, LOVE, LOVE the September release. Fall is my favorite season and the stamp sets and stencils are must-haves for sure! Here’s what they look like:

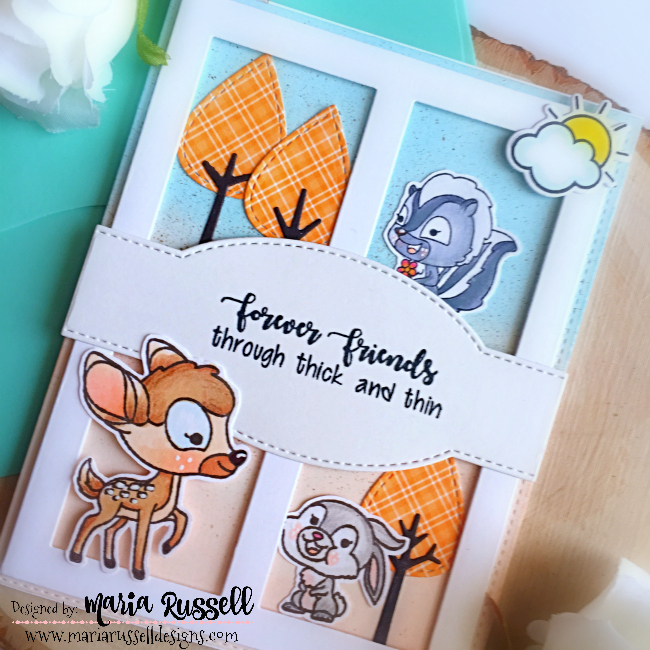
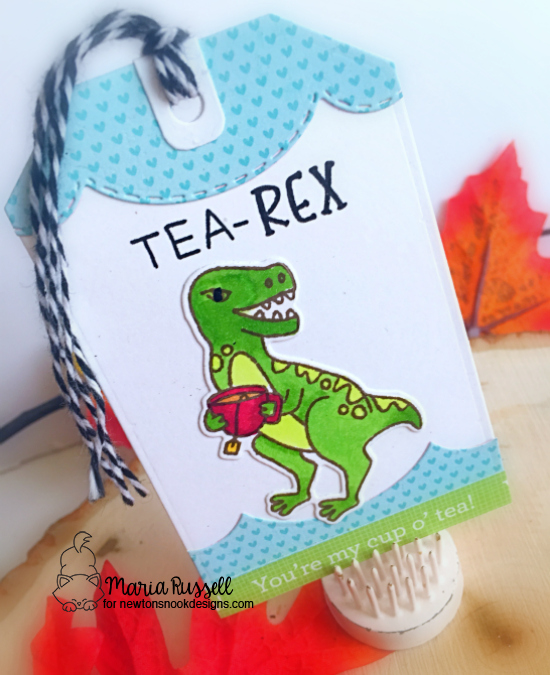
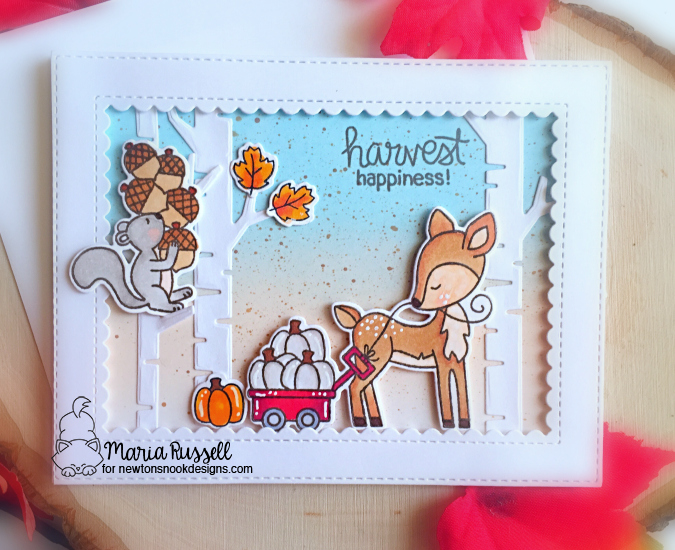
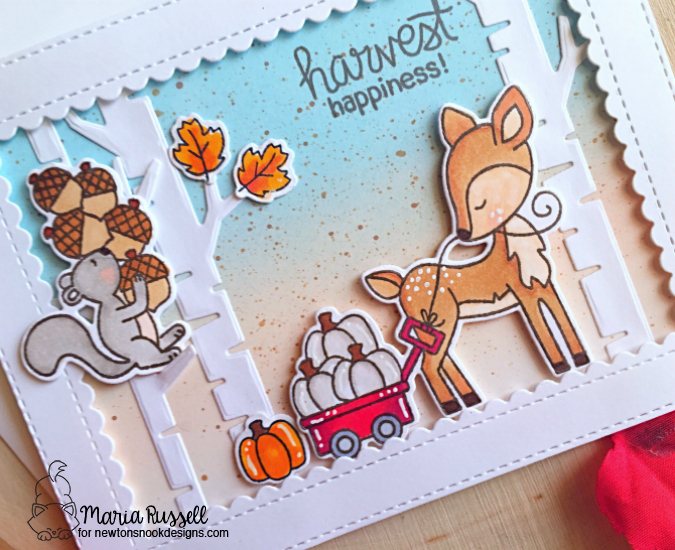
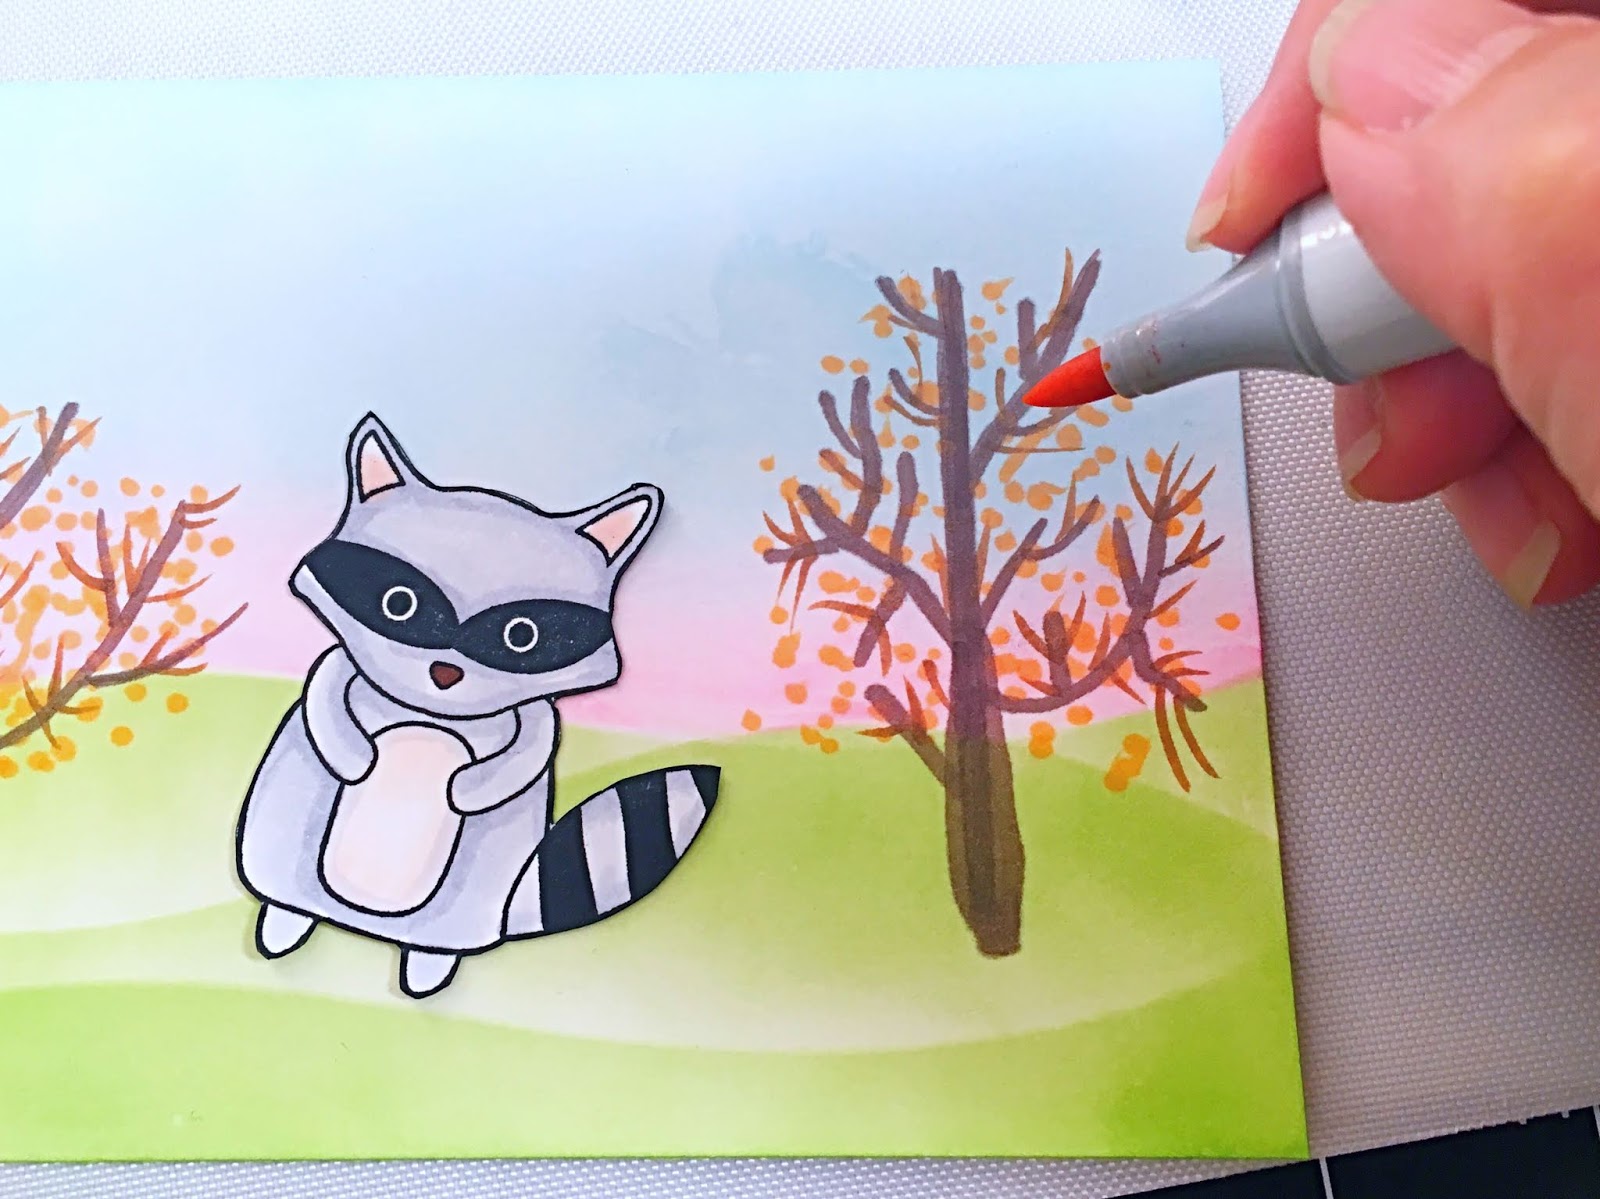
To start, I stamped my images on some Neenah solar white card stock with my memento Rich Cocoa ink and colored them in with my Copic markers. I chose a brown hybrid ink because it is the fall season and I wanted the images to stay on the warmer side. I die-cut the images with its coordinating dies.
I cut some Bristol smooth white card stock and inked up my background with some Antique Linen and Tattered Rose distress oxide inks. I splattered it with Vintage photo distress oxide ink and blotted it dry with my paper towel.
I used the Land Borders die to create the hills and inked it up with Mowed Lawn distress oxide ink. I die-cut the rest of the elements that I needed to create my fall scene. I used the leaves from the Autumn Newton stamp set from last year to adorn the trees.

This image is so adorable! This is definitely how I feel every Thanksgiving! Stuffed to the gills!

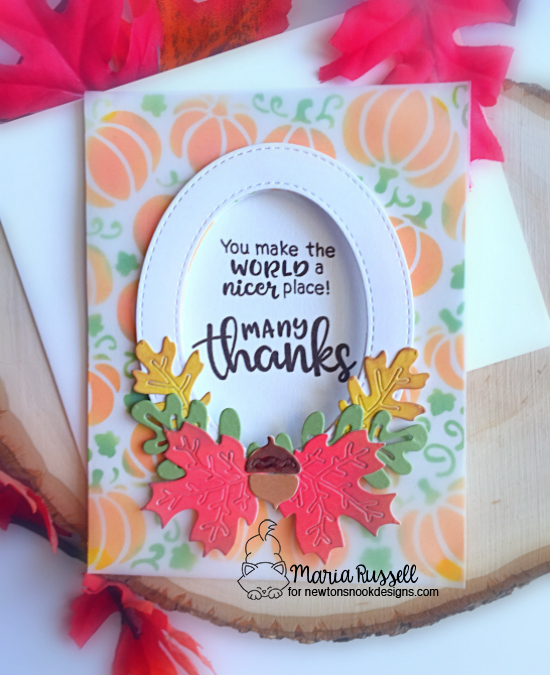
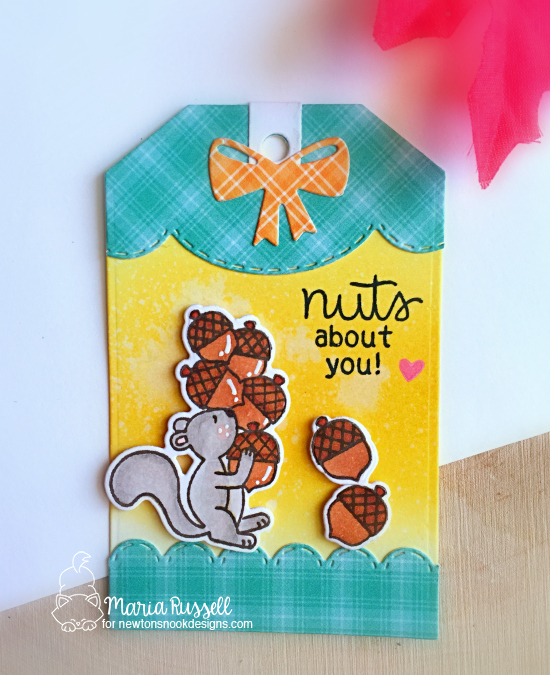
For my second card, I stamped the images with Memento Rich Cocoa ink from the Newton’s Cornucopia stamp set and colored it in with Copics as well. I inked up another Bristol smooth white card stock with Tattered Rose distress oxide and used Vintage photo to splatter brown dots onto the background. I blotted it dry with some paper towel.
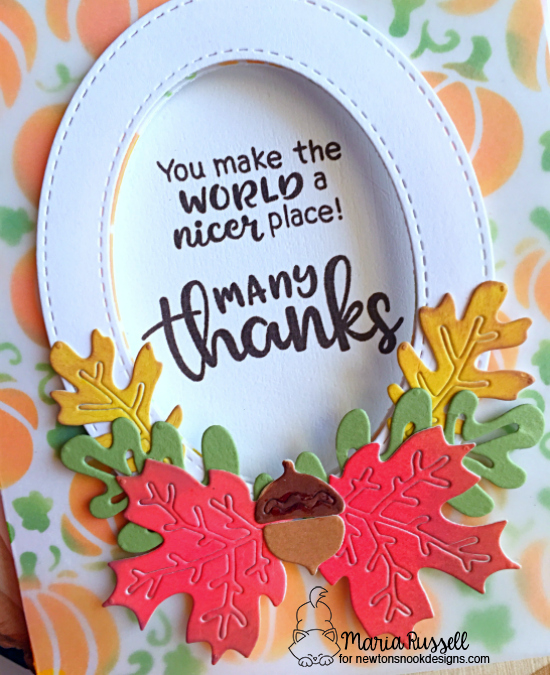
I used the new Tree rings stencil and used Vintage Photo distress oxide to color my background. Let me tell you, this new Tree Rings stencil is so beautiful, it’s a must-have for sure! I stamped my sentiment on black card stock and heat-embossed it with some white embossing powder. Here’s my second card:

I adorned the card with more leaves from the Autumn Newton stamp set. To finish my design, I used my white gel pen to add some dot details to the cornucopia, pumpkins and the apples. Here’s a little close-up:

I hope you like my cards today and got inspired. Would you like to win the “Newton’s Thanksgiving” or the “Newton’s Cornucopia” Stamp Set? We will choose ONE lucky winner for each stamp set!
Here’s how to win:
Comment on the NND blog and Design Team blogs (see list below)! The winner will be chosen at random from the collective reveal posts. Make sure to check out each of their blogs and comment for your chance to win. You will not know which blog has been chosen so the more you comment on the better your chances are of winning! You have until Thursday September 13th at 9pm EST to comment — winners will be announced on the blog post on Friday, September 14th.
Check out all the awesome Design Team Blogs below to enter:
Newton’s Nook Designs
Amanda Bodine
Holly Endress
Ellen Haxelmans
Larissa Heskett
Samantha Mann
Juliana Michaels
Zsofia Molnar
Naki Rager
Maria Russell
Tatiana Trafimovich
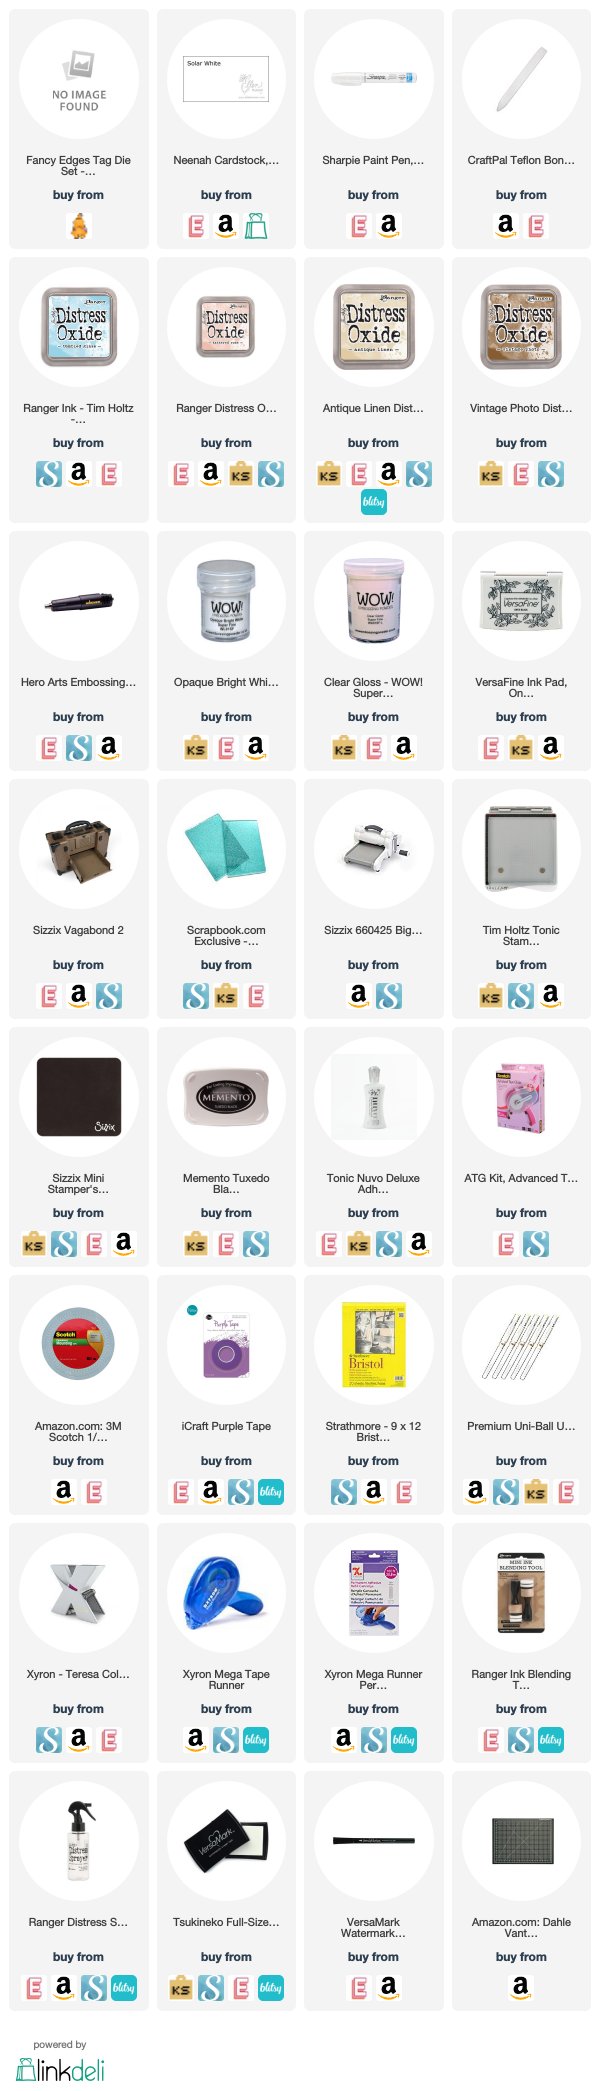
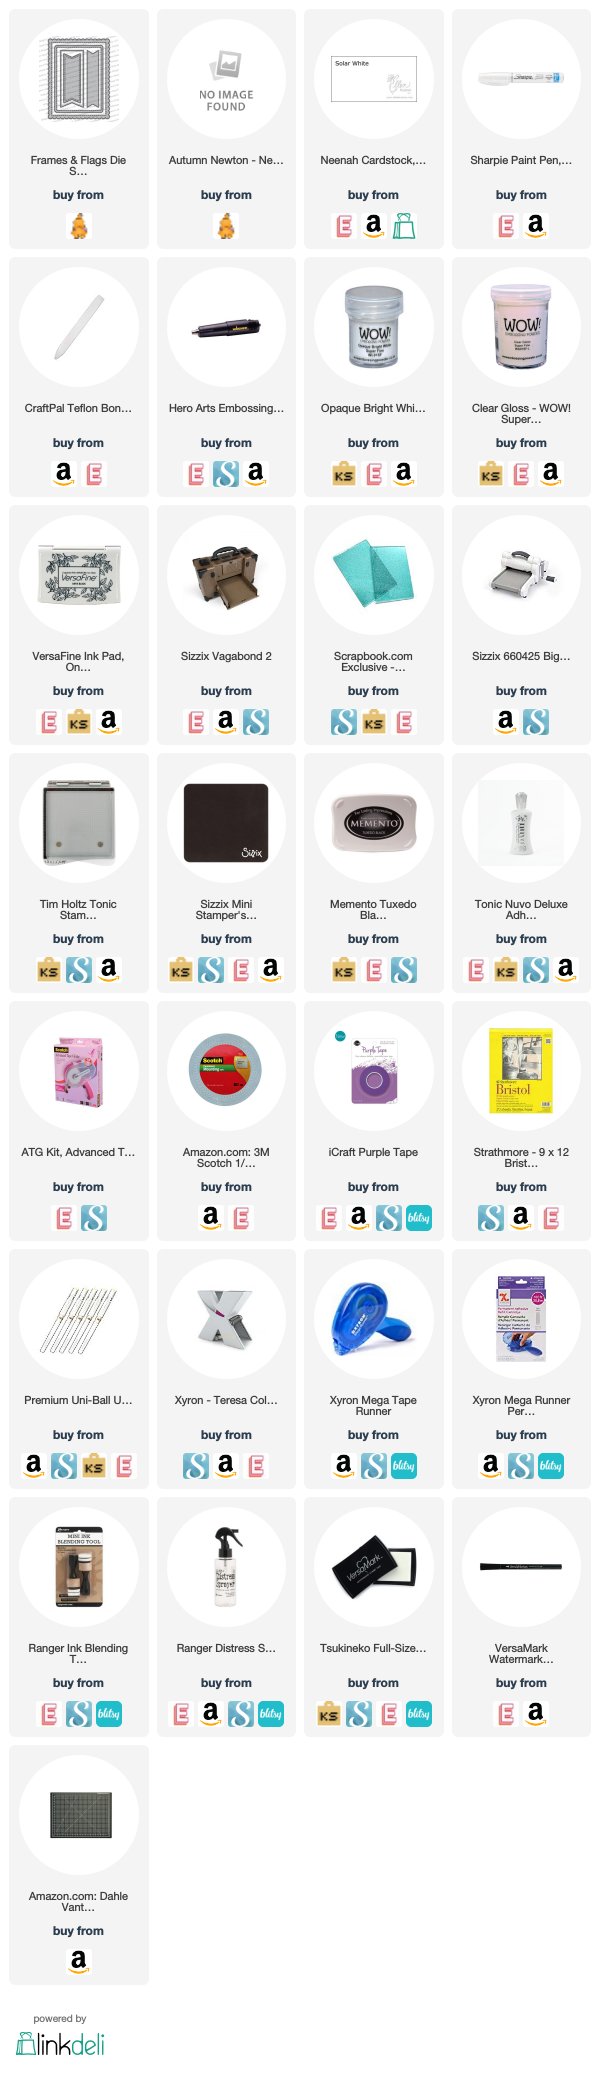
———-SUPPLIES———-