Knight Owl Halloween Card with Newton’s Nook Designs

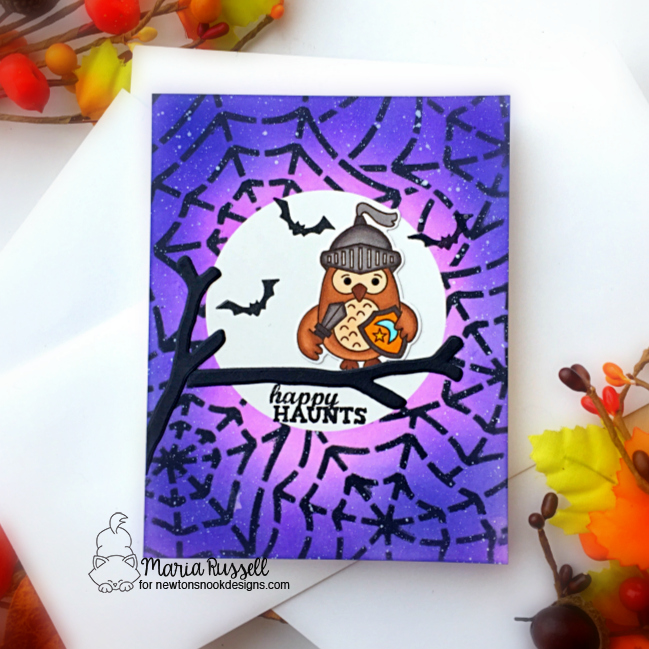
Hello Newton’s Nook fans!  I am back today to share with you yet another Halloween card, showcasing the Knight Owl stamp set and coordinating die, with the Spiderweb stencil, just released last week.


I started by masking a panel of some Bristol smooth white card stock.  I ink-blended this panel with some distress oxide ink


I used the Spiderweb stencil to ink add more details to the background with some black ink.  I also sprinkled some white paint all over the background for added texture.


Next, I removed the mask to reveal the full moon.  I die-cut the bats from the Halloween Trio die set and adhered it onto my background with some liquid glue.


The focal image was stamped and colored with alcohol markers.  To ground my image, I die-cut the branch from What A Hoot die set and adhered on the card with some glue.


I finished my design by stamping the sentiment from the Spooky Street stamp set.  Here’s another look at the card:


I hope you like my Halloween card today.  The supplies I use are listed and linked below.  Thanks for stopping by and happy stamping!


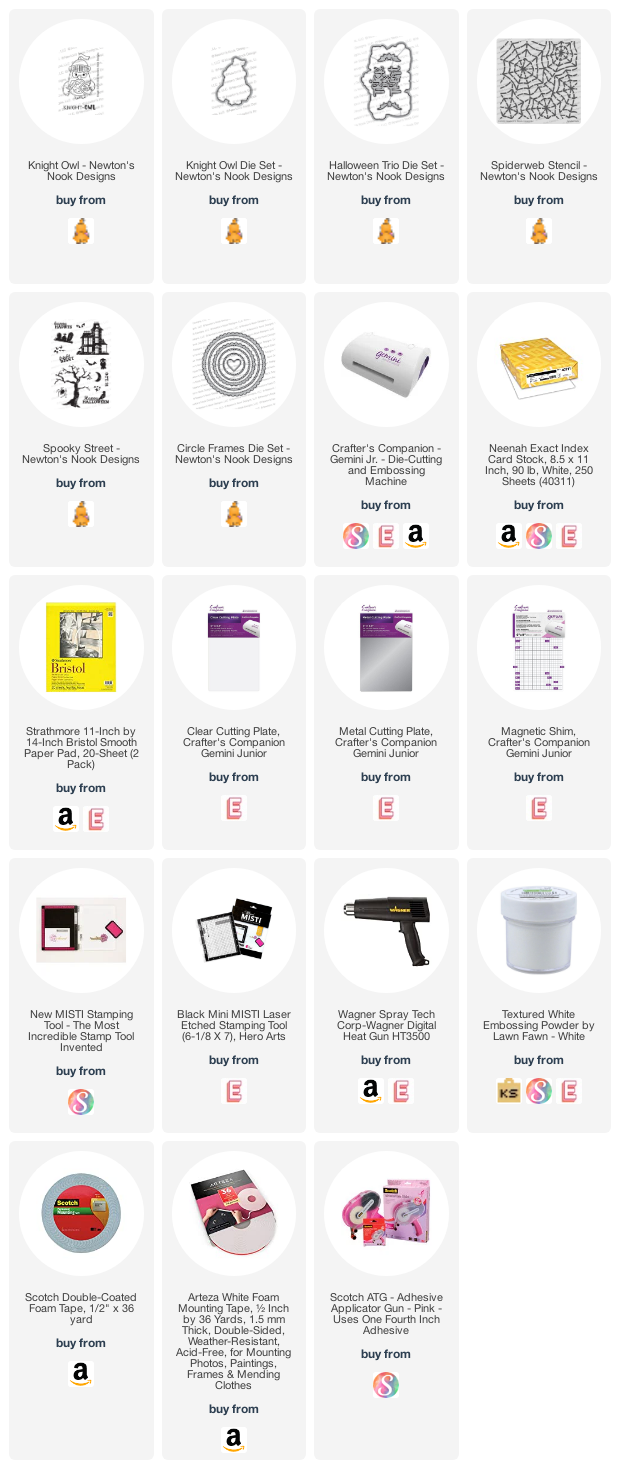
——-SUPPLIES——

NND August Release Day 4 – Knight Owl and Pug-kin Stamp Sets & Dies


I always get a bit bummed when it’s the last day of the reveals by Newton’s Nook Designs.  Have you seen the last three days?  The design team totally knocked it out of the park it!  You also have a chance to win the stamp set being revealed each day so please read through til the end of the blog post to find out more info.  [Just a little important note:  I know some of you had difficulties finding the comments section.  If you would like to leave a comment to participate in the giveaway, the “comments section” will only be ever visible when a single post on Word Press is being viewed. Please click on this particular blog post and you will be able to leave a comment below.  Thank you!]  


For day 4, we are showcasing the Knight Owl and Pug-kin Stamp Sets with the coordinating dies.


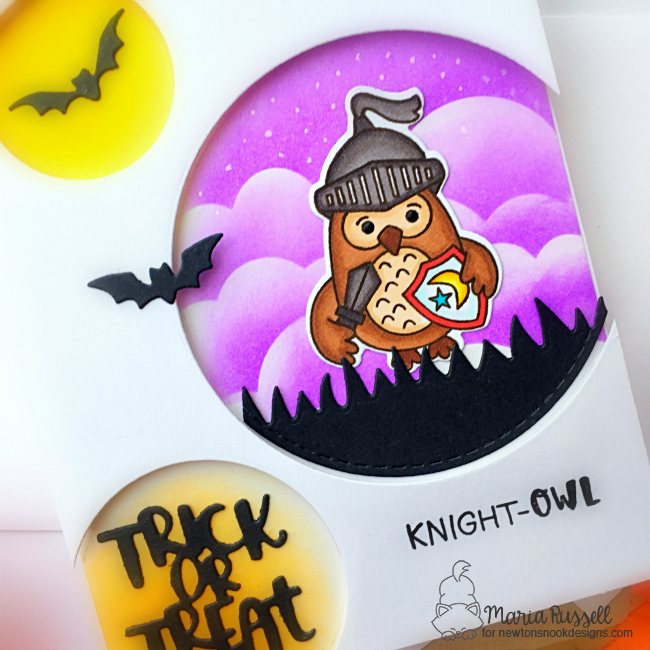
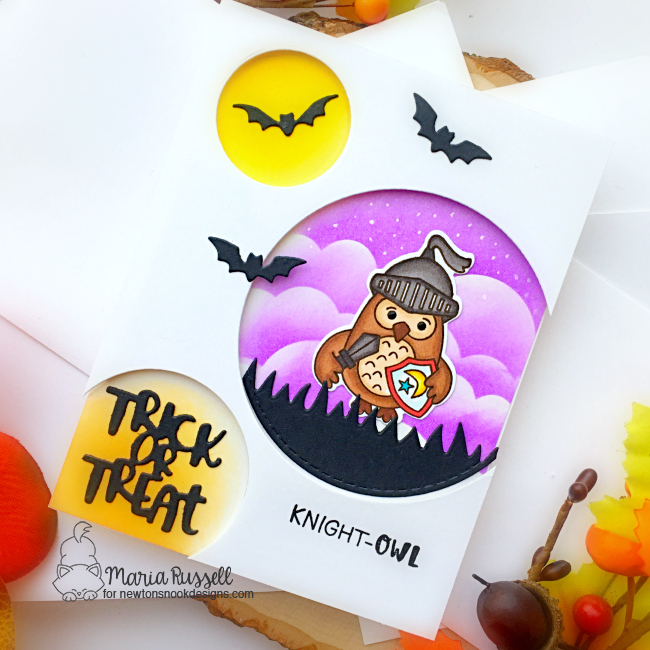
To make my first card, I cut an A2 size panel of some Neenah solar white card stock and used the circle dies from the Circle Frames die set to cut the three windows.   I used my pencil to draw the circles on another A2 size panel of Bristol smooth white card stock.  I inked up the circles with some distress oxide inks and erased my pencil lines using a pencil eraser.


The Neenah white panel was foam-mounted on the colored background for added dimension.   I stamped my focal image and color it in with my alcohol markers.  I adhered this onto the card with liquid glue.


My scene was created by adding the grass panel die-cut from the same circle dies I used earlier and the Land borders die.  I adhered this onto the card with glue.


The bats and “TRICK OR TREAT” were die-cut using the dies from the Halloween Trio die set.   I adhered them onto the card with some liquid glue.


To finish my design, I used my white gel pen to draw some dots to the sky to make them look like stars.  Here’s another look:


For my second card, I die-cut the circle from the Circle Frames die set on some Bristol smooth white card stock.  I ink-blended this piece with some distress oxide inks.   I used the same circle die and the Land Border die to die-cut the grass.


The background was created by using the Spiderweb stencil and some light gray dye ink.  I cut this panel to 4 1/4 by 5 1/4 and adhered on an A2 size panel, that was colored with the Houndstooth stencil.   I die-cut some black strip and adhered onto the card with liquid glue.  I also die-cut some black party streamers  using a die from my collection and the bats using the Halloween Trio die set.


I stamped the image and used alcohol markers to color it in.  I used the coordinating die to die-cut the image and adhered on the circle.  I foam-mounted this piece on my card for added dimension.  Here’s another lookK


Would you like to win the “Knight Owl” and the “Pug-kin” Stamp Set?  We will choose TWO lucky winners to each win this duo of stamp sets!

Here’s how to win: Comment on the NND blog and Design Team blogs (see list below)! The winner will be chosen at random from the collective reveal posts. Make sure to check out each of their blogs and comment for your chance to win. You will not know which blog has been chosen so the more you comment on the better your chances are of winning! You have until Thursday August 20th at 9pm EST to comment  — winners will be announced on the blog post on Friday, August 21st.

Check out all the awesome Design Team Blogs below to enter:

Newton’s Nook Designs

Ellen Haxelmans

Larissa Heskett

Samantha Mann

Zsofia Molnar

Maria Russell (you are here)

Andrea Shell

Tatiana Trafimovich

Amy Tsuruta

Amanda Wilcox

——-SUPPLIES——


NND August Release Day 1 – Sips & Stories, Mugs & Houndstooth Stencils


It is that time of the month where the entire design team get so excited to show off the new stamps, dies and stencils by Newton’s Nook Designs.  You also have a chance to win the stamp set being revealed each day so please read through til the end of the blog post to find out more info.  [Just a little important note:  I know some of you had difficulties finding the comments section.  If you would like to leave a comment to participate in the giveaway, the “comments section” will only be ever visible when a single post on Word Press is being viewed. Please click on this particular blog post and you will be able to leave a comment below.  Thank you!]  


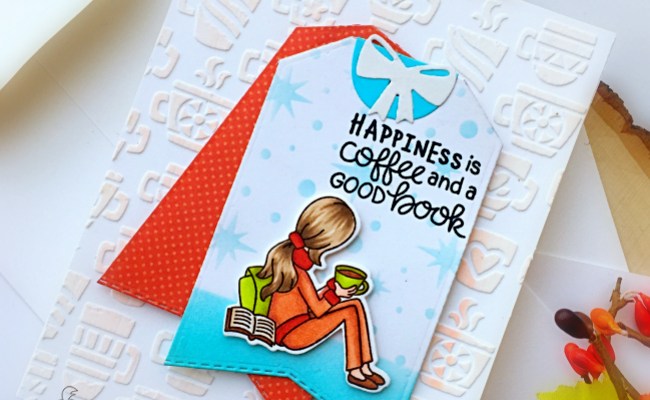
For the first day of the reveals we are starting with the Sips & Stories stamp set and coordinating dies, with the Mugs and Houndstooth Stencils.

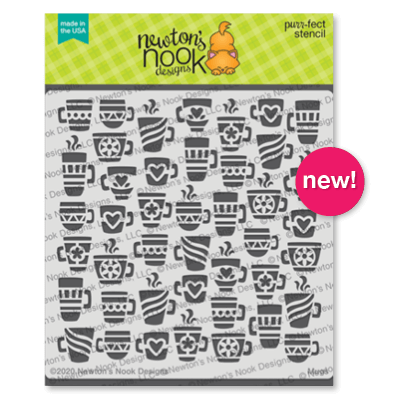


To make my cards, I started by stamping my images on some Neenah solar white card stock and colored my images in with Spectrum Noir alcohol markers.  I used the coordinating dies to die-cut the images.


On another piece of Neenah solar white, I temporarily adhered the Mugs stencil with some purple tape.  I used my palette knife to take some texture paste out of the jar. I put a few drops of carved pumpkin distress oxide inks to add a little bit of color, and applied it all over the stencil using my Stencil Pal.  I set this aside to dry for about half an hour.


I die-cut the two tags with the Fancy Edges Tag die set.  I added some color to the white tag with some distress oxide ink and used the Starfield Stencil for more texture to the background.   I foam-mounted my colored image to the tags and adhered them on the card.
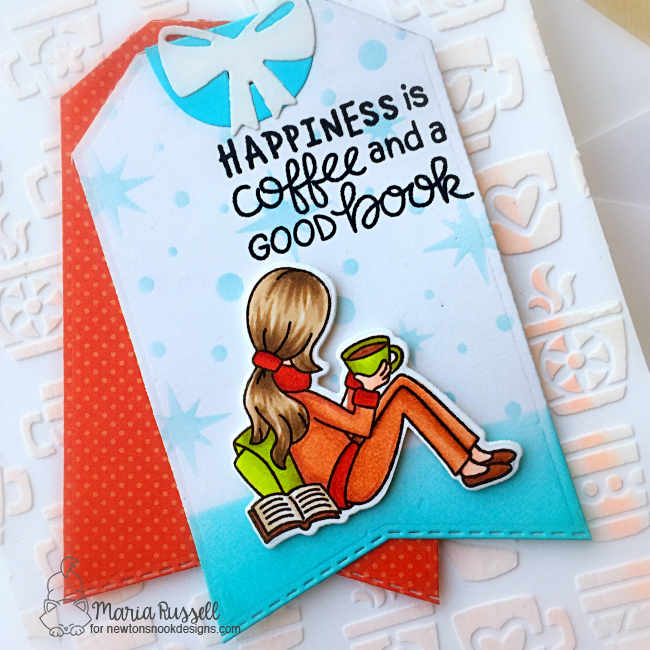


To finish my design I added the white bow from the Pines & Holly die set.  Here’s another look:


Since I colored a lot of images, I decided to make another card.  I cut a slimline panel of some Bristol smooth white card stock measuring 3 1/2 by 8 1/2 using the Slimline Frames & portholes die set.  I used some painter’s tape to mask the sides and inked up this panel with some distress oxide inks.  I sprayed some water for added texture and picked up the excess with some paper towel.


The black frame was die-cut using the Slimline Frames & Windows die set and foam mounted to the colored panel for added dimension.  I adhered the colored images with my tape runner.
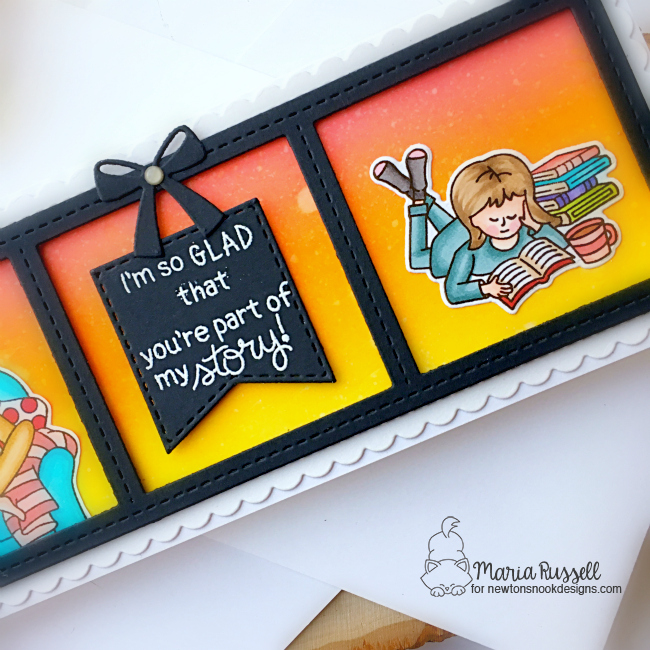


The die-cut the banner using one of the dies in the Slimline Frames & Windows die set and stamped my sentiment using Versamark ink.  I sprinkled some white embossing powder to this and heat-set with my Wagner Heating tool.  I adhered this piece on the card with my tape runner.


To finish my design, I added the black bow from the Baby Bib die set with some gray enamel dot for added texture.


Would you like to win the “Sips & Stories” Stamp Set? This stamp set will be given away to ONE lucky winner!

Here’s how to win: Comment on the NND blog and Design Team blogs (see list below)! The winner will be chosen at random from the collective reveal posts. Make sure to check out each of their blogs and comment for your chance to win. You will not know which blog has been chosen so the more you comment on the better your chances are of winning! You have until Thursday August 20th at 9pm EST to comment  — winners will be announced on the blog post on Friday, August 21st.

Check out all the awesome Design Team Blogs below to enter:

Newton’s Nook Designs

Ellen Haxelmans

Larissa Heskett

Samantha Mann

Zsofia Molnar

Maria Russell (you are here)

Andrea Shell

Tatiana Trafimovich

Amy Tsuruta

Amanda Wilcox

——-SUPPLIES——


Serendipi-tea with Cas-ual Fridays Stamps

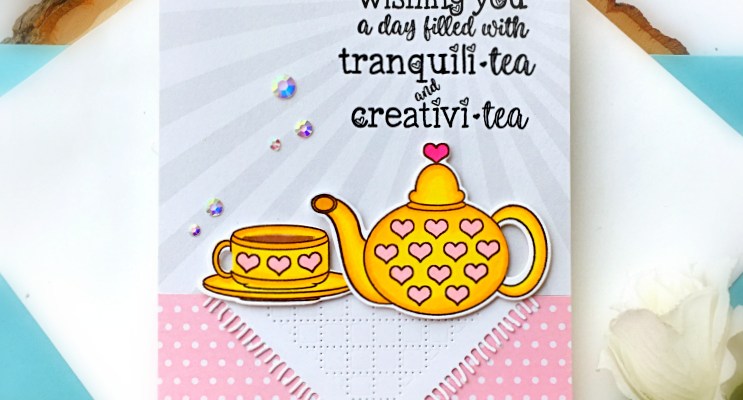
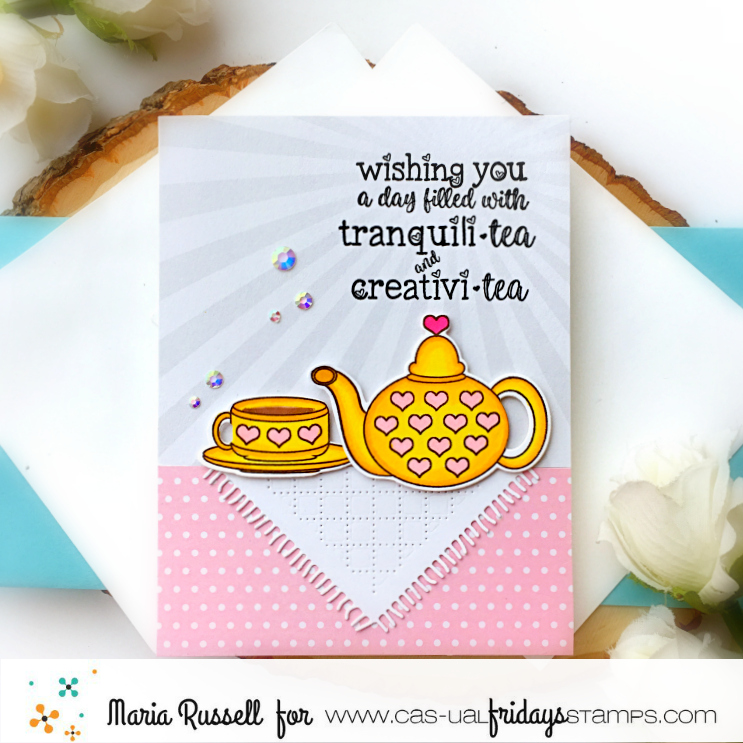
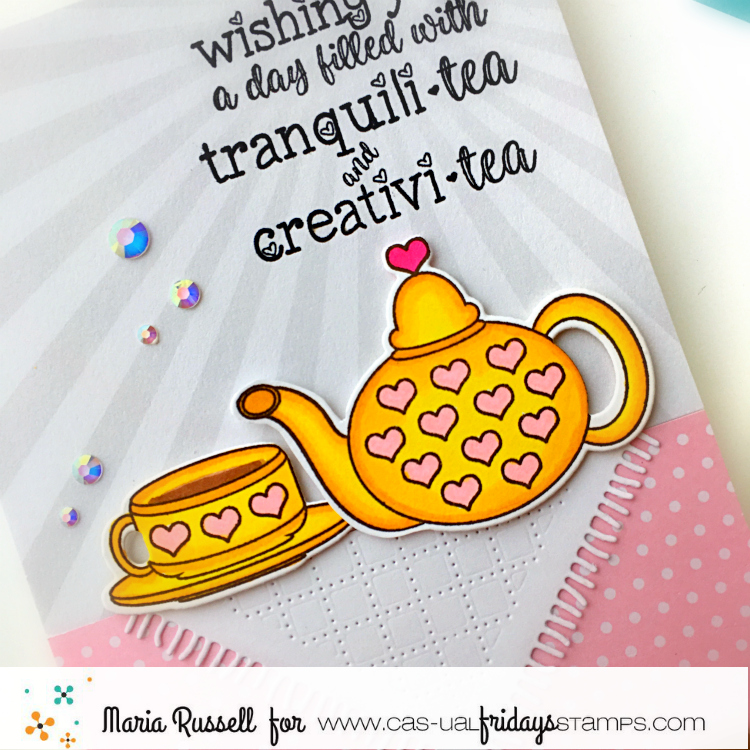
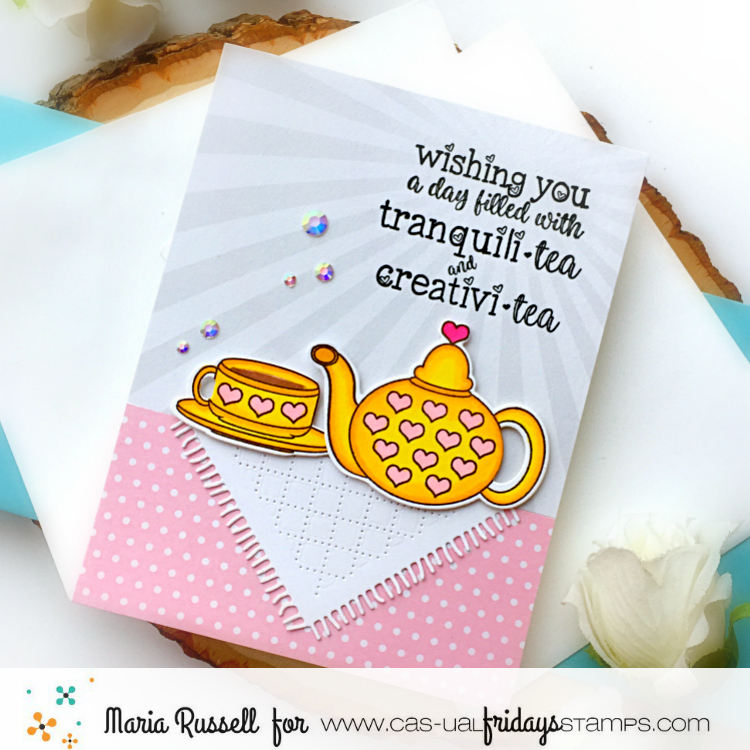
Hello Cas-ual Fridays fans!  I’m back today to share this very simple (but cute) card, showcasing the Serendipi-tea stamp set and Teapot Fri-Die.

I started by die-cutting the teapot and the cup using the Teapot fri-die.  I positioned the diecuts back into its place and secured it with some washi tape.  I stamped the images using Spectrum Noir Alcohol Proof ink in Rustic Brown and colored the images in with alcohol markers.

I adhered some patterned papers on an A2 size-card base.  I also die-cut the “table cloth” using a die from my collection and adhered on the card.  I added the colored images with some foam adhesive for more texture and dimension.

To finish my design, I added some sparkling clear jewels with liquid glue.  I also stamped the sentiment with Versafine Onyx black ink.  Quick and simple but I love how it turned out.  Here’s another look:


Supplies are listed and linked below.  Please don’t forget to use my coupon code below for 15% off your order.  Thanks for stopping by and happy stamping!

——-SUPPLIES—–

I’m Done Adulting. Let’s Be Mermaids!

Hello my crafty peeps! Maria here on the blog with you today sharing two summer-themed cards, showcasing one of my favorite stamp sets from the summer release called “Mermaid Treasures“, along with the Under the Sea, Ocean Waves and Mermaid Shimmer stencils.

For my under the sea card on the left, I started by inking up the background with my blending brushes and Ocean Waves and Under the Sea stencils using a combination of the Marina Madness, Tropical Sea and Four Leaf hybrid inks.  I used the same stencil and some glitter glitz gel to add more texture to the school of fishies.  I also die-cut two borders using the By The Sea border die and foam-mounted these pieces onto the colored panel.  I adhered this to an A2 size card base.

Next, I stamped the images on some Neenah solar white card stock and colored them in with my alcohol markers.  I used the coordinating dies to die-cut them out and adhered them using either some foam or liquid adhesive for added dimension.

Lastly, I adhered some Sparkling Clear Droplets to my card for added texture.  Don’t they just look like bubbles?  Here’s another look:

Since I colored a lot of images, I decided to make another card.  I used some low-tack tape to mask both sides of my A2-size card panel.  I used my blending brushes with the Mermaid Shimmer stencil, and colored the background mixing the Fandango and Tangerine Dream hybrid inks.  

I used my glitter glitz gel to add more texture to the background.  I love the glittery effect it gave on the card.  I die-cut two strips of black card stock and adhered it both sides.  I also cut some strips of the patterned paper from the Seaside paper pack.

I foam-mounted my focal image and used my shimmer pen to add some highlights to her hair.

To finish my design, I stamped the sentiment with watermark ink and sprinkled some white embossing powder.  I used my heating tool to heat-set the sentiment and die-cut using the Sentiment Stack die.  I adhered this piece with some foam adhesive.  Here’s another look:

This card is really simple but I love the textured background!  

Don’t you just love the mermaid images on the Mermaid Treasures stamp set?  They are beyond adorable!  I also LOVE, love, love the new stencils!  I can’t really pick a favorite!  LDRS Creative has an amazing line of stencils that you can use to create a wonderful scene on your projects. 

I hope I have given you some great inspiration today.  The supplies I use are listed and linked below.  Thank you for stopping by the happy stamping!

———–SUPPLIES———–

This Calls For a Serious Celebration with Trinity Stamps

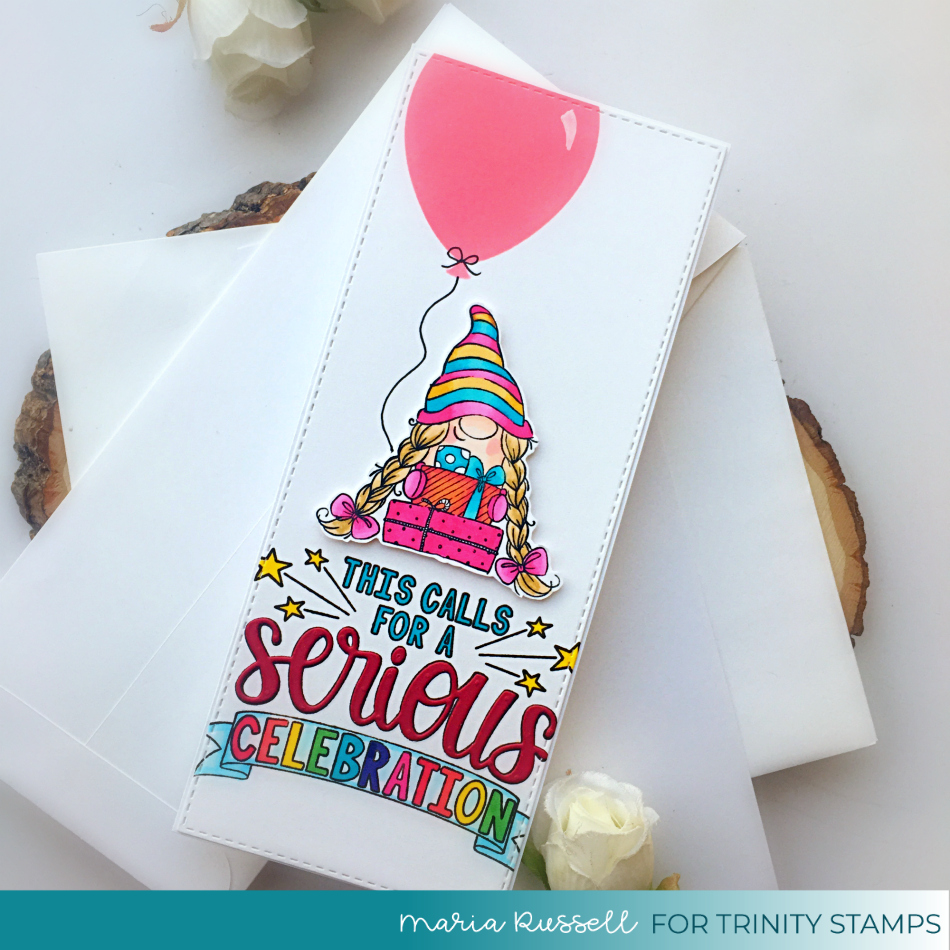
Hello!  I am back today with a fabulous celebration card using products from Trinity Stamps.

This image has an empty alt attribute; its file name is MRussell_SeriousCeleb1_July25thBlog.jpg


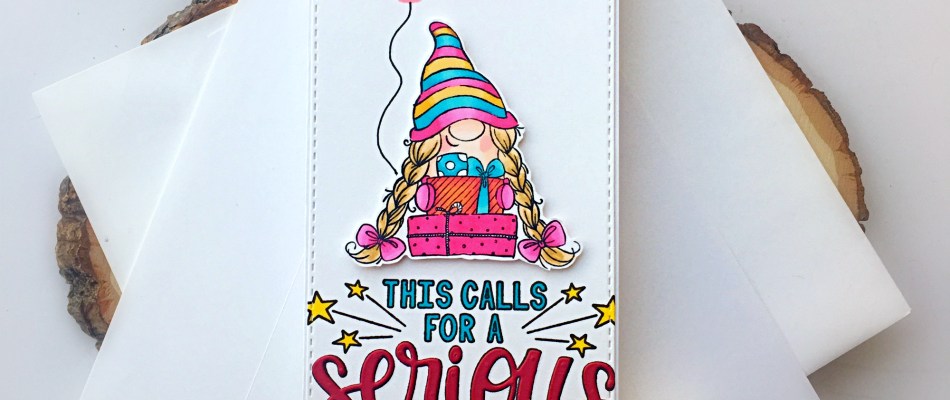
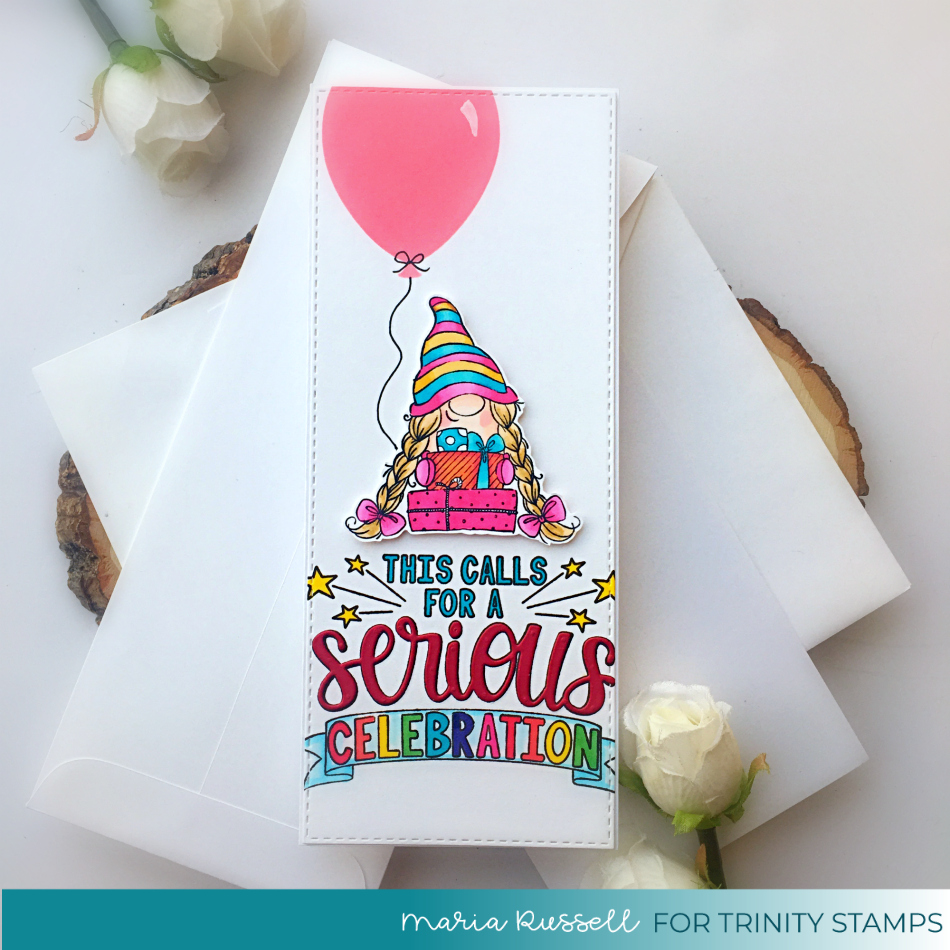
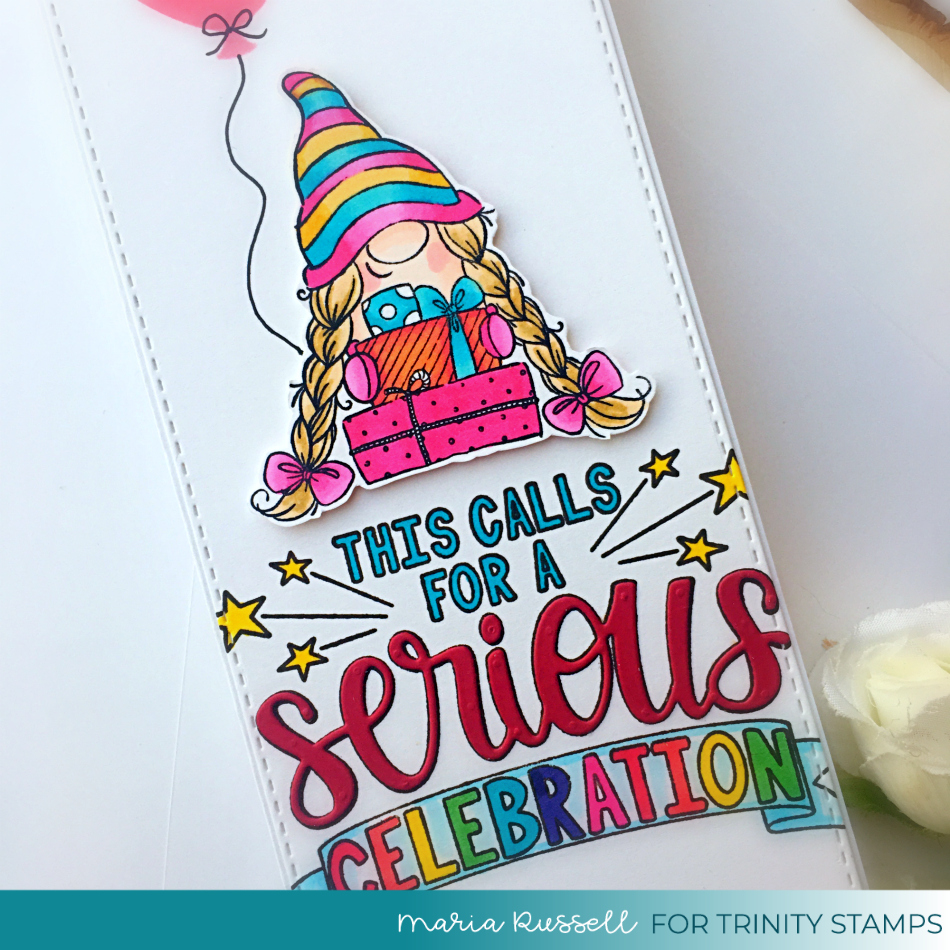
I started by die-cutting my slimline panel on some Neenah solar white card stock using the biggest die from the Slimline Stitched Card Panels & Windows die set. I stamped the Serious Celebration on this piece and colored it in with my Spectrum Noir Classique Alcohol markers.

The word “serious” was die-cut using the Serious Celebration die set and adhered with liquid glue for added texture.

The gnome was stamped and colored with alcohol markers and foam-mounted on the card panel for added dimension.


This image has an empty alt attribute; its file name is MRussell_SeriousCeleb2_July25thBlog.jpg


Lastly, I used the Slimline Layered Balloons stencil and the Blending Buddy brush to add the balloon.  Here’s another look at the card:


This image has an empty alt attribute; its file name is MRussell_SeriousCeleb3_July25thBlog.jpg
 
I hope you like my card today and got inspired. The supplies I use are listed and linked below.  


——–SUPPLIES——-


Happy Anniversary Card with CAS-ual Fridays Stamps

A friend of mine asked me to create an anniversary card for his wife so it’s all about flowers and anniversaries today!  

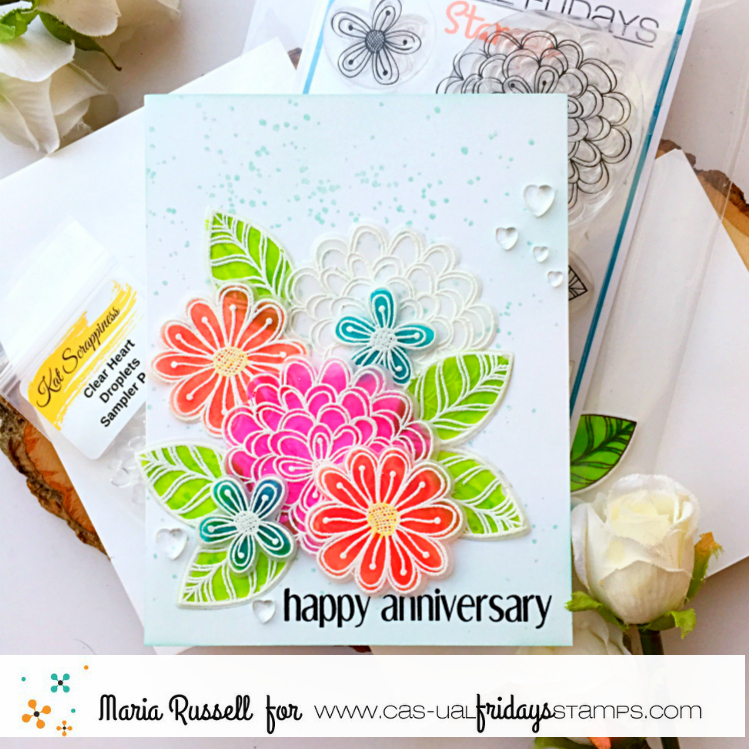
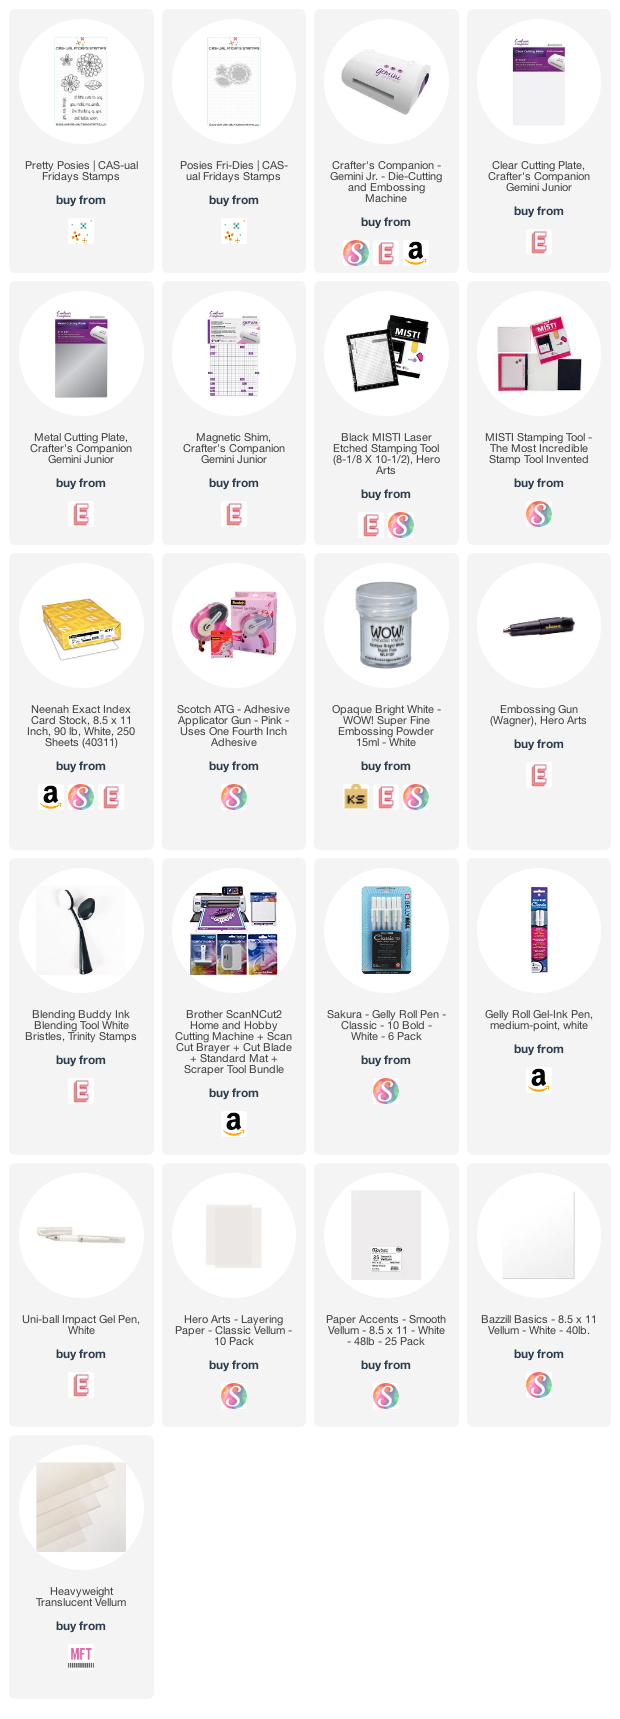
For today’s card, I am showcasing the Pretty Posies stamp set and Posies Fri-Die.


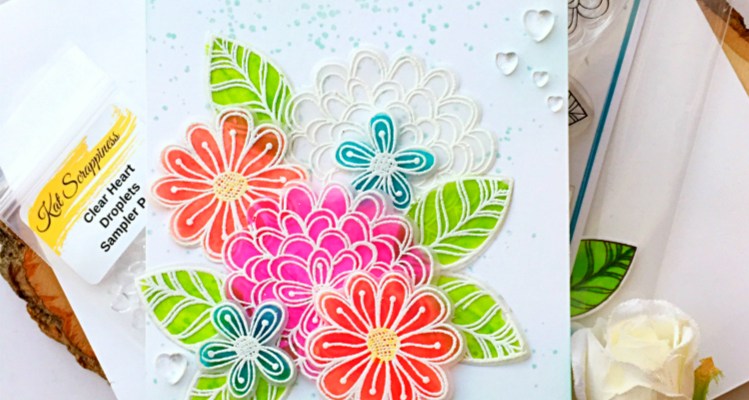
I started by stamping the images on some vellum with versamark ink.  I sprinkled some white embossing powder and heat-set with my heating tool.

I die-cut the flowers using the coordinating dies.  I flipped the cut images on the other side and used my alcohol markers to color them in.  I set them aside to dry and started working on my background.

I die-cut an A2 size panel of white card stock and used some dye inks and blending brush to lightly color the background.  I pressed the same ink pad onto an acrylic block and added some water.  I used my paint brush to splatter some color on my background for a more cohesive look, and added texture.

 I adhered the vellum flowers on the card using my Xyron sticker maker and some foam adhesive for added dimension.

To finish my design, I stamped the sentiment with Versafine Onyx Black ink and added the Sparkling Hearts droplets on the card.  Here’s another look:

Don’t forget to use my coupon code below to receive 15% off your order:


I hope you like my card today.  Thanks for stopping by and happy stamping!

———SUPPLIES———-


You’re One in a Chameleon with Spectrum Noir

Lately, it seems that I have been creating a lot of rainbow-themed cards!  I just love the bright colors and they make me happy!  One thing I LOVE about Spectrum Noir is that they not only have amazing alcohol and aqua markers, colored pencils, but they also have a wide-range of ink pads.  The ink pads are so juicy and so easy to use and the colors are so vibrant.  They are my go-to when it comes to stamping color images.


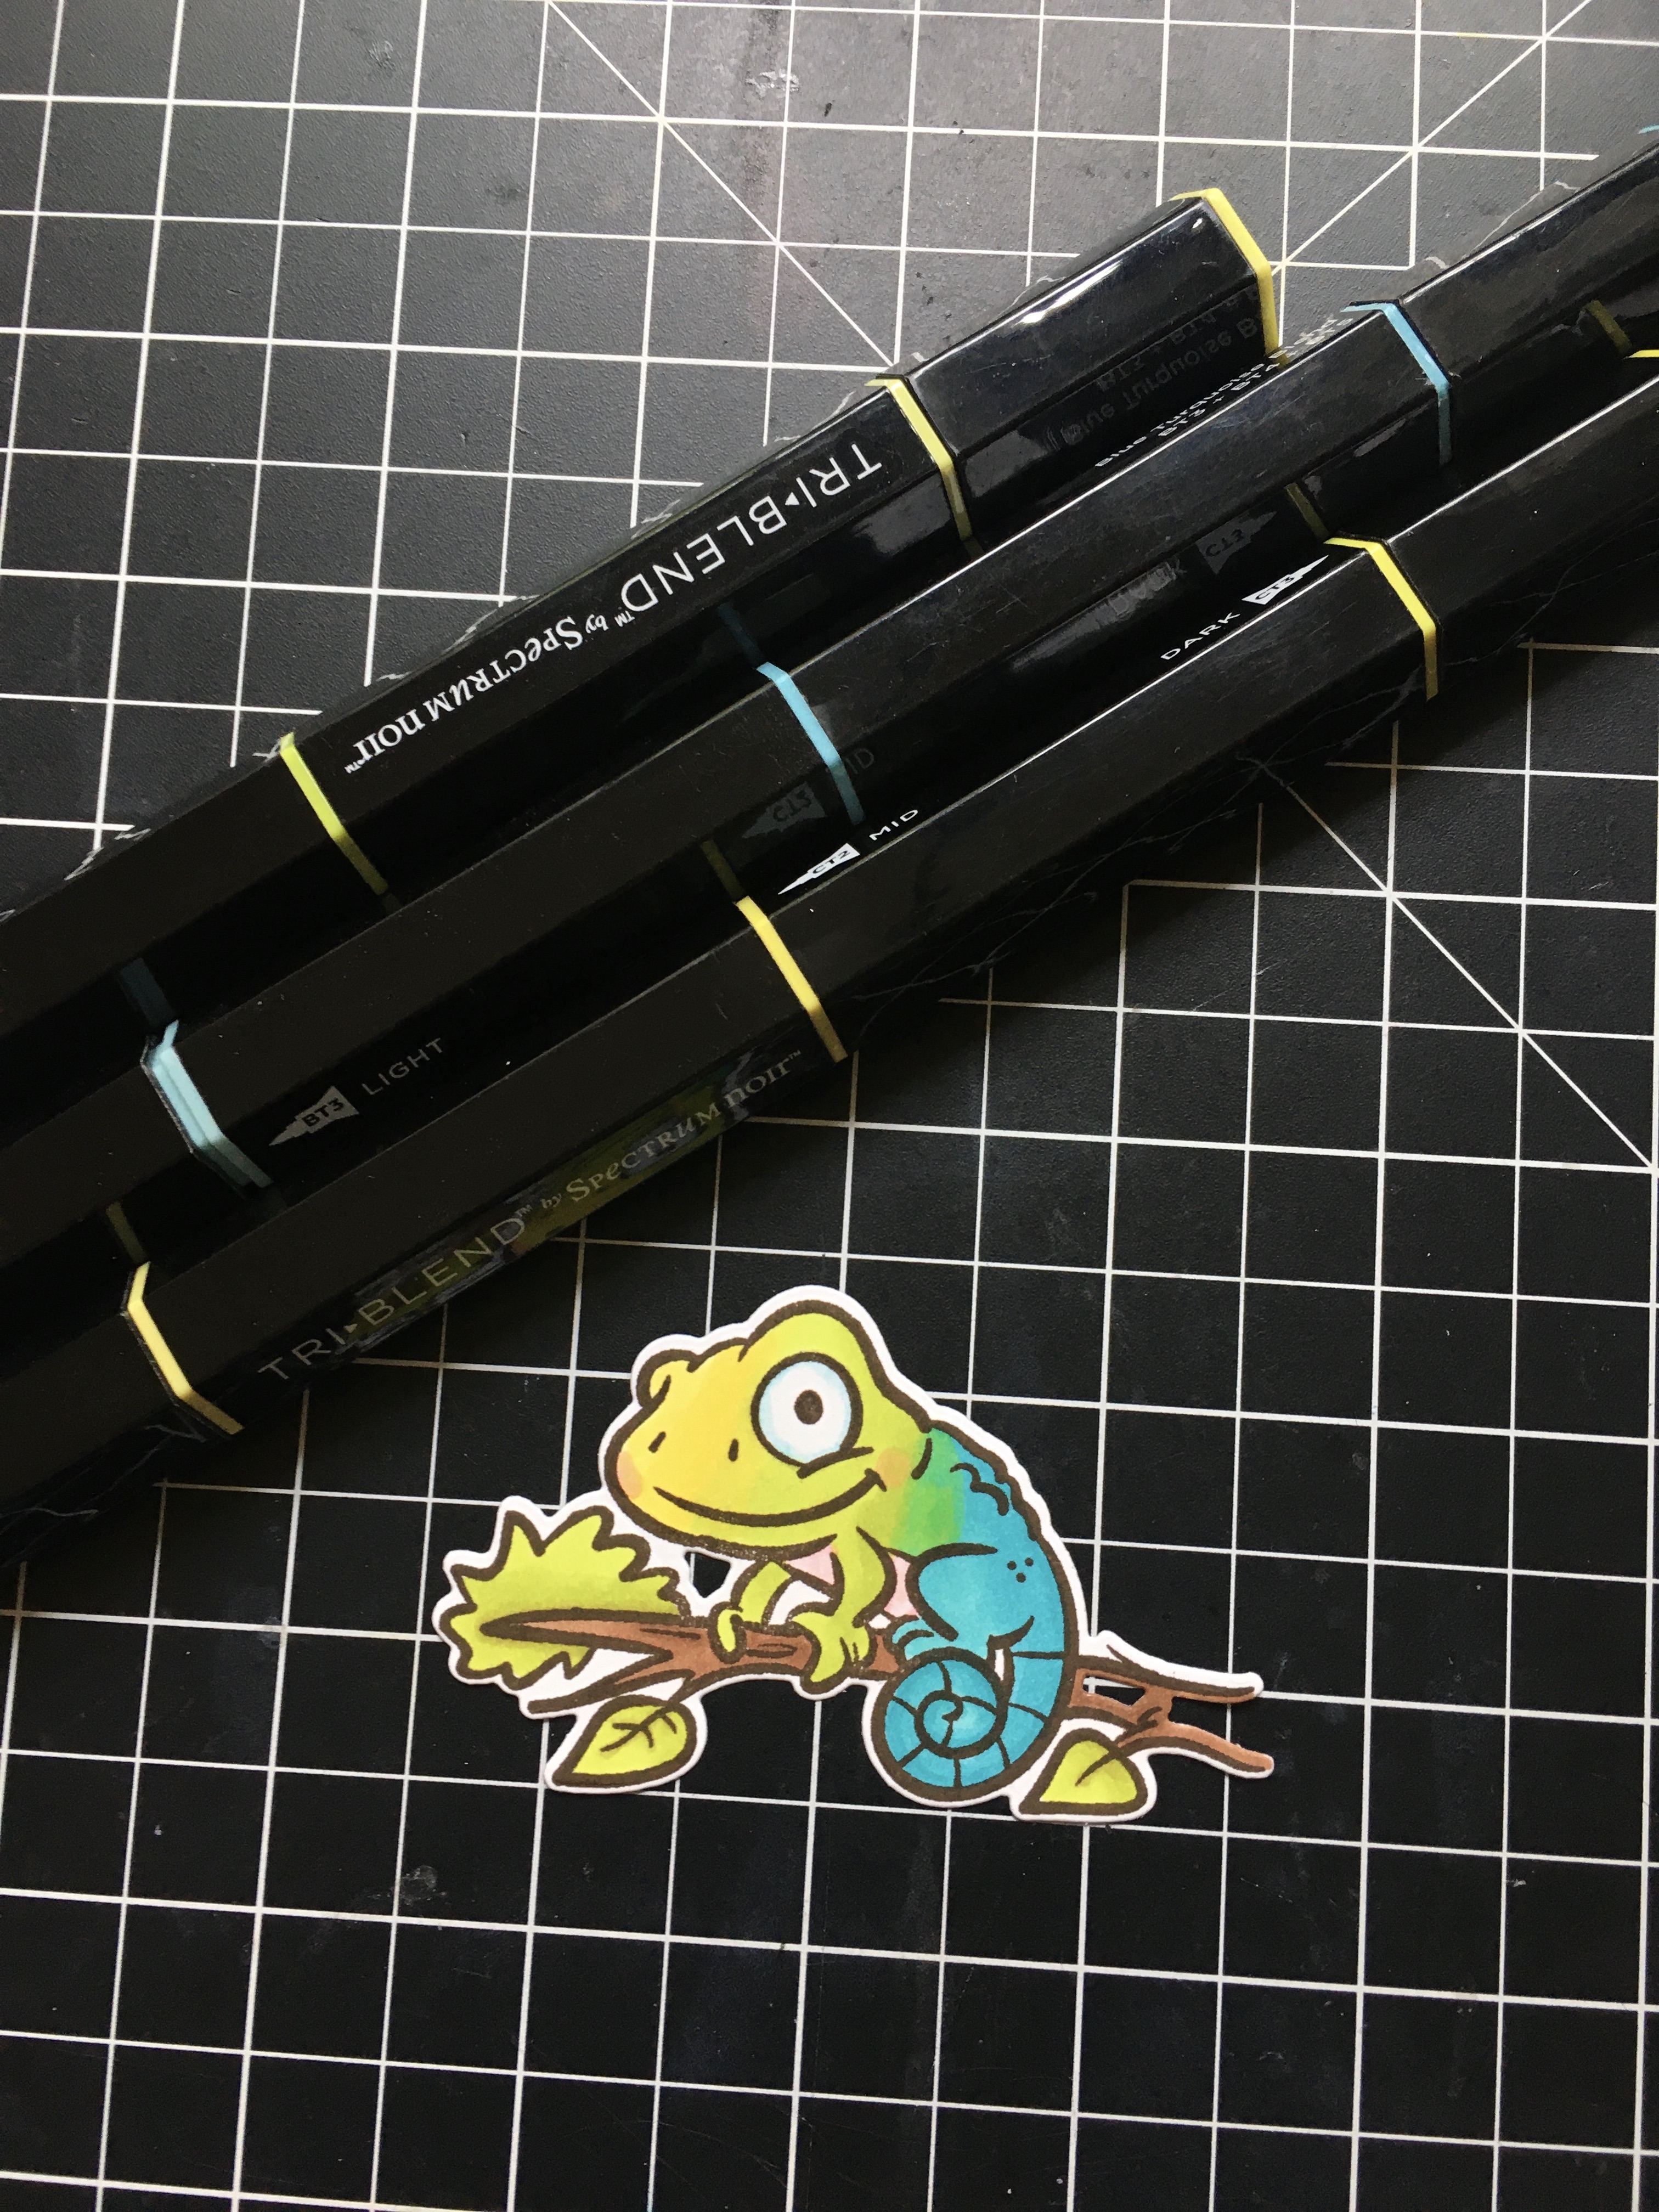
For my project today, I am showcasing the Spectrum Noir TriBlend markers, as well as the SN Harmony Quick Dry Dye inks.  The stamp set I used today is by Your Next Stamp.


Step-by-Step Instruction:


  • Gather supplies to create your card.


  • Position your card panel inside your stamping tool and stamp the image in rainbow order.  I used SN Harmony Quick Dry Dye inks in Chinese Red, Pink Tulip, Lemon Tonic, Grasshopper, Oasis and Crushed Velvet.


  • Adhere the colored image on the background with foam adhesive for added dimension.
  • Adhere some sparkling clear jewels for added texture.


  • Finish the design by stamping the sentiment with Spectrum Noir Harmony quick Dry Ink in Black.


I hope you like my project today.  Please don’t forget to visit Crafter’s Companion and the Spectrum Noir facebook group for more inspiration from the design team.  The supplies I use are listed and linked below.  Thanks for stopping by!


———SUPPLIES——–

LDRS Creative Summer 2020 Release

Hello my crafty friends!  The new SUMMER COLLECTION by LDRS Creative is now available at the shop and we are celebrating it with a bang giving you a discount code “SRJ10” for 10% off at the shop (valid until midnight, eastern time of June 26).


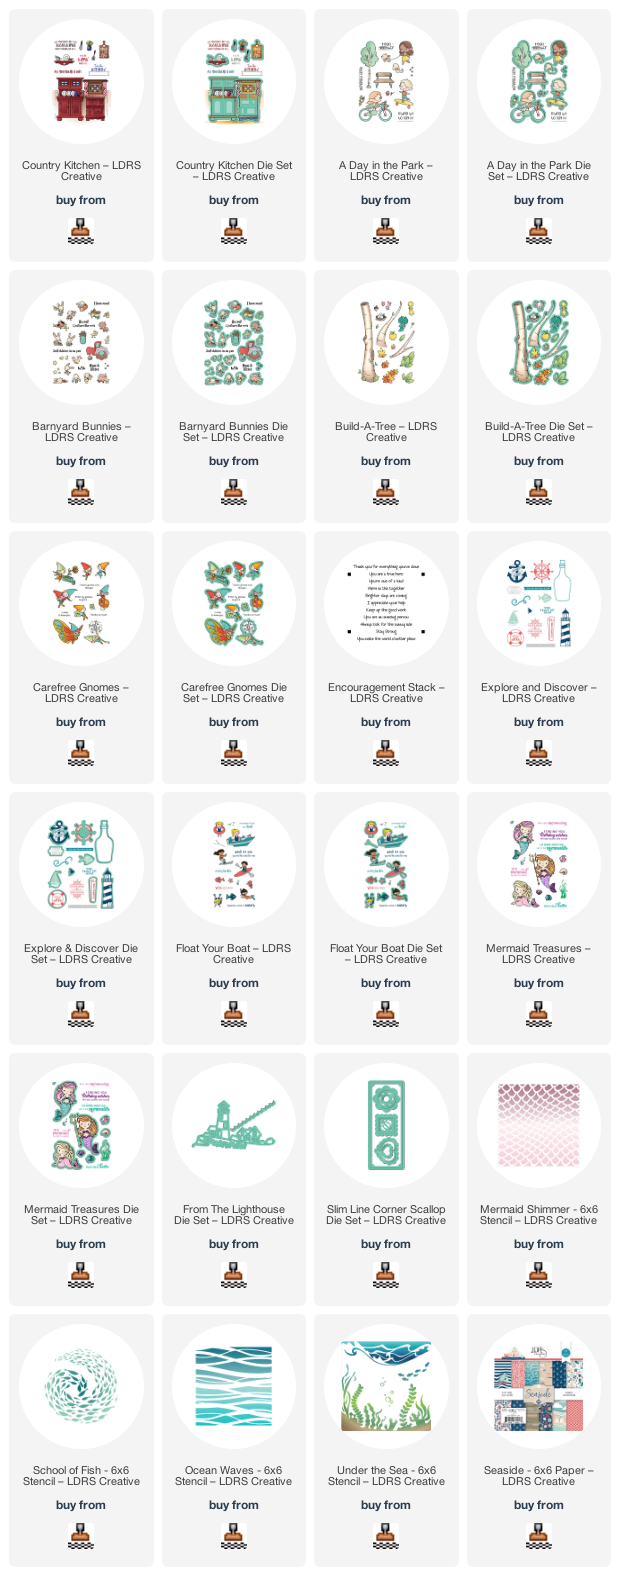
I couldn’t even pace myself when I saw this release and I honestly cannot even pick a favorite.  For my card today, I am showcasing the Country Kitchen stamp set.


I am not a one-layer card kind of girl but this stamp set is so amazing, it doesn’t even need anything else.  


To begin, I stamped the images with Raven Hybrid ink and colored the images in with my Spectrum Noir alcohol markers.


I used my Copic black multi-liner and t-ruler to draw the floorboards, coloring it after with some light gray alcohol markers to create dimension between the kitchen wall and floors.  I used my white gel pen and drew some lines to the kitchen cabinets for added texture and details to make it look like glass.


I finished my design by stamping the sentiment using Kiss Me Red Hybrid Ink.


I hope I have given you some inspiration with the Country Kitchen stamp set.  I have listed and linked all the stamps, dies and stencils available at the LDRS Creative if you’re interested.  Order now and avail the discount.  Thanks for stopping by and happy stamping!


———–SUPPLIES——–