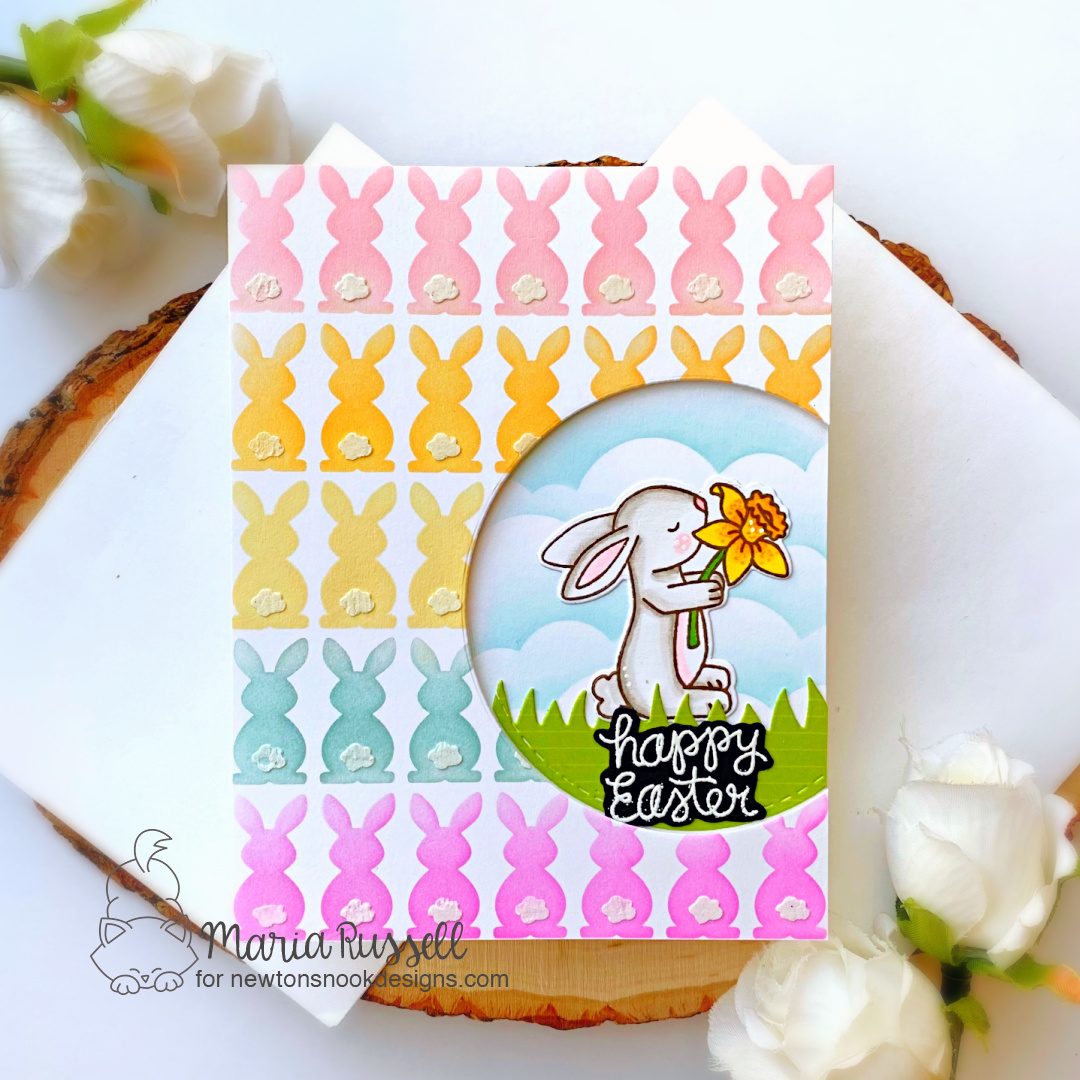
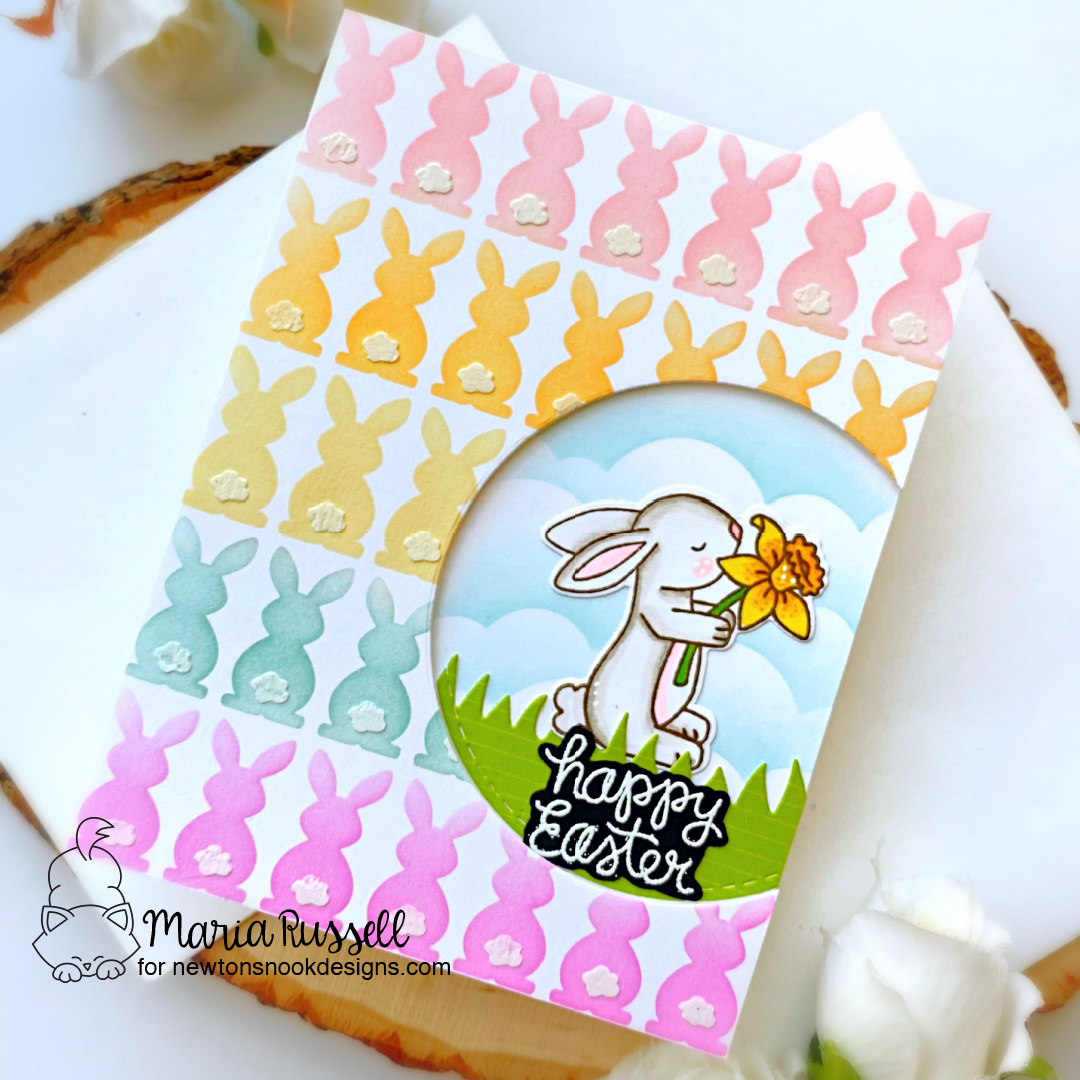
Hello my crafty friends! The weather has been so unpredictable lately and I know some of you are having some major snow storm. I hope my colorful card today will cheer you up a little. For today’s project, I am showcasing the Bunny Tails Stencil, Hop Into Spring Stamp Set and coordinating dies along with the Circle Frames die set, Land Border die set and Clouds Stencil.
I stamped the image on Neenah solar white card stock using Memento Rich Cocoa ink and colored the images in with alcohol markers. I used the coordinating die to die-cut the image.
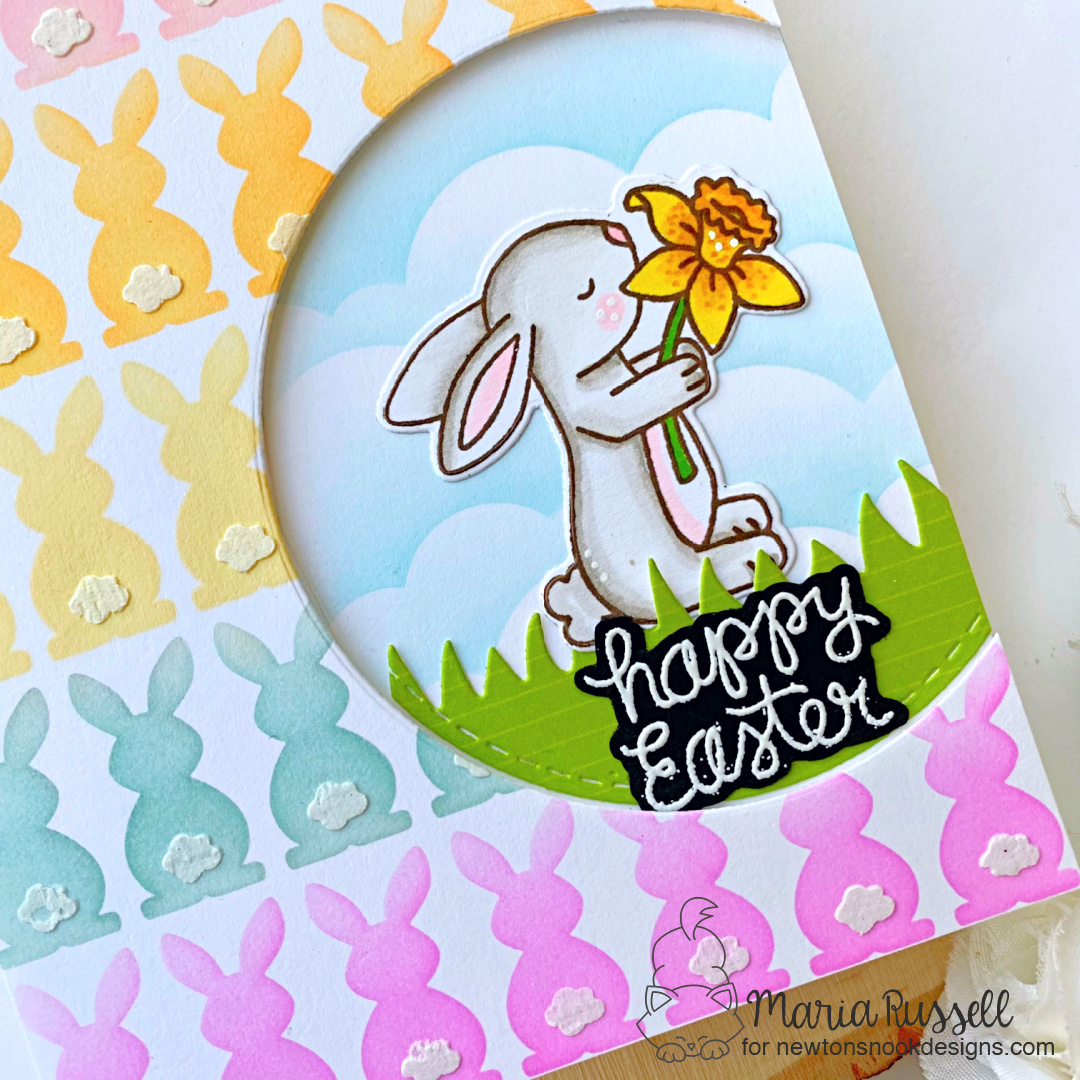
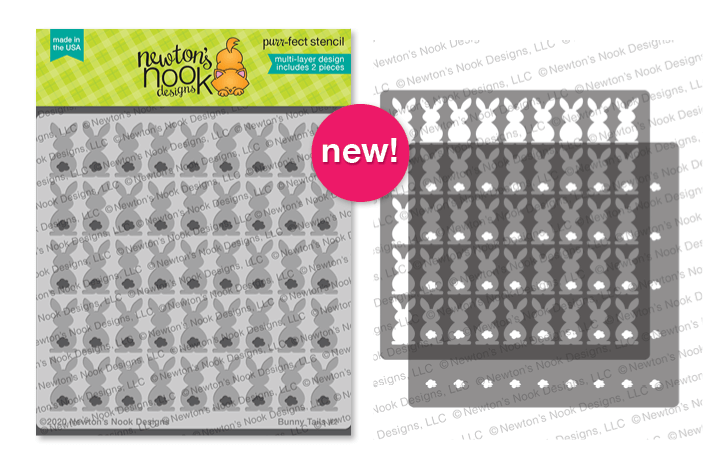
I cut another panel of Neenah solar white card stock measuring 4 1/4 x 5 1/2. I sprayed my Bunny Stencil (#1) with Pixie Spray. I waited for the stencil to dry a little and placed it on top of my card stock. The pixie spray gave it some light tack so that it didn’t shift while blending the colors. I used some low tack tape to mask-off the the lower portion of the stencil so that the colors don’t contaminate each other. I used my blending brushes to add pink, then peach, yellow, blue and purple. The bunny tails were added using stencil #2 with some textured paste and my palette knife for added texture and dimension. I set this aside for about half an hour to let it dry and added foam tape at the back of the panel.
I used the “positive” die-cut to pencil the lines on my notecard. I then used my clouds stencil and some dye ink to create the clouds. The grass panel was die-cut using the same circle die that I used to create the window and the land border die. I foam-mounted the focal panel onto the notecard. I also added the grass and the bunny with some glue. I finished my design by stamping the sentiment on some black card stock. I sprinkled some white embossing powder and heat-set with my heating tool. I fussy-cut the sentiment with my precision snips and adhered to the card with glue. Here’s another look:
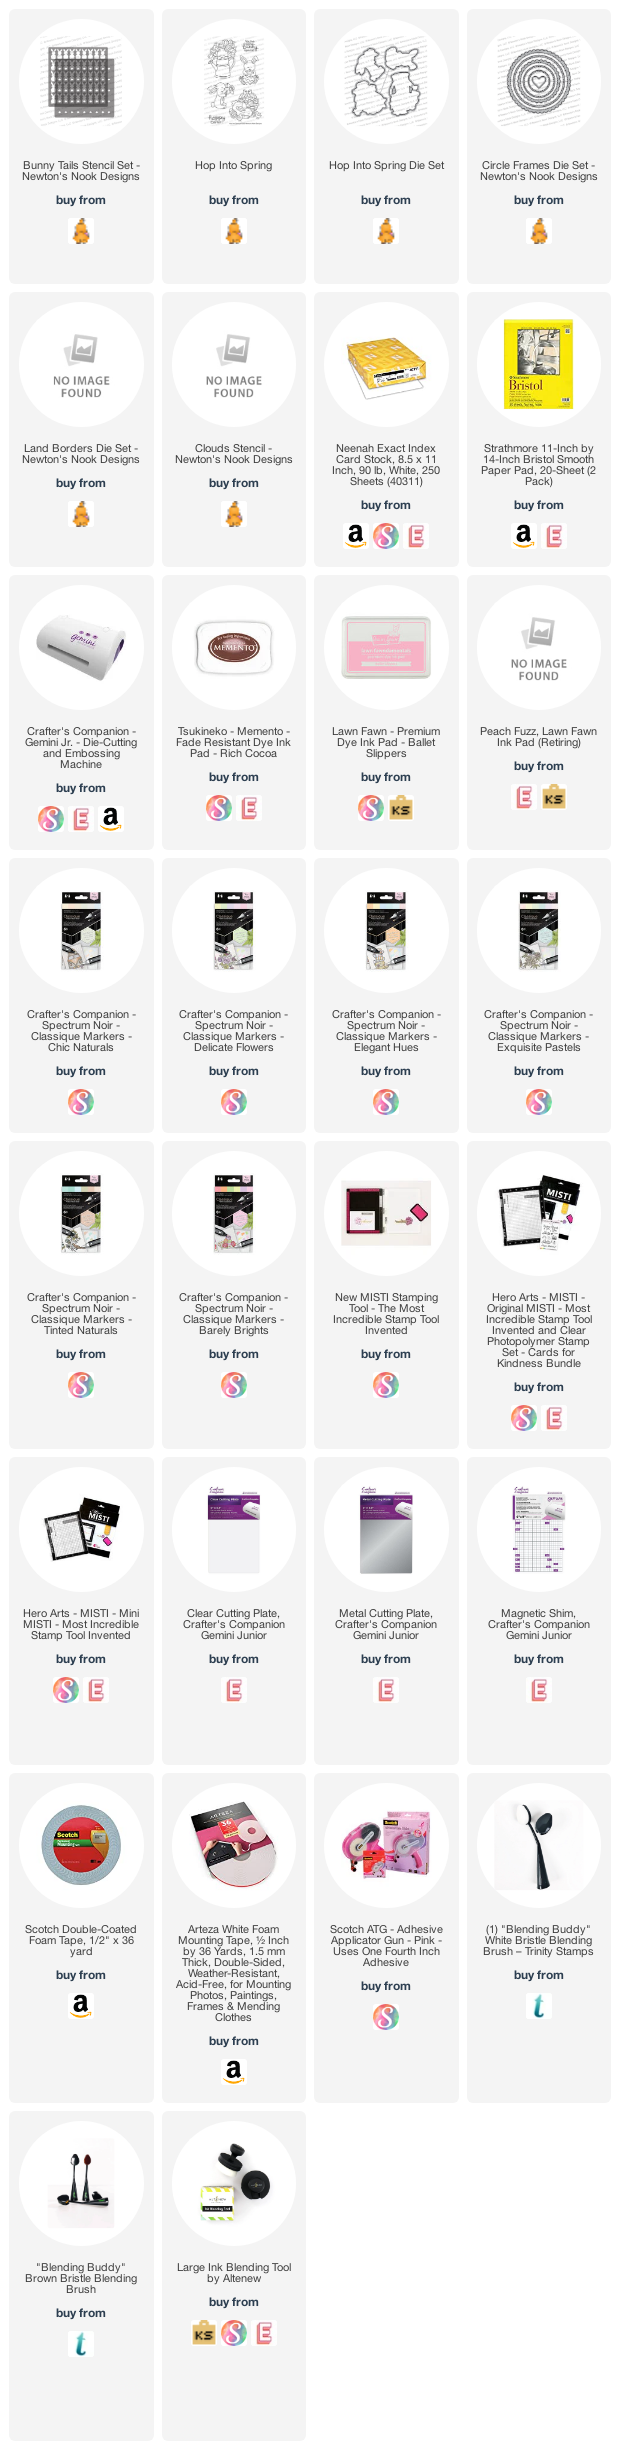
I hope you like my card today. The supplies I use are listed and linked below. Thanks for stopping by!
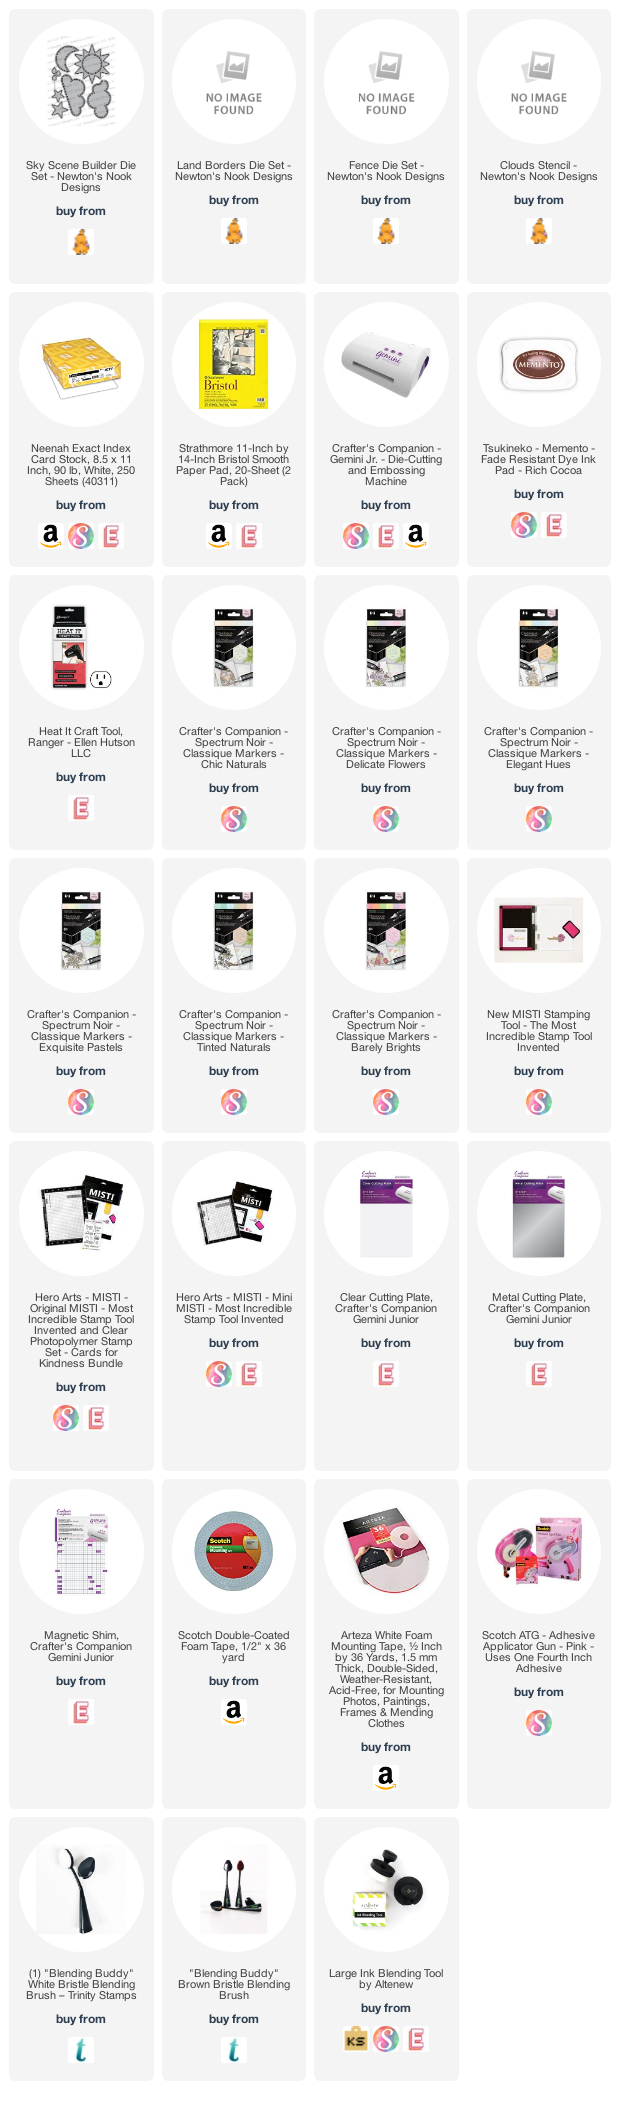
———–SUPPLIES———
It is the third day of the reveals by Newton’s Nook Designs. I hope you were able to check out Monday and Tuesday’s reveal. You also have a chance to win the stamp set being revealed each day so please read through til the end of the blog post to find out more info. [Just a little important note: I know some of you had difficulties finding the comments section. If you would like to leave a comment to participate in the giveaway, the “comments section” will only be ever visible when a single post on Word Press is being viewed. Please click on this particular blog post and you will be able to leave a comment below. Thank you!]
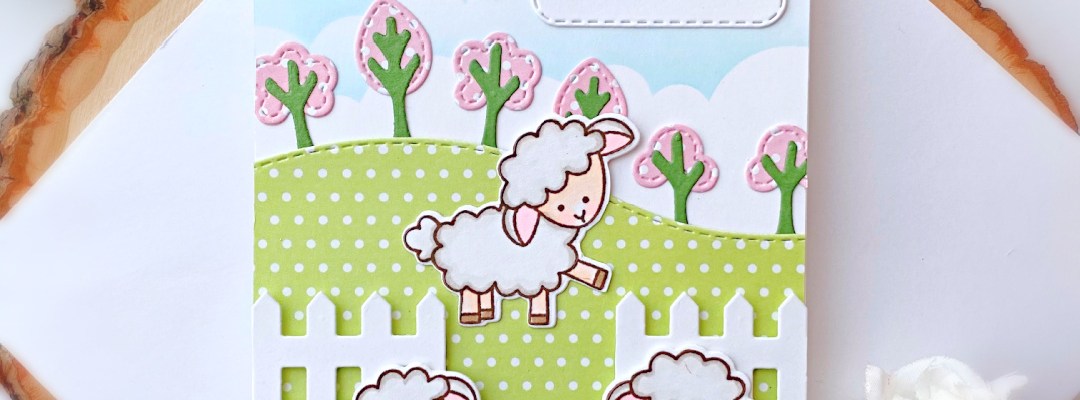
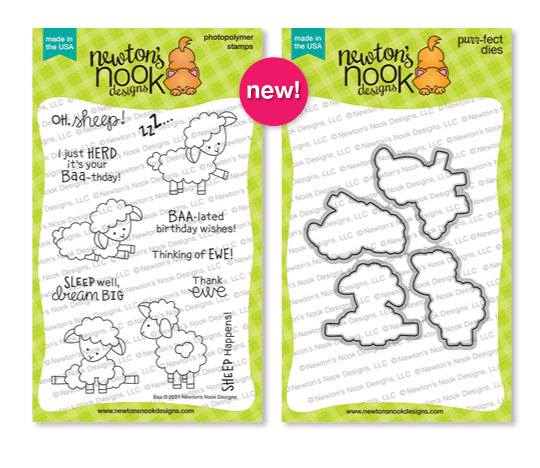
For Day 3, we are showcasing the Baa Stamp Set and coordinating dies.
This stamp set is probably one of my favorites from the release this week! Once again I wanted some soft colors to welcome spring!
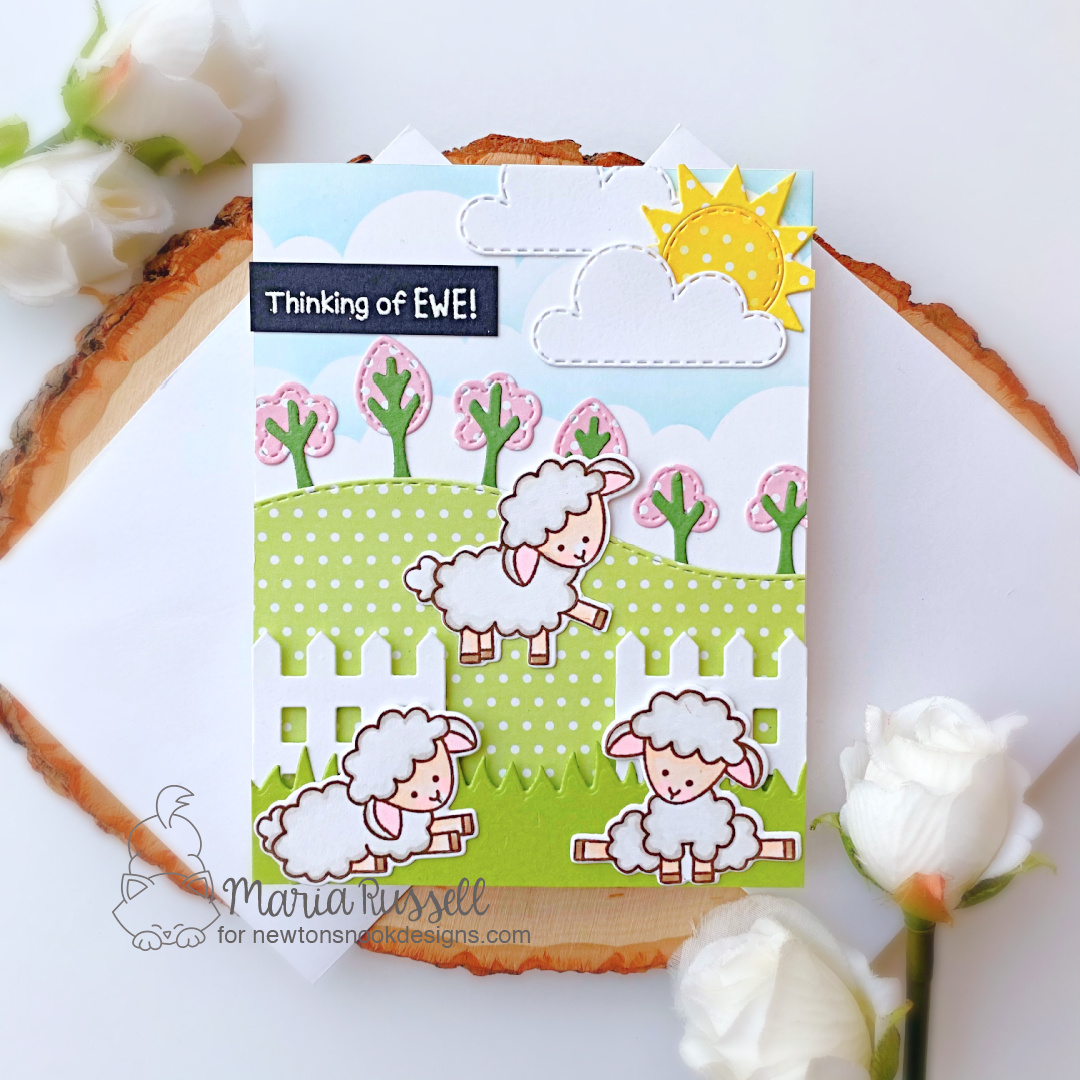
I started by stamping my images on some Neenah solar white with Memento Rich Cocoa ink. I colored the images in with alcohol markers and positioned the dies with some purple tape to die-cut them out.
Next, I die-cut the elements that I need to create my scene using some of my favorite scene-builder dies from Newton’s Nook –> Land Borders Die Set (for the grass and hill), Picket Fence Die and the Sky Scene Builder die set. The tiny trees were die-cut using a die from my collection.
I prepared my background by adding the clouds using the Clouds Stencil with some blending brush and dye ink. I adhered this panel on an A-2 size notecard. I started adhering the pieces that I die-cut earlier to create my scene and foam-mounted the grass for added dimension.
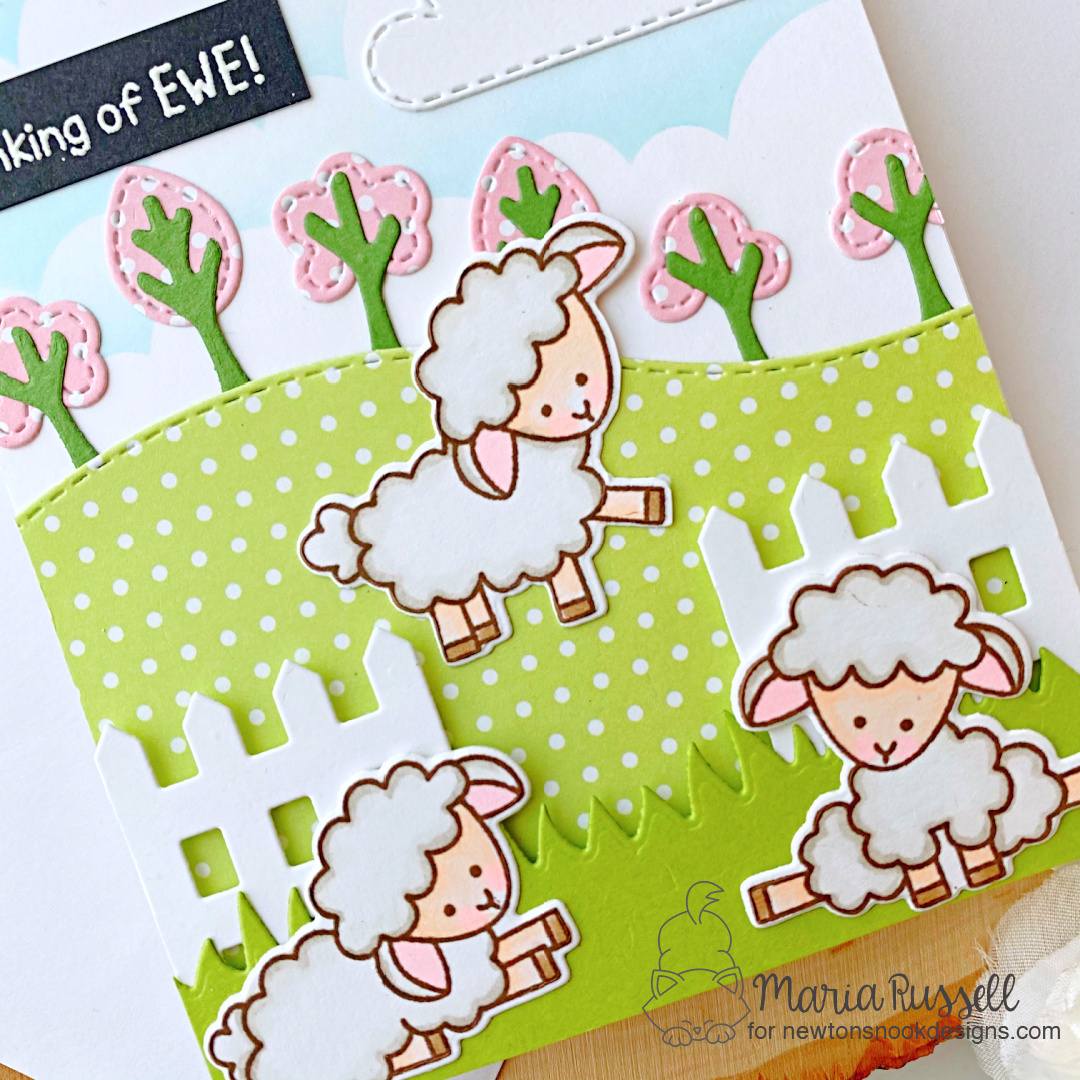
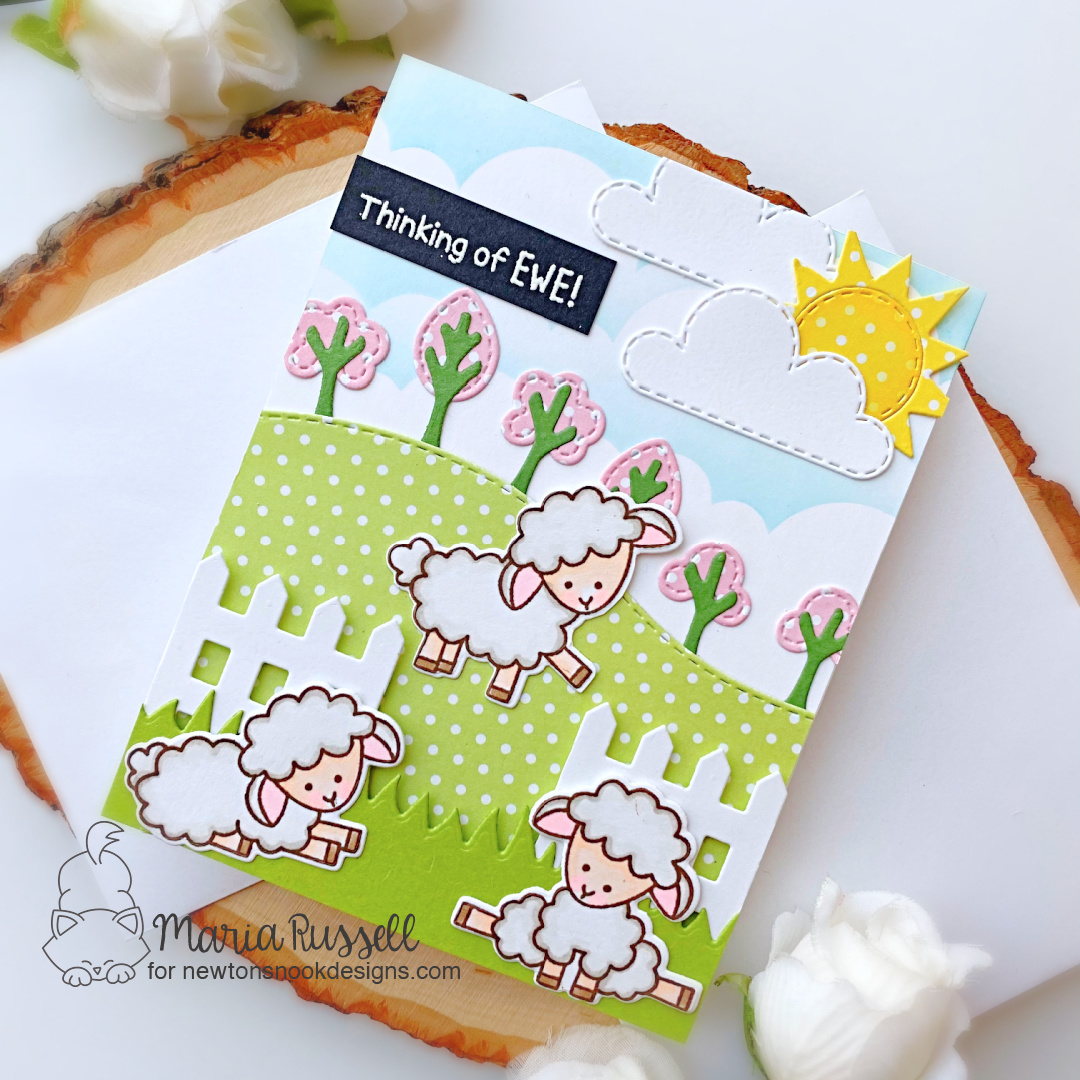
I adhered the colored images with some liquid glue and finished the design by adding the sentiment that was embossed and heat-set on some black card stock. Here’s another look at the finished card:
Would you like to win the “Baa” Stamp Set? This stamp set will be given away to ONE lucky winner!
Here’s how to win: Comment on the NND blog and Design Team blogs (see list below)! The winner will be chosen at random from the collective reveal posts. Make sure to check out each of their blogs and comment for your chance to win. You will not know which blog has been chosen so the more you comment on the better your chances are of winning! You have until Thursday February 18th at 9pm EST to comment — winners will be announced on the blog post on Friday, February 19th.
Check out all the awesome Design Team Blogs below to enter:
———-SUPPLIES———
It is that time of the month where the entire design team get so excited to show off the new stamps, dies and/or stencils by Newton’s Nook Designs. You also have a chance to win the stamp set being revealed each day so please read through til the end of the blog post to find out more info. [Just a little important note: I know some of you had difficulties finding the comments section. If you would like to leave a comment to participate in the giveaway, the “comments section” will only be ever visible when a single post on Word Press is being viewed. Please click on this particular blog post and you will be able to leave a comment below. Thank you!]
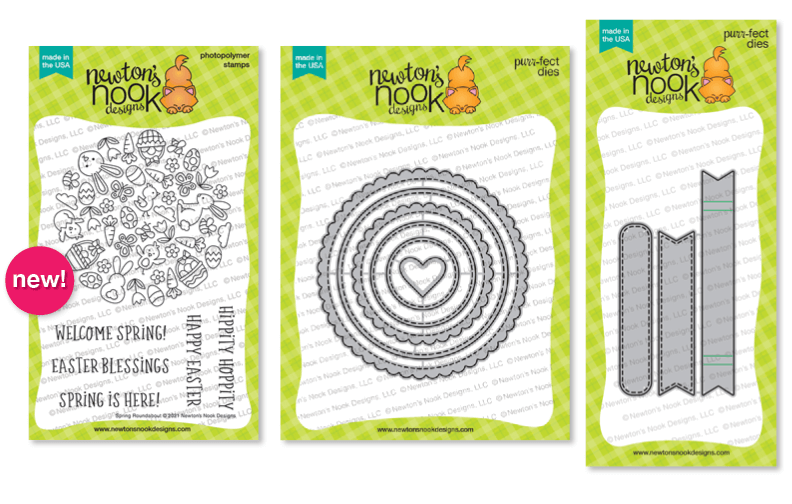
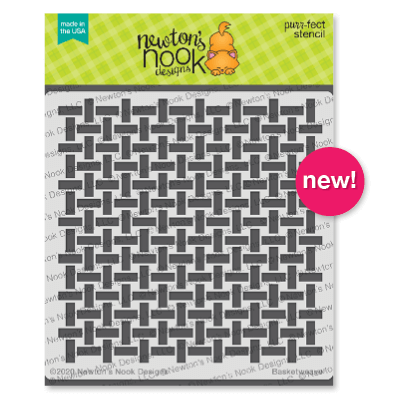
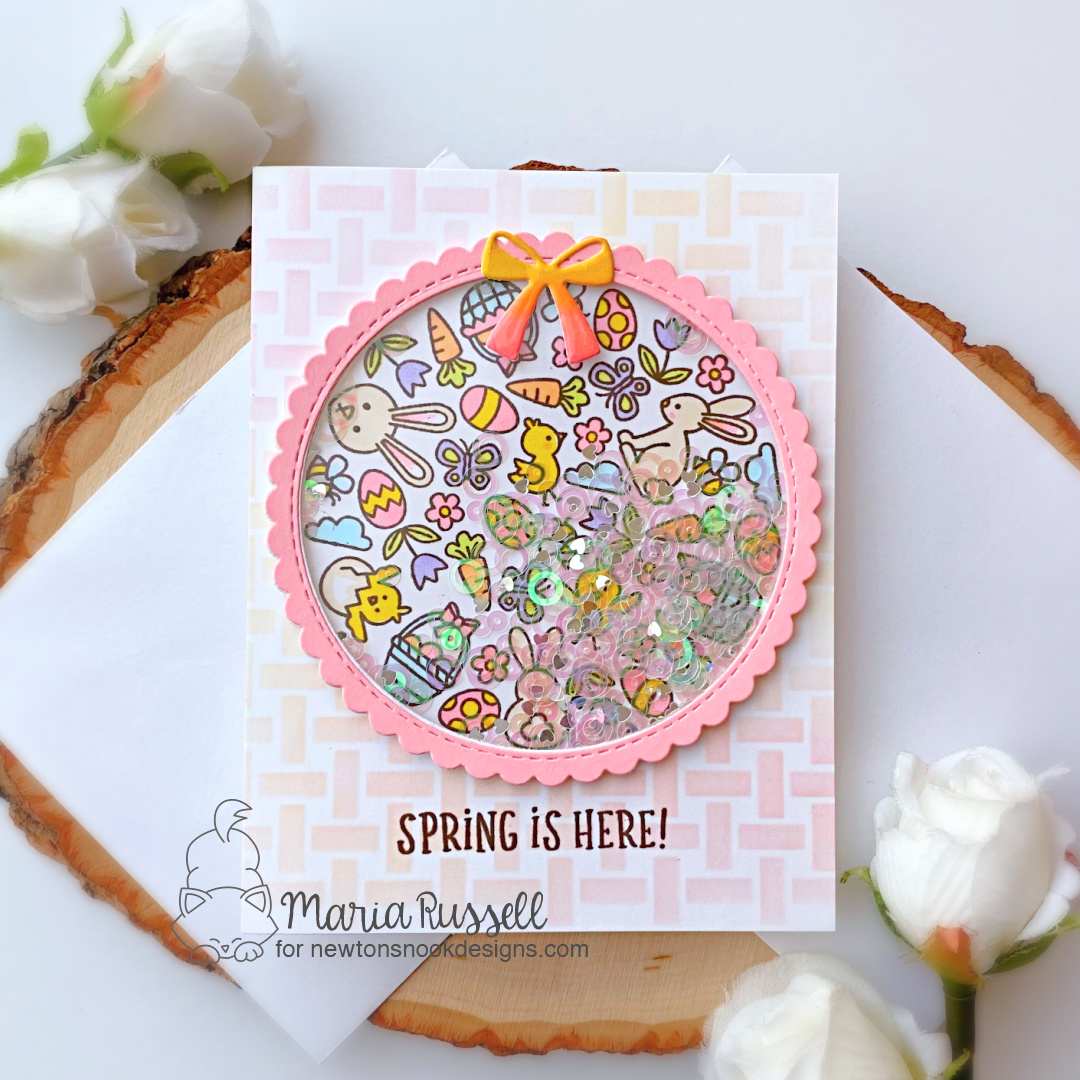
For the first day of the reveals we are featuring the Spring Roundabout Stamp Set that coordinates with the Circle Frame Dies and Banner Trio die, along with the Basketweave and Bunny Tail Stencils.
It’s all about Spring colors today guys!
I started by cutting an A2-size panel of some Bristol smooth white card stock. I sprayed my Basketweave stencil with some Pixie Spray and temporarily adhered it on the panel. I used my blending brushes and some pink and peach dye inks to add the basketweave details on the background.
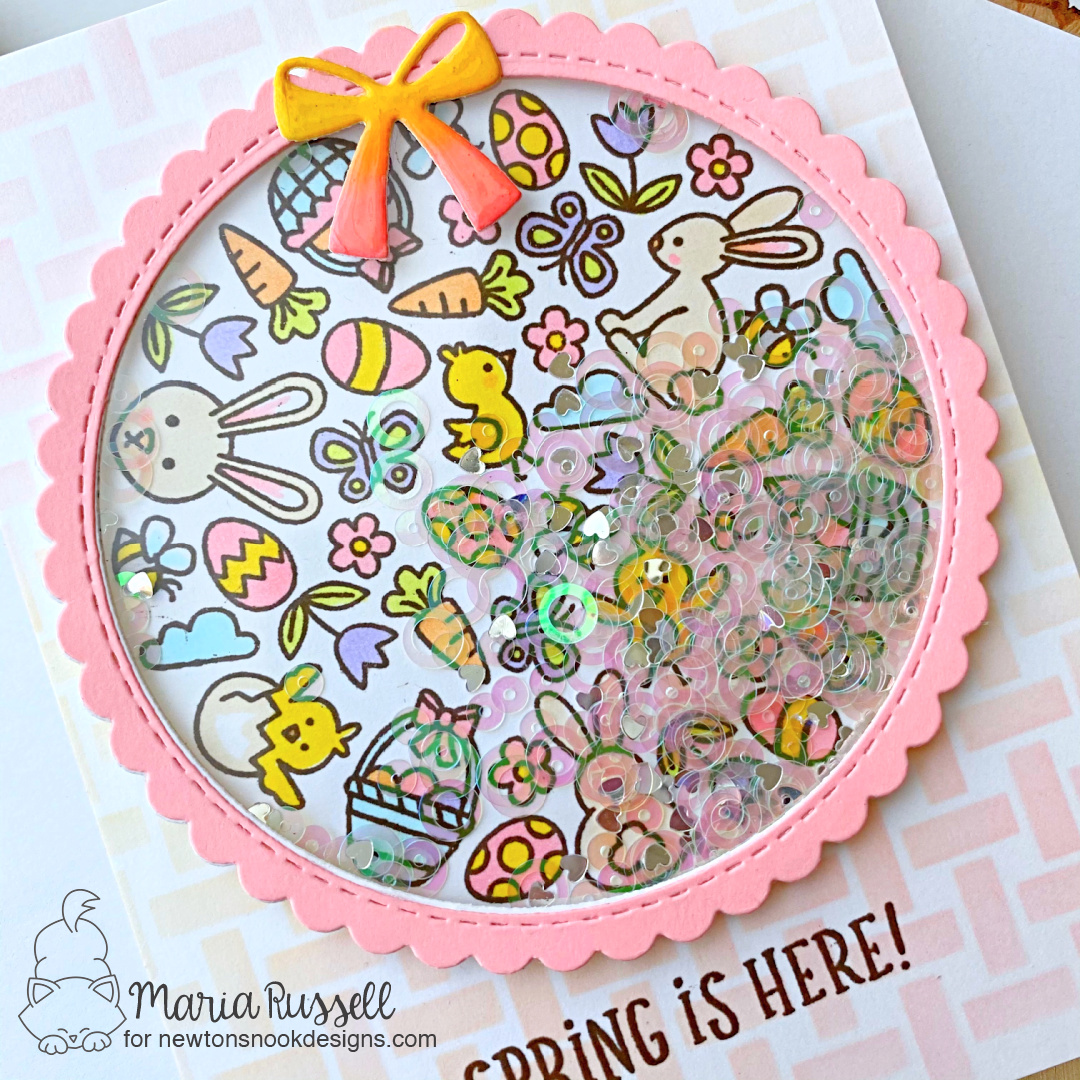
Next, I stamped the images on some Neenah solar white card stock with Memento Rich Cocoa ink and colored the images in with Spectrum Noir “Hint of Collection” alcohol markers. I used the Circle Frame die to die-cut the image. I also used the same circle frame die to die-cut a few pieces of white and pink card stock to create my shaker card. I adhered the pieces together with some liquid glue to create my shaker well. I added some iridescent sequins as my shaker element.
To close the shaker portion, I adhered some acetate sheet to the pink die-cut and added some liquid glue. I put some big acrylic blocks on this and waited for about half an hour until it was completely dry.
I die-cut from the Bitty Bibs die set and added some color to this piece. I also added some glossy accents to give it more texture and dimension. I waited for this piece to dry for about 30 minutes.
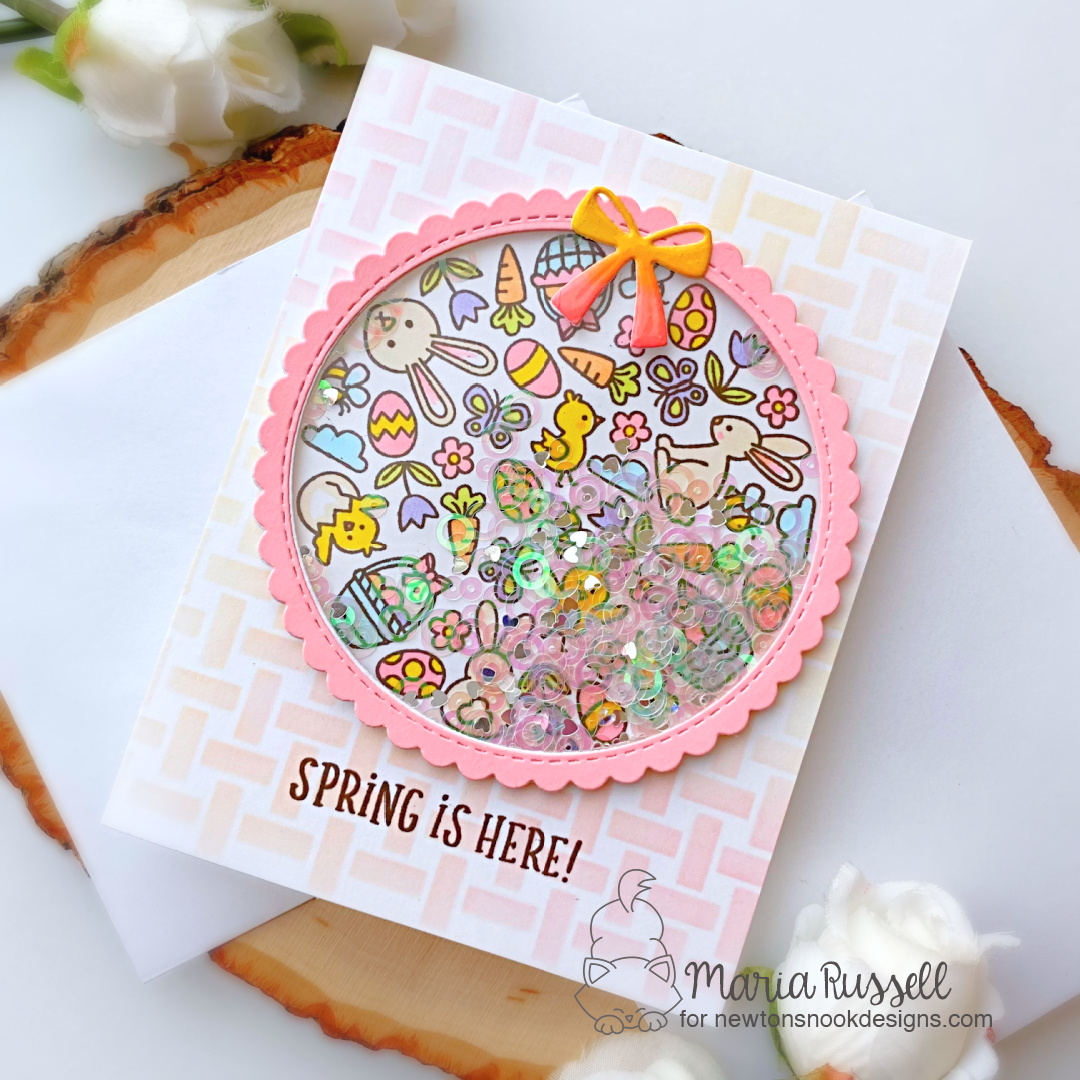
Next, I added my shaker to the ink-blended panel with some liquid glue and also added the little bow. I finished my design by adhering this panel to an A2-size notecard and stamped the sentiment with Memento Rich Cocoa ink. Here’s another look at the finished card:
Would you like to win the “Spring Roundabout” Stamp Set? This stamp set will be given away to ONE lucky winner!
Here’s how to win: Comment on the NND blog and Design Team blogs (see list below)! The winner will be chosen at random from the collective reveal posts. Make sure to check out each of their blogs and comment for your chance to win. You will not know which blog has been chosen so the more you comment on the better your chances are of winning! You have until Thursday February 18th at 9pm EST to comment — winners will be announced on the blog post on Friday, February 19th.
Check out all the awesome Design Team Blogs below to enter:
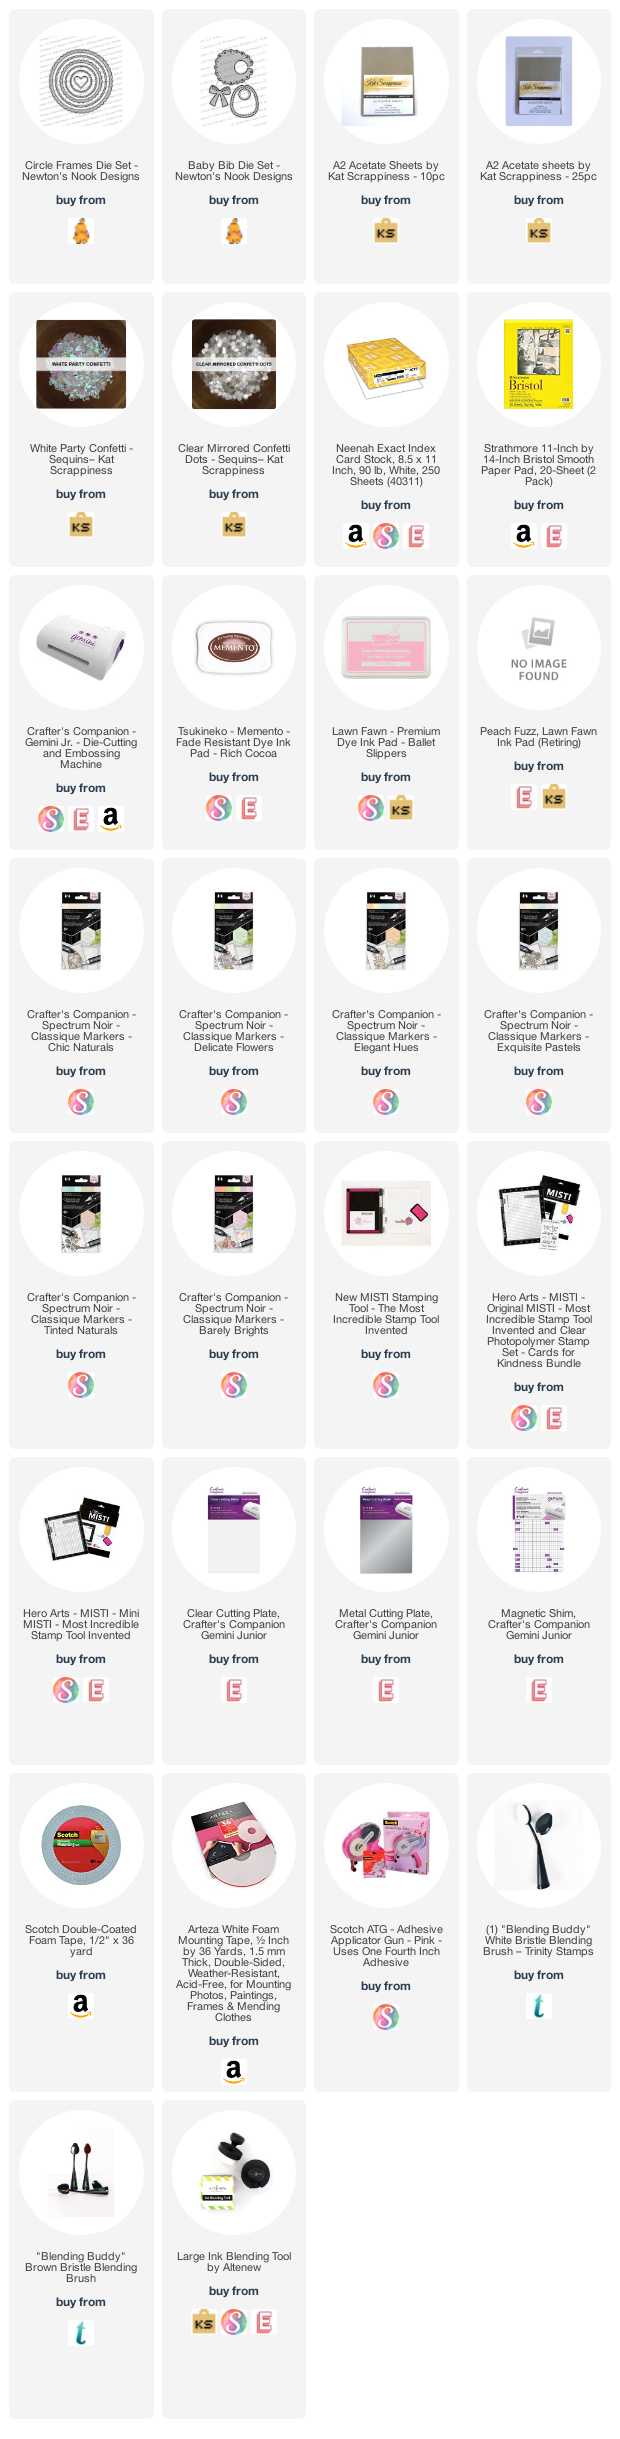
———-SUPPLIES———


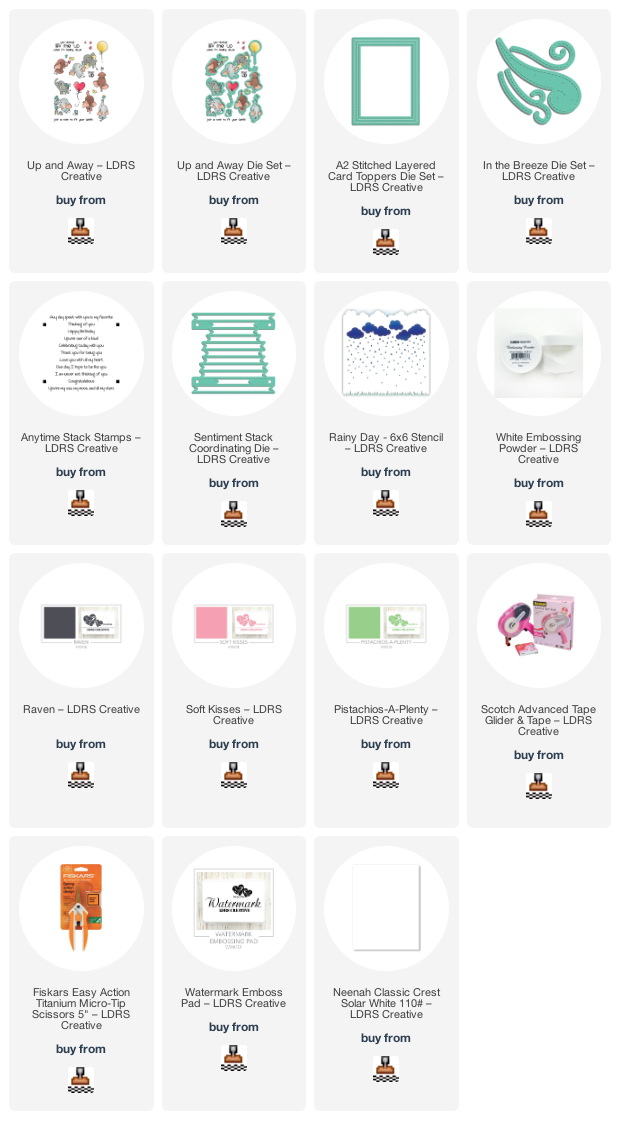
Hello my crafty friends! Maria Russell with you today on the LDRS blog with a simple “Valentine-themed” card showcasing one of my favorite stamp sets from the shop. I am featuring the A2 Stitched Layered Card Toppers die set, Up & Away stamp set and dies, along with the Rainy Day Stencil, Anytime Stack stamp set, Sentiment Stack Coordinating Die and In the Breeze die.
Since Valentine’s Day is fast-approaching, I thought I’d get a head start and create some simple cards that you can easily mass-produce to send to friends. I started by stamping my images on some Neenah Classic Crest Solar White Card Stock with Raven Hybrid Ink and colored the images in with alcohol markers. I used the Up & Away die set to die-cut the images.
Next, I cut a panel of Neenah Classic Crest Solar White Card Stock using the A2 Stitched Layered Card Toppers die set. I started to create my outdoor scene with the Rainy Day Stencil, a blending brush and Pistachios-A-Plenty Hybrid Ink for the grass. The pink clouds were created with the same Rainy Day Stencil, blending brush and Soft Kisses Hybrid Ink. I don’t know about you but this color-combo just screams “valentine’s” to me!
I used the In the Breeze die for added texture and adhered this panel on an A2-size card base.
Next, I adhered the images on the card with some liquid glue. I finished my design by adding the sentiment “You’re One of a Kind“, that was earlier stamped on some black card stock using the Anytime Stack stamp set and Sentiment Stack Coordinating Die. These stamp-and-die combo is one of my favorites because you can stamp the sentiments and die-cut a bunch with just one pass on your die-cutting machine. LDRS has a few of these awesome stamps so check them all out at the shop and grab your favorites.
I really love how this card turned out, don’t you?! The supplies I use are listed and linked below. Thanks so much for stopping by!

———SUPPLIES———


It is the second day of the reveals by Newton’s Nook Designs. I hope you were able to check out yesterday’s reveal. You also have a chance to win the stamp set being revealed each day so please read through til the end of the blog post to find out more info. [Just a little important note: I know some of you had difficulties finding the comments section. If you would like to leave a comment to participate in the giveaway, the “comments section” will only be ever visible when a single post on Word Press is being viewed. Please click on this particular blog post and you will be able to leave a comment below. Thank you!]
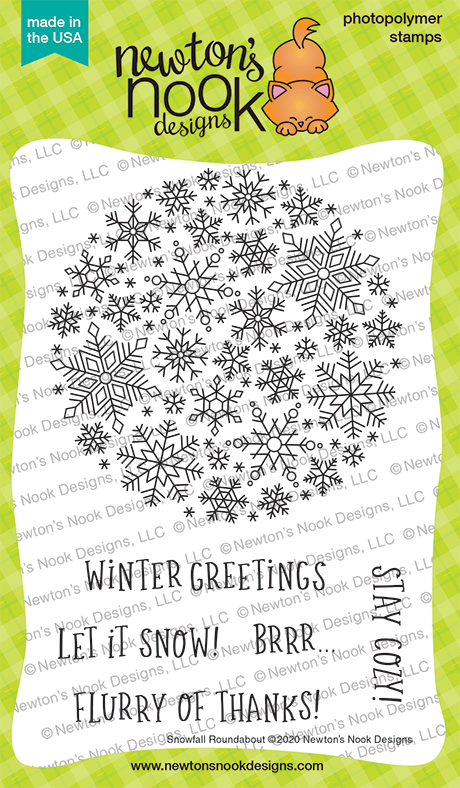
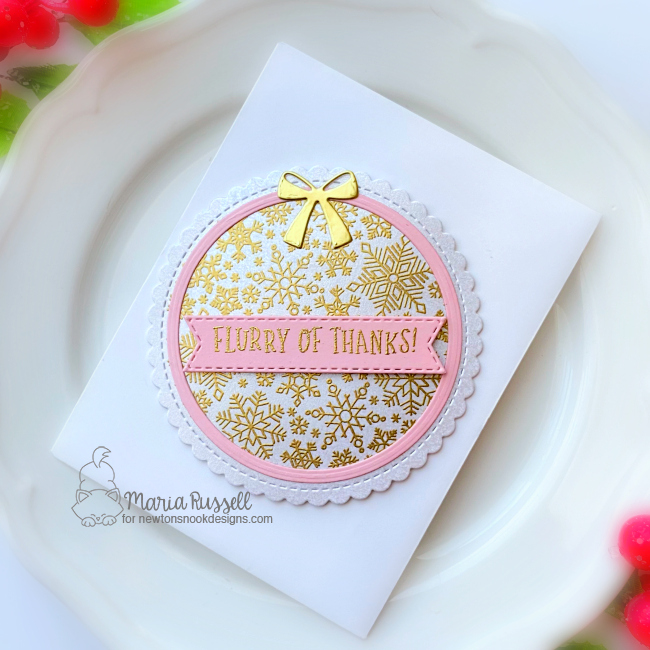
For Day 2, we are showcasing the Snowfall Roundabout stamp set that coordinates with the the previously released dies called Circle Frames Die Set and Banner Trio Dies.
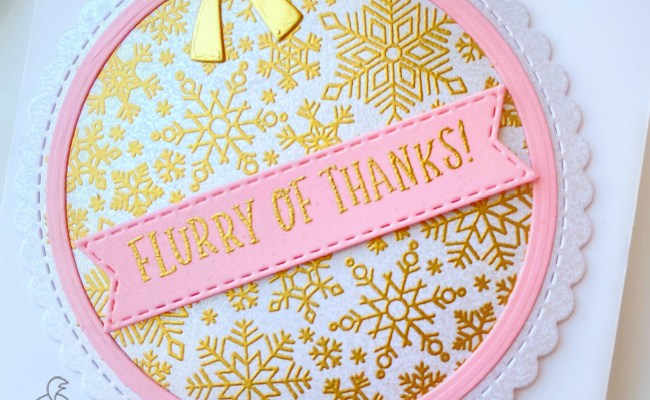
To make my circular card, I started by die-cutting the circle scallop on some Centura Pearl 110 lb. card stock. I positioned this in my Misti and used my powder tool to prep the background. I stamped the Snowfall Roundabout with some Versamark ink.
Next, I sprinkled some gold embossing powder on the stamped image and used my heating tool to heat-set the image.
Next, I die-cut a pink circle frame to ground the image and adhered this onto the panel with some glue. I die-cut some pink card stock using one of the dies from the Banner Trio die set. I stamped the sentiment with Versamark ink and sprinkled the same gold embossing powder then heat-set with my heating tool. I foam-mounted this piece onto the card for added dimension.
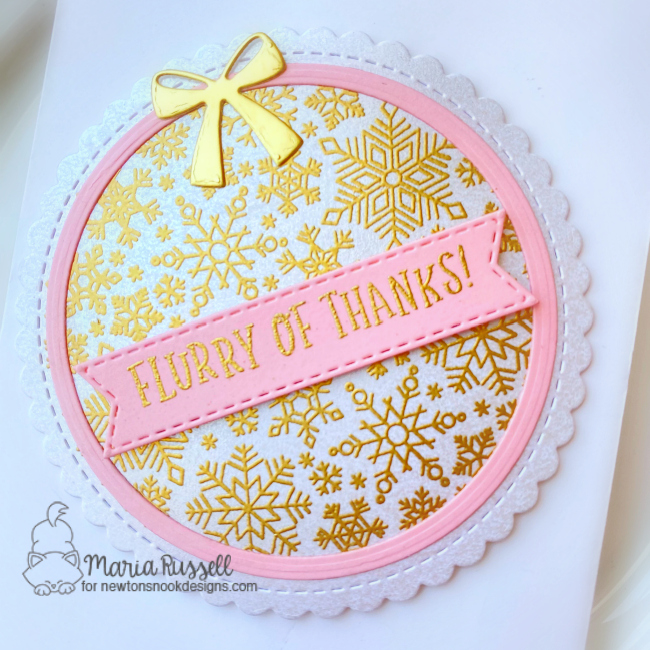
I finished my design by adhering the gold bow that I die-cut using the die from the Bitty Bibs die set. Here’s another look:
Would you like to win the “Snowfall Roundabout” Stamp Set? This stamp set will be given away to ONE lucky winner!
Here’s how to win: Comment on the NND blog and Design Team blogs (see list below)! The winner will be chosen at random from the collective reveal posts. Make sure to check out each of their blogs and comment for your chance to win. You will not know which blog has been chosen so the more you comment on the better your chances are of winning! You have until Thursday, November 19th at 9pm EST to comment — winners will be announced on the blog post on Friday, November 20th.
Check out all the awesome Design Team Blogs below to enter:
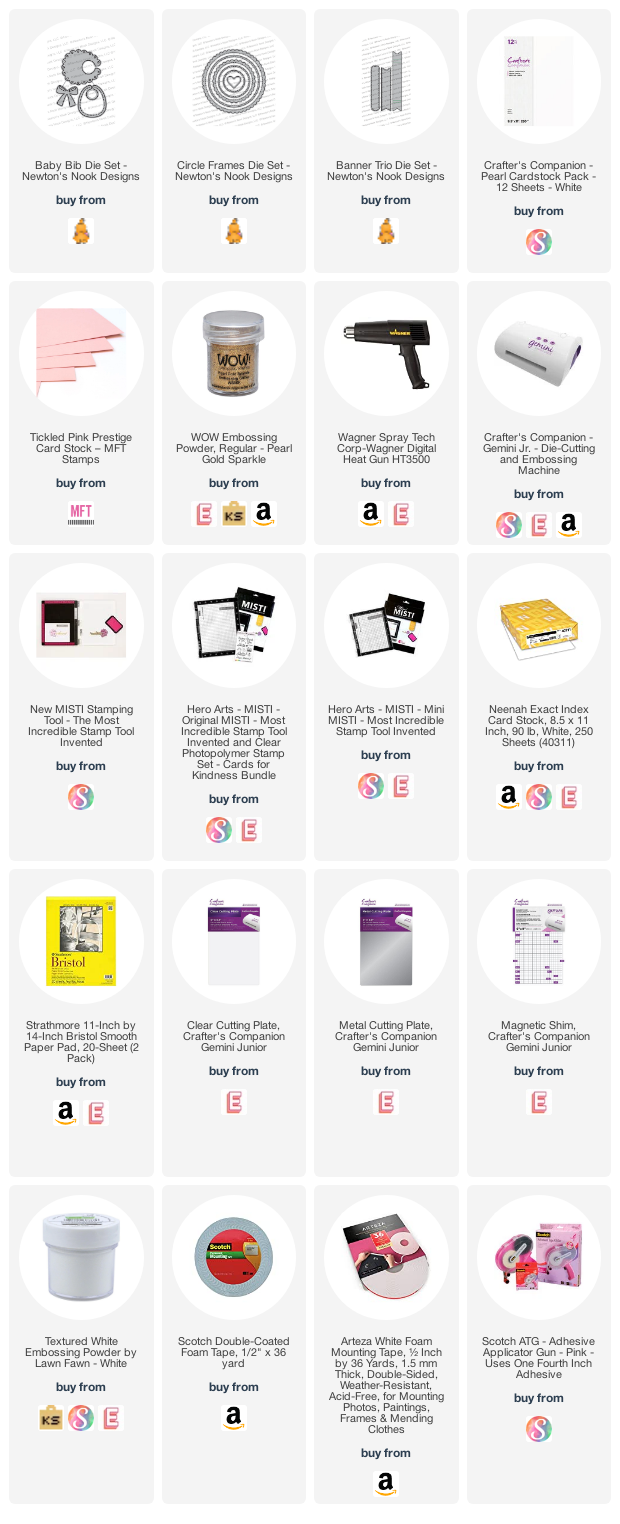
———-SUPPLIES———