Tiki Brentwood Owl Hawaiian Vacation – Project 3

Hello again stampers and crafters!  It’s my last day to share my guest design project showcasing this adorable Tiki Brentwood Owl Hawaiian Vacation by Jessica Lynn Original stamps.  This stamp set is now available for pre-order and will ship for free until release day on Saturday, March 17th.

JLO.New2014....4x4d_9802dd5.1406684724.1280.12ee80__84218.1420396885.1000.1000__21184.1488730597.450.450


I will be sharing a total of 3 projects and today is my last post.   This Tiki God is so cute, I wanted to create something really colorful.  It has also been awhile since I made a shaker tag so here’s my project:


JLOTiki3


Don’t you just love the images on this stamp set?   I hope you enjoyed all of the projects and hope you got inspired today.

Here are the links to all of JessicaLynnOriginal’s Design Team members as well as guest-designers.  Everyone will be sharing her projects in the next few days until March 17th, 2017. Please check them out and get inspired!  Have a wonderful day!

Newton’s Nook March Release – Cottage Garden

nnd_17march_releaseicon


Hello again stampers!  It is the third day of the release at Newton’s Nook Designs.  I hope you have been checking out the posts since Monday post.  You also have a chance to win each stamp set during release week so check out the details I have indicated at the end of this blog post. [Just a little important note:  I know some of you had difficulties finding the comments section.  If you would like to leave a comment to participate in the giveaway, the “comments section” will only be ever visible when a single post on Word Press is being viewed. Please click on this particular blog post and you will be able to leave a comment below.  Thank you for understanding and I apologize for the confusion.]

For today’s card, I am showcasing the Cottage Garden stamp set and its coordinating dies.


NND_17MARCH_CottageGarden


I am guilty of over-embellishing my cards most of the times, so I have made a simple card for you today.  A white-on-white background with a touch of pink and mint green.


NNDCottageGarden1

And here’s a simple tag I made:

NNDCottage2

Would you like to win the “Cottage Garden” Stamp Set?  This set will be given away to ONE lucky winner!

Here’s how to win: 

Comment on the NND blog and Design Team blogs (see list below)! The winner will be chosen at random from the collective reveal posts. Make sure to check out each of their blogs and comment for your chance to win. You will not know which blog has been chosen so the more you comment on the better your chances are of winning! You have until Thursday March 16th at 9pm CST to comment  — winners will be announced on the blog post on Friday, March 17th.


Check out all the awesome Design Team Blogs below to enter:

Newton’s Nook Designs

Amanda Bodine

Holly Endress

Ellen Haxelmans

Larissa Heskett

Samantha Mann

Juliana Michaels

Naki Rager

Maria Russell (you are here)

Jennifer Timko

Tatiana Trafimovich

Tiki Brentwood Owl Hawaiian Vacation – Project 2

Hello JLO fans!  It’s another day to share my guest design project showcasing this adorable Tiki Brentwood Owl Hawaiian Vacation. This stamp set is now available for pre-order and will ship for free until release day on Saturday, March 17th.

JLO.New2014....4x4d_9802dd5.1406684724.1280.12ee80__84218.1420396885.1000.1000__21184.1488730597.450.450

I will be sharing a total of 3 projects and today is my second post.   I distressed my background on Neenah solar white card stock using Spun Sugar, Broken China and Scattered Straw distress inks.  I used my Copic white opaque paint to splatter those white dot details to the front panel.  I also used my gel pens to embellish the card further.  This is a simple card but I love how it turned out.


JLOTiki2

Don’t you just love the images on this stamp set?  It really makes me want to go to Hawaii.

Here are the links to all of JessicaLynnOriginal’s Design Team members as well as guest-designers.  Everyone will be sharing her projects in the next few days until March 17th, 2017. Please check them out and get inspired!  Have a wonderful day!

Newton’s Nook March Release – Lovable Laundry

nnd_17march_releaseicon

Hello my crafty peeps! Are you ready for today’s total cuteness? It is the second day of the release at Newton’s Nook Designs.  I hope you have checked out yesterday’s blog post. The whole design team at NND has been busy creating wonderful projects to give you some daily inspiration. You also have a chance to win each stamp set during release week so check out the details I have indicated at the end of this blog post. [Just a little important note:  I know some of you had difficulties finding the comments section.  If you would like to leave a comment to participate in the giveaway, the “comments section” will only be ever visible when a single post on Word Press is being viewed. Please click on this particular blog post and you will be able to leave a comment below.  Thank you for understanding and I apologize for the confusion.]


For today’s card, I am showcasing the Lovable Laundry Stamp Set and the Stitched Onesie die.

NND_17MARCH_LovableLaundry

I stamped my images on Neenah solar white card stock, and colored the images with my Copic markers. I die-cut the grass, using NND’s Land Border Dies.  I die-cut the baby clothes with its coordinating die.  I really love the stitching details it gives on the die-cut piece.


IMG_4101


I used my clouds embossing folder and dry-embossed my card front panel. To give more definition to the clouds, I colored the embossed image with my Copic marker.  I adhered my stamped images and die-cut pieces to the embossed panel, with my Xyron tape runner.


IMG_4087

To finish off the design, I added the sun, butterfly and gemstones to the baby clothes and stamped the 3 hearts on the clouds.  Here is the card:


NNDBaby


Would you like to win the “Lovable Laundry” Stamp Set?  This set will be given away to ONE lucky winner!  Here’s how to win: 


Comment on the NND blog and Design Team blogs (see list below)! The winner will be chosen at random from the collective reveal posts. Make sure to check out each of their blogs and comment for your chance to win. You will not know which blog has been chosen so the more you comment on the better your chances are of winning! You have until Thursday March 16th at 9pm CST to comment  — winners will be announced on the blog post on Friday, March 17th.


Check out all the awesome Design Team Blogs below to enter:


Newton’s Nook Designs

Amanda Bodine

Holly Endress

Ellen Haxelmans

Larissa Heskett

Samantha Mann

Juliana Michaels

Naki Rager

Maria Russell (you are here)

Jennifer Timko

Tatiana Trafimovich


Happy Easter Card and Easter Treat Bag

Hello stampers and crafters! It’s Maria Russell here with you today and I am so thrilled to be back as a design team member for Kat Scrappiness.

Today I have created two projects, showcasing the (recently stocked) Stitched Heart Tag Dies, Stitched Rope Nested Rectangle Dies, Gerda Steiner Brush Bunny stamp set and a bunch of other products available at the shop.

If you haven’t watched the YouTube video tutorial on how I made these treat boxes, I have linked the video below. It is very easy and you can create a decent-size treat bag using these tag dies. They are so versatile you can create a ton of projects with these dies, for any occasion.  Here is the video tutorial:

For the treat bag, I started out by die-cutting the tags twice and stamped my images on the tag. I highlighted the rainbow with my white gel pen. Before assembling the treat bag, I die-cut a grass border hills die. It is important to do this step first before assembling the bag.

IMG_4339

I stamped my bunny images on Neenah solar white card stock and colored him in with my Copic markers. I adhered my bunny to the treat bag.

Using my favorite Lawn Fawn Tiny Tag Saying stamp set and Tiny Tag Dies, I stamped the sentiment on the tag, and attached it on the treat bag with my pink and white twine. Hear is the treat bag:

IMG_4341
For the card, I started out by die-cutting my front panel using the largest of the stitched rope nested rectangle dies. I sponged the “clouds” using my lawn Fawn Clouds Border Dies, with Tim Holtz Broken China distress Ink.

IMG_4338

I die-cut another grass border die and adhered it on my front panel. I stamped the eggs on Neenah Solar White card stock and colored them in with my Copic markers. I also used my Sakura Gel pens to add some details to the eggs.

To finish off my design, I adhered all of the stamped images and die-cuts on the front panel of my card. Using a blue card base, I adhered the front panel to my card base using my all-time favorite Xyron Mega Tape Runner. Here is the card:

IMG_4342

Here are the two projects:

IMG_4340

I hope you got inspired today. Please check out all the new items at Kat Scrappiness online store before they sold out again. The supplies I have used are listed and linked below. Have an amazing day!

————-SUPPLIES———

You Are My Favorite Little Nut

Hello my crafty peeps! I hope you are all having a fantastic day! I am super excited to share with you today’s cards. This is my first blog post as a Design Team member for Xyron, Inc., Yay! (I’m still doing my happy dance in my head as I write this post) I have been a Xyron fan since 2003 and I have been using their products since.  Today’s “just-because” cards are so easy to replicate.  I am showcasing the Xyron 5-inch Creative Station Lite, Teresa Collins Mega Tape Runner and stamp set and dies by Neat and Tangled.

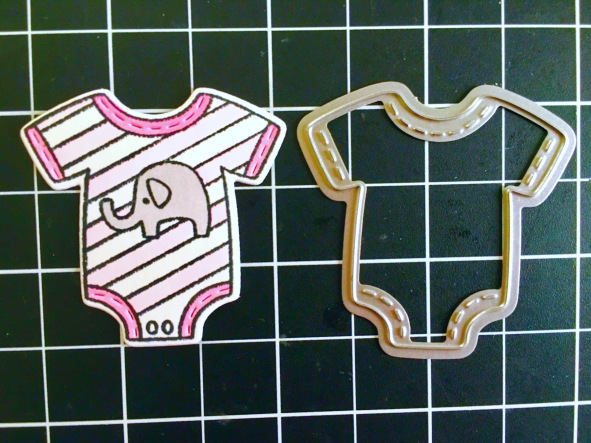
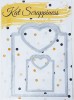
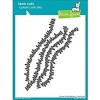
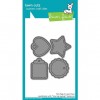
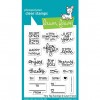
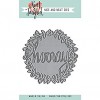
I started out by stamping my images on Neenah solar white card stock and colored them in using my Copic markers. I lined up my coordinating dies on the images using low-tack tape to hold them in place, and proceeded to die-cut them on my Big Shot machine.  Using a wreath die, I die-cut my card stock twice. I wanted some dimension to the wreath and also make it sturdier. I used my scissors to remove the “hooray” part of the wreath.  Using my Xyron 5-Inch Creative station, I inserted the die-cuts through the machine to run it through. Without removing the other piece out of the sticky sheet, I adhered the pieces together. This will ensure that they are perfectly lined up. With the help of my craft pick, I started removing the extra adhesives between the spaces.

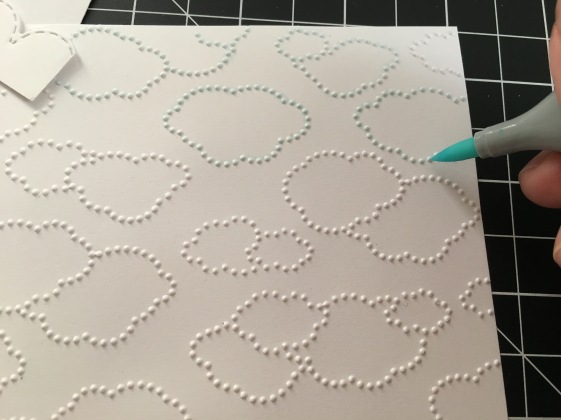
Without lifting the die cut piece out of the sticker sheet, I went ahead and colored it using my Copic markers. This technique ensures that your intricate piece gets held in place while you’re coloring the card stock.

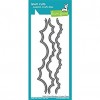
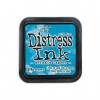
Using the negative piece of the wreath, I distressed the background using Broken China Distress Ink. I used my paintbrush to splatter some water on my background, and let it sit for about 30 seconds them picked up the water with my paper towel. I love the fun splatter effect!

I lifted the colored wreath out of the sticker paper and carefully adhered it to my card panel. I love using my Xyron Creative Station Lite (or Xyron Sticker Maker) to adhere die-cuts to my card. Since the Xyron gives complete adhesive coverage, this intricate piece will stay securely adhered to the card.

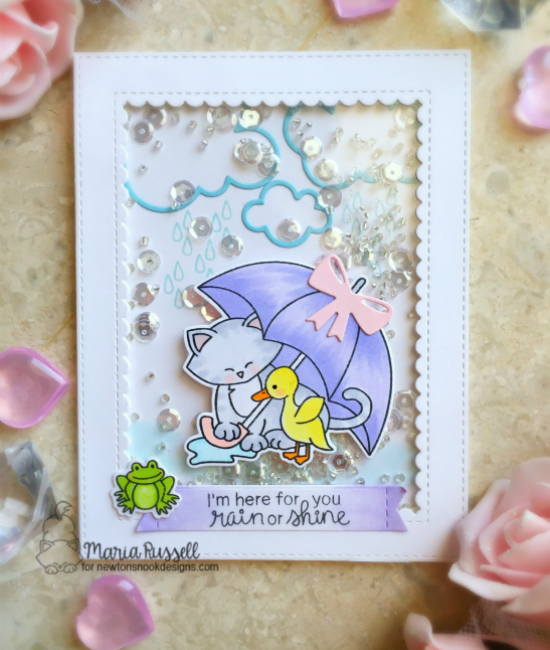
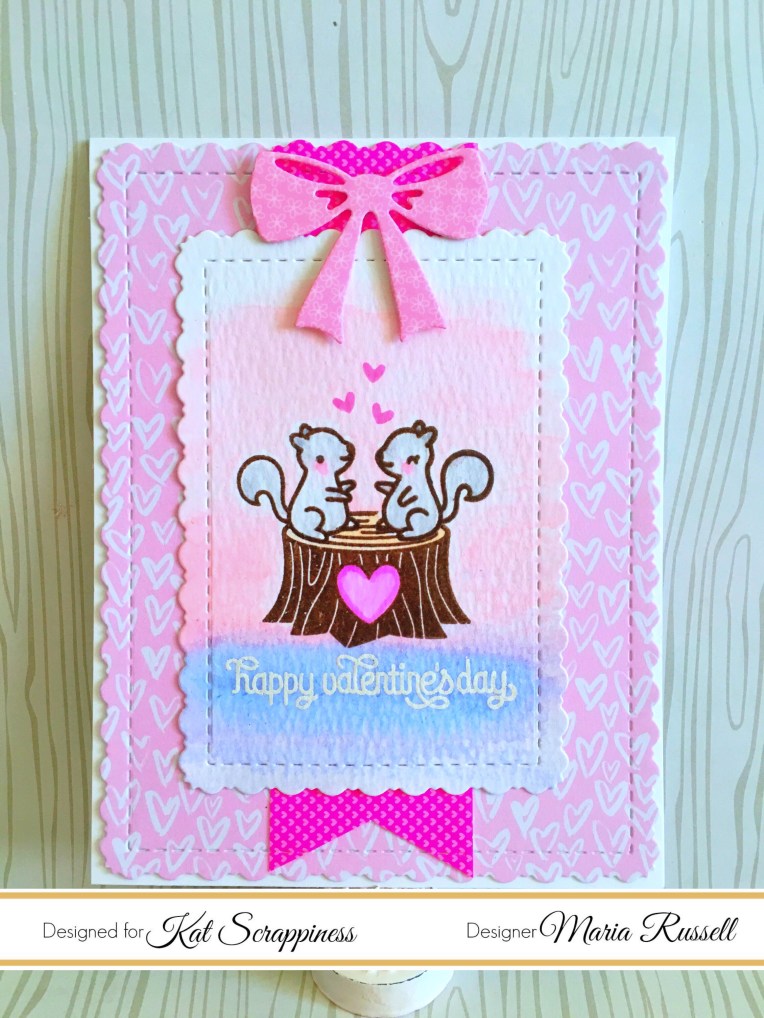
Using my stamping tool, I lined up my stamps and stamped the sentiment on my card.  I used my Teresa Collins Mega Tape Runner to adhere my critters and the hearts to the card front. To finish off the design, I added glossy accents to the hearts.

img_4020

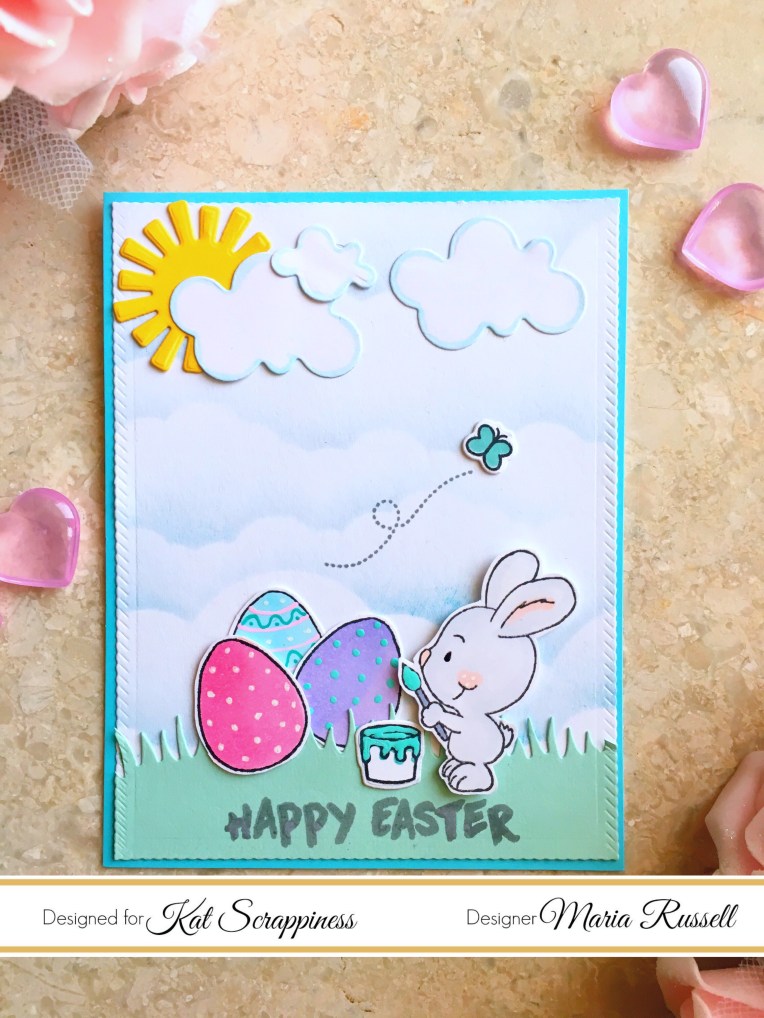
Here is the first card:

xyroncard1


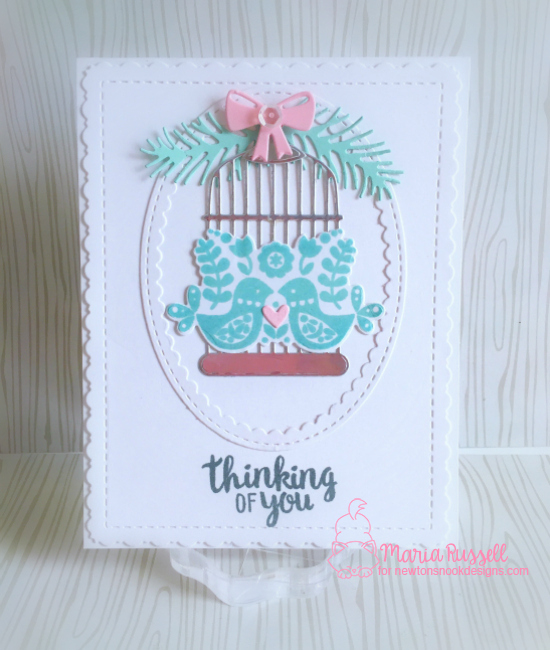
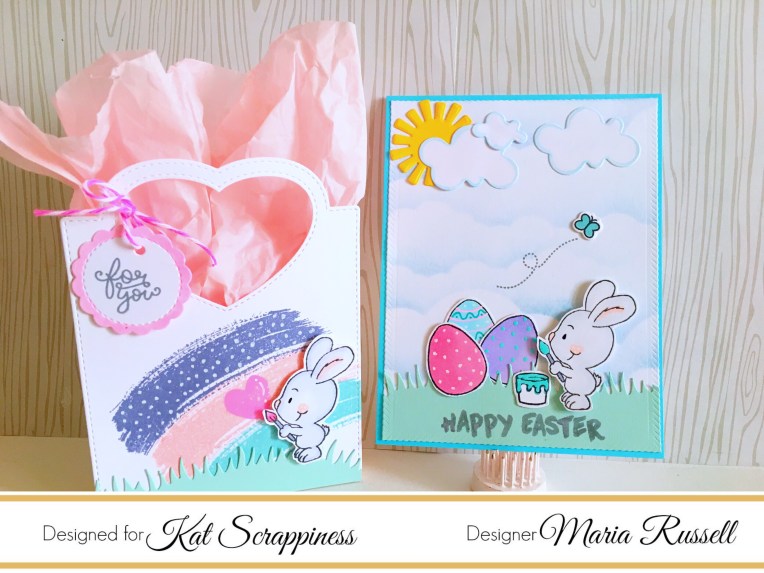
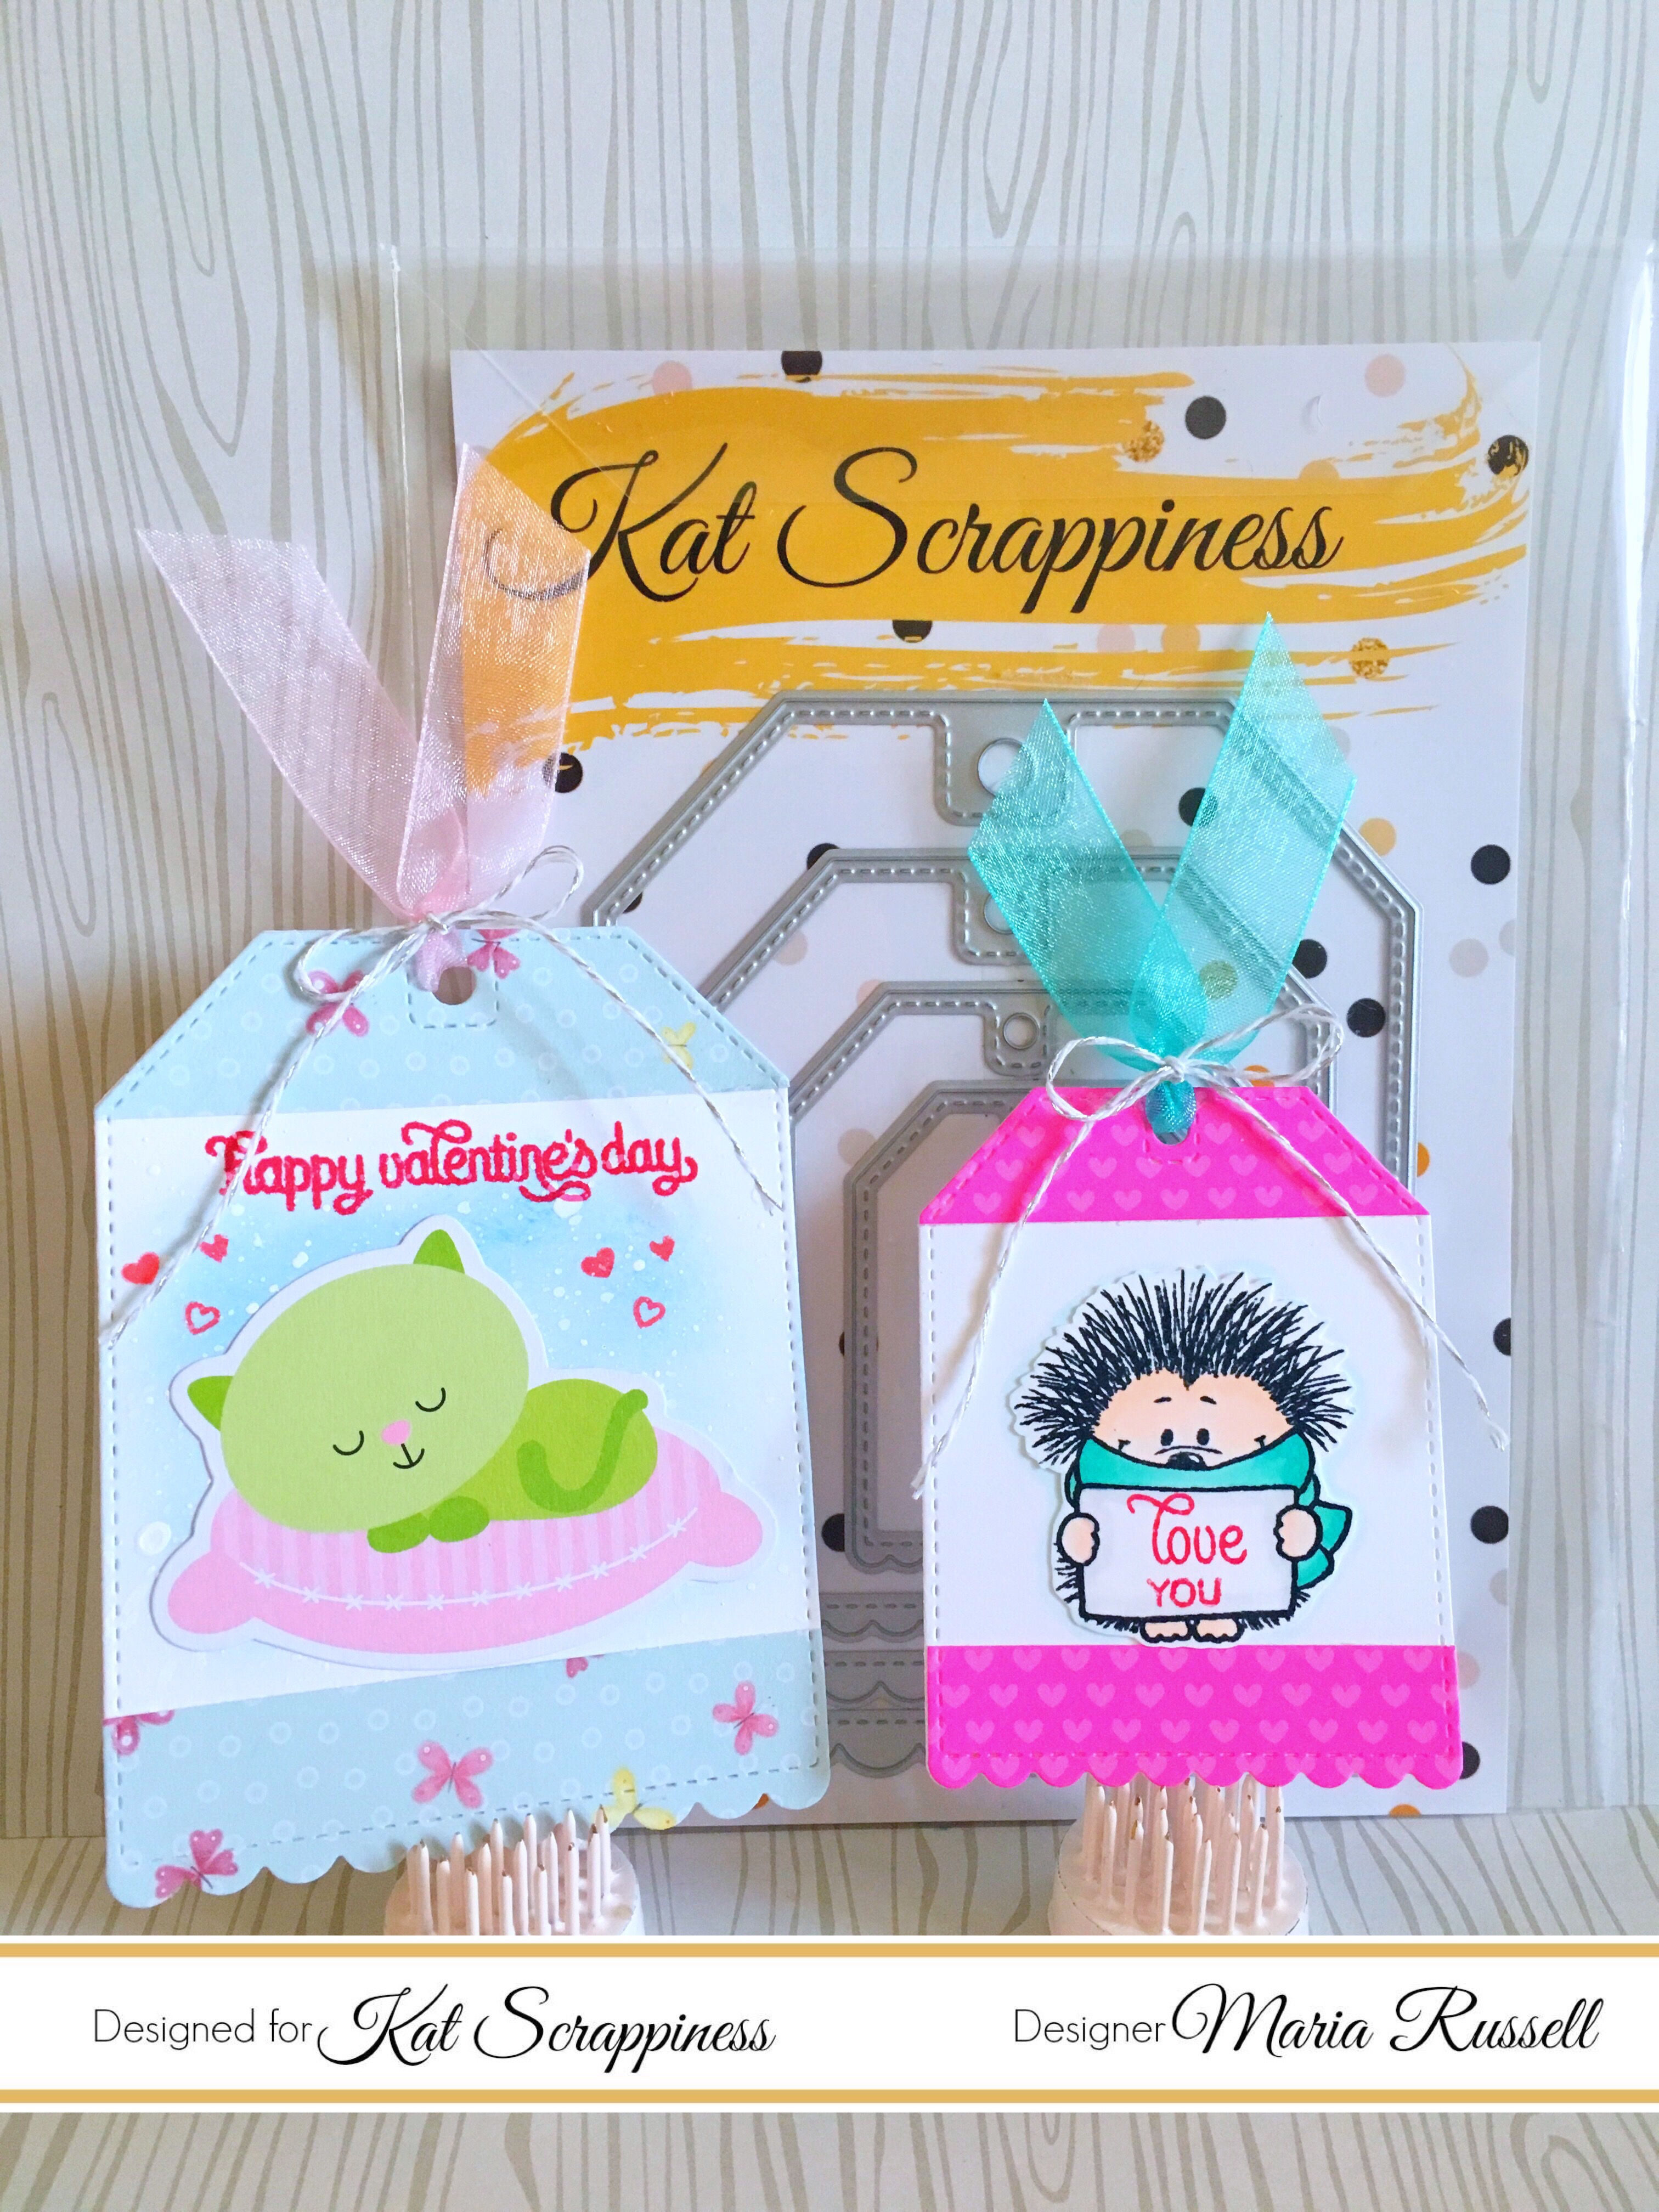
Since I have leftover stamped images, I decided to create another card.  Here is a card that you can give as an anniversary card, or just-because!


xyroncard2

I hope you like my cards.  If your would like to check out a beautiful card created by my fellow Xyron DT member, Pam Bray, here is her post: (http://www.pammejoscrapbookflair.com/…/hello-beautiful-with…)

The supplies I have used are listed and linked below. Have an amazing day and happy crafting!

———-SUPPLIES———-

Valentine’s Day Card

Hello everyone! I’m back today to share with you a cute Valentine’s Card, showcasing products available at Kat Scrappiness, i.e. stamp sets by Lawn Fawn – Love Letters, Cheery Christmas and Mom & Me stamp sets, Stitched Fancy Scalloped Rectangle Dies, Inkadinkado masking paper and Gina Marie Designs ribbon bow dies. I apologize that I don’t have a process video today as I am currently traveling for a few days.

I wanted to create a very simple card with some masking technique.  I started out by die-cutting my watercolor card stock using the stitched fancy scalloped die. I stamped my two squirrels on Inkadinkado masking paper and fuzzy cut them with my precision scissors.

Using my stamping tool, I laid out my scene and stamped my squirrels twice with Versafine vintage sepia pigment ink.  I heat-set it with some clear embossing powder.  Using the mask I created, I covered the squirrels so I can stamp the wood stump on top of the squirrel. Removing the mask, I also set the tree stump with clear embossing powder.

I colored the images using my Zig clean color real brush markers.  I used my heating tool to dry them out a little, and covered the images with my mask.

I smudged some spun sugar and shaded lilac distress inks on a clear acrylic block, sprayed it with water, and used my flat watercolor brush to carefully start brushing the color onto the paper.  [Since the images are already covered with my masking paper, I was not afraid to do this technique.] I removed the mask and set it aside to dry.

I finished off the design by using a patterned paper by Crate Paper design, and die-cut a bow using a ribbon bow die by Gina Marie Designs.

Here is the final card:

img_3703

I hope you got inspired today. The supplies I have used are listed and linked below.  Thanks for stopping by and have an amazing day!

———SUPPLIES——–

New Tag Dies at Kat Scrappiness Plus Project Share

I have made some projects today showcasing the new Heart Stitched Tag Dies and Stitched Scalloped Nesting Dies available at the shop.


img_3567

img_3577

I have also shared them on my YouTube channel if you’d like to see the card and tags.  Supplies are listed and linked below:


————-SUPPLIES———–

https://static.inlinkz.com/ppr.js

Valentine’s Luminaries [or Treat Bags]


img_3489

It’s Maria here with you again today to share some cute Valentine’s craft projects. I am showcasing the new adorable Snowman Die, Double-stiched Heart Dies and the Snowflake Kisses Script Dies from Kat Scrappiness.  There’s a ton of new products now.  Check out the Valentine’s section at the shop: https://www.katscrappiness.com/collections/valentines-day…

Here is the process video. Have a great week and happy decorating!

——–SUPPLIES————

https://static.inlinkz.com/ppr.js