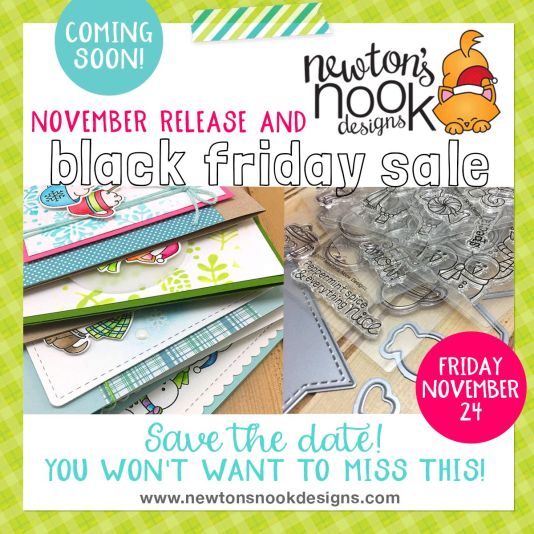
It is the last day of the November release by Newton’s Nook Designs and today, the design team is showcasing the Llama Delivery stamp set and coordinating dies with the Newton’s Candy Cane stamp set and coordinating dies. You also have a chance to win each stamp set during release week so check out the details I have indicated at the end of this blog post. [Just a little important note: I know some of you had difficulties finding the comments section. If you would like to leave a comment to participate in the giveaway, the “comments section” will only be ever visible when a single post on Word Press is being viewed. Please click on this particular blog post and you will be able to leave a comment below. Thank you for understanding and I apologize for the confusion.]
The November release will be available for purchase on Friday, November 24th. You should also take advantage of the Black Friday sale.
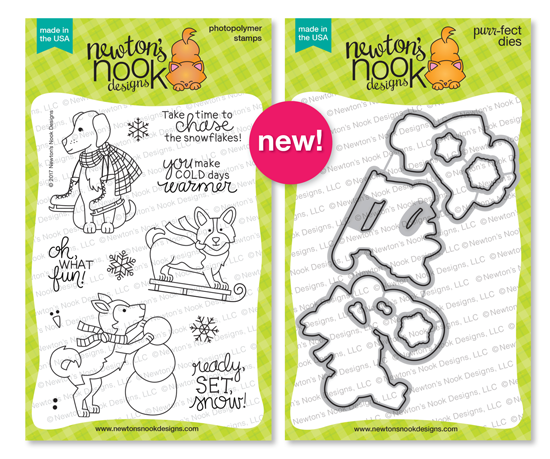
Here’s what the stamp and dies look like:


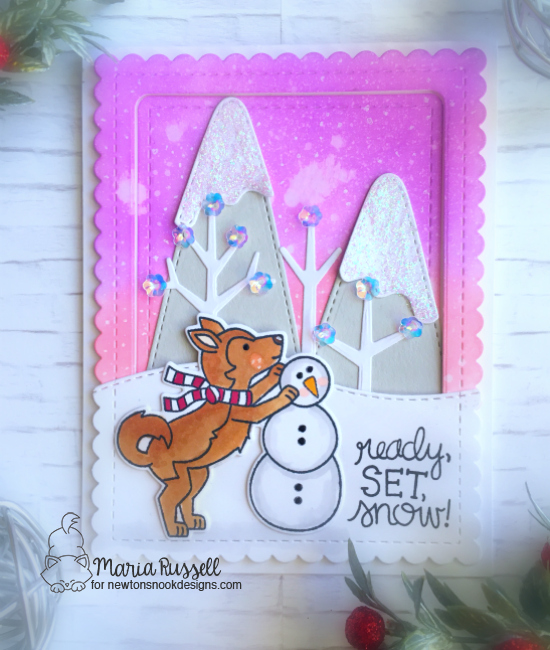
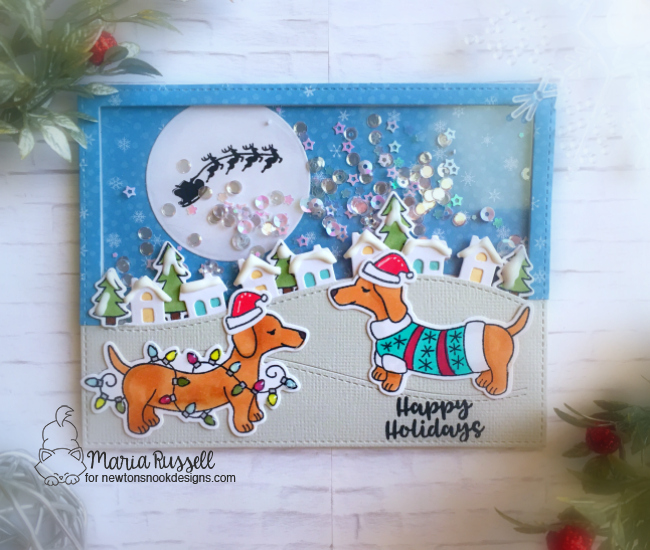
I stamped all of my images from both sets on Neenah Solar white card stock and colored them in with my Copic markers. For my Llama cards, I kept it pretty simple. I also distressed my background with Worn Lipstick and Cracked Pistachio distress oxide inks. Here are the cards:


For the Newton’s Candy Cane set, I wanted to create a fun shaker card and used the double-sided adhesive from Newton’s Nook and the new acetate sheets. I also used sequins by Kat Scrappiness. Here’s my shaker card:

I hope you got inspired this week and love the projects we all shared. Would you like to win the “Llama Delivery” or the “Newton’s Candy Cane” Stamp Set? Each of these stamp sets will be given away to ONE lucky winner!
Here’s how to win:
Comment on the NND blog and Design Team blogs (see list below)! The winner will be chosen at random from the collective reveal posts. Make sure to check out each of their blogs and comment for your chance to win. You will not know which blog has been chosen so the more you comment on the better your chances are of winning! You have until Wednesday November 22nd at 9pm CST to comment — winners will be announced on the blog post on Friday, November 24th..
Check out all the awesome Design Team Blogs below to enter:
Newton’s Nook Designs
Amanda Bodine
Holly Endress
Ellen Haxelmans
Larissa Heskett
Samantha Mann
Juliana Michaels
Naki Rager
Maria Russell (you are here)
Jennifer Timko
Tatiana Trafimovich
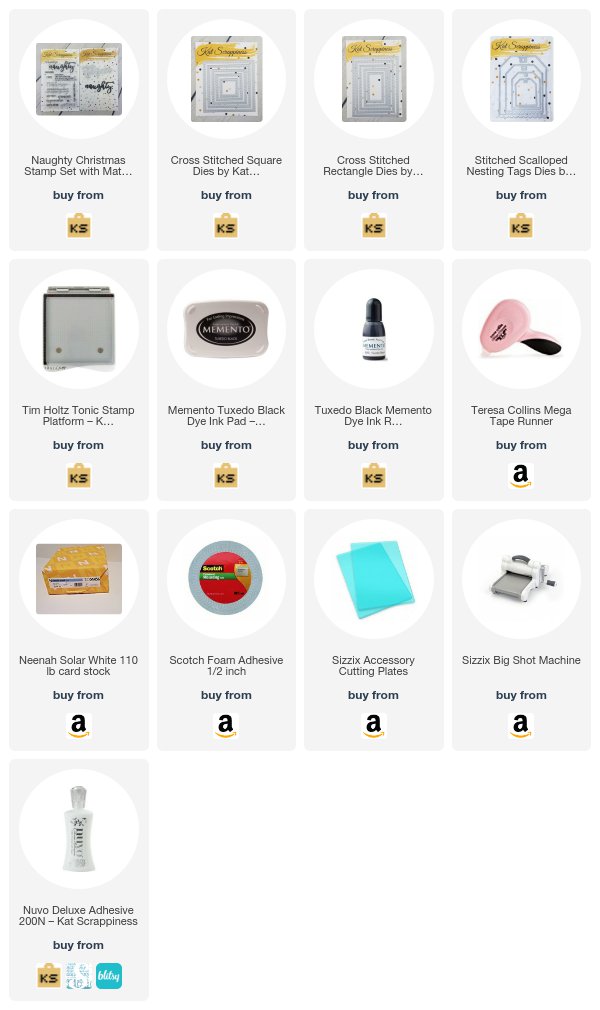
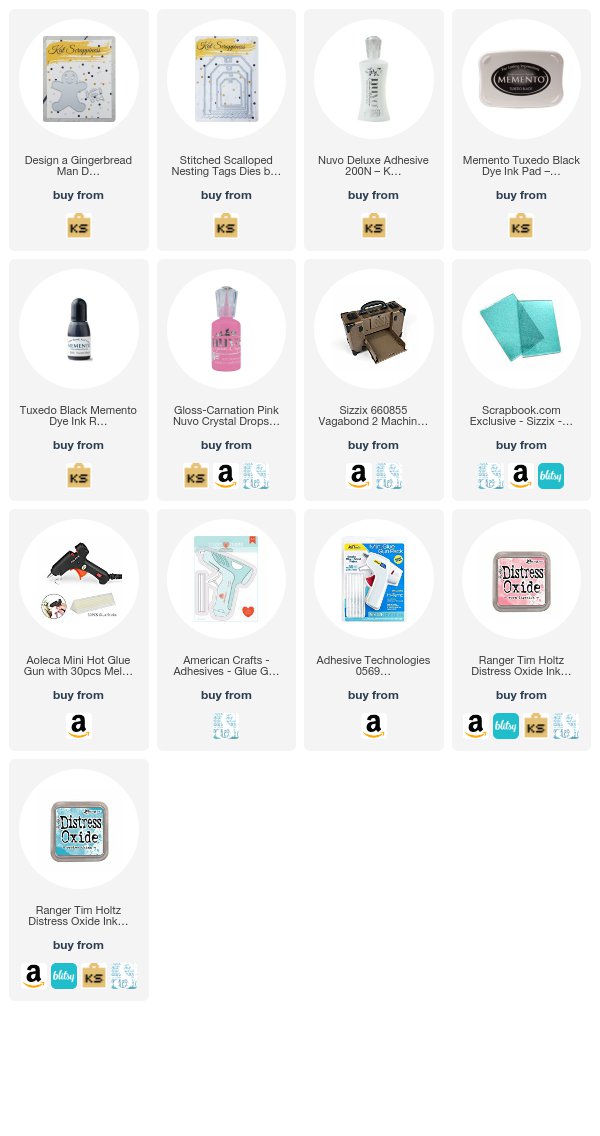
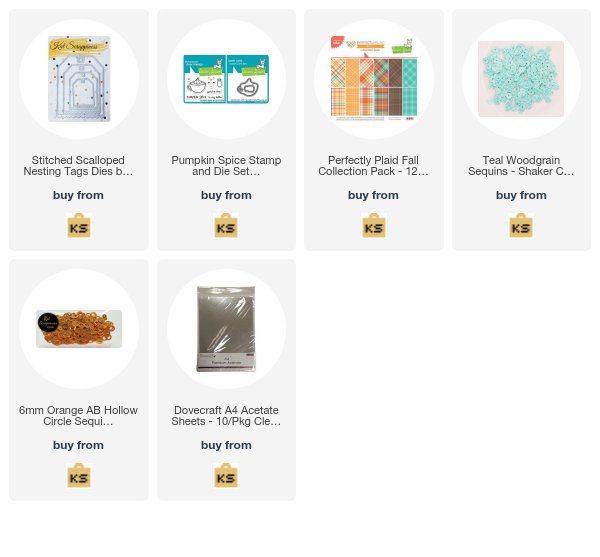
————-SUPPLIES———–<