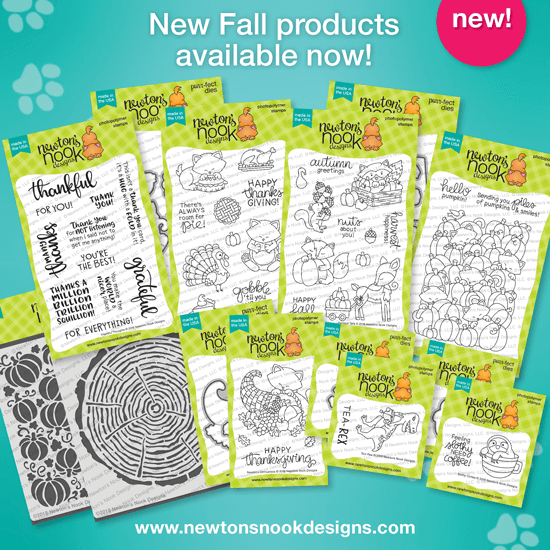
Today Newton’s Nook Designs is featured on the Simon Says Stamp site with an EXCLUSIVE stamp set that was designed just for the 2018 STAMPtember celebration! You can purchase the new Hello Beautiful Stamp Set and coordinating die sets today at Simon Says Stamp. Remember, these items are ONLY available through Simon Says Stamp while supplies last!
Today I am sharing two projects I created using this stamp set. Here’s what they look like

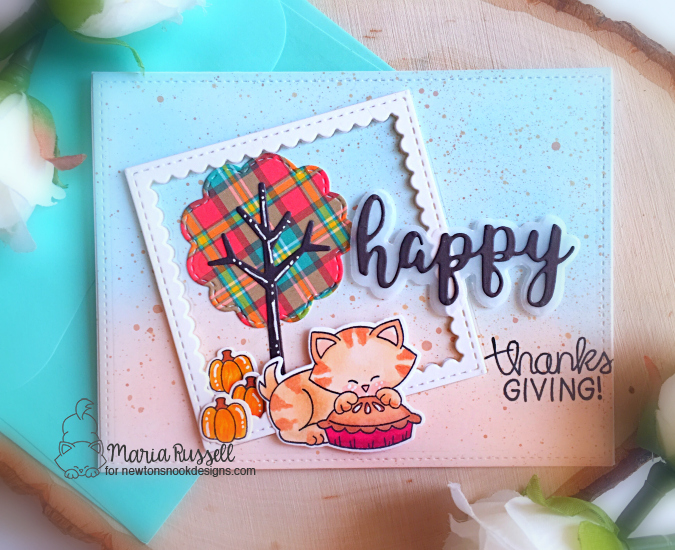
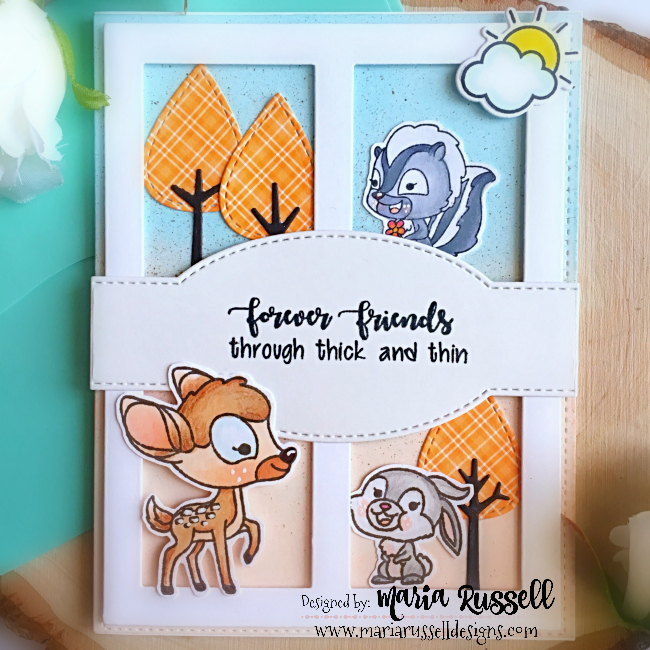
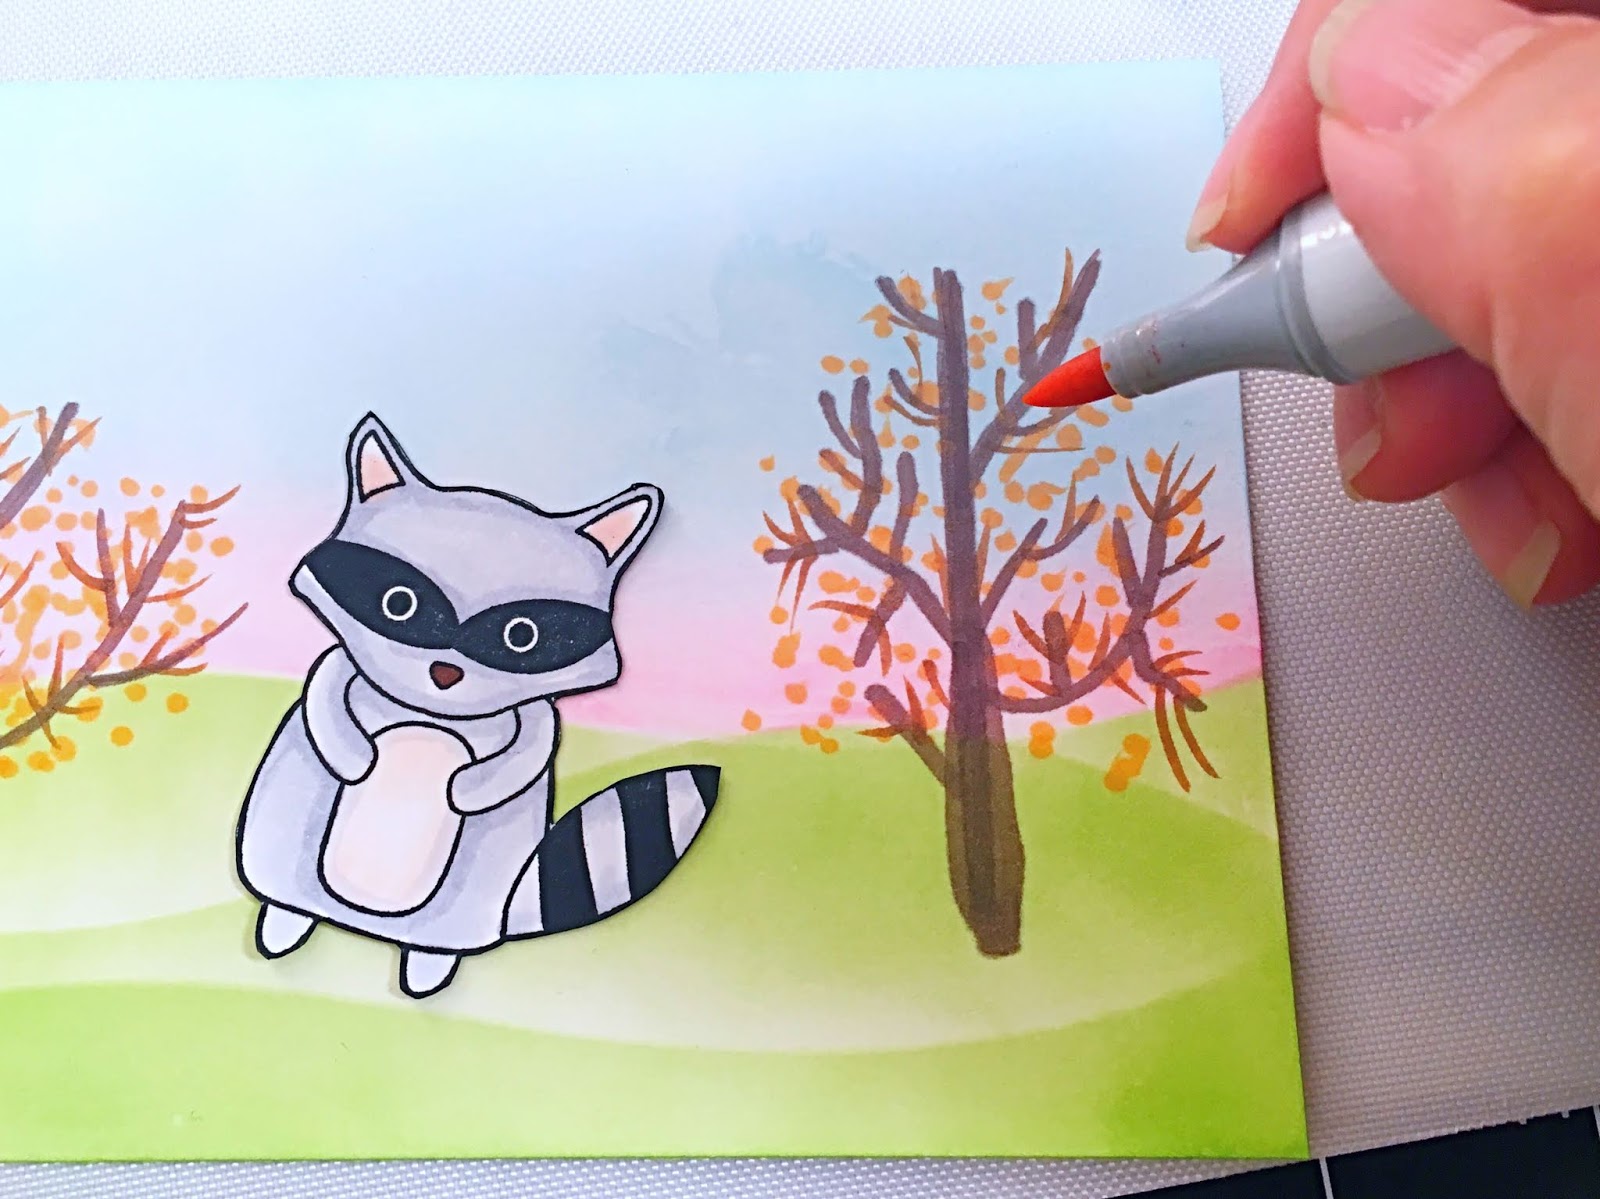
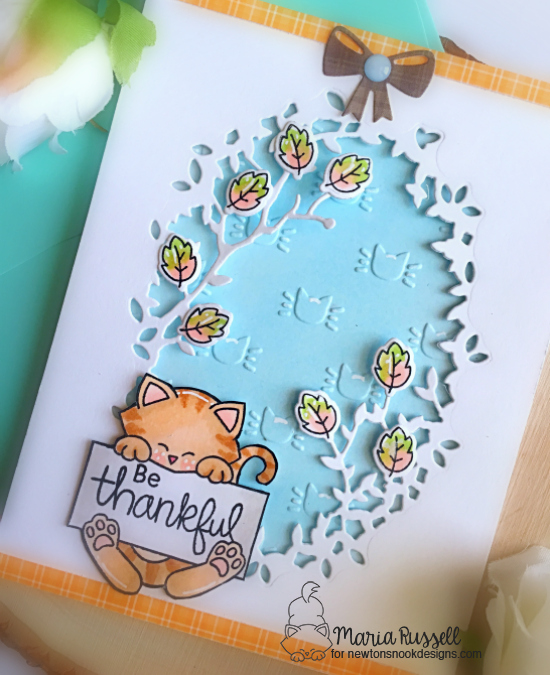
I started out by stamping my images on some smooth white card stock and I colored them in with my Copic markers. I fussy-cut the image with my precision scissors. For my first card below, I also used the Everglade Collage Wafer Dies by Simon Says Stamp and an older stamp set by Newton’s Nook called Newton’s Autumn. I stamped the leaves on some white card stock, colored them in with my Copic markers and die cut the leaves using the coordinating dies. I adhered the leaves on my collage frame.

I cut an A2 size piece of some Bristol Smooth white card stock and inked it up with Tumbled Glass distress oxide ink. I used my Darice Cats embossing folder to add some cute texture to this colored background. I die-cut some white card stock with the Everglade Collage Wafer Dies and adhered this piece onto my colored and embossed background.

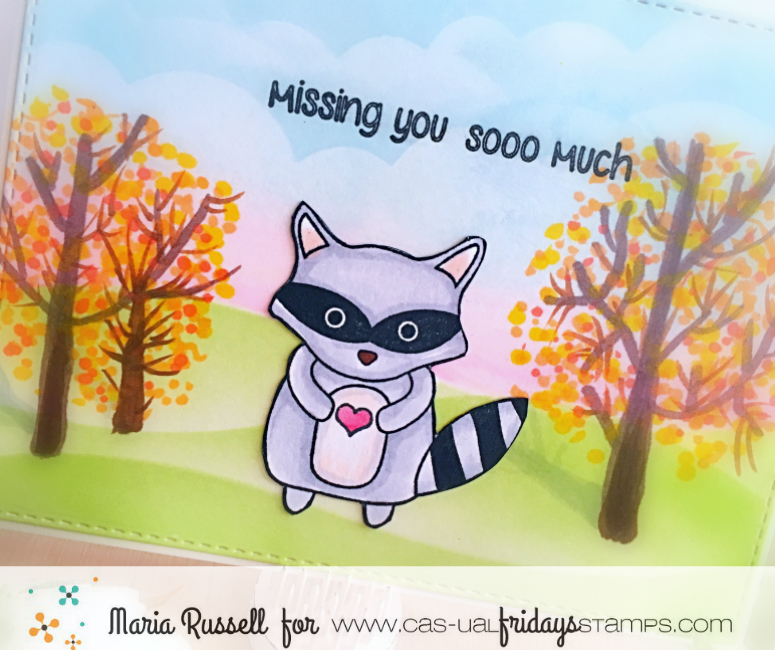
I assembled my card by adhering my foreground to my card base. Here’s my first card:
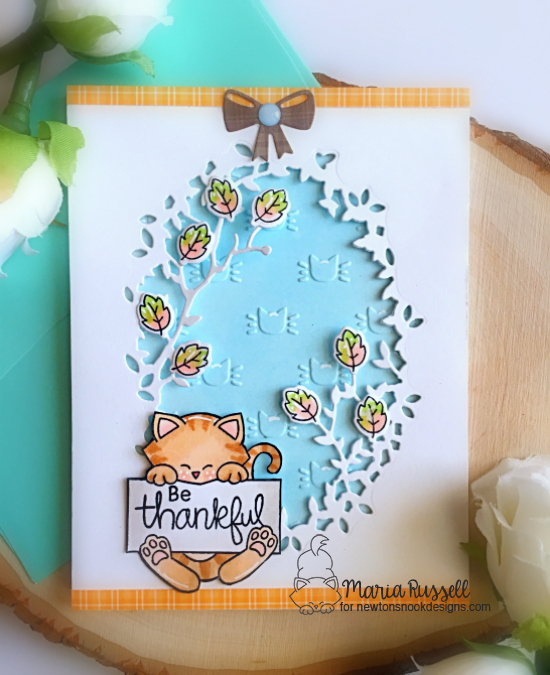
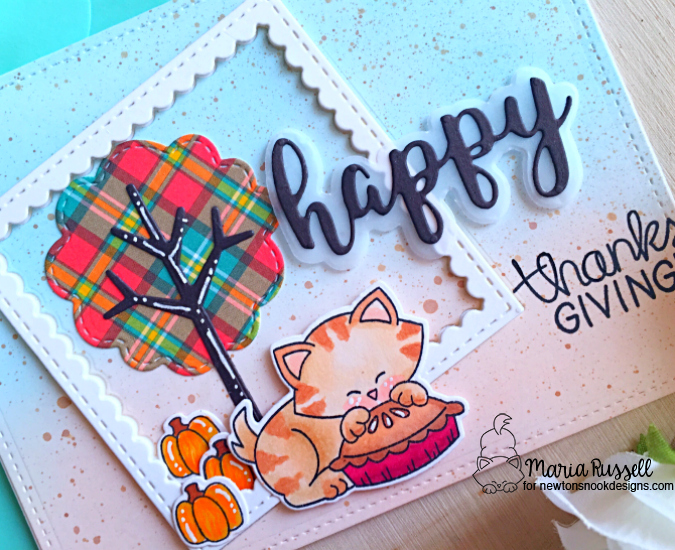
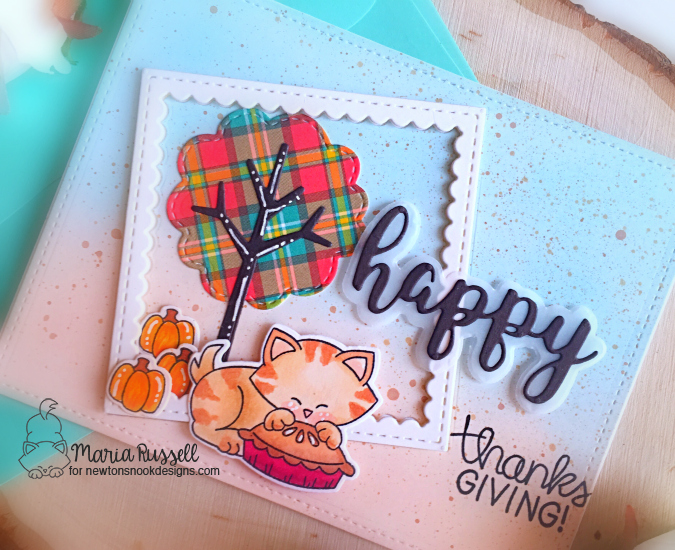
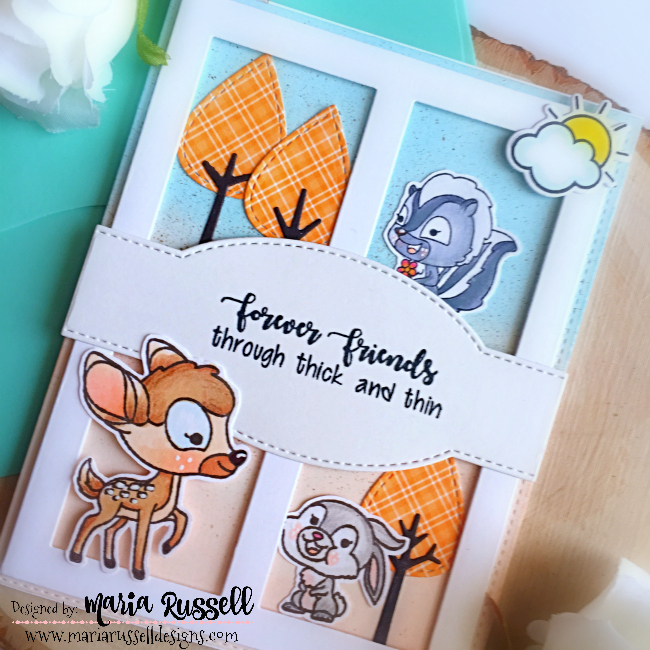
I couldn’t help but add that cute bow from my all-time favorite Pines & Holly die set by Newton’s Nook Designs. Here’s a little close-up:
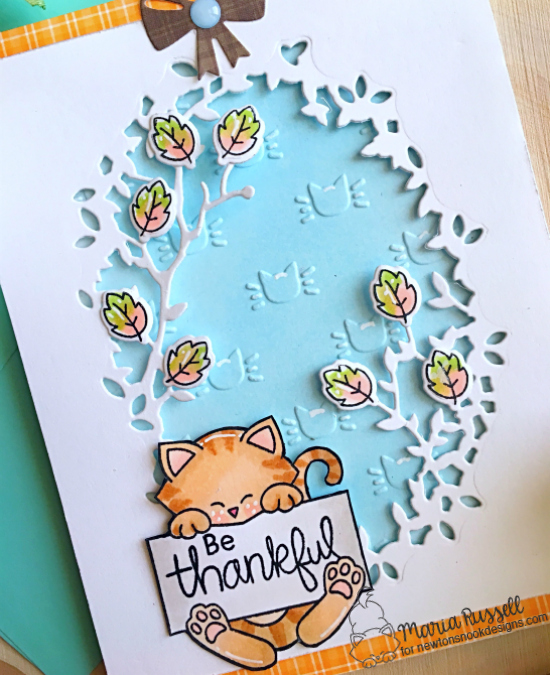
Also added some blue enamel dots from my stash and used my white gel pen to add more details to the card to finish the design. Here’s another look:
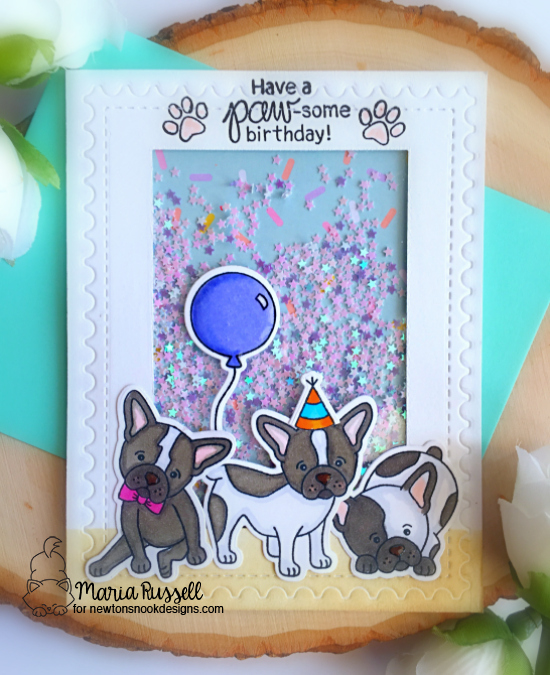
For my second card, I created a simple one-layer birthday card using the cute images from the stamp set.

I added the balloons from the Fabulous Frenchie stamp set by Newton’s Nook. Here’s a little close-up:

Also used my white gel pen to add more details to the little pups and to the balloons to give it a whimsical touch. To finish my design, I used glossy accents to make the balloons shine!

I hope you like my projects today. Please visit Simon Says Stamp to purchase this exclusive stamp set. Thank you for stopping by and happy crafting!