Welcome to the WOW! Embossing Powder & Kat Scrappiness Blog Hop! We have TWO days of inspiration for you using Kat Scrappiness Stamps, Dies, and Embellishments and WOW! Embossing Powders and of course there are amazing PRIZES!
WOW! Embossing Powder is giving away a $25 Gift Certificate to either their UK or USA Store and Kat Scrappiness is giving away a $25 Gift Certificate to their store. All you need to do to win is COMMENT down below. The more blogs you comment on the more chances you have to win! The winners will be chosen at RANDOM from ANY of the blogs (line-up listed below) on the two day hop.
You have come here from Ericka Strange.
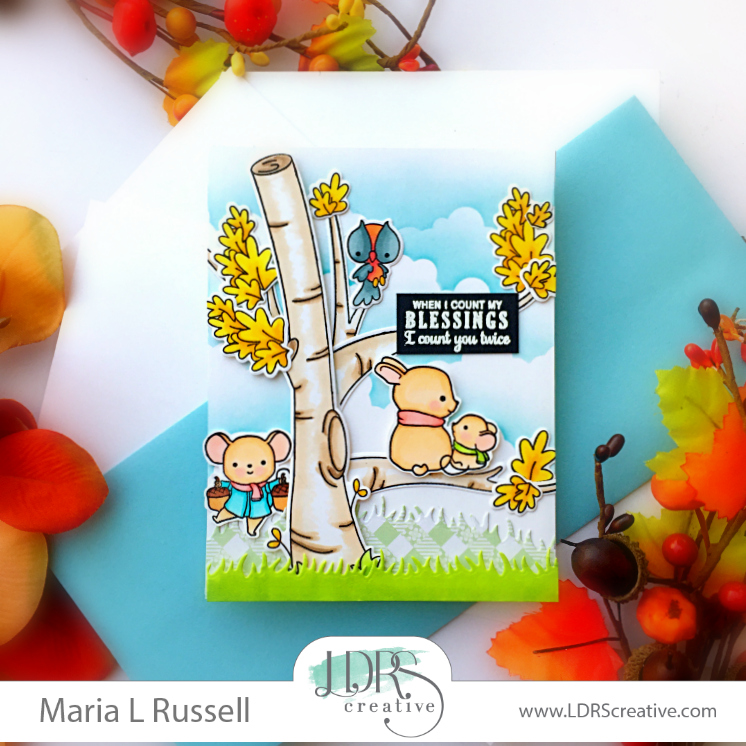
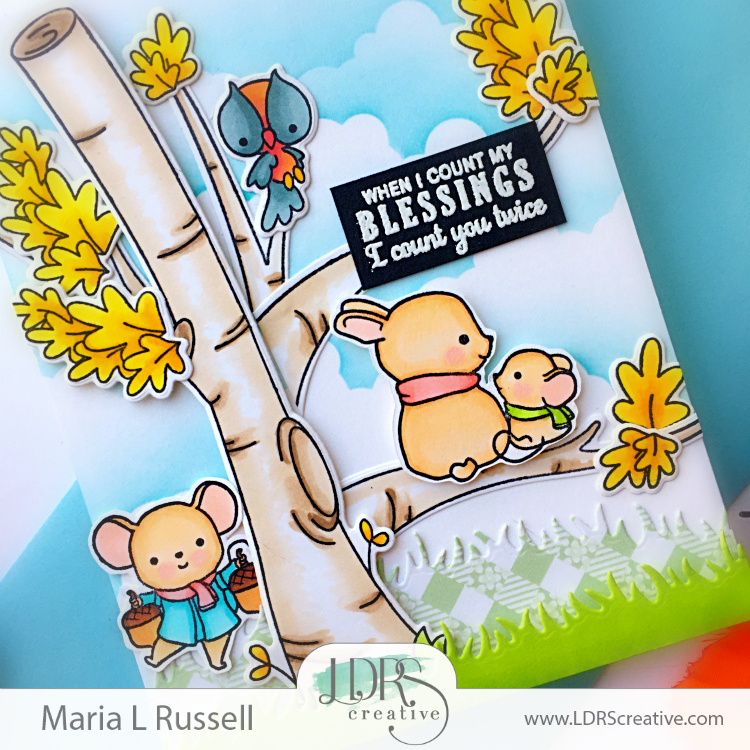
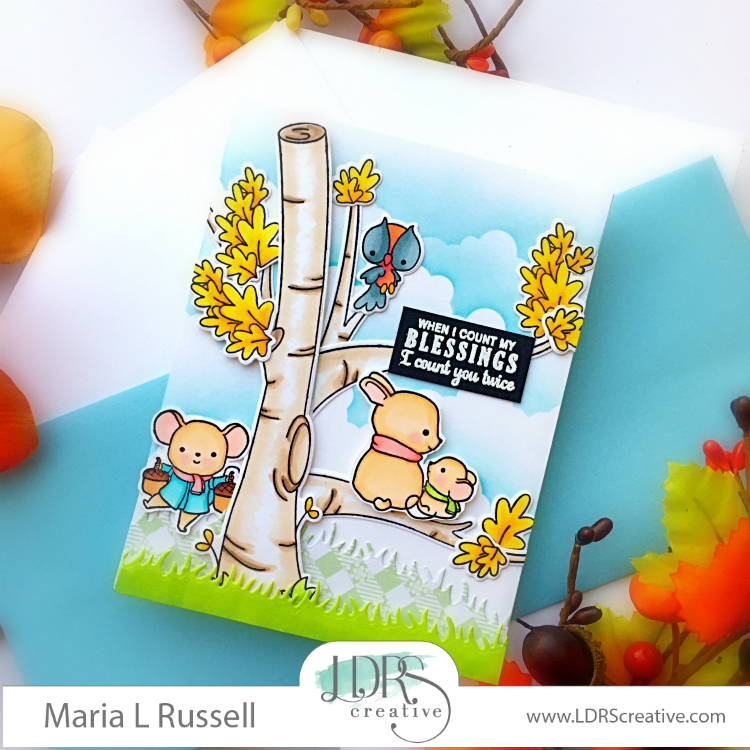
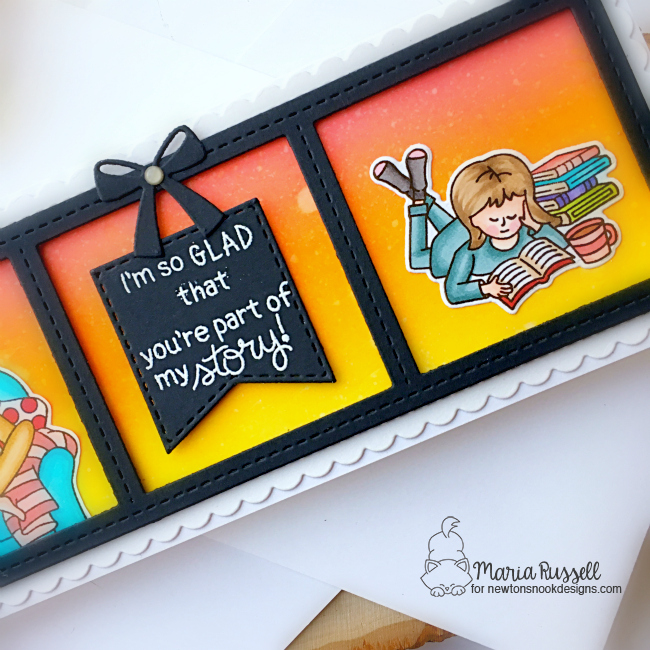
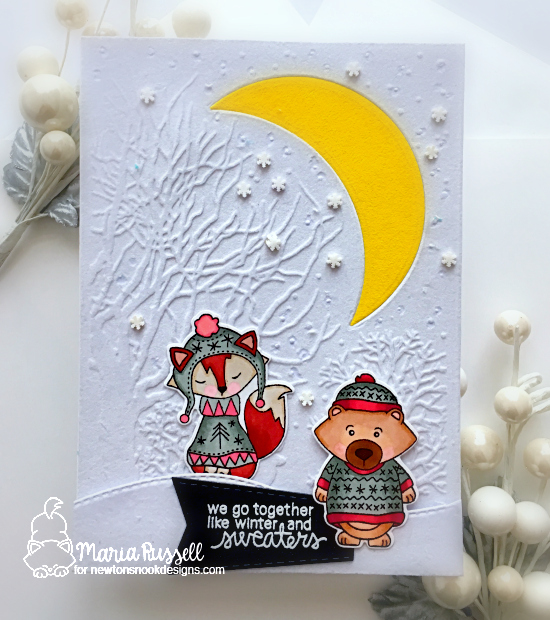
For my card today, I am showcasing the White Twinkle embossing powder from Wow! and the Thanksgiving Gnome stamp set by Kat Scrappiness, along with the new Zig-zag Nesting Slimline die.

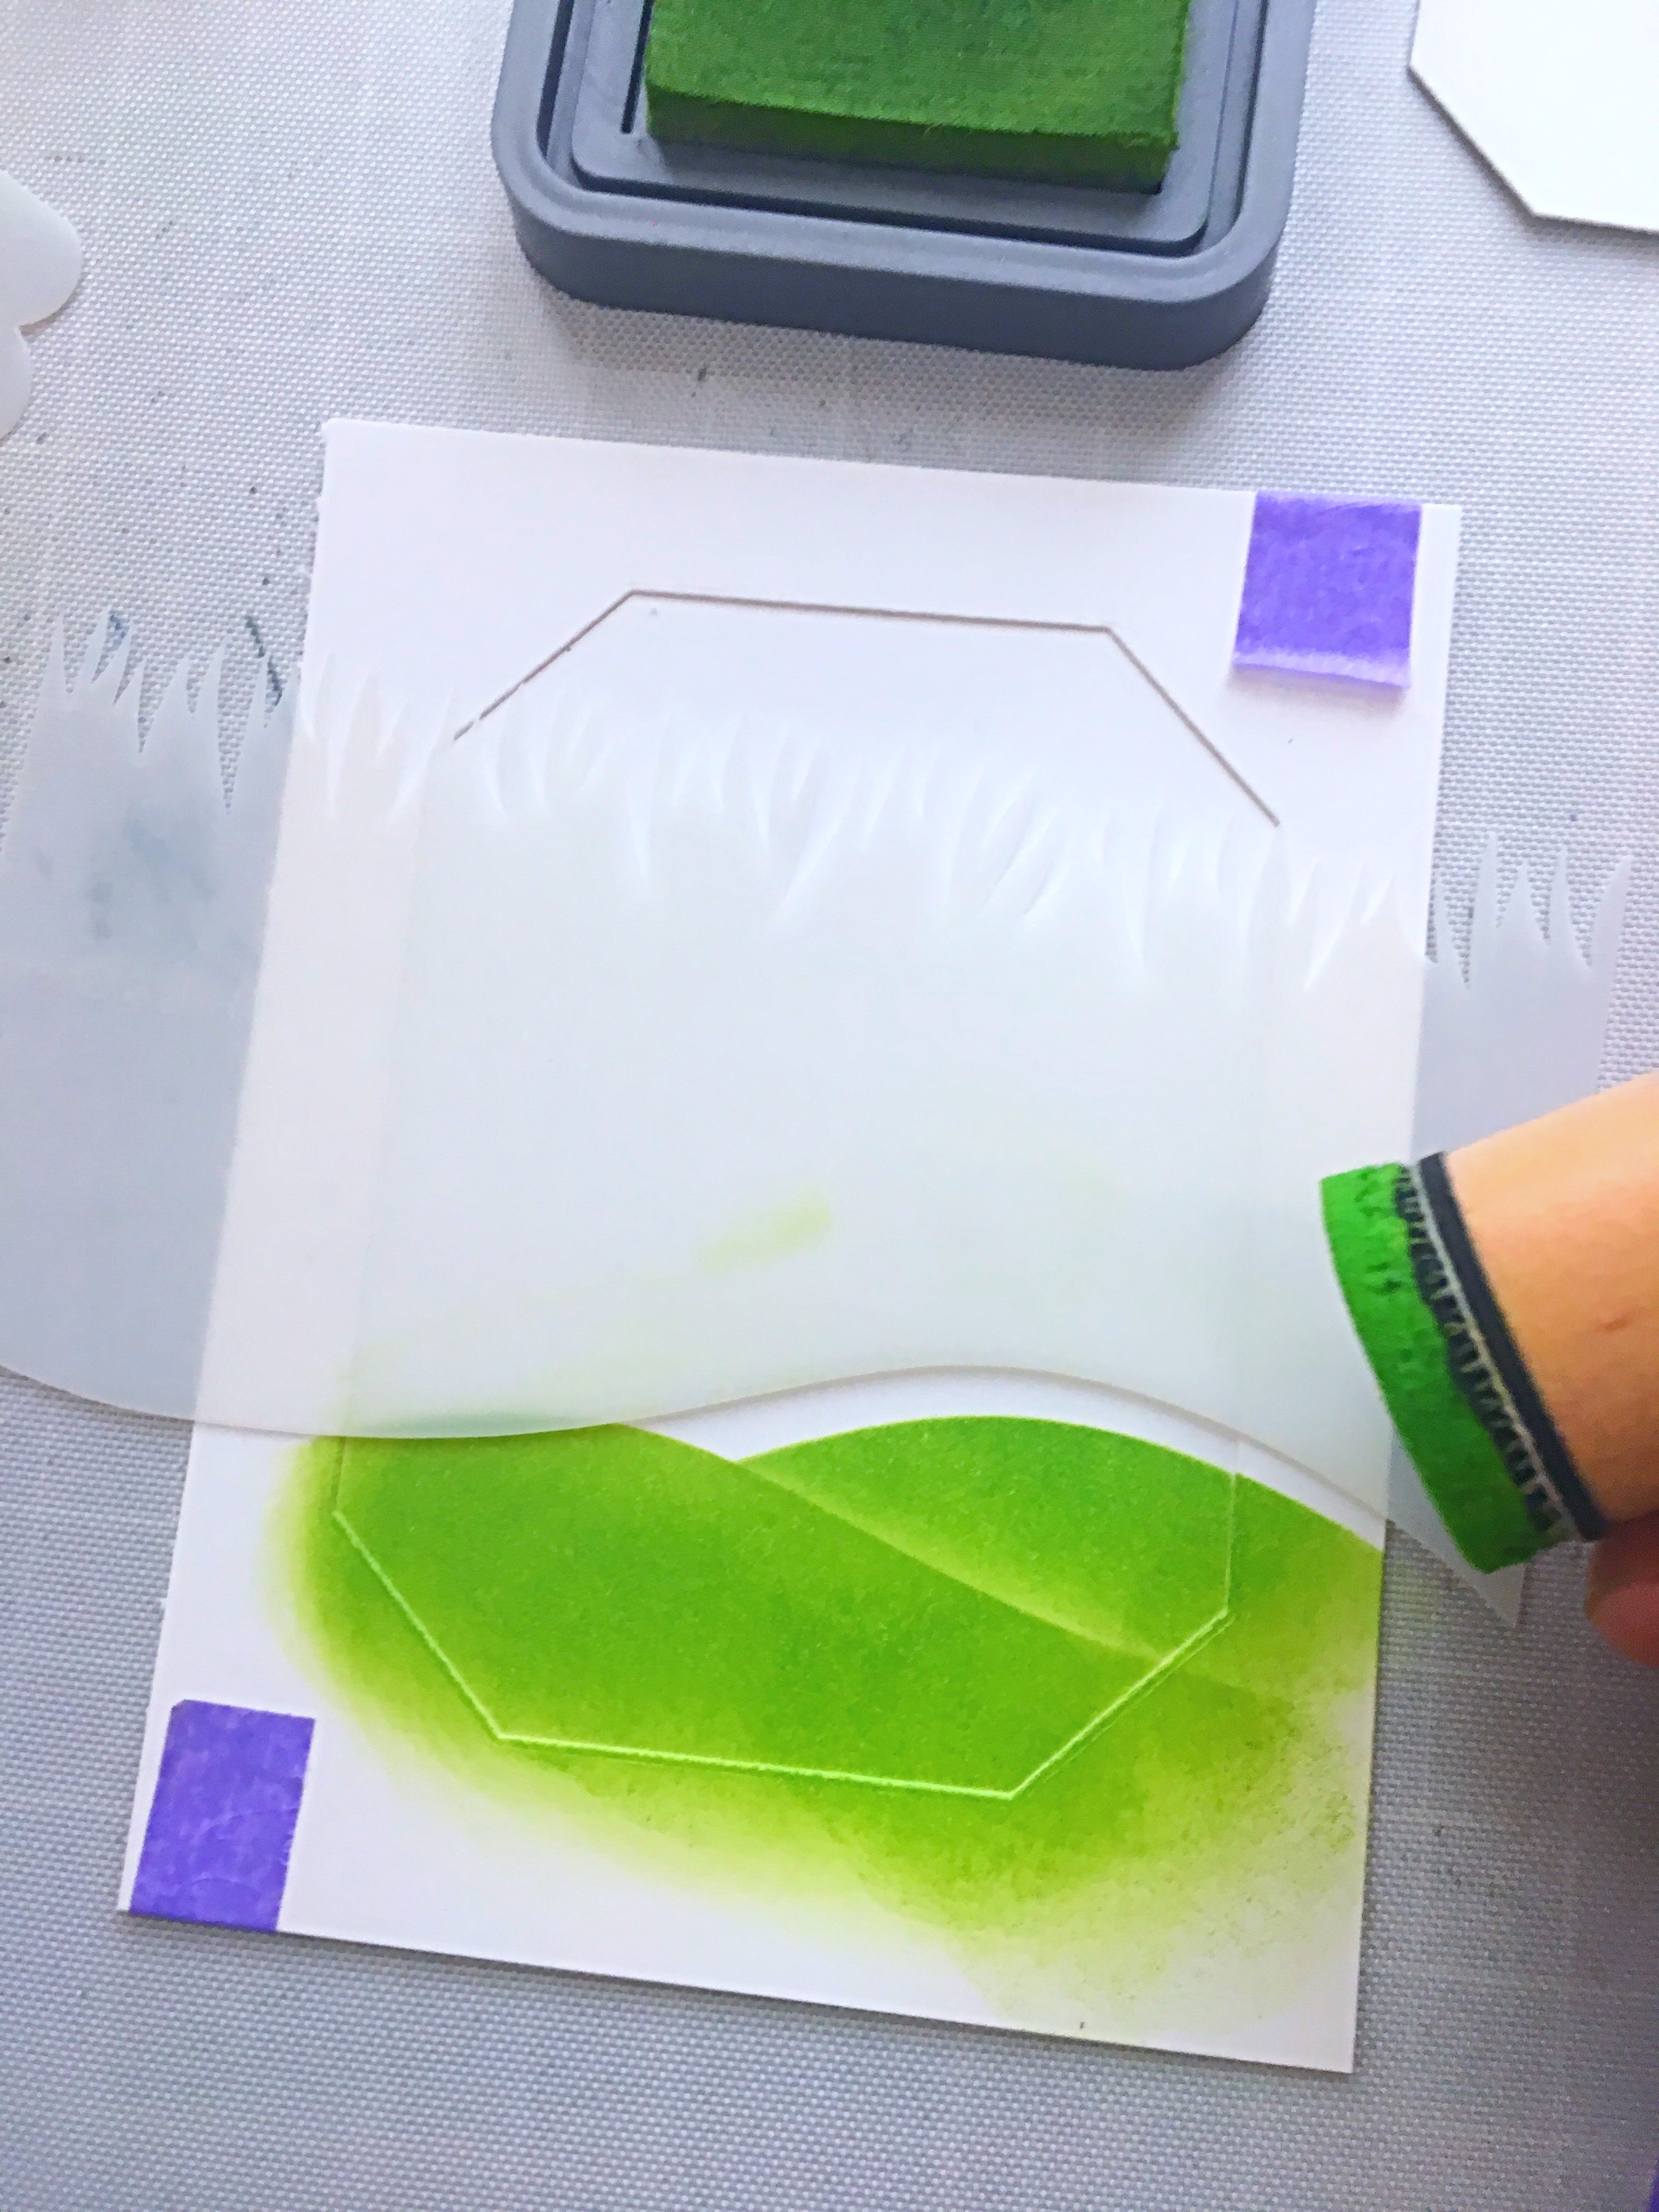
To begin, I die-cut a panel of Bristol smooth white card stock using the biggest die from the Zig-Zag Nesting Slimline die set. I cut this piece to 5 1/2 to fit my A2 size card base.
I used some painter’s tape to mask the edges and ink-blended this panel with some distress oxide inks. I also stamped the tree and leaves in the background with some black ink.
The Gnomes were stamped and colored with my Spectrum Noir TriBlend markers, and die-cut using my Brother Scan N Cut machine. I adhered them onto the background with some glue.

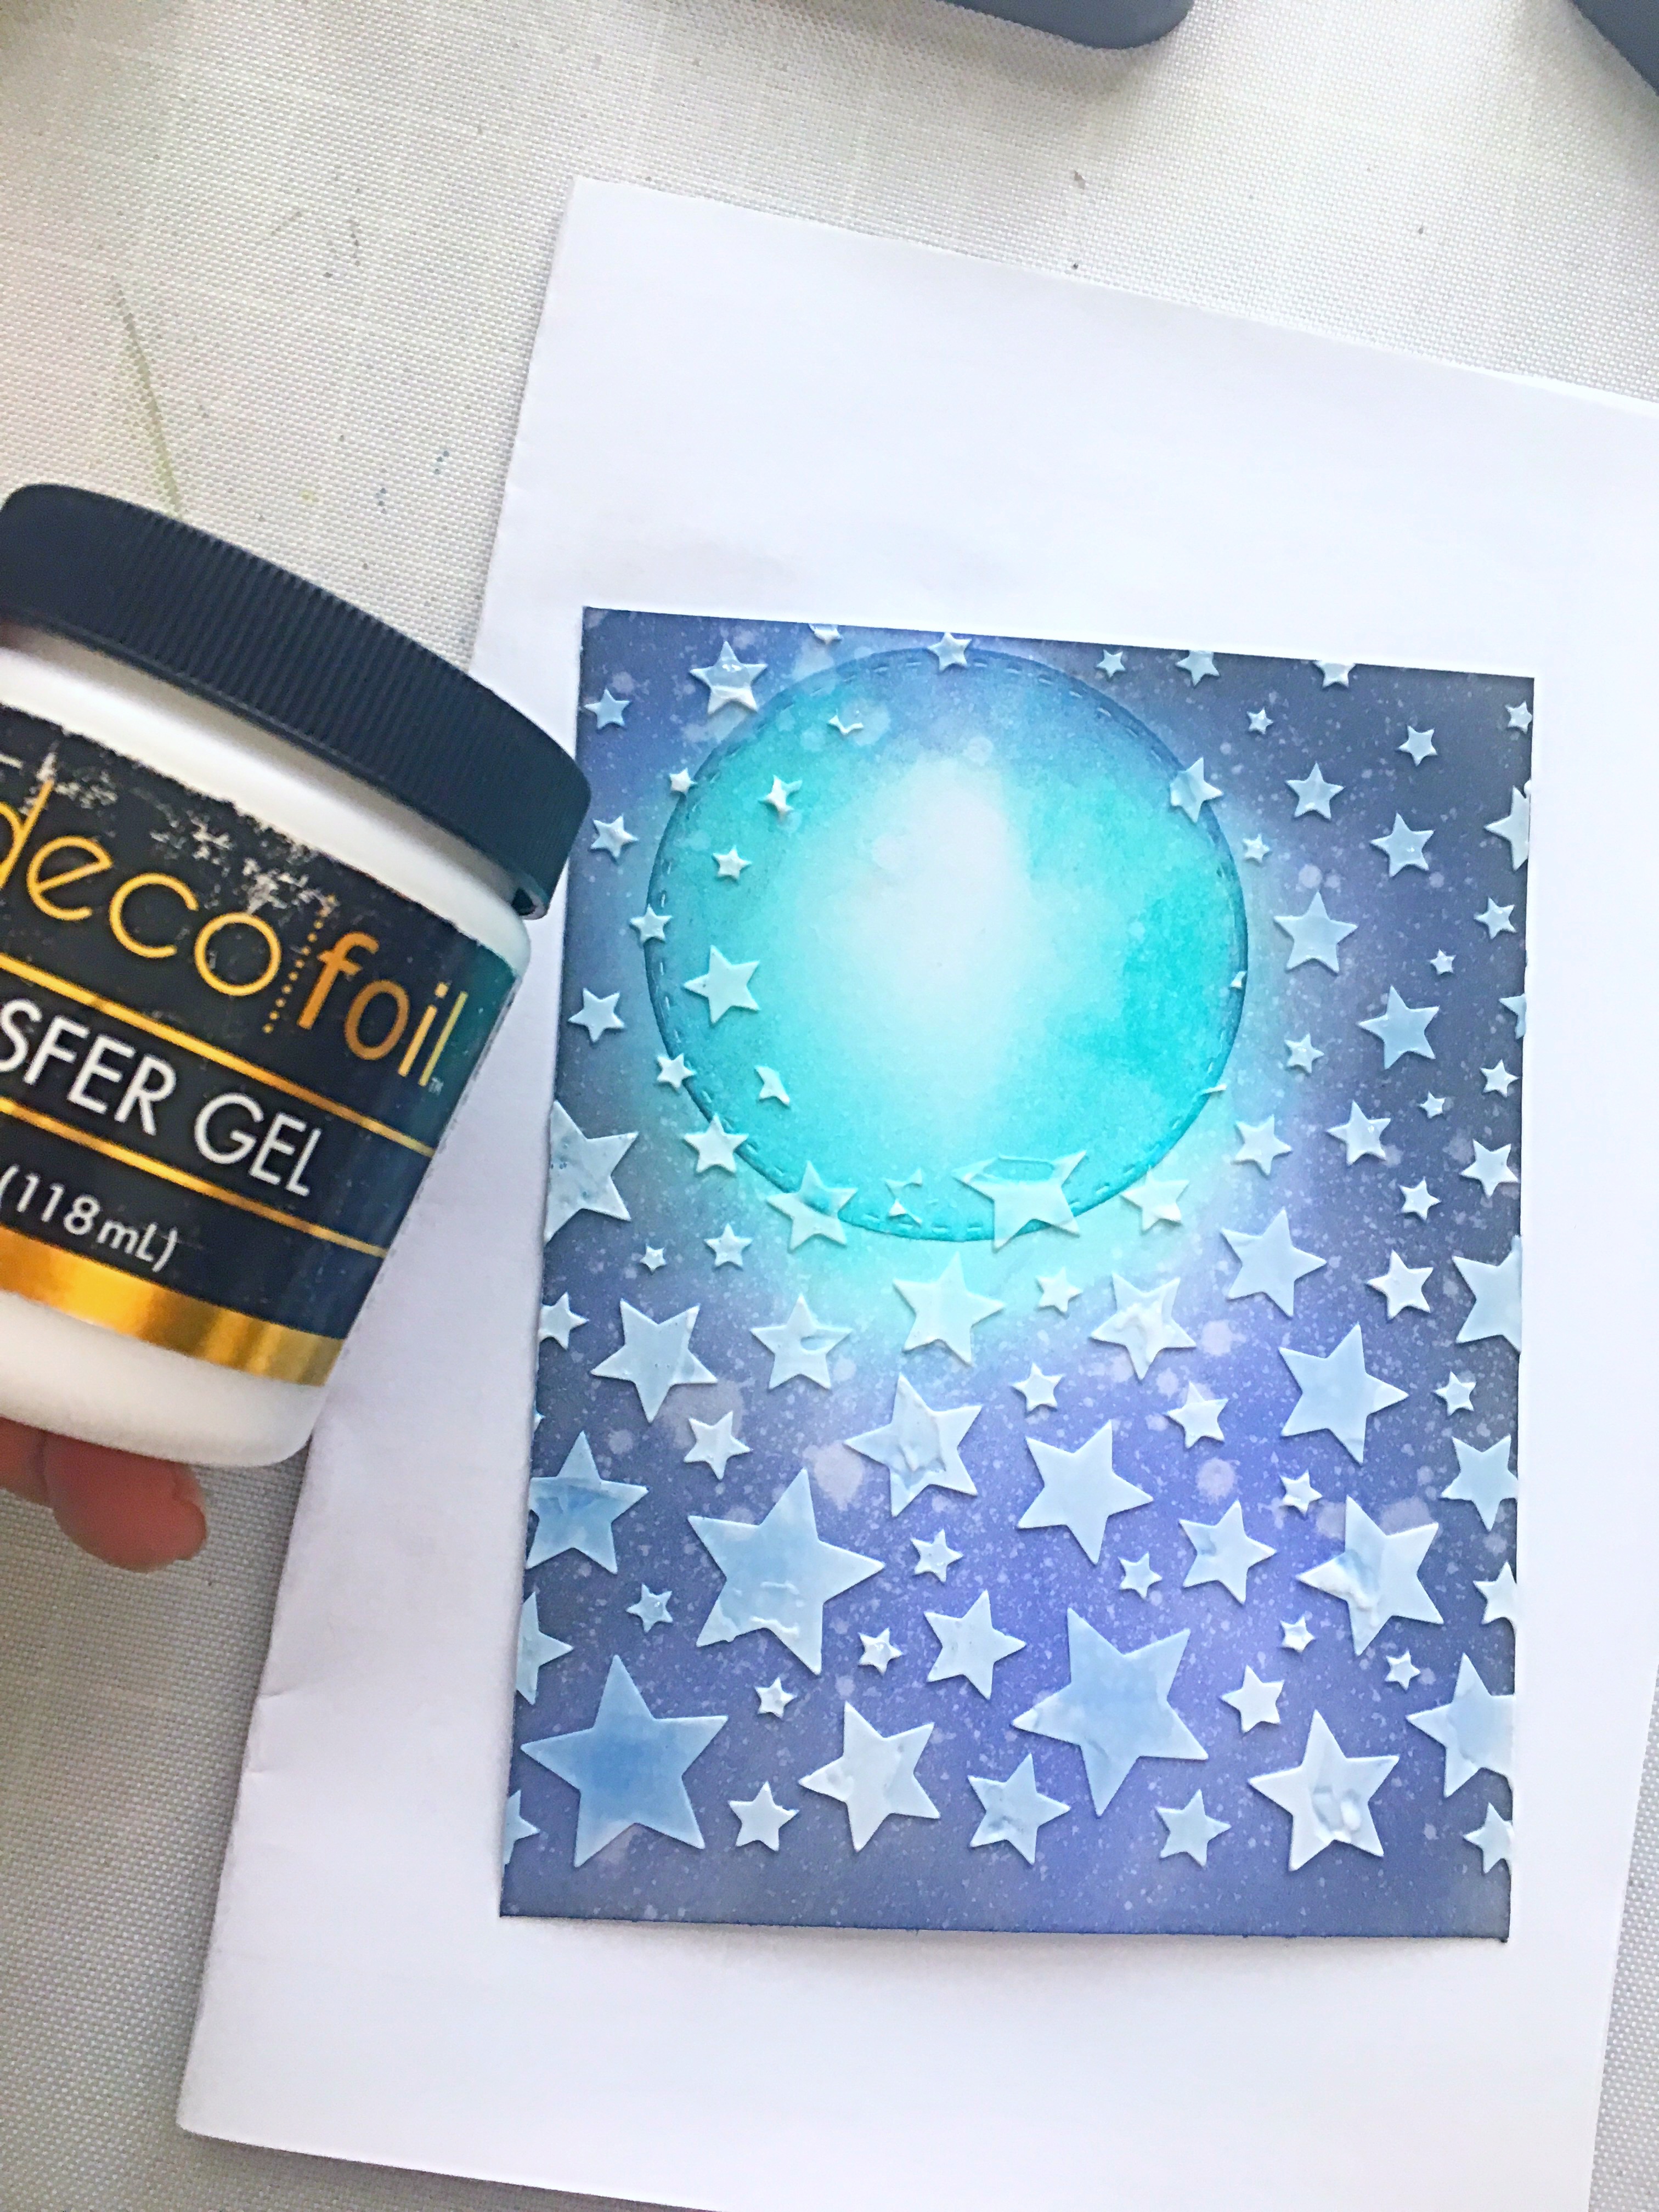
The sentiment was stamped using versamark ink and heat-embossed using the Wow! White Twinkle Embossing Powder. I know it looks muted on the photo but it looks so glittery in person!
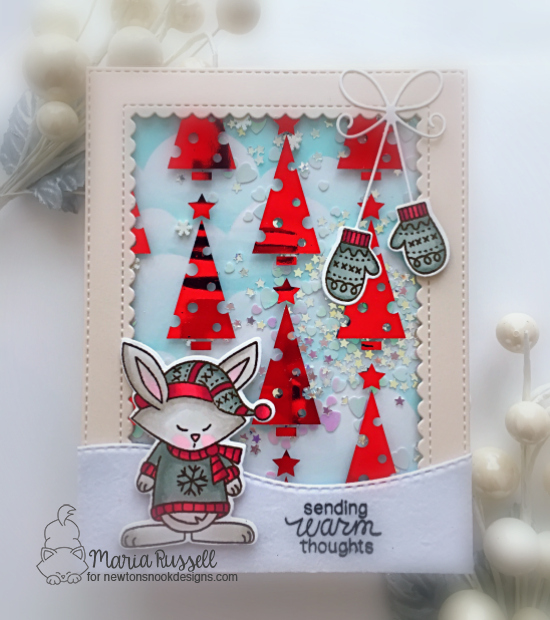
I added some patterned paper on an A2 size card base and adhered the inked background. I finished my design by adding a few leaves from the Happy Fall Y’all stamp set. Here’s another look:

The supplies I use are listed and linked below. Next on the Hop is Rikka Kovasin. If you get lost along the way, here is the line-up:
Kat Scrappiness
Jo Thompson
Daniel Diaz
Kathy Schweinfurth
Ericka Strange
Maria Russell (you are here)
Riikka Kovasin
Tina Guigui Dornbaum
Karen Reategui
Priscilla Bergman Joseph
Isha Gupta
Martha Lucia Gomez
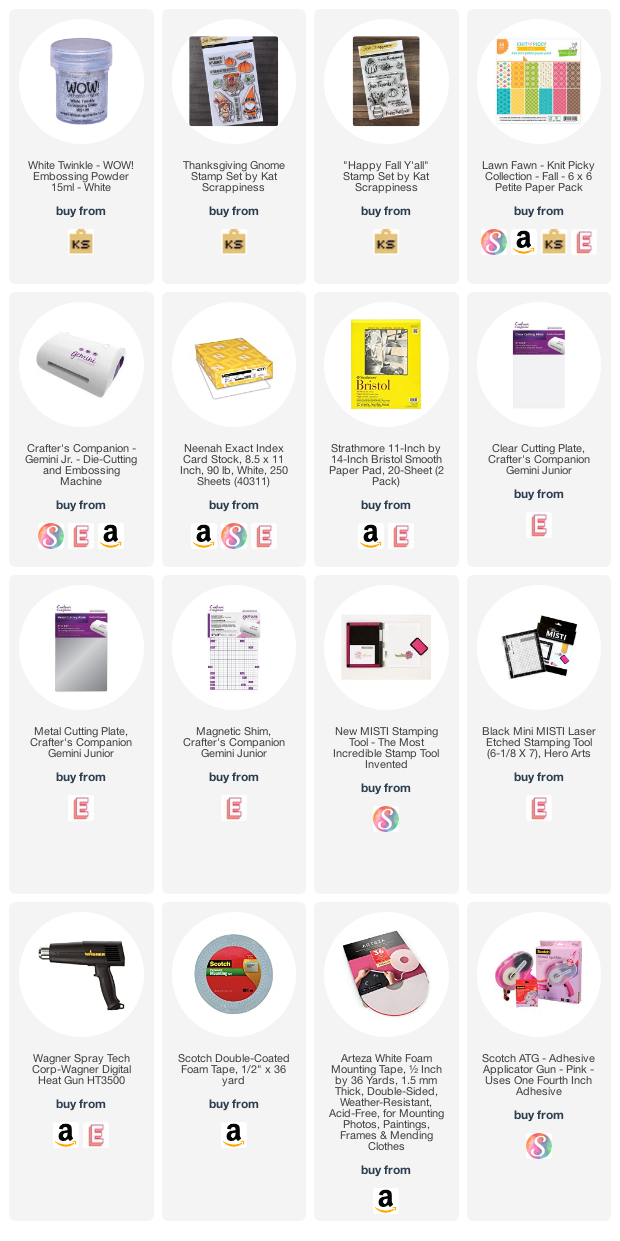
——–SUPPLIES——