Lawn Fawn and Xyron – Meow You Doin’

Hello my crafty friends. I am so happy to share this blog post today. Xyron is collaborating with Lawn Fawn and the Xyron design team will be sharing projects showcasing Lawn Fawn products (from March 27 to 31, 2017).  We’re also having a giveaway to celebrate! Just leave a comment on any (or all) of the Lawn Fawn projects we share on our Facebook page (https://www.facebook.com/xyroninc/) all week long and someone is going to win a $50 prize pack – a $25 LF gift certificate and a Xyron Mega Runner!

If you have been following me for a while, you know I LOVE all things LAWN FAWN. I have been a huge fan for years!  Please check out the new Lawn Fawn products at www.lawnfawn.com or for details about this hop, visit the Lawn Fawn blog at: http://lawnfawn.blogspot.com/.

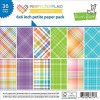
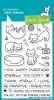
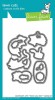
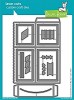
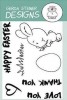
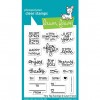
I have a birthday pop-up box for you today and a process video below for Meow You Doin’  card, showcasing the Meow You Doin’ stamp set and dies, 6×6 Perfectly Plaid Rainbow paper pad, and a lot of other Lawn Fawn products that I have from my stash.

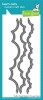
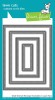
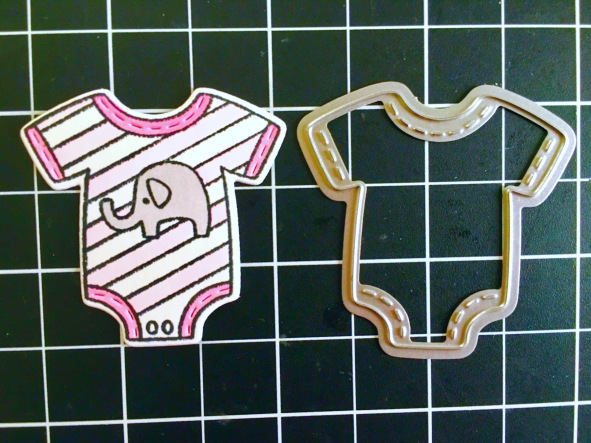
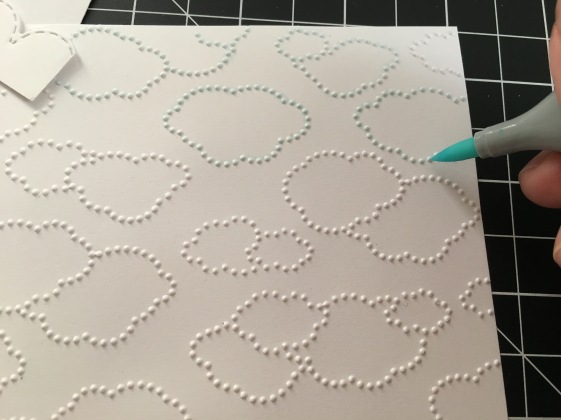
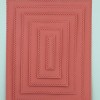
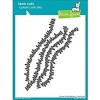
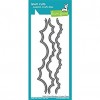
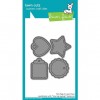
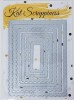
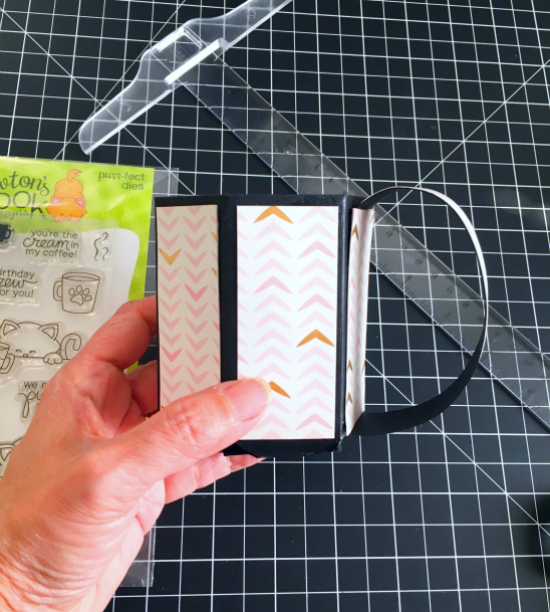
I started out by stamping my images on Neenah solar white card stock and colored them in with my Copic markers. I die-cut the pop-up box using a light blue card stock. I also die-cut the square boxes using the dies with the rainbow paper pad, and used my grassy hills border dies to die-cut the grass for my scene.

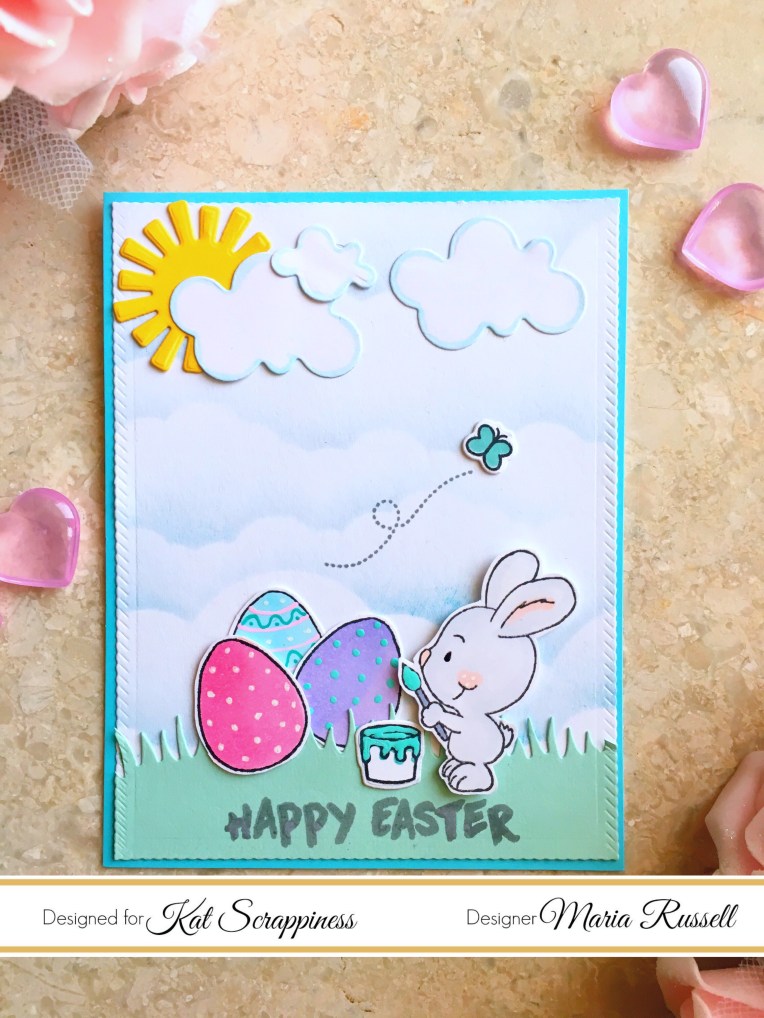
Before I assembled the box, I stamped some clouds and the sun on a white square piece of card stock. I assembled the box and started decorating it with the rest of my die-cut pieces.

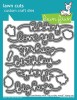
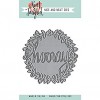
I stamped the script “happy” and die-cut the piece with its coordinating die. I used my Xyron sticker maker to adhere it to the front flap of my card.   I love using the sticker maker for this type of project because it really makes my life easier and the die-cut piece is perfectly adhered to the card.

XyronLFCollabe1

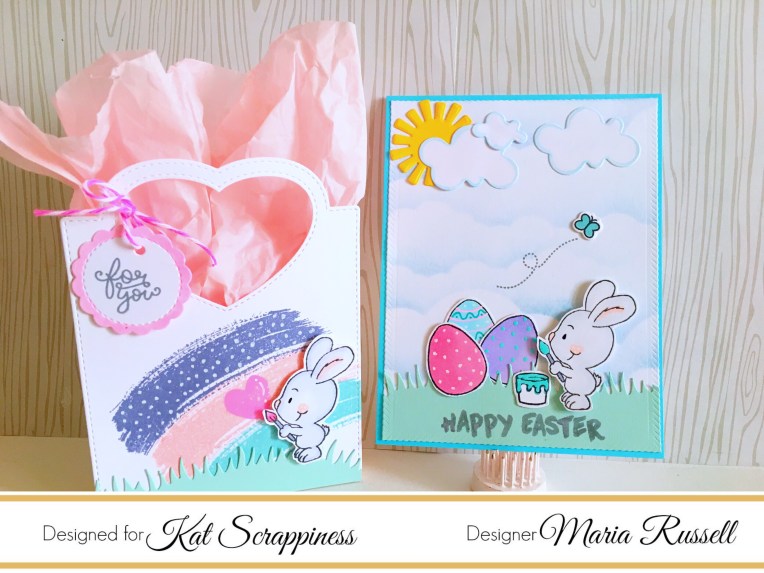
Here’s the second card with a process video below.

XyronLFCollab2

Here’s the process video:

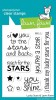
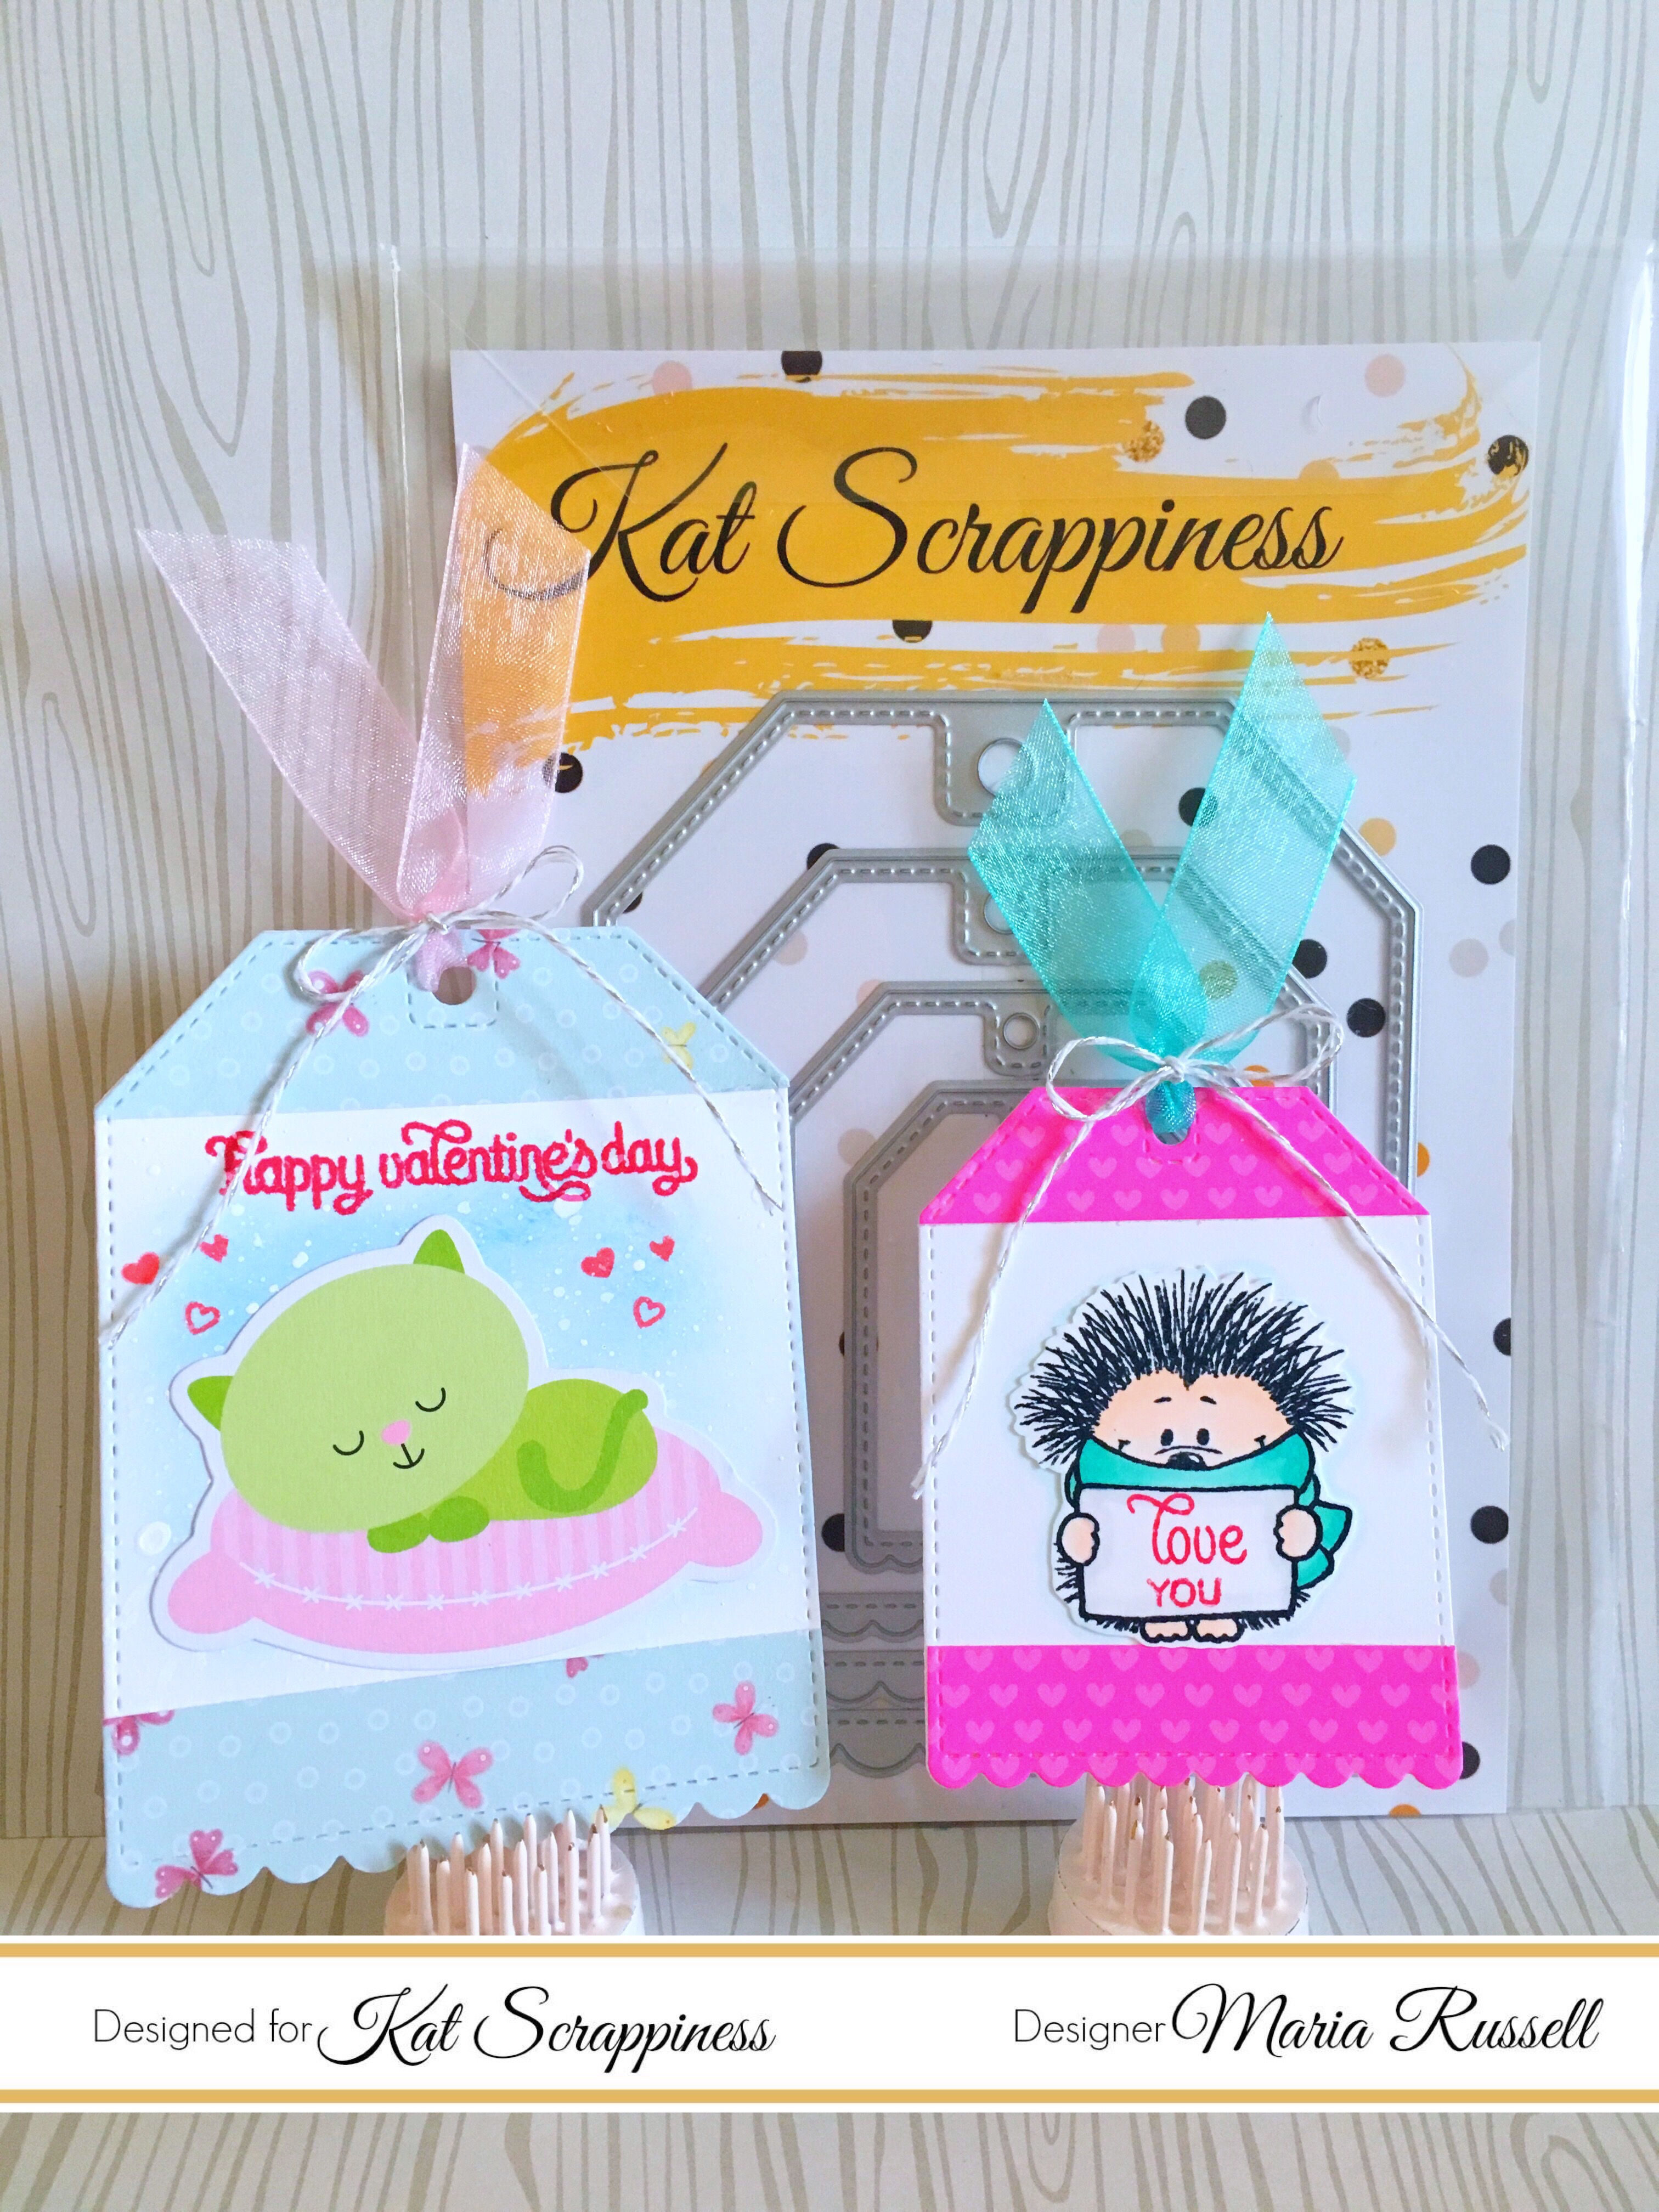
Here’s the last card that I made, with the Meow You Doin stamps and dies, and an older stamp set called “Lucky Stars”.  I hope you like all of my projects, and got inspired today.  I have also listed and linked the supplies I have used.  Have an amazing day!

xyronlfcollab4

 ———SUPPLIES——–
(Some affiliate links may have been used AT NO ADDITIONAL COST TO YOU)

Newton’s Nook March Release – Lovable Laundry

nnd_17march_releaseicon

Hello my crafty peeps! Are you ready for today’s total cuteness? It is the second day of the release at Newton’s Nook Designs.  I hope you have checked out yesterday’s blog post. The whole design team at NND has been busy creating wonderful projects to give you some daily inspiration. You also have a chance to win each stamp set during release week so check out the details I have indicated at the end of this blog post. [Just a little important note:  I know some of you had difficulties finding the comments section.  If you would like to leave a comment to participate in the giveaway, the “comments section” will only be ever visible when a single post on Word Press is being viewed. Please click on this particular blog post and you will be able to leave a comment below.  Thank you for understanding and I apologize for the confusion.]


For today’s card, I am showcasing the Lovable Laundry Stamp Set and the Stitched Onesie die.

NND_17MARCH_LovableLaundry

I stamped my images on Neenah solar white card stock, and colored the images with my Copic markers. I die-cut the grass, using NND’s Land Border Dies.  I die-cut the baby clothes with its coordinating die.  I really love the stitching details it gives on the die-cut piece.


IMG_4101


I used my clouds embossing folder and dry-embossed my card front panel. To give more definition to the clouds, I colored the embossed image with my Copic marker.  I adhered my stamped images and die-cut pieces to the embossed panel, with my Xyron tape runner.


IMG_4087

To finish off the design, I added the sun, butterfly and gemstones to the baby clothes and stamped the 3 hearts on the clouds.  Here is the card:


NNDBaby


Would you like to win the “Lovable Laundry” Stamp Set?  This set will be given away to ONE lucky winner!  Here’s how to win: 


Comment on the NND blog and Design Team blogs (see list below)! The winner will be chosen at random from the collective reveal posts. Make sure to check out each of their blogs and comment for your chance to win. You will not know which blog has been chosen so the more you comment on the better your chances are of winning! You have until Thursday March 16th at 9pm CST to comment  — winners will be announced on the blog post on Friday, March 17th.


Check out all the awesome Design Team Blogs below to enter:


Newton’s Nook Designs

Amanda Bodine

Holly Endress

Ellen Haxelmans

Larissa Heskett

Samantha Mann

Juliana Michaels

Naki Rager

Maria Russell (you are here)

Jennifer Timko

Tatiana Trafimovich


Happy Easter Card and Easter Treat Bag

Hello stampers and crafters! It’s Maria Russell here with you today and I am so thrilled to be back as a design team member for Kat Scrappiness.

Today I have created two projects, showcasing the (recently stocked) Stitched Heart Tag Dies, Stitched Rope Nested Rectangle Dies, Gerda Steiner Brush Bunny stamp set and a bunch of other products available at the shop.

If you haven’t watched the YouTube video tutorial on how I made these treat boxes, I have linked the video below. It is very easy and you can create a decent-size treat bag using these tag dies. They are so versatile you can create a ton of projects with these dies, for any occasion.  Here is the video tutorial:

For the treat bag, I started out by die-cutting the tags twice and stamped my images on the tag. I highlighted the rainbow with my white gel pen. Before assembling the treat bag, I die-cut a grass border hills die. It is important to do this step first before assembling the bag.

IMG_4339

I stamped my bunny images on Neenah solar white card stock and colored him in with my Copic markers. I adhered my bunny to the treat bag.

Using my favorite Lawn Fawn Tiny Tag Saying stamp set and Tiny Tag Dies, I stamped the sentiment on the tag, and attached it on the treat bag with my pink and white twine. Hear is the treat bag:

IMG_4341
For the card, I started out by die-cutting my front panel using the largest of the stitched rope nested rectangle dies. I sponged the “clouds” using my lawn Fawn Clouds Border Dies, with Tim Holtz Broken China distress Ink.

IMG_4338

I die-cut another grass border die and adhered it on my front panel. I stamped the eggs on Neenah Solar White card stock and colored them in with my Copic markers. I also used my Sakura Gel pens to add some details to the eggs.

To finish off my design, I adhered all of the stamped images and die-cuts on the front panel of my card. Using a blue card base, I adhered the front panel to my card base using my all-time favorite Xyron Mega Tape Runner. Here is the card:

IMG_4342

Here are the two projects:

IMG_4340

I hope you got inspired today. Please check out all the new items at Kat Scrappiness online store before they sold out again. The supplies I have used are listed and linked below. Have an amazing day!

————-SUPPLIES———

You Are My Favorite Little Nut

Hello my crafty peeps! I hope you are all having a fantastic day! I am super excited to share with you today’s cards. This is my first blog post as a Design Team member for Xyron, Inc., Yay! (I’m still doing my happy dance in my head as I write this post) I have been a Xyron fan since 2003 and I have been using their products since.  Today’s “just-because” cards are so easy to replicate.  I am showcasing the Xyron 5-inch Creative Station Lite, Teresa Collins Mega Tape Runner and stamp set and dies by Neat and Tangled.

I started out by stamping my images on Neenah solar white card stock and colored them in using my Copic markers. I lined up my coordinating dies on the images using low-tack tape to hold them in place, and proceeded to die-cut them on my Big Shot machine.  Using a wreath die, I die-cut my card stock twice. I wanted some dimension to the wreath and also make it sturdier. I used my scissors to remove the “hooray” part of the wreath.  Using my Xyron 5-Inch Creative station, I inserted the die-cuts through the machine to run it through. Without removing the other piece out of the sticky sheet, I adhered the pieces together. This will ensure that they are perfectly lined up. With the help of my craft pick, I started removing the extra adhesives between the spaces.

Without lifting the die cut piece out of the sticker sheet, I went ahead and colored it using my Copic markers. This technique ensures that your intricate piece gets held in place while you’re coloring the card stock.

Using the negative piece of the wreath, I distressed the background using Broken China Distress Ink. I used my paintbrush to splatter some water on my background, and let it sit for about 30 seconds them picked up the water with my paper towel. I love the fun splatter effect!

I lifted the colored wreath out of the sticker paper and carefully adhered it to my card panel. I love using my Xyron Creative Station Lite (or Xyron Sticker Maker) to adhere die-cuts to my card. Since the Xyron gives complete adhesive coverage, this intricate piece will stay securely adhered to the card.

Using my stamping tool, I lined up my stamps and stamped the sentiment on my card.  I used my Teresa Collins Mega Tape Runner to adhere my critters and the hearts to the card front. To finish off the design, I added glossy accents to the hearts.

img_4020

Here is the first card:

xyroncard1


Since I have leftover stamped images, I decided to create another card.  Here is a card that you can give as an anniversary card, or just-because!


xyroncard2

I hope you like my cards.  If your would like to check out a beautiful card created by my fellow Xyron DT member, Pam Bray, here is her post: (http://www.pammejoscrapbookflair.com/…/hello-beautiful-with…)

The supplies I have used are listed and linked below. Have an amazing day and happy crafting!

———-SUPPLIES———-

Inky Paws Challenge # 40

There’s a new Inky Paws Challenge on the blog (http://www.inkypawschallenge.com) and this time it is a sketch challenge. I love sketch challenges! It gets me out of my comfort zone to try and design something that I’ve never done before.

Here is the sketch:


inky-paws-challenge-40

I started out by stamping the images on Canson watercolor card stock with my Versafine Onyx Black Ink and colored them in with my Zig Clean Color Real Brush markers. For this card, I am showcasing a couple of stamps from Newton’s Nook Designs. The mixer, spoon and measuring cup are from the Made From Scratch stamp set and the doodle design is from the Love A La Carte stamp set.

I finished my design by using some Doodlebug patterned paper. Instead of using twine, I decided to use the bow from a Christmas die-set by NND called Pines and Holly Die Set.  Here is my version of the challenge.

nndinkypaws40

What do you guys think? I hope you got inspired today and join us for this challenge. For more information, please visit http://www.inkypawschallenge.com. You have two weeks to join the challenge.  Winner will get a $10 gift code for the Newton’s Nook Designs shop.

The supplies that I have used for today’s card are listed and linked below if you are interested. Have an amazing day.

——–SUPPLIES———-

https://static.inlinkz.com/ppr.js

Sweet Treats Blog Hop ~ Message in a Bottle & Paper Coffee Mug Treat Holder

nndsweettreatsbloghop

Hello stampers and crafters! Thank you for stopping by my blog. Welcome to the sweet treats blog hop hosted by Newton’s Nook Designs. I have a special treat for you today. I am sharing two Valentine’s D.I.Y projects.

The first project is a unique holder for your love letter. I call it, Message in a Bottle. I made this project a few years ago and posted it on my YouTube channel.  Back then, I wanted to give my husband something unique on Valentine’s Day so I made this cute, shabby chic message in a bottle project that housed a music sheet by Led Zeppelin, called “Thank You”. This was the very first song that my husband played for me on the guitar when we were still dating many, many years ago. However, the Message in a Bottle project that you see below is a lot simpler. If you are looking for a unique project this Valentine’s Day, the possibilities are endless using this idea!

I started out by cleaning up a small empty wine bottle and set it aside to dry. For my example below, I used a music sheet patterned paper  (Note: You can write your own love letter instead)   I rolled the patterned paper using a pencil to make it easier for me, then tied it with a bow.


nndmessage1

To add interest to the message holder, I added the love die-cuts using Newton’s Nook Designs Darling Hearts Die. There is a small “love” script die that is included in this set and is perfect for this project. I also used some of my favorite sequin mixes to further decorate the bottle.


nndmessage3

This is like a shaker card, without having to use foam adhesive. I think it turned out so cute!  To finish off the design, I die-cut the heart tag using the Darling Hearts Die on pink patterned paper. I used the sentiment and the heart from the Holiday Smooches stamp set. I used my crop-a-dile to turn the die-cut into a tag. I tied it on the bottle with my silver twine. Don’t you just love this unique love letter holder?


nndmessage4


The second project is an adorable paper mug treat holder idea, using the We R Memory Keepers Punch Board. This Punch Board is one of my all-time favorite crafting tools because of its versatility. You can make your own envelopes, treat boxes and treat holders.

I followed a video tutorial on YouTube on how to create this Paper Coffee Mug. Since this project is for Valentine’s Day, I wanted to use White, Pink and Gold for my project. I used a beautiful patterned paper that I got from Michael’s to decorate my paper mug.


nndcoffee1

I then stamped this cute Newton image (from the Newton Loves Coffee stamp set) on Neenah solar white card stock and colored him in with my Copic markers. I used the coordinating dies to die-cut the image and adhered him to a pink circle card stock. I die-cut the scallop circle with my stitched fancy scalloped circle die to further decorate my tag. I love the pink and gold color combination.


nndcoffee2

I bought some of my favorite Keurig coffee pods and I put them inside this clear cellophane bag.  To finish wrapping up my package, I used my sweetheart twine to close the bag, and stamped my sentiment on this pink heart tag die, and tied a bow. I love this paper mug treat holder to package up some favorite coffee pods.

nndcoffee3


Here is the paper coffee mug treat holder:


nndcoffee4


Would you like to win a $10 store credit to Newton’s Nook Designs online shop?  We are giving them out to TWO lucky winners!

Here’s how to win:
Comment on the NND blog and Design Team blogs (see list below)!  The winner will be chosen at random from the collective reveal posts. Make sure to check out each of their blogs and comment for your chance to win.  You will not know which blog has been chosen so the more you comment on the better your chances are of winning!  You have until Monday, February 6th at 9pm CST to comment — winners will be announced on the NND blog on Tuesday, February 7th.

Check out all the awesome Design Team Blogs below to enter:


———-SUPPLIES———–

https://static.inlinkz.com/ppr.js

New Tag Dies at Kat Scrappiness Plus Project Share

I have made some projects today showcasing the new Heart Stitched Tag Dies and Stitched Scalloped Nesting Dies available at the shop.


img_3567

img_3577

I have also shared them on my YouTube channel if you’d like to see the card and tags.  Supplies are listed and linked below:


————-SUPPLIES———–

https://static.inlinkz.com/ppr.js

Valentine’s Luminaries [or Treat Bags]


img_3489

It’s Maria here with you again today to share some cute Valentine’s craft projects. I am showcasing the new adorable Snowman Die, Double-stiched Heart Dies and the Snowflake Kisses Script Dies from Kat Scrappiness.  There’s a ton of new products now.  Check out the Valentine’s section at the shop: https://www.katscrappiness.com/collections/valentines-day…

Here is the process video. Have a great week and happy decorating!

——–SUPPLIES————

https://static.inlinkz.com/ppr.js

Newton’s Nook Designs – January Release Day 2 – Love & Chocolate

nnd_releasejan17


Hello stampers and crafters! Thank you for stopping by.  Today is release day (Day 2) at Newton’s Nook Designs.  If you haven’t checked out yesterday’s post, please do so to see the amazing projects created by our design team members.  Please also check out our Instagram photos to get more inspiration.

For my card below, I stamped my images on Neenah solar white card stock with my memento tuxedo black ink. I colored the images using my Copic markers (I opted for pastel colors), and die-cut my stamped images with its coordinating dies.   To give my macaroons a little bit more detail, I used my liquid appliqué and heating tool to puff up the white liquid and make it look like icing.

At this point, I decided to make this a shaker card. I used my 3M Scotch foam adhesive to adhere it on my card stock to create my window panel for the card. I wanted the macaroons to be the main focal point on this card so I created a white on white background, and used some clear sparkling sequins for my shaker element.

nnd_macaroon

I also used this stamp set for my planner layout this week.  I really love stretching my stamps and using them to decorate my planner.

nndplanner3

nndplanner4

I hope you like my card and my planner layout and somehow got inspired today. This Love & Chocolate stamp set and Love & Chocolate Dies will be available for purchase on January 20 at 8:00 a.m. CST.

Would you like to win this “Love & Chocolate” stamp set?  This stamp set will be given away to ONE (1) lucky winner!

Here’s how to win: 

Comment on the NND blog and Design Team blogs (see list below)!  The winner will be chosen at random from the collective reveal posts. Make sure to check out each of their blogs and comment for your chance to win. You will not know which blog has been chosen so the more you comment on the better your chances are of winning!  You have until Thursday January 19th at 9pm CST to comment  — winners will be announced on the Newton’s Nook Designs blog post on Friday, January 20th.


Check out all the awesome Design Team Blogs below to enter:

Newton’s Nook Designs

Amanda Bodine

Holly Endress

Ellen Haxelmans

Larissa Heskett

Samantha Mann

Juliana Michaels

Naki Rager

Maria Russell (you’re here)

Jennifer Timko

Tatiana Trafimovich