Simple Inlaid Christmas Cards

Hello my crafty friends!  I hope you are all having a great week so far. I’m back today with some simple inlaid Christmas Cards that you can easily mass-produce, showcasing the new Woodlands Reindeer Die, Double Stitched Rectangle Dies and a bunch of other supplies available at Kat Scrappiness.

I have a process video for you all today so I will keep this blog post short.  Here are the photos, and the video is also linked below.  I have also listed and linked the supplies I used.  Have a great week!

KatScrapReindeer1KatScrapReindeer2KatScrapReindeer3

Video:

————-SUPPLIES———–


Doxies Happy Holidays with Newton’s Nook

Hello my crafty peeps!  I hope you are having a great week so far.  I am back today for Newton’s Nook showcasing a cute older stamp set called Holiday Hounds, mixing it up with Snow Globe Scenes stamp set.  I love that you can mix and match these stamp sets to create some cute cards.

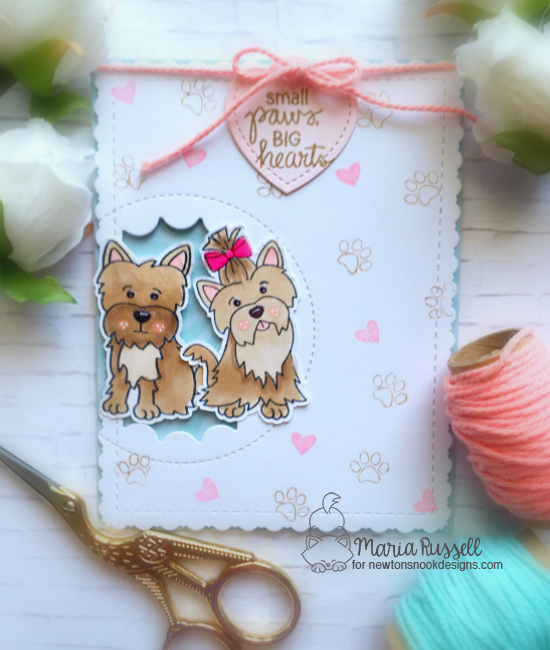
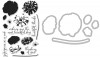
I started out by stamping the doxies and the trees with my memento tuxedo black ink on neenah solar white card stock.  I colored my images in with my Copic markers and run it through my die-cutting machine with the coordinating dies.  I die-cut the rest of the elements that I needed to create my scene using different dies from my collection.

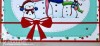
I wanted to create a fun card today so I decided to make a shaker card.  I adhered my “sky” background to my card base first, then adhered the acetate sheets to my frame, and added foam adhesives.

IMG_6019

I die-cut a circle card stock and colored it with my Copic markers to create some shading for the moon, then stamped the flying Santa and reindeers from the Snow Globe Scenes stamp set.  I adhered the moon to the front panel.

IMG_6020

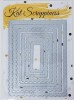
I added my favorite sequin mixes from Kat Scrappiness for my shaker elements, and adhered my frame to the card panel.  I finished my design by adding Nuvo white Crystal drops to the houses and trees, and glossy accents to the lightbulbs.
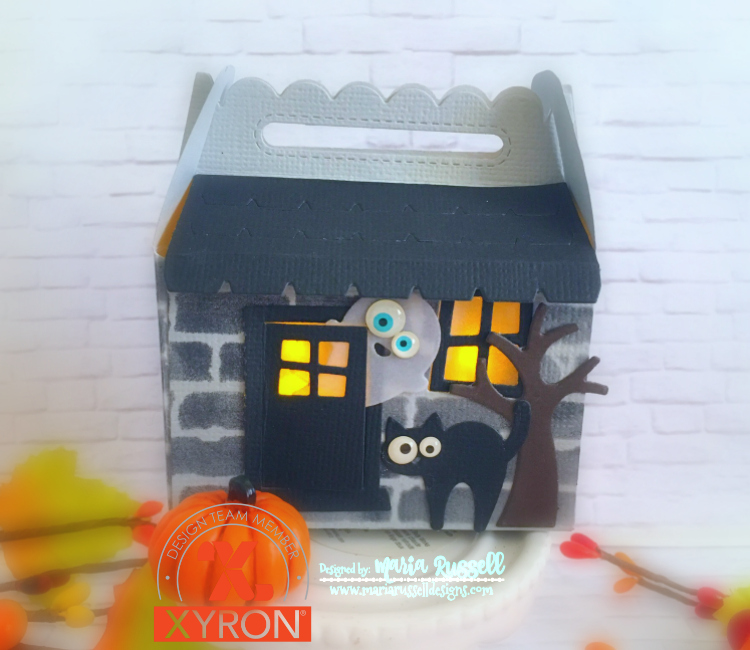
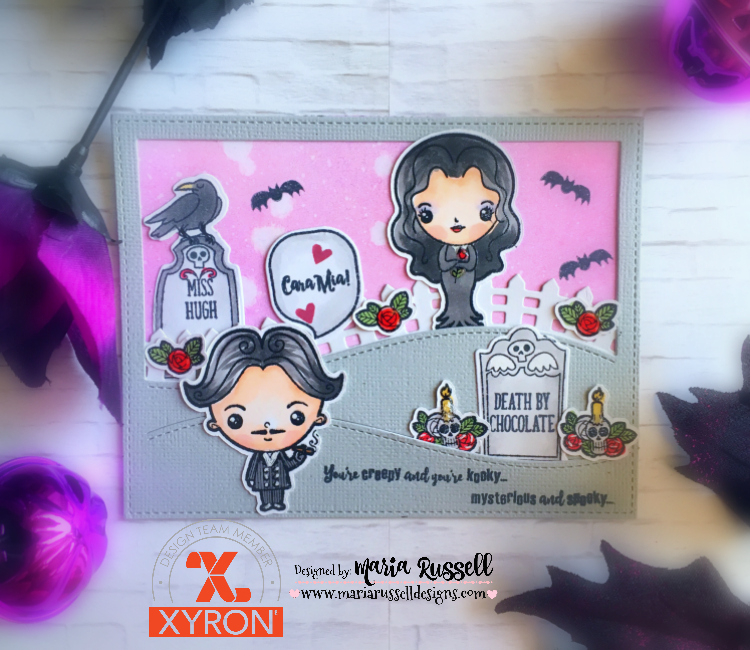
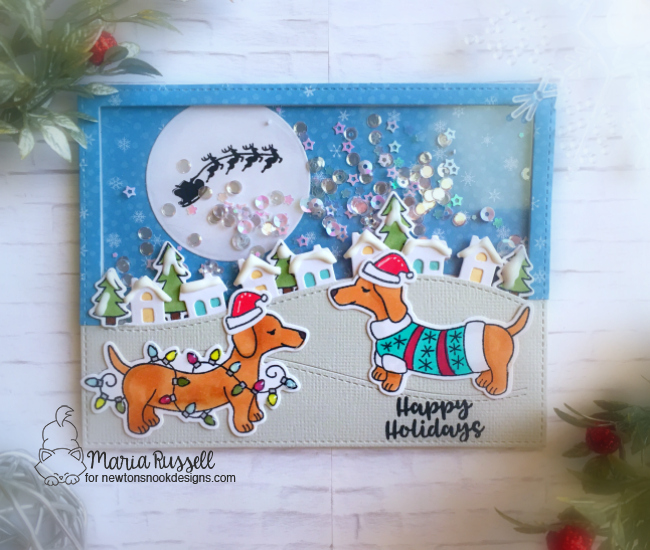
IMG_6018

Here is the card:

NNDDoxiesXmas

I hope you got inspired today to create cute holiday shaker cards.  I have listed and linked the supplies I used in case you are interested.  Have an amazing day!
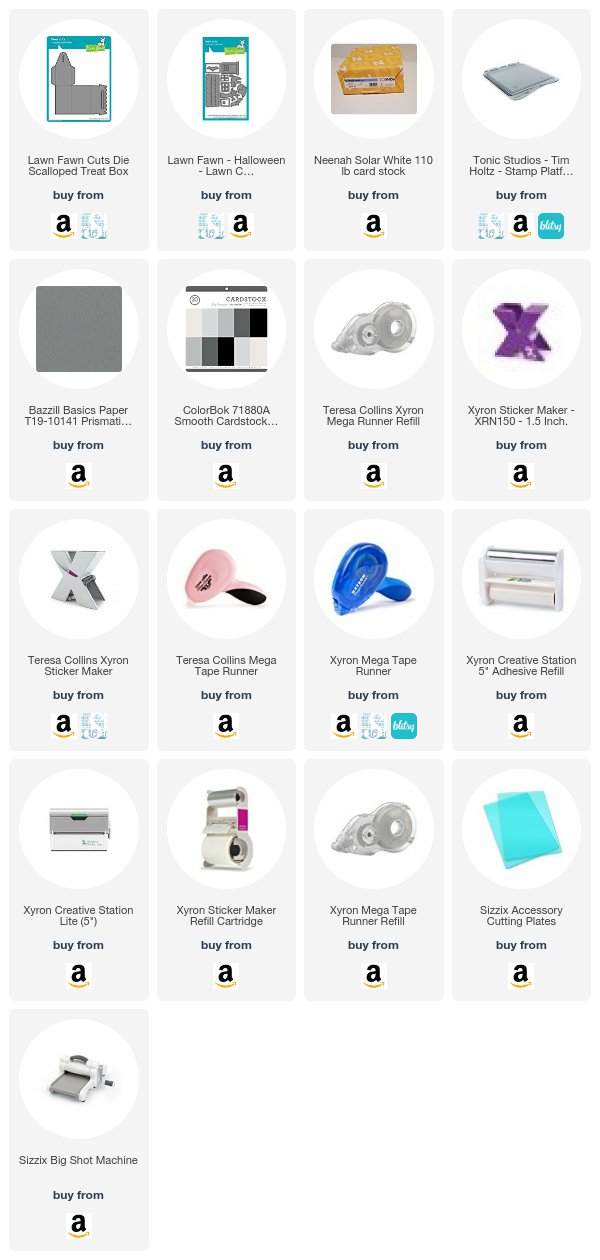
—————-SUPPLIES—————

You Are My Happy Ending by Jessica Lynn Original

JLOHappyEndingGraphic


Today I am showcasing a new stamp set by www.jessicalynnoriginal.com called You Are My Happy Ending Pirate Kids 4 x 4 stamp set.  Here’s what the stamp set looks like:

JLOHEnding

Since I didn’t receive the physical stamp set in time for the launch, I had to work on the digital images.  I printed them off on neenah solar white card stock with my laser printer, and colored the images in with my Copic markers.  I fuzzy-cut the images with my precision cut scissors and set them aside. I stamped other images from stamp sets that I had from my collection to decorate my front panel.   Here’s my card today:

JLOHappyEndingcard

I hope you got inspired today.  Please visit www.jessicalynnoriginal.com for more cute stamps and product inspiration.  If you also would like to check the other DT projects, please click on the link below. Have a great weekend!


Jessica Lynn Original

Lisa Reynolds Bzibziak

Maria Russell (you are here)

Jeanie Ellis

Tasha RJ

Kelli Horger

Carolyn Ellenberg LaBille

 ————SUPPLIES———-


LED Tea Light Holder/Treat Box and Halloween Card with Xyron

Hello my crafty friends!  This week, the Xyron Design Team is sharing our Halloween projects.  I am back today to share mine, showcasing some Lawn Fawn products and my favorite adhesives by Xyron i.e., the 1.5 Inch Sticker Maker and the Mega Tape Runner.

This little treat box can also be used as a cute Halloween decor if you put an LED Tea Light inside and it will illuminate the box.   Here are the photos:

XyronHalloween1

XyronHalloween2

XyronHalloween3

I also have a process video below for you today to show you how I assembled the box.

And here’s an additional Halloween card for you.  Who else loves the Addams Family?  I do.  I used to watch it all the time when I was a kid.  When I saw this stamp set by The Sassy Club, I just knew I had to order them all to create some cute cards, or decorate my planner.   Here’s my card:

XyronHalloween4

I hope you like my projects today with the process video.   Have an amazing day!

—————-SUPPLIES—————

XyronHalloweenTBandCard 

Small Paws, Big Hearts

Hello everyone.  I am back today for Newton’s Nook Designs and I am sharing a simple dog-themed card, showcasing the Terrific Terriers stamp set and its coordinating dies.  I am currently in Toronto, Canada undergoing physiotherapy so I will keep this blog post short.


I started out by stamping my images on Neenah solar white card stock and I colored my images in with my Copic markers.  I die-cut the rest of the pieces that I needed for my card using dies from my stash.  I finished my design by creating my own “patterned paper” using the paw prints and the heart that came with the stamp set.


Here is my card today.  As you can see, it is very simple but I really love how it turned out.  This stamp set is now available for purchase at http://www.newtonsnook.com.  Have an amazing day!


NNDTerrier2

Prayers & Hugs Coming Your Way

Hello everyone! It’s Maria Russell here with you today. It’s been awhile since I made a project for Kat Scrappiness. I was traveling for two weeks and if you have been following me here on my blog, you’ll probably know that I got sick. I am on the mend now but it is taking a lot longer than expected which is making me a little miserable!

I apologize that I don’t have a process video for you today because it takes awhile for me to create a project right now. I can’t sit still for so long and look down so I constantly take a break and walk so I don’t get any pains. Please bear with me as I get better and I promise to make more process videos once I am over this hump.

For my shaker card today, I am showcasing the Hero Arts Color Layering Poppy Stamps and Dies, the Prayers Stamps and Die set, with the Wood Floorboard Prints Cling stamp, as well as the White Diamond sequin mix by Kat Scrappiness, and a lot more supplies available at Kat Scrappiness online store.

I started out by stamping and layering my images on Neenah solar white card stock using three Lawn Fawn Ballet Slippers, Guava and Lobster ink. I die-cut the flowers using the coordinating dies.

I stamped my background using the wood floorboard cling stamp with light- gray ink. I wanted a subtle background for my card because I wanted the main focal point to stand out, which are the poppies!

I die-cut the prayers die using a dark gray card stock, and stamped my sentiment using the Hippo Ink on my card front.

I ran my flowers, branches and die cut sentiment using my favorite Xyron sticker maker and Mega Tape Runner. I also adhered my acetate sheet using glue dots, and created my shaker window panel with scotch foam tape. I added my favorite White Diamond sequin mix by Kat Scrappiness and adhered my window panel to my card base.

I finished off my design by sponging my Neenah white card stock with the Tim Holtz worn lipstick distressed oxide ink to match the color of the dot details on my shaker card.

Here is the card. I hope you like it and got inspired today. The supplies I have used are listed and linked below. Have a great weekend!

IMG_4893

————SUPPLIES———–


Inky Paws Challenge #45 – Use A Doily

There’s a new Inky Paws Challenge on the blog (http://www.inkypawschallenge.com) and this time you have to use a doily. Here is the inspiration photo:


InkyPaws45Doily


I started out by stamping my image on Neenah Solar White card stock and colored my image in with my Copic markers. I die-cut the image with its coordinating die.   I also die-cut my decorative frame and other embellishments for the card with dies that I have from my stash. As you can see, this is a very simple card.


NNDInkyPaws45


I hope you got inspired today.  For more information about the Inky Paws challenge, please visit http://www.inkypawschallenge.com. You have two weeks to join.  Winner will get a $10 gift code for the Newton’s Nook Designs shop.  Have an amazing day!


Simple D.I.Y. Easter Banner

Hello crafters and stampers!  I am super excited to share with you today this simple D.I.Y. Easter Banner to decorate your home.  This is very easy to put together and you can create multiples to decorate your mantle or any room in your house.


I am showcasing the Easter peeps dies and Happy Easter Script sentiment dies by Kat Scrappiness and the Dogwood Flower Wreath die by Gina Marie Designs.  They are all available at the shop.  Here’s the photo:


IMG_4593


I will keep this blog post short because I have a process video for you below.  I have also listed and linked the supplies I have used.  I hope you like it and got inspired.  Happy crafting!


————SUPPLIES————–

Easter Peep Cards

Hello my crafty peeps! I am back today to share with you two Easter cards showcasing the Easter peeps dies, Stitched Fancy Scalloped Die, Easter egg stencil by Echo Park, and a bunch of other products available at the shop.


Here are the two cards.  They are very simple and can be easily mass-produced.  I will keep this blog post short as I am sharing a process video below.  I have listed and linked the supplies that I have used.  Thanks for stopping by and have an amazing day!

katscrappeep1


katscrappeep2


Here’s the process video:


———SUPPLIES———–