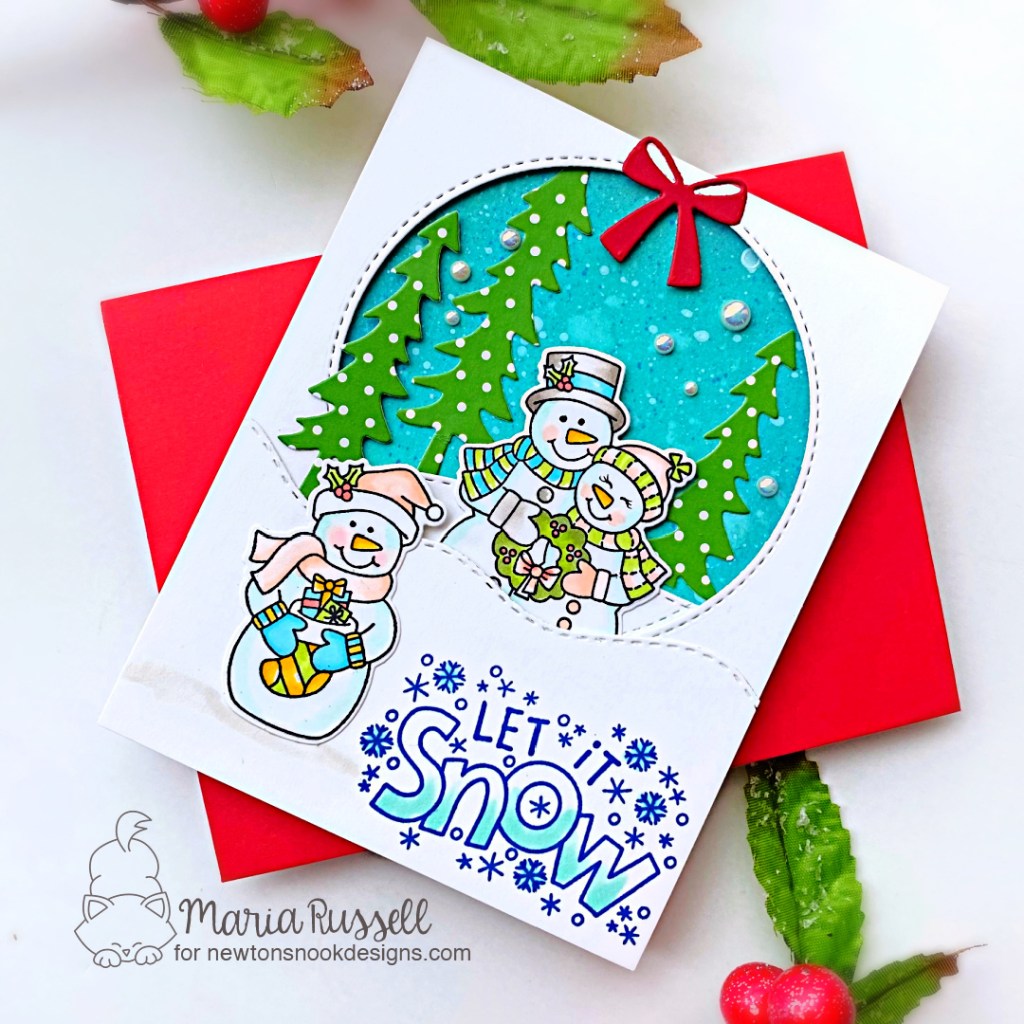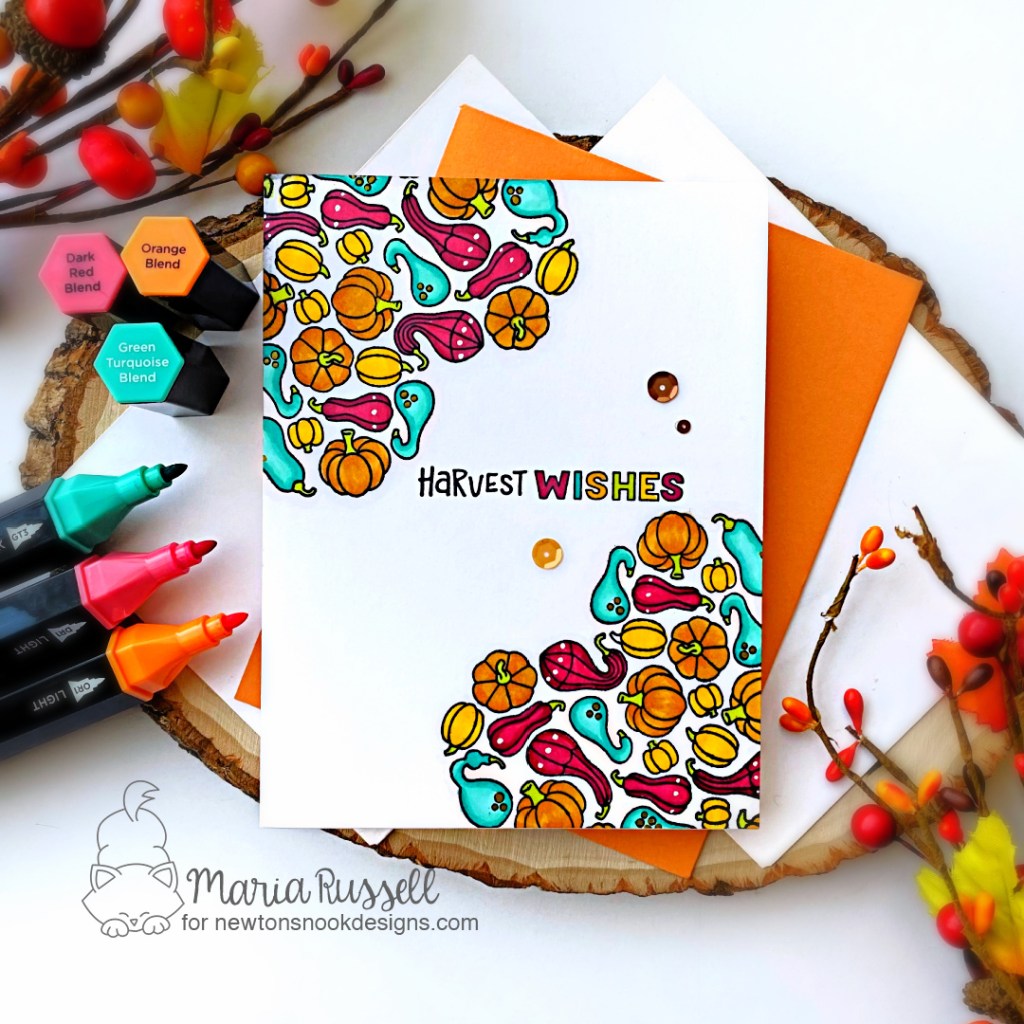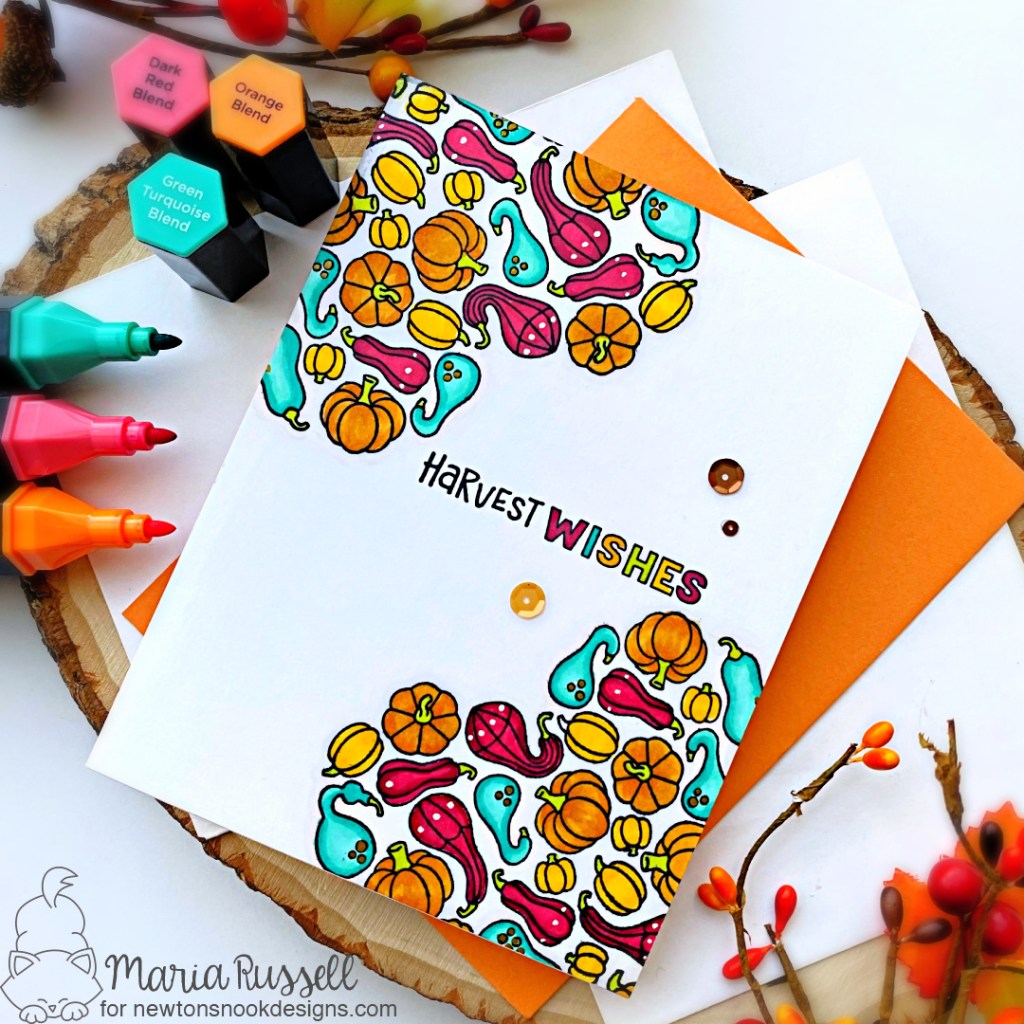
Hello my crafty friends! I am so glad to be featured on the Newton’s Nook Blog today with this Clean & Simple card to share with you. For this project, I am showcasing the Heartfelt Gourds Stamp Set.
I know I’ve said this before but I’ll say it again! When the stamp set is so pretty, you don’t really have to add anything else. It basically stands out on its own, don’t you agree?!
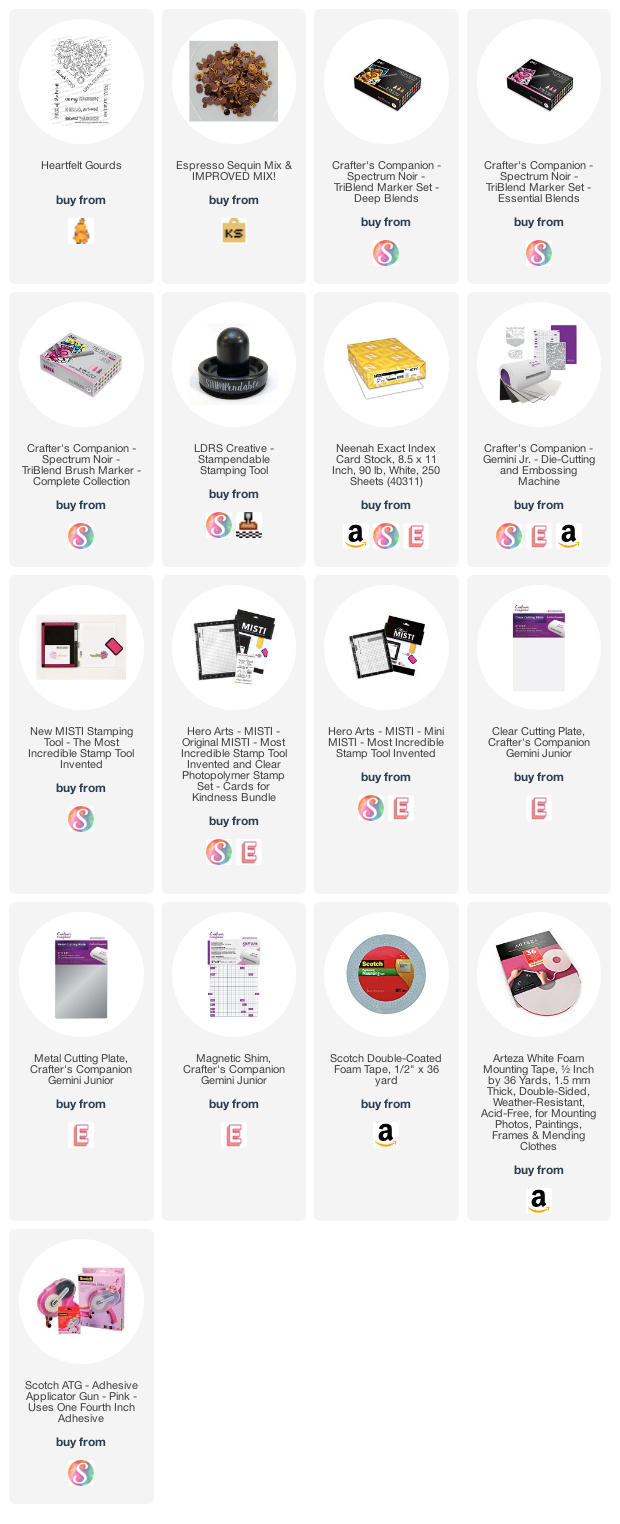
I stamped the images on some Neenah solar white card stock with Spectrum Noir Finesse Quick Dry Ink in Black. I colored the images in with my Spectrum Noir TriBlend markers. They really are my “go-to” markers. I went for a non-traditional fall color palette using red, brown oranges, yellow and turquoise green.
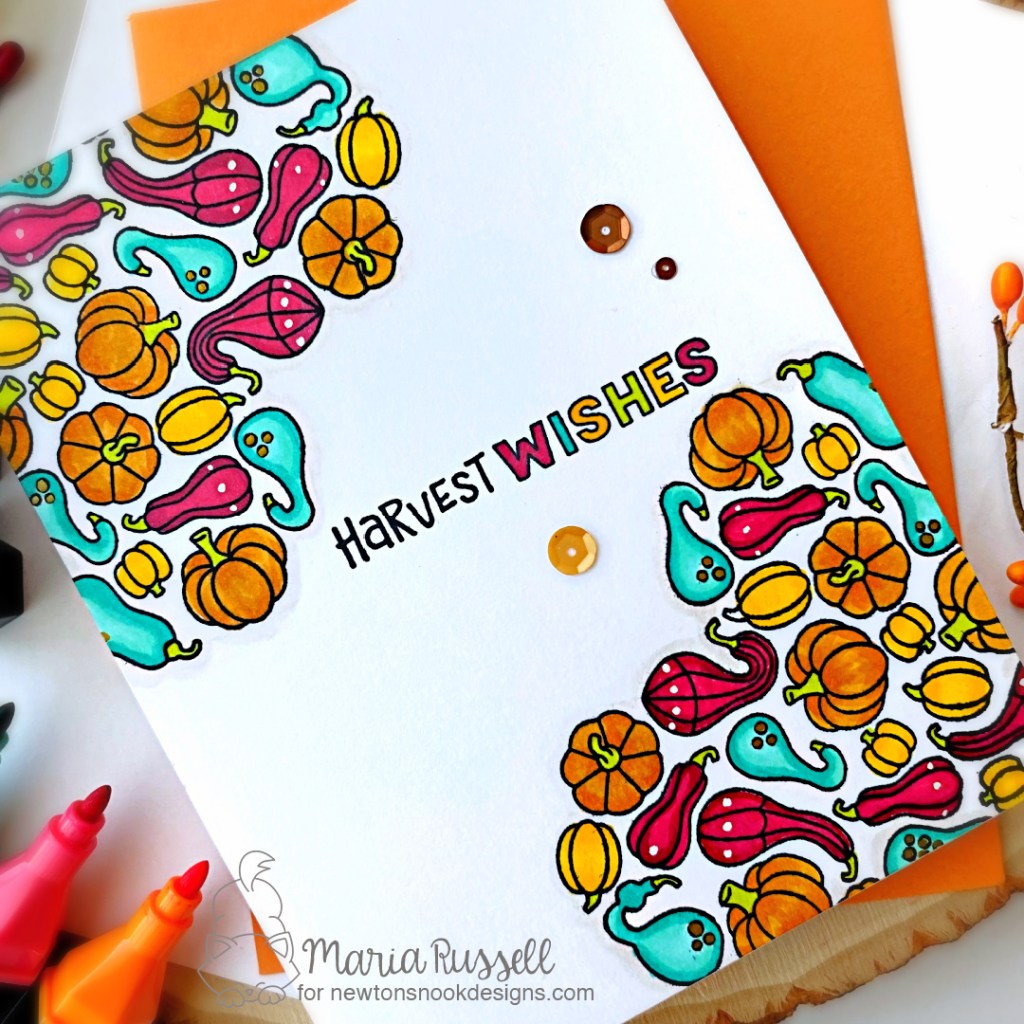
I know you can barely see it but I did highlight the images with my Spectrum Noir Classique marker in BGR05. This is the reason why those images just popped against that white background.
I finished my design by stamping the sentiment and colored the letters with the same markers I used for the gourds. I added some autumnal sequins and the card is done! Easy peasy! Here’s another look:
I hope I have given you some inspiration today. The supplies I used are listed and linked below. Thanks for stopping by and happy stamping!
I started by stamping the images from the Witch Way Is The Candy stamp set with Memento Tuxedo black ink on some Neenah solar white card stock. I colored the images in with my alcohol markers. Even though I have the “older” coordinating dies for this stamp set, I fussy-cut the images with my precision snips. I didn’t want the white border around the images because of the black background.
Next, I die-cut some black card stock, as well as some Bristol smooth white card stock using the Outside The Box Level Up Die-namics. Using the Bristol smooth die-cuts, I ink-blended them all with Seedless Preserves, Carved Pumpkin and Wilted Violet distress oxide inks. I sprayed the pieces with water using distress sprayer and picked up the excess with paper towel. I then assembled the main box card with liquid glue then added the colored panel using my tape runner.
Next was to create my Halloween scene. I die-cut the grass panels using the Outside The Box Grassy Hills Die-namics with some black licorice card stock. I cut the flaps and adhered on the box card with liquid glue.
Now that I have everything colored and assembled, I am ready to put my scene together. I adhered my focal image (being the star of the show) to the foreground. I added the frog and pumpkins with liquid glue.
Next, I have to decorate the background to finish my scene. I die-cut the tree using a retired Trio of Trees Die-namics from MFT with the Sweet Celebration 6×6 Patterned Paper (also retired). I adhered it on the background with liquid glue.
The moon was die-cut using the older Witch Way Is the Candy Die-namics on some Bristol smooth white card stock and inked up with Mustard Seed and Carved Pumpkin distress oxide inks.
To finish my spooky scene, I die-cut the black clouds using the Cloud Cover Die-namics on some black card stock. The first piece was adhered with liquid glue on top of the moon. The other cloud was adhered on acetate sheet and added on the card behind the witch for added dimension. Take a quick look here:
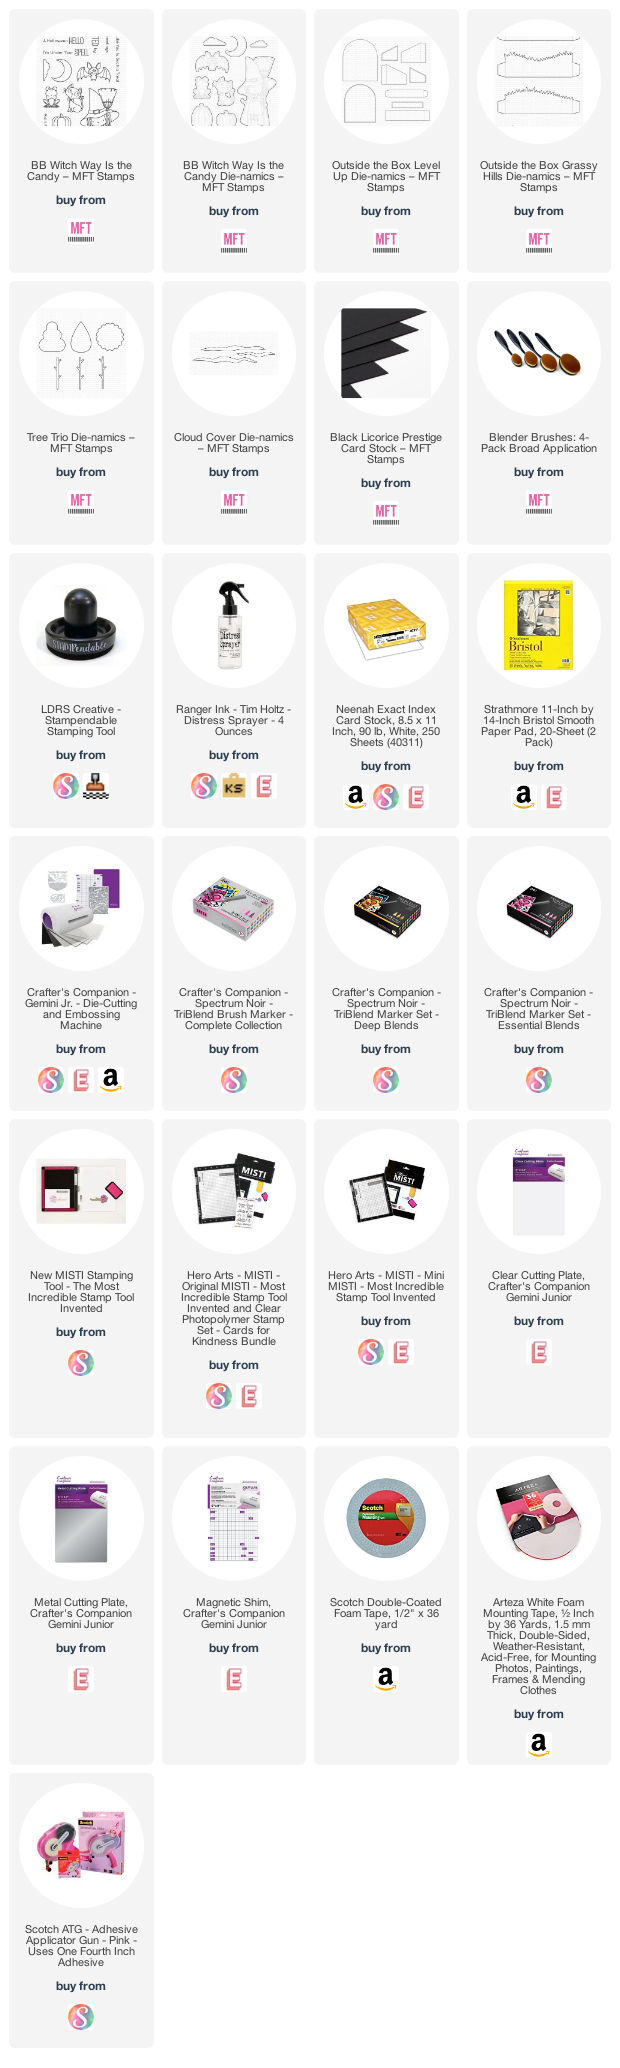
I hope you like my spooky scene. Some of the retired items are of course no longer available. Therefore, I have linked the current supplies that are similar to the retired products I used for my card. Thanks for stopping by today and happy stamping!
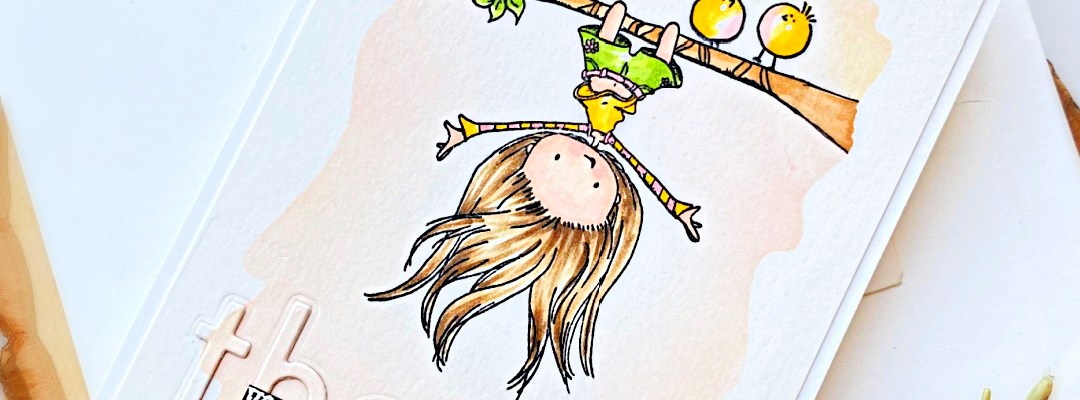
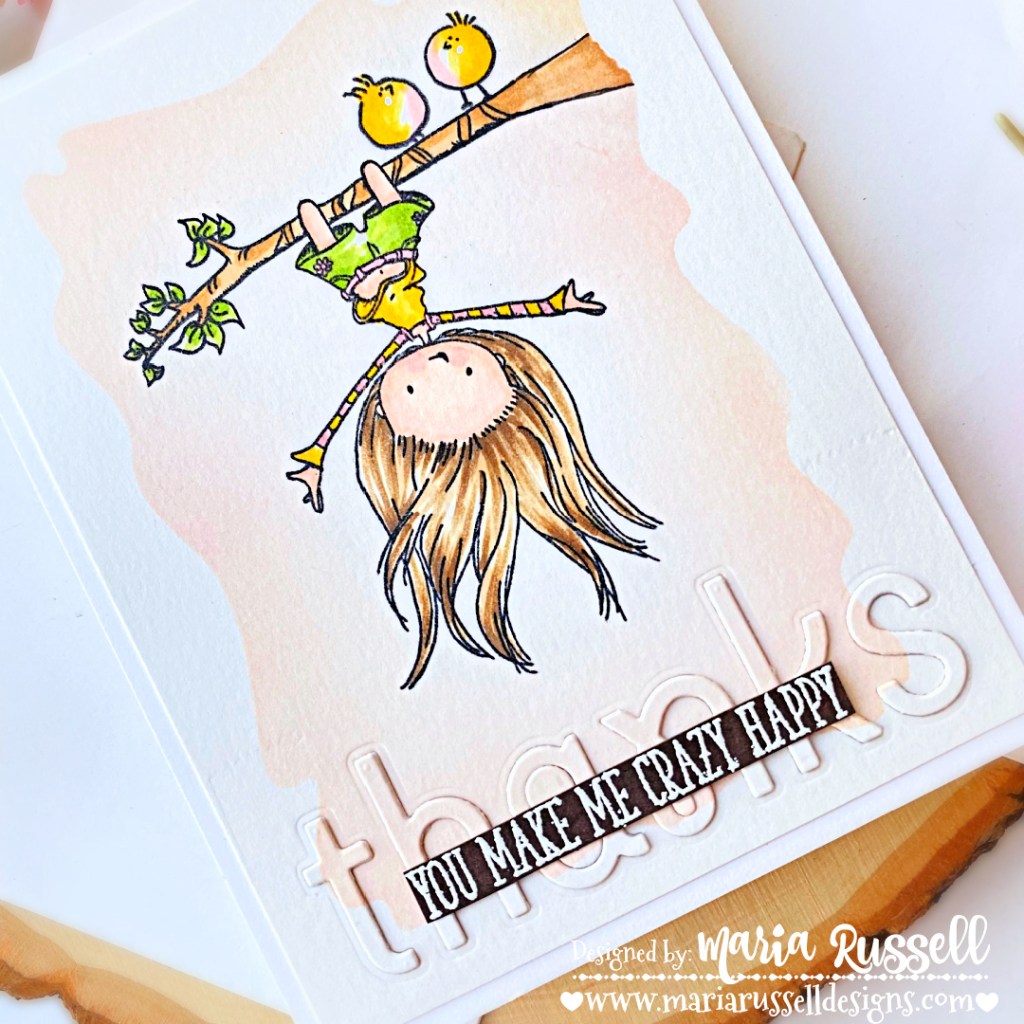
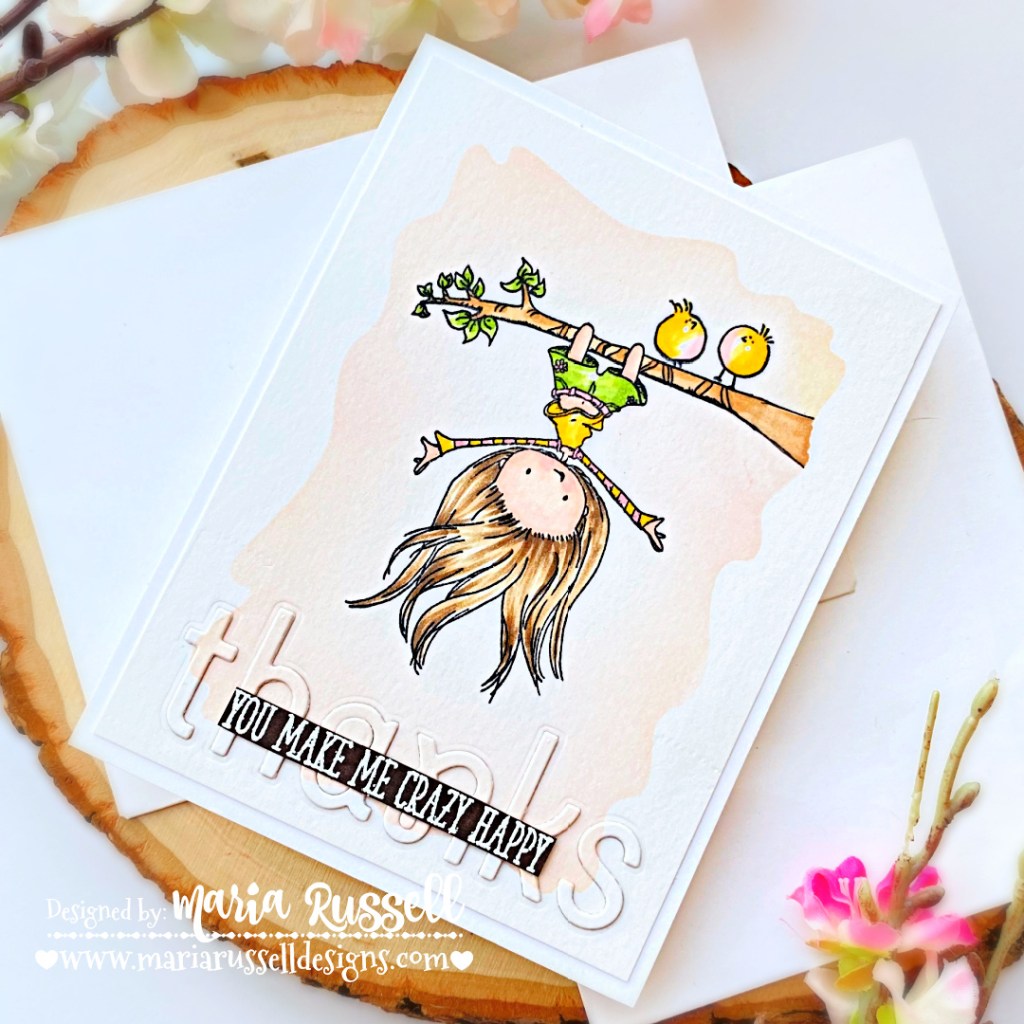
I started by stamping the image from the Let Your Hair Down stamp set with Memento Tuxedo black ink on some Bristol smooth white card stock. Without removing the stamp set from my stamping tool, I also stamped the image on some masking paper.
Next, I colored the images in with my Copic markers. I fussy-cut the mask and covered the images so that I can work on my simple background.
I sprayed my Watercolor Wash Rectangle 6×6 Stencil with some Pixie Spray, and placed it on my colored image. I used some Pink and Yellow Quick Dry Dye inks with my blending brushes to add the soft color to the background. Once I was happy with the color intensity, I removed the stencil.
I used the Thanks Die-namics (retired) to die-cut the word on the foreground. I die-cut the word two more times and adhered them together with liquid glue for added dimension. I added the foreground with the “thanks” die-cut letters on some A2-size notecard.
To finish my design, I stamped the sentiment on some Milk Chocolate card stock with Versamark ink and sprinkled some white embossing powder. I heat-set the sentiment with my heating tool and used my precision snips to cut it out, then adhered on my card with liquid glue. Here’s another look at the card:
Clean and simple, don’t you agree? I love how this card turned out! I hope I win this year so please wish me luck!
The supplies I used are listed and linked below. Thanks for stopping by today and happy stamping!
Hello and welcome back! I hope everyone’s doing well today! As we bid summer farewell, what could be more fitting than to start your week and get excited for Halloween!
This week, Newton’s Nook Designs is getting ready for Halloween with a fun Inspiration week! All week long, the NND Design Team will be sharing inspiration using some of our favorite Halloween products to get you in the mood for tricks and treats! Check out what I created today and don’t forget to check the NND Blog each day this week for more fun inspiration!
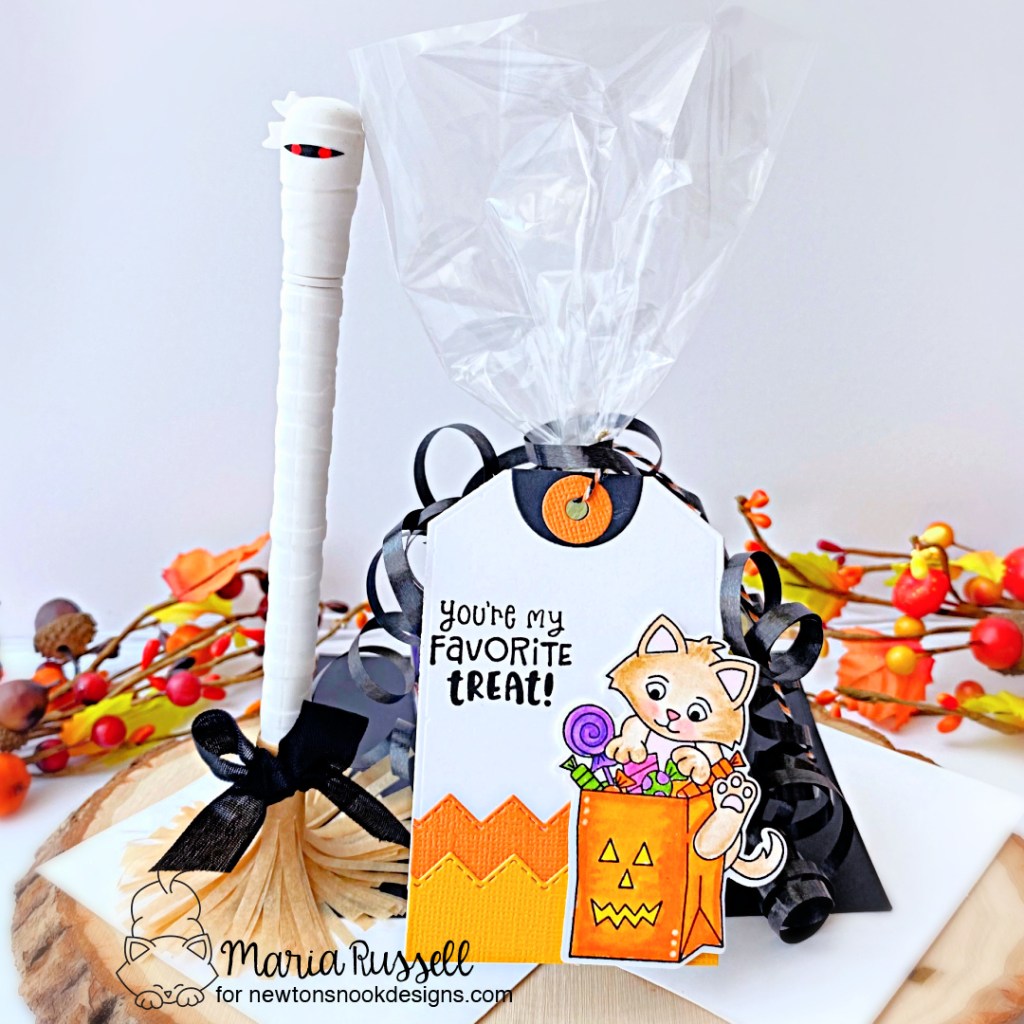
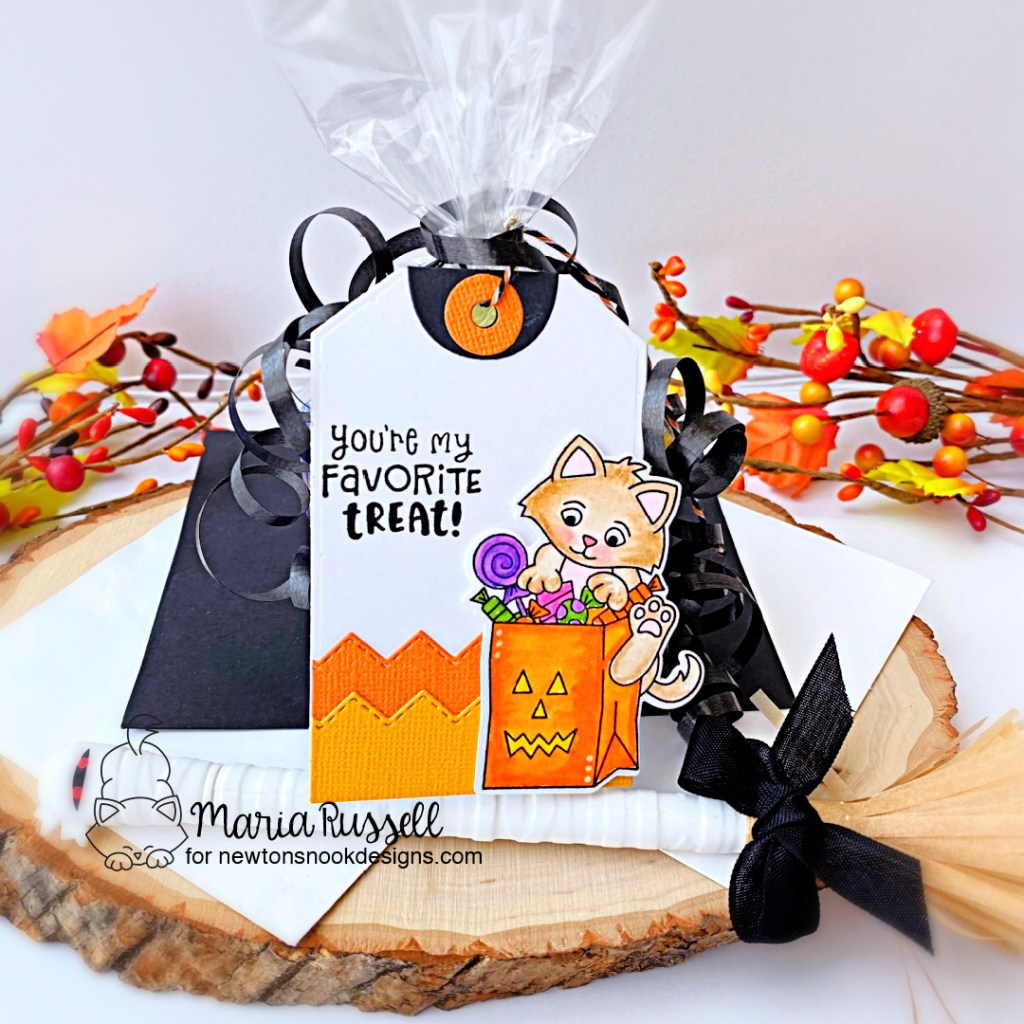
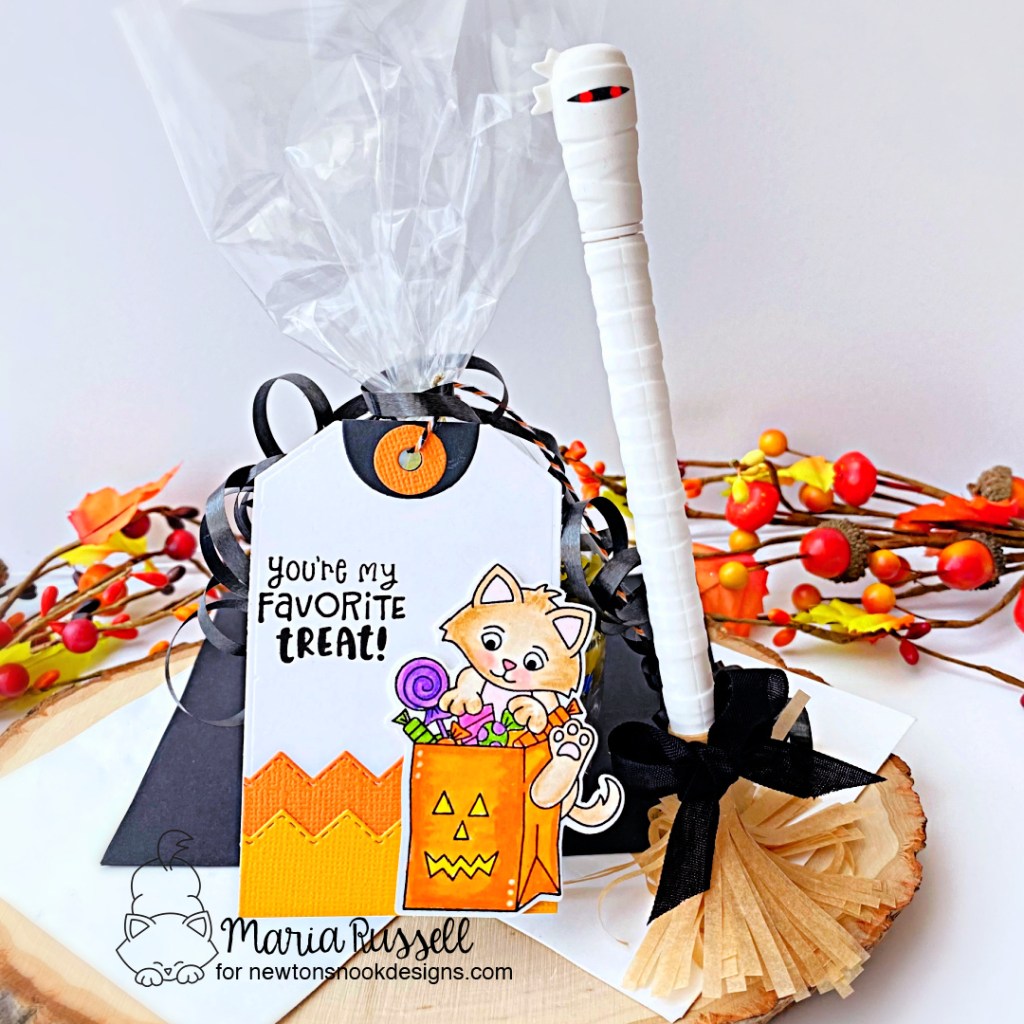
Before I start with the tag, I wanted to create this cute Witch’s Broom Pen to go with the treat! If you look closer, you will see the red glowing eyes that gives it a spooky effect! I thought this is really cute and will be a nice addition to the treat.
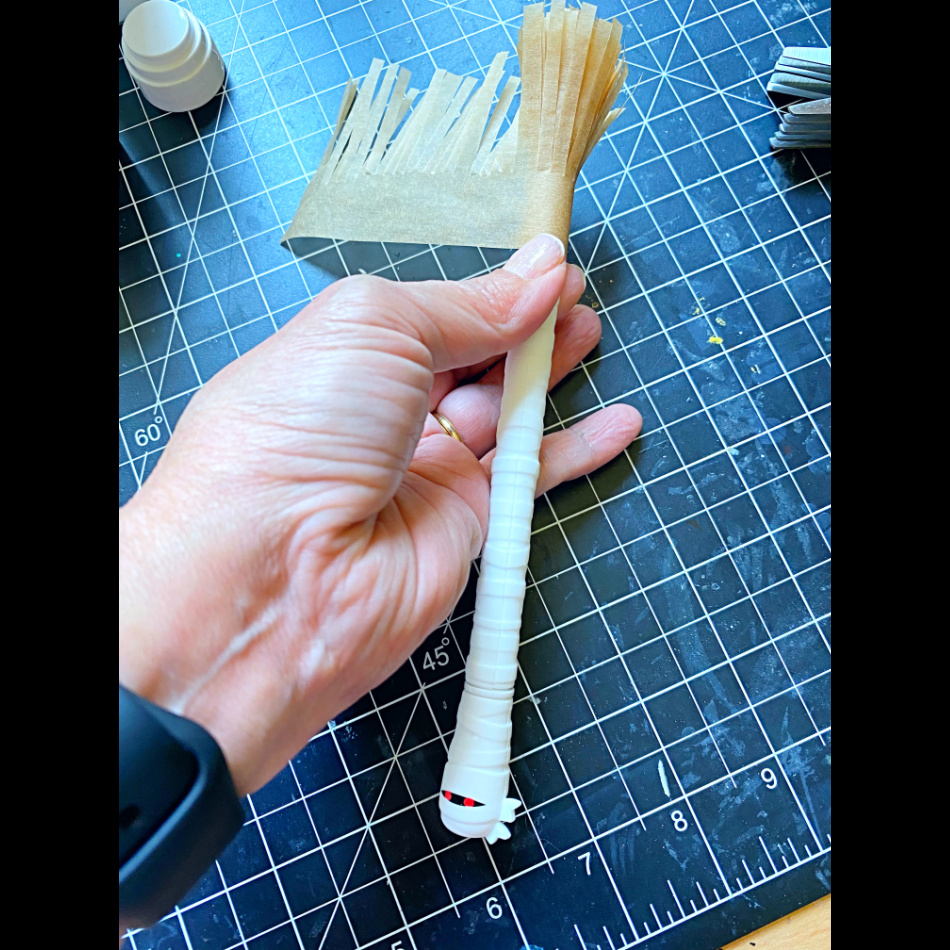
I cut a strip of baking paper. I used my specialty scissors to create the fringe and wrapped it around the bottom of the pen. I adhered the fringe with hot glue so it wouldn’t come off. I added a black bow at the bottom to finish the look. This pen can actually stand up on it’s own!
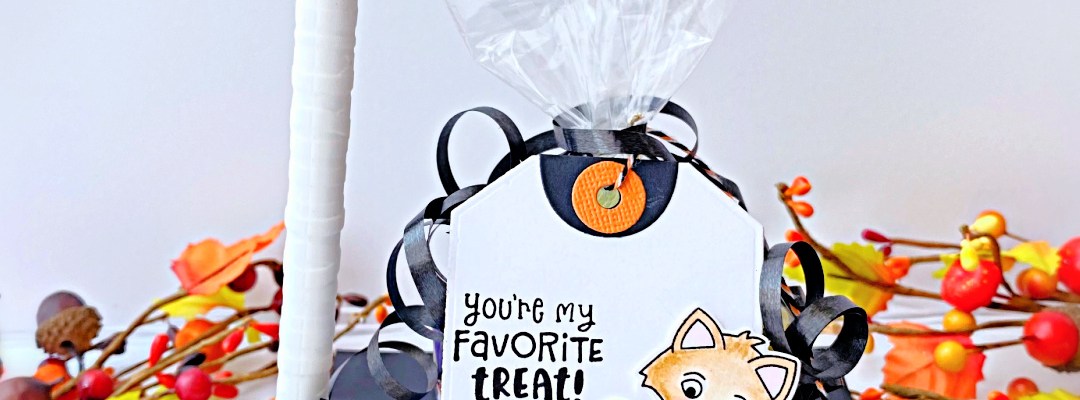
Next, I filled a small bag with some of my friend’s favorite candy bars and closed the top with some black curling ribbons. Last thing to do is to add a tag!
Step-by-Step Instructions for the Tag:
Stamp the image using the Trick or Treat Kitten Stamp set on Bristol smooth white card stock and color the images in with Zig Clean Color real Brush Markers.
Create the Candy Corn Tag by die-cutting white, orange, yellow and black card stock using the Fancy Edges Tag Die Set. Adhere all pieces together with liquid glue.
Stamp the sentiment on the tag with Black Onyx ink.
Adhere the image on the tag with foam adhesive for added dimension.
Attach the tag to the treat bag with some baker’s twine.
My friend and I love Halloween so much! Not only will she love the treats inside this treat bag but I’m sure she is also going to love the Witch’s Broom Pen. It can stand up and the eyes glow in the dark! Check out the photo below!
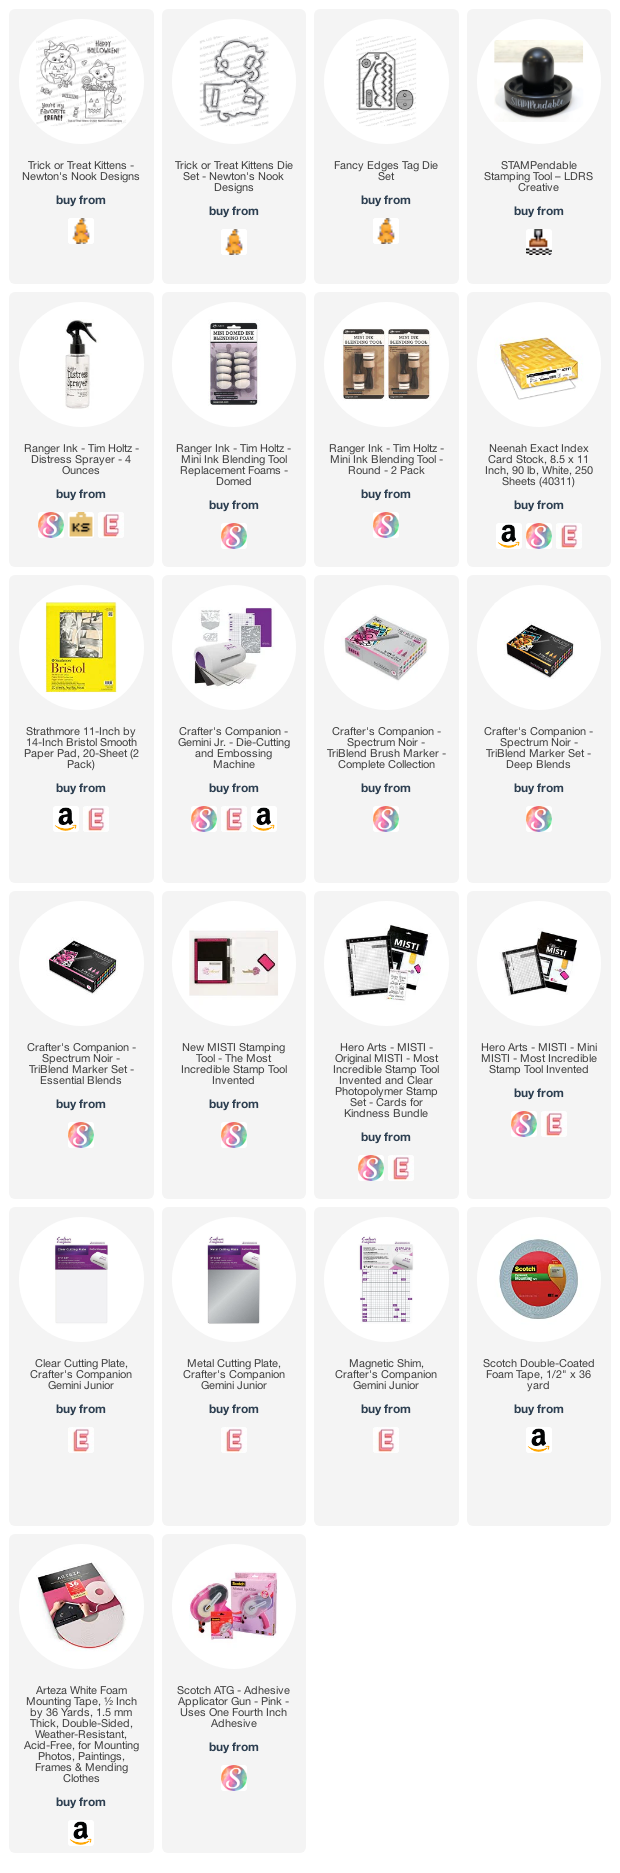
I hope you like my project today and got inspired! The supplies I used are listed and linked below. Don’t forget to visit the Halloween Products Category at Newton’s Nook Designs and get your favorites for creating some cute and spooky Halloween crafts!
Hello and welcome back! I am so glad you joined me today!
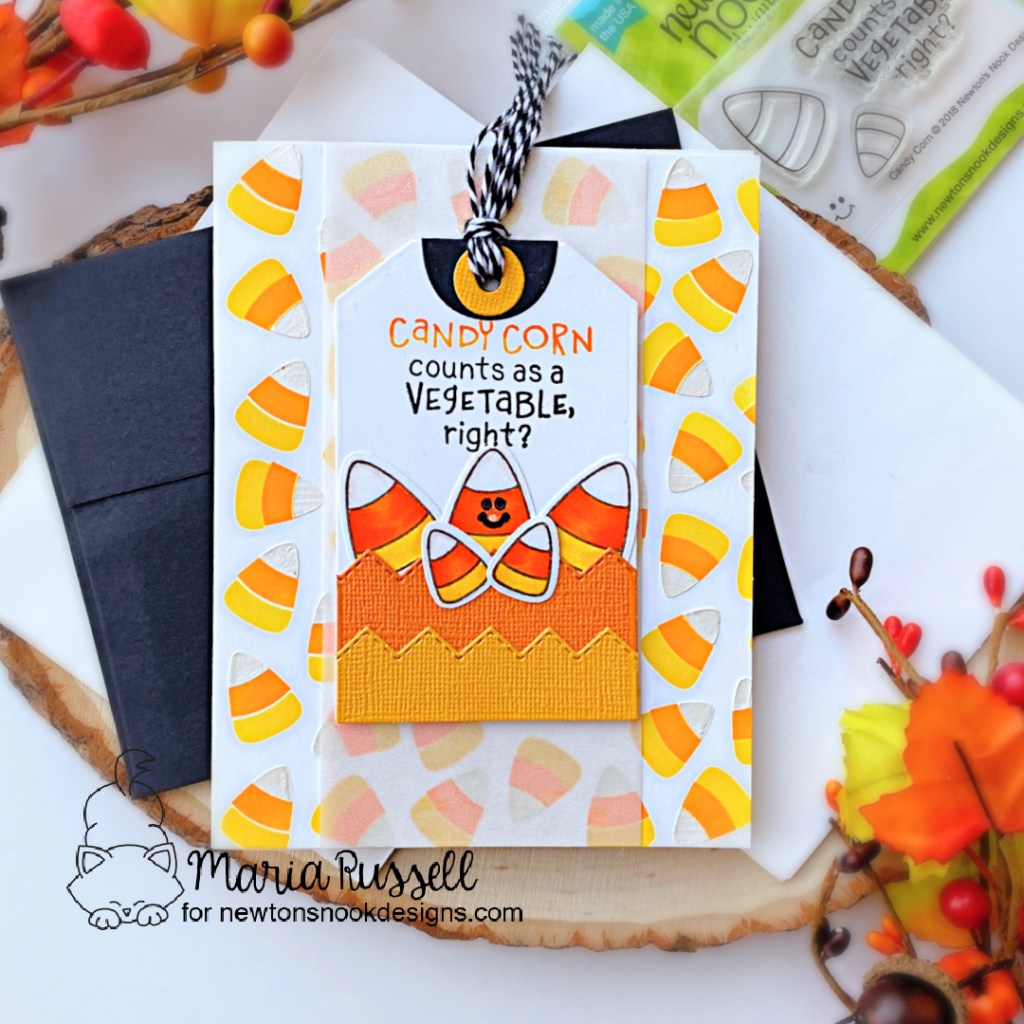
Today is all about Candy Corns! As soon as I saw this stencil set from the August release, this card idea already popped in my head. Isn’t is strange that you sometimes get ideas right away?! Most of the times, I have to look at my previous card designs to get some inspiration (or if I’m feeling more adventurous, I’d look at Pinterest).
Use Pixie Spray to temporarily adhere Candy Corn Stencil # 1 on some Neenah Solar White card stock.
Use some detailed blending brushes with Mustard Seed Distress Oxide Ink and blend until you get a nice vibrant color. Let this dry for a few minutes.
Repeat process and use Candy Corn Stencil #2 using Carved Pumpkin Distress Oxide Ink.
Repeat the process above but this time, use Deco Foil Transfer Gel Blanco to make it stand out. Smooth the gel out by using the Stencil Pal. Let this dry for about half an hour.
Stamp images on some Neenah solar white card stock and color the images in with alcohol markers.
Cut some vellum measuring 2 1/2 by 5 1/2 and adhere to the card background with tape runner. Designer note: make sure you hide the adhesive so that it doesn’t show up.
Adhere this background on an A2-size notecard.
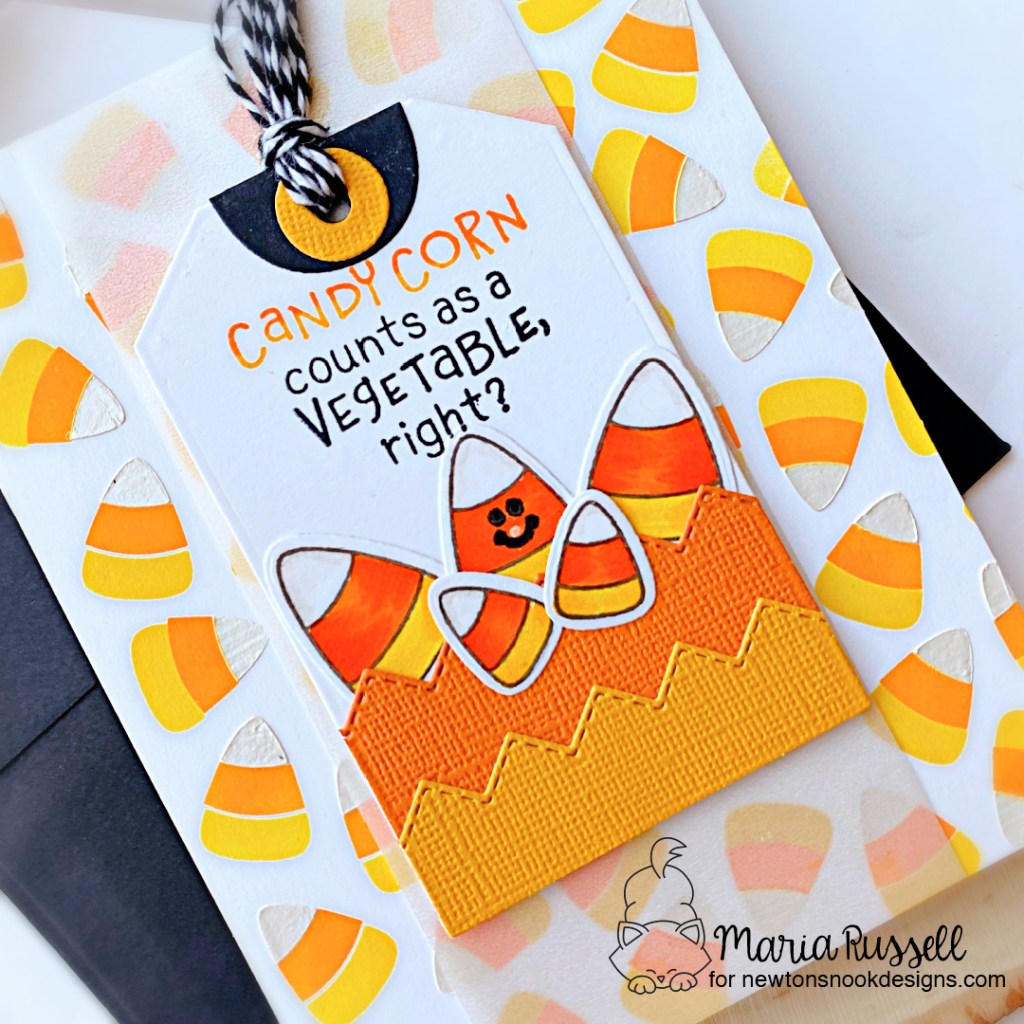
Die-cut some white, yellow, orange and black card stock using the Fancy Edges Tag Die Set (a must-have for any paper crafter since there are so many possibilities using this set). Adhere with liquid glue.
Use some black and white Baker’s Twine and add to the tag.
Add some foam-tape to the back of the tag and adhere on the card.
Adhere the Candy Corn images with liquid glue.
Finish the design by stamping the sentiment using yellow, orange and black ink.
It always puts me in a great mood when I see bags of candy corn at the grocery store. It just reminds me of all the great holidays coming up, especially HALLOWEEN (my favorite holiday)!
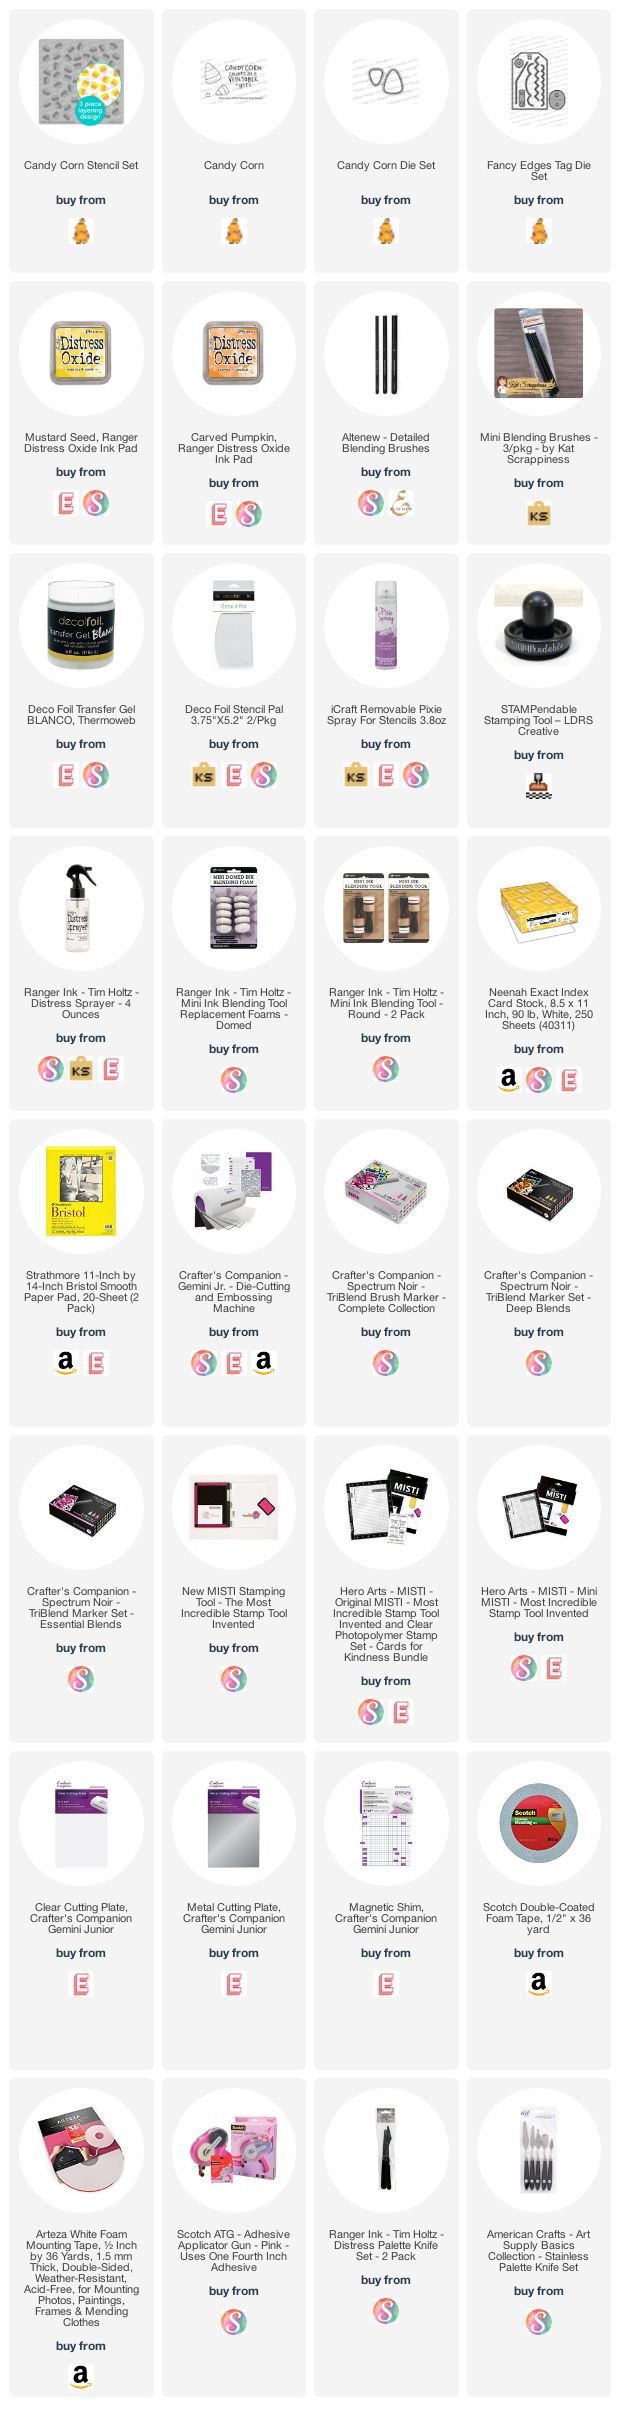
I hope you enjoyed this inspiration today. The supplies I used are listed and linked below. Thank you again for joining me, and happy crafting!
Hello and welcome to the Kat Scrappiness September Product Release – Halloween!
I’m so excited to share this post today as we kick off this week with the most adorable Halloween-themed products! There are are a lot of products to showcase so sit back, relax and enjoy browsing through all of them today!
Kat Scrappiness also has a GIVEAWAY so make sure you read all the way to the end of this post and click on the link to participate there directly and have a chance to WIN the entire release!!
Our Home Sweet Home Base Die will create the base house perfect for any season. It measures approximately 4.25 x 5.75 inches. You can use it to create a house shaped card ,create a larger card such as a 5×7, an-A2 card (cutting it off slightly to make the house smaller!). There are multiple ways to use this die to create a one-of-a-kind house of your own!
The Crafters Essentials Halloween Dies include 8 individually designed dies that you can mix and match to create uniquely designed cards time and time again. These dies will work for A2, Slimline & Mini Slimline Cards (and other projects too!)
This super adorable Boo-gy Ghosts die set consists of 9 dies including five ghosts and four cute little accessories that will allow you to create each ghost’s individual character!
Create your own Creepy Crawly fun with this die set which includes four dies, two spider webs and two CUTE spiders! Add some googly eyes to the spiders for that extra cutesy look! Wouldn’t it be fun to add these die-cuts to your Happy Planner as well?
This sentiment die has a 1/4″ shadow. You can use the sentiment with or without the shadow. This die set can be used for any occasion and they’re also perfectly matched to go with the Boo-gy Ghosts!
This BOO TO YOU! Patterned Paper Pack is a fun, colorful and spooky selection of papers in a Halloween theme. They will make your Halloween cards a blast to create!
Create your own Mini Slimline Envelopes using this set of 14 dies. Use your own creativity to select from either patterned paper or colored card stock, etc. to create your own one-of-a-kind envelope. We’ve added the “Happy Mail” word dies to decorate your envelope. The envelope can be mailed and/or hand delivered to the recipient.
I have four (4) samples to share with you today. I have mixed and matched the Halloween products to create some fun and spooky cards.
I have to admit that this first card below is probably one of my favorite Halloween cards that I’ve ever made! I ink-blended the background with some distress oxide inks and used a stencil set from my collection to create the creepy sky!
The Home Sweet Home House Die Set was die-cut using some purple card stock and dry-embossed with a brick stencil. I then added black soot on the bricks to add more texture and dimension.
This slimline card is another favorite of mine. I adhered the Boo To You Paper on some black slimline card base. On another panel of SL Bristol smooth white card stock, I used some clouds stencil and distress oxide inks to create the night-time sky.
I then stamped the costume from the Dress-Up Quokka Halloween Add-on Stamp Set on some masking paper and fussy-cut using precision snips. I stamped the costumes first on some Neenah solar white card stock and used the mask to mask-off the image, then stamped the two quokkas from the Dress-Up Quokka Stamp Set. By doing so, it created a seamless look. I used my Scan N cut machine to cut the images out.
My third sample is fairly simple! For my card base, I used the Tri-Fold Scored Cards and Envelopes available at the shop with the Never-Ending Square die set to create the windows. I once again ink-blended the background with some distress oxide inks and clouds stencil. I cut a piece of patterned paper from the Boo To You Paper Pack and adhered on the inside with liquid glue.
The cute ghosts from the Boo-gy Ghosts Die Set were die-cut on some glitter card stock. I finished the design by adding some Purple Pearls and the sentiment Lift Your Spirits that I die-cut with some black and white card stock.
DISCLOSURE. *I belong to a few design teams with affiliate programs and link these supplies at the end of each blog post. If you click on my affiliate link, I will receive a small commission at no additional cost to you. I use these funds to pay for the cost of running this blog. If you like what I do, please consider supporting me by clicking on these links. Thank you so much!
Hello Newton’s Nook fans! It’s a double-whammy kind of day today since I am also up on the Designer Nook’s newsletter series with a special project. If you are not aware, the Designer Nook newsletter is a free email subscription directly delivered to your inbox every Tuesday. Each design team member will have step-by-step instructions on how we created our project. If you haven’t subscribed to that yet, head on over to the Newton’s Nook website and click on the E-Newsletter sign up.
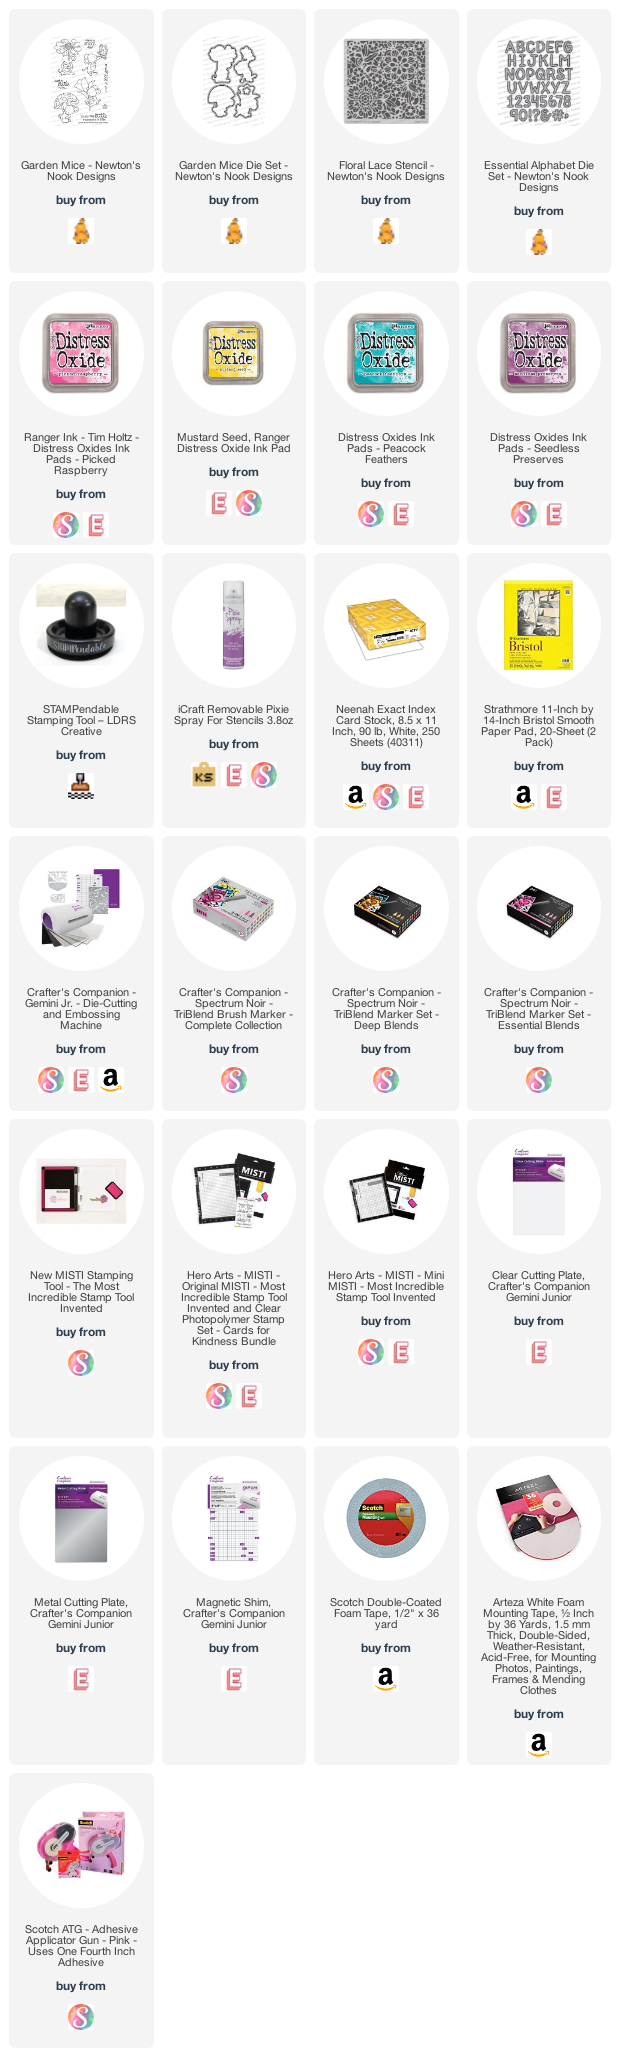
To begin, I inked up an A-2 size panel of Neenah solar white card stock with the Floral Lace Stencil and some distress oxide inks in Picked Raspberry, Mustard Seed, Peacock Feathers and Seedless Preserves. Blending these four colors together will give you the complete rainbow!
Next, I stamped the images with Memento Rich Cocoa ink and colored the image in with Spectrum Noir alcohol markers. I used the coordinating die to die-cut the image. I die-cut the word “HELLO” using the Essential Alphabet Die Set with some black card stock, and also used the Sea Borders Die Set to cut two border panels.
Now that I have everything prepared, I am ready to assemble the card. First, I adhered the ink-blended panel on some A-2 size notecard. I foam-mounted the wavy borders for added dimension. I adhered the word “HELLO” on the card with liquid glue.
I finished my design by foam-mounting the image onto the card for added dimension. Here’s another look:
I love creating some just-because cards to mail to friends, don’t you?! I really love how this card turned out and I hope you like it too. The supplies are listed and linked below. Thanks for stopping by and happy crafting!
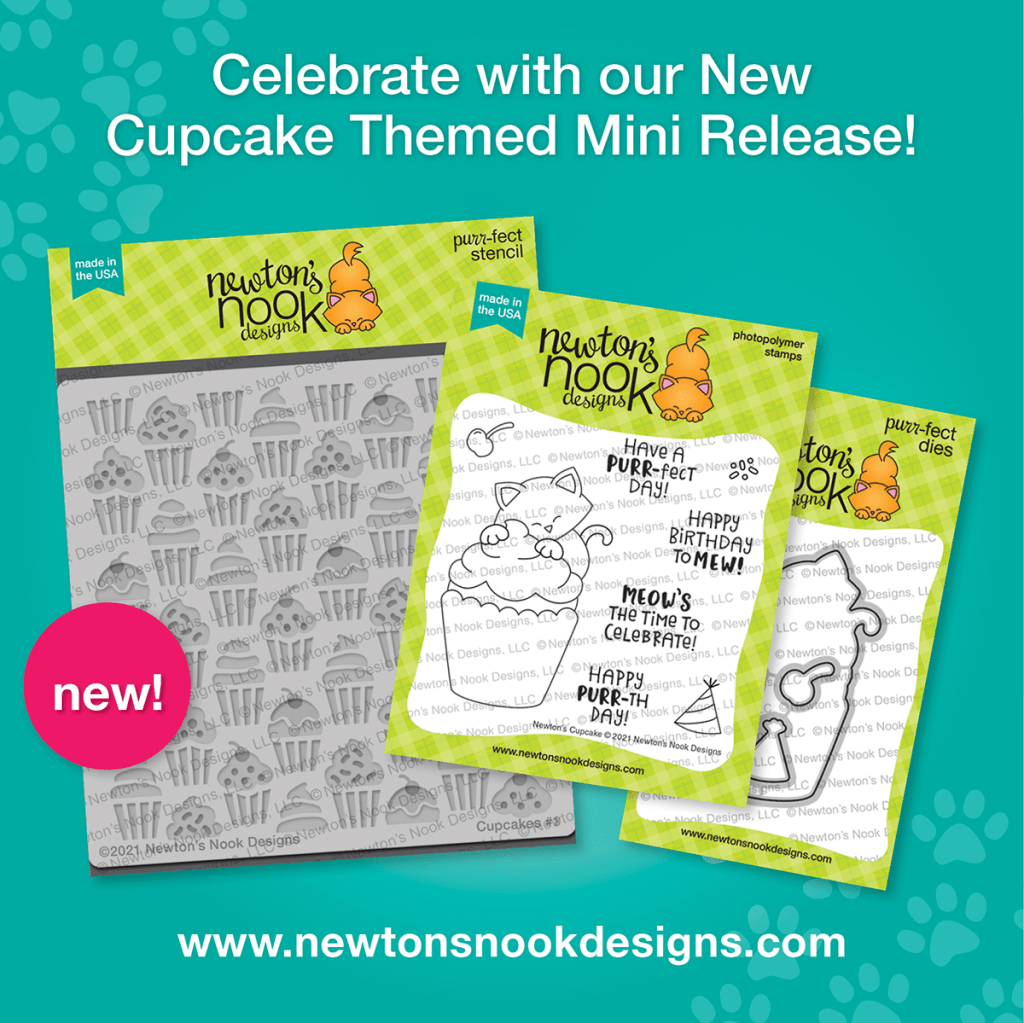
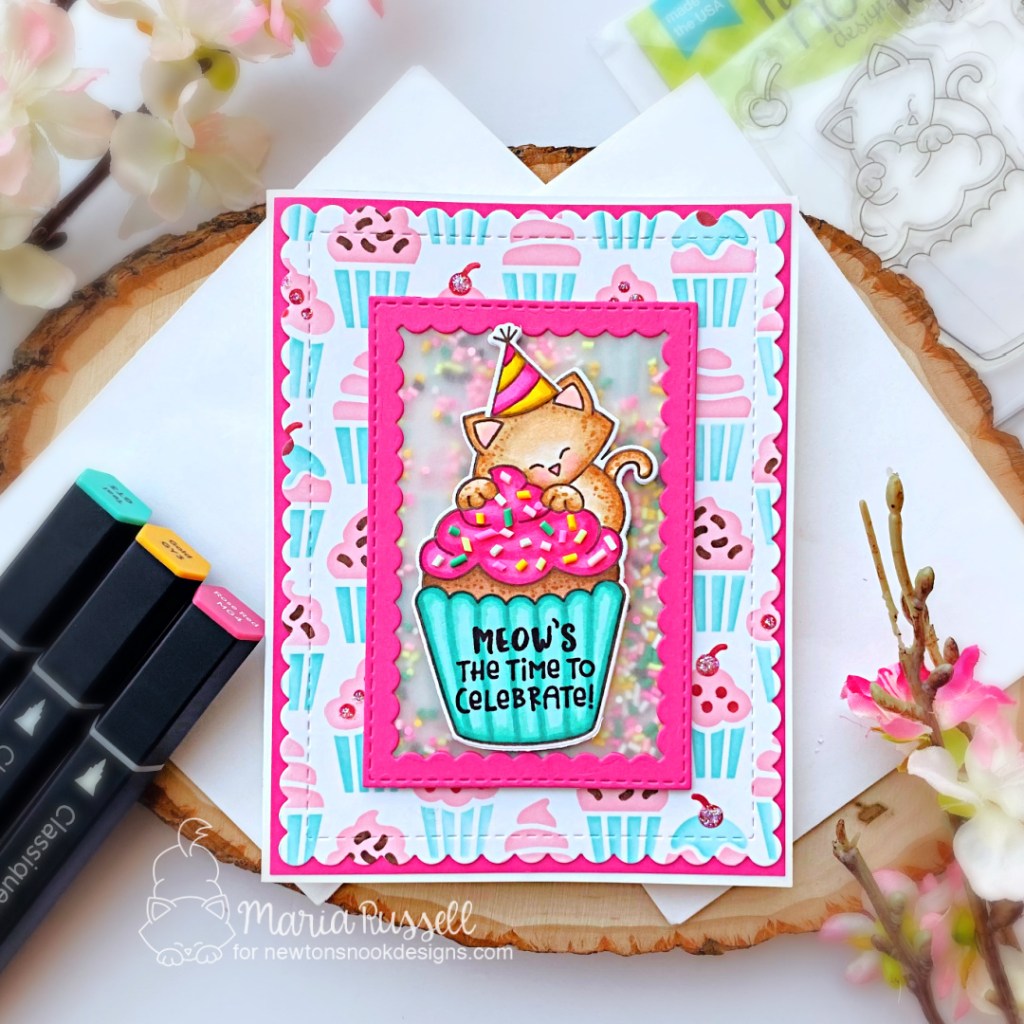
Today I am excited to be part of the 8-year anniversary celebration with Newton’s Nook Designs! To celebrate this awesome milestone, Newton’s Nook Designs has released adorable new cupcake themed products, which I will be sharing on my projects today. THERE ARE PRIZES TOO! Read all the way to the end of this post to find out how you can win! YAY!
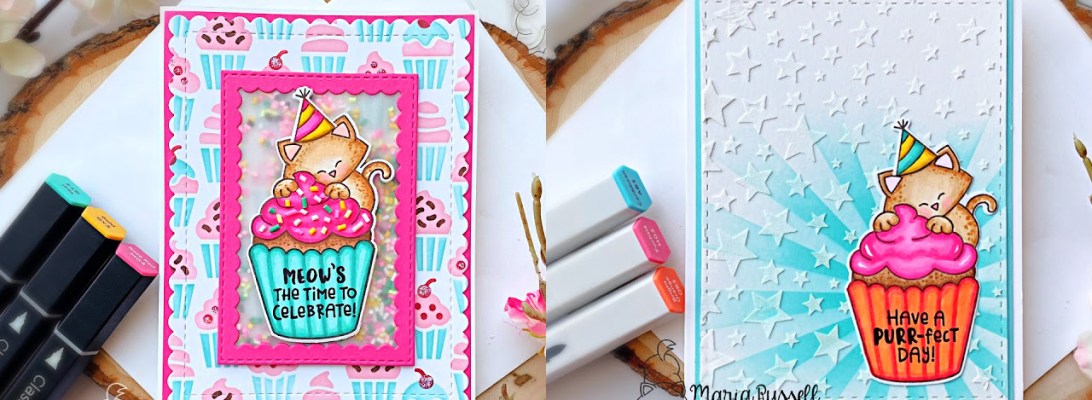
I stamped the images twice on some Neenah solar white card stock with some Memento Rich Cocoa ink. I colored the images in with Spectrum Noir alcohol markers and used the coordinating die to die-cut both images.
Next, the scallop die from the Frames & Flags die set was die-cut with some Bristol smooth white card stock. I ink-blended this panel using the Cupcakes Layering stencils with different colors of dye inks. I set this panel aside to let it dry while I work on my focal point.
I used the reverse scallop die from the Framework Die Set to die-cut some hot-pink card stock. Since this is a birthday card, I wanted to add some fun elements to this to add the shaker components. I adhered some vellum on the reverse scallop die-cut and added some foam adhesive to create the well. I added some sprinkles as my shaker element and adhered this on the ink-blended panel.
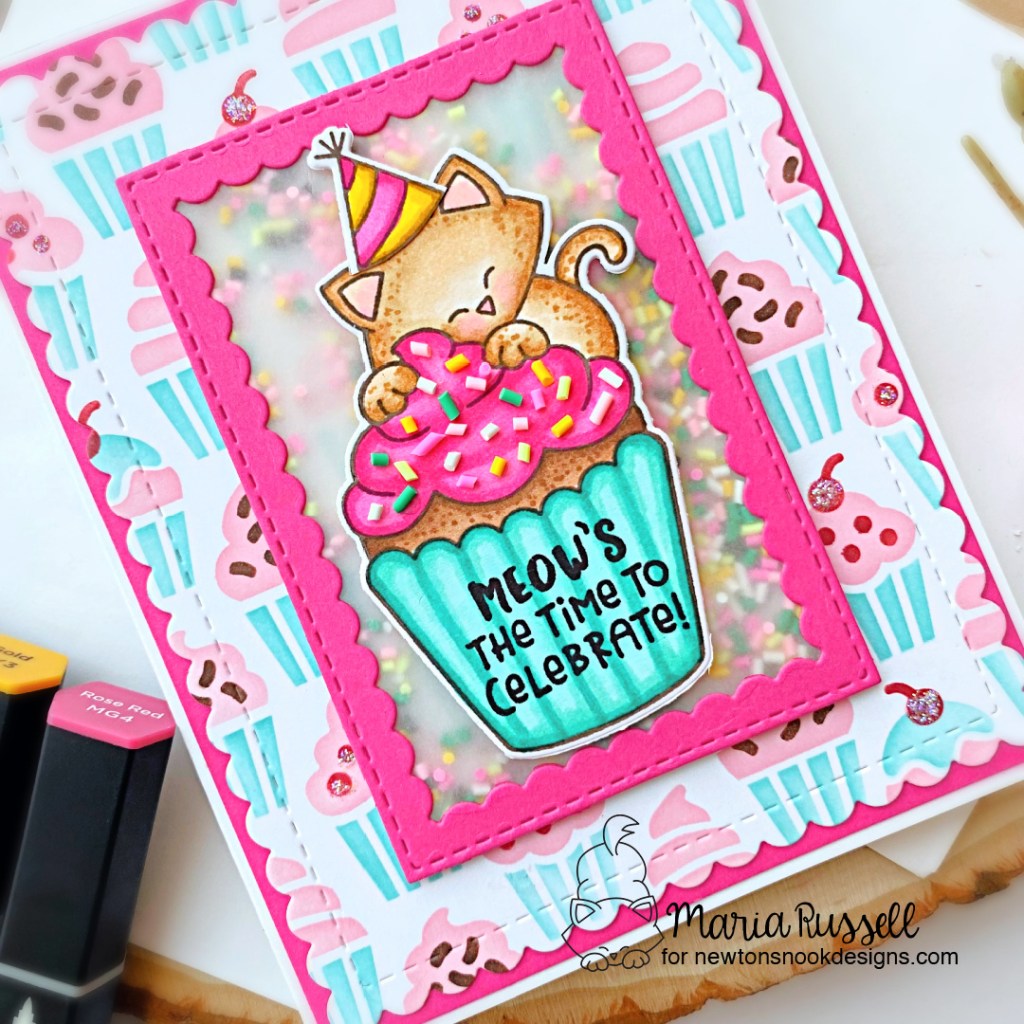
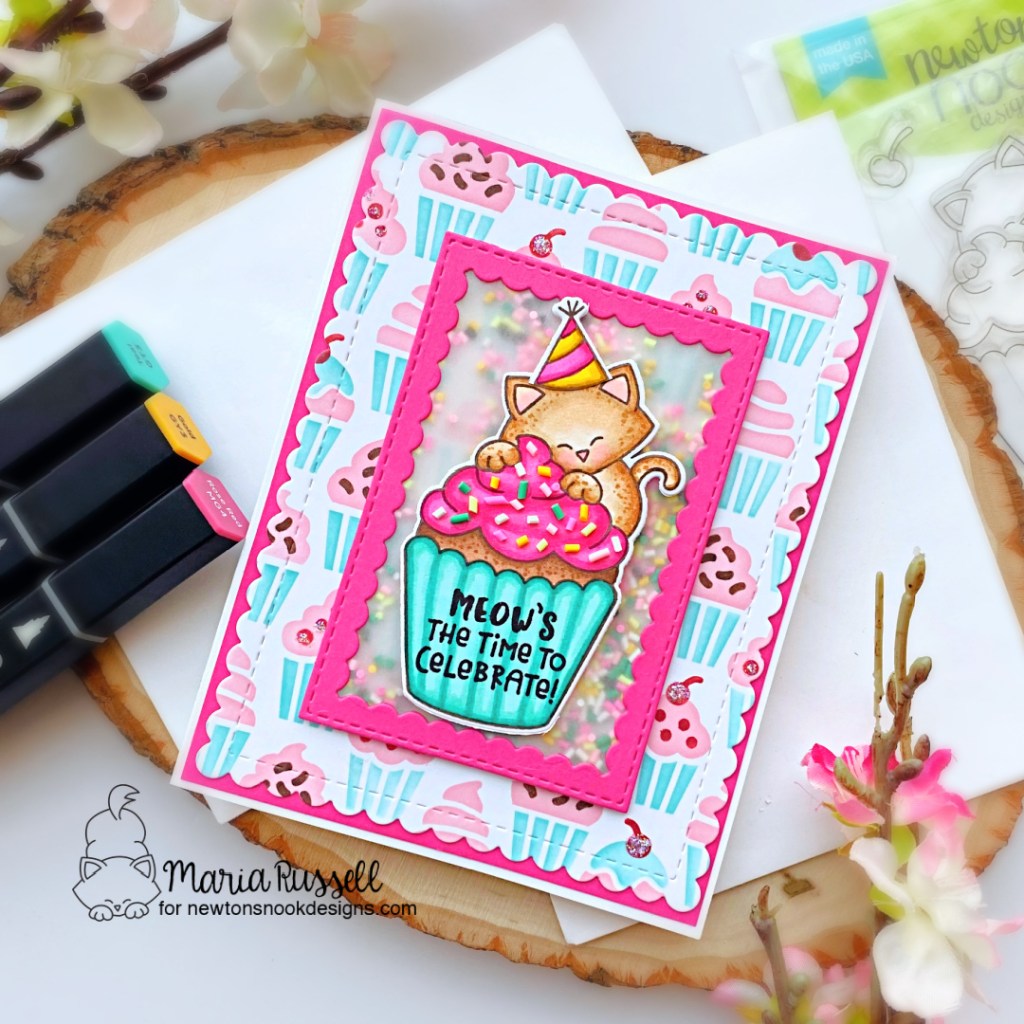
I matted the focal background panel on another pink card stock before adhering to an A2 size white notecard. I finished my design by adhering the colored image on the card. For added dimension, I adhered the sprinkles on the frosting with some liquid glue. Here’s another look:
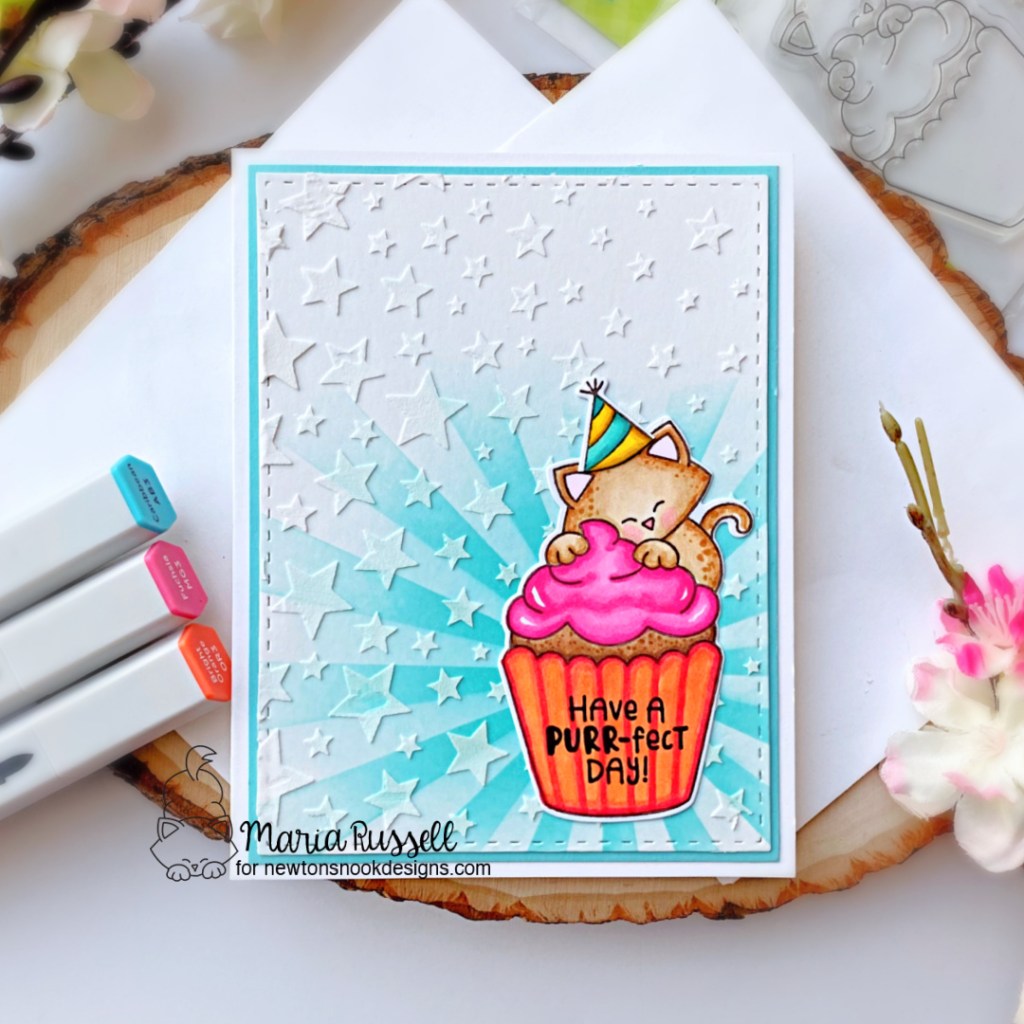
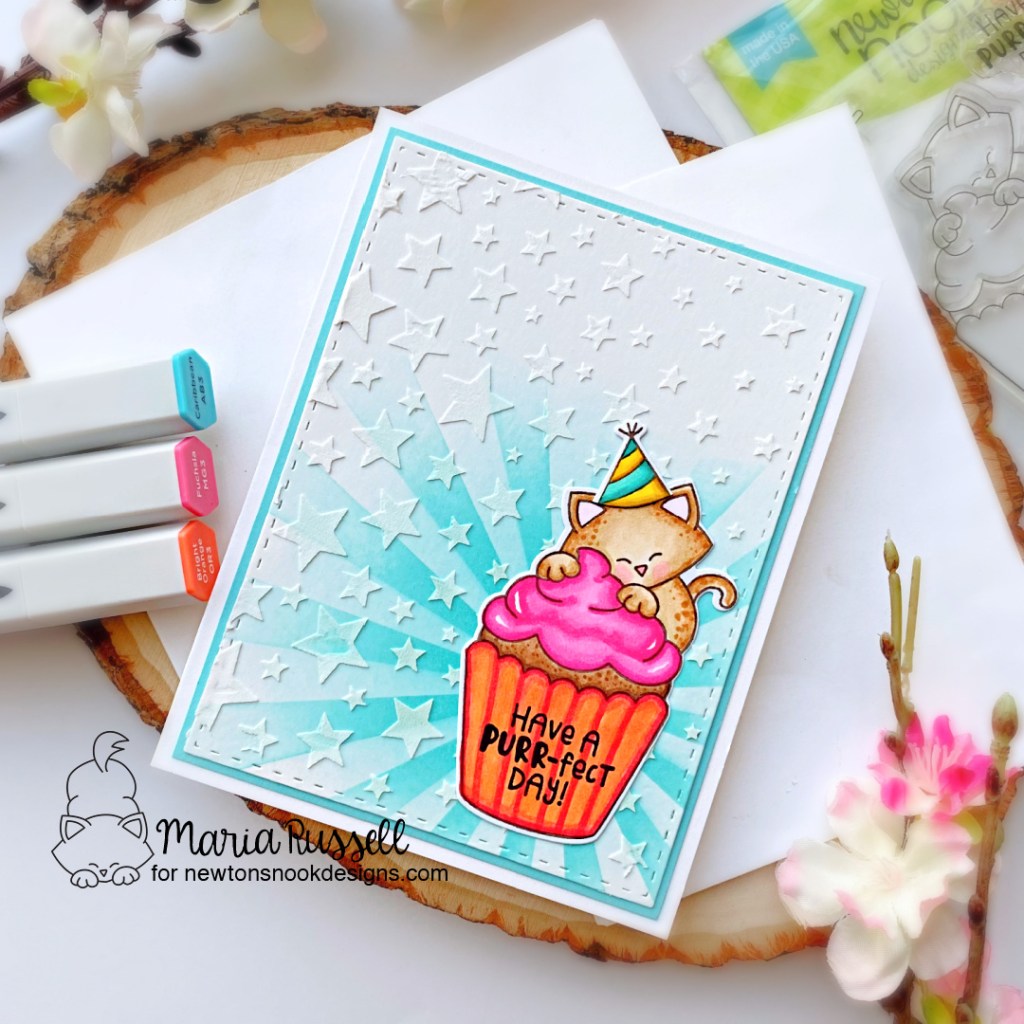
The second card is a lot easier since I already had another colored image to use. The focal panel was made by using the Sunscape Stencil with some dye ink. I used the Cascading Stars Stencil with some texture paste to add texture and dimension to this panel. I set this aside to let it dry for about half an hour.
Once the panel was dry, I matted this onto some blue card stock before adhering to an A-2 size note card.
I finished the card design by using my white gel pen to add some details to the frosting and adhered the image with liquid glue.
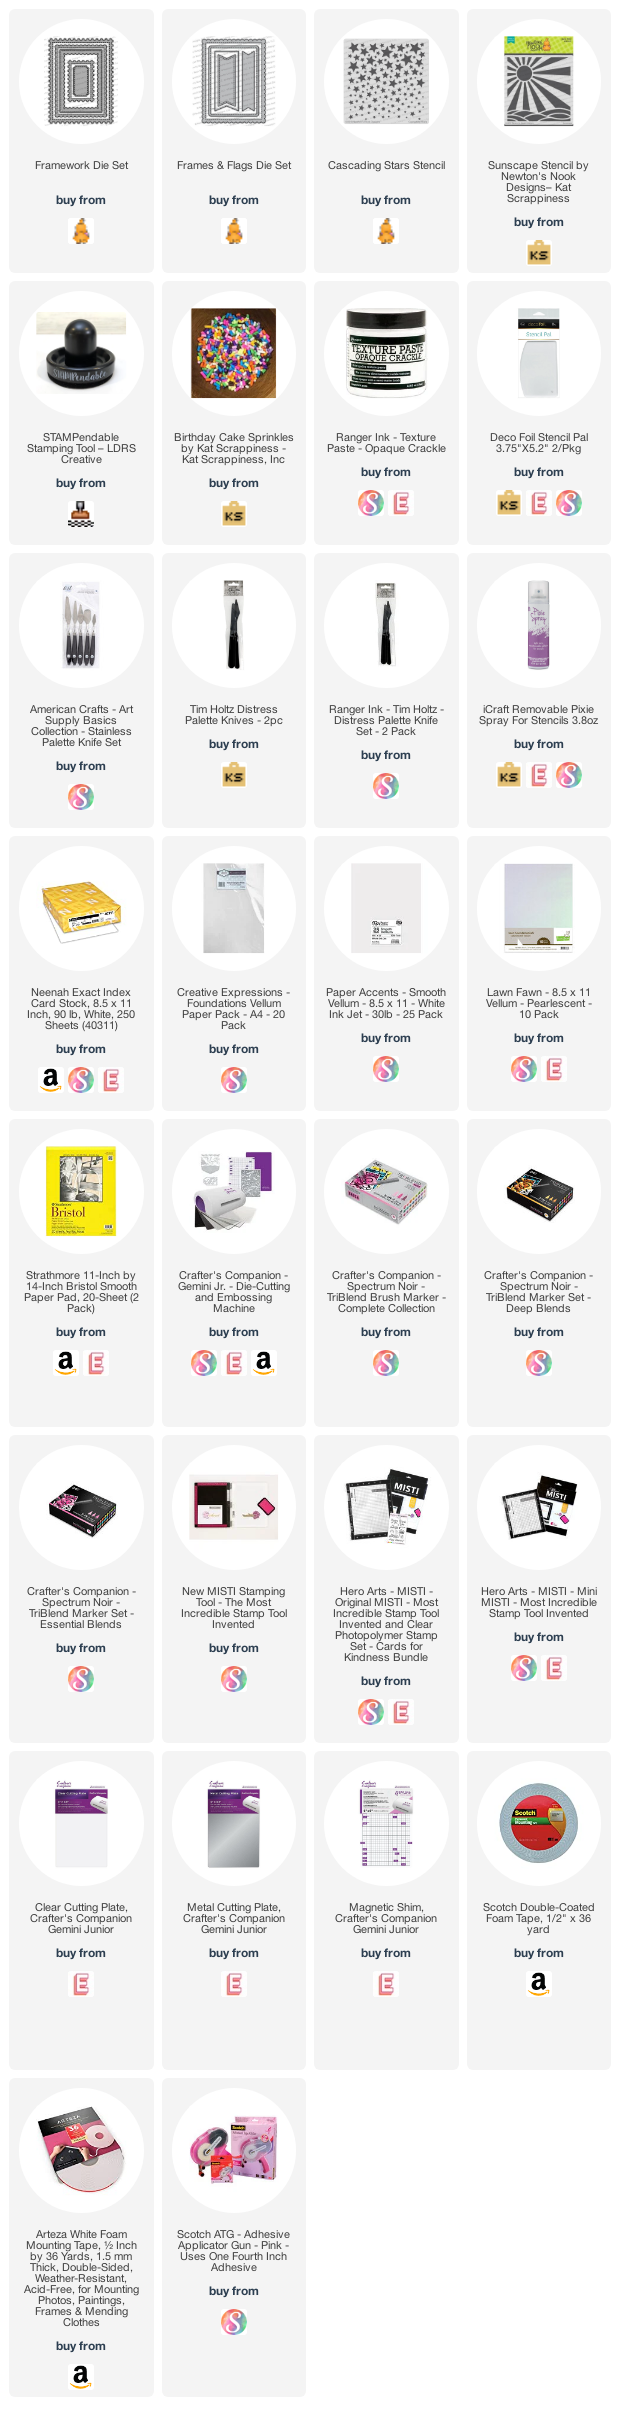
I hope you like the cards I made today. The supplies I used are listed and linked below. Don’t forget to use the coupon code “8YEARS” to get 15% off your order.
Would you like to win a $50 store credit to the Newton’s Nook Designs Online Shop?We will chooseTWO lucky winners!Here’s how to win:
Comment on the NND blog and Design Team blogs! (see list below) Thewinner will be chosen at random from the collective posts. Make sure to check out each of their blogs and comment for your chance to win. You will not know which blog has been chosen so the more you comment on the better your chances are of winning! You have until Monday, July 19th at 9pm ET to comment –> winners will be announced on the blog post on Tuesday, July 20th.
Check out all the awesome Design Team Blogs below to enter:
I am a bit sad that this is the last day of the reveals by Newton’s Nook Designs. If you haven’t hopped along with us yet, now is a great time to catch up. You have a chance to win the stamp set being revealed each day so please read through ’til the end of the blog post to find out more info. [Just a little important note: I know some of you had difficulties finding the comments section. If you would like to leave a comment to participate in the giveaway, the “comments section” will only be ever visible when a single post on WordPress is being viewed. Please click on this particular blog post and you will be able to leave a comment below. Thank you!]
For Day 4, we are showcasing the Barbecue Roundabout and Seashell Roundabout stamp sets that coordinates with the Circle Frame Die set and Banner Trio die set.
Both cards are fairly simple. I started by die-cutting the circle scallop using the biggest die from the Circle Frames die set. I positioned this inside my stamping tool and stamped the images with Memento Rich Cocoa ink. I colored the images in with alcohol markers.
To ground the image, I die-cut a circle frame and adhered this piece on my colored panel. I used the same scallop die to die-cut my card base and adhered the colored images to this piece.
Last thing I did was to stamp the sentiment on the banner that was die-cut using one of the dies from the Banner Trio die set and adhered this on the card with liquid glue.
For my next card, I stamped the images on some A2-size Neenah solar white card stock. I colored the images in with alcohol markers.
On another A2-size Neenah solar white, I created the window by using one of the circle dies from the Circle Frames Die Set. I wanted to add texture and interest to this panel so I used the Seashell Stencil with some White Pearl Metallix Gel using Stencil Pal. I set this aside to let it dry for about half an hour.
I die-cut another circle frame with some black card stock and adhered on the panel with liquid glue. I foam-mounted this piece on the colored images for added dimension. I finished the design by adding the sentiment that was again stamped on the banner using one of the dies from the Banner Trio die set.
Would you like to win the “Barbecue Roundabout” or the “Seashell Roundabout” stamp set? We will choose ONE lucky winner to win each stamp set set!
Here’s how to win: Comment on the NND blog and Design Team blogs (see list below)! Thewinner will be chosen at random from the collective reveal posts. Make sure to check out each of their blogs and comment for your chance to win. You will not know which blog has been chosen so the more you comment on the better your chances are of winning! You have until Thursday, June 17th at 9pm ET to comment — winners will be announced on the blog post on Friday, June 18th.
Check out all the awesome Design Team Blogs below to enter: