It’s almost the weekend and I have been busy creating a few DIYs to decorate my home for Halloween. It has also been awhile since I filmed a YouTube video so I figured this is the best time to share these projects with you.
Halloween is one of my favorite holidays and I have always loved decorating my home. Now that I ventured into the Cricut world, the possibilities of creating some amazing DIYs have become endless! It took me awhile to get used to it, and I am still a beginner when it comes to my Cricut machine but I am loving it so far! I will also be sharing a few YouTube Creators here that I regularly watch if you are interested.
If you love Hocus Pocus, here are a few projects that you can make using your Cricut or Silhouette machine. The YouTube process video is linked down below.
Aren’t they cute?! I love this HOCUS POCUS WOOD ROUND that I paired with the Witch’s broom (see video).
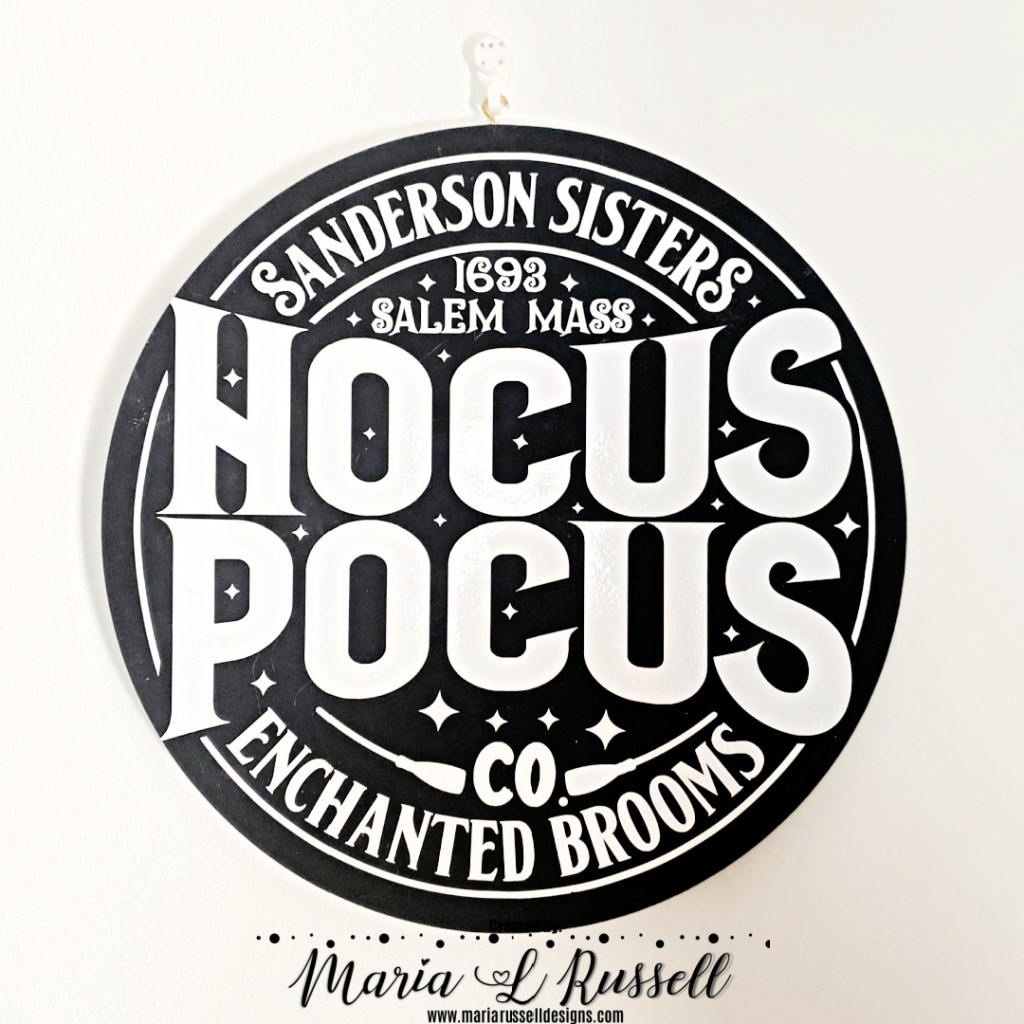
The vinyl I LOVE and use on most of my project comes from TeckWrap Craft Vinyl. They are one of the best in my opinion. I have tested out a few and TeckWrap is my number one choice so far. Use coupon code TECKWRAP10 for 10% off your order valid only until October 13th. If you pass this date, you can use code MARIARUSSELL for 5% off your order.
Here’s another one that I made using a frame from Ikea and SVG from Creative Fabrica. Later on, I made some DIY black candles using paper towel rolls and black acrylic paint (coming soon on the blog!).

The Moon SVG below is from one of my favorite YouTuber and her name is Whitney from Whiskey and Whit. The other SVGs I used on my video were downloaded from Creative Fabrica. This is an amazing website to download SVGS, PNGs and clipart with commercial license! I have made my own Tote Bags, T-Shirts, Mugs, Libbey Glass Cans, Wedding Sign (for my son’s wedding) and a lot more!

I hope you all got inspired to create some beautiful Halloween DIY projects. The supplies I used are highlighted and linked within the context of this blog post. Please also consider subscribing to my YouTube channel if you haven’t yet. Thanks for stopping by and happy crafting!