I always get a bit bummed because it is the last day of the October release. I hope you guys were able to check out the first three days as we showcased the new stencils, stamps and dies. Which one is your favorite so far?? You also have a chance to win each stamp set during release week so check out the details I have indicated at the end of this blog post. [Just a little important note: I know some of you had difficulties finding the comments section. If you would like to leave a comment to participate in the giveaway, the “comments section” will only be ever visible when a single post on Word Press is being viewed. Please click on this particular blog post and you will be able to leave a comment below. Thank you!]
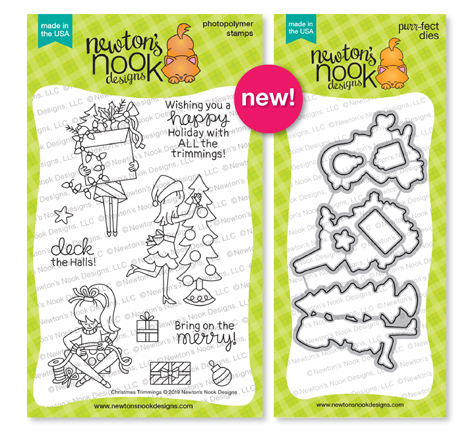
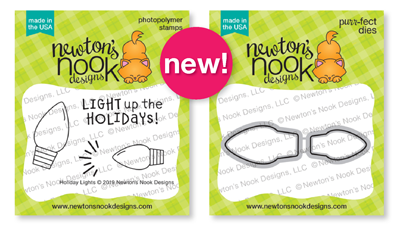
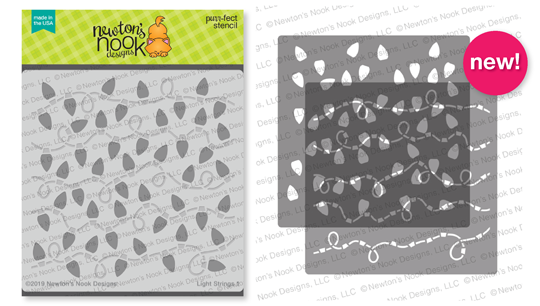
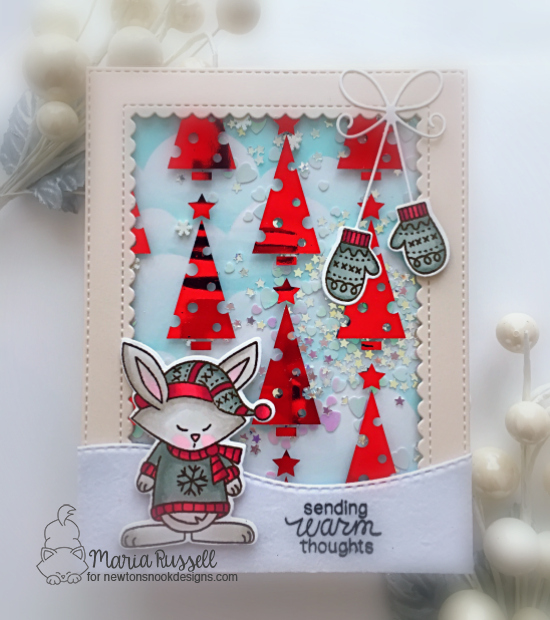
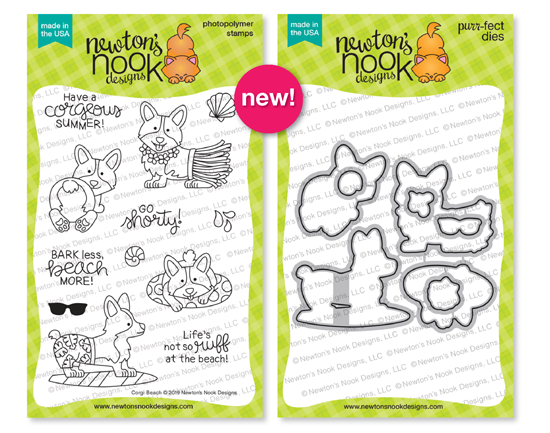
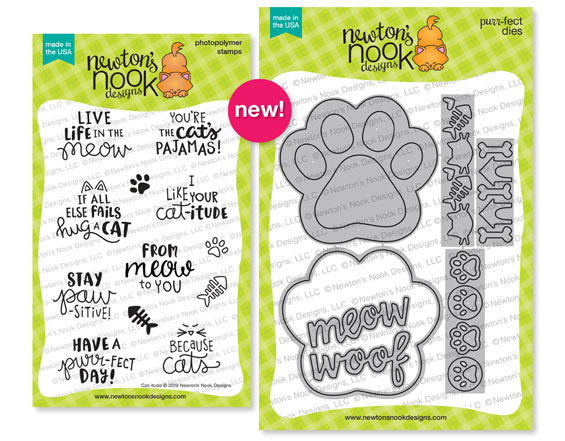
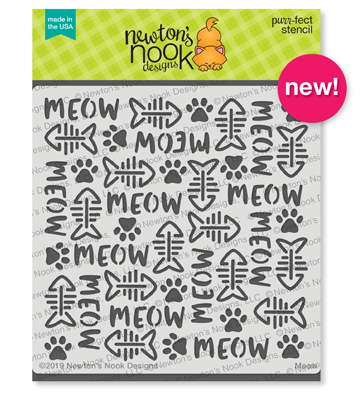
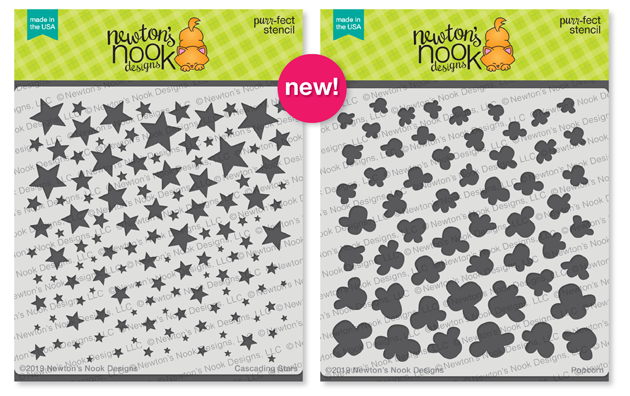
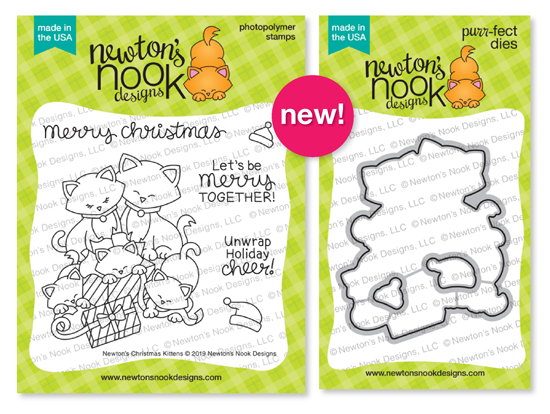
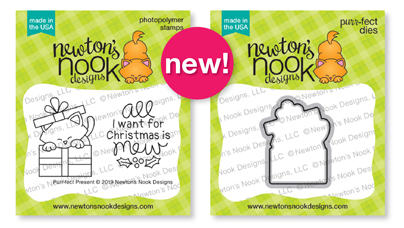
For today’s release, the design team is showcasing the Newton’s Christmas Kittens, Purr-fect Present and Puppy Present with their coordinating dies.

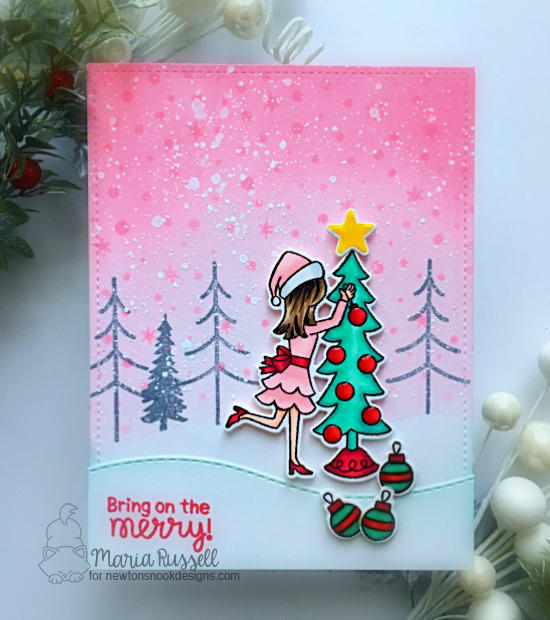
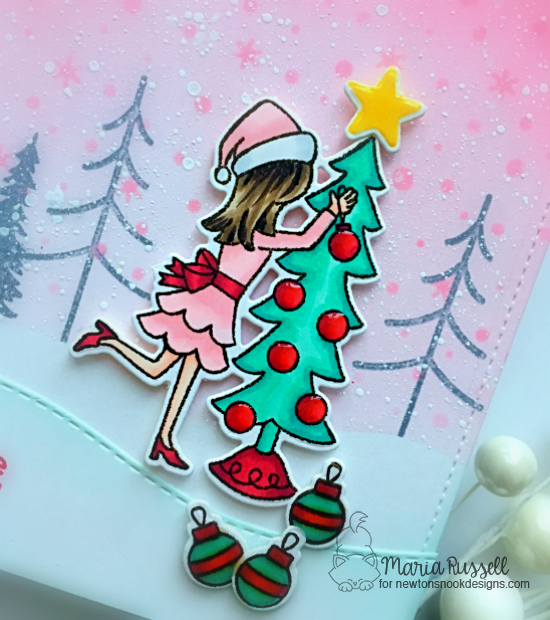
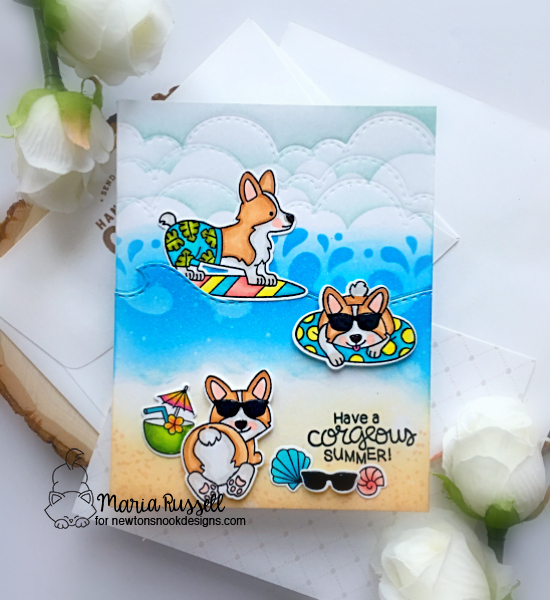
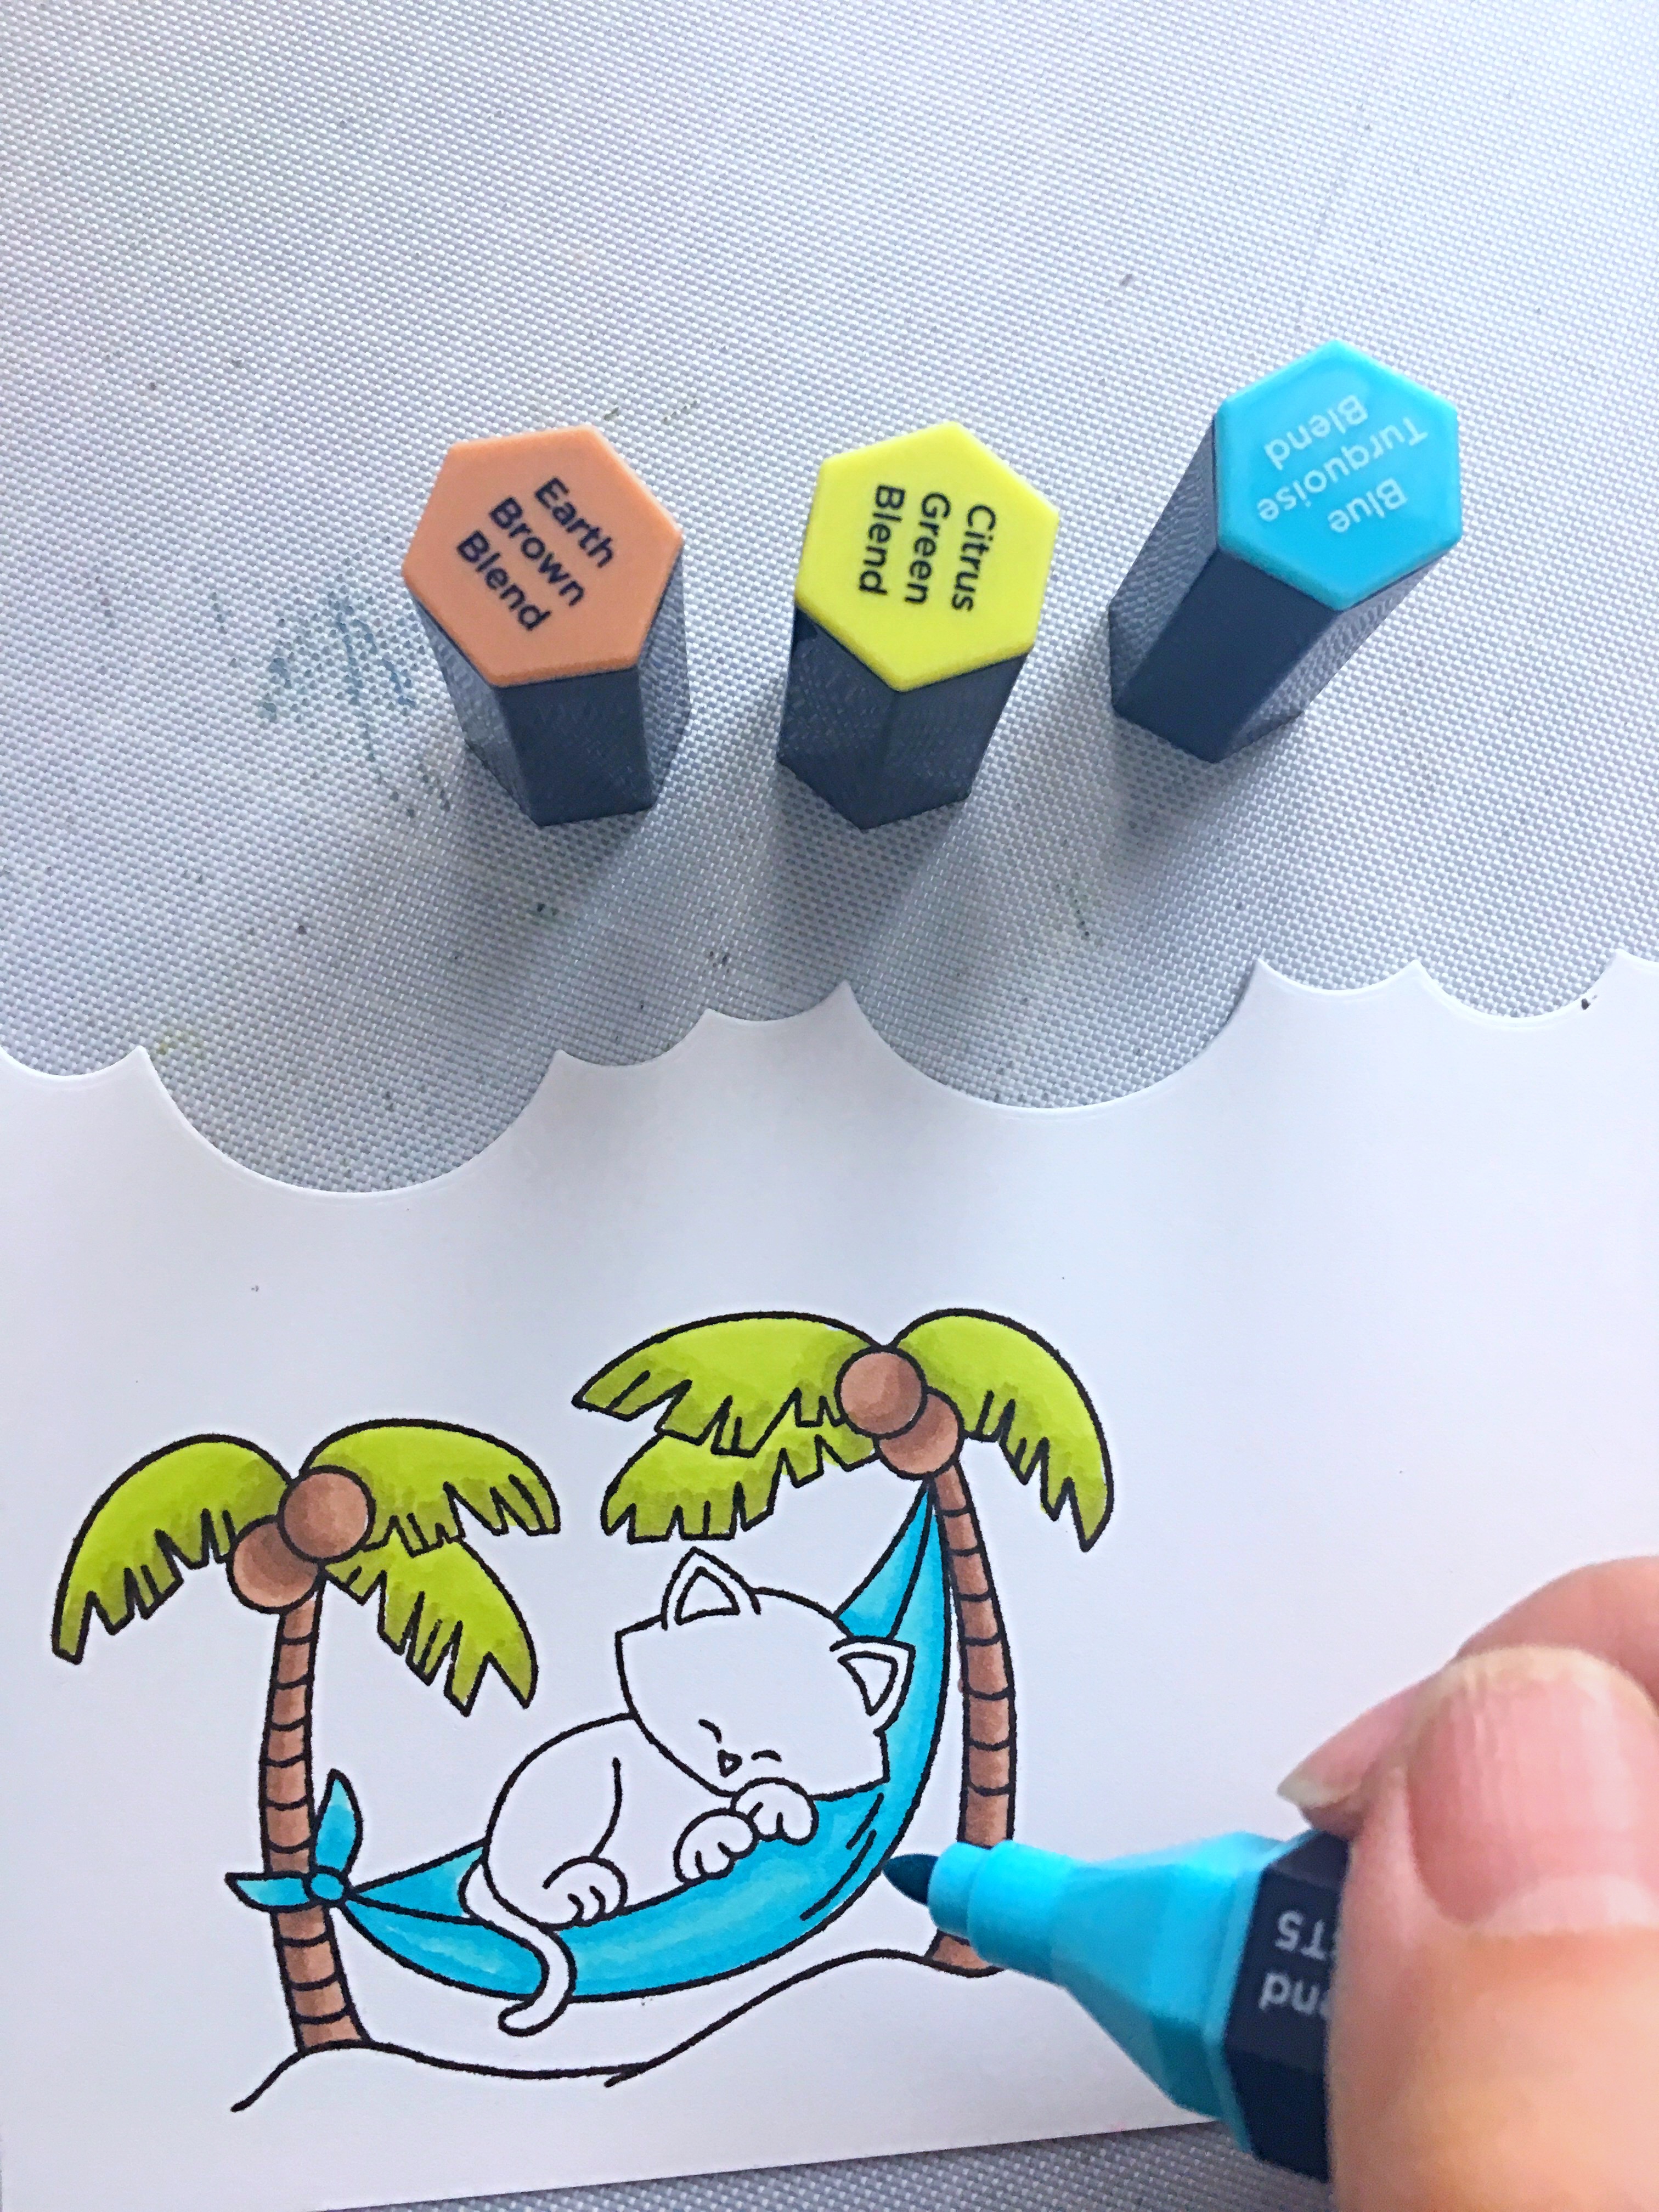
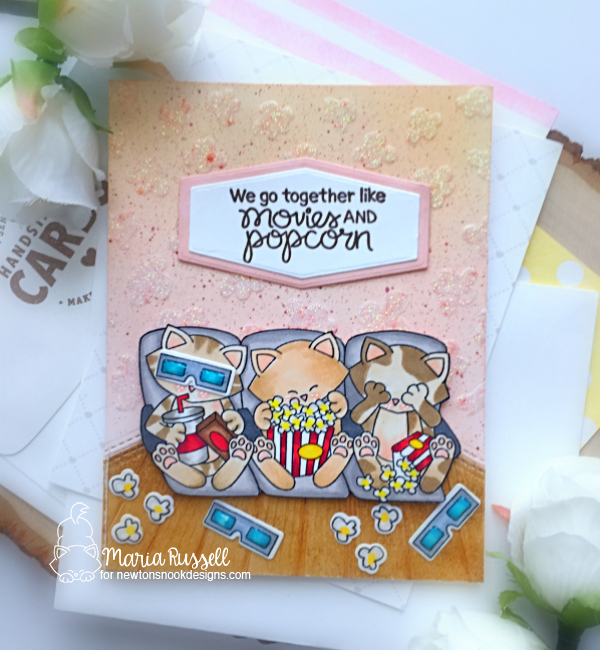
For my first project, I stamped my images on some Neenah solar white card stock and colored them in with my alcohol markers. I die-cut the images using the coordinating dies.
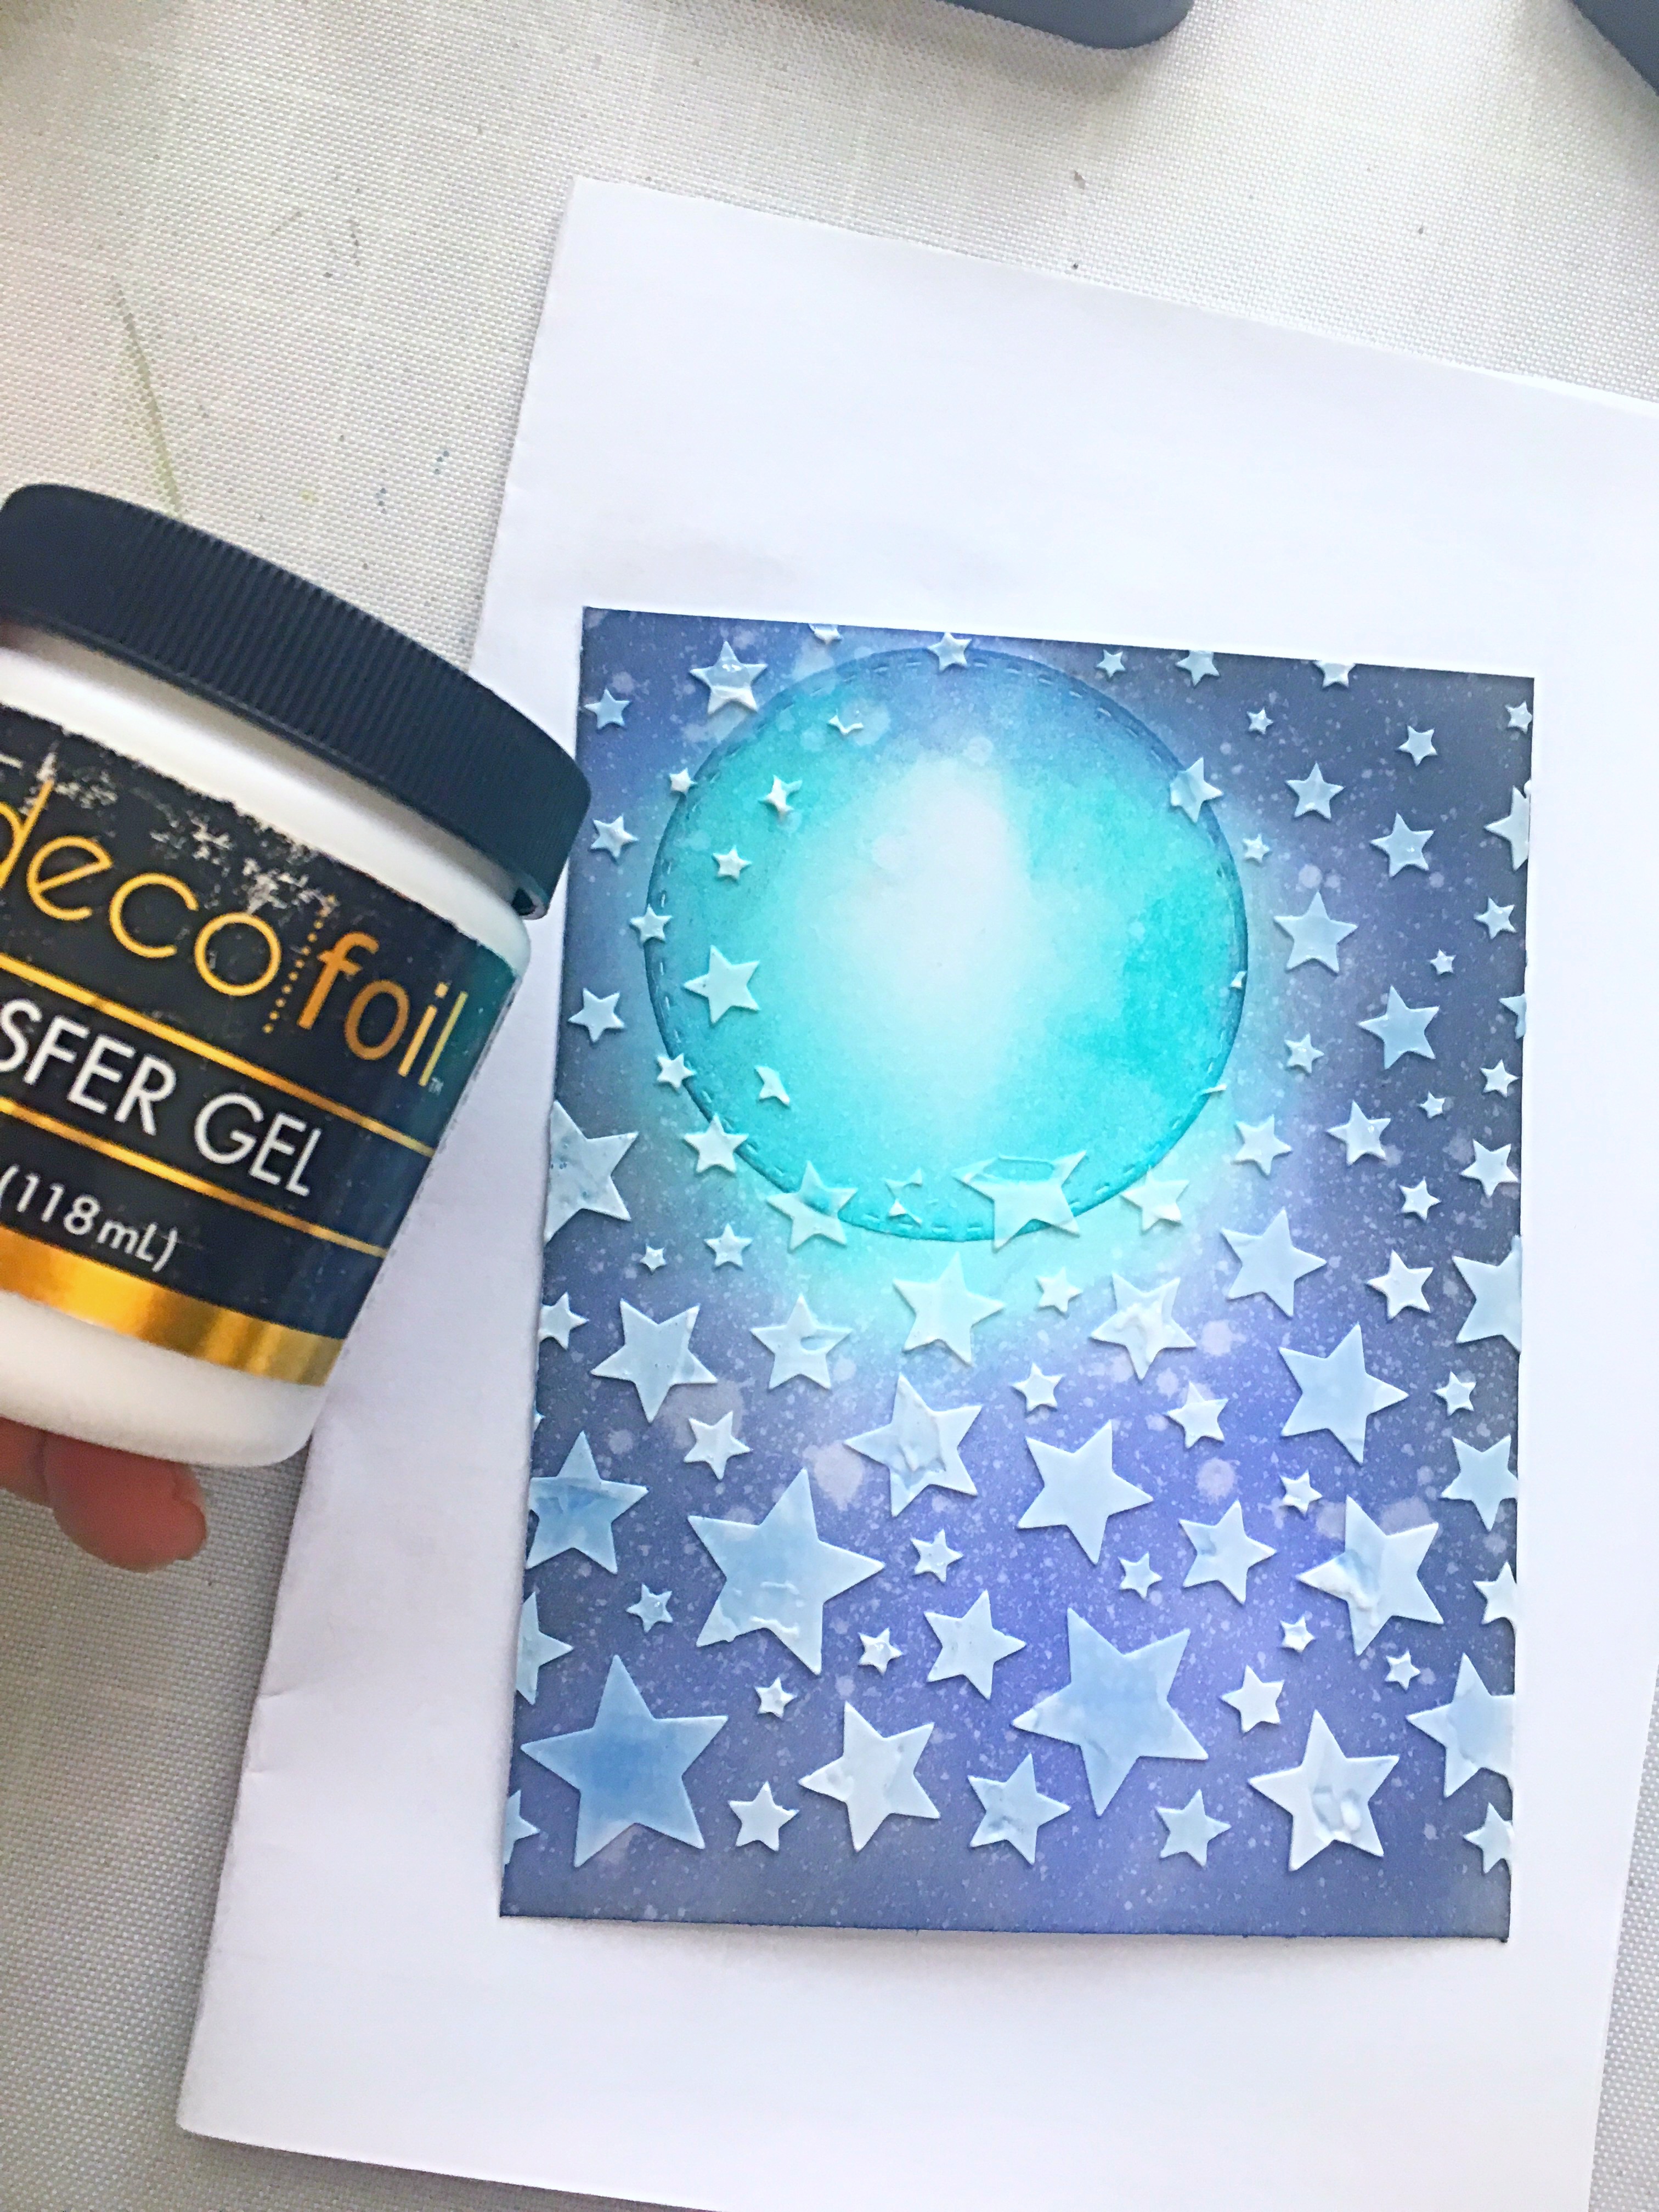
I inked up an A2 size piece of some Bristol smooth white card stock with some distress oxide inks. I sprayed some water on the colored background and dabbed it with some paper towel. I die-cut this piece using a die from my stash.
I adhered the center piece of the die-cut on my card base and also added the birch trees from the Forest Scene Builder die set. I adhered some acetate sheet onto the frame and added foam adhesive. I used some star sequins as my shaker element and added the frame on my card.
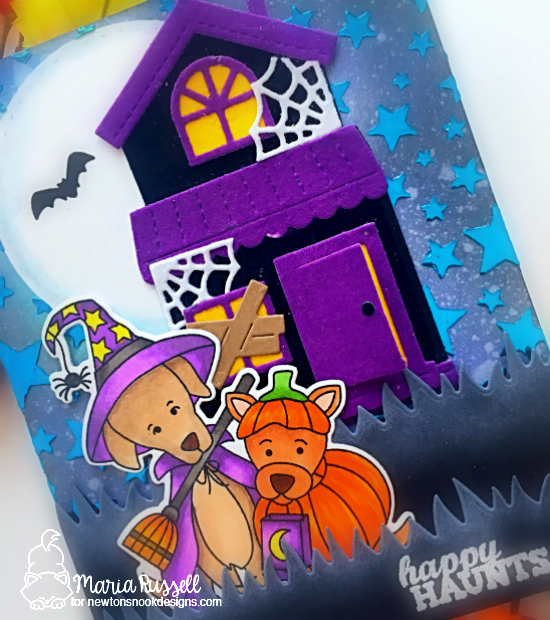
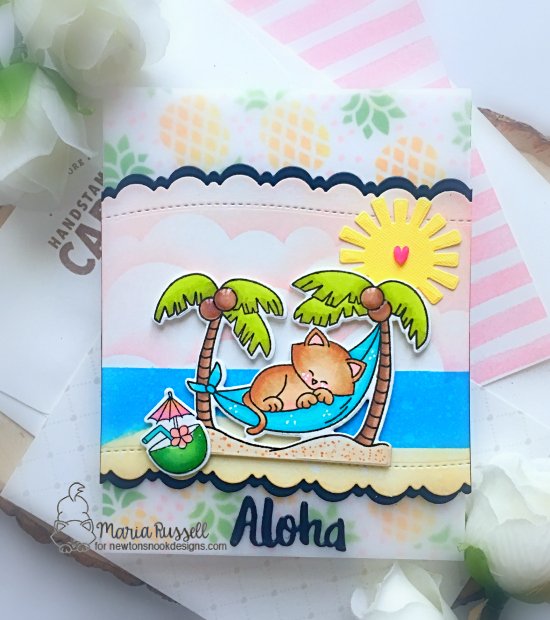
Lastly, I die-cut the lamp post on some black card stock and added vellum to the lamp. The bow was die-cut using the Pins & Holly die set. Here’s my card:

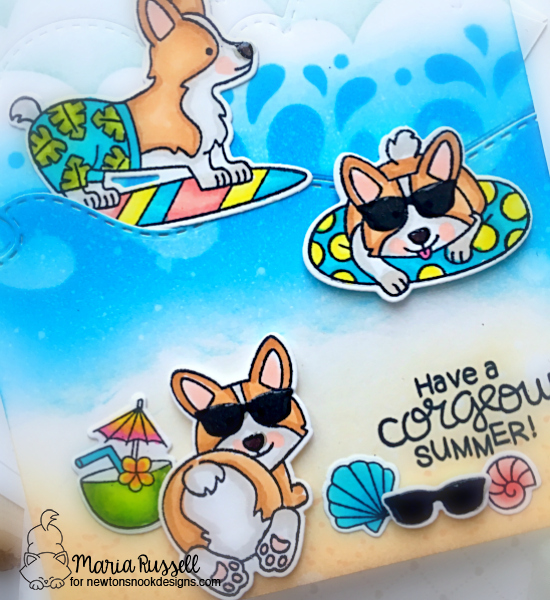
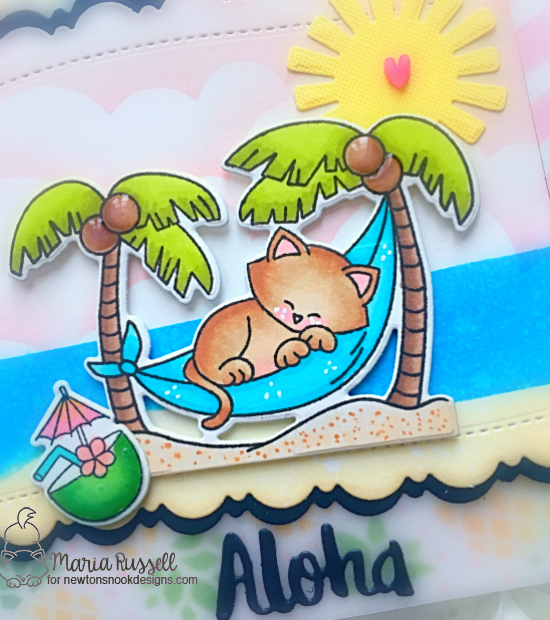
To finish my design, I stamped the sentiment with some lobster ink. I don’t know if you can tell but I added glossy accents to the lamp post. You can’t see it from the photo but it looks really cool in real life! Here’s a closer look:

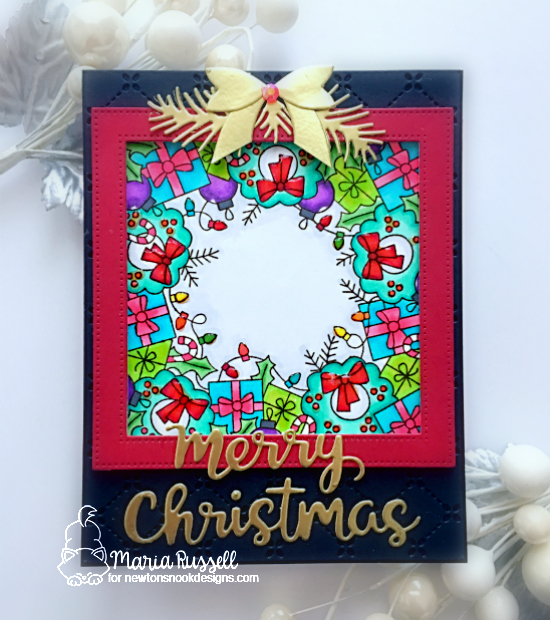
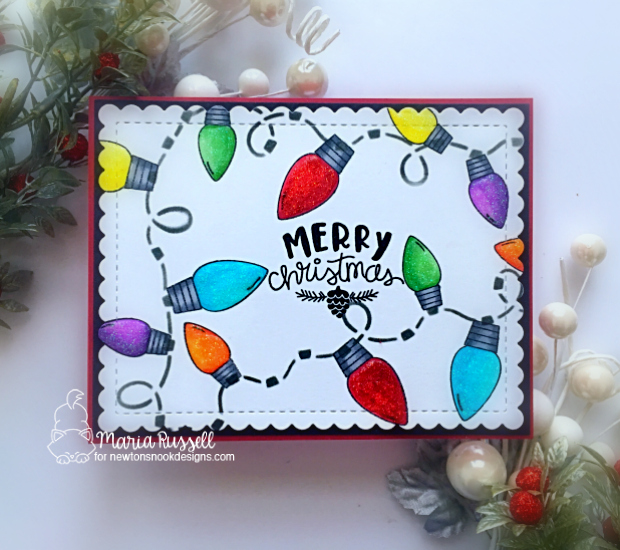
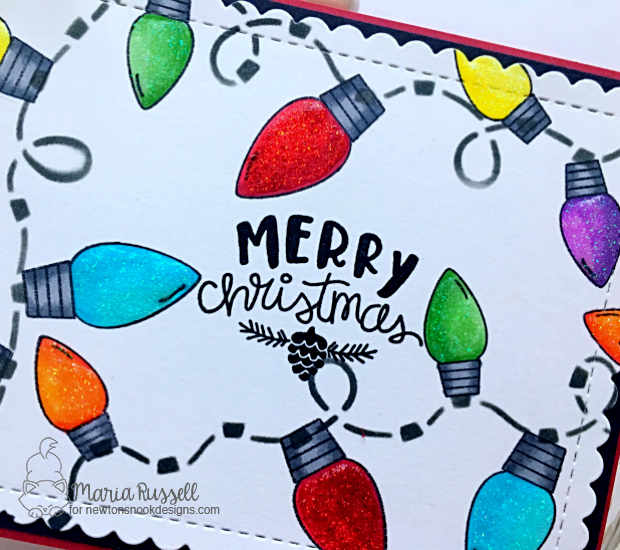
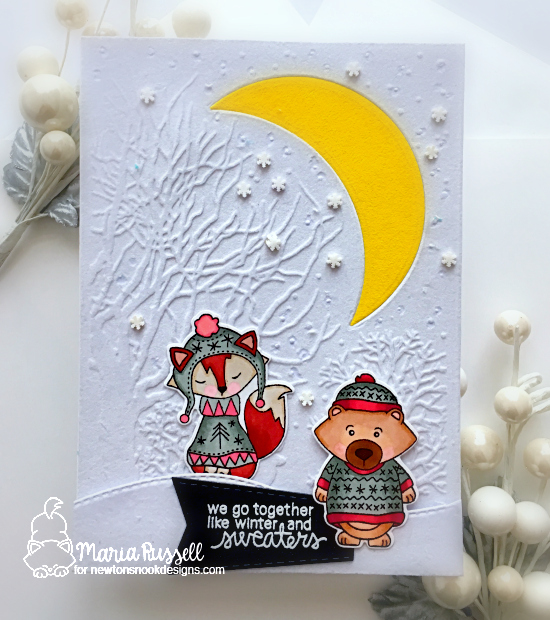
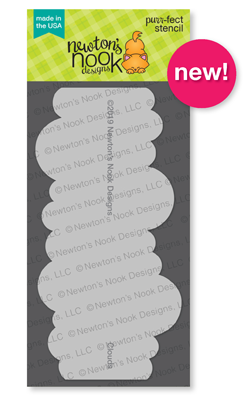
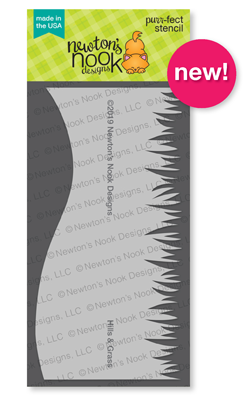
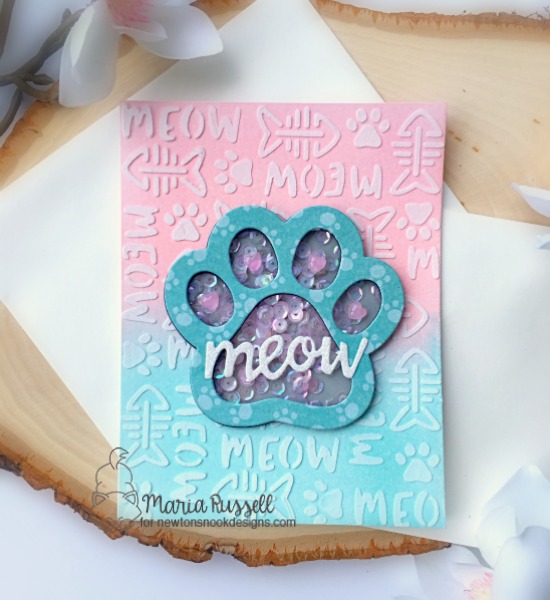
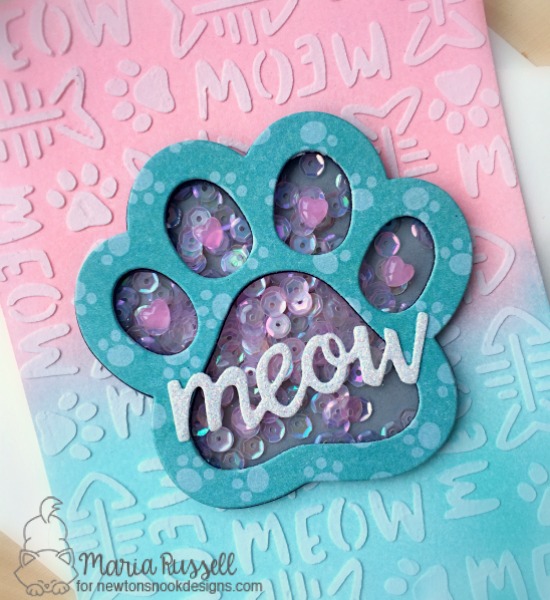
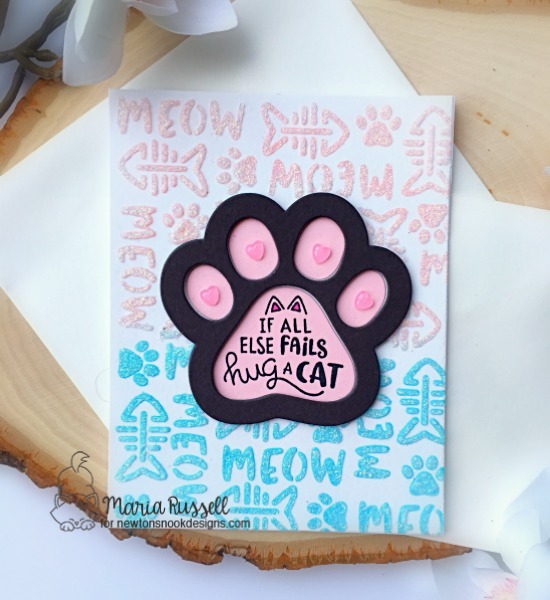
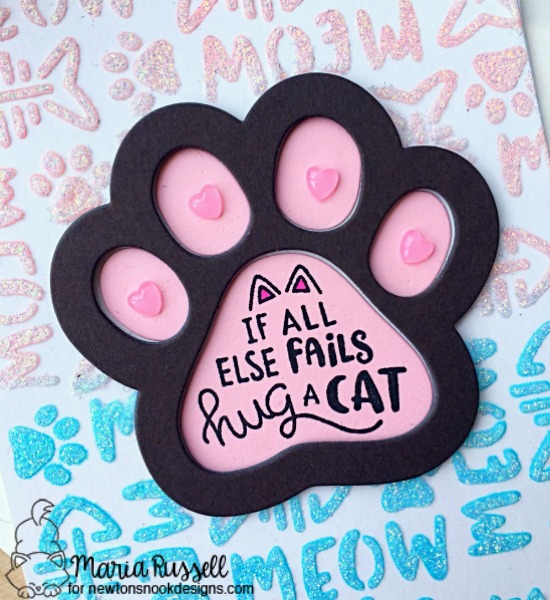
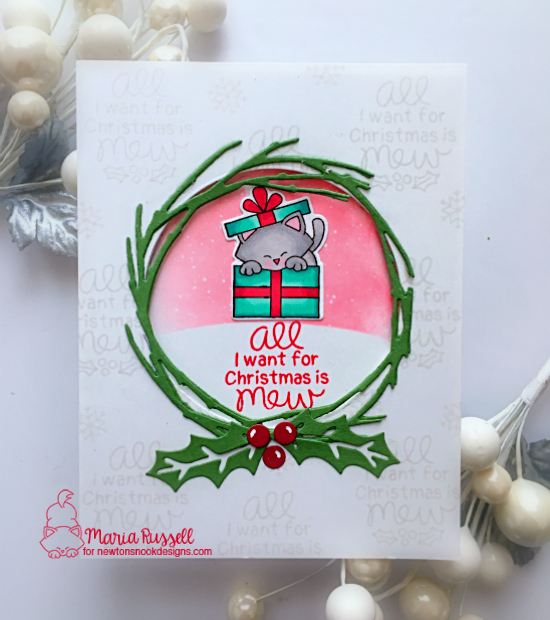
The other two cards are similar in design. I die-cut a circle in the center of an A2 size Neenah solar white card stock and stamped the sentiment all over my card with some fog ink. I wanted the sentiment to look like watermark. I inked up the circle with some distress oxide ink and used the Hills & Die stencil to create my snowbank. I adhered the image in the center and stamped the sentiment using some lobster ink.
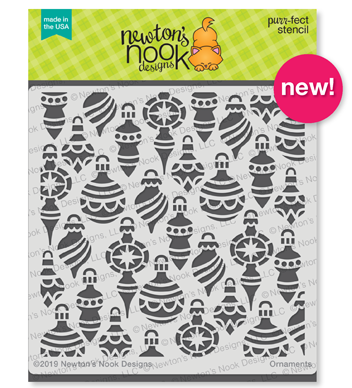
I die-cut the wreath using a die from my stash. I also die-cut the holly and berries using the Pines & Holly die set.
Lastly, I used my white gel pen to add some texture and dimension to the berries. Here are the two cards:

Would you like to win the “Newton’s Christmas Kittens” Stamp Set? This stamp set will be given away to ONE (1) lucky winner! Here’s how to win:
Comment on the NND blog and Design Team blogs (see list below)! The winner will be chosen at random from the collective reveal posts. Make sure to check out each of their blogs and comment for your chance to win. You will not know which blog has been chosen so the more you comment on the better your chances are of winning! You have until Thursday October 17th at 9pm EST to comment — winners will be announced on the blog post on Friday, October 18th.
Check out all the awesome Design Team Blogs below to enter:
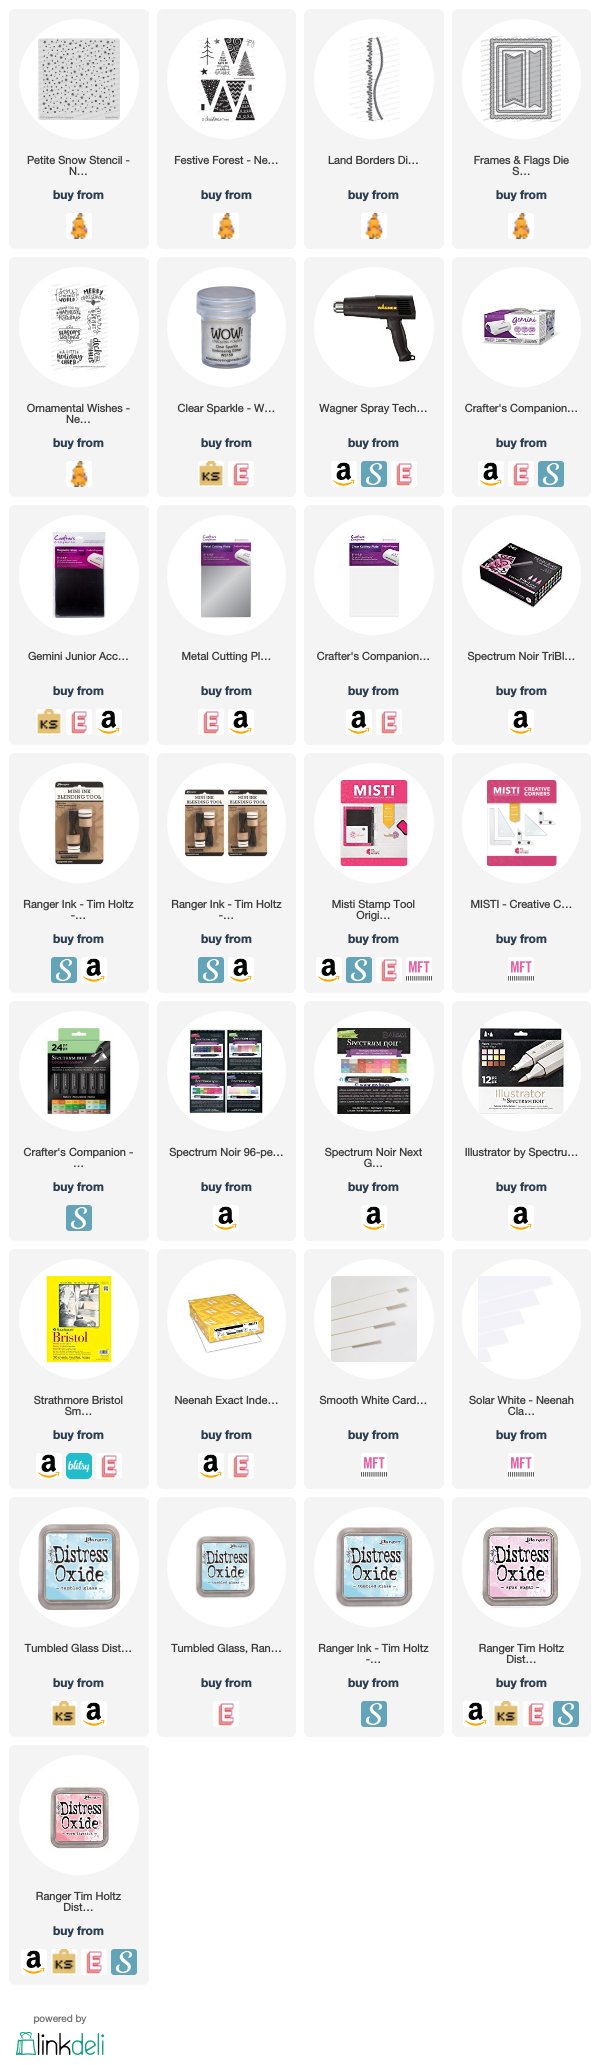
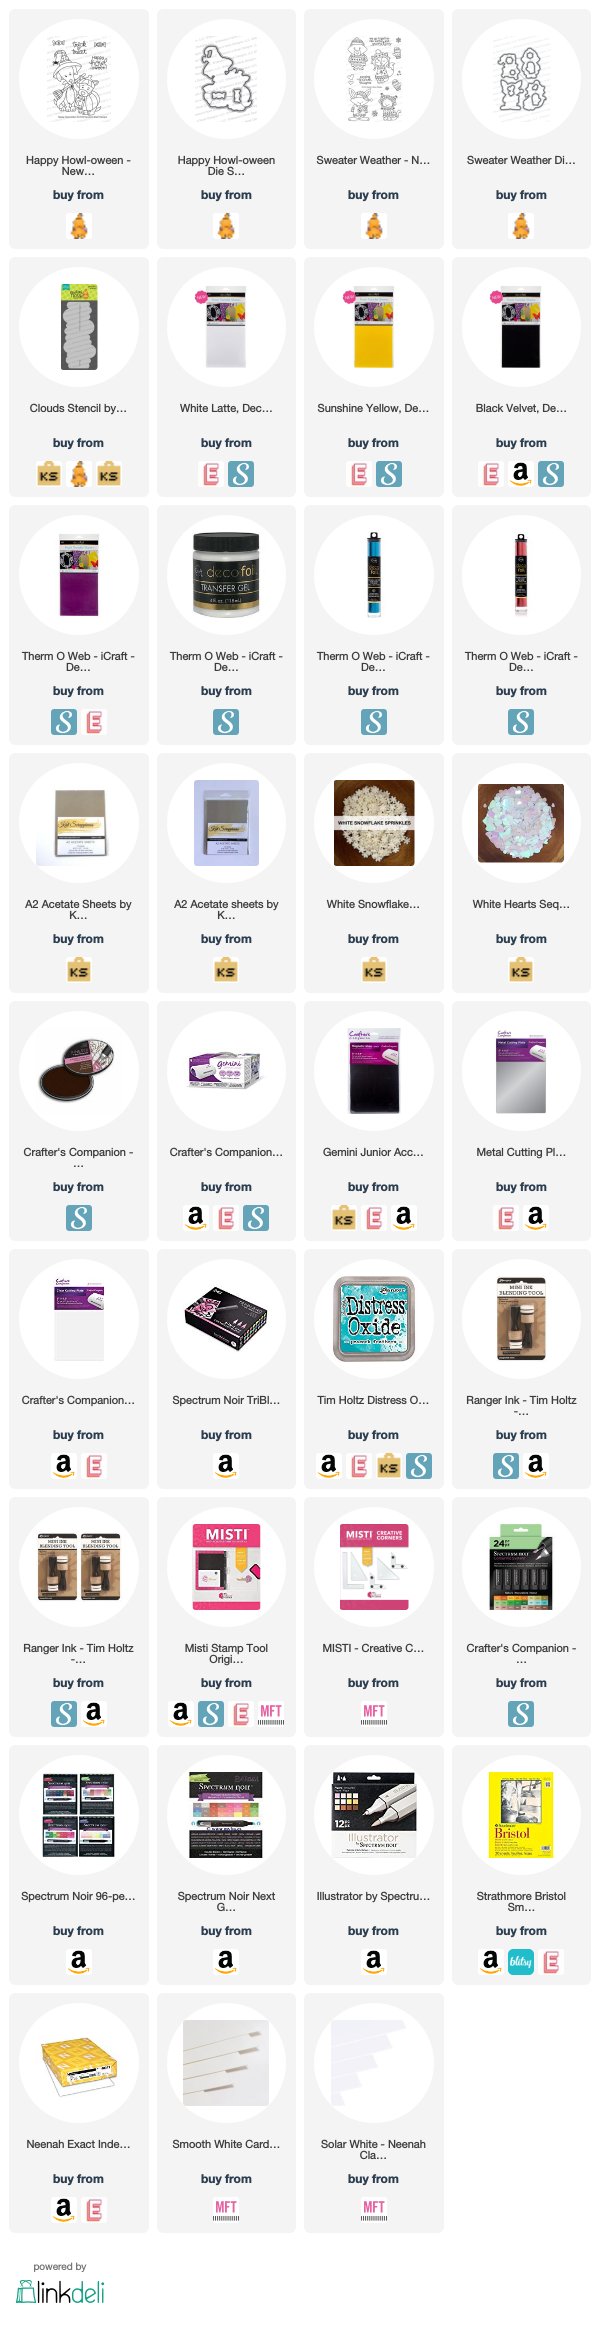
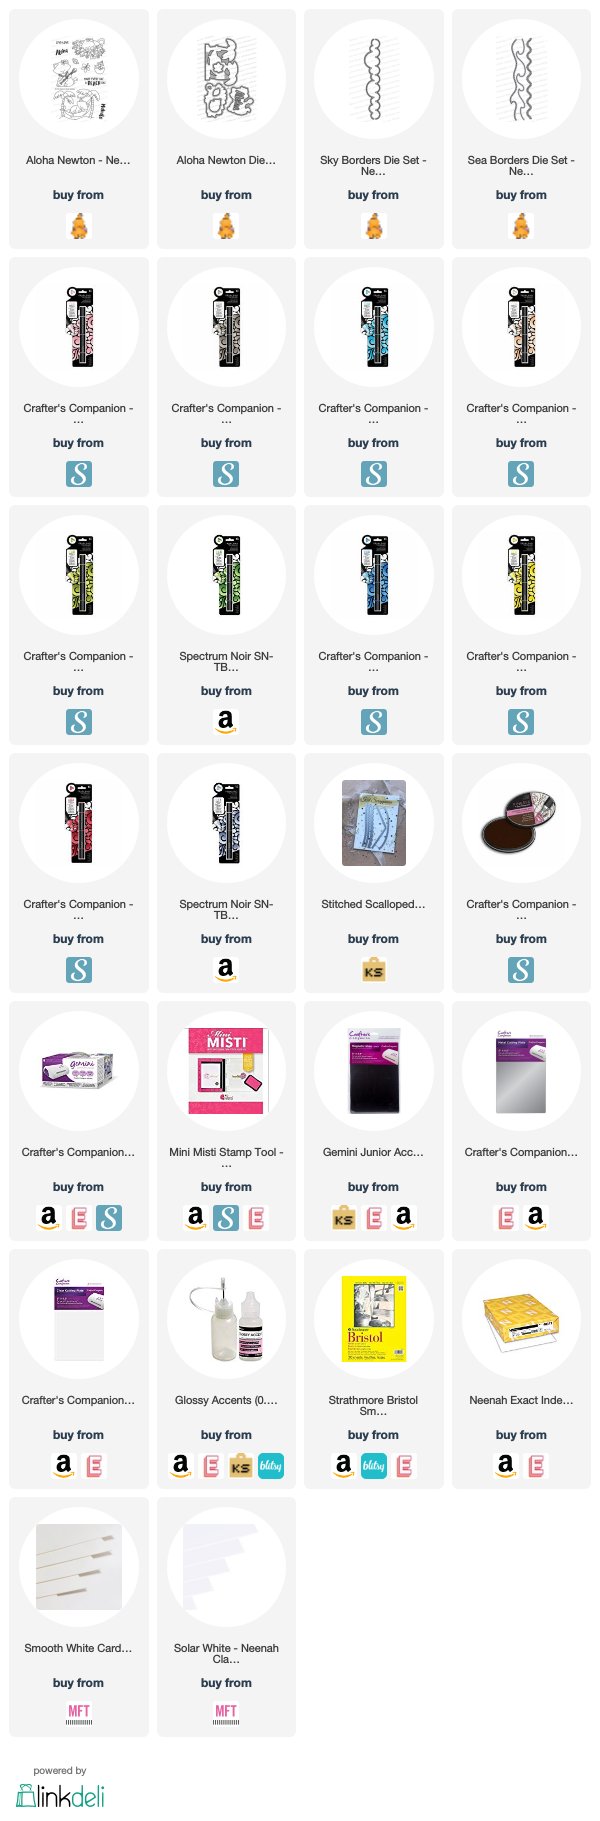
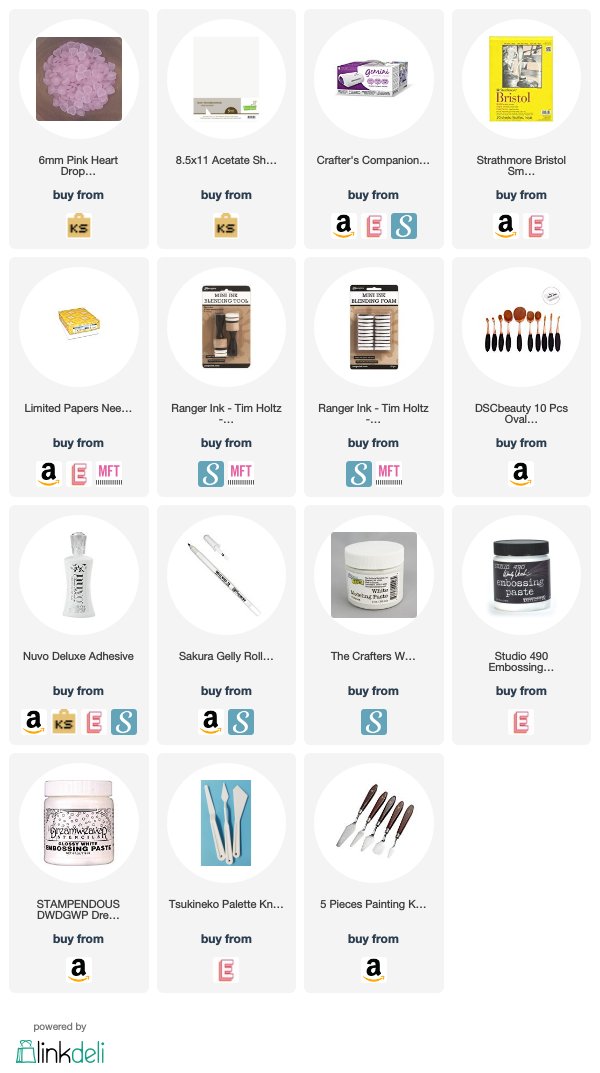
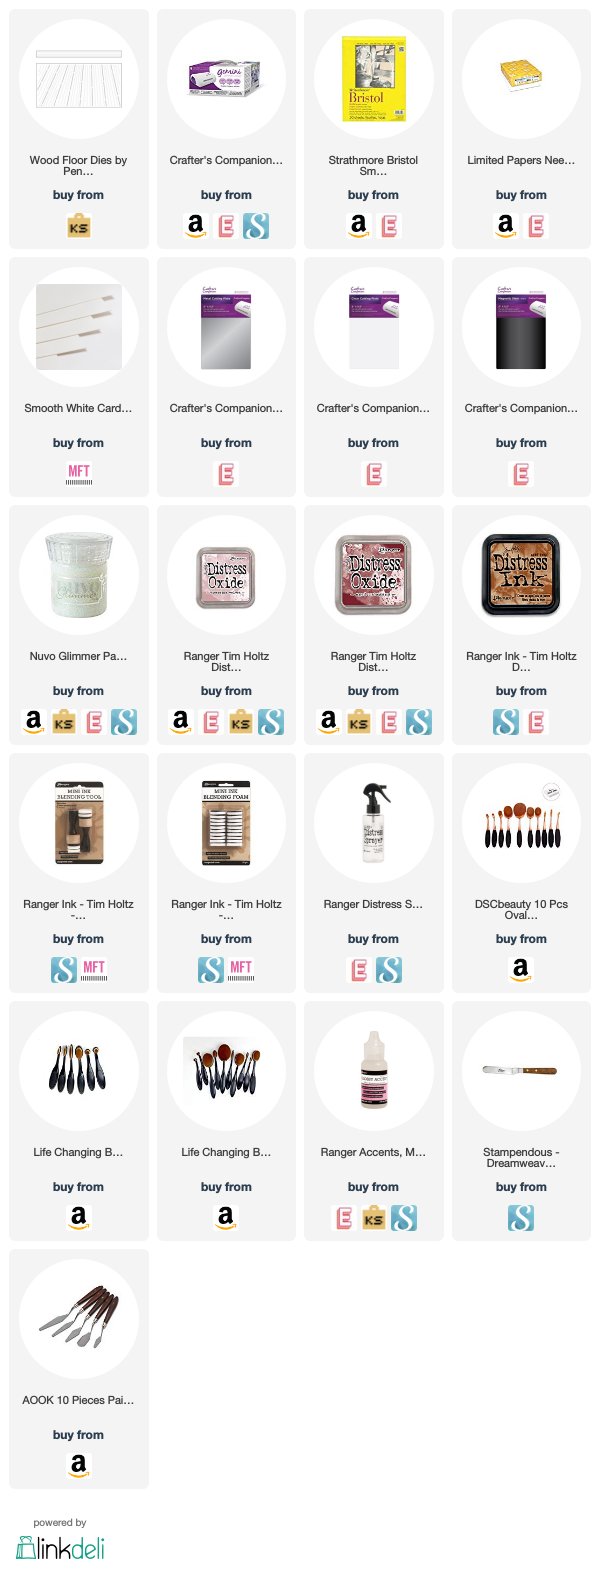
————SUPPLIES—————