It’s Day 3 of the August release by Newton’s Nook Designs! Are you enjoying the reveals so far? Remember that you have a chance to win the stamp set being revealed each day so please read through til the end of the blog post to find out more info. [Just a little important note: I know some of you had difficulties finding the comments section. If you would like to leave a comment to participate in the giveaway, the “comments section” will only be ever visible when a single post on Word Press is being viewed. Please click on this particular blog post and you will be able to leave a comment below. Thank you!]
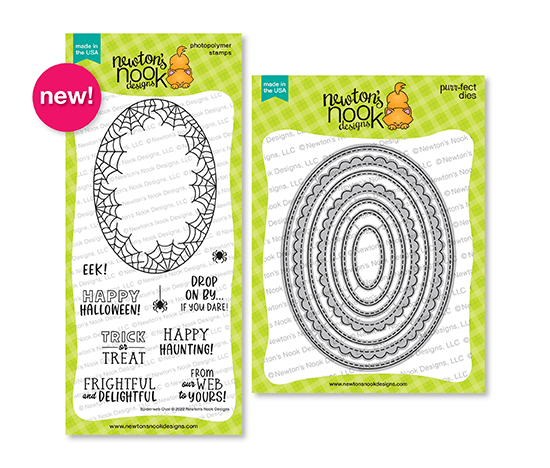
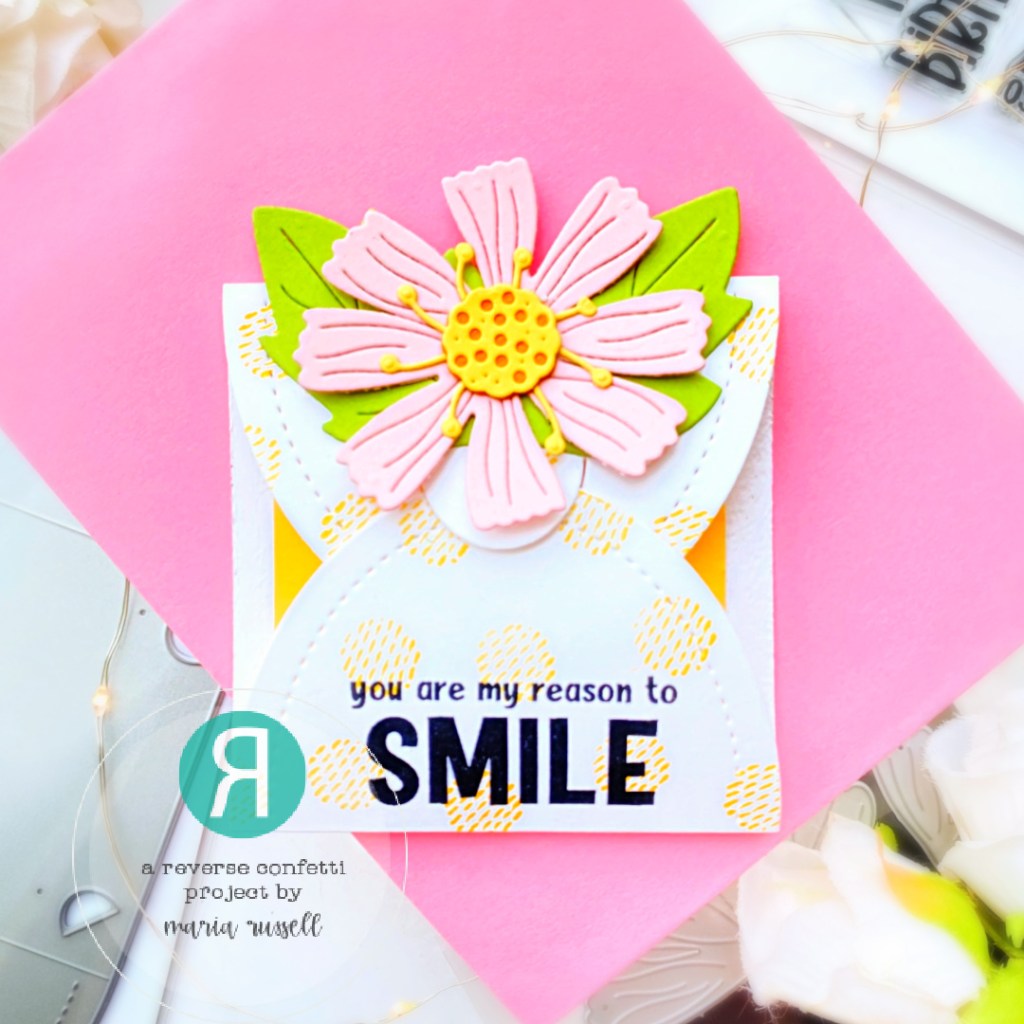
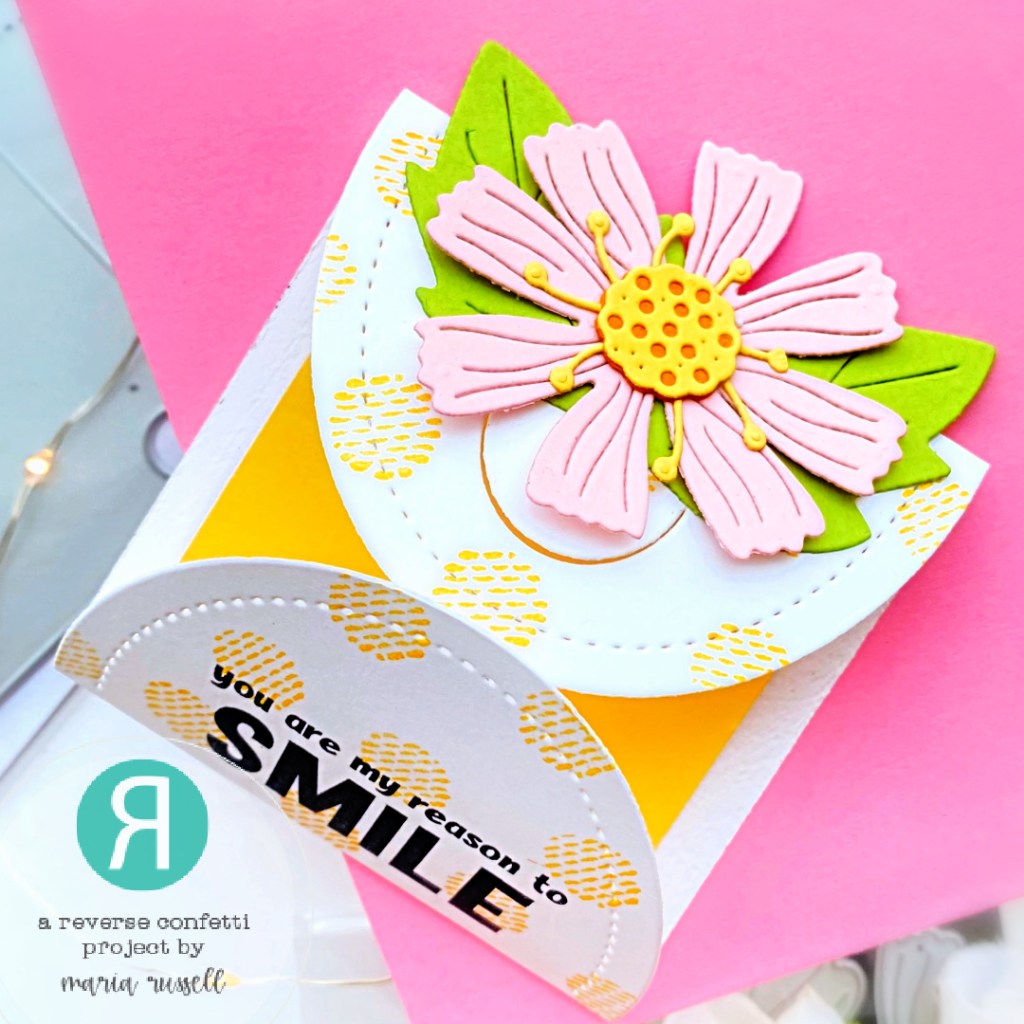
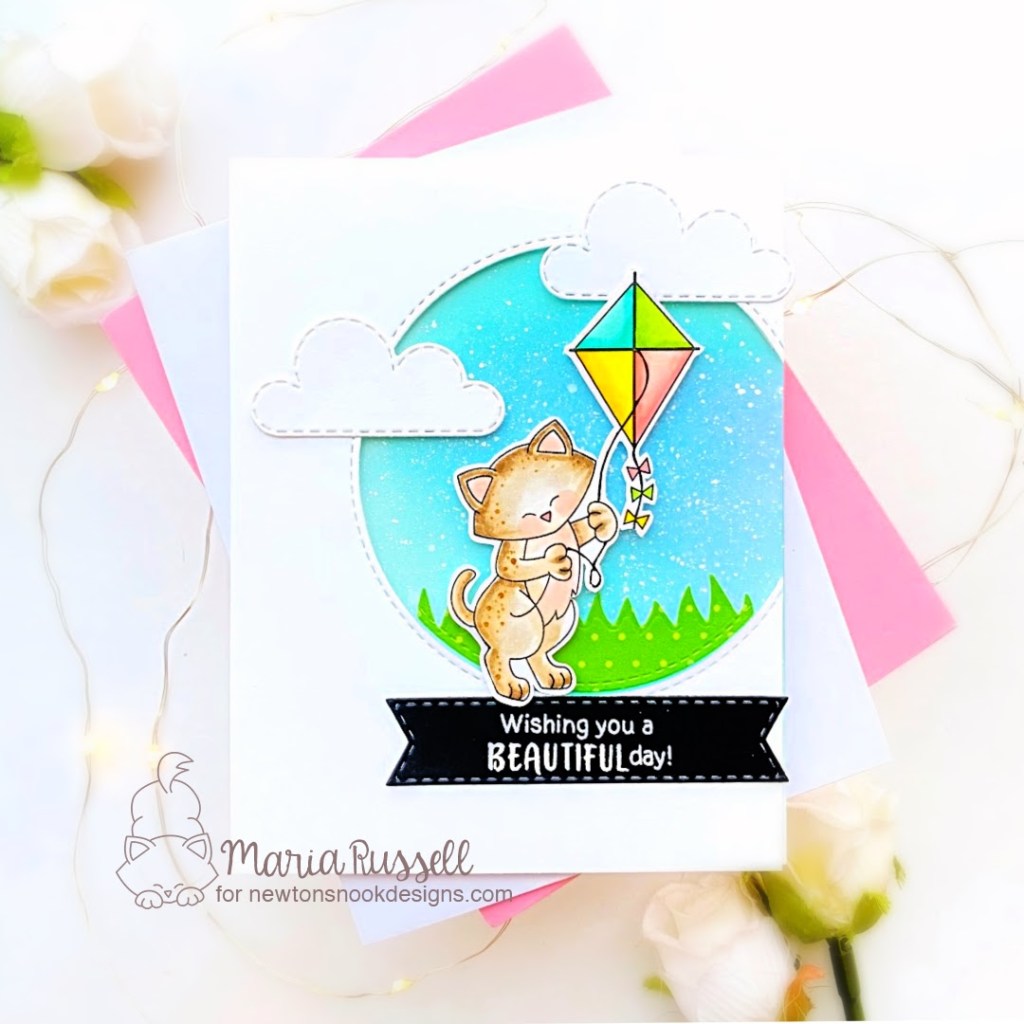
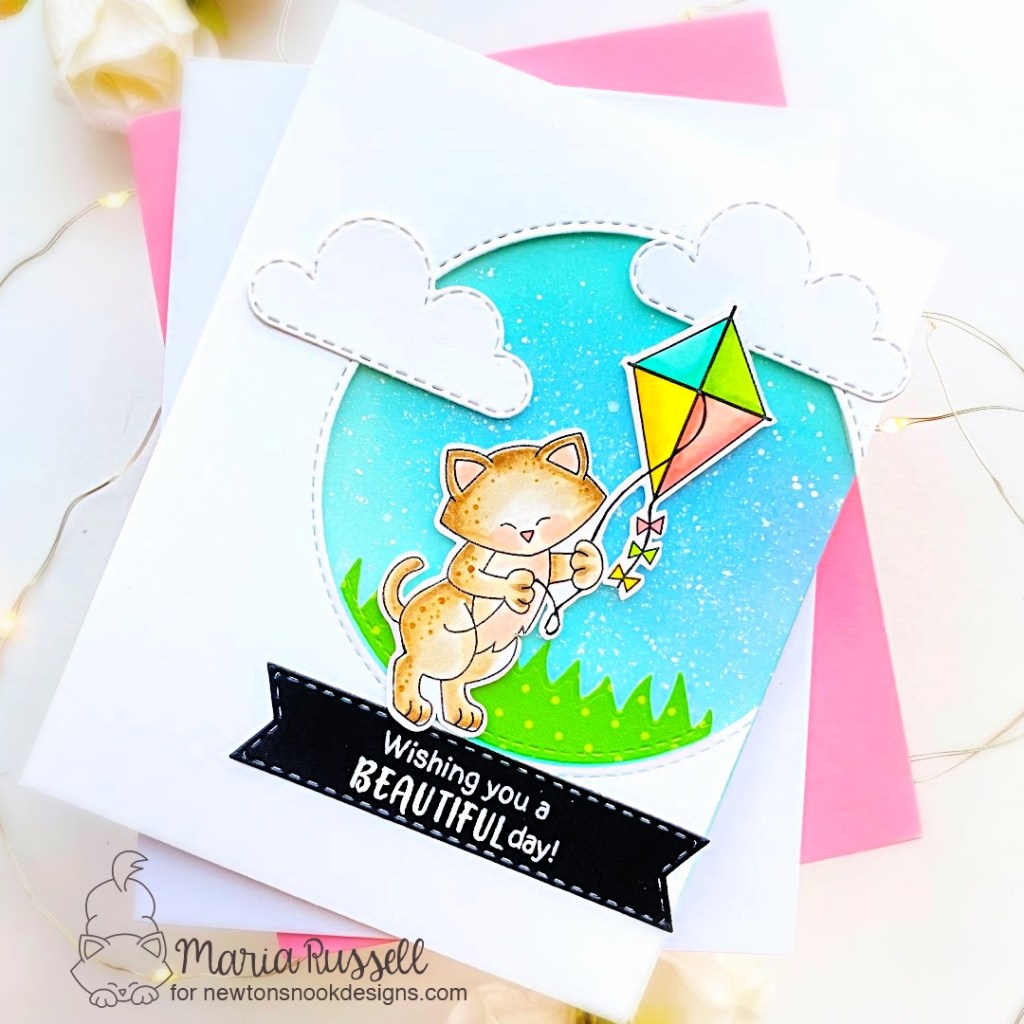
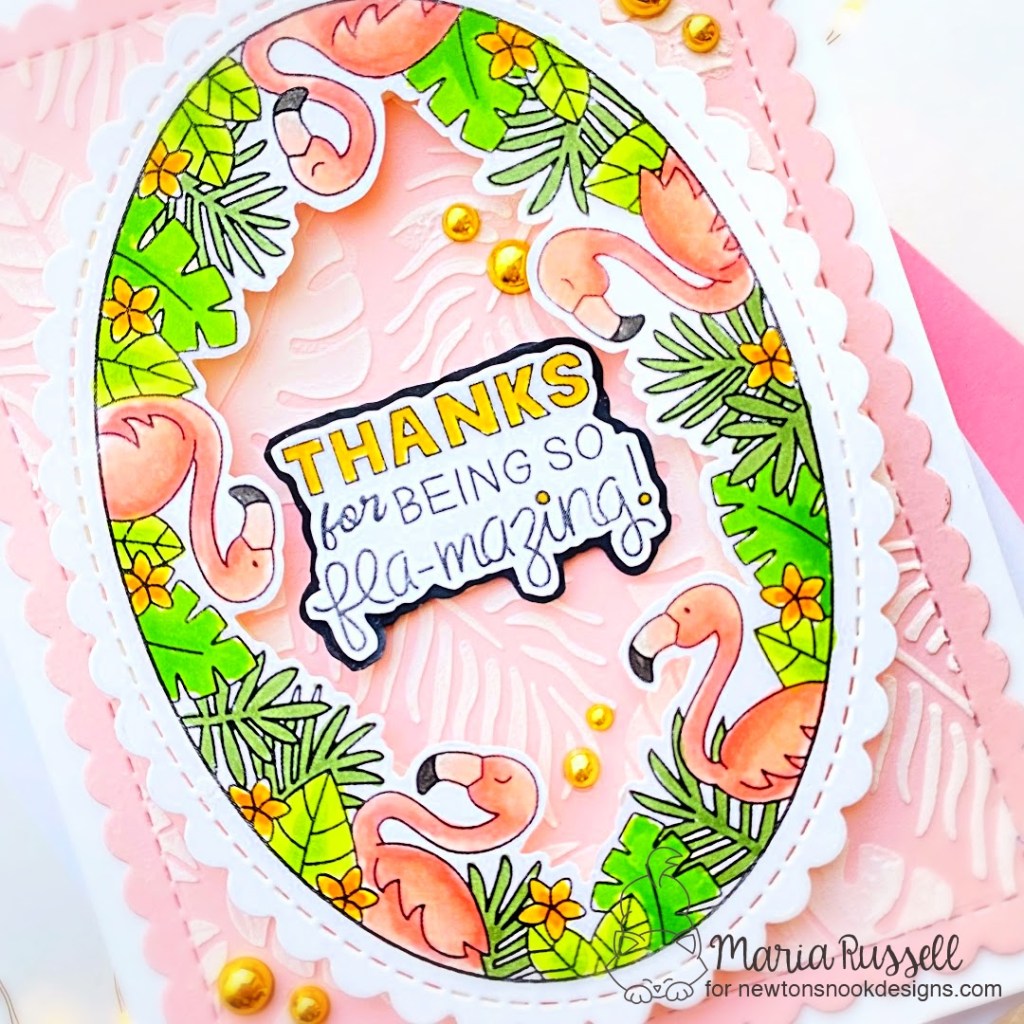
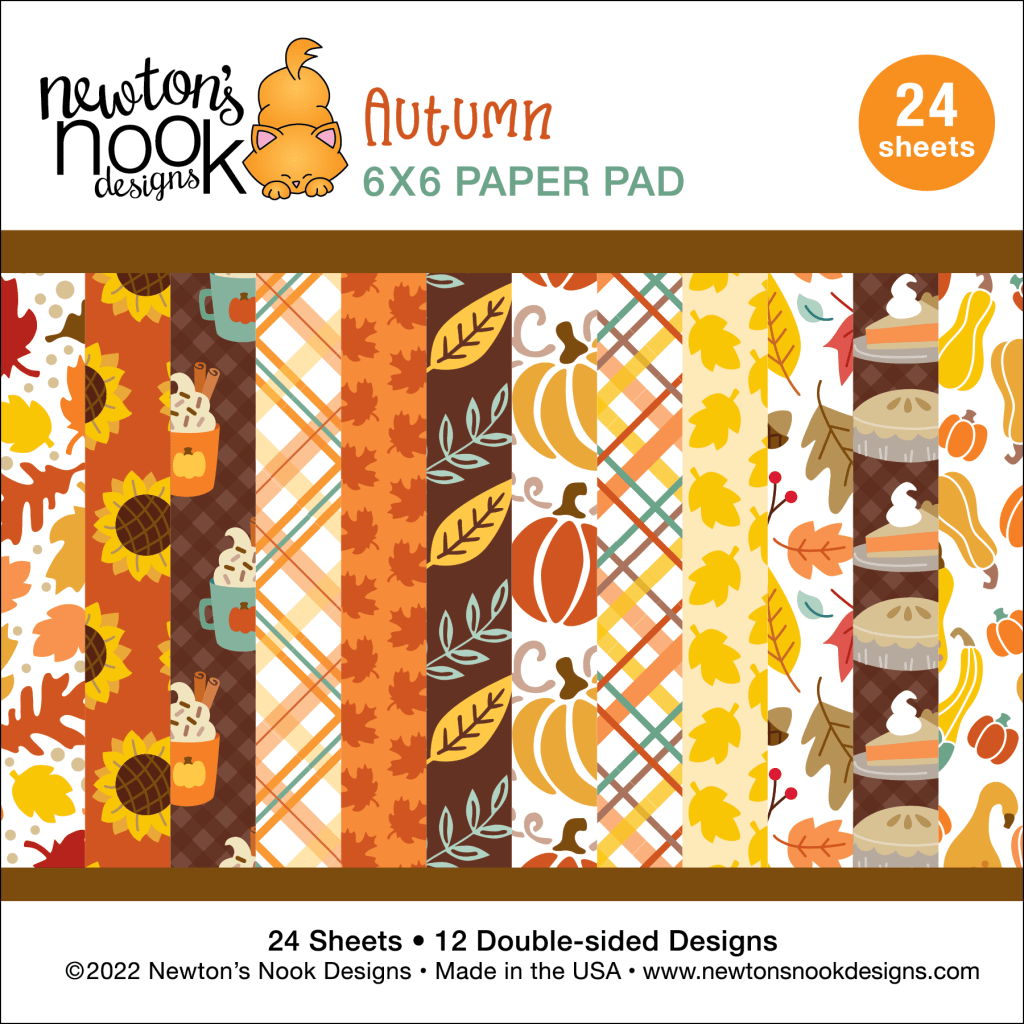
For Day 3, we are showcasing the Autumn Oval Stamp Set that coordinates perfectly with the previously-released Oval Frames Die Set with the BEAUTIFUL Autumn Paper Pad.

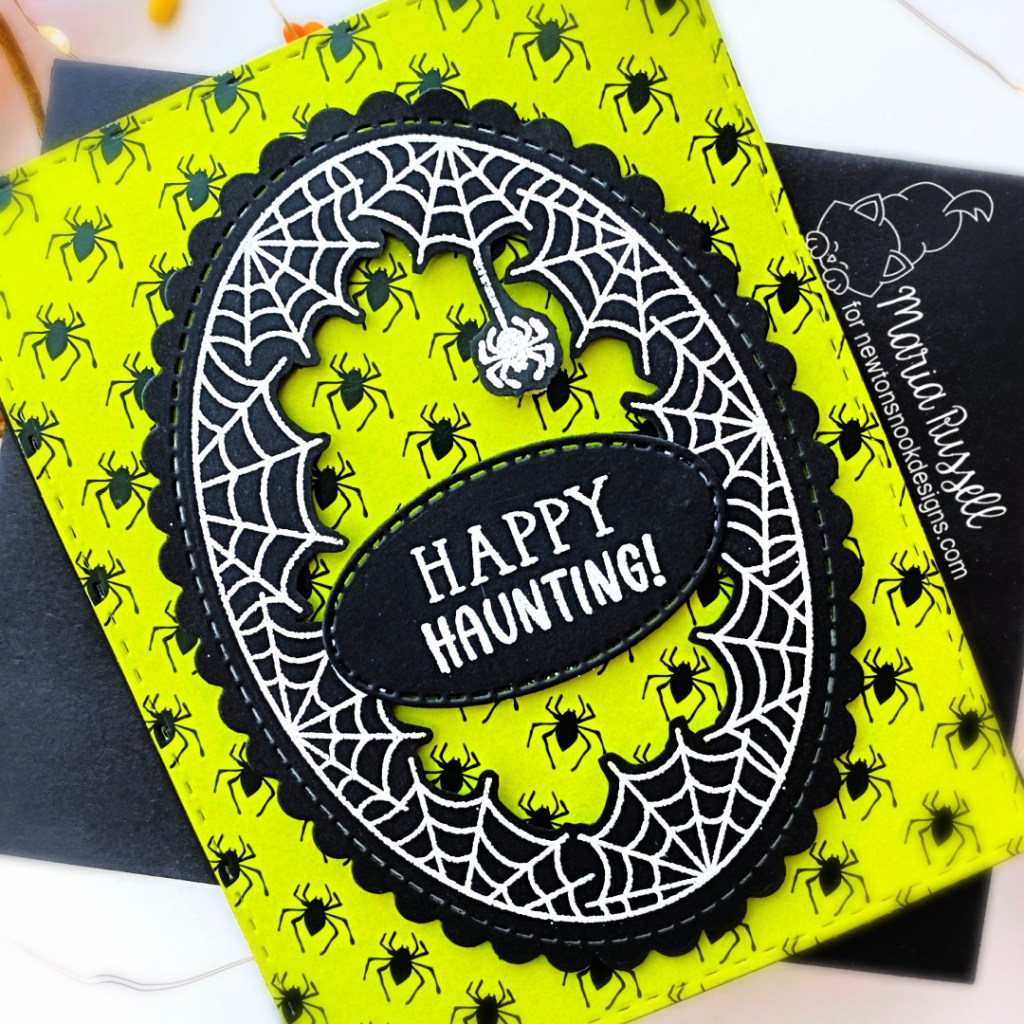
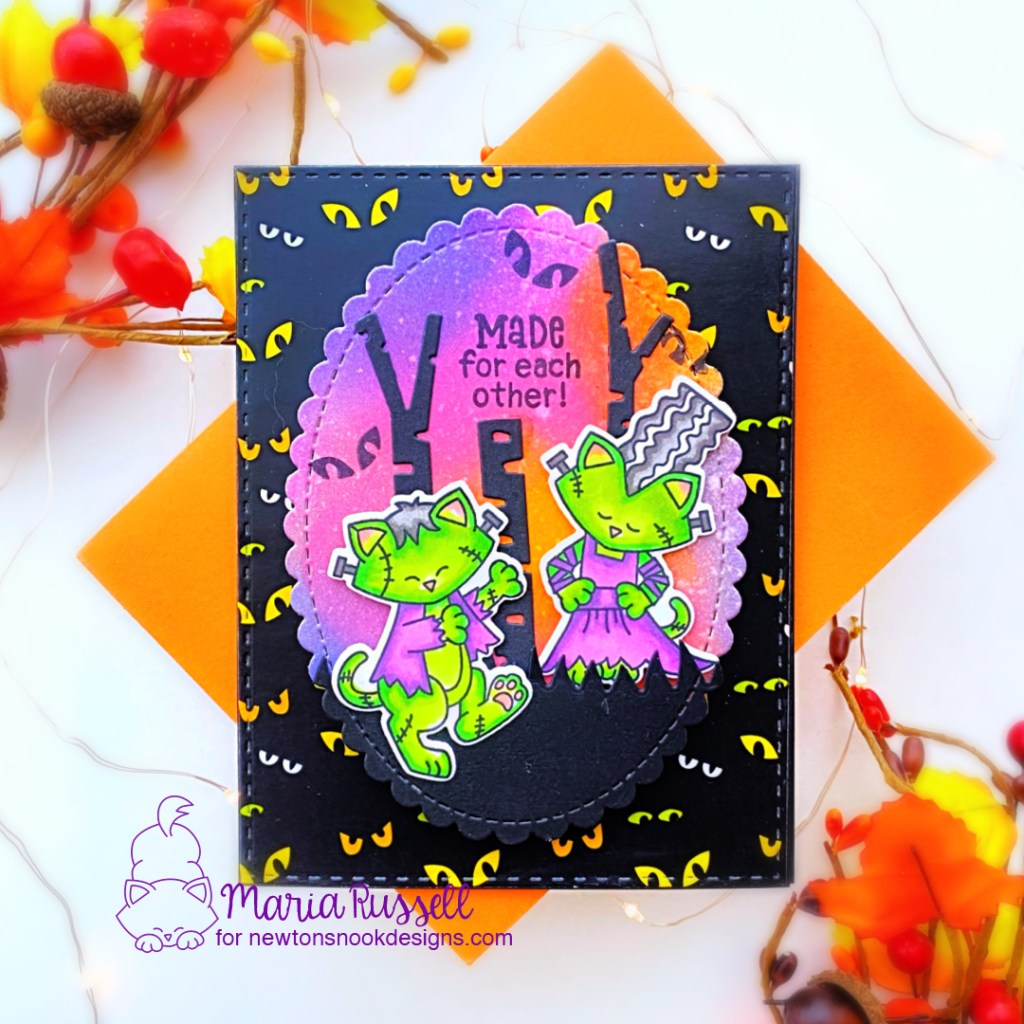
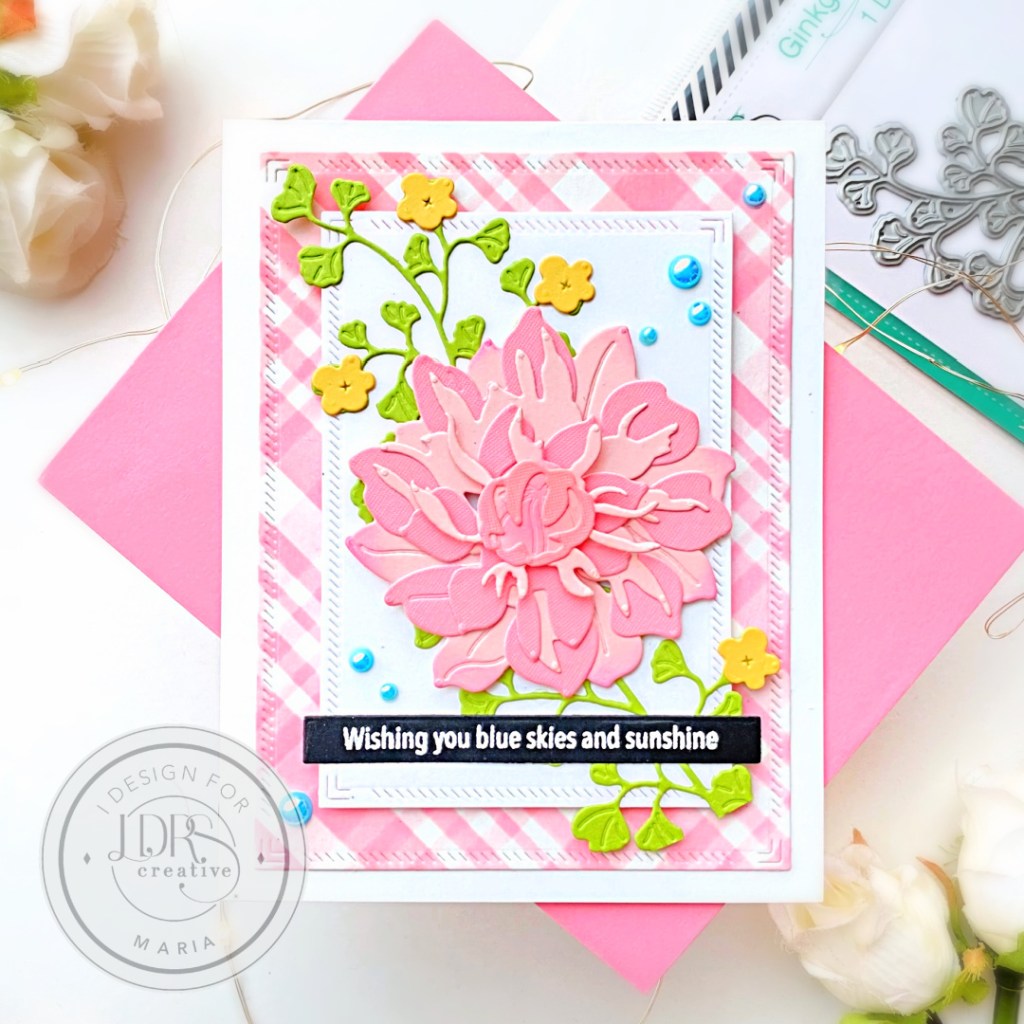
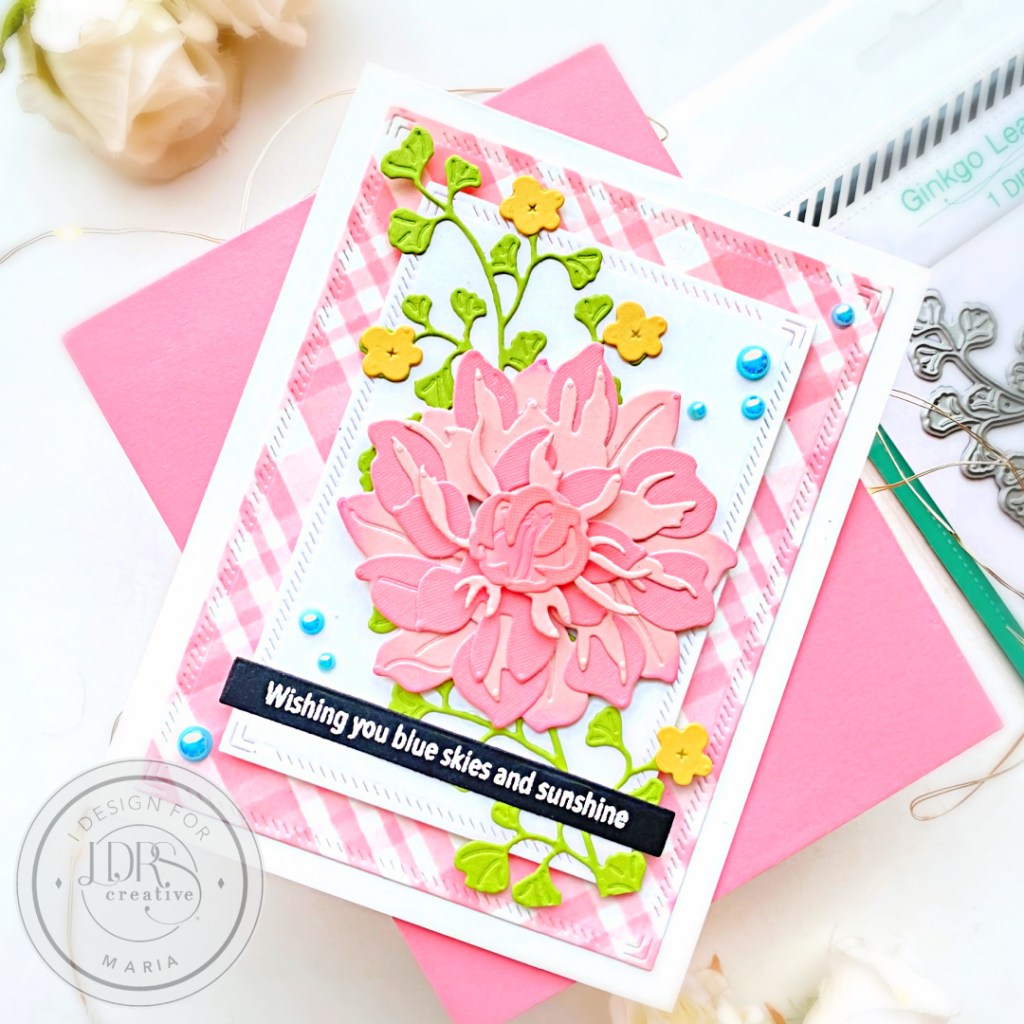
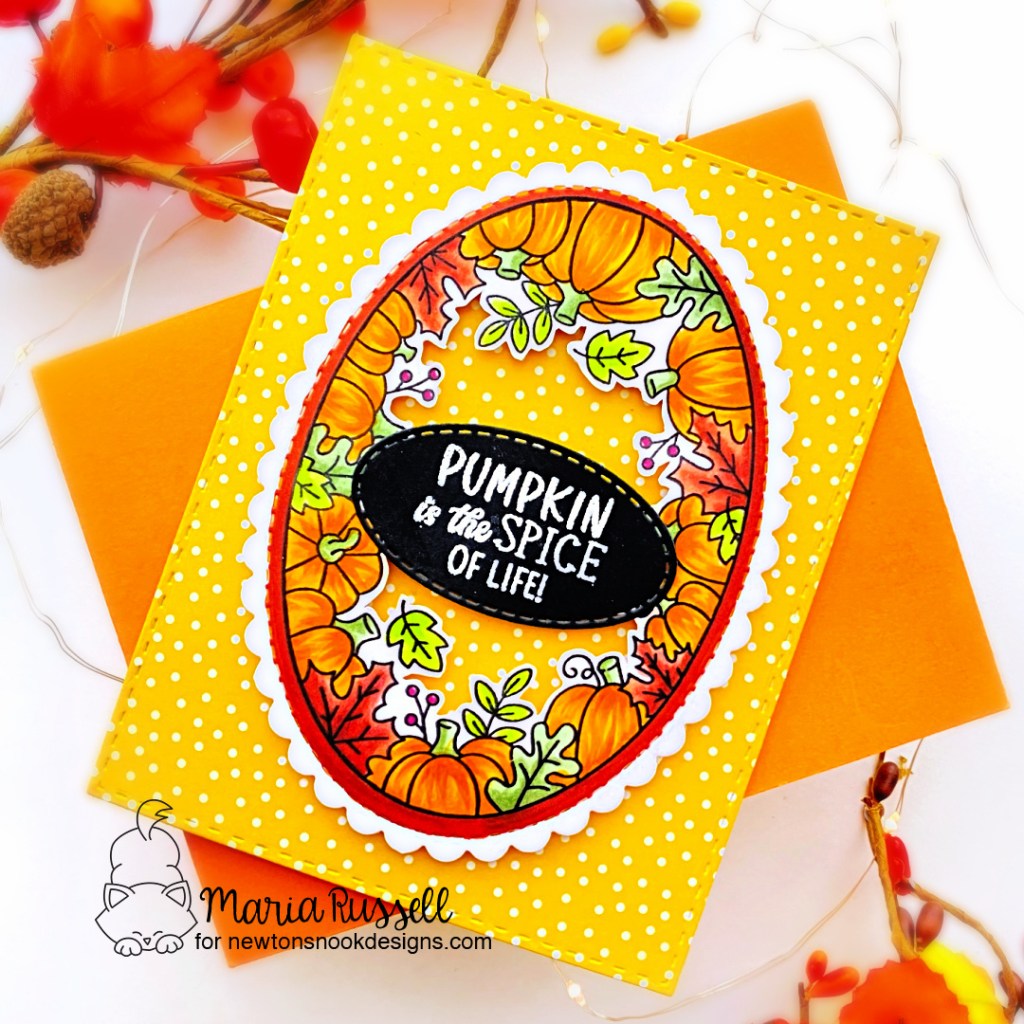
The background was created by die-cutting the Autumn Paper with a rectangle die from my collection. I adhered this panel on some A2-size, top-folding notecard.

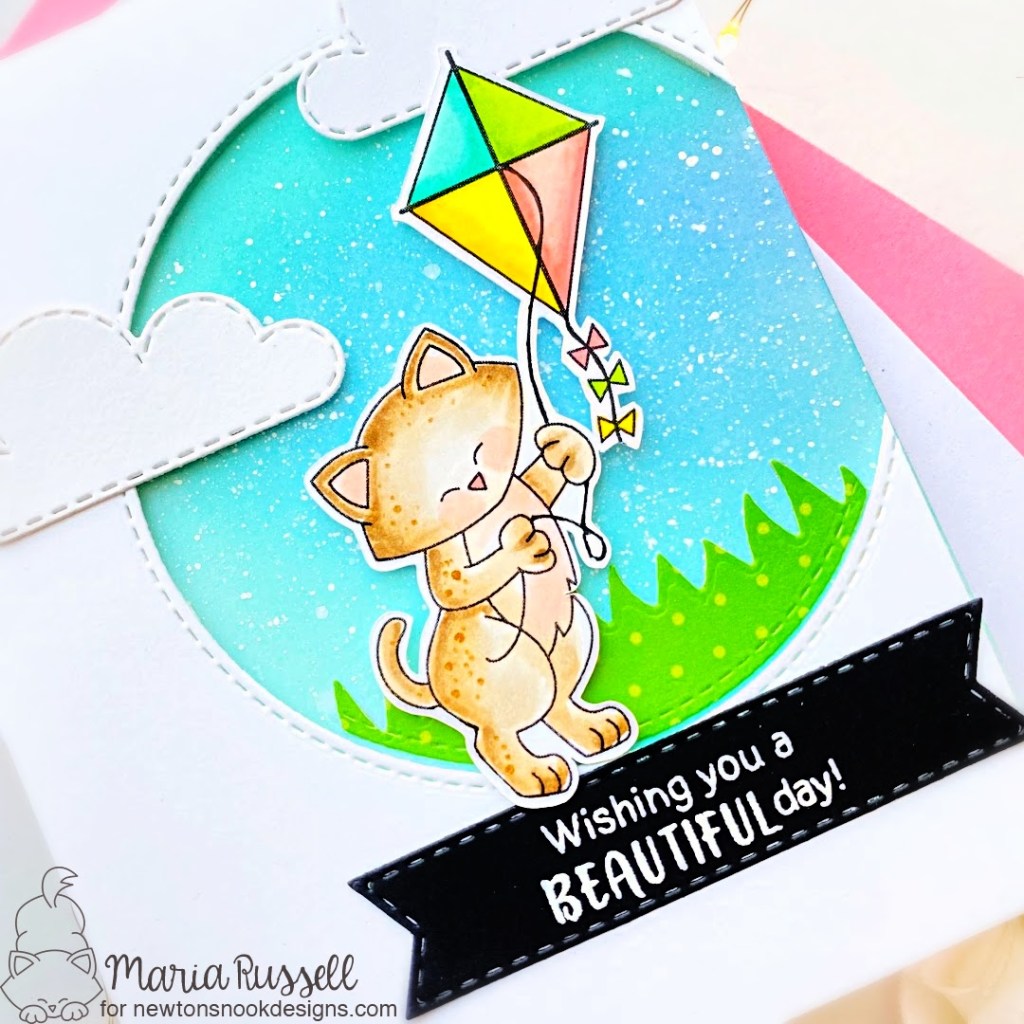
The focal image was stamped on some Neenah solar white card stock and die-cut using the Oval Frames Die Set. I fussy-cut around the images using precision snips for added texture and interest.
Alcohol markers were used to color the pumpkins, leaves and berries, including the detailed oval on the side to ground the images [Designer tip: this somehow made the images pop against the yellow background].
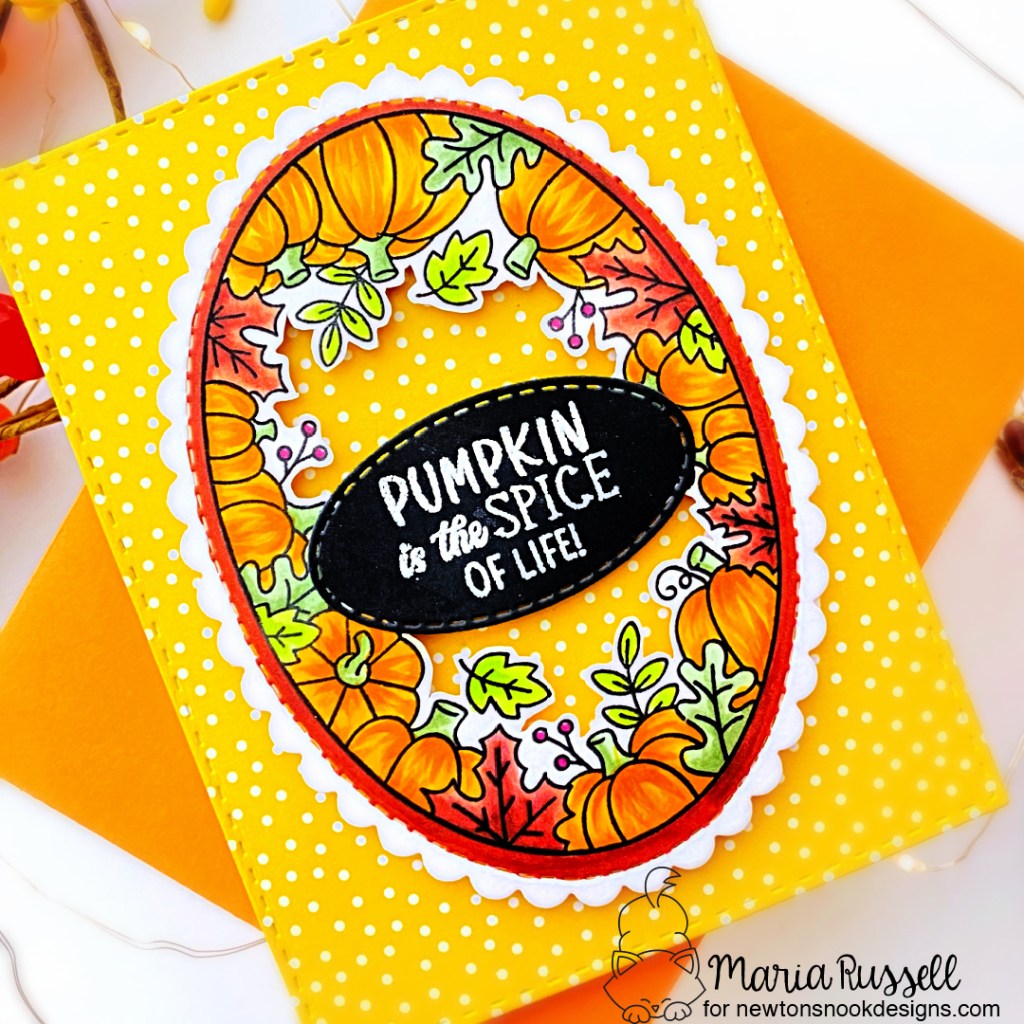
I finished the card design by adding the sentiment that was heat-set with heating tool and die-cut using the smallest die from the Oval Frames Die Set.
Would you like to win the “Autumn Oval” Stamp Set? This stamp set will be given away to ONE lucky winner!
Here’s how to win: Comment on the NND blog and Design Team blogs (see list below)! The winner will be chosen at random from the collective reveal posts. Make sure to check out each of their blogs and comment for your chance to win. You will not know which blog has been chosen so the more you comment on, the better your chances are of winning! You have until Thursday August 18th at 9pm ET to comment — winners will be announced on the blog post on Friday, August 19th.
Check out all the awesome Design Team Blogs below to enter:
Maria Russell (you are here)
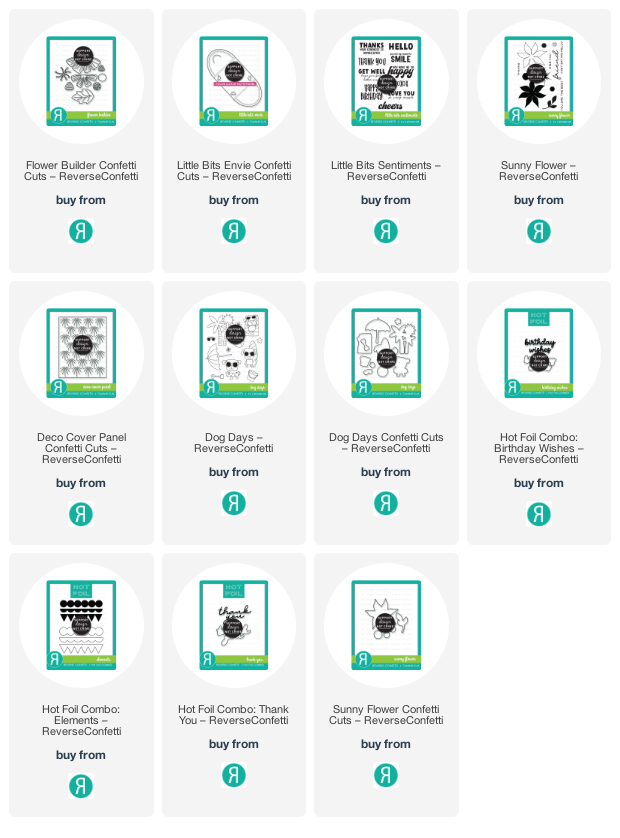
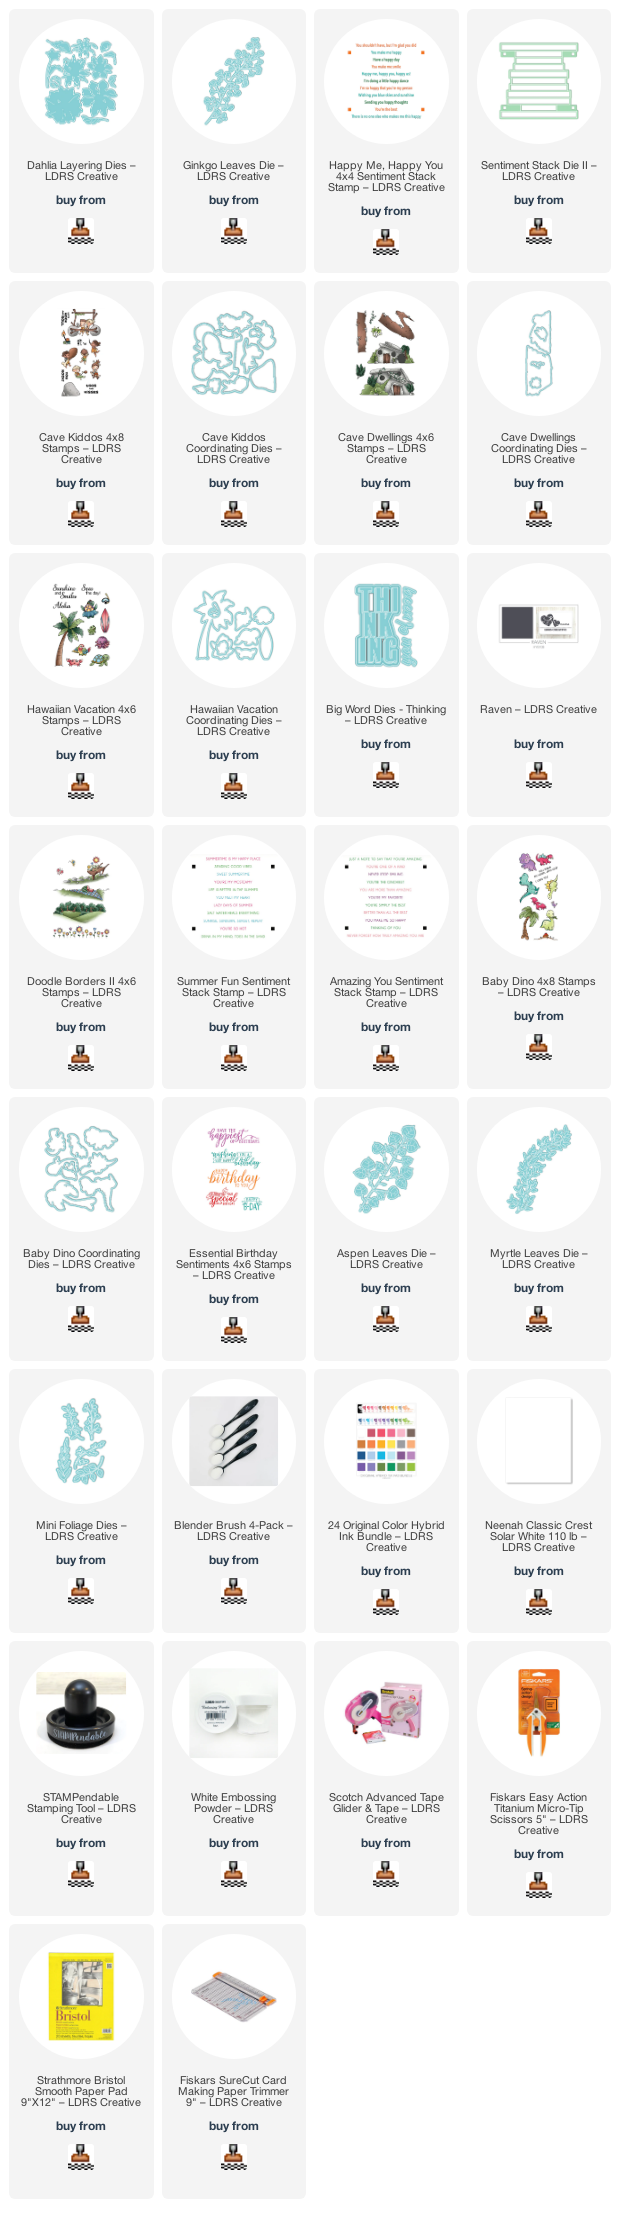
———-SUPPLIES———